#152
Texas, United States
Joined: December 07, 2002
KitMaker: 487 posts
Armorama: 441 posts
Posted: Friday, April 13, 2018 - 12:20 AM UTC
Here are my photos of the finished Churchill Mk III
The same photos are in the Gallery
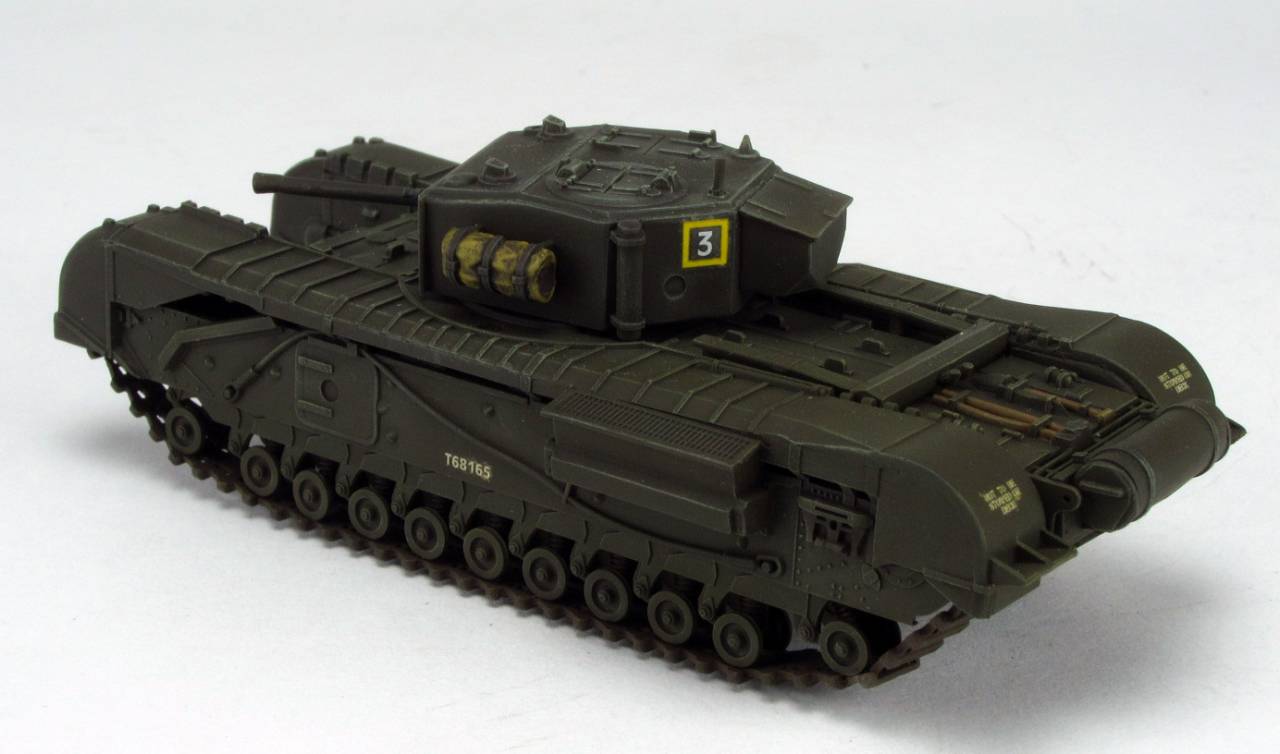
I'm having trouble getting the photos to show up here.
Go to the gallery if you want to see them
Tom
Long time modeller. Starting when I was a teenager, then I found out about girls and college and work and kids. But now that I have one girl, no school, no work and the kids are grown, I'm back to full time modelling. My prime area of interest is armor, b
Queensland, Australia
Joined: August 06, 2005
KitMaker: 3,353 posts
Armorama: 3,121 posts
Posted: Friday, April 13, 2018 - 01:30 AM UTC
Nice work on the Radiator Damian. Definitely worth the time there.
Tom that is a fantastic finish. Looks great. Thanks for joining in.
On the Bench:
Dust, styrene scraps, paint splotches and tears.

#491
Missouri, United States
Joined: April 06, 2016
KitMaker: 602 posts
Armorama: 191 posts
Posted: Friday, April 13, 2018 - 09:32 PM UTC
Currently working on: Multiple Campaigns :P
Western Australia, Australia
Joined: May 05, 2006
KitMaker: 900 posts
Armorama: 510 posts
Posted: Tuesday, May 01, 2018 - 10:48 AM UTC
Decals are on, and now I have begun the slow process of assembling the individual track links.

Don't you feel more like you do now than you did when you came in?
Queensland, Australia
Joined: August 06, 2005
KitMaker: 3,353 posts
Armorama: 3,121 posts
Posted: Tuesday, May 01, 2018 - 01:04 PM UTC
Another fine build for the collection Rory. Sweet.
Iain. It will be worth it in the end.
On the Bench:
Dust, styrene scraps, paint splotches and tears.
Western Australia, Australia
Joined: May 05, 2006
KitMaker: 900 posts
Armorama: 510 posts
Posted: Saturday, May 05, 2018 - 12:26 PM UTC
Don't you feel more like you do now than you did when you came in?
Queensland, Australia
Joined: August 06, 2005
KitMaker: 3,353 posts
Armorama: 3,121 posts
Posted: Sunday, May 06, 2018 - 02:47 AM UTC
Another Nice one for the collection Iain.
Thanks for joining in
On the Bench:
Dust, styrene scraps, paint splotches and tears.
Western Australia, Australia
Joined: May 05, 2006
KitMaker: 900 posts
Armorama: 510 posts
Posted: Sunday, May 06, 2018 - 04:32 AM UTC
Thanks Peter.
Just glad there so many campaigns I can join to motivate me to thin my stash out

Don't you feel more like you do now than you did when you came in?

#453
Texas, United States
Joined: August 28, 2016
KitMaker: 1,925 posts
Armorama: 601 posts
Posted: Sunday, May 06, 2018 - 04:32 AM UTC
Iain,
Nice finish. Really digging the paint work and the open hatches. Plan on adding any figures?
Mark
Western Australia, Australia
Joined: May 05, 2006
KitMaker: 900 posts
Armorama: 510 posts
Posted: Sunday, May 06, 2018 - 04:37 AM UTC
Quoted Text
Iain,
Nice finish. Really digging the paint work and the open hatches. Plan on adding any figures?
Mark
Thanks Mark. No figure plans at this stage, the kit came with some tank riders but no crew, which just seemed weird.
I am trying to figure out how to display all my Valentine based tanks together without taking oodles of space.
Don't you feel more like you do now than you did when you came in?

#298
Hong Kong S.A.R. / 繁體
Joined: August 08, 2002
KitMaker: 1,182 posts
Armorama: 665 posts
Posted: Sunday, May 27, 2018 - 10:50 AM UTC
Just started to build my entry, Trumpeter 1/35 Challenger 2 MBT.


#460
California, United States
Joined: September 16, 2014
KitMaker: 1,156 posts
Armorama: 1,024 posts
Posted: Tuesday, June 05, 2018 - 05:30 AM UTC
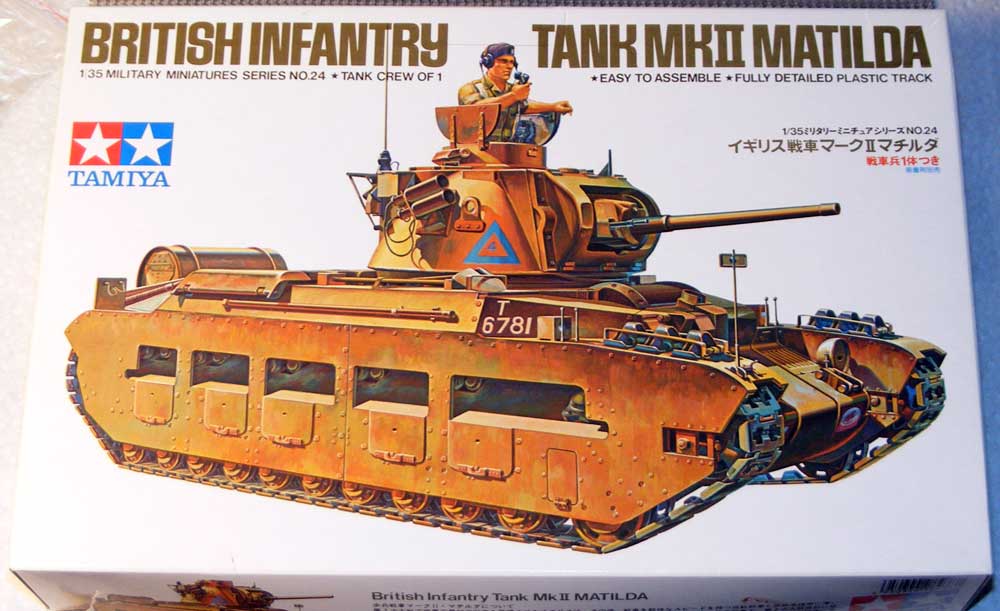
I'm happy to follow Lap Man into this campaign. My entry will be the old mid 70s Tamiya Matilda.
Vintage Paul
I'd happily live in the past but for air conditioning, the internet, mobile phones, modern medicine & dentistry and, and, and . . .
Vietnam
Joined: May 07, 2006
KitMaker: 416 posts
Armorama: 312 posts
Posted: Friday, June 08, 2018 - 01:45 AM UTC
Hi,
Too many interesting campaigns to follow. It takes 2 months for assembly of this Challenger 2 Enhanced Armour. A slow progress.
Preparing the weathering on it.


Cheers,
K.
TimReynaga
 Associate Editor
California, United States
Joined: May 03, 2006
KitMaker: 2,500 posts
Armorama: 297 posts
Posted: Friday, June 08, 2018 - 08:30 AM UTC
I’m in with a British Army
Cromwell Mark IV tank in 1/35 scale. I started construction on this kit when it came out in 1997.

I didn’t get very far...
TimReynaga
 Associate Editor
California, United States
Joined: May 03, 2006
KitMaker: 2,500 posts
Armorama: 297 posts
Posted: Thursday, June 14, 2018 - 01:03 PM UTC
This will be a fairly basic build. The Cromwell is assembled straight out of the box with the hatches closed and prepped with Tamiya rattle-can Light Grey primer.

The only aftermarket used was Tamiya’s photoetch grill for the aft deck.

TimReynaga
 Associate Editor
California, United States
Joined: May 03, 2006
KitMaker: 2,500 posts
Armorama: 297 posts
Posted: Sunday, June 17, 2018 - 03:27 AM UTC


The Cromwell received an undercoat of Tamiya (XF-69) NATO Black followed by covering coat of J.A. Green (XF-13).
TimReynaga
 Associate Editor
California, United States
Joined: May 03, 2006
KitMaker: 2,500 posts
Armorama: 297 posts
Posted: Monday, June 18, 2018 - 03:48 PM UTC
Following a thoroughly demoralizing painting disaster with the 1/35 Cromwell this past weekend, I’m making a switch for this campaign to something entirely different – a Flames of War
Destroyed Valentine in 1/100 scale.

The FOW Valentine comes as a mini-dio complete with a “sand” base, thrown track, and a blown off road wheel.

A wargaming objective marker, this resin model is so simple there isn’t even any assembly. I can concentrate on recovering my painting mojo on this one!
Queensland, Australia
Joined: August 06, 2005
KitMaker: 3,353 posts
Armorama: 3,121 posts
Posted: Monday, June 18, 2018 - 10:43 PM UTC
Nice work Mr K. The Chally is really looking the part.
Sorry to hear about the painting disaster Tim. Good to have a back up plan.
I started THE Tortoise a while back, spent a lot of time on the running gear, which is more than 1/2 the kit, but for all the work, little will be visible. Will post pics when the whole running gear is finished, as nothing really to show as is.
On the Bench:
Dust, styrene scraps, paint splotches and tears.
Queensland, Australia
Joined: August 06, 2005
KitMaker: 3,353 posts
Armorama: 3,121 posts
Posted: Wednesday, June 20, 2018 - 01:42 PM UTC
Progress pic. Hours of work on the suspension which most will not be seen.

On the Bench:
Dust, styrene scraps, paint splotches and tears.
TimReynaga
 Associate Editor
California, United States
Joined: May 03, 2006
KitMaker: 2,500 posts
Armorama: 297 posts
Posted: Sunday, July 08, 2018 - 09:02 AM UTC
Under a coat of Tamiya rattle-can Light Grey primer.

Not the largest vehicle to begin with, the Valentine is just over two inches long in 1/100 scale!
TimReynaga
 Associate Editor
California, United States
Joined: May 03, 2006
KitMaker: 2,500 posts
Armorama: 297 posts
Posted: Sunday, July 08, 2018 - 01:45 PM UTC
Basic colors are on. The desert sand base is Tamiya Deck Tan (XF-55), the tank is Tamiya Buff (XF-57) with a very light Deck Tan overspray. They actually are different colors, but the difference is almost imperceptible!


Other details are Tamiya NATO Black (XF-69) rubber wheels, Tamiya RLM Gray (XF-22) bedrolls, Tamiya Khaki Drab (XF-51) satchels & camouflage netting, and Tamiya NATO Brown (XF-68) exhaust. Decals are from Battlefront Miniatures.
TimReynaga
 Associate Editor
California, United States
Joined: May 03, 2006
KitMaker: 2,500 posts
Armorama: 297 posts
Posted: Sunday, July 08, 2018 - 02:11 PM UTC
A wash of Grumbacher Raw Umber artist’s oil served to deepen recesses and highlight details.

After a little wiping down, the oil wash will also help to integrate the various colors without attacking the acrylic paints.
Queensland, Australia
Joined: August 06, 2005
KitMaker: 3,353 posts
Armorama: 3,121 posts
Posted: Sunday, July 08, 2018 - 08:35 PM UTC
Pretty scary when the paint brush bristles are as big as the turret. Build by microscope!

Looks really nice though Tim.
On the Bench:
Dust, styrene scraps, paint splotches and tears.
TimReynaga
 Associate Editor
California, United States
Joined: May 03, 2006
KitMaker: 2,500 posts
Armorama: 297 posts
Posted: Monday, July 09, 2018 - 12:17 AM UTC
Quoted Text
Pretty scary when the paint brush bristles are as big as the turret. Build by microscope! 
Looks really nice though Tim.
Thanks Peter!
Looking rather sorry for itself, here’s my completed knocked-out Valentine.

The red and white turret and hull stripes were ID for the British 8th Army in the desert. Just visible on the front glacis of the vehicle is the red Desert Rat of the 7th Armoured Division and the white-on-green “28” of the 7th Hussars armoured regiment.

The red triangles on the turret signified that this would have been a vehicle of “A” squadron.


The thrown track and presence of undisturbed stowage suggest that the tank was disabled by a mine – perhaps the crew are taking a breather before getting their mount back in action?

Västra Götaland, Sweden
Joined: May 29, 2018
KitMaker: 397 posts
Armorama: 388 posts
Posted: Tuesday, July 10, 2018 - 07:00 AM UTC
Hi. I am joining.


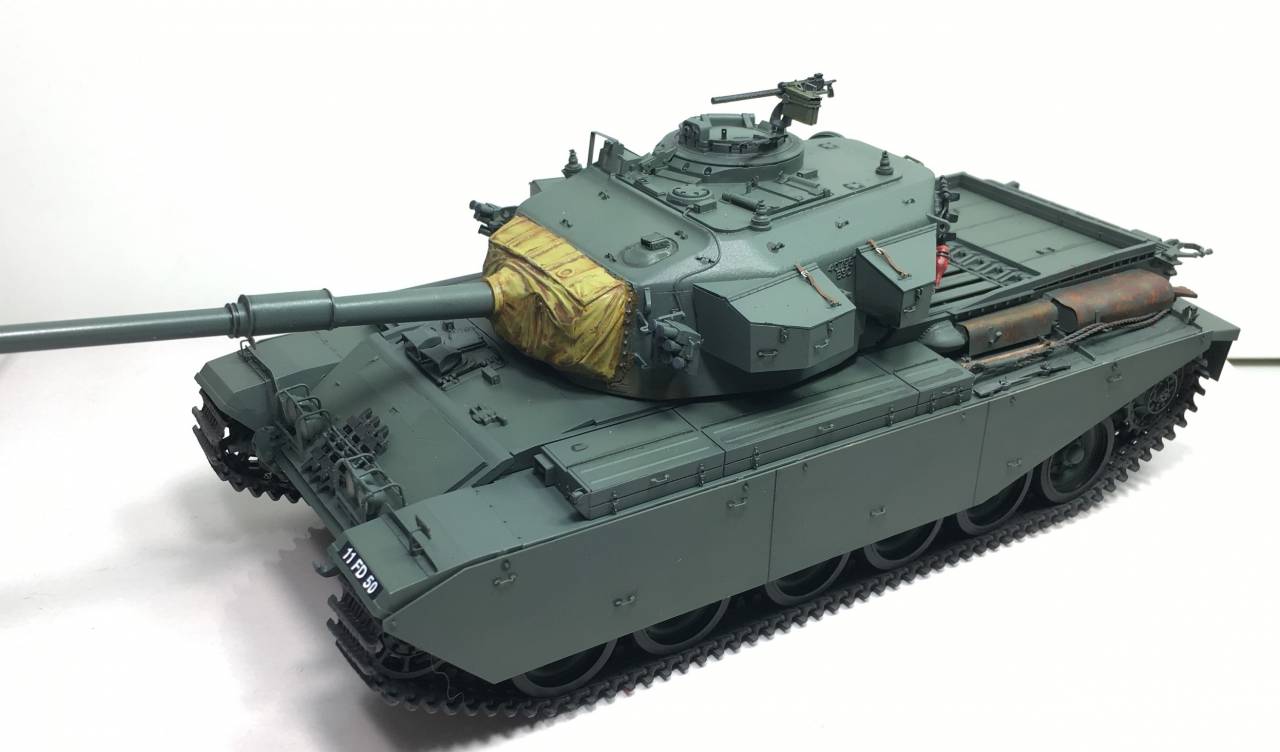
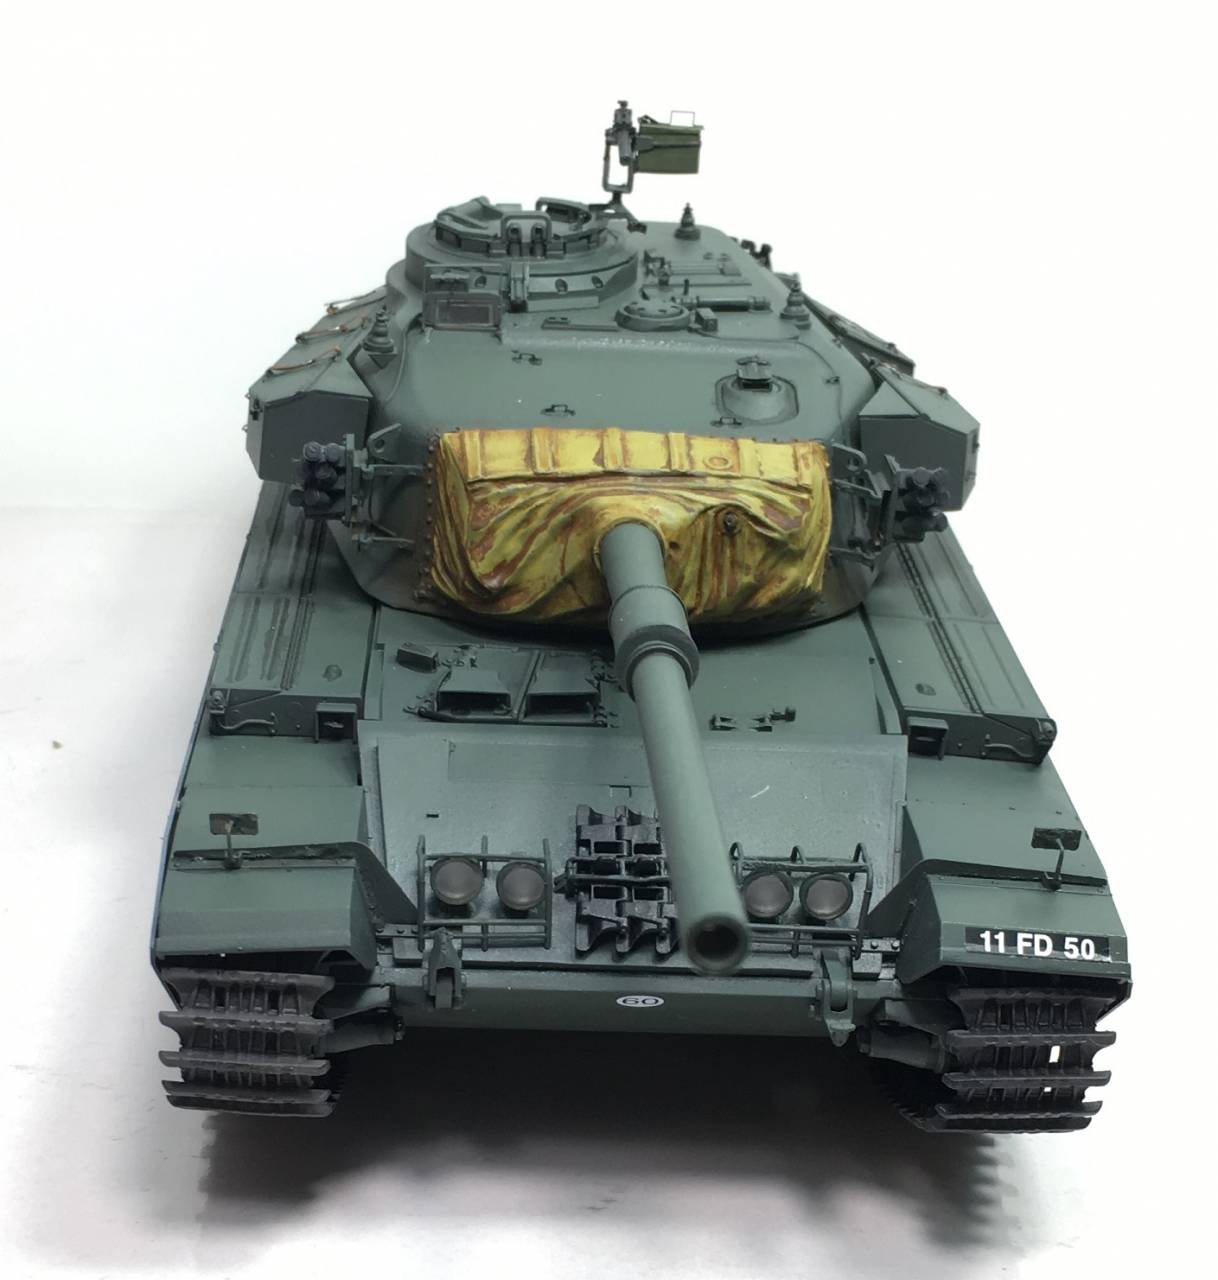
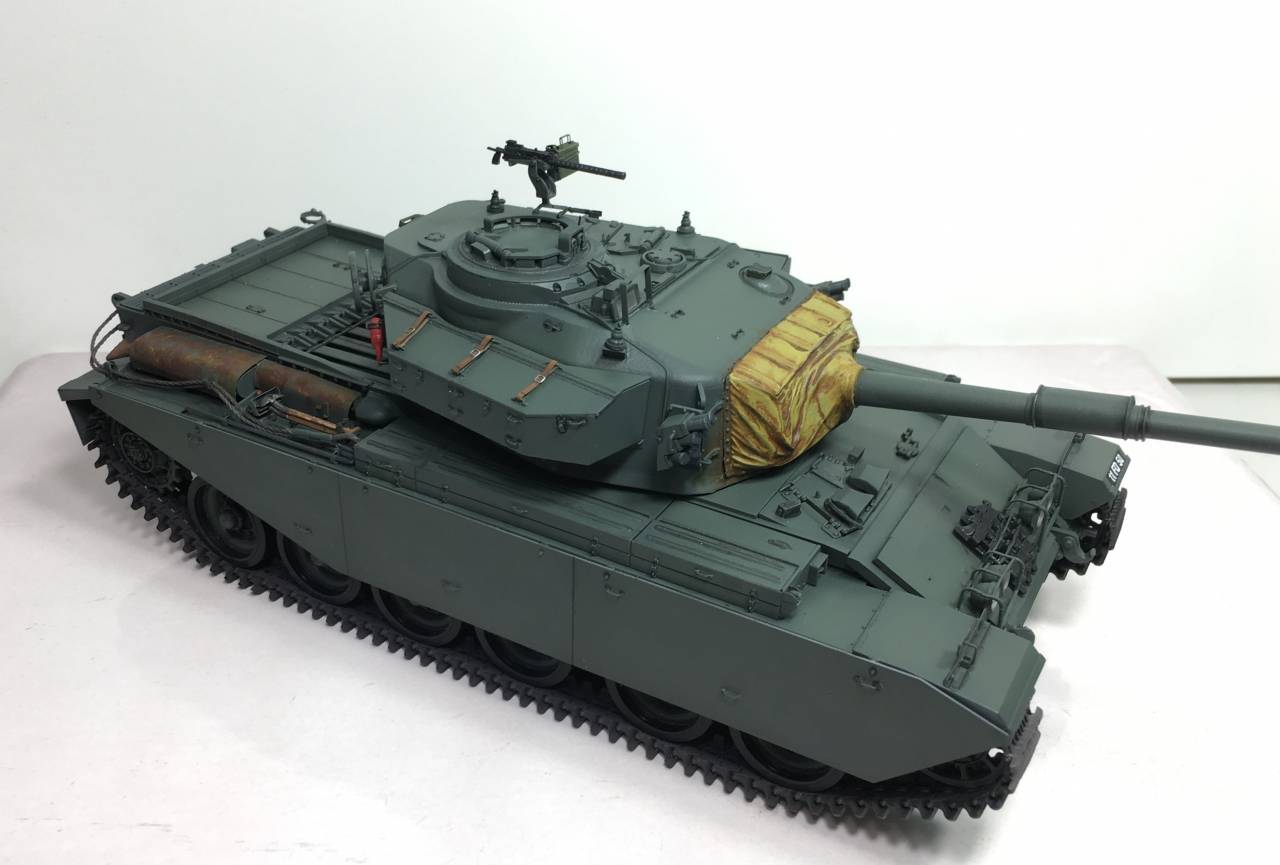


 ) , the Valentine is now done.


 The Cromwell received an undercoat of Tamiya (XF-69) NATO Black followed by covering coat of J.A. Green (XF-13).


