Quoted Text
Hi, James! Bypassing the interior gave you a flash start. Good to see another Panhard! Some nice detail she has!
Cheers!
Gabriel 
Hello Gabriel,
Yes, bypassing the interior is making this build go quicker than I would have thought. The Panhard kits are pretty nice.
I made some progress on mine.
Well, there was very little wind outside today, so it was a good day for primer, base coat, and dullcote.
Before anyone points out that there is a tree growing in the middle of the armored car (Holy Crap! There is a tree growing in the middle of this armored car!), I am using it to hold the model while painting. I would have used a rod or dowel (some guys in the model club I was a part of when at Fort Sill showed me to do that - to use a dowel or rod, not a tree), but I did not have any around, and the pencil I tried to use would not stick, so I glued this tree in the middle of the interior. I will just break it off when I am done.
Here are the photos. If they are a bit blurry it is because I am holding the tree while taking the picture with my other hand.

Here it is primed with black...


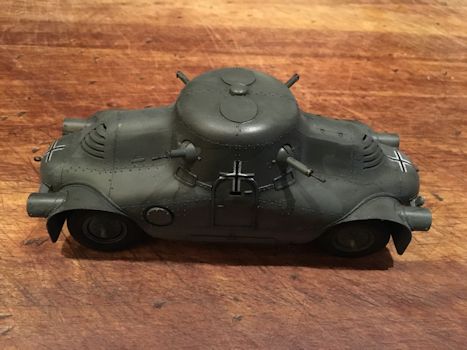
After the primer had dried, I used a can of Tamiya TS-5 Olive Drab for the base color...


It covered fairly well. After it dried, I attempted a camo pattern, but it did not turn out like I was wanting it to, so before I got to a point where I would have ruined the paint job, I stopped and painted over the spot with the Tamiya OD paint. In hindsight I should have tried out the camo on the undercarriage, but I started on the side. Once the fixed section dried, I started drybrushing the model to bring out the details. I also tried to highlight some spots by drybrushing as well. An airbrush would probably be better for that, but since mine is in a box somewhere in a storage container, I will have to make due with regular paint brushes.
While drybrushing, I broke off the rear view mirror. Luckily, it did not go flying off into oblivion, so I can attach it after the model is completed.


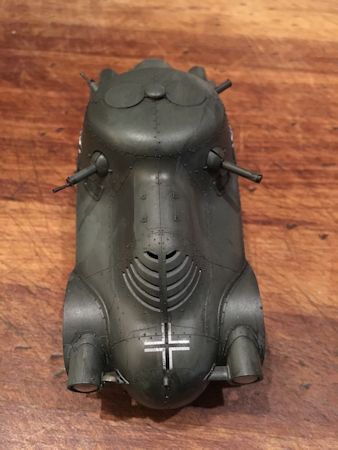
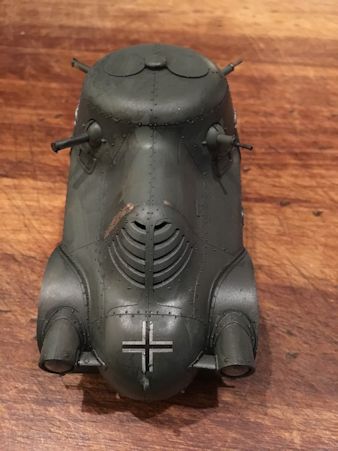
For the drybrushing, I first used Scale 75 War Front Olivegrun Green SW-01, followed by Vallejo 70.881 Yellow Green, and then highlighted with Vallejo 70978 Dark Yellow. I think it turned out halfway decent. I then sprayed the model with a coat of dullcote so I could put the decals on.
The decals for the hull consist of only two decals of registration numbers - one on the front and one on the rear. I cut them flush with the border of the decals and applied them. I then hit them with a shot of dullcote.


I usually use dry transfers rather than decals, but these turned out pretty good for me. I think cutting flush with the borders helped.
Now to get that turret finished so I can get that painted, too.
Thanks for looking.
Cheers,
James