Hi, guys!
I wish my presence to this build was more consistent, but the situation with the internet services is still catastrophic in Sint Maarten after passing of Hurricane Irma and I have very little internet time. I apologize for late posting and updating.
Angel, Thank you. Nice information on Steyrs. Strangely enough, in the neighboring Romania, we never heard of Steyr other than Mannlicher!
Peter Certainly is a big fish this M35. With 12 tonnes weight and more firepower than a Pz. II, it reminds me more of a WWI German tank. Thanks for your help, mate! Yes, production year 1941 qualifies the vehicle as an early war one and I will follow your advice: grey both sides! I'm gonna add some extra markings though.
Tim, that is a very nice choice. I have that kit waiting for its turn and I must say it looks very good in the box!
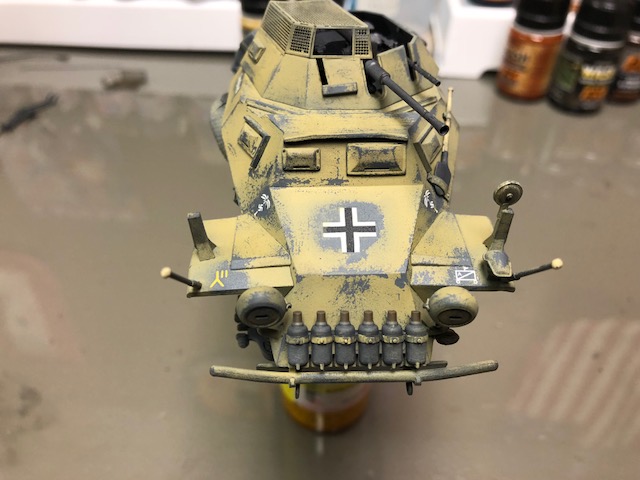
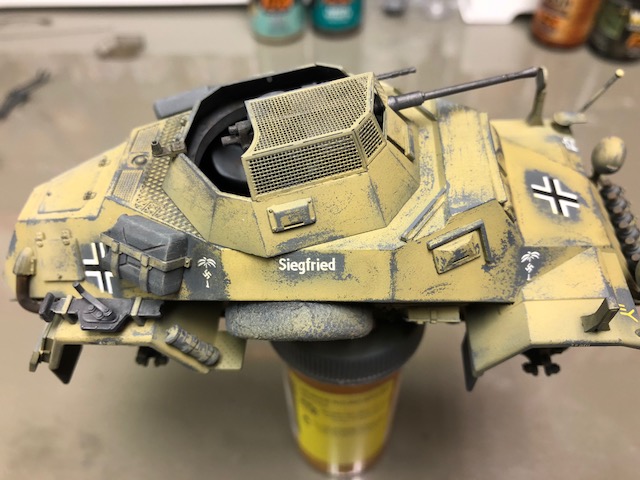
UPDATETurret assembled. It went flawless. I wish I could say the same about the body...


I decided to replace the kit's jerrycans with Tamiya old stock. the reason why is because on the kit's ones it reads "Wasser" and I doubt Prinz Eugen were there in humanitarian mission. I went for fuel jerrycans instead, but... surprise!

Tamiya ones are fatter than Hobby Boss ones. i decided to trade them again, this time with ones I took from a Bronco fuel trailer. Even those fit very tight, but with some pressure it worked out the way I wanted.


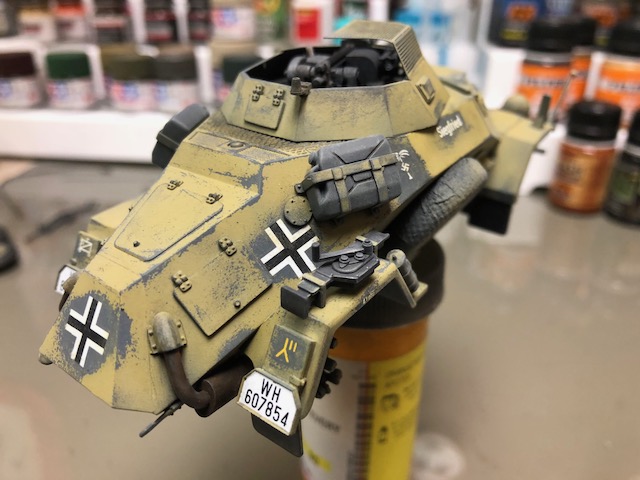
Since I decided to paint the inside of the lovers gray, I found time has came to button up the body shell.
... and that didn't went well. I have notices a slight warping of the rear section of the upper half of the body, but I thought the plastic is thin enough to allow re-shaping. Unfortunately I didn't think of the doors and I glued them in place to early. when I tried to force the halves gape less, the doors bulged out. With the hindsight, I should have added the doors last, eventually sanding the edges to ensure proper fit.

Now the only option left it was to remove the locator pins from the troublesome side and to trade gap space:


Once everything properly glued, I filled the gaps with Tamiya white putty and sanded down.

While waiting for glue to set, I start preparing my paints. I choose to follow the "enamel way" because for sure more sanding is involved.
in the left: grey primer (mix of Krylon and Model Master);
in the right: home brewed Panzergrau purple hue. I don't want to open any can of worms - it's just the shade I like best. I also tried in the second spoon some sanding and free-hand painting, because I need to replace the censored decals:

.
Thank you, guys, for your patience!
Cheers!
Gabriel


 .
.


 eh, well...