Queensland, Australia
Joined: May 16, 2010
KitMaker: 232 posts
Armorama: 218 posts
Posted: Friday, February 09, 2018 - 06:20 PM UTC
Quoted Text
It's a pity that the interior will be difficult to see when the build is finished.
This will be interesting to follow 
Will be taking notes of any difficulties you encounter. That kit is lurking in my stash somewhere ...
/ Robin
bompartment
yeah Robin, only one small hatch above the drivers compartment.
one thing ive noticed is quite thick sprue attachment points. it should make it interesting with he softer plastic and small parts
Ashore, it's wine, women and song, aboard it's rum, bum and baccy
RobinNilsson
 TOS Moderator
Stockholm, Sweden
Joined: November 29, 2006
KitMaker: 6,693 posts
Armorama: 5,562 posts
Posted: Friday, February 09, 2018 - 06:31 PM UTC
Quoted Text
Quoted Text
It's a pity that the interior will be difficult to see when the build is finished.
This will be interesting to follow 
Will be taking notes of any difficulties you encounter. That kit is lurking in my stash somewhere ...
/ Robin
yeah Robin, only one small hatch above the drivers compartment.
one thing ive noticed is quite thick sprue attachment points. it should make it interesting with he softer plastic and small parts
My method to deal with thick attachment points is to cut, side cutters, the sprue a few millimetres away from the actual part and then snip away small bits of the sprue until I have gotten it down to a small piece that can be filed away. The idea is to always have a larger amount of sprue near the part compared to the bit that I am snipping off. The idea behhind this is that distortion of the plastic due to the cutting action of the side cutters will occur in the bit I am snipping off. The last half mm will need to be filed down.
/ Robin
In memory of Al Superczynski:
"Build what YOU want, the way YOU want to....
and the critics will flame you every time"
Philippines
Joined: October 27, 2013
KitMaker: 520 posts
Armorama: 488 posts
Posted: Friday, February 09, 2018 - 09:26 PM UTC
RobinNilsson
 TOS Moderator
Stockholm, Sweden
Joined: November 29, 2006
KitMaker: 6,693 posts
Armorama: 5,562 posts
Posted: Sunday, February 11, 2018 - 02:16 AM UTC
Time to kick-off, well at least with a starting photo to show untouched sprues in little baggies. I haven't even started on the tracks, lots of wonderful tiny little bits of plastic ready to escape and try to feed the carpet monster ....
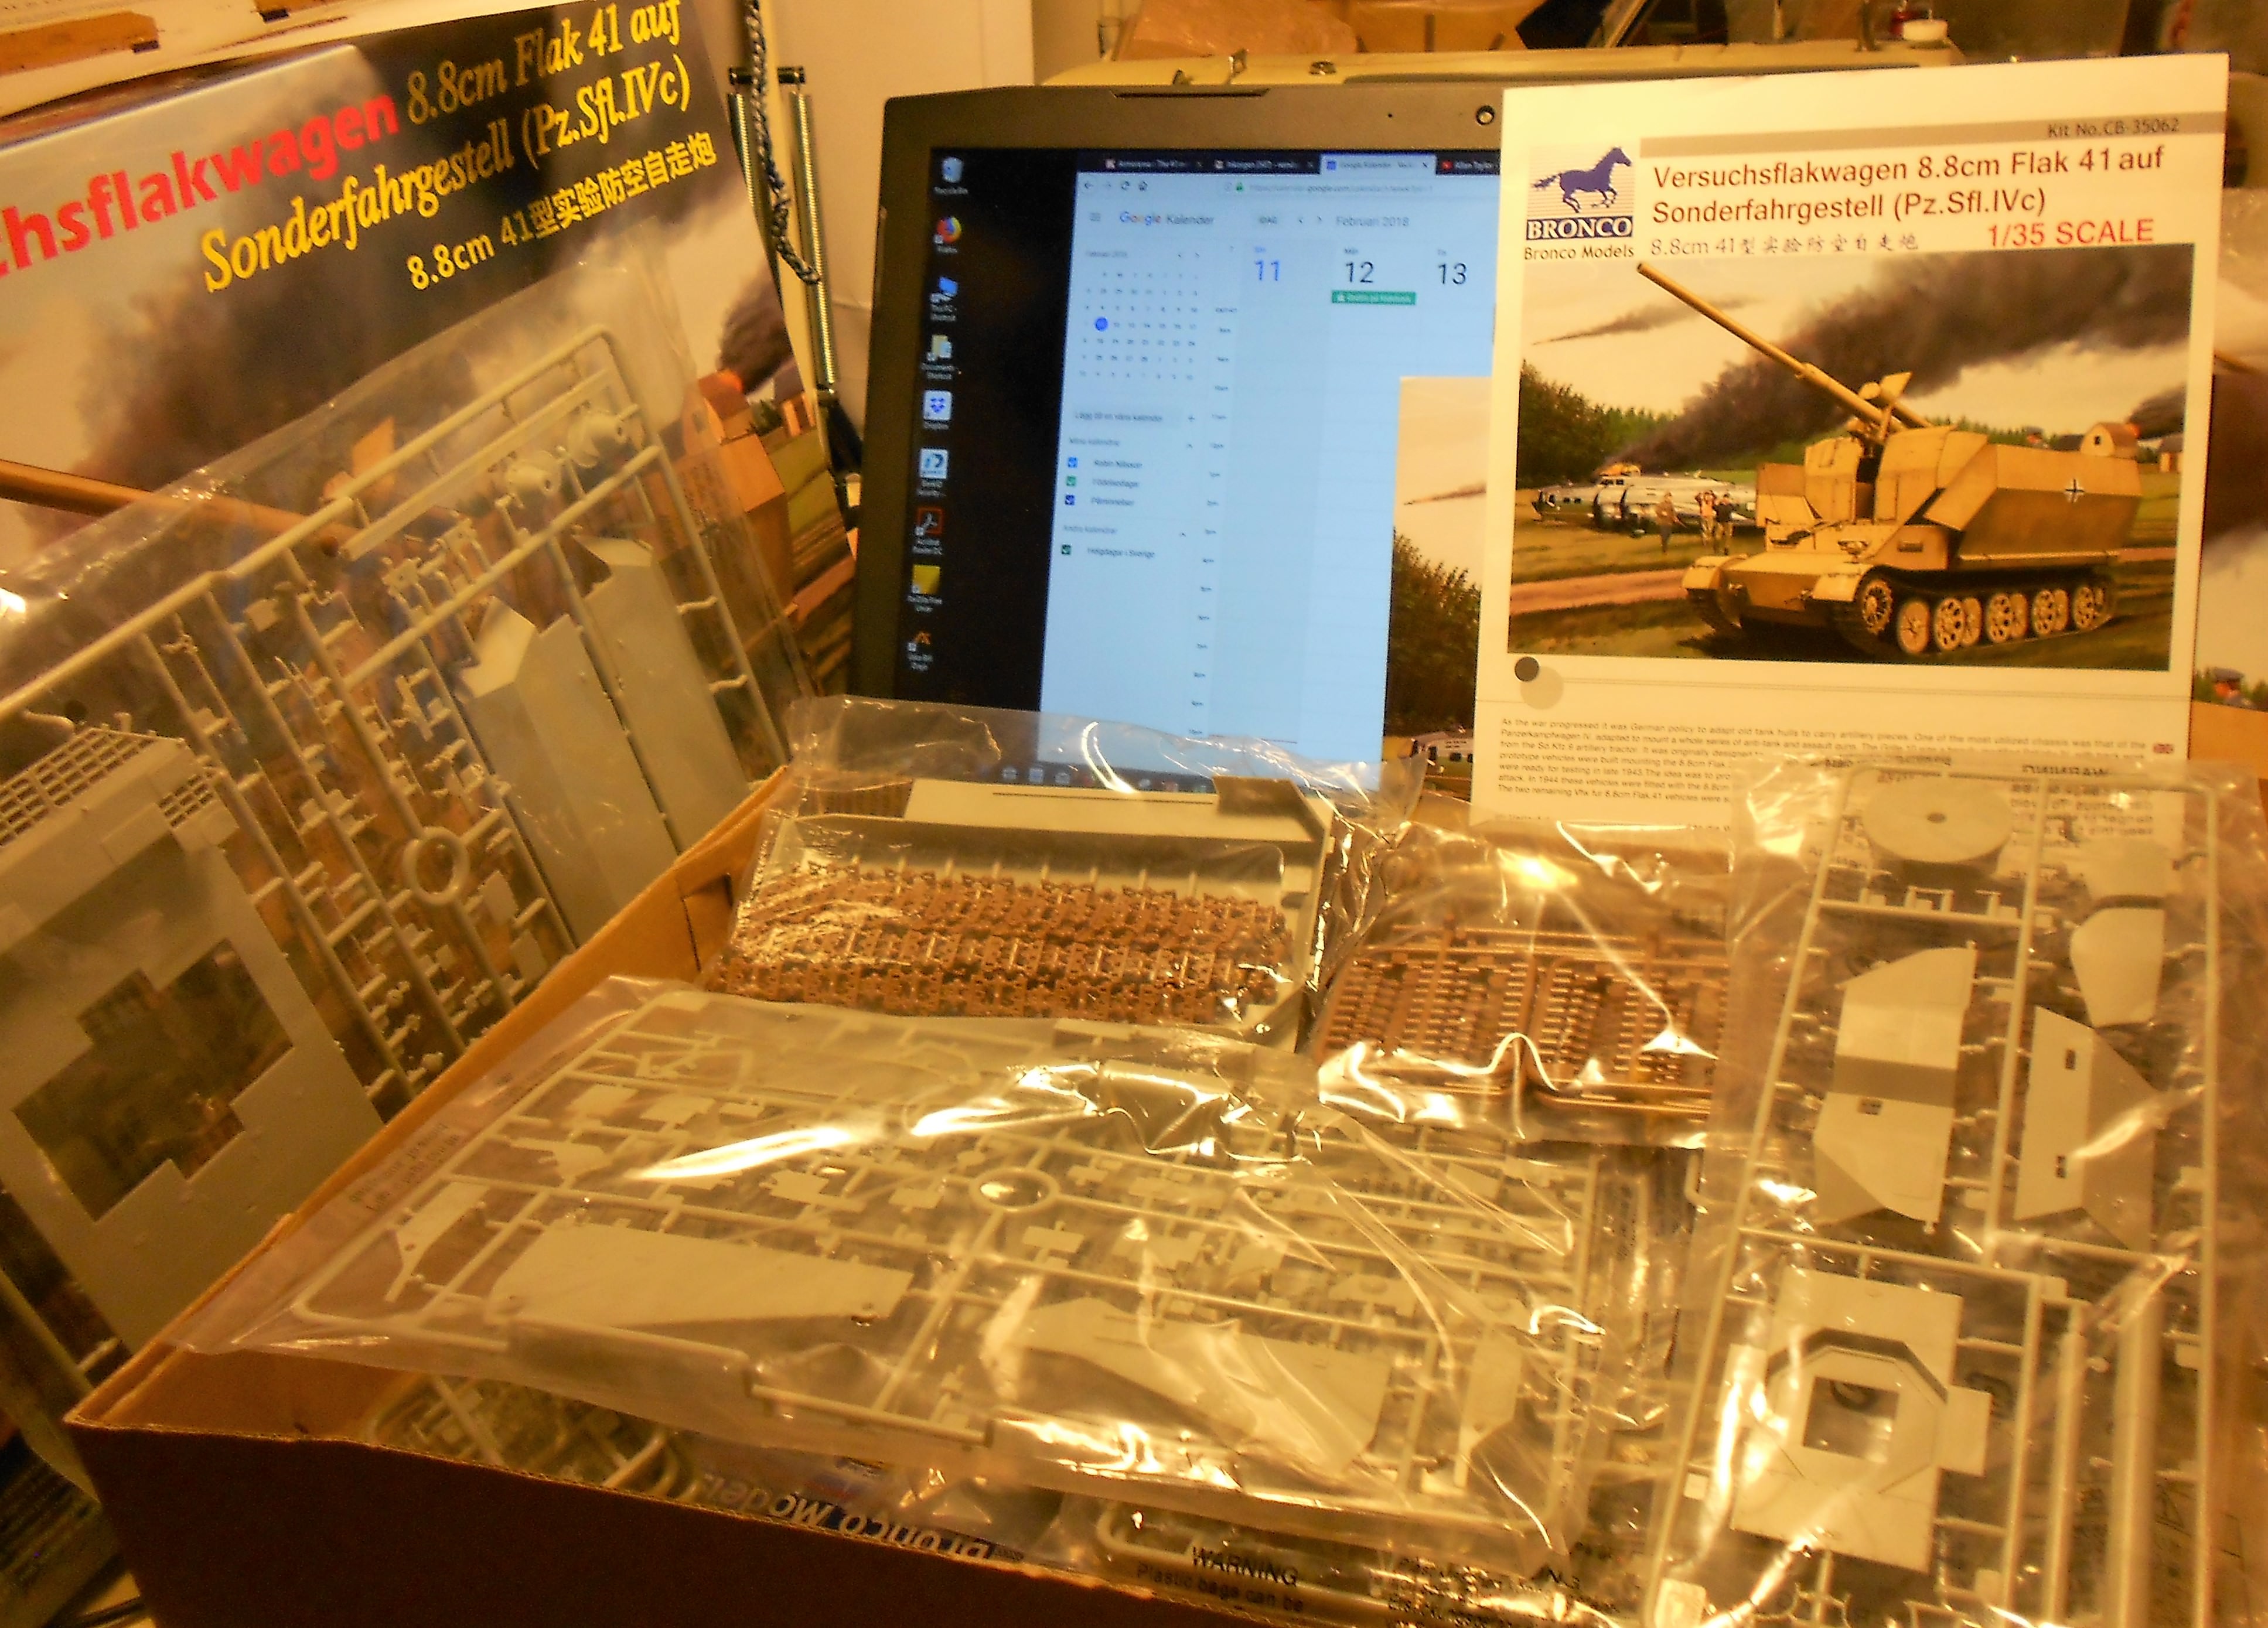
Bronco 35062 Versuchsflakwagen 8.8 cm FlaK 41
I am having so much fun with the Versuchsflakwagen with Flak 37 in the 500+ campaign so I just HAD to start another ....
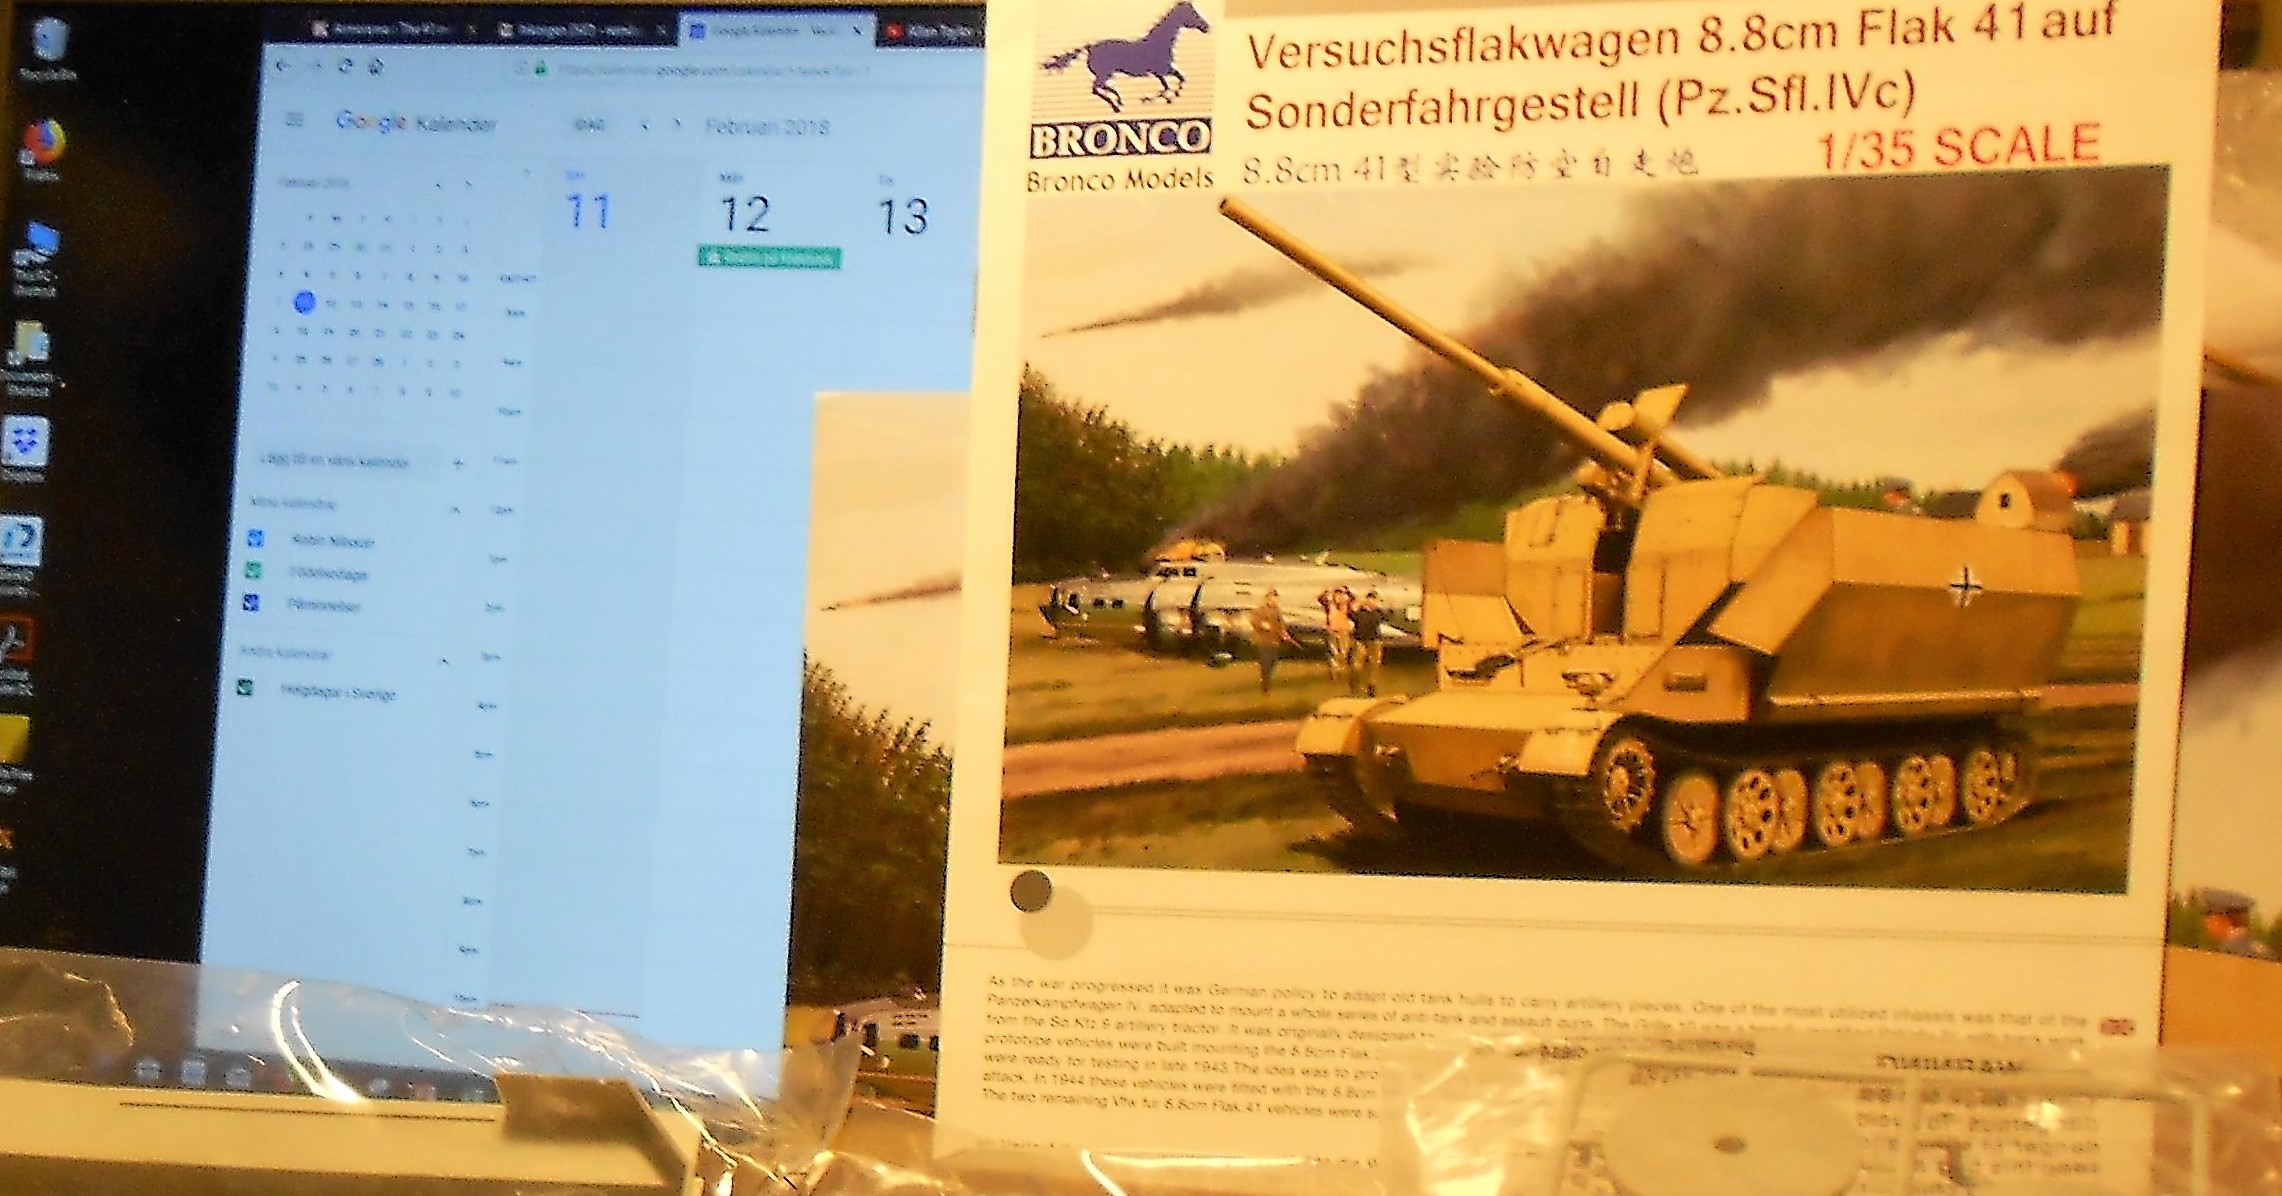
Enlarged part of the photo above to try and show todays date
Now I can start cutting plastic

/ Robin
In memory of Al Superczynski:
"Build what YOU want, the way YOU want to....
and the critics will flame you every time"
Noord-Brabant, Netherlands
Joined: February 13, 2011
KitMaker: 322 posts
Armorama: 300 posts
Posted: Sunday, February 11, 2018 - 11:52 AM UTC
I'm working on the upper hull now, until the PE tracks arrived.
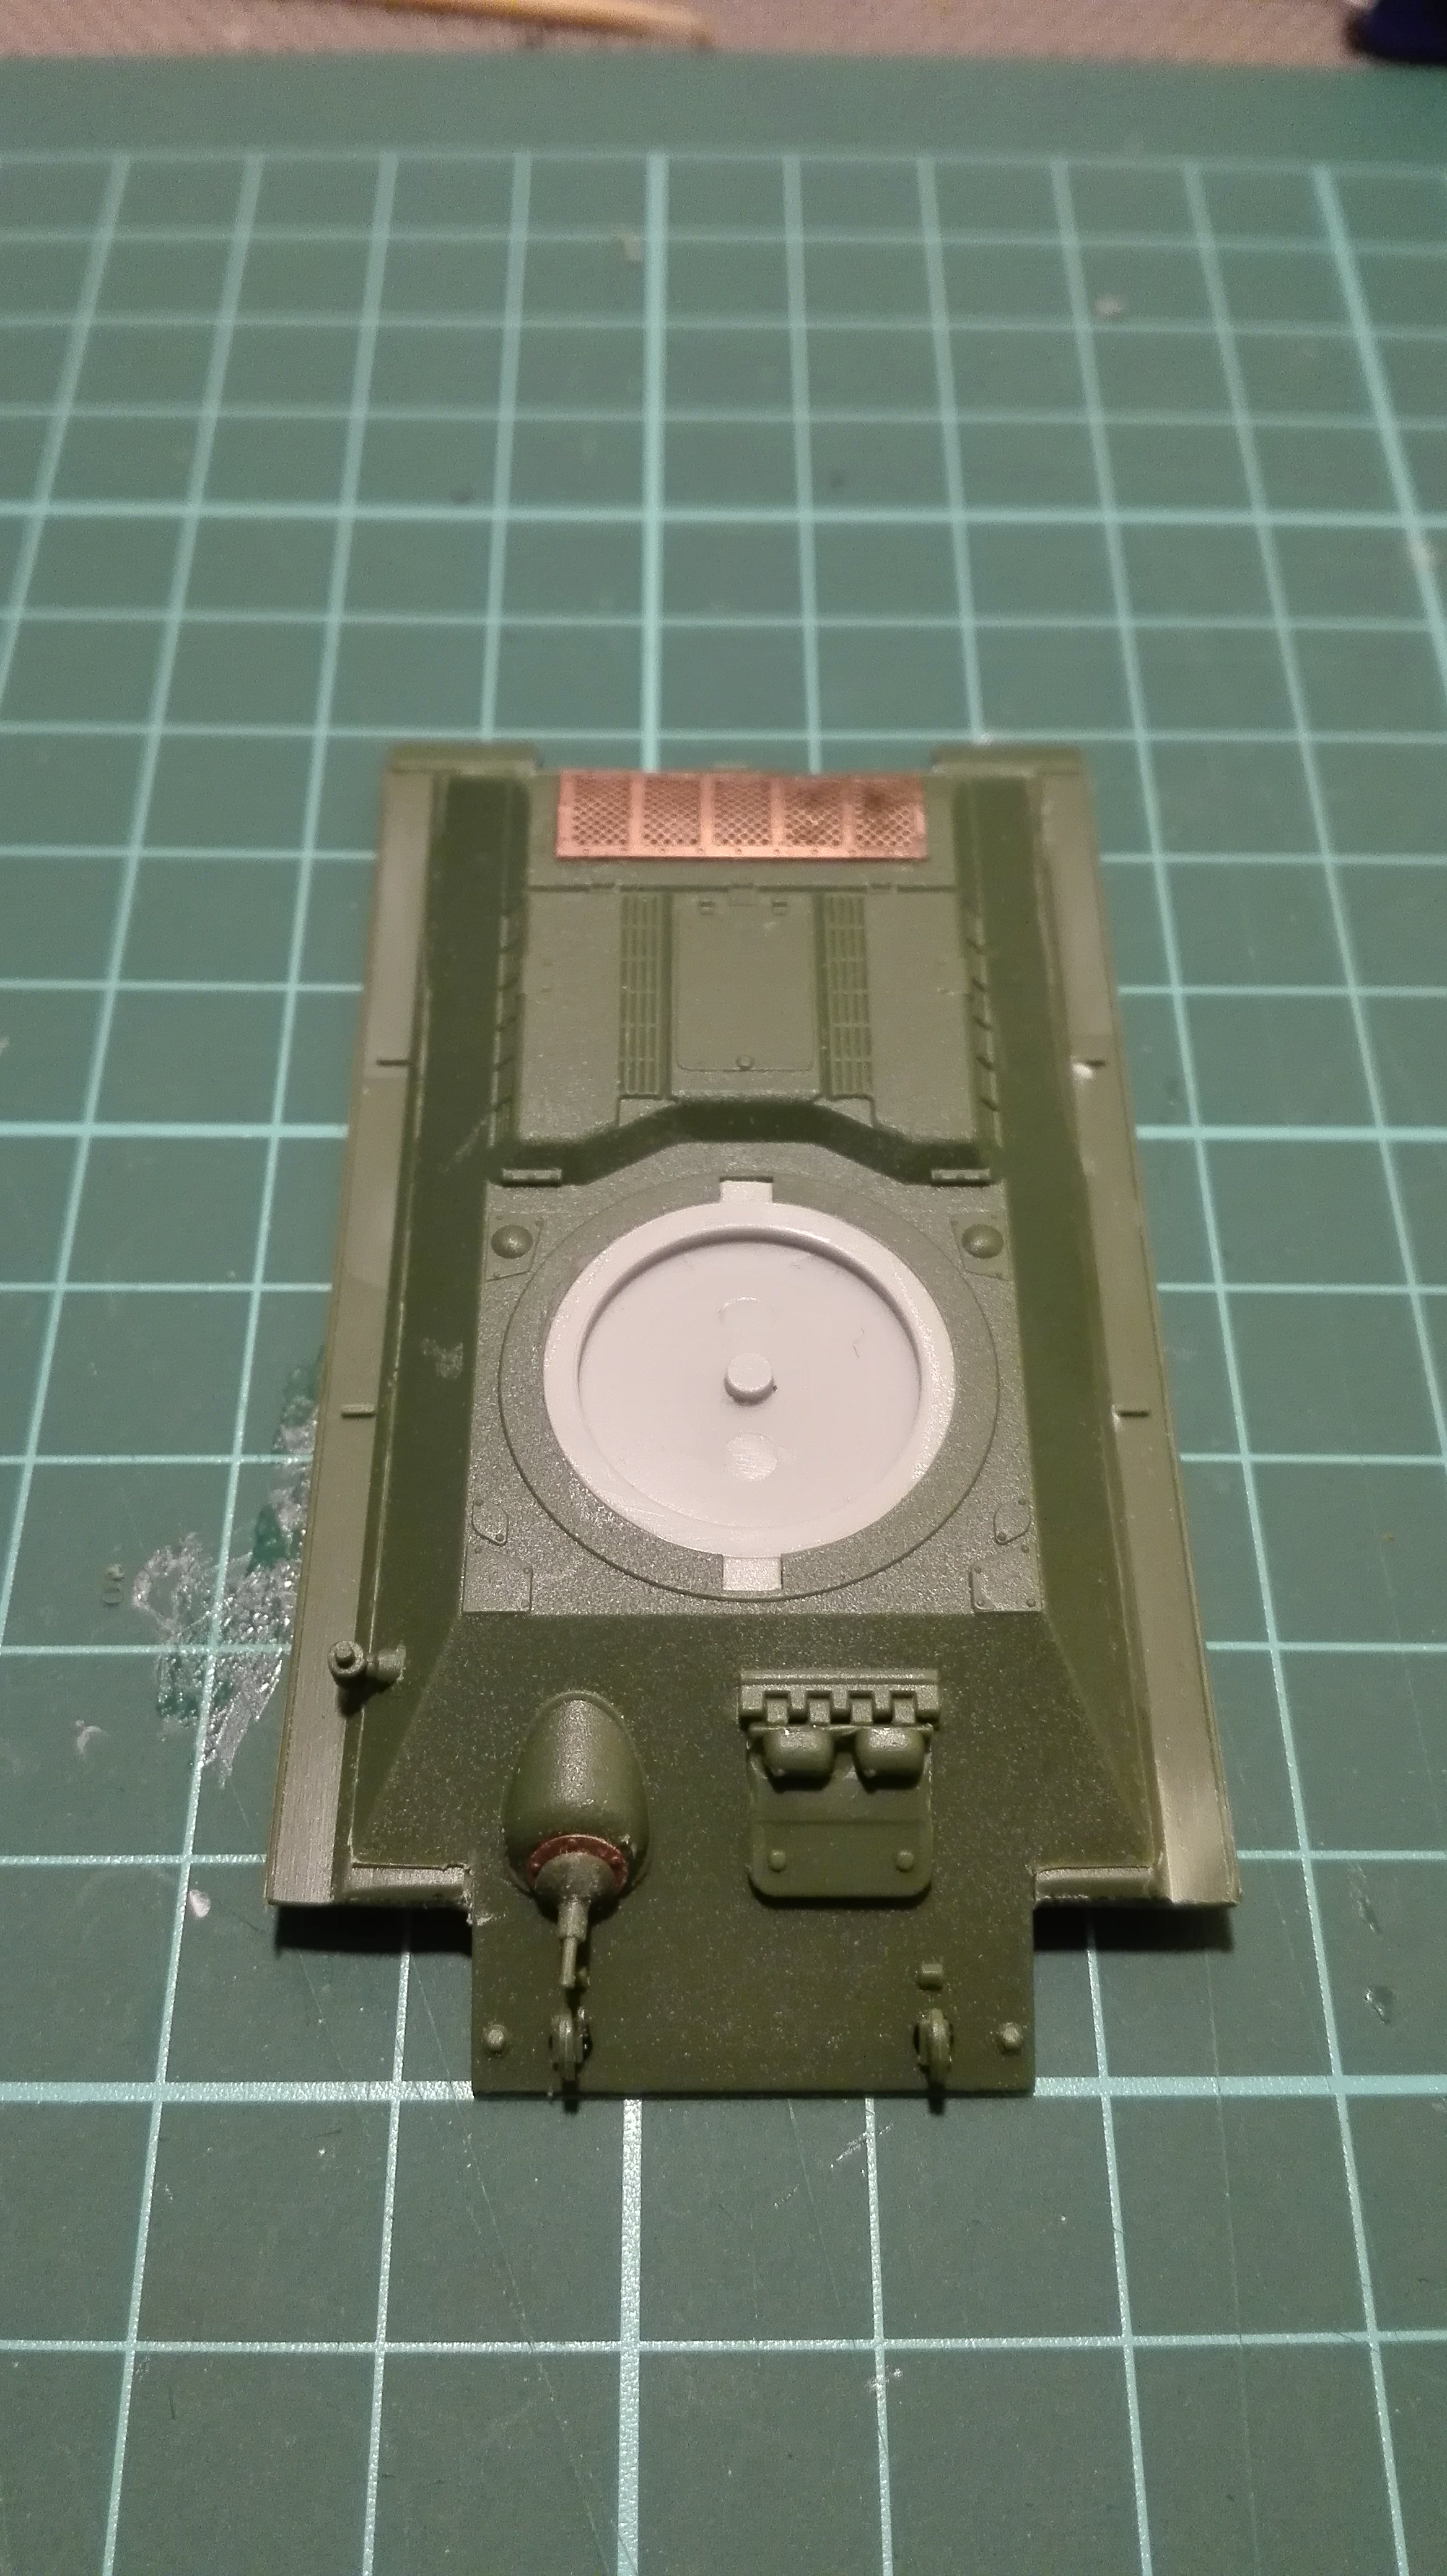
This is the progress from the last few days.
I'll start to build the AA guns and will use metal barrels for the 20 mm guns.
Croatia Hrvatska
Joined: December 11, 2015
KitMaker: 101 posts
Armorama: 95 posts
Posted: Monday, February 12, 2018 - 12:03 PM UTC
Gun is primed and ready for painting, most likely dark yellow.

Queensland, Australia
Joined: August 06, 2005
KitMaker: 3,353 posts
Armorama: 3,121 posts
Posted: Monday, February 12, 2018 - 12:12 PM UTC
Looking good guys. Some excellent work happening here.
Nice Zim Nigel
Igor that is really something different. Never knew these guns were also quad mounted.
Martin just thinking of PE tracks makes me nervous
On the Bench:
Dust, styrene scraps, paint splotches and tears.
RobinNilsson
 TOS Moderator
Stockholm, Sweden
Joined: November 29, 2006
KitMaker: 6,693 posts
Armorama: 5,562 posts
Posted: Wednesday, February 14, 2018 - 07:48 PM UTC
Quoted Text
.....
Martin just thinking of PE tracks makes me nervous
So this is not on your wishlist then ??
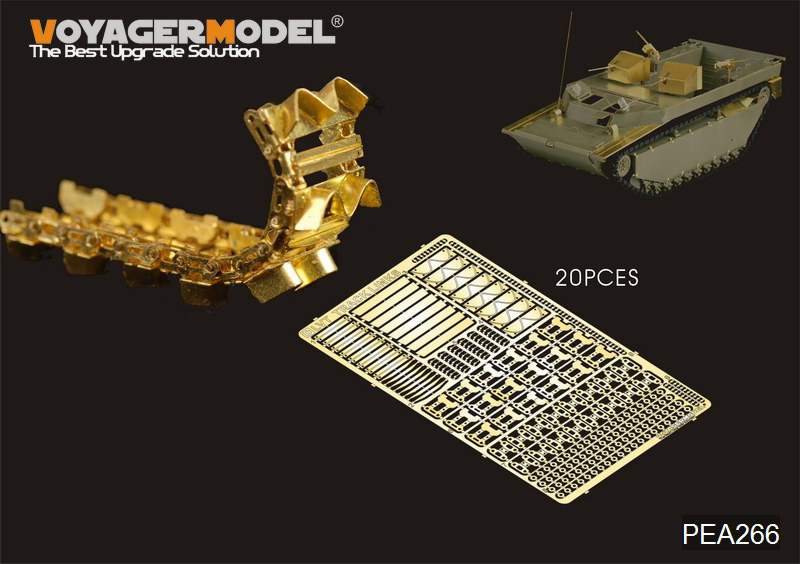
I have been thinking about it for some years but not made a purchase .... yet .... hmmmm ....
/ Robin
In memory of Al Superczynski:
"Build what YOU want, the way YOU want to....
and the critics will flame you every time"
Queensland, Australia
Joined: August 06, 2005
KitMaker: 3,353 posts
Armorama: 3,121 posts
Posted: Thursday, February 15, 2018 - 01:50 AM UTC
Quoted Text
So this is not on your wishlist then ??
/ Robin
When those first came out, they came with a long sleeve white jacket and lots of buckles......
The fact that even Voyager don't show a full built set in the box top kind of tells a subtle story.
I bought the AFV Club separate track sets .... the ones that were a few sprues short (kinda like me I guess

) but got the extra sprues later - for the kit that is.
On the Bench:
Dust, styrene scraps, paint splotches and tears.
England - North West, United Kingdom
Joined: July 28, 2005
KitMaker: 360 posts
Armorama: 334 posts
Posted: Thursday, February 15, 2018 - 03:47 AM UTC
Here is my end result.
The Hobby boss kit is a really good fit

Started with black undercoat with white for the centre panels

I then used Tamiya OD and painted the wooden platform with various wood looking colours and used the hair brush technique to chip off the OD colour to make it look worn.

Once done lighted the OD with yellow and added the decals and the green wash. this was the weathered using the usual techniques


comments welcome
Queensland, Australia
Joined: August 06, 2005
KitMaker: 3,353 posts
Armorama: 3,121 posts
Posted: Thursday, February 15, 2018 - 12:34 PM UTC
Wow a fast build Gary. It looks great. I like the weathered wooden floor look.
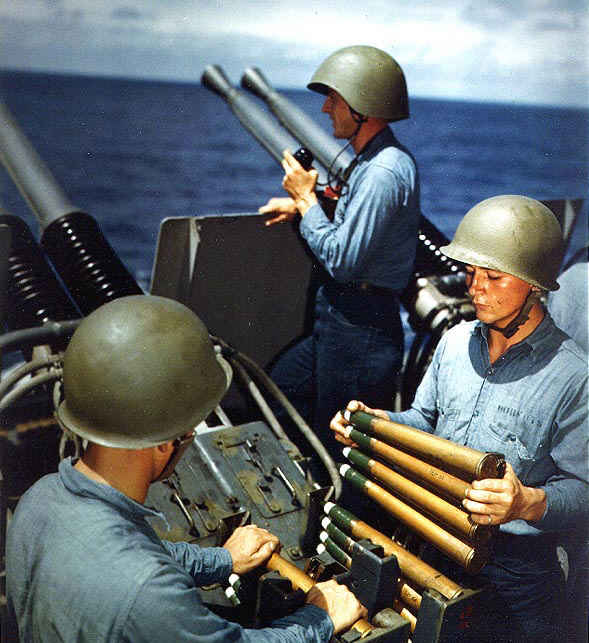
If I may give some feedback, the ammo clips were not made of brass. They were steel and left in a natural state. Maybe a pin wash to separate ach round and give some definition to the ends of the rounds?


On the Bench:
Dust, styrene scraps, paint splotches and tears.
Dublin, Ireland
Joined: August 14, 2016
KitMaker: 148 posts
Armorama: 17 posts
Posted: Friday, February 16, 2018 - 06:04 PM UTC
Quoted Text
...
I then used Tamiya OD and painted the wooden platform with various wood looking colours and used the hair brush technique to chip off the OD colour to make it look worn...
I spend a good part of the morning studying your truck, Gary. Beautiful model! Would you mind telling me more about your technique? That wooden floor looks amazing. I would really like to attempt something similar for my GAZ truck. It also has wooden deck and I could use some tips.
Currently in the workshop:
1:72 Spitfire Mark 1A by Airfix
Texas, United States
Joined: June 04, 2017
KitMaker: 503 posts
Armorama: 477 posts
Posted: Saturday, February 17, 2018 - 01:54 AM UTC
Ill be posting pics of Tamiyas flakvierling in 1/35 for my joining of this.
I went to LHS to get some glue and went ahead and walked out with this.
Queensland, Australia
Joined: August 06, 2005
KitMaker: 3,353 posts
Armorama: 3,121 posts
Posted: Saturday, February 17, 2018 - 03:25 AM UTC
Quoted Text
I went to LHS to get some glue and went ahead and walked out with this.
I hope you paid for it Kelly! I presume you also acquired said glue or there maybe and issue

Been there done that more than once.
On the Bench:
Dust, styrene scraps, paint splotches and tears.
Texas, United States
Joined: June 04, 2017
KitMaker: 503 posts
Armorama: 477 posts
Posted: Saturday, February 17, 2018 - 03:42 AM UTC
ha, yes a play on words that wasnt ment. Fully paid.

Queensland, Australia
Joined: May 16, 2010
KitMaker: 232 posts
Armorama: 218 posts
Posted: Saturday, February 17, 2018 - 05:33 PM UTC
A little bit more on the Gecko. I joined the 2 hull sections as the fit isnt that good and the next few steps were to add fiddly bits
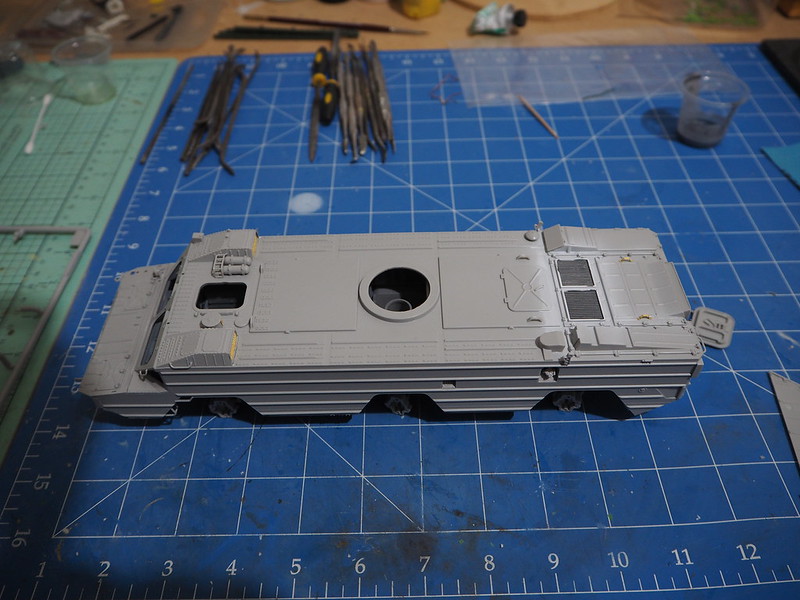
you cant see much of the interior even thru the hatch
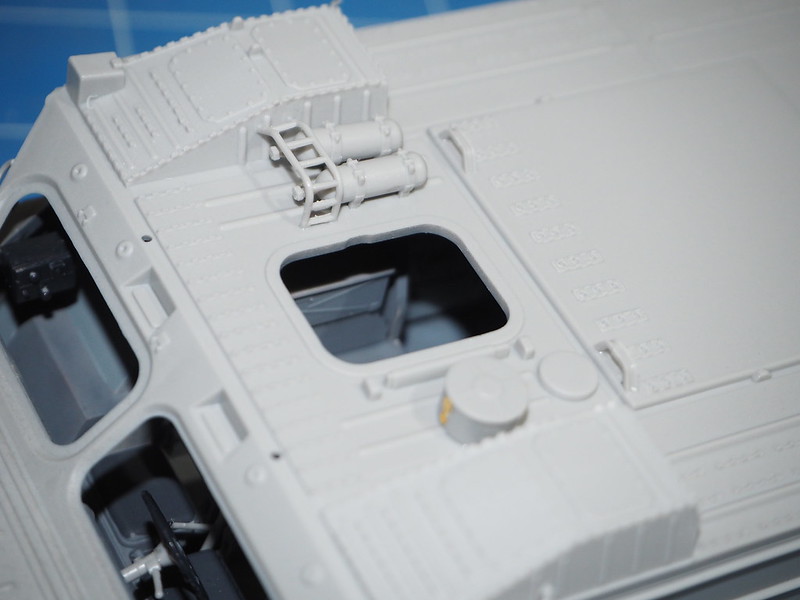
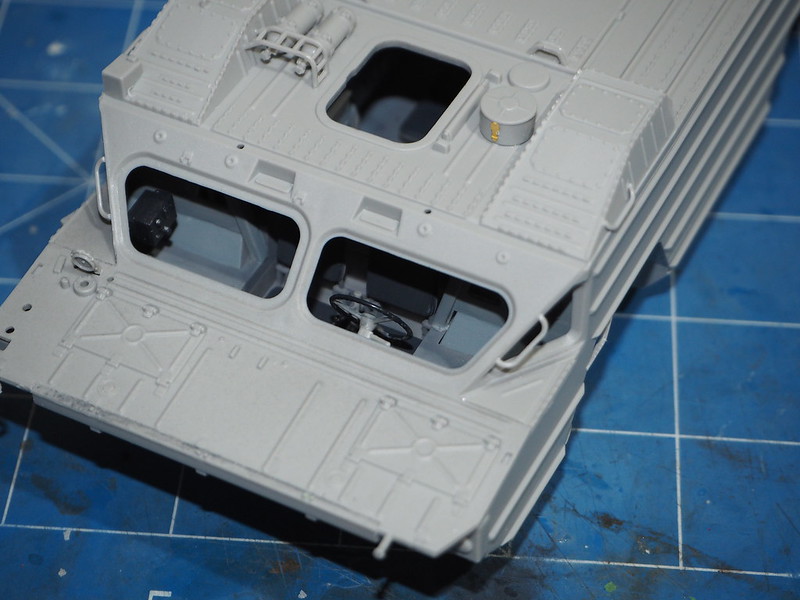
The wheels can be steerable if you're careful
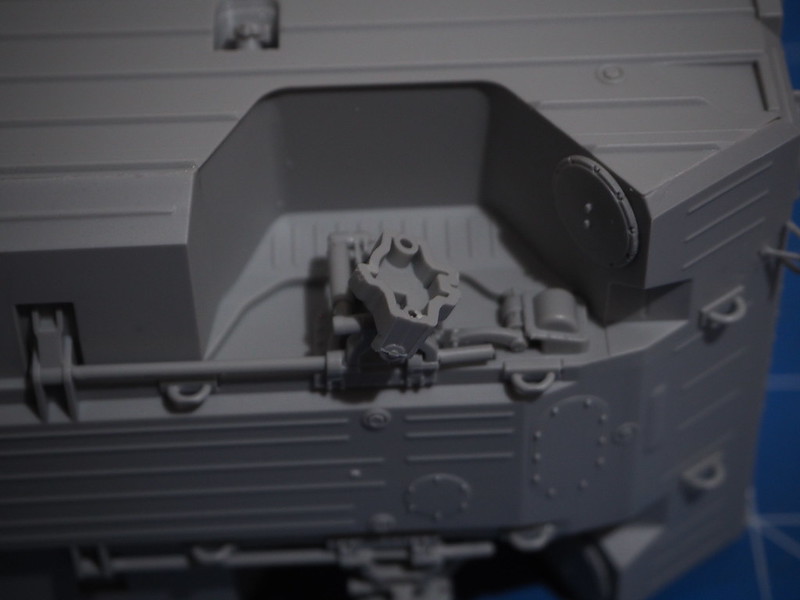
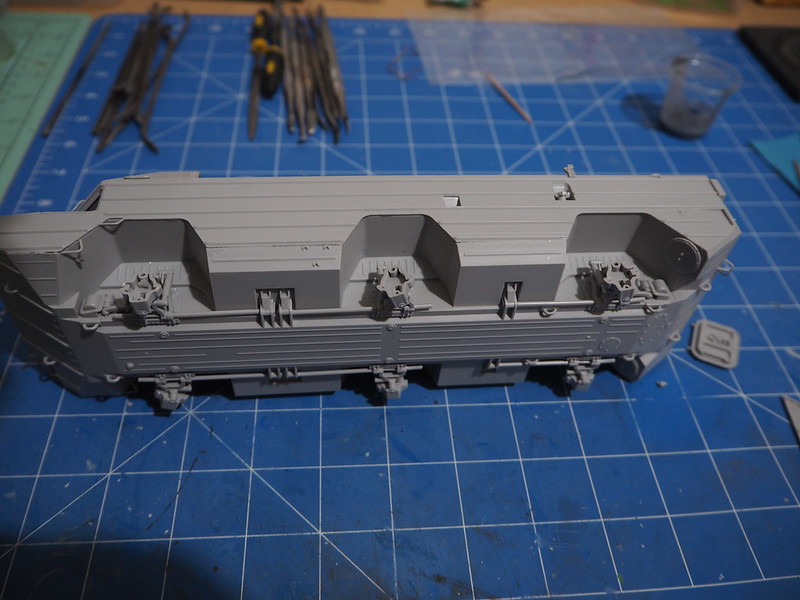
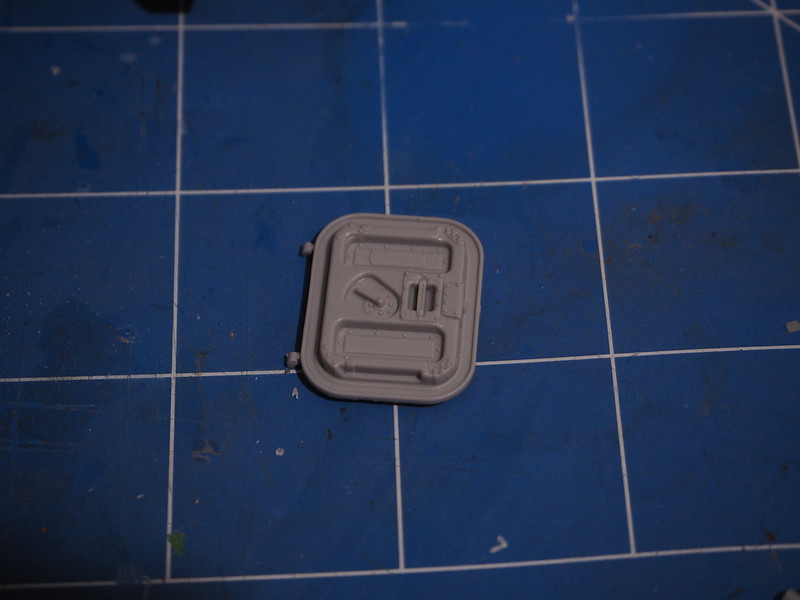
A couple of bits i'm leaving off till after painting, nice detaill inside the hatch, but some buggers of ejector pin marks if you want to leave the bow board open
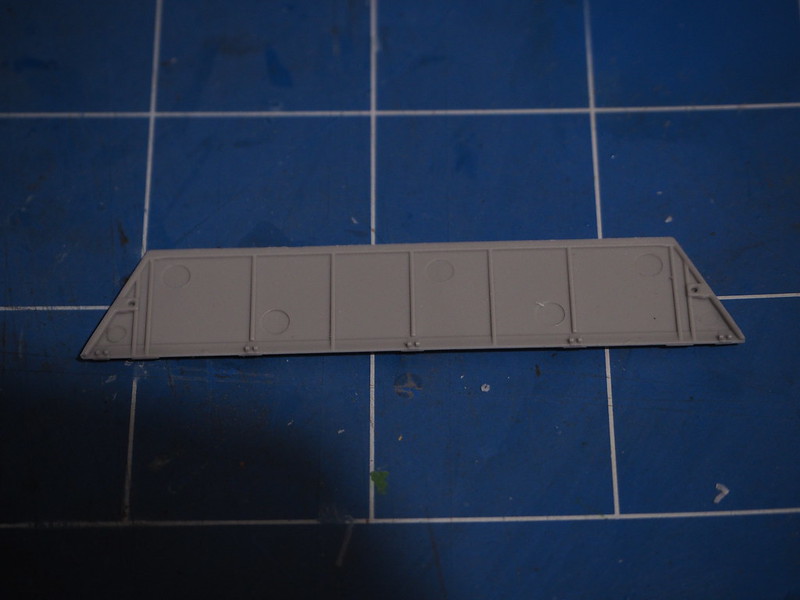
no issues with broken parts and the thick sprue connections yet
Ashore, it's wine, women and song, aboard it's rum, bum and baccy
Ontario, Canada
Joined: April 12, 2002
KitMaker: 831 posts
Armorama: 614 posts
Posted: Sunday, February 18, 2018 - 07:47 AM UTC
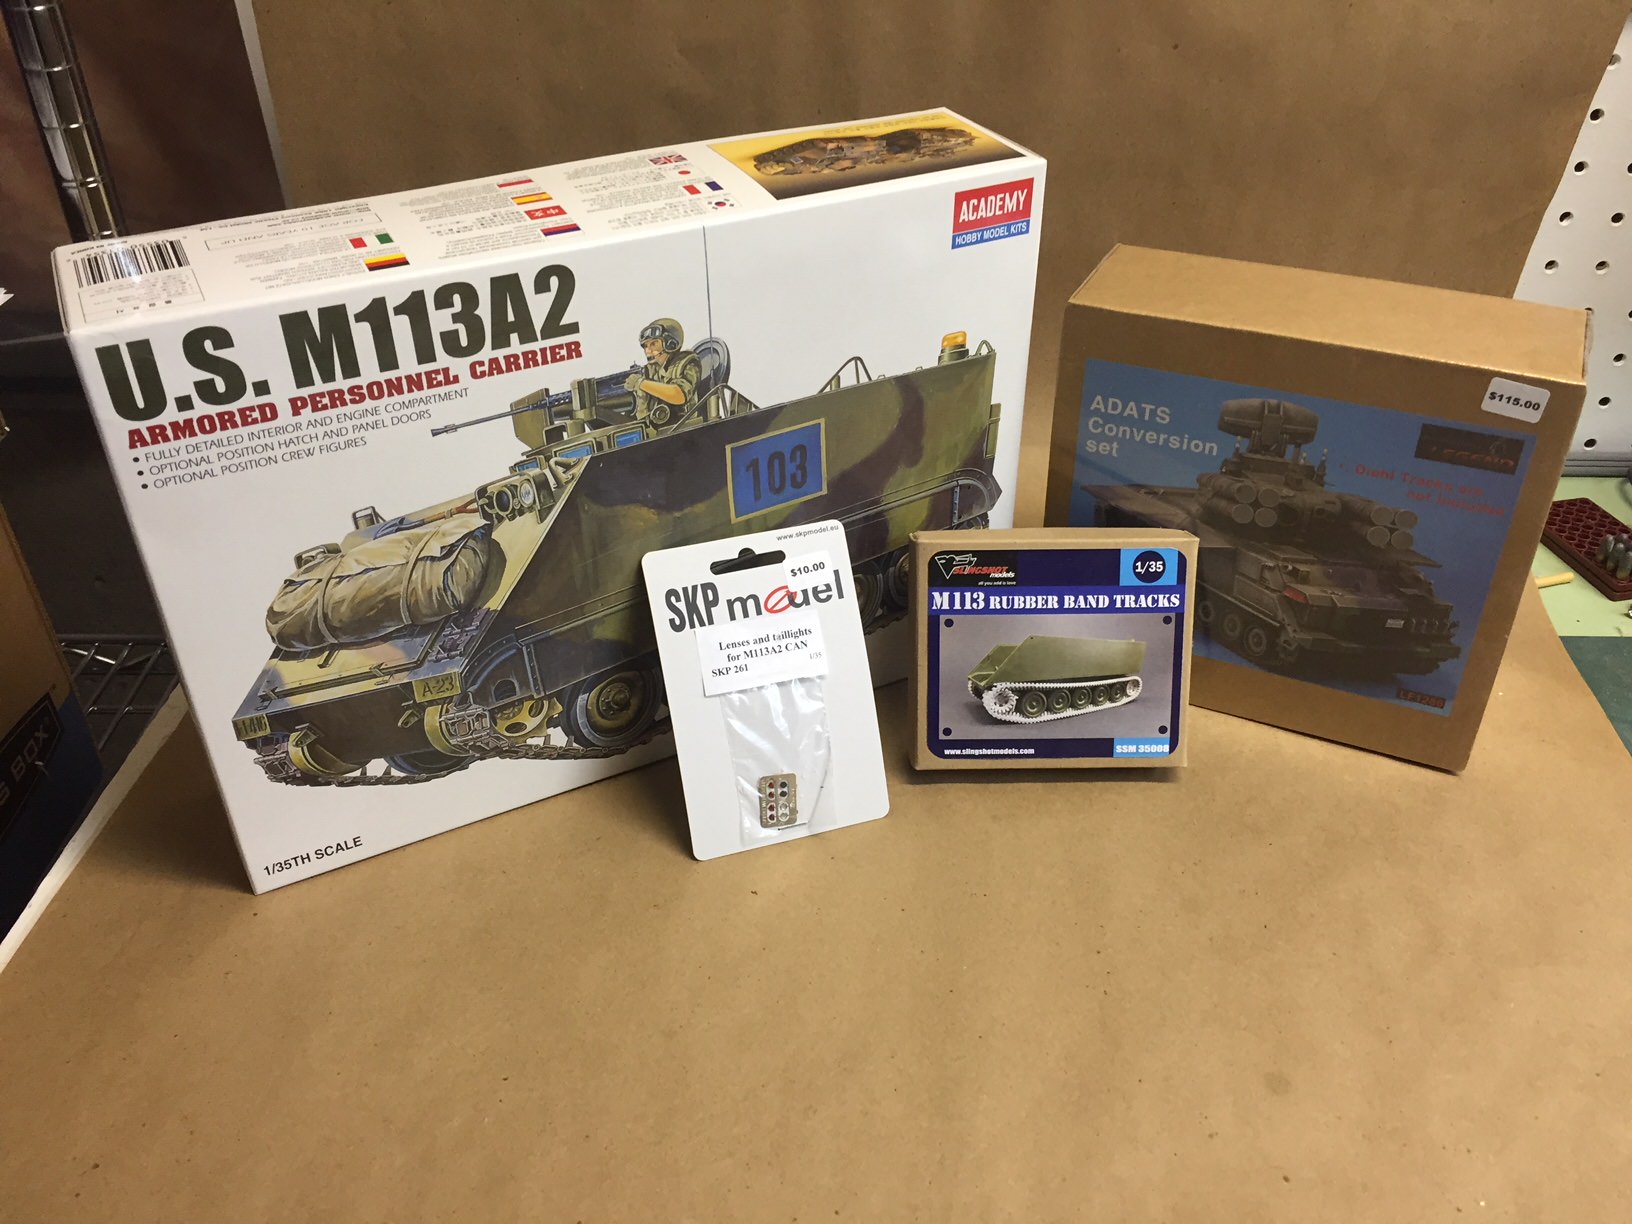
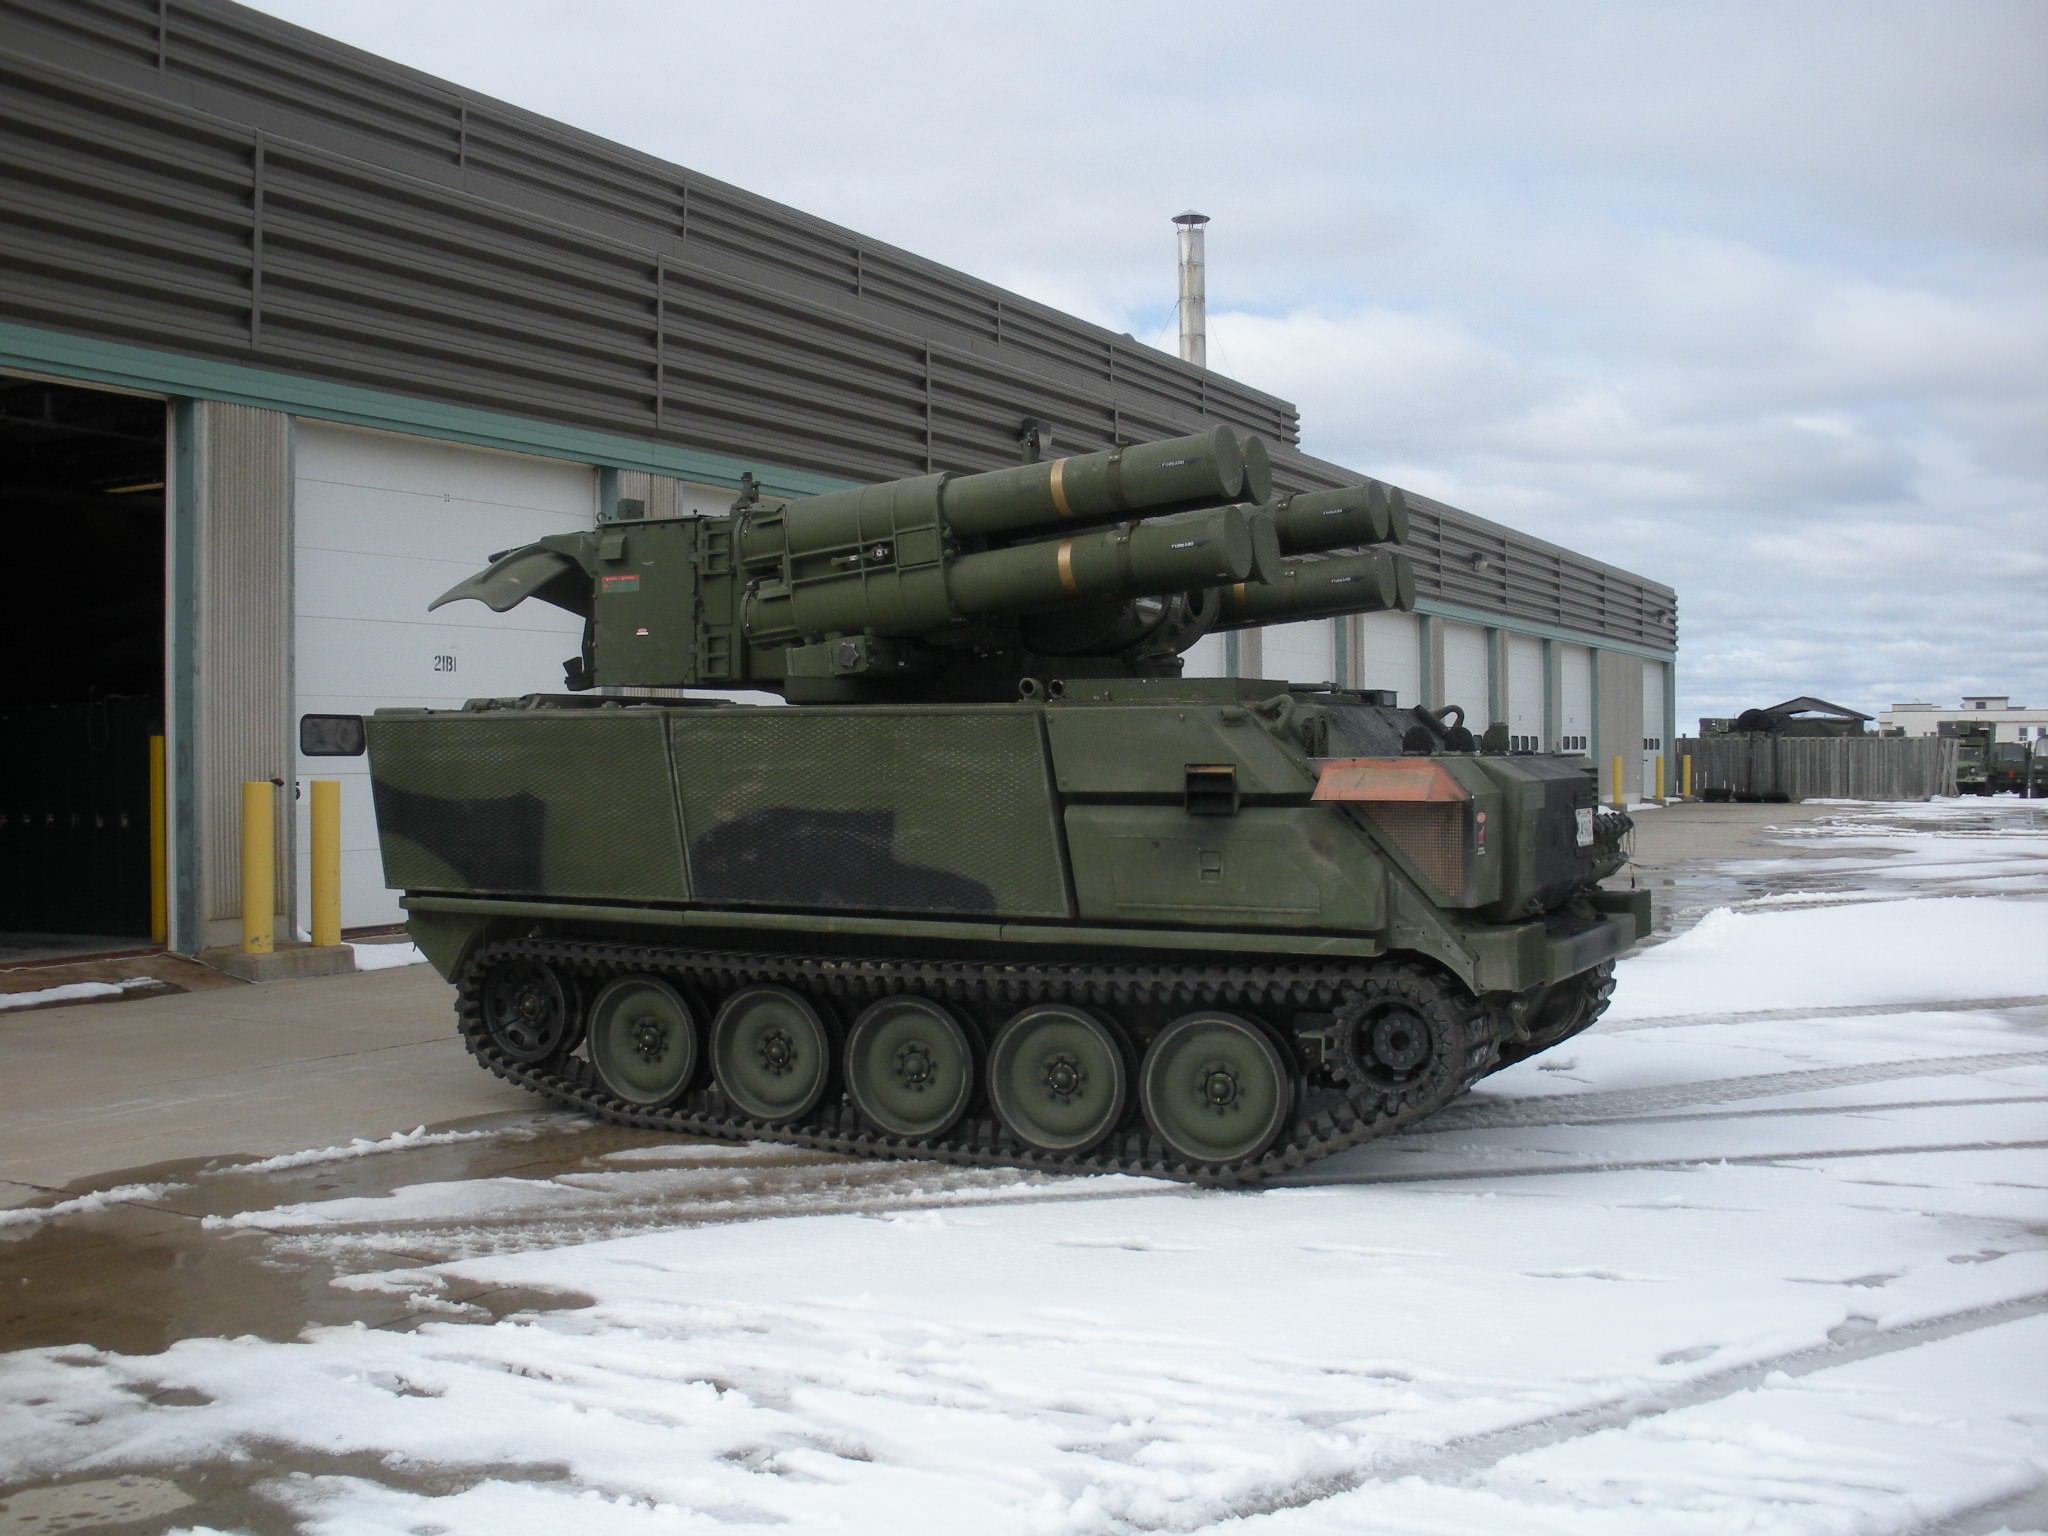
Building a Canadian ADATS on an M113A2 chassis. Heres what I am starting with and the real vehicle.
Paul Fredenburg
LCol (Ret'd)
Royal Canadian Engineers
President Trackjam Models
http://www.trackjam.com/
Croatia Hrvatska
Joined: December 11, 2015
KitMaker: 101 posts
Armorama: 95 posts
Posted: Sunday, February 18, 2018 - 12:43 PM UTC
I have been busy last couple of days.
Gun has been painted, original sight replaced with infra red from Bronco.
Gun will be placed on ICM panther hull which has been modified by shifting engine compartment forward and gun compartment aft.

RobinNilsson
 TOS Moderator
Stockholm, Sweden
Joined: November 29, 2006
KitMaker: 6,693 posts
Armorama: 5,562 posts
Posted: Sunday, February 18, 2018 - 01:07 PM UTC
Images stored at PhotoBucket do not function here. We only see PB's message aboyt third party hosting and that the account can be unlocked for an extortionate sum of cash.
I took the liberty of storing copies of the images above (after closing a lot of pop-up advertising) to my account at imgur to make them viewable.
The rubber band tracks are from Slingshot models:
http://www.slingshotmodels.com/presented in this News item here on Armorama
https://armorama.kitmaker.net/news/26322 / Robin
Here goes, images by Paul:
Edit: Paul has fixed the images in his so now I can remove the duplicates from my post. No point in displaying the same images twice ...
Could also be built with "NATO" tracks:
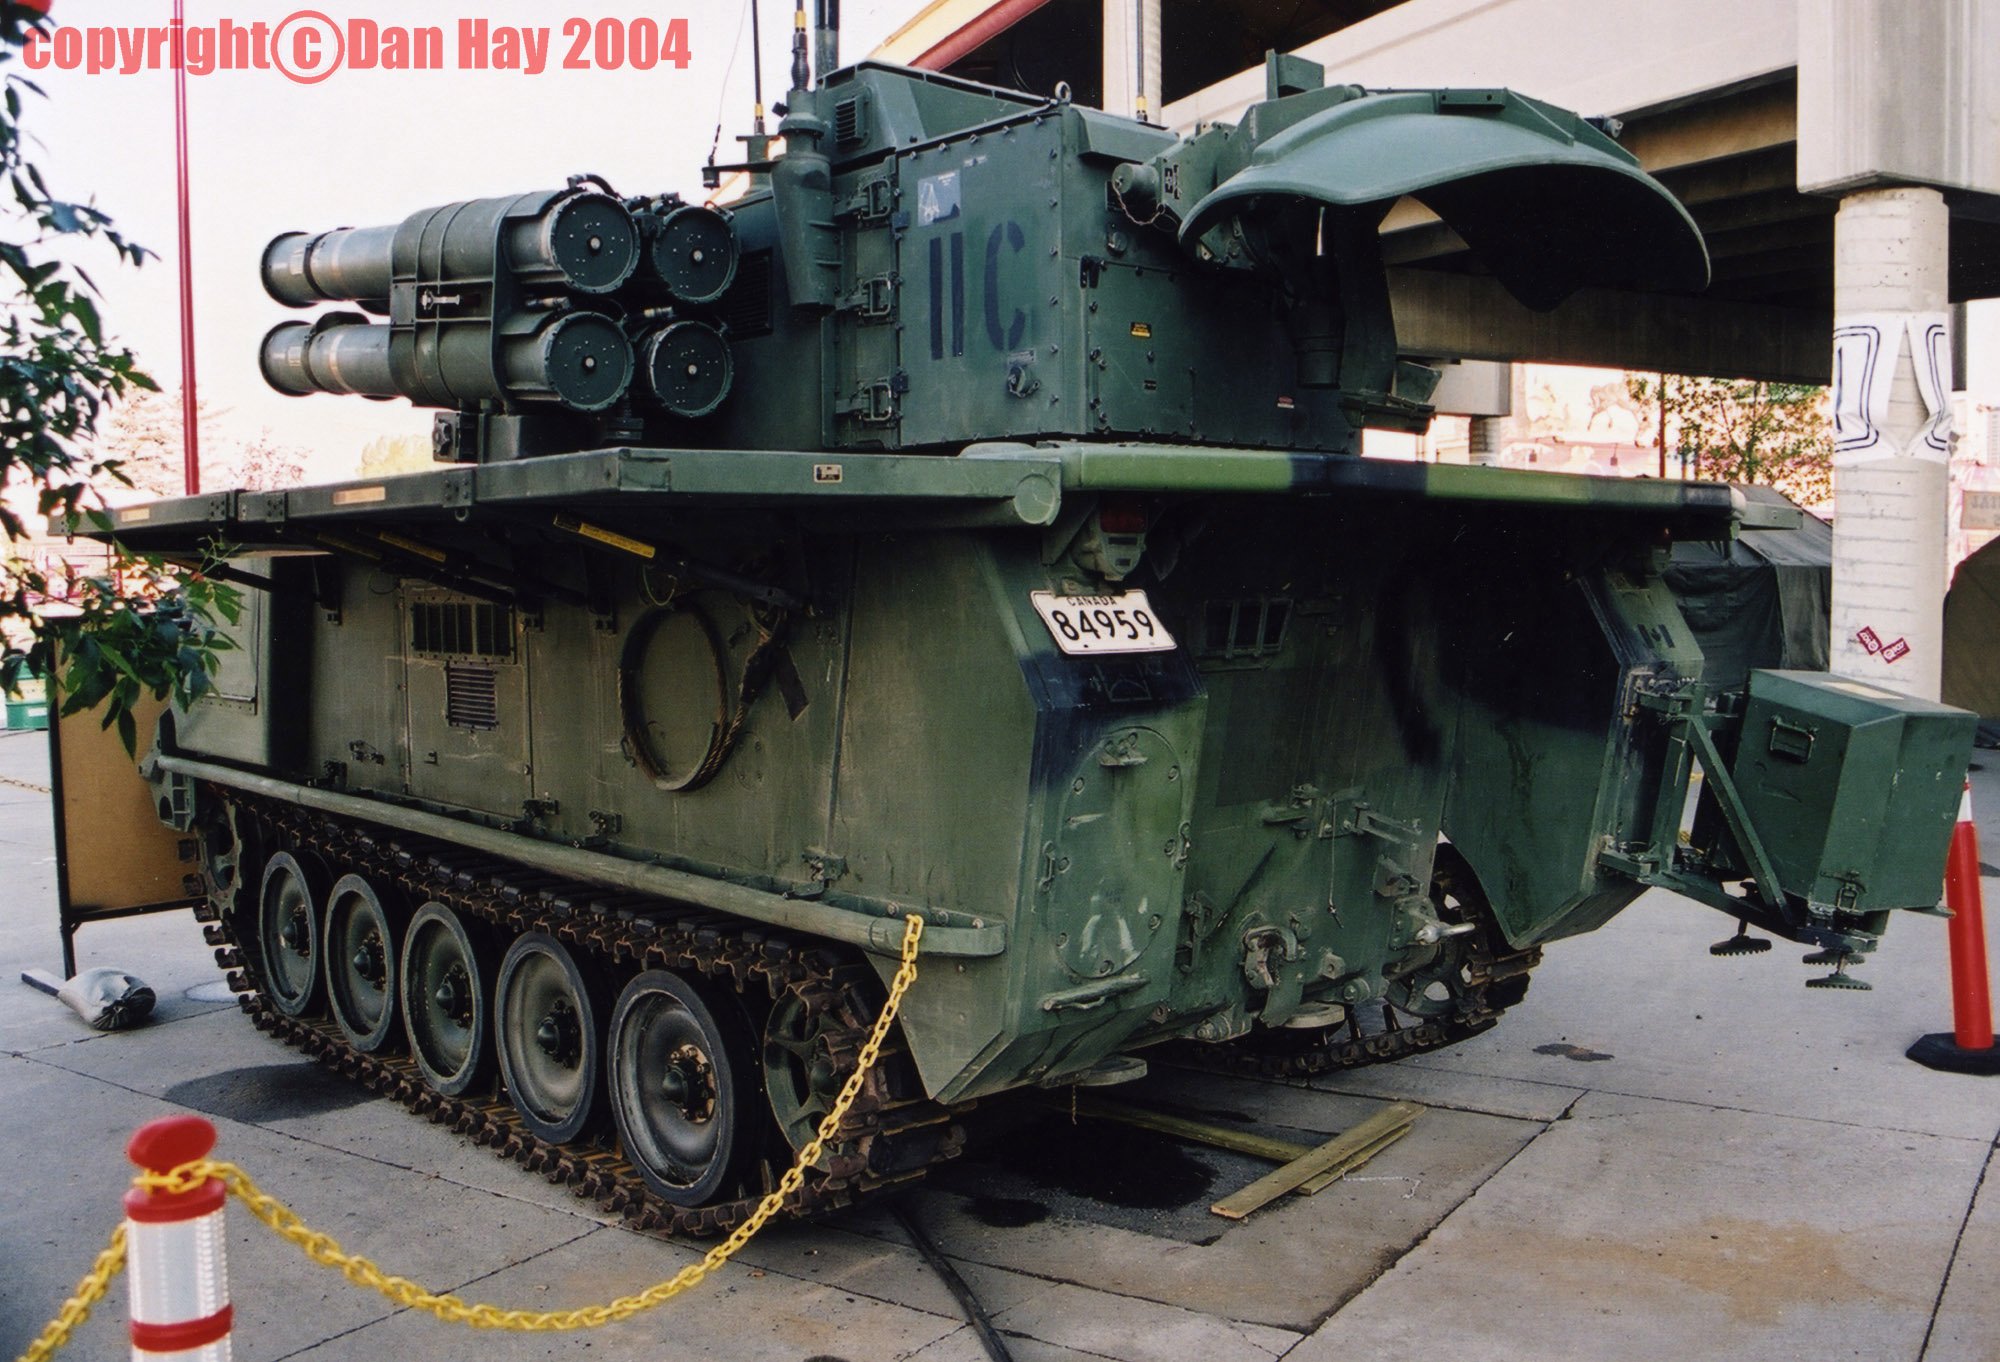 http://en.rcamuseum.com/artillery-collection/adats-cdn
In memory of Al Superczynski:
"Build what YOU want, the way YOU want to....
and the critics will flame you every time"
Croatia Hrvatska
Joined: December 11, 2015
KitMaker: 101 posts
Armorama: 95 posts
Posted: Sunday, February 18, 2018 - 01:20 PM UTC
This is not part of campaign because it was completed few years ago but I will show it anyway.

Queensland, Australia
Joined: May 16, 2010
KitMaker: 232 posts
Armorama: 218 posts
Posted: Sunday, February 18, 2018 - 04:14 PM UTC
[quote]
Quoted Text
Building a Canadian ADATS on an M113A2 chassis. Heres what I am starting with and the real vehicle.
/ Robin
love that ADATS, i've got one of the osprey books on the M113 with a scratchbuilt turret in it
Ashore, it's wine, women and song, aboard it's rum, bum and baccy
RobinNilsson
 TOS Moderator
Stockholm, Sweden
Joined: November 29, 2006
KitMaker: 6,693 posts
Armorama: 5,562 posts
Posted: Sunday, February 18, 2018 - 04:57 PM UTC
[quote]
Quoted Text
Quoted Text
Building a Canadian ADATS on an M113A2 chassis. Heres what I am starting with and the real vehicle.
/ Robin
love that ADATS, i've got one of the osprey books on the M113 with a scratchbuilt turret in it
Me too

It will be interesting to watch Paul build it.
I have that conversion in the stash, maybe for a future AA-campaign. I got interested in the ADATS when I worked at Contraves (part of Oerlikon) back in 1989. Reading Military Technology and trying to collect images, before the internet ...
Then came the time when images and walkarounds started popping up and suddenly there was even a conversion set

Happy days !
/ Robin
In memory of Al Superczynski:
"Build what YOU want, the way YOU want to....
and the critics will flame you every time"
Lisboa, Portugal
Joined: March 04, 2008
KitMaker: 5,386 posts
Armorama: 4,727 posts
Posted: Sunday, February 18, 2018 - 05:10 PM UTC
Great work everyone !!
I feel tempted to join in but I might not finish it on time...
Active Builds: 0
Active Campaigns: 0
RobinNilsson
 TOS Moderator
Stockholm, Sweden
Joined: November 29, 2006
KitMaker: 6,693 posts
Armorama: 5,562 posts
Posted: Sunday, February 18, 2018 - 05:26 PM UTC
Quoted Text
Great work everyone !!
I feel tempted to join in but I might not finish it on time...
Of course you want to join! Deep in your bones you feel that you MUST join

The campaign has only been running for 19 days and the finish date is the last day of October so there is plenty of time.
There are plenty of less complicated kits of AA weapons.
Maybe some towed 20-30 mm weapon?
And IF you don't finish there is always one of the unfinished business campaigns

I have committed to building three German 88's and all of them on tracked chassis for three different campaigns (500+, Dragon and the AA campaign).
My big issue is the leaking tank on the airbrush compressor, replacing the tank with re-used fire extinguishers adds to the "challenge" of the campaigning ...
/ Robin
In memory of Al Superczynski:
"Build what YOU want, the way YOU want to....
and the critics will flame you every time"
Queensland, Australia
Joined: May 16, 2010
KitMaker: 232 posts
Armorama: 218 posts
Posted: Sunday, February 18, 2018 - 05:38 PM UTC
Quoted Text
Great work everyone !!
I feel tempted to join in but I might not finish it on time...
you wont know until you try, and at least you'll have started
Ashore, it's wine, women and song, aboard it's rum, bum and baccy


