Aloha All,
Was able to get started a while back, but this is the first opportunity I've had to post.


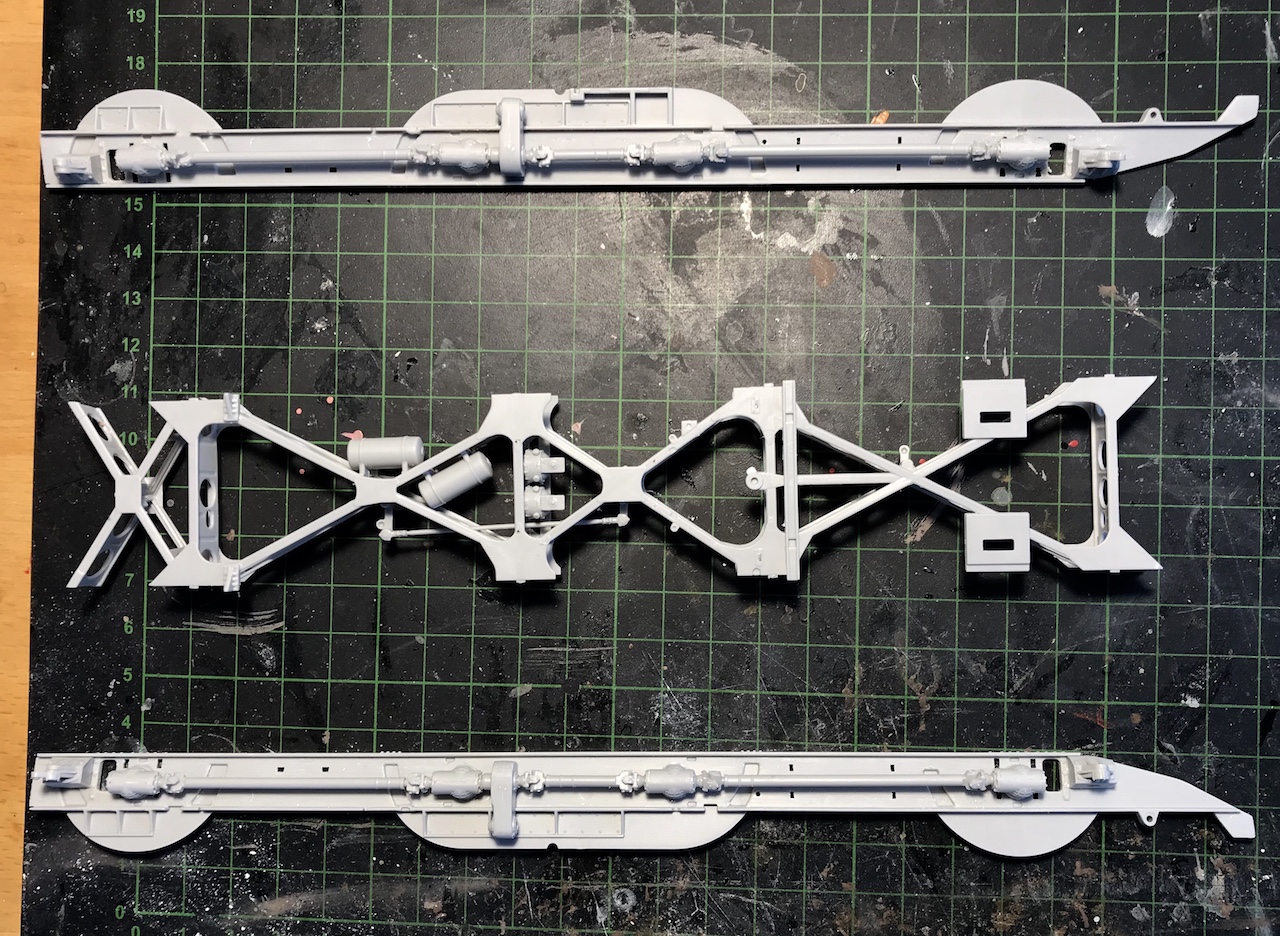
Steps 1 and 2:

Steps 3-5 are putting the wheels onto the lower hull and assembling the tracks. I decided to skip that for now as I think I want to paint the wheels off vehicle and it seems you really need to glue the wheels onto the hull to build the tracks. So, on to step 6:

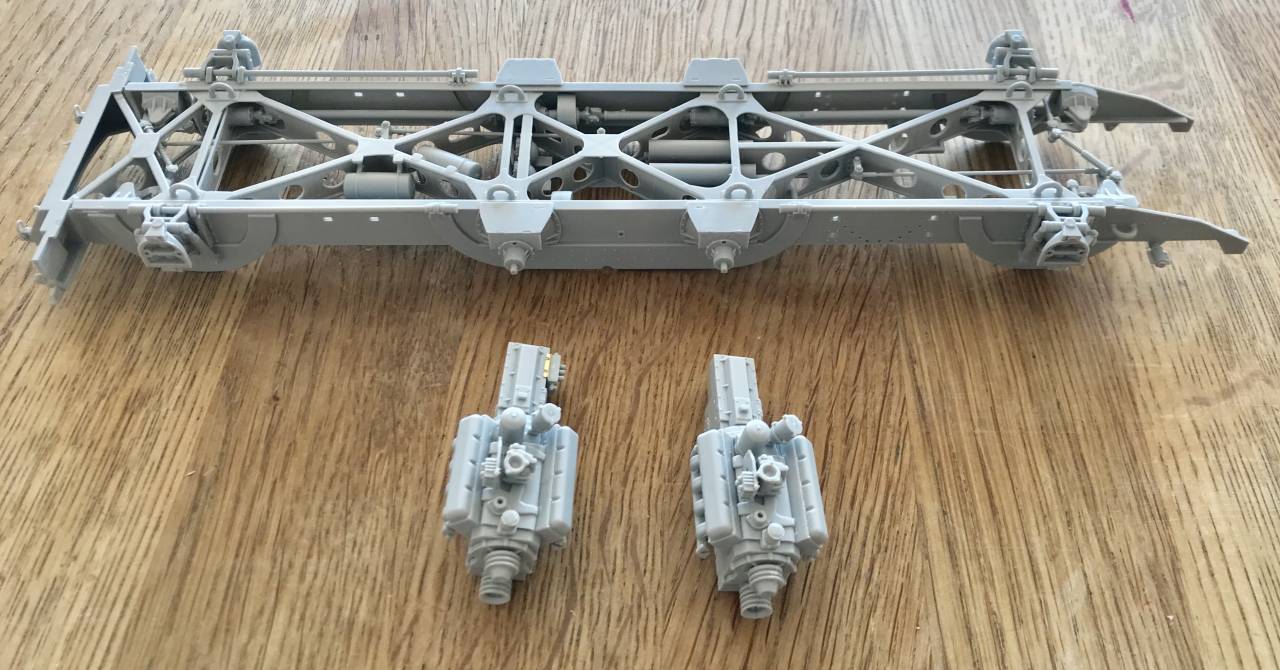
Step 7:

Step 8:

Step 9:

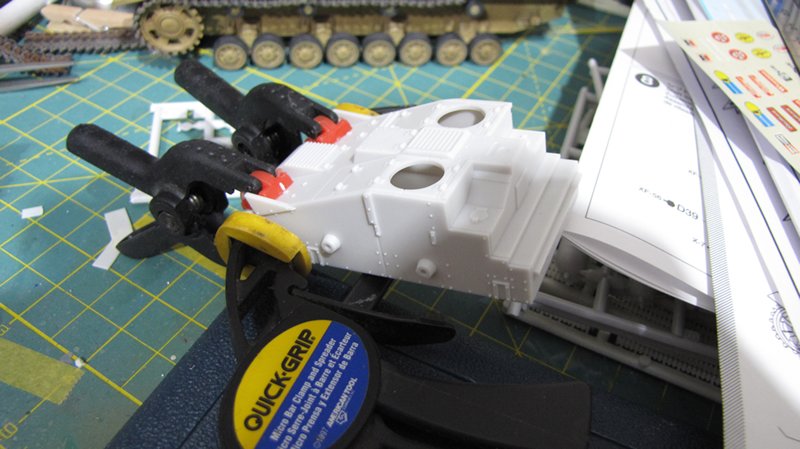
It was at this point I felt the grills on the engine deck were pretty open, so I decided to scratch build a facsimile of the fuel tank and air cooling system. Not meant to replicate what's there, but just to hint at what is below the grills. Still thinking about how to indicated the fans in the rearward portion.
The strips are 10 mm tall.


The top strip of the fuel tank is 3mm and the sloped piece of the fuel tank is 13mm.

The fuel tank is painted with Mission Models MMP-013 Red Oxide German WWII RAL 3009, while the fan deck is Tamiya XF-63 German Grey, all over Vallejo Black Surface Primer.


The bottom plate is 13mm wide to catch the sloped piece of the fuel tank. The outboard edges are trimmed at the end to accommodate the tabs that Tamiya has between the sides and rear plates of the hull.

The effect is subtle and doesn't show up well in the photo, but I think it will be better than looking down on the top of the sponson closure.

Happy Modeling,
Zon