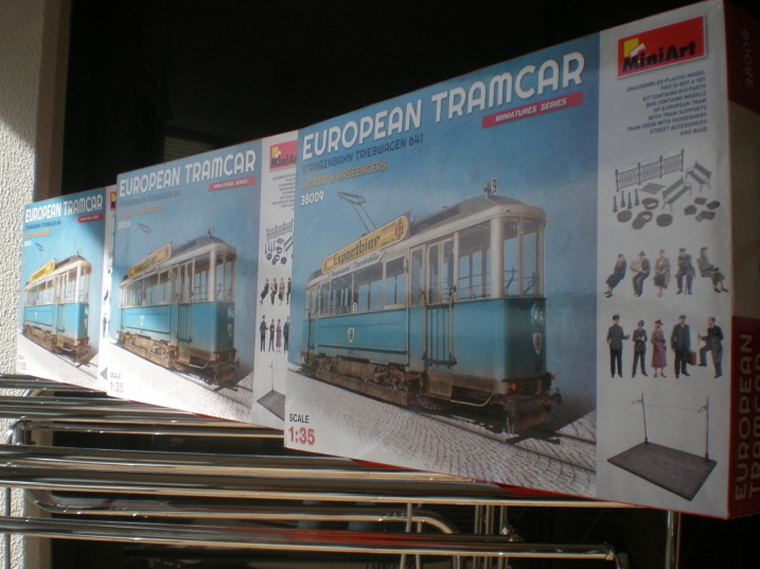
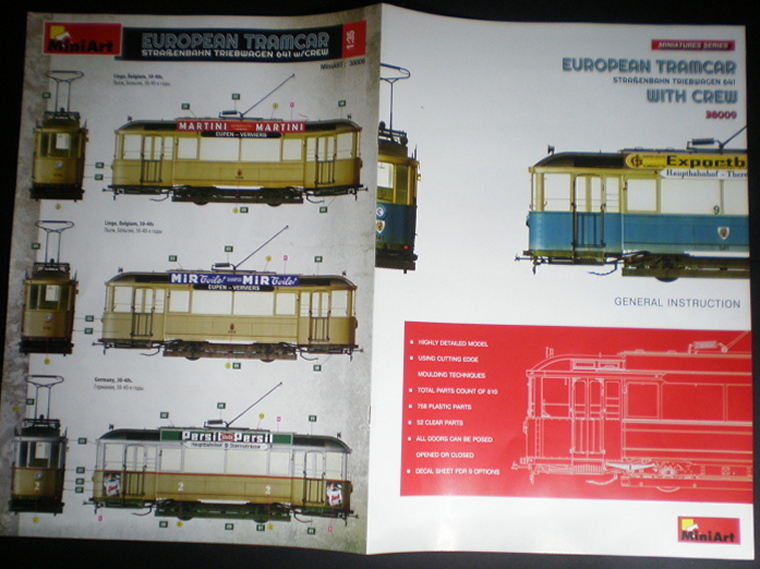
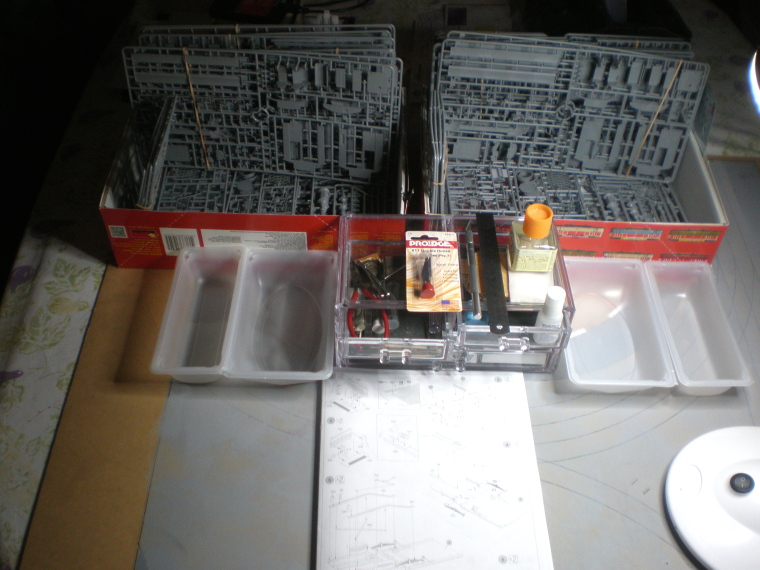
Dan, Jerry, Fred, Sean, Mike thanks guys, it is a bunch of plastic but at least 67% of the weight is sprue! Even so those twin open boxes are a daunting sight every day so Im humbled if this is inspiring, because its really all you guys who take the trouble to post (and the lurkers who give good
lurkage?) that inspire me, its much appreciated. So hang on theres a few tight bends ahead
Ive mentioned sprue/packing issues already, a couple of examples here with apologies in advance for the bad attitude but when Im paying US$67 a pop I have high expectations
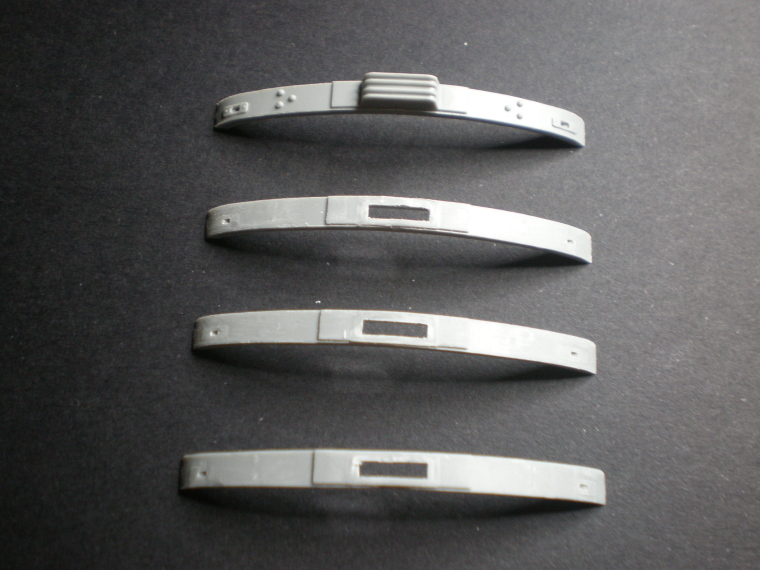
This is really soft plastic & the support on the lower sprue has provided an anvil on which the window frame of the upper part has been hammered - preferably it should have broken cleanly, easier to re-glue while still on the sprue. This deformation took time & weight to achieve, all jammed together in that brainless single bag in the box for who knows how long. It wont bend back into a straight line because its stretched too much so itll need a replacement strip.

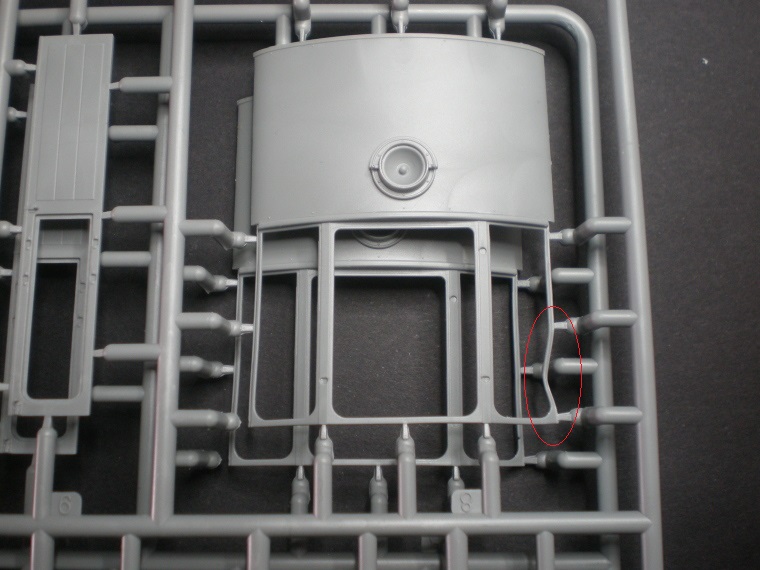
Above is one of several examples (so far) of idiotic sprue-ing...this items about 2 cms/1 wide. What was wrong with a thick protective frame round it and just 2 attachment points? Cutting that off & cleaning it up (four times) was an unnecessary pain, its quite visible on the tram as the lateral support for the swinging coupling so no way of hiding it. My theory is that the MiniArt CAD operators are verging on geniuses in terms of what they design, but I dont believe theyve ever actually constructed one of their own kits. The evidence piled up while making their Quad machine gun/GAZ truck last year & theres a clincher coming up below.
Into construction meanwhile, first departure from script on page 1 of the instructions - the fenders of Prague trams were featureless so off came the detail
Ill leave fabricating the Prague-specific cow-catcher arrangement under the front coupling until later in the build. Otherwise plain-ish sailing to complete the aforementioned fiddly/mostly invisible undersides, keeping up a scorching pace racing to Step 8 of um
59
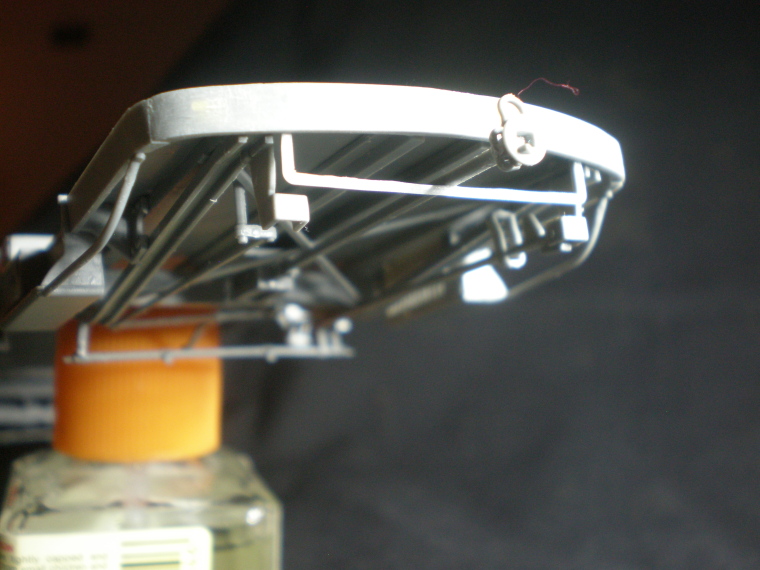
Cleaned up fender

and the..,er
vitally important loose red wire hanging off the front coupling

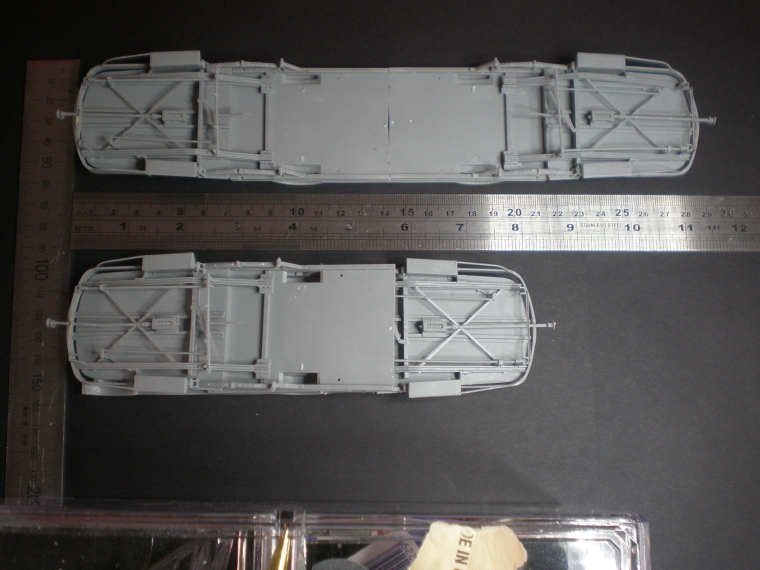
So having made all four halves it was time to pair them off. Heres what a joined-up pair looks like from above

(thats my fashion label alright)
and below
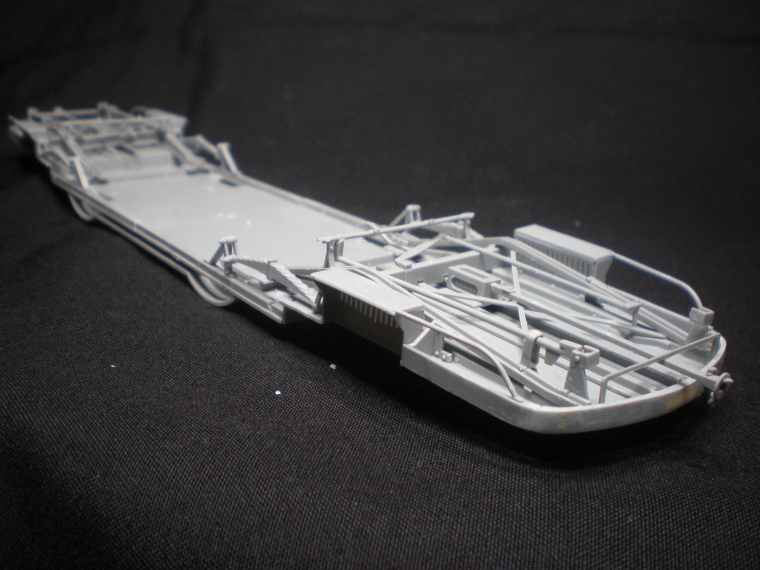
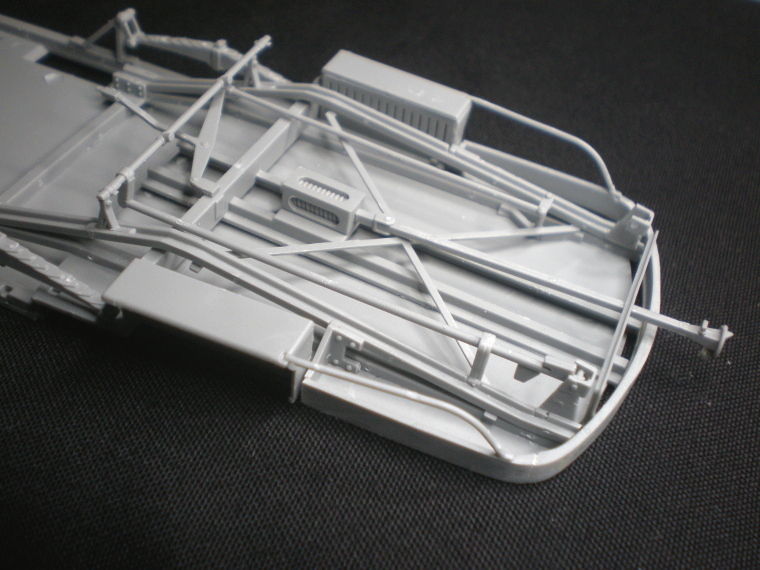
So Tim joining em up was easy huh? You bet, just check out the carefully designed, solid, positive attachment points:
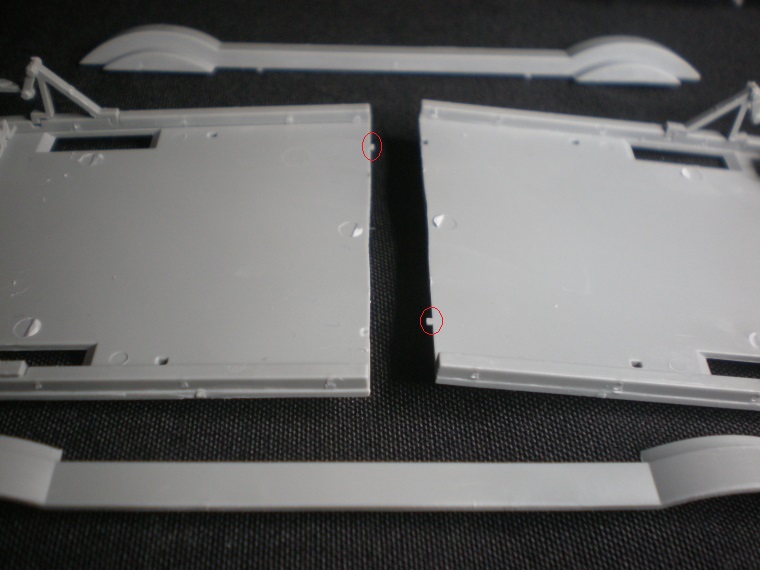
In partial mitigation the wheel-cover fairings on either side are supposed to provide the real joining strength, but seriously khloptsi - do I really have to fight two clamps and risk snapping off parts to hold these heavyweight halves together and then festoon pegs and rubber bands on the fairings until the glue dries? Two wide flat pins/slots on the invisible underside isnt a lot to ask for. I rest my case. Moving on, hopefully these early photos also convey the more impressive aspects of this kit & I really am enjoying it (honest), but one last whine
Thats not my bad cutting, these two halves come as discrete single pieces with standard sprue attachments points around the sides, none of which are on this joining-side; and alas its the same in the other box
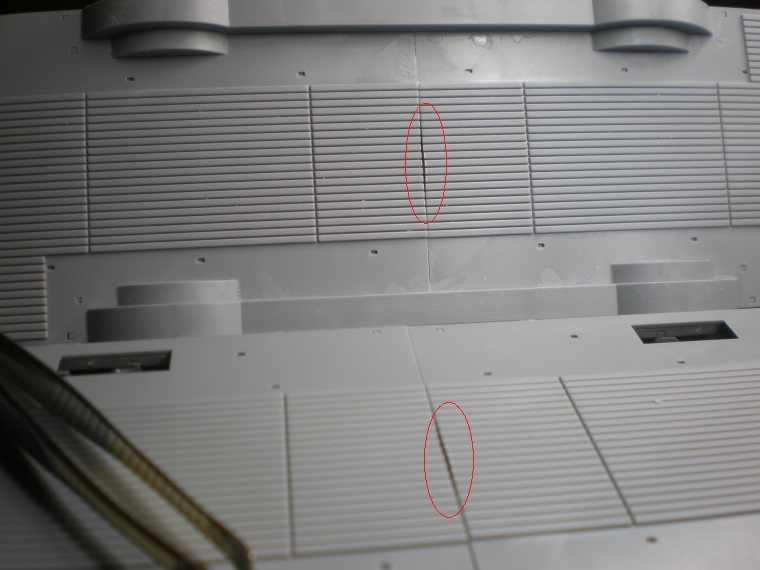
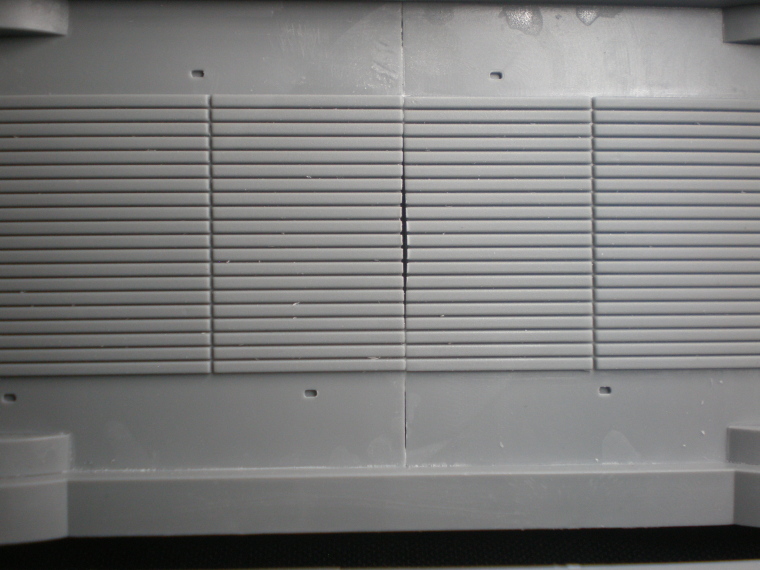
so its a casting defect & a real bad place to attempt a fix. Force putty up from underneath & carve the slats? Clamp on a slatted mo*ld to press the putty up into? Widen/regularise the gap & drop in a new section made of Evergreen strips?
Nah

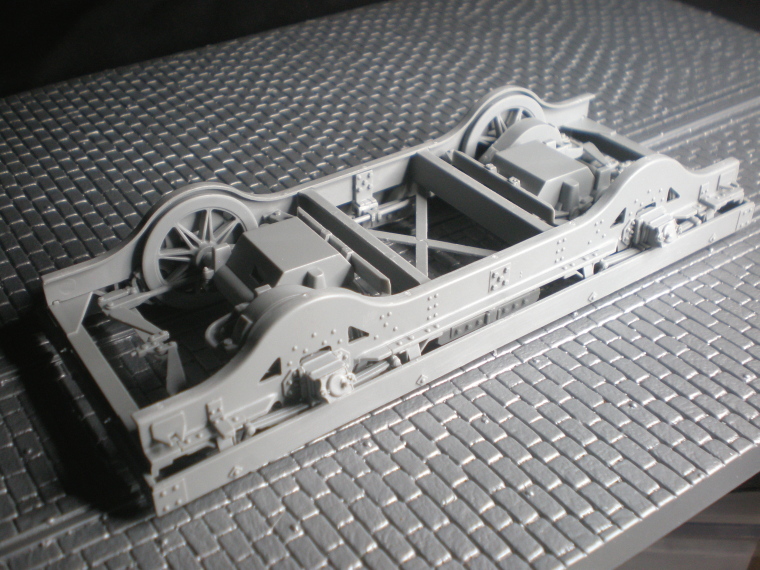
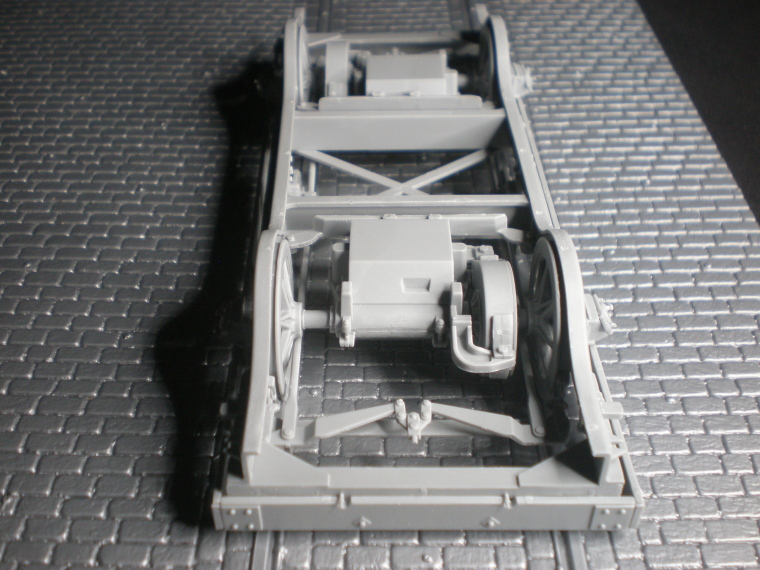
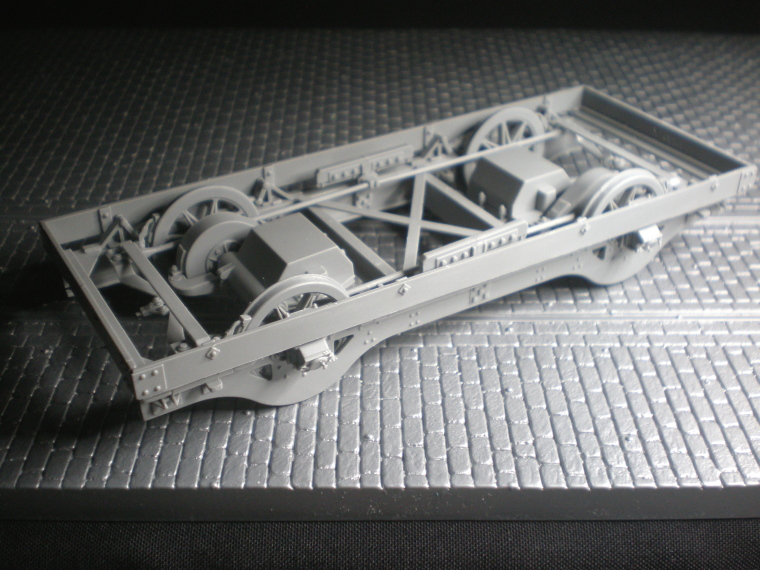
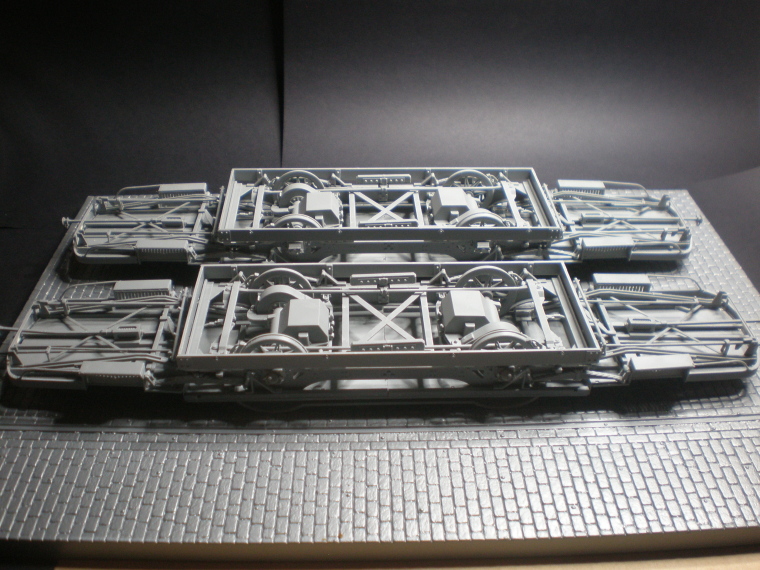
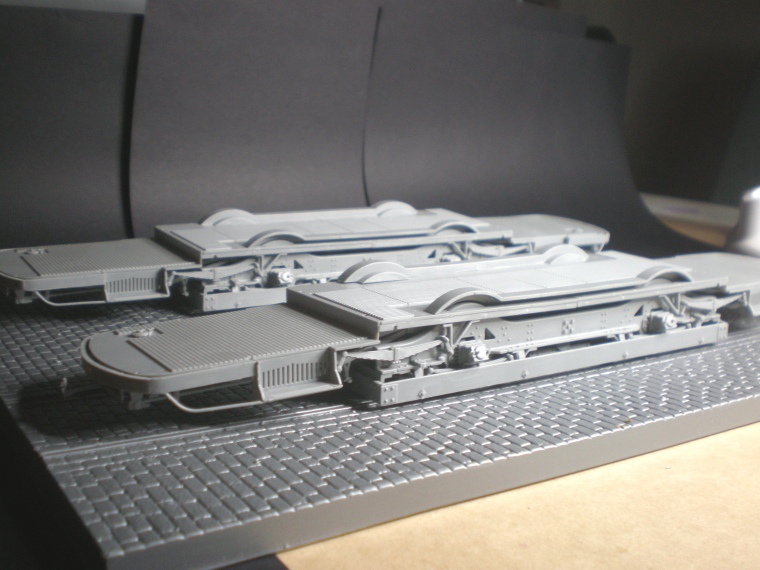
These two driver trams will be relatively easy to customise to Prague models (relative to, say, brain surgery) compared to the more serious challenge of converting the third kit to the shorter trailer. Ive reached the point in constructing the drivers where notes & drawings & sedatives are required to work out how this can be done. Meanwhile here are the two driver chassis..s

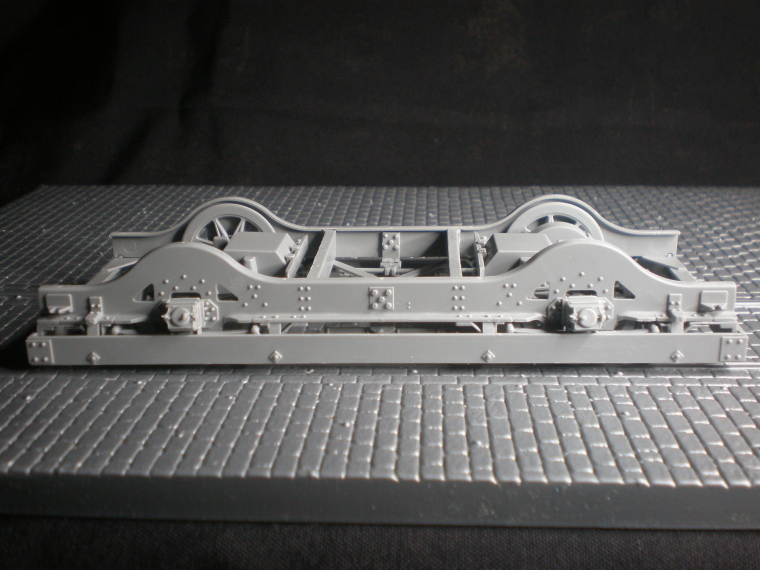
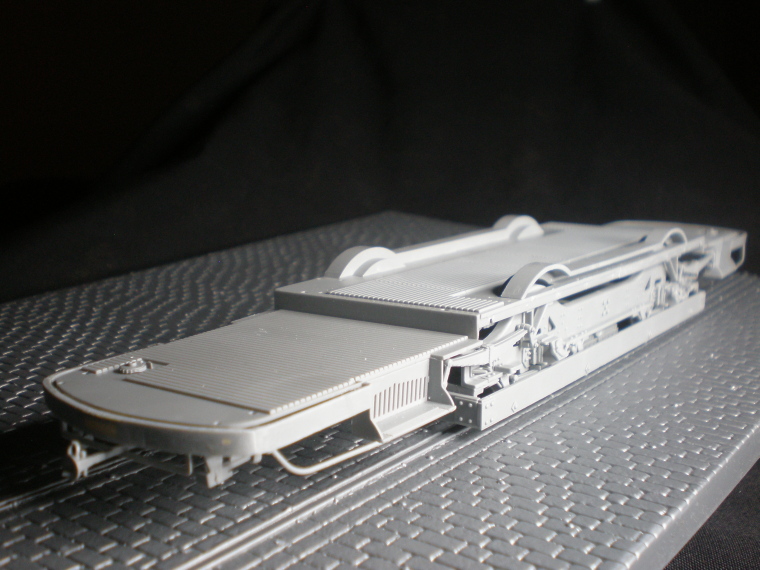
I havent glued the 2nd driver halves together yet, partly because I havent finished sticking pins in the CAD designer Voodoo doll, and partly in order to experimentally truncate it to the right trailer-length like so

I need to lose around 7 cms in length to make the trailer. Its looking scarily like the reduction will need to be achieved by removing not just an equidistant central section, but also slices from near both ends. Added to that complication the trailer carriage is nearer the ground than the drivers because it had smaller wheels. So Im bypassing the next section of Instructions about carriage construction & going straight to building the drivers wheels assemblies, to better understand how to shrink them (along with everything else) on the trailer. Heres a 4-window driver towing but its still a useful reference...& the stuff of nightmares