Campaigns: Active Campaigns
Campaigns that are either in planning or underway should be grouped here.
Hosted by Richard S.
Anti-Aicraft :: 2019
SpeedyJ
Visit this Community
Bangkok, Thailand / ไทย
Joined: September 17, 2013
KitMaker: 1,617 posts
Armorama: 1,150 posts
Posted: Tuesday, March 26, 2019 - 02:17 AM UTC
Hi all.
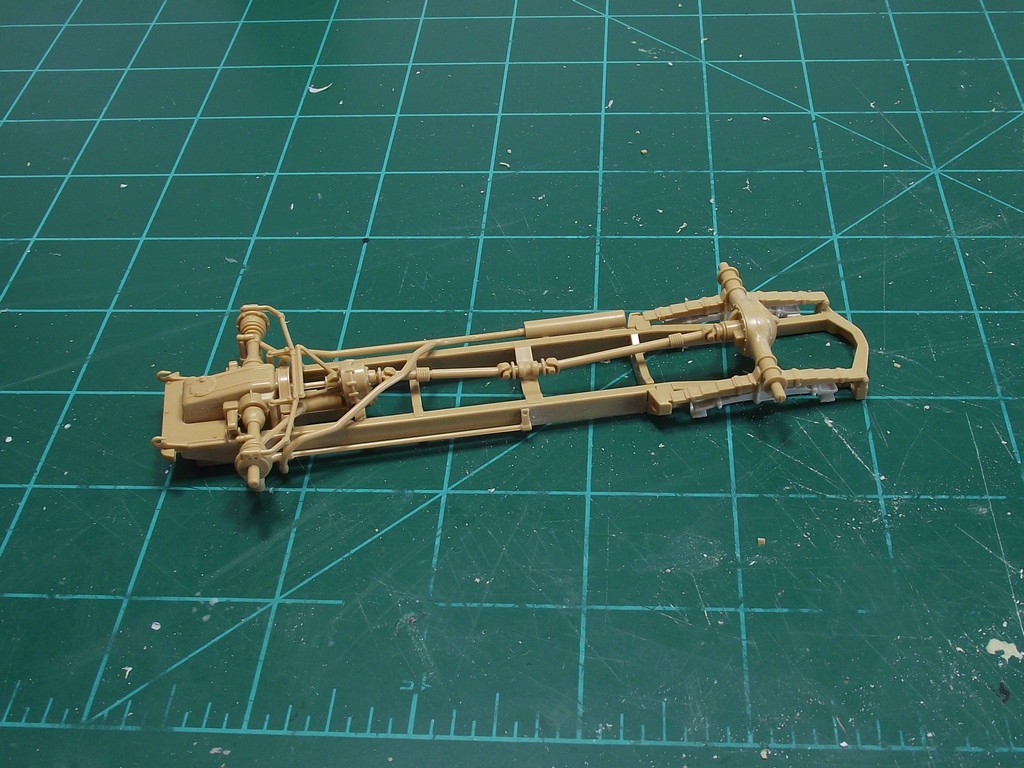
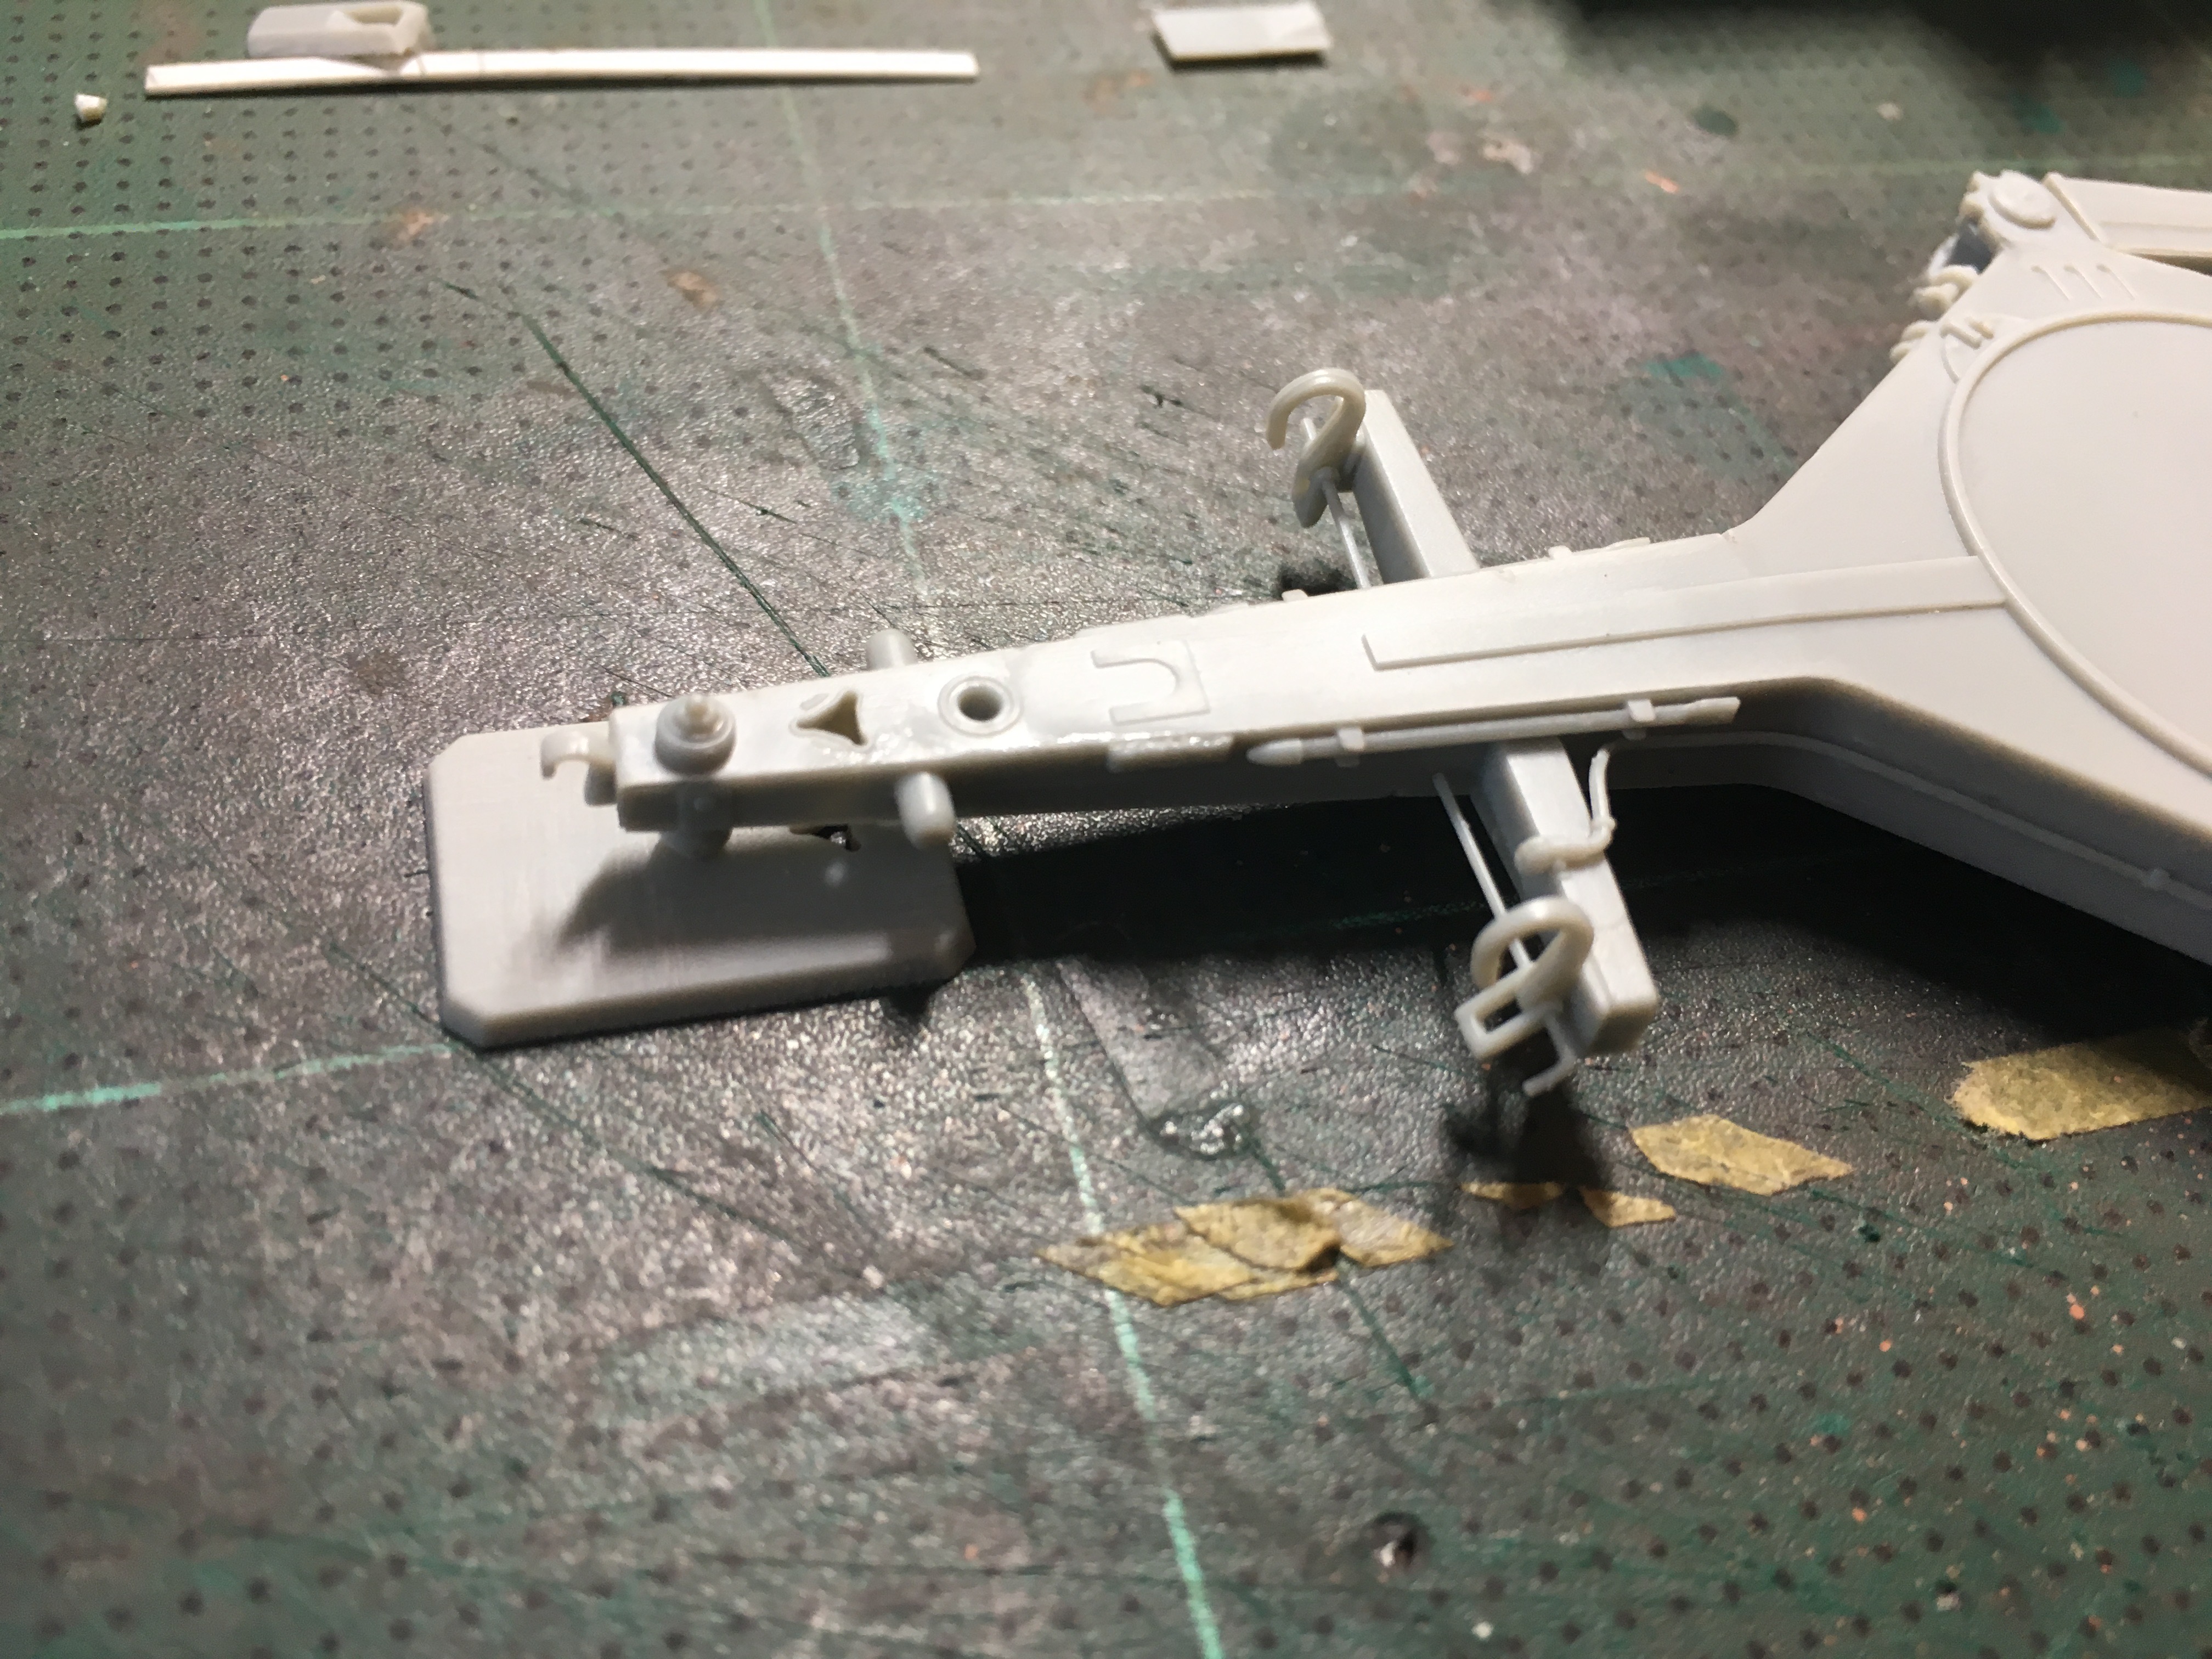
As mentioned I already did some building, before joining the campaign. Pictures show what I have to build again for the Dragon 88mm. after this one is finished.
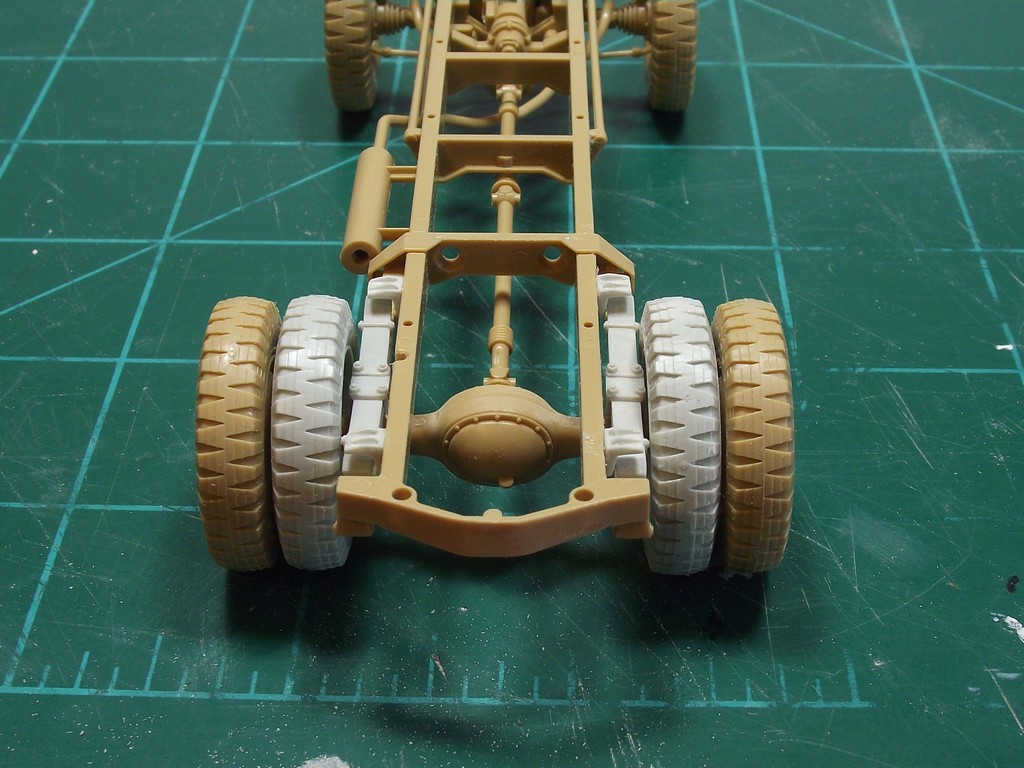
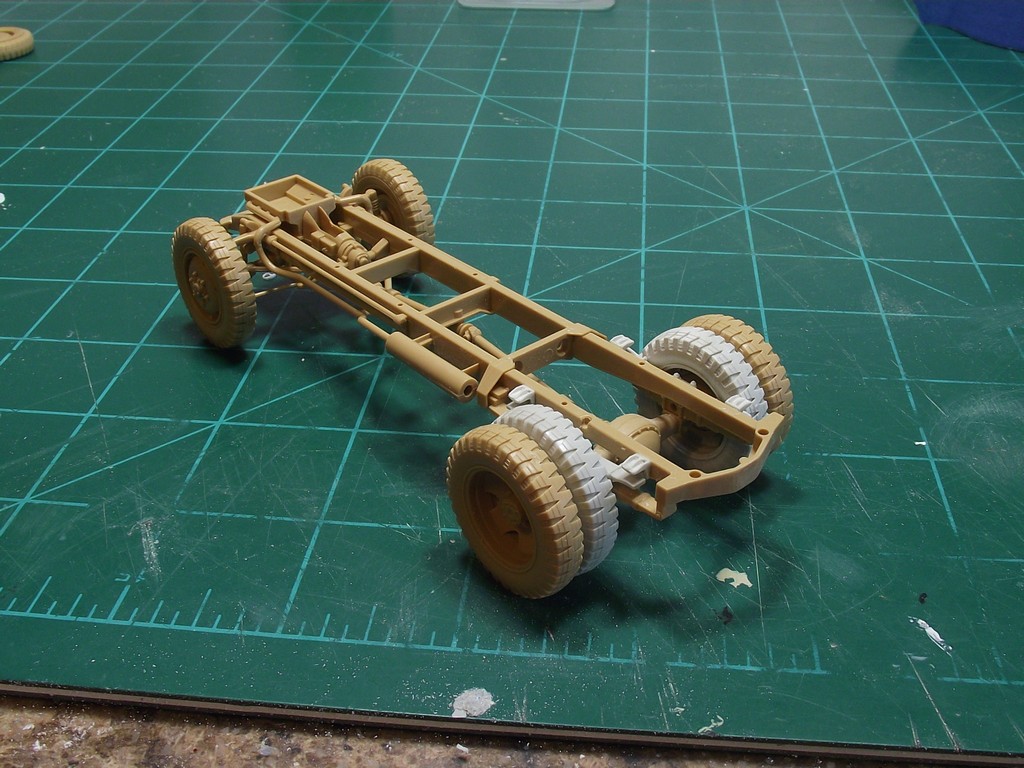
The bronco kit starts with building the 'Lafette cross". a logical first step. But I could not resist building the Sd.Ah. 202 first. Beautiful molded by Dragon, for people unknown, same set goes for the Dragon and Bronco kit. Very nice and a joy to build.
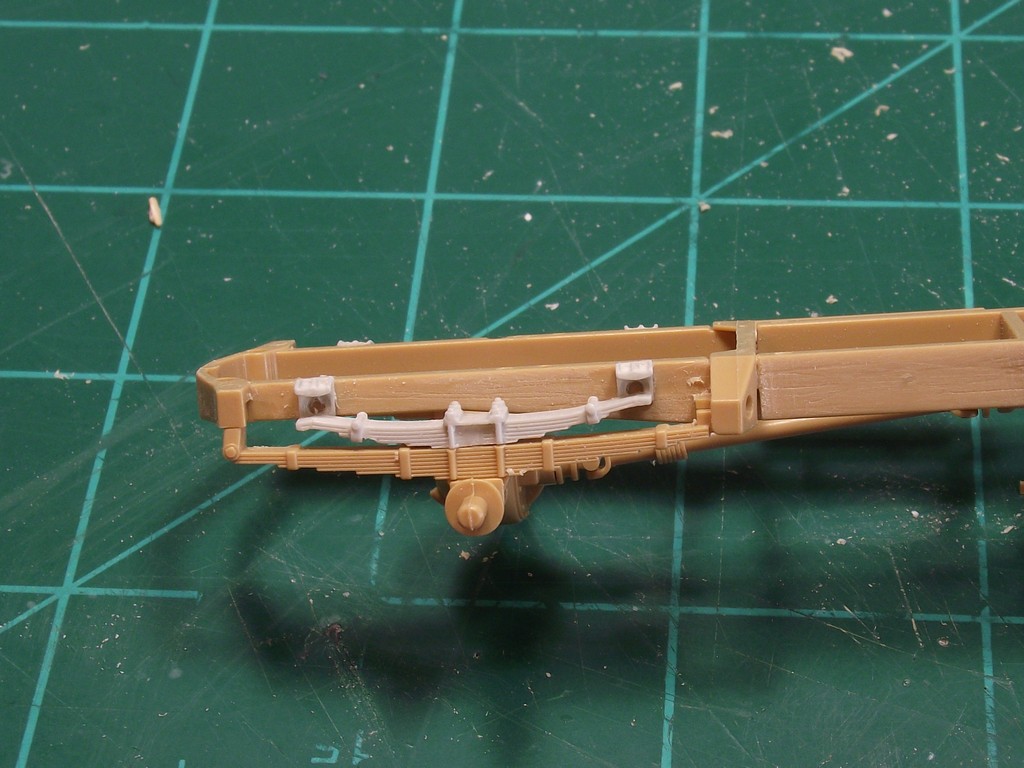
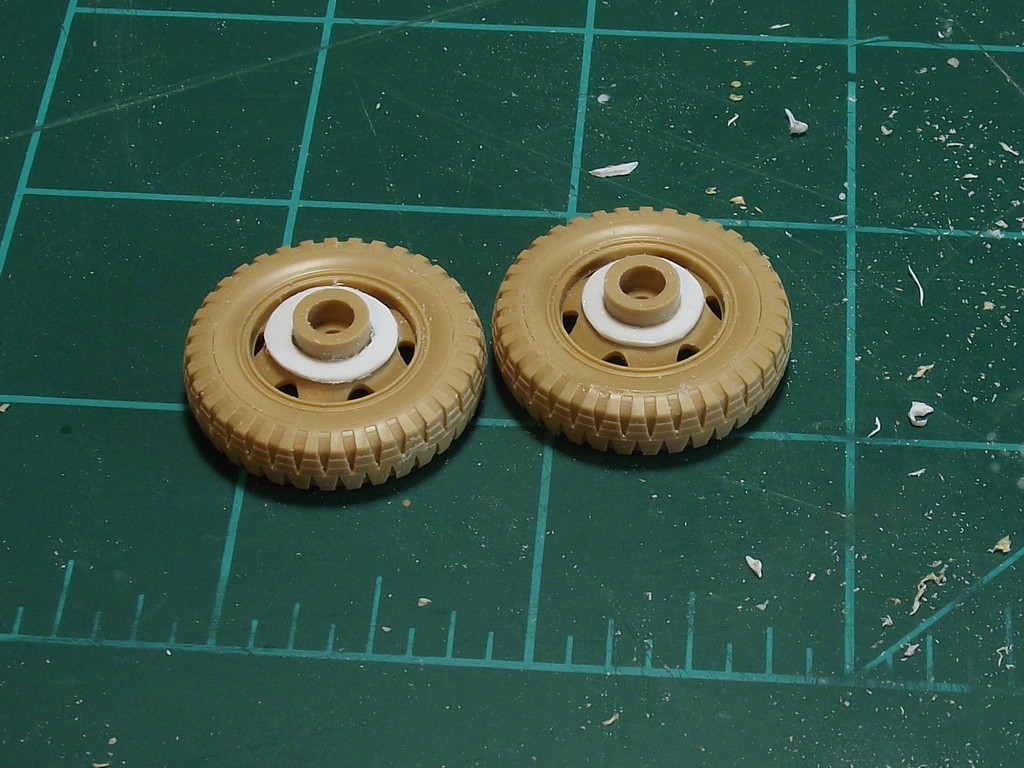
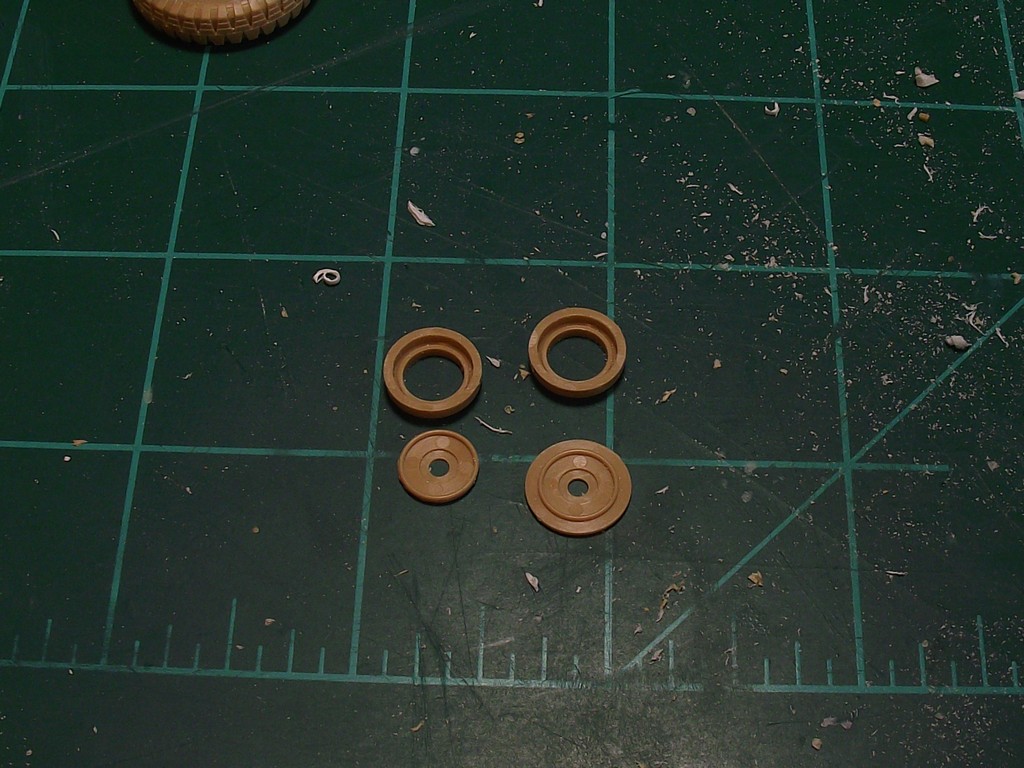
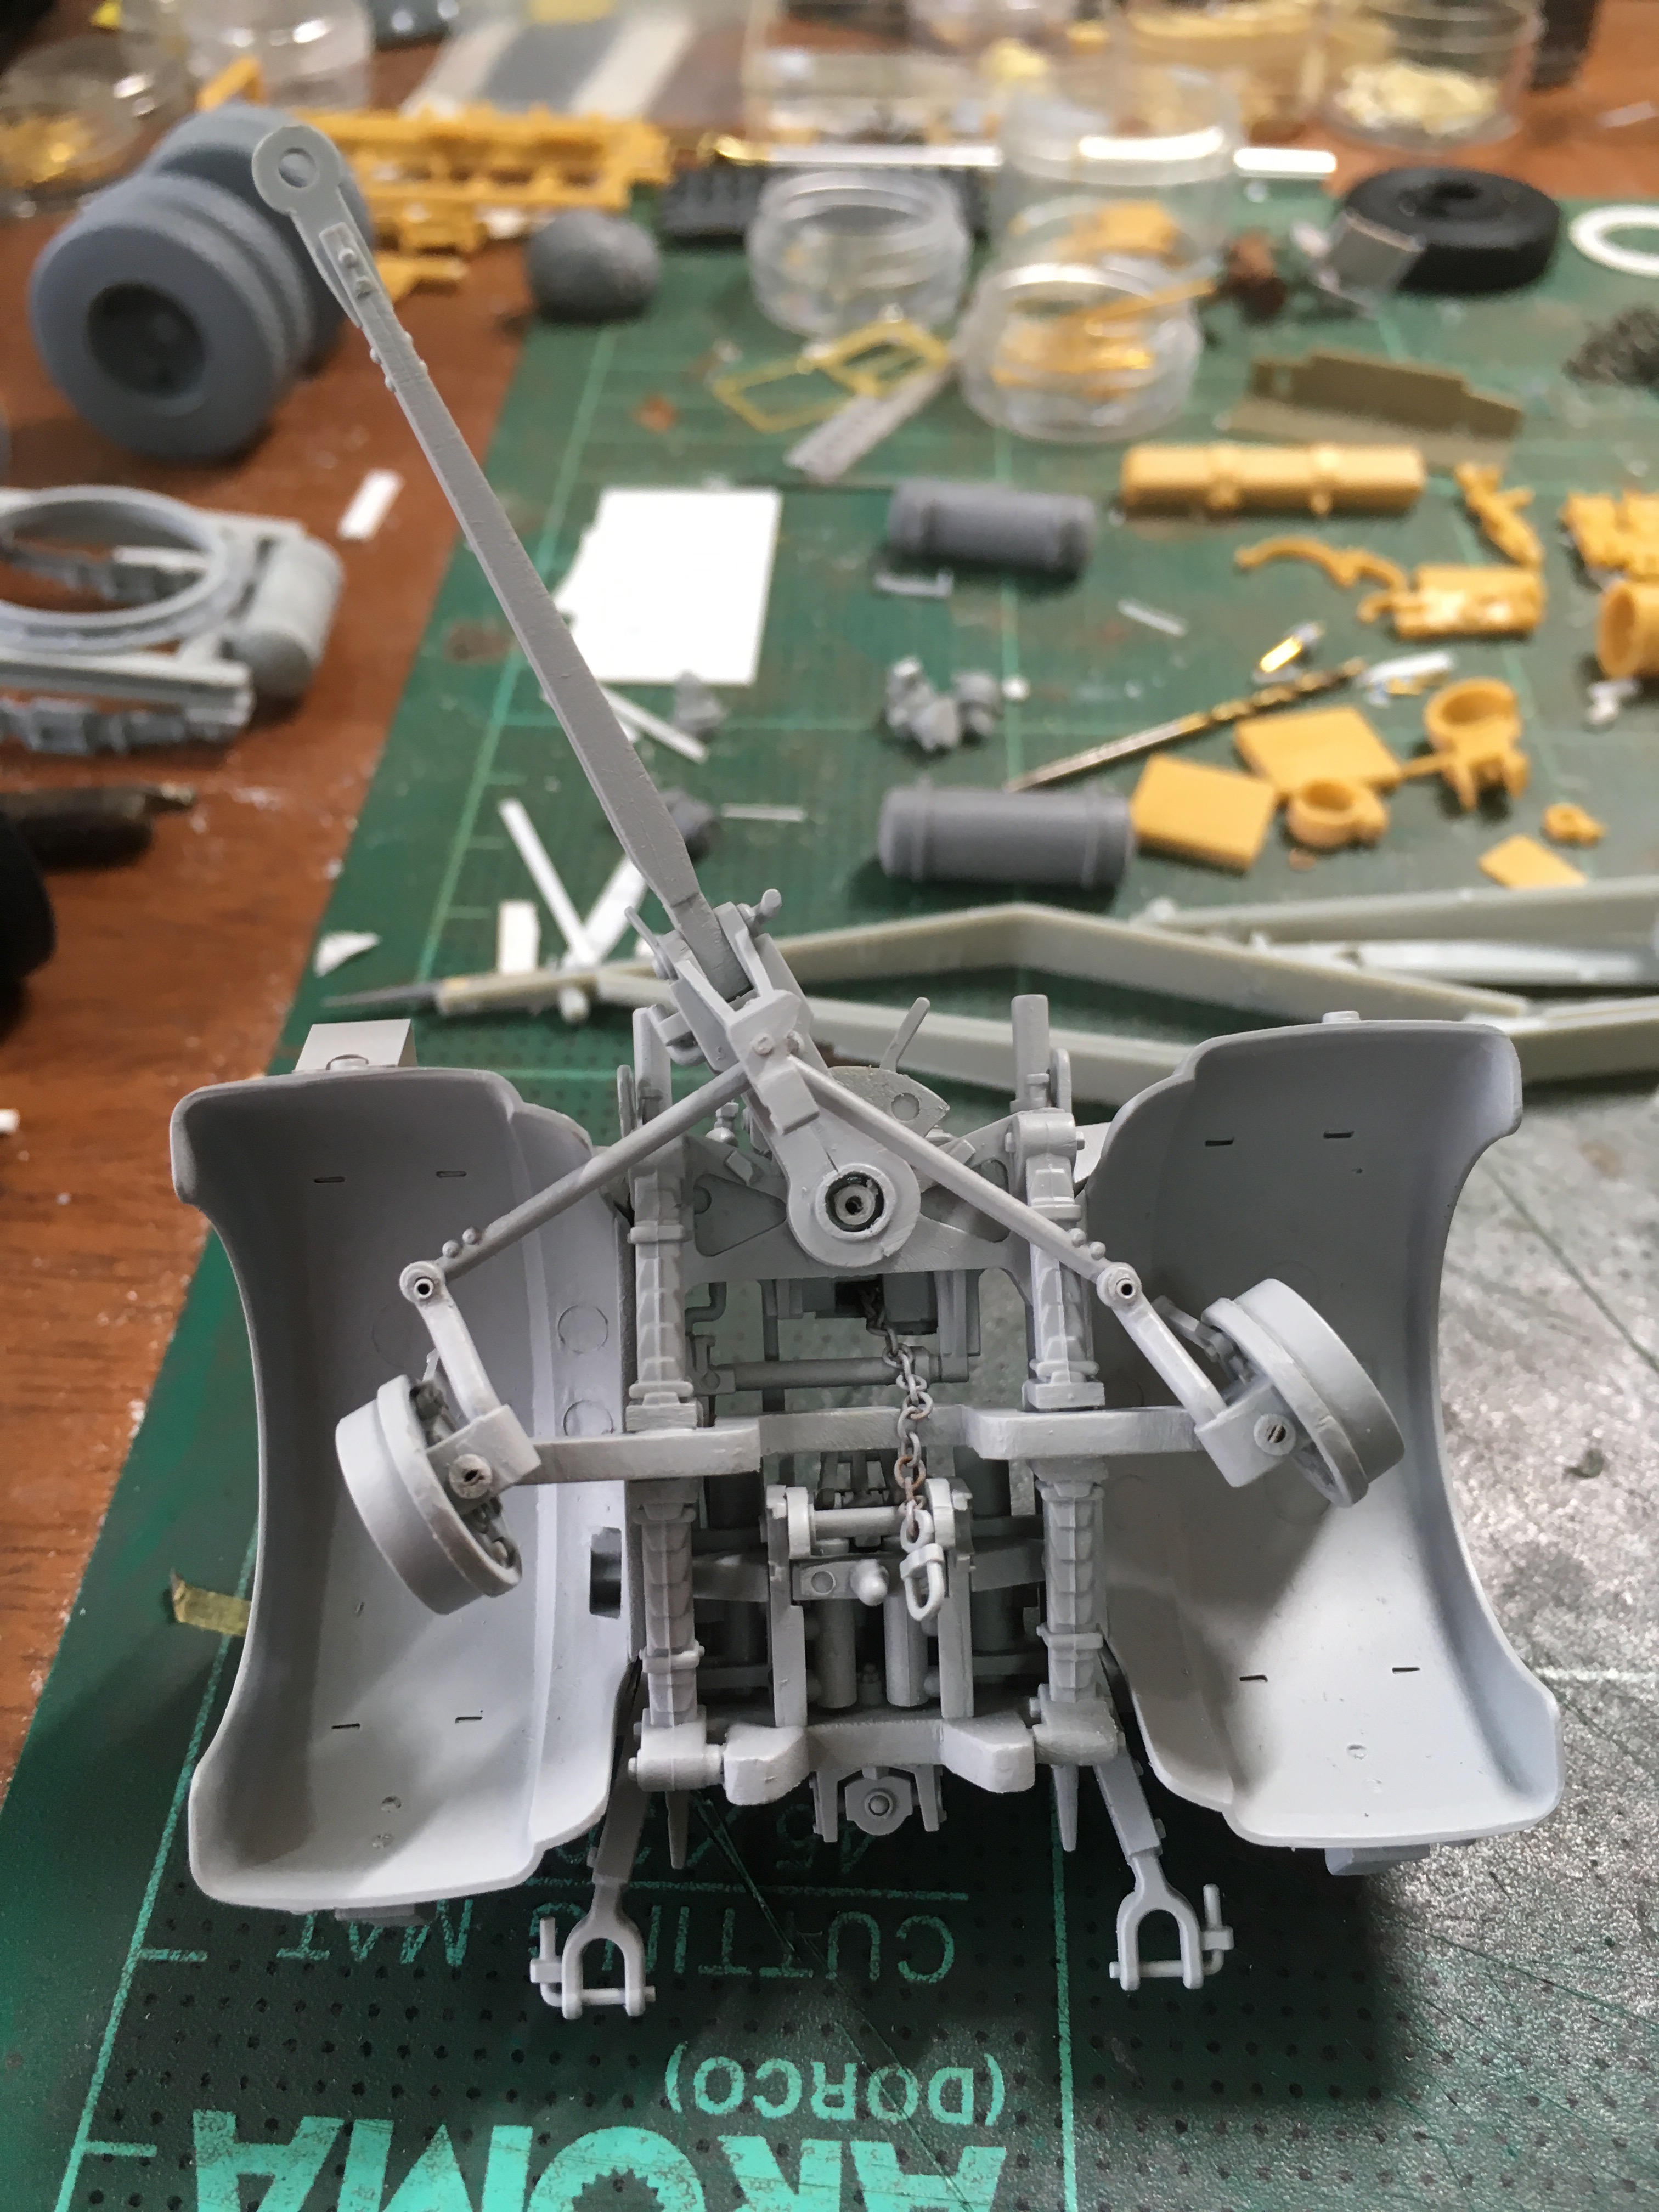
I made the front piece steerable, preparing for diorama settings. Except for the Pioneer tools it's complete and primed with 1200 grid out of the can, also the tires are primed, this time with 1500 black, both primers are from Mr. Hobby. Needs to get a rubbing with a Scotch & Brite pad, to get rid of some spots and rough grinding and after that it will be stalled for the paint job later on.
Next step is building the Lafette cross to support the more complexed building of the gun itself.

Some pictures:
Neutral position.
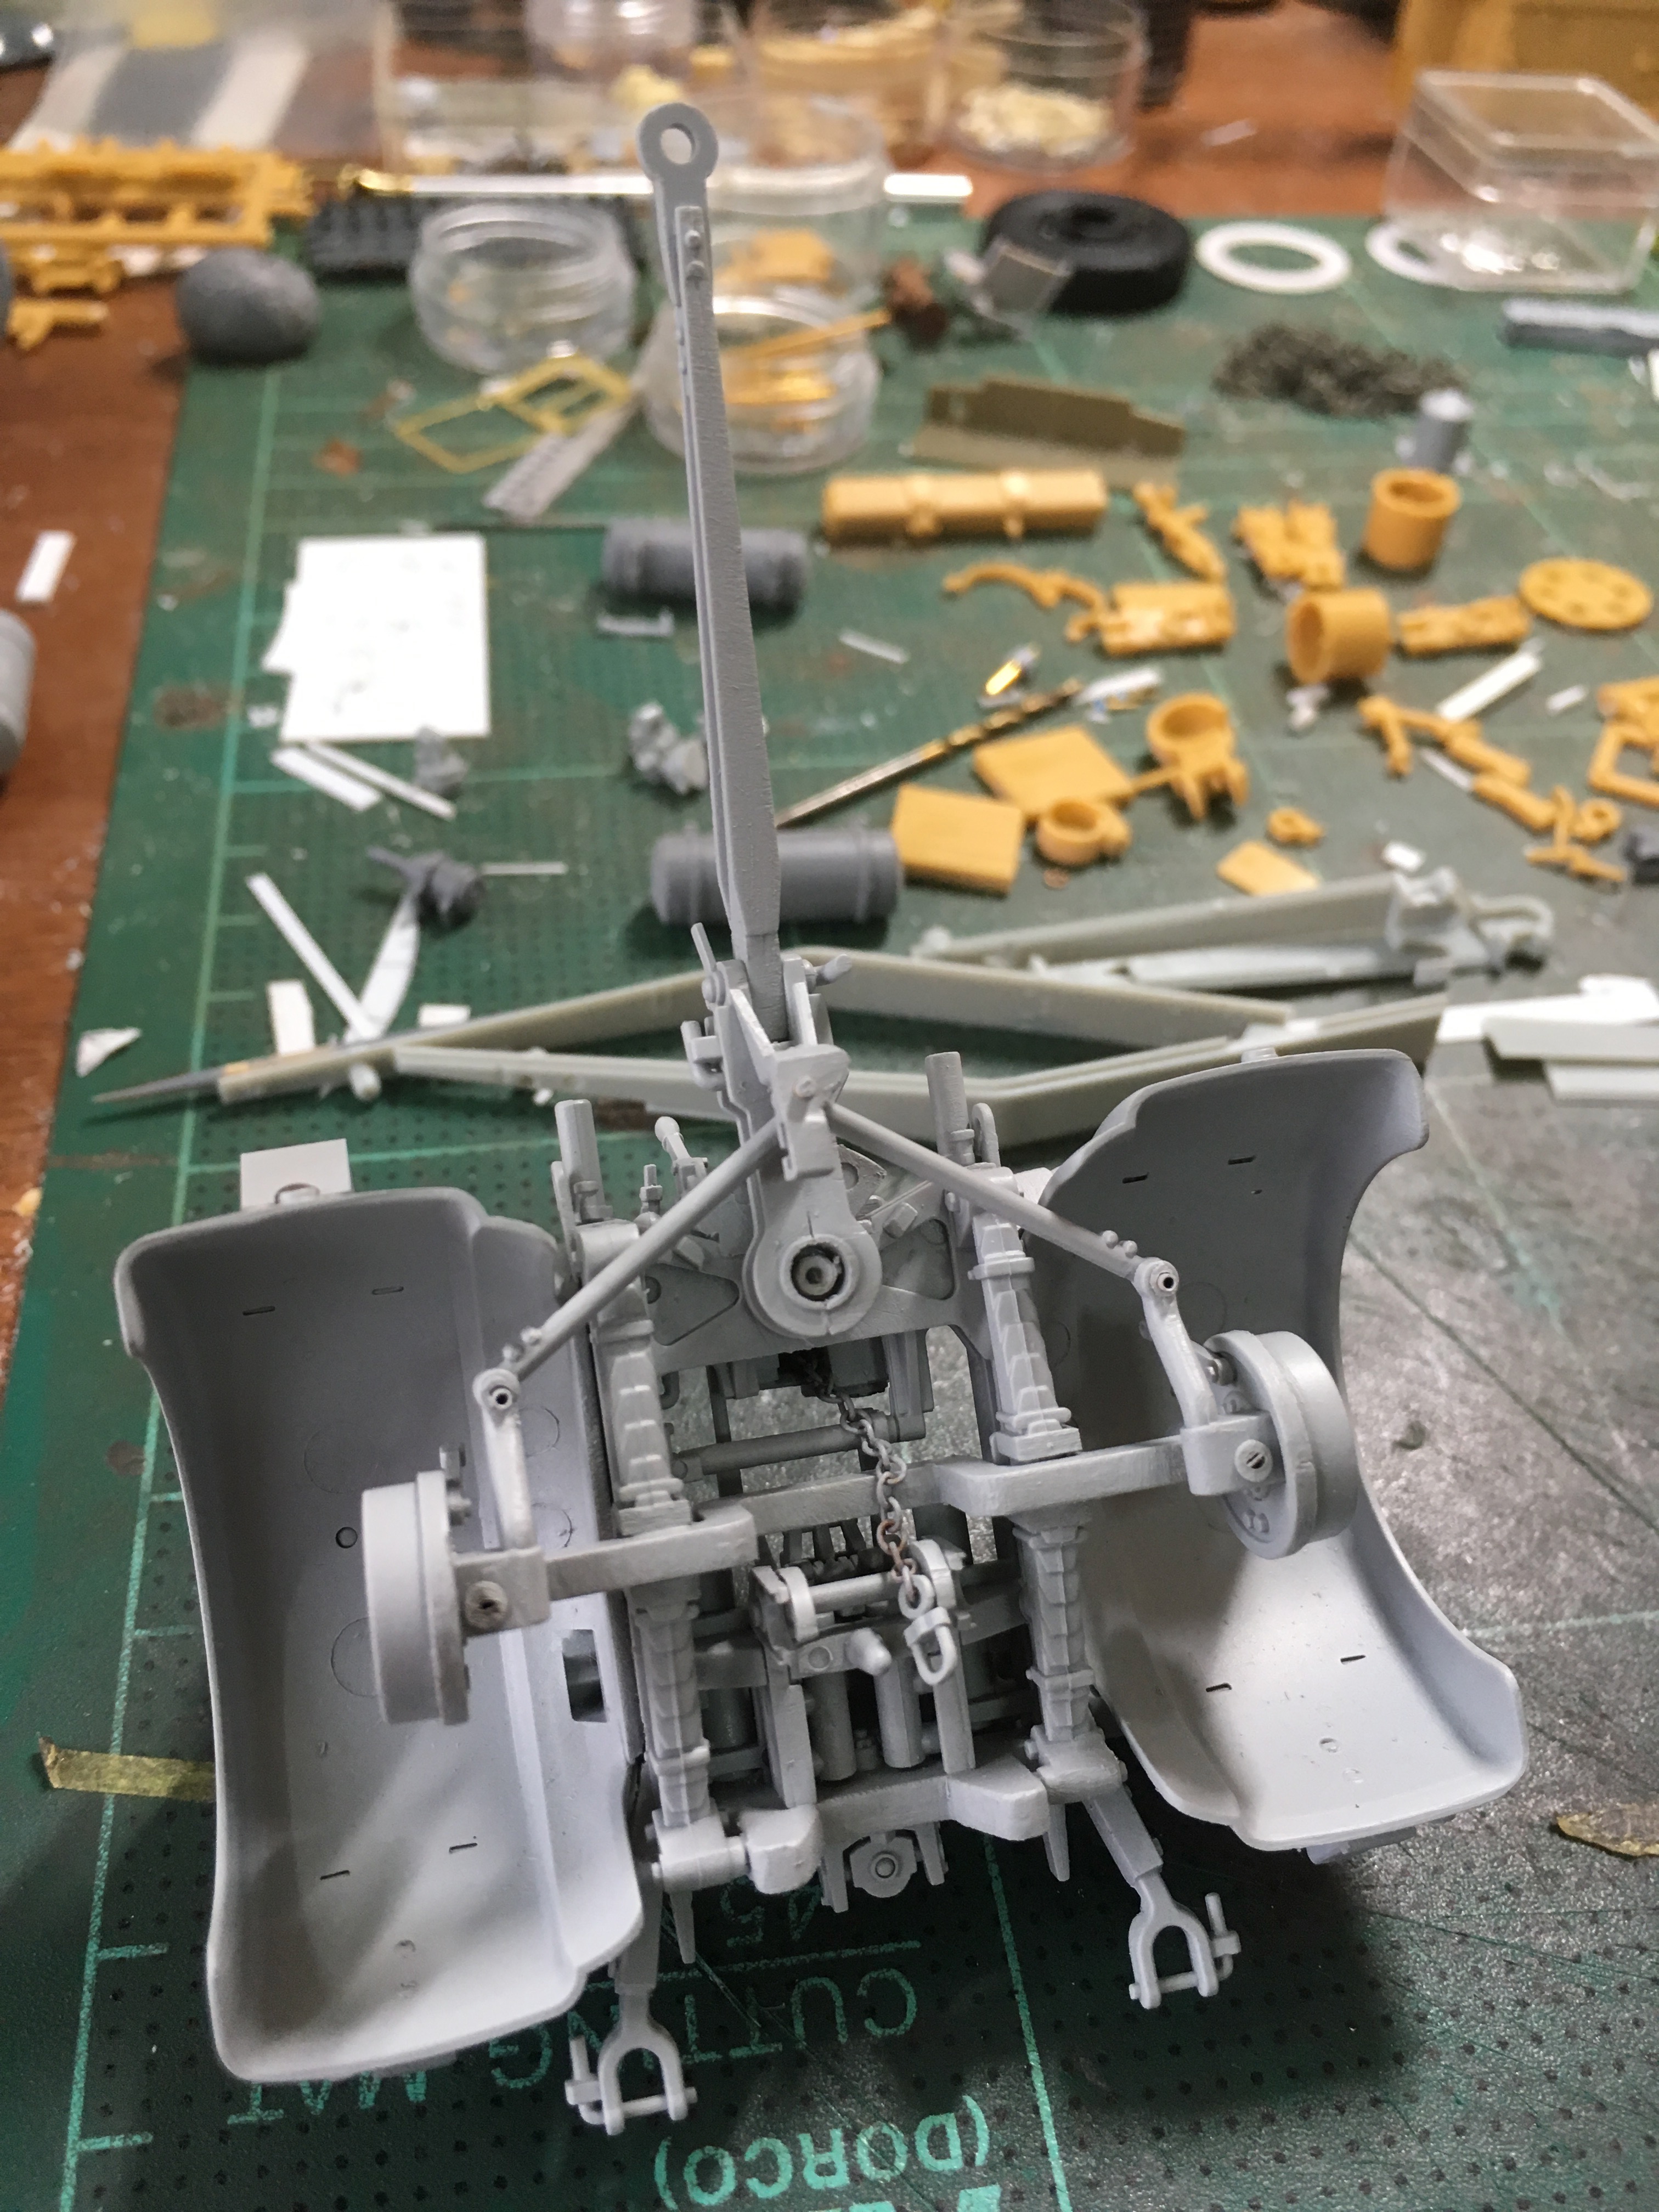
Turned to the right
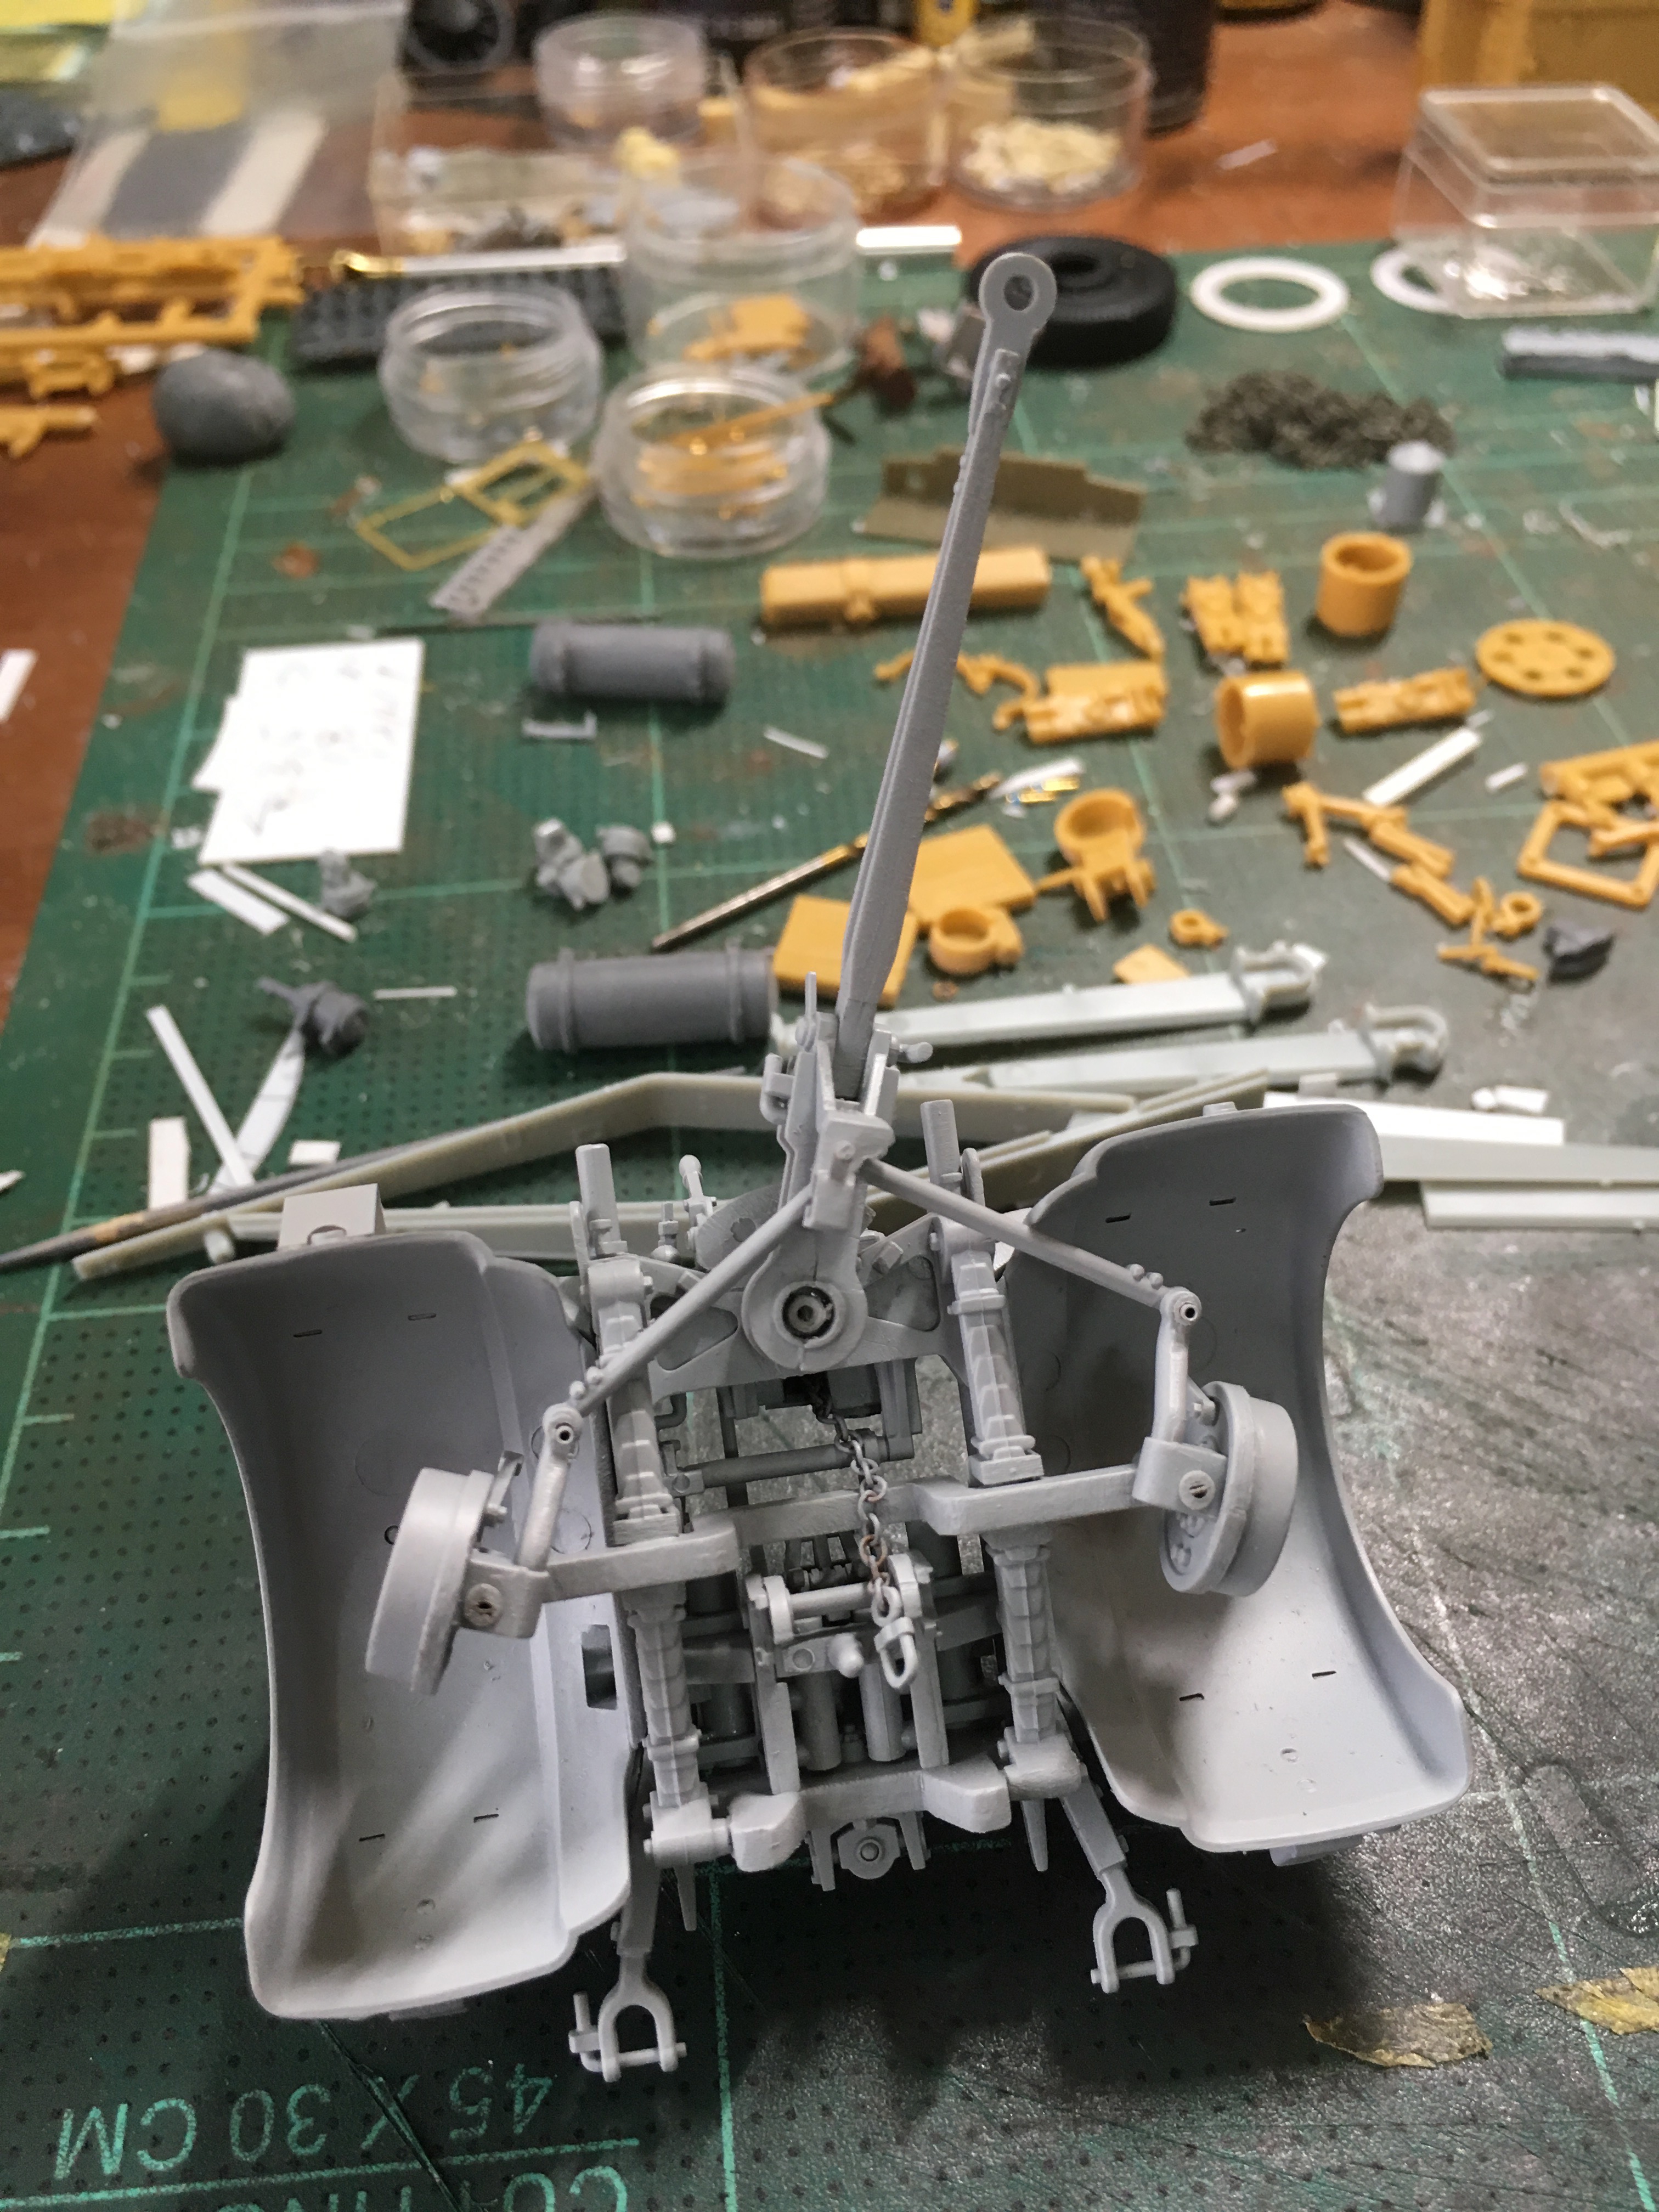
Turned to the left
With wheels temporarily added
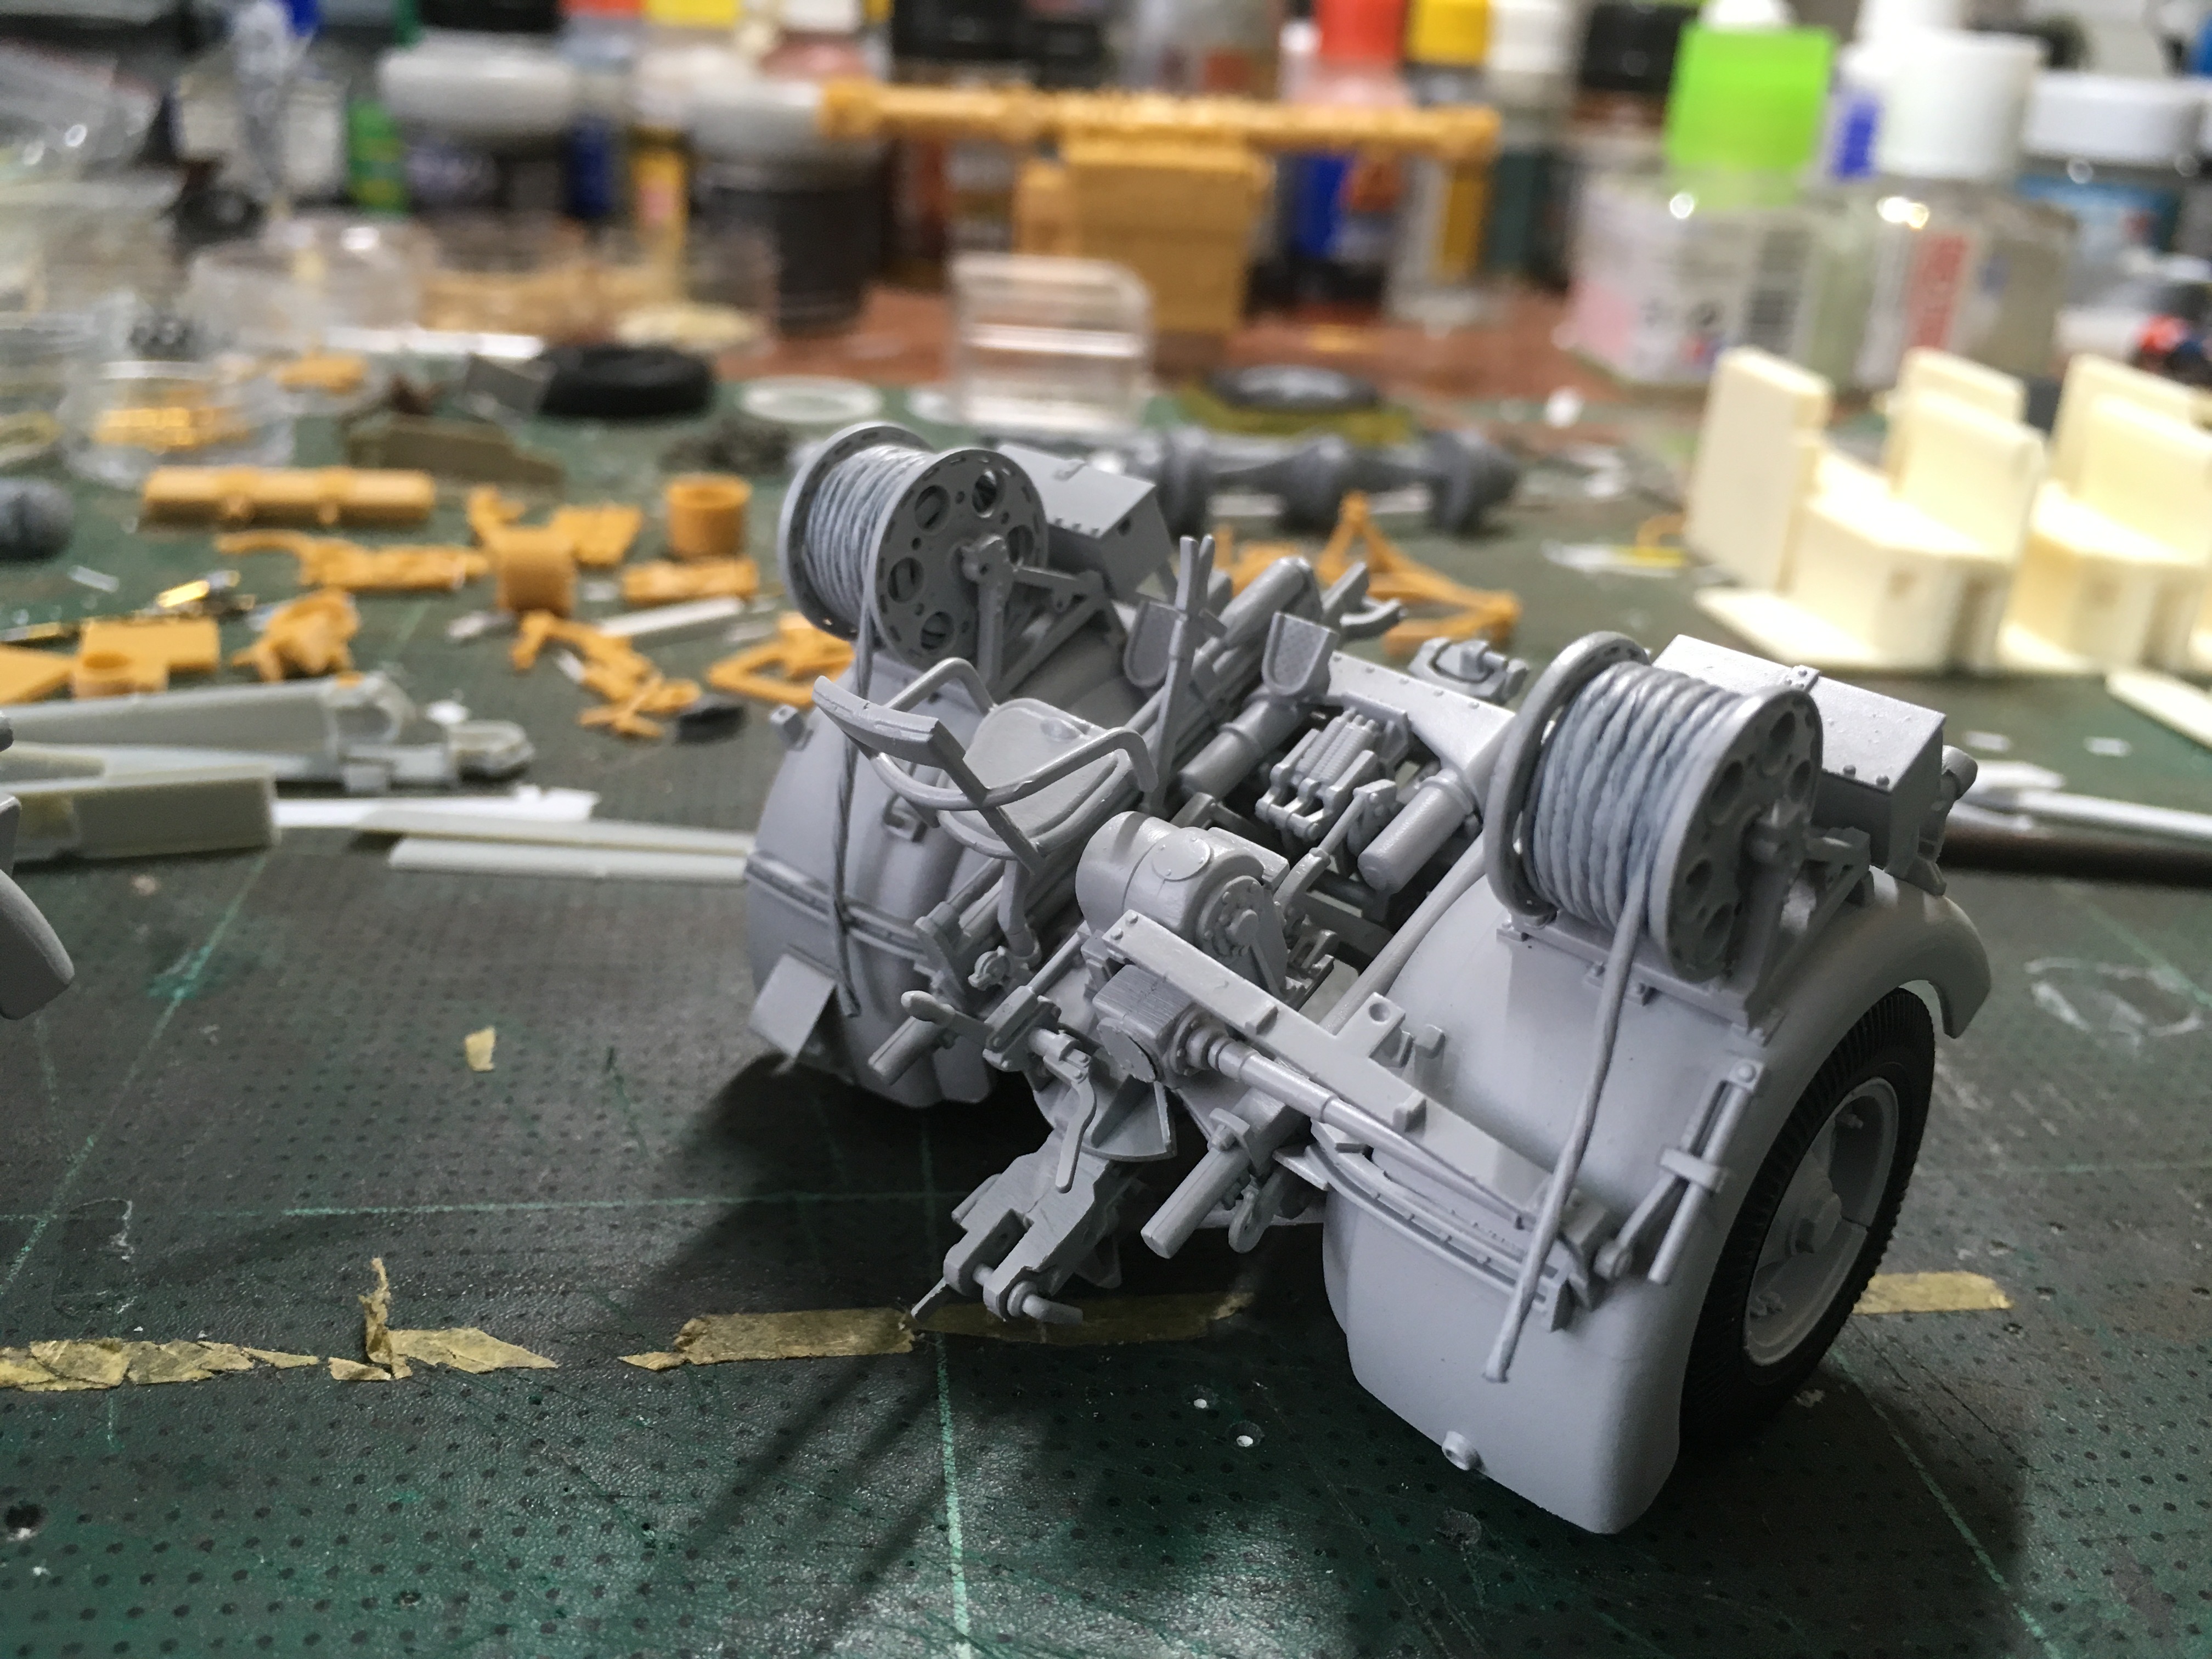
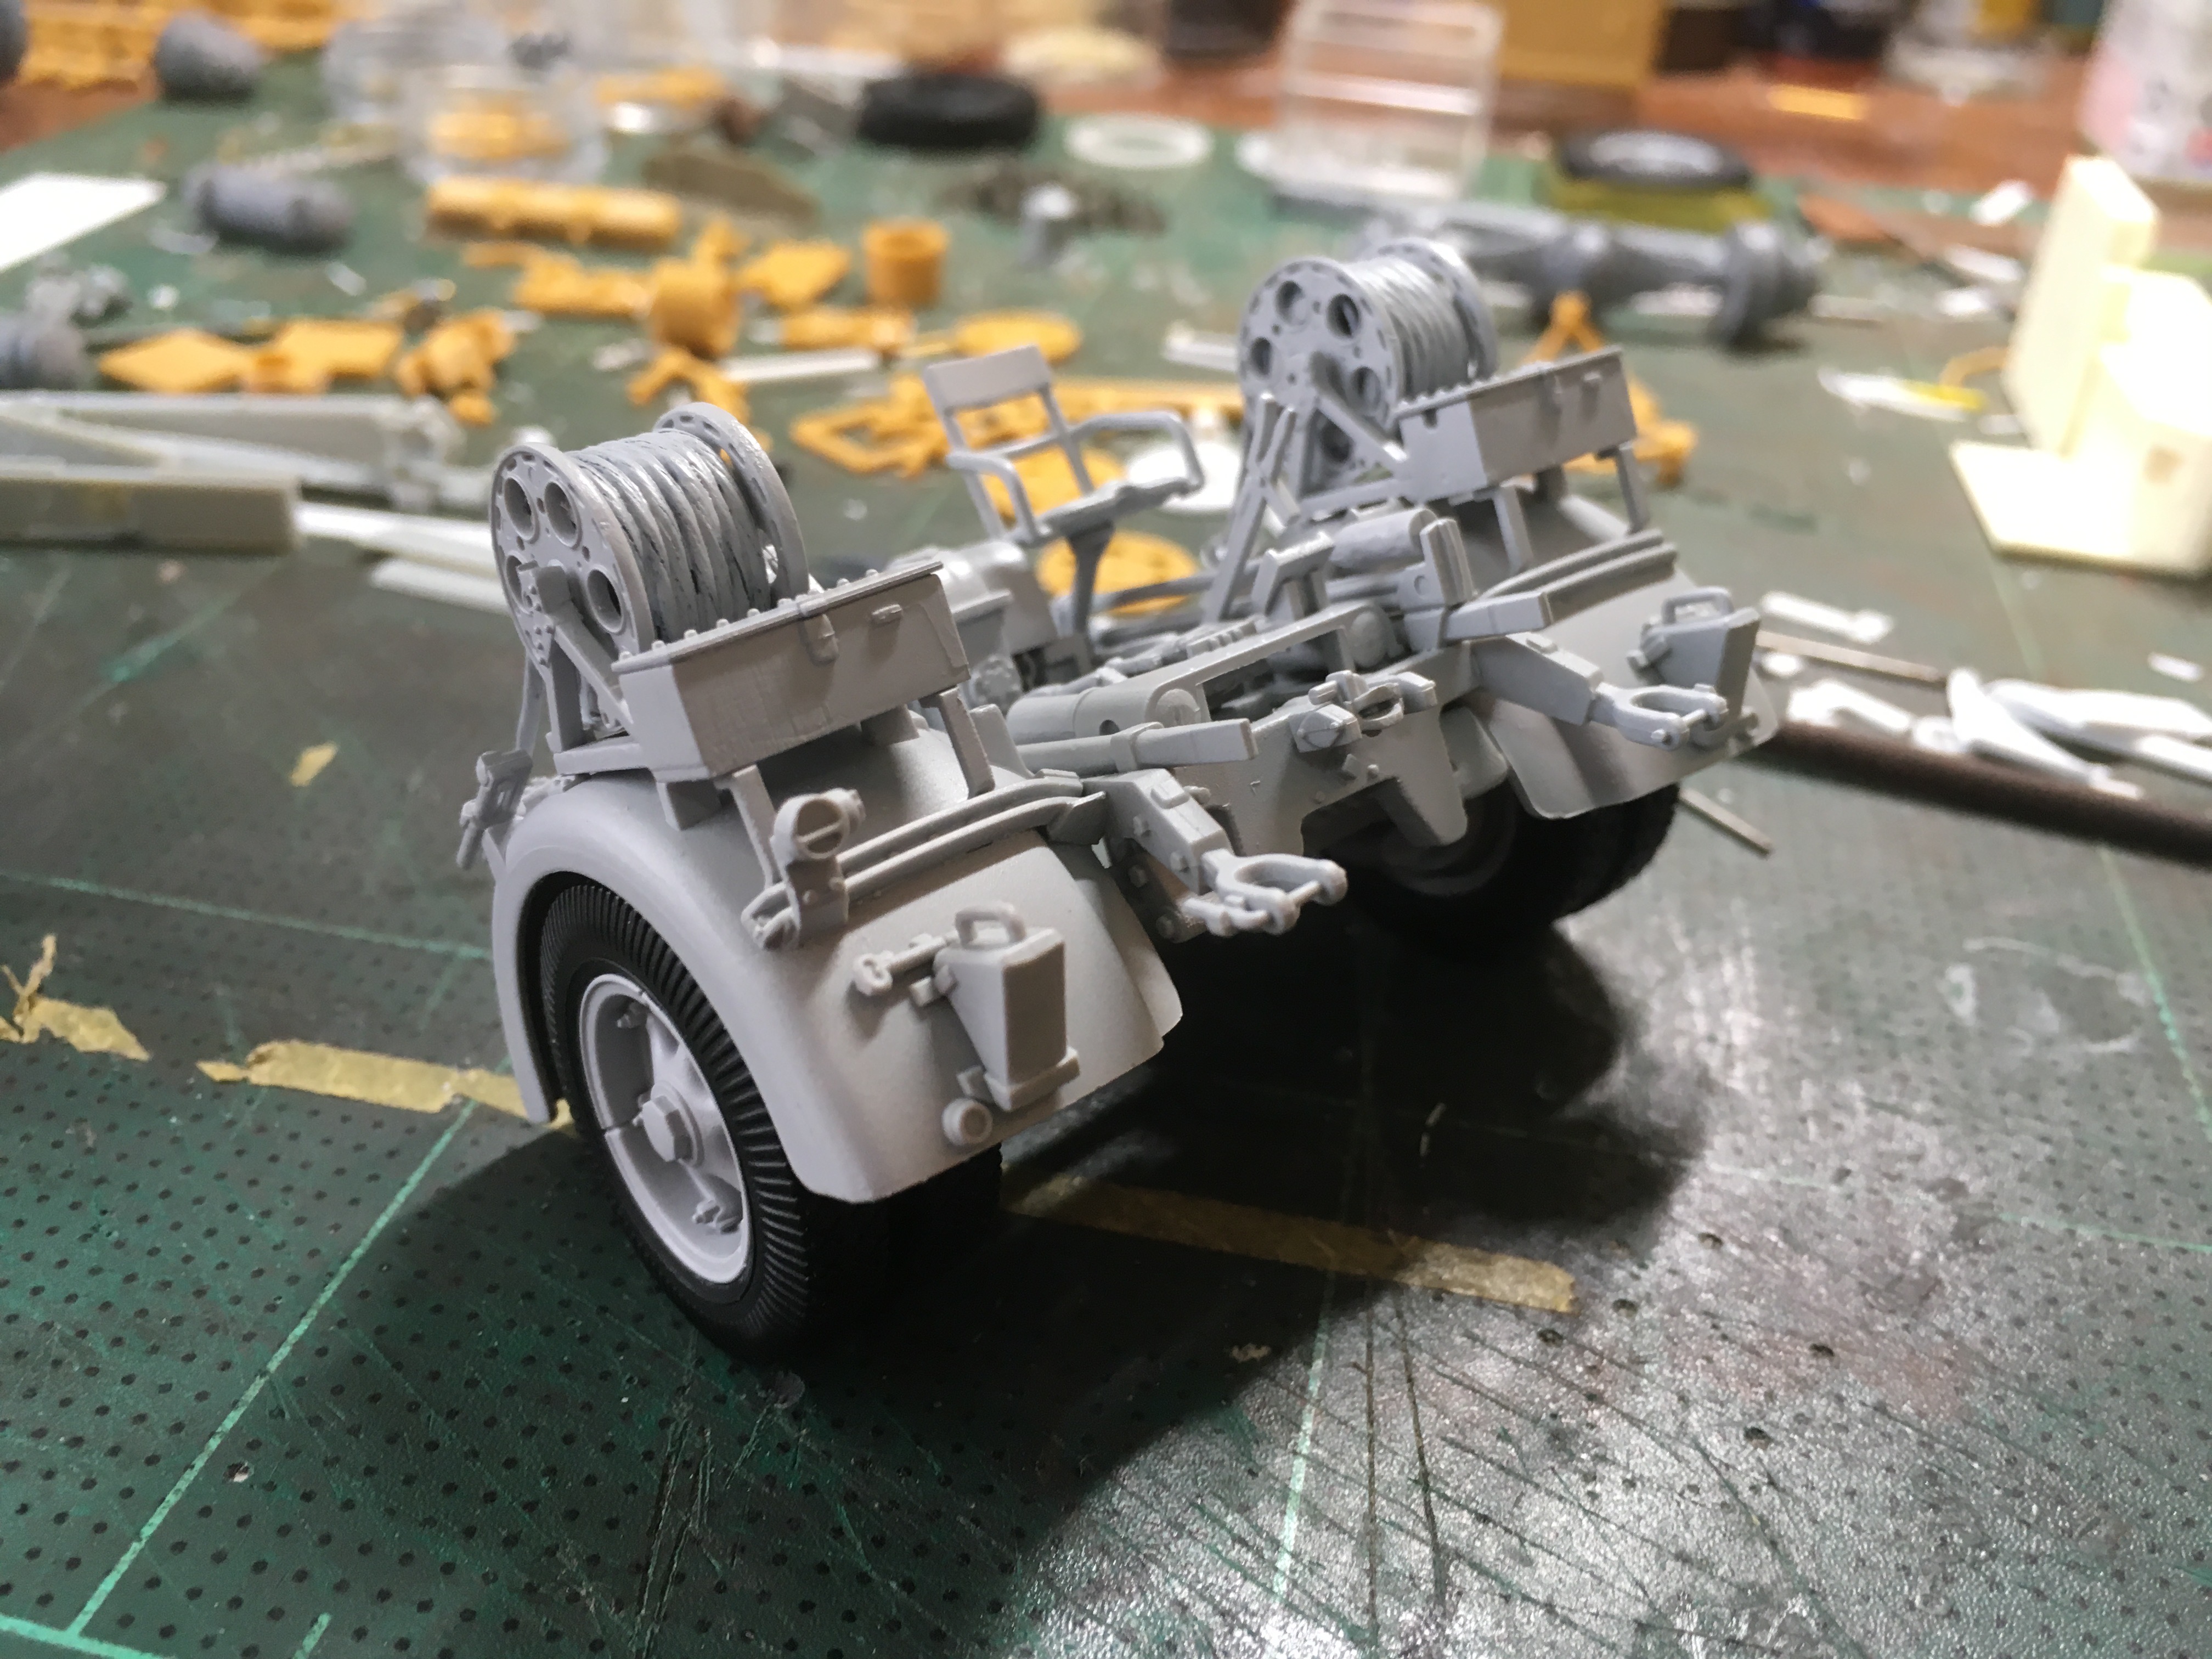
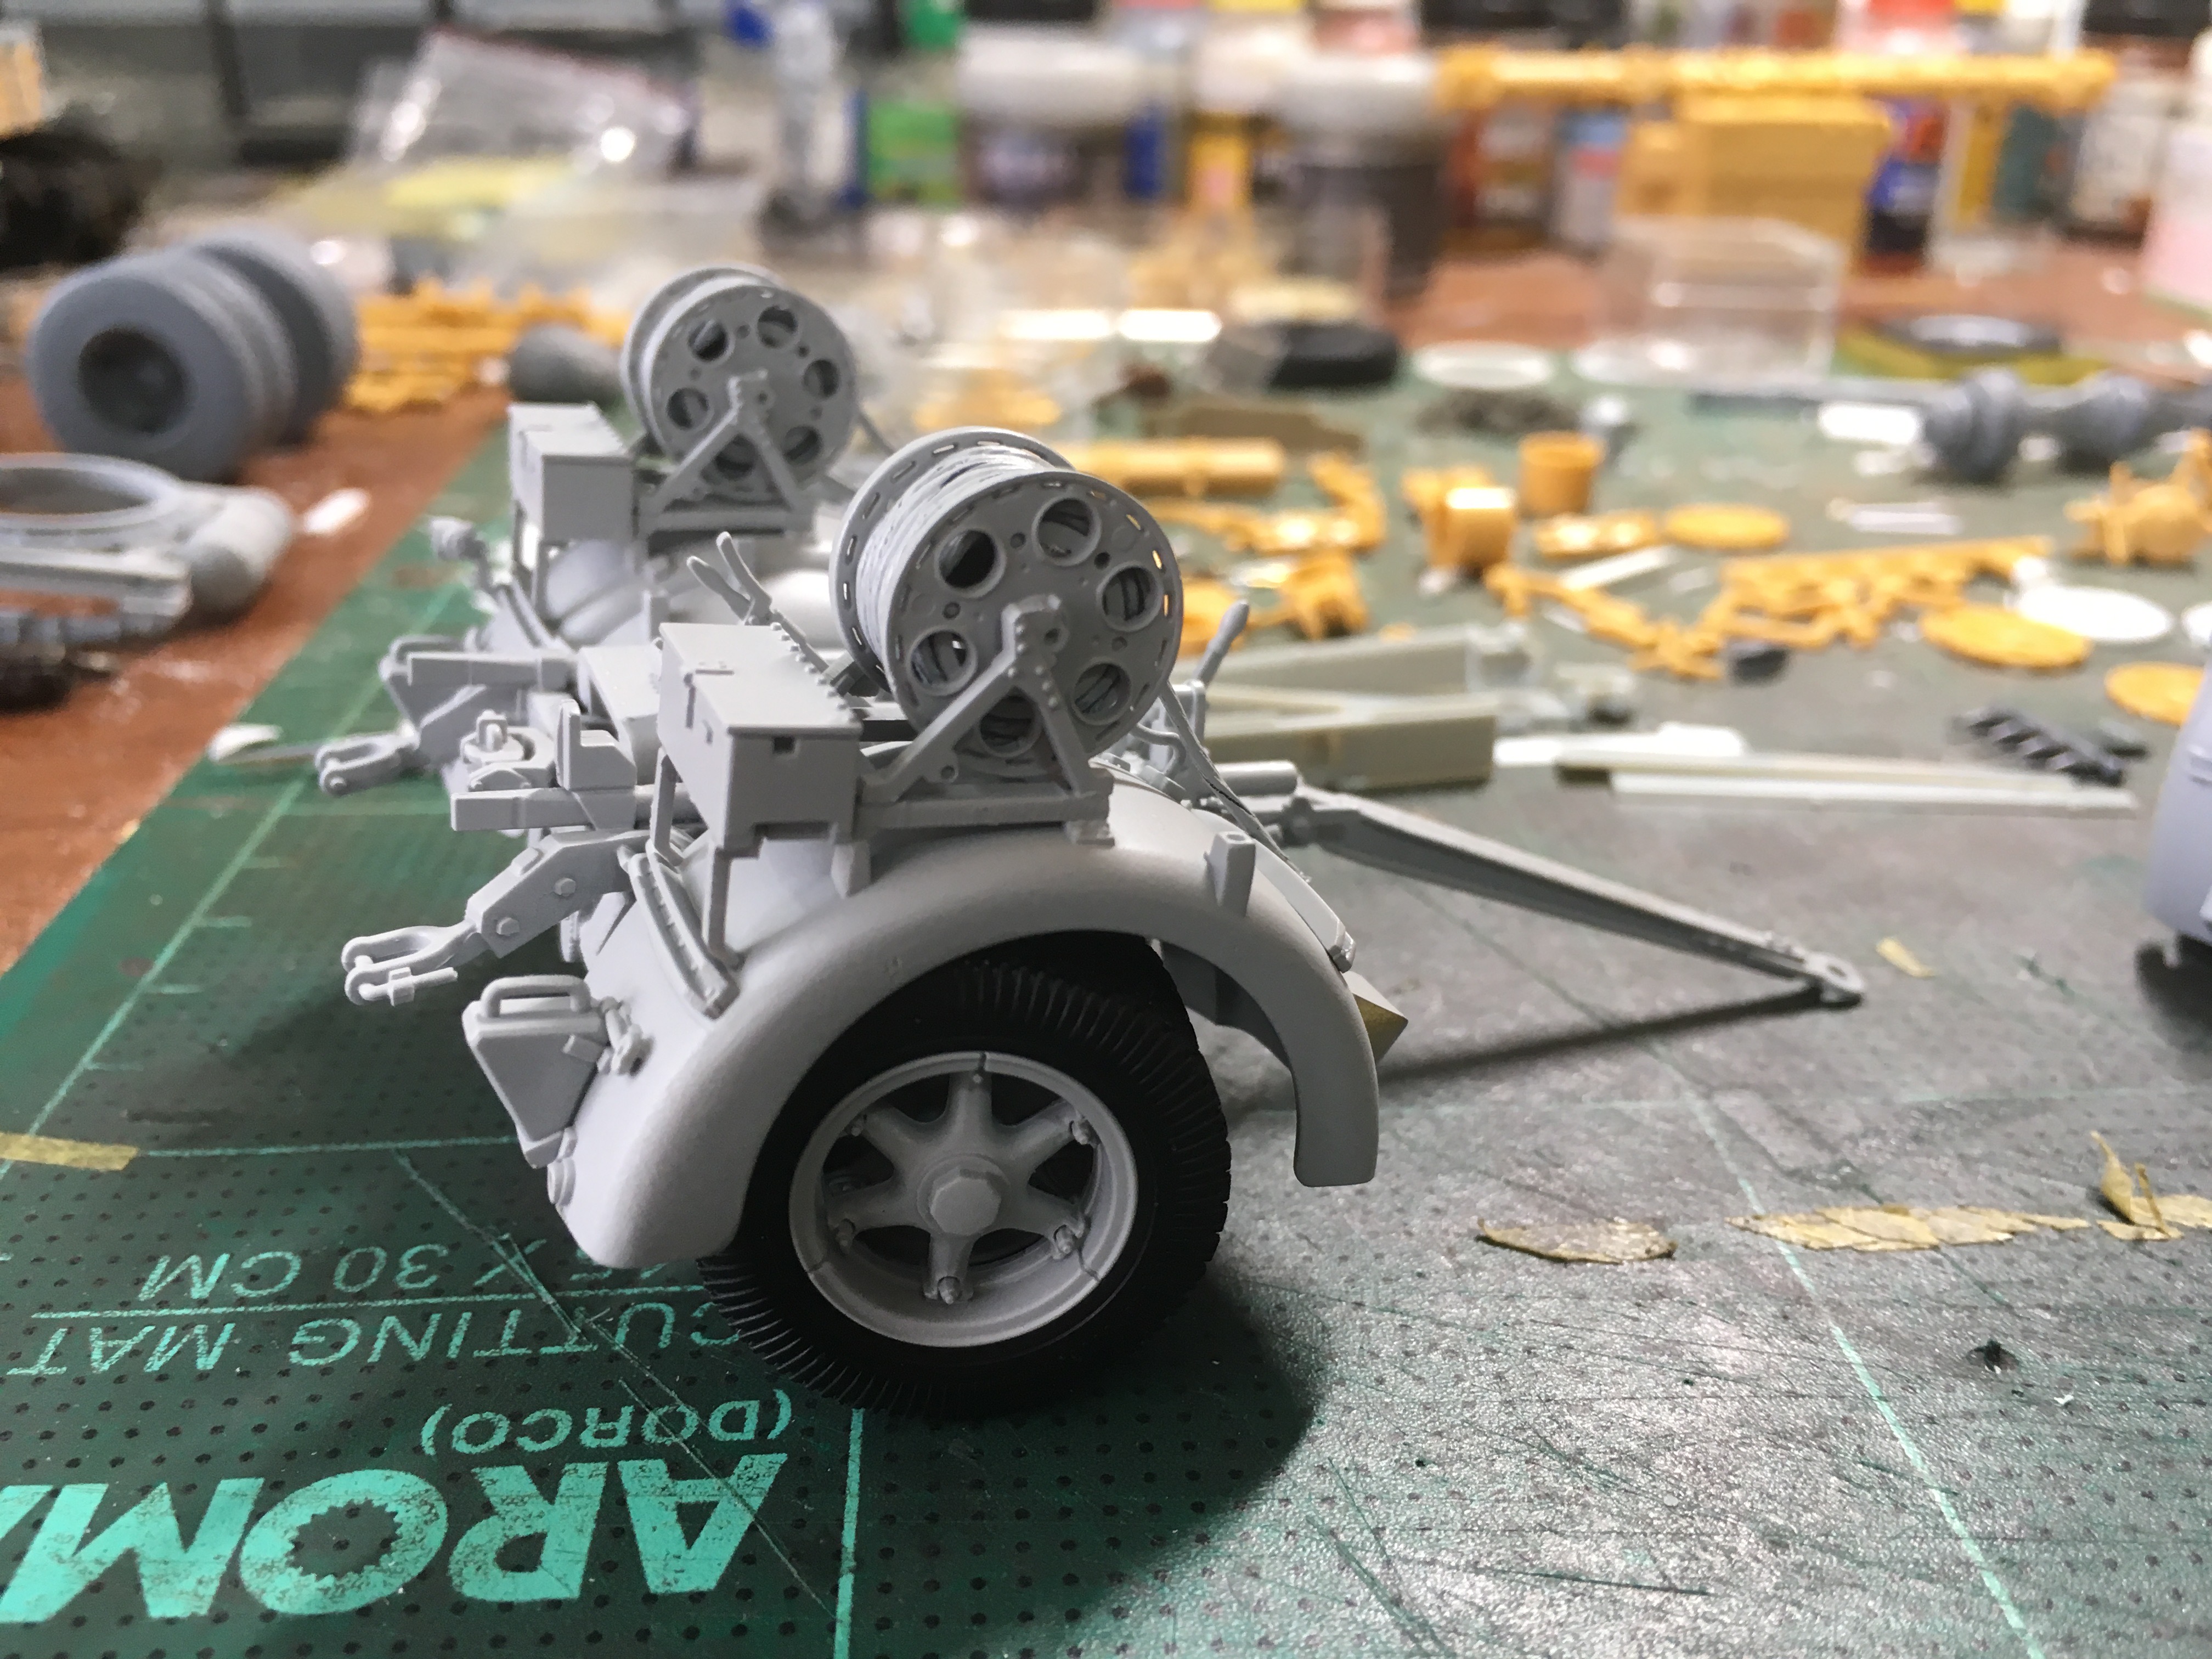
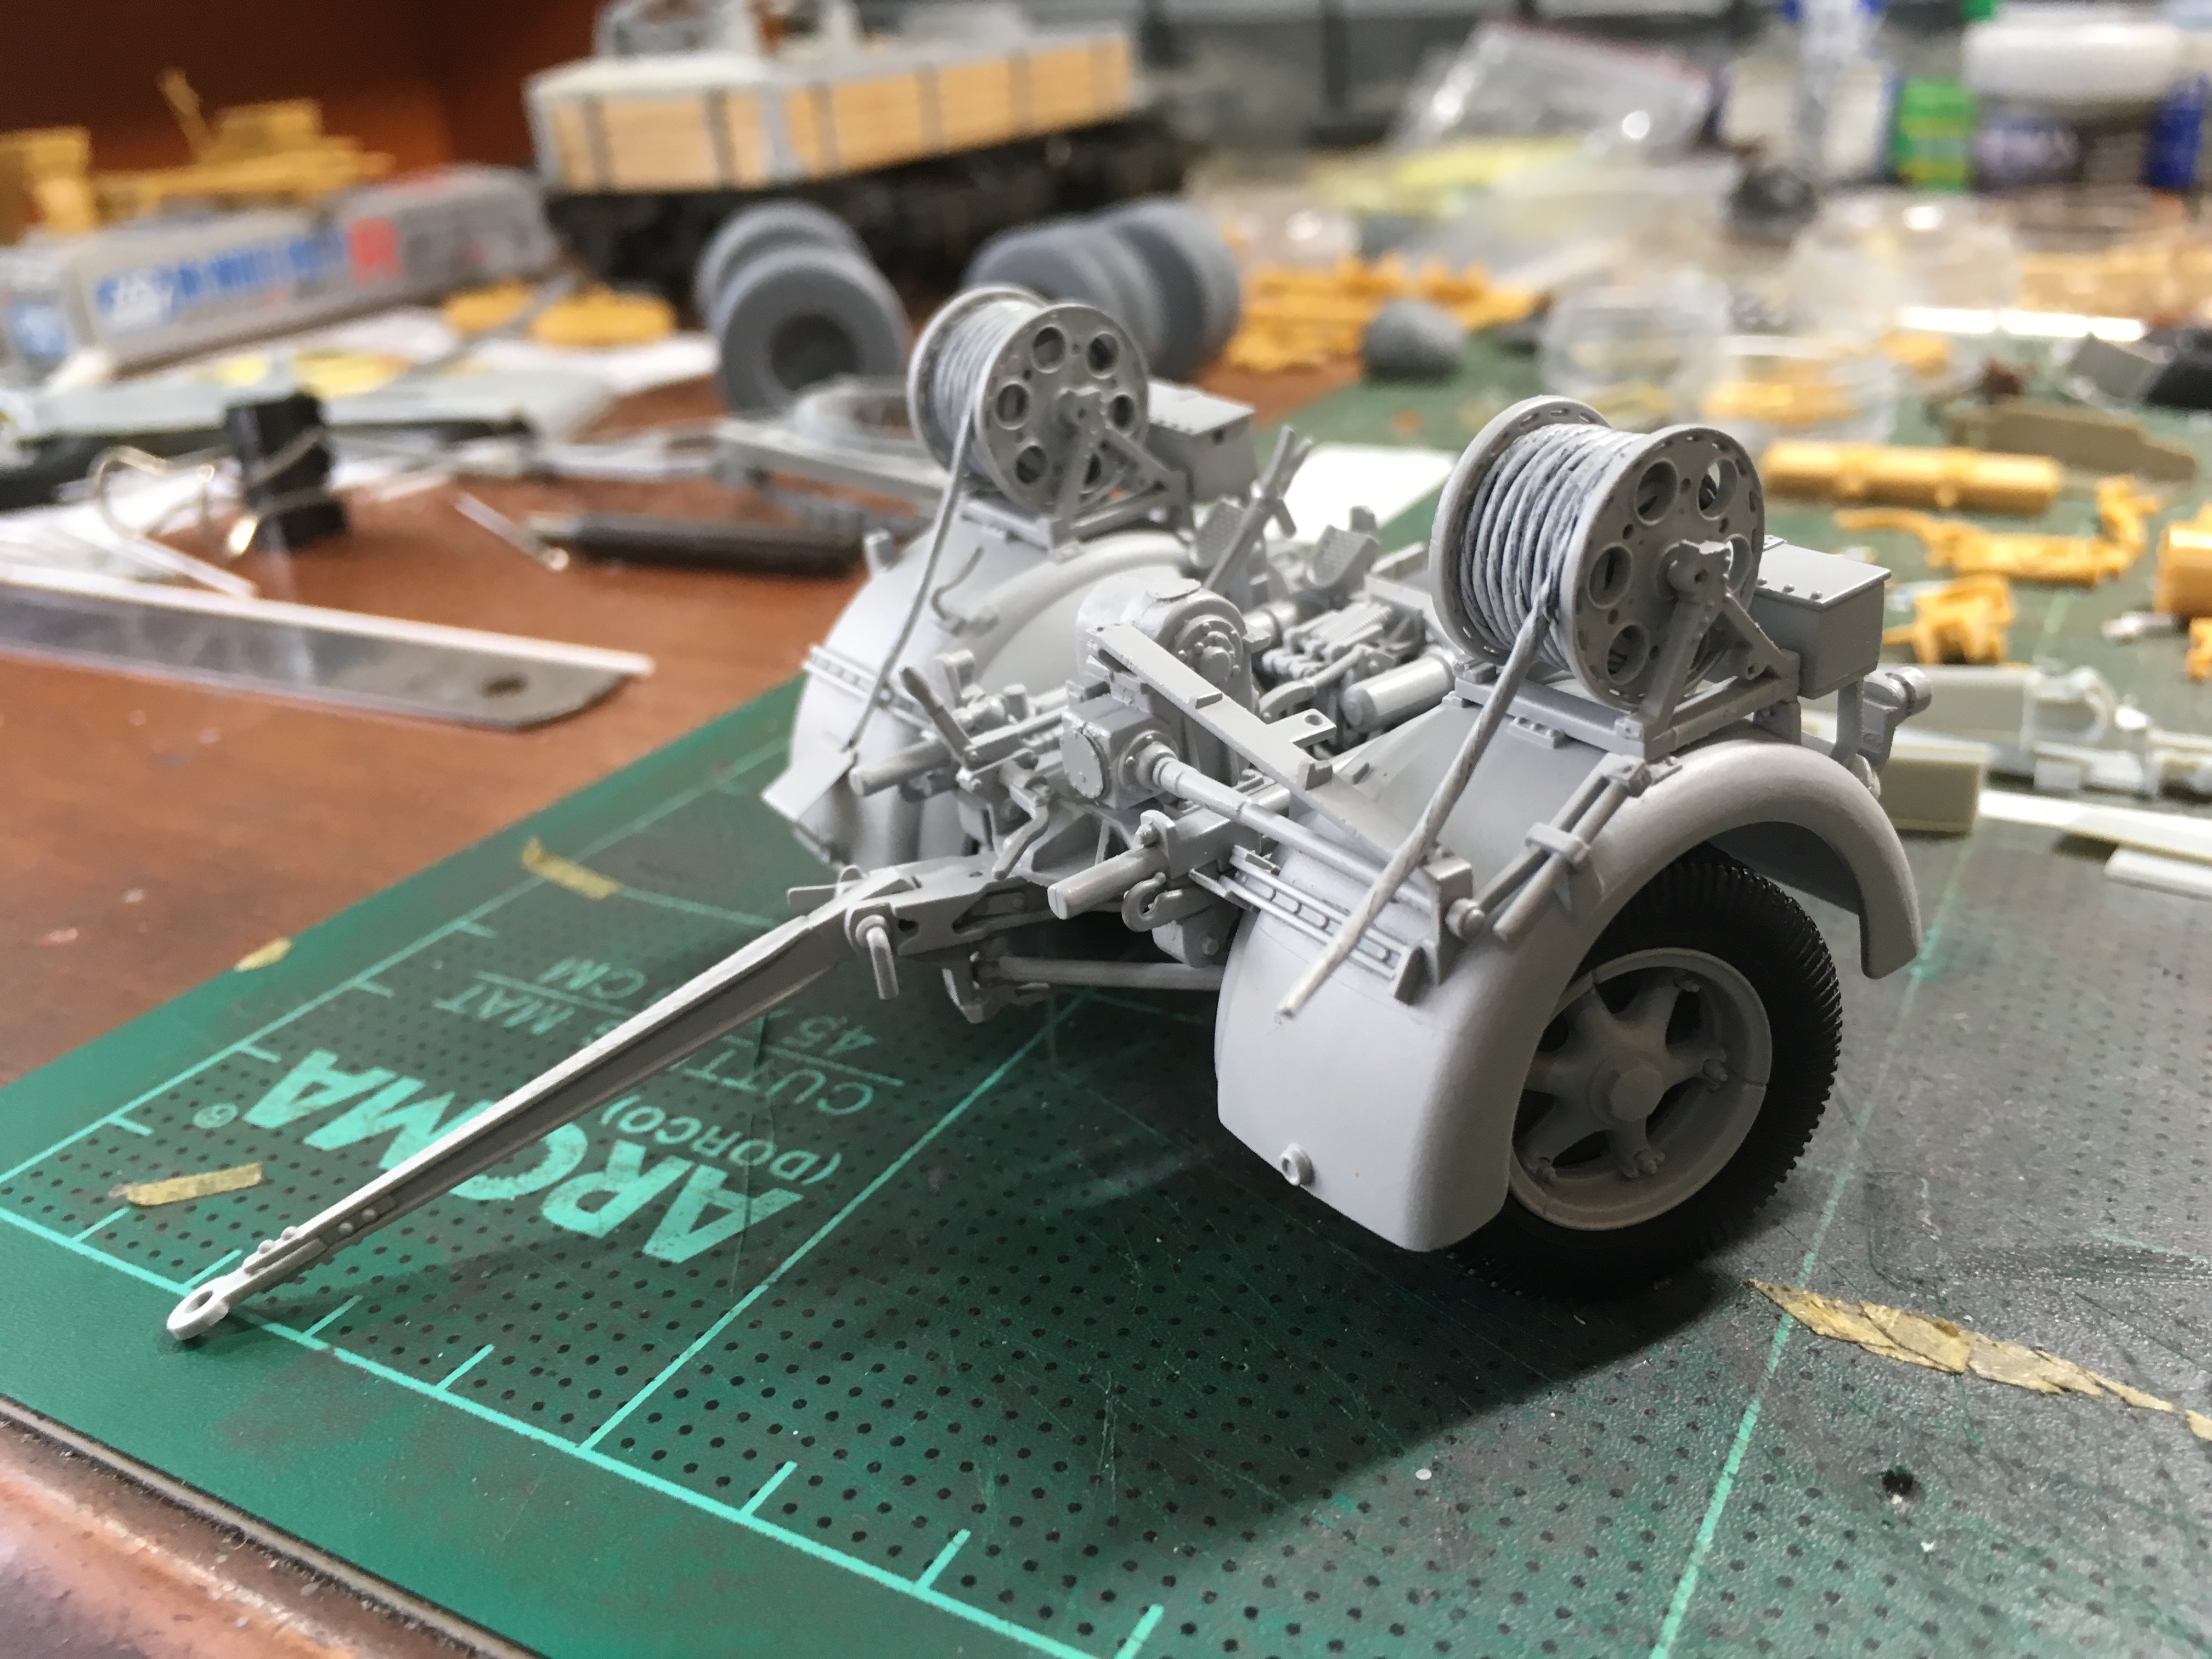
Steering is made possible by drilling the links and adding micro tube instead, so I can put bolts in. Will use some resin or RB Motion pieces, still to decide.
Question comes up how to connect both sides when the Sd.Ah. 202 is moved unloaded.
Does anyone know if the connection bar to connect both sections is included. Can not find it right now. Do other manufacturers add that detail?

Love the build so far, see what challenges the gun will bring.

Hope you all enjoy,

Until next time,

Robert Jan
SRAMSEY
Visit this Community
South Carolina, United States
Joined: January 28, 2010
KitMaker: 28 posts
Armorama: 27 posts
Posted: Thursday, March 28, 2019 - 05:14 AM UTC
Robert

That's is some really great work making the steering moveable.

Shawn
SRAMSEY
Visit this Community
South Carolina, United States
Joined: January 28, 2010
KitMaker: 28 posts
Armorama: 27 posts
Posted: Thursday, March 28, 2019 - 05:31 AM UTC
I thought I would join in, but I do have to apologize, because I am going to be adding to the number of Flak 38 being built.

I started bloging a GMP truck with Flak 30 which you can find here. https://armorama.kitmaker.net/forums/274541&page=1
I have had nothing but problems with the kit and I need to put it down. Hopefully some day I will have the motivation to finish it. Lets get to the point. I started on the base for this build and I really like it, so I need a replacement vehicle.

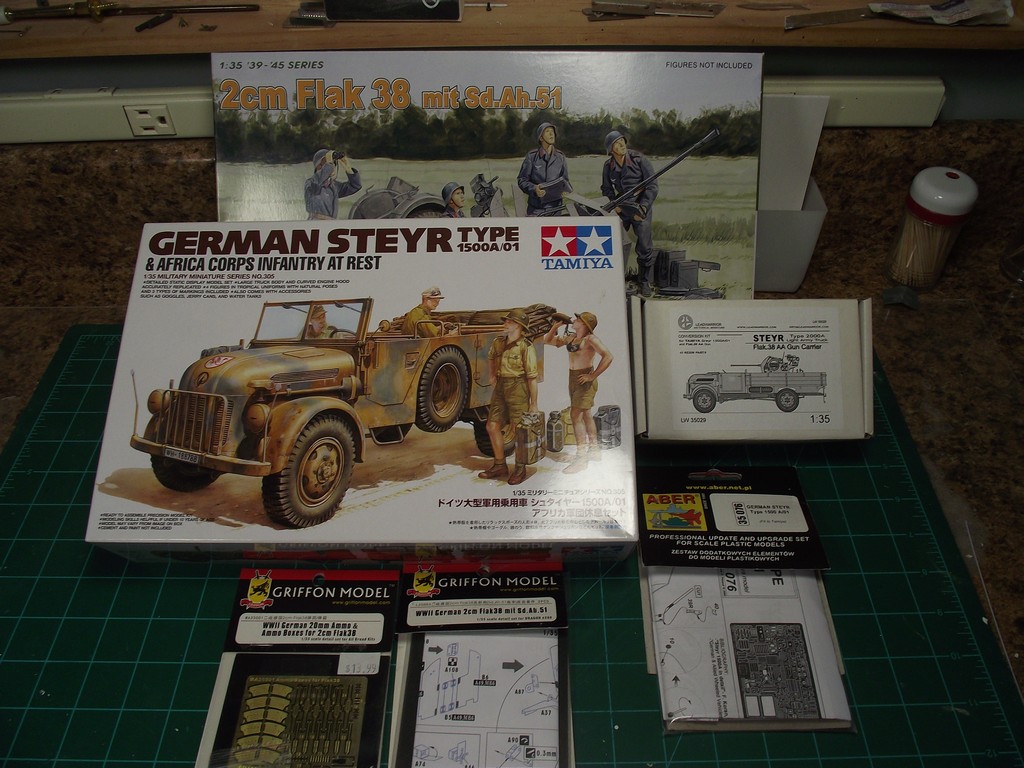
So,I will be building the Tamiya Steyr with a Leadwarrior conversion.

Here are the buts and pieces, but I will only be adding PE if it makes significant improvement over the kit parts.


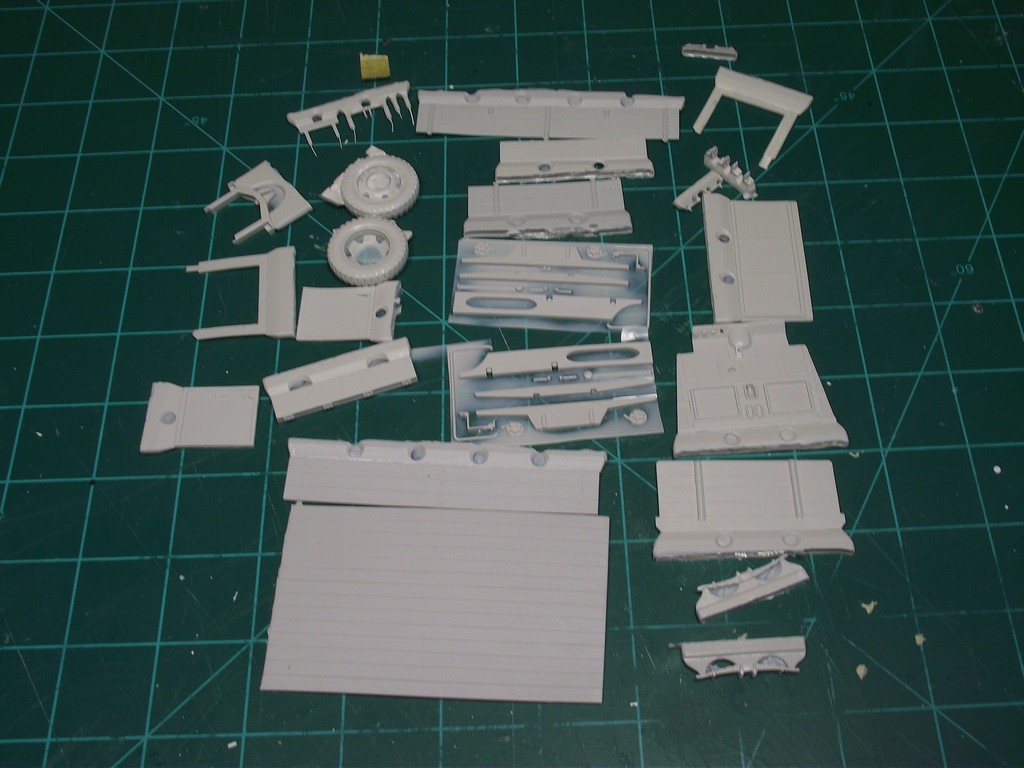
Here is the Leadwarrior pieces, which has some really great detail. Great review here by Terry: https://www.perthmilitarymodelling.com/reviews/vehicles/leadwarrior/lw35029.html


Shawn


SRAMSEY
Visit this Community
South Carolina, United States
Joined: January 28, 2010
KitMaker: 28 posts
Armorama: 27 posts
Posted: Thursday, March 28, 2019 - 05:38 AM UTC
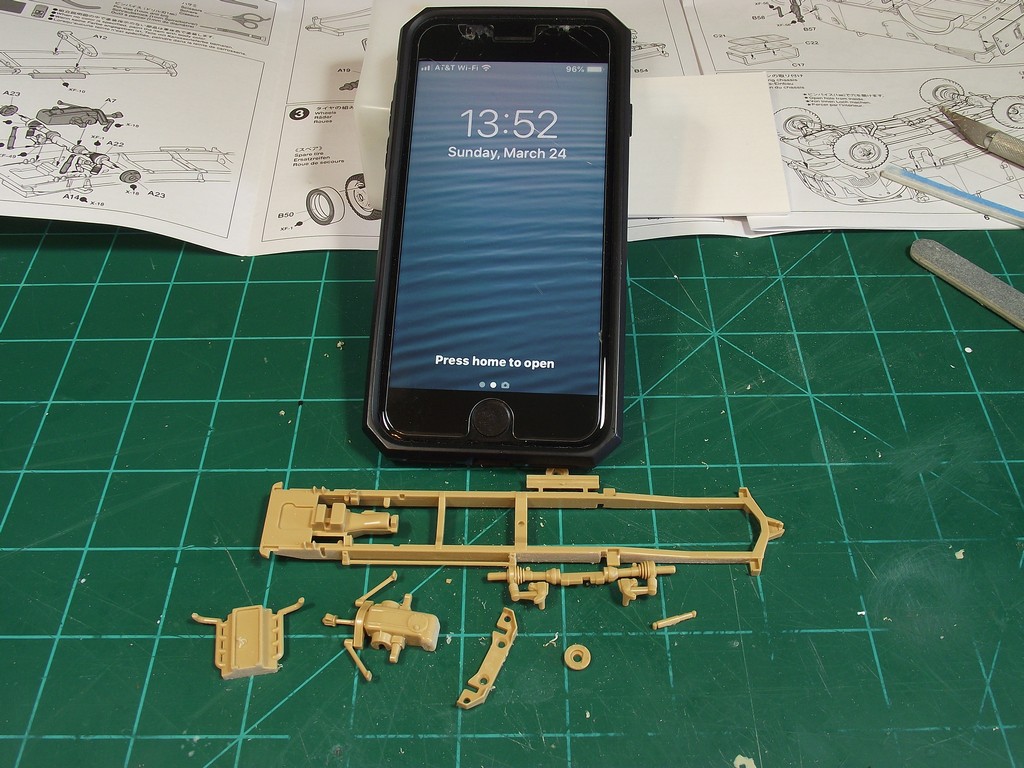
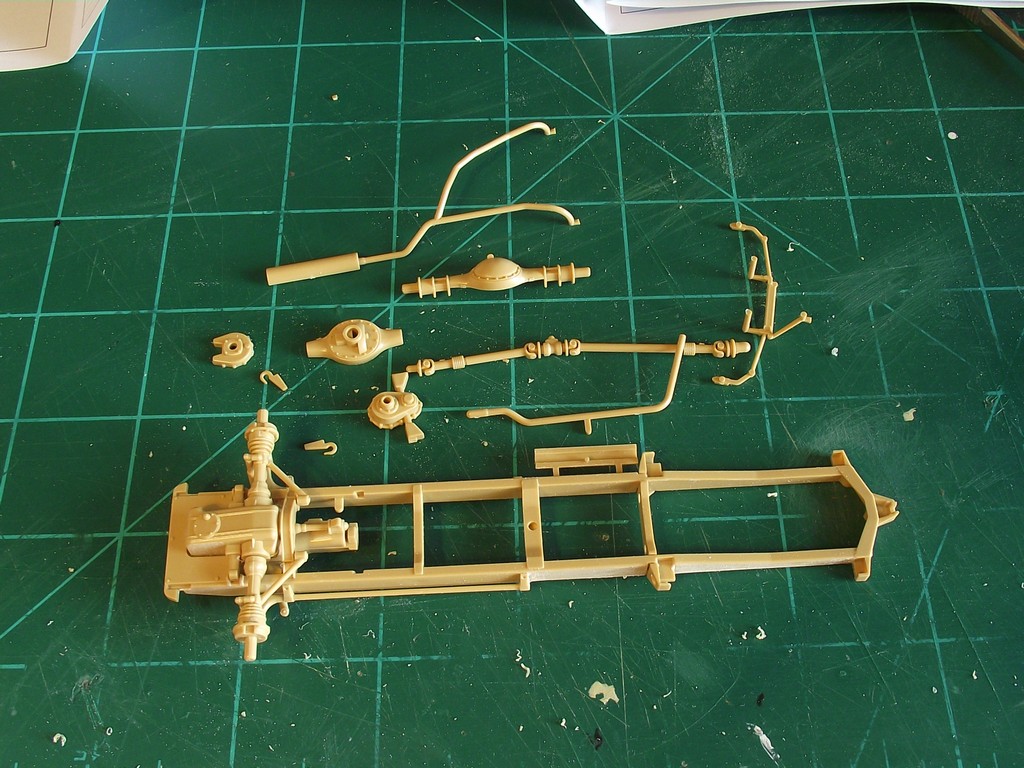
Here we have the first few steps. I forgot how well Tamiya kits really go together and the following work was done in juts a couple of hours.


Additional leaf springs for the extra weight.


Some easy modifications to the rear wheels that Terry explains in his review. Basically the rear wheels would not have an space if you did not make these modifications.


Shawn

SpeedyJ
Visit this Community
Bangkok, Thailand / ไทย
Joined: September 17, 2013
KitMaker: 1,617 posts
Armorama: 1,150 posts
Posted: Friday, March 29, 2019 - 03:21 AM UTC
Thanks Shawn. It's really a job anyone can do. Get some good drills, I have mine for years already, get some fine tubing and voila. Some reference is always handy, but that's what the www is all about.
Love the conversion you make. Will follow for sure, look like Lead Warrior uses a high quality resin molding / printing? Impressed.

Kind regards,

Robert Jan
MLD
Visit this Community
Vermont, United States
Joined: July 21, 2002
KitMaker: 3,569 posts
Armorama: 2,070 posts
Posted: Friday, March 29, 2019 - 03:35 AM UTC


Having finished up these two already, will probably go with one of the other two in this set.


Having heard of fiddly nature of the quad gun, I'll probably go with the two-barrel version.

petbat
Visit this Community
Queensland, Australia
Joined: August 06, 2005
KitMaker: 3,353 posts
Armorama: 3,121 posts
Posted: Friday, March 29, 2019 - 10:42 AM UTC
Do both Mike !!!
Alex2011
Visit this Community
Bayern, Germany
Joined: May 13, 2018
KitMaker: 58 posts
Armorama: 36 posts
Posted: Friday, March 29, 2019 - 06:45 PM UTC
Hello to all,

this will be my second campaign (actually my third, but the kit got lost somewhere during the move to my new home...),
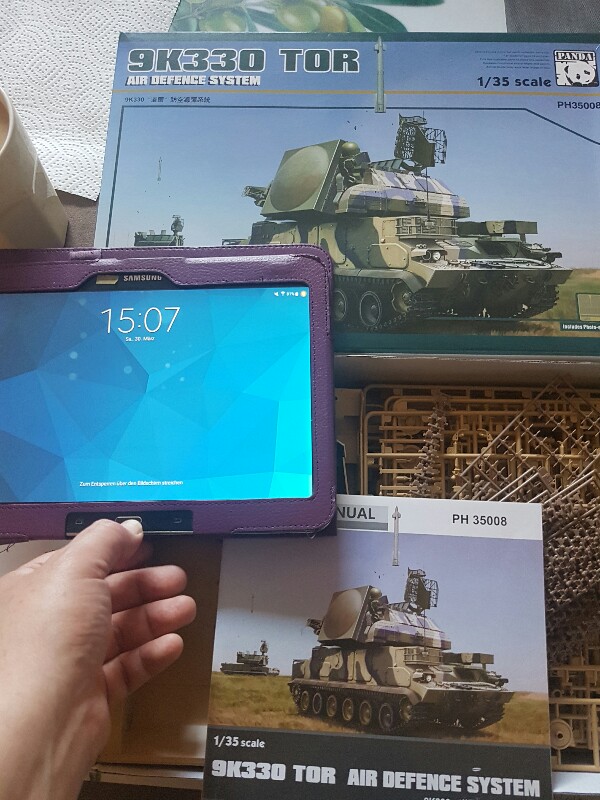
and I would like to participate with Panda's 9K330 "Tor".
Starting picture will follow.

Have fun modelling

- Alex
Alex2011
Visit this Community
Bayern, Germany
Joined: May 13, 2018
KitMaker: 58 posts
Armorama: 36 posts
Posted: Saturday, March 30, 2019 - 02:23 AM UTC
Hello to all,

as promised, here's my entry picture.


I heard different opinions about this kit. Mostly, that the model leaves something to be desired. Or much worse...
But I'll see what it is like.


Happy modelling
-Alex
petbat
Visit this Community
Queensland, Australia
Joined: August 06, 2005
KitMaker: 3,353 posts
Armorama: 3,121 posts
Posted: Saturday, March 30, 2019 - 09:39 AM UTC
Welcome Alex. Hope the build is better than you have been led to expect.
Alex2011
Visit this Community
Bayern, Germany
Joined: May 13, 2018
KitMaker: 58 posts
Armorama: 36 posts
Posted: Saturday, March 30, 2019 - 06:23 PM UTC
Peter, thank you for the welcome.

I think that the kit is not that bad, not untill now. I did some small parts on the front and rear, and started the shock absorbers (each consists of 4 parts,photos to follow), and no problems.
Let's see what it's like, when it's up to the radar.

- Alex

Alex2011
Visit this Community
Bayern, Germany
Joined: May 13, 2018
KitMaker: 58 posts
Armorama: 36 posts
Posted: Saturday, March 30, 2019 - 06:34 PM UTC
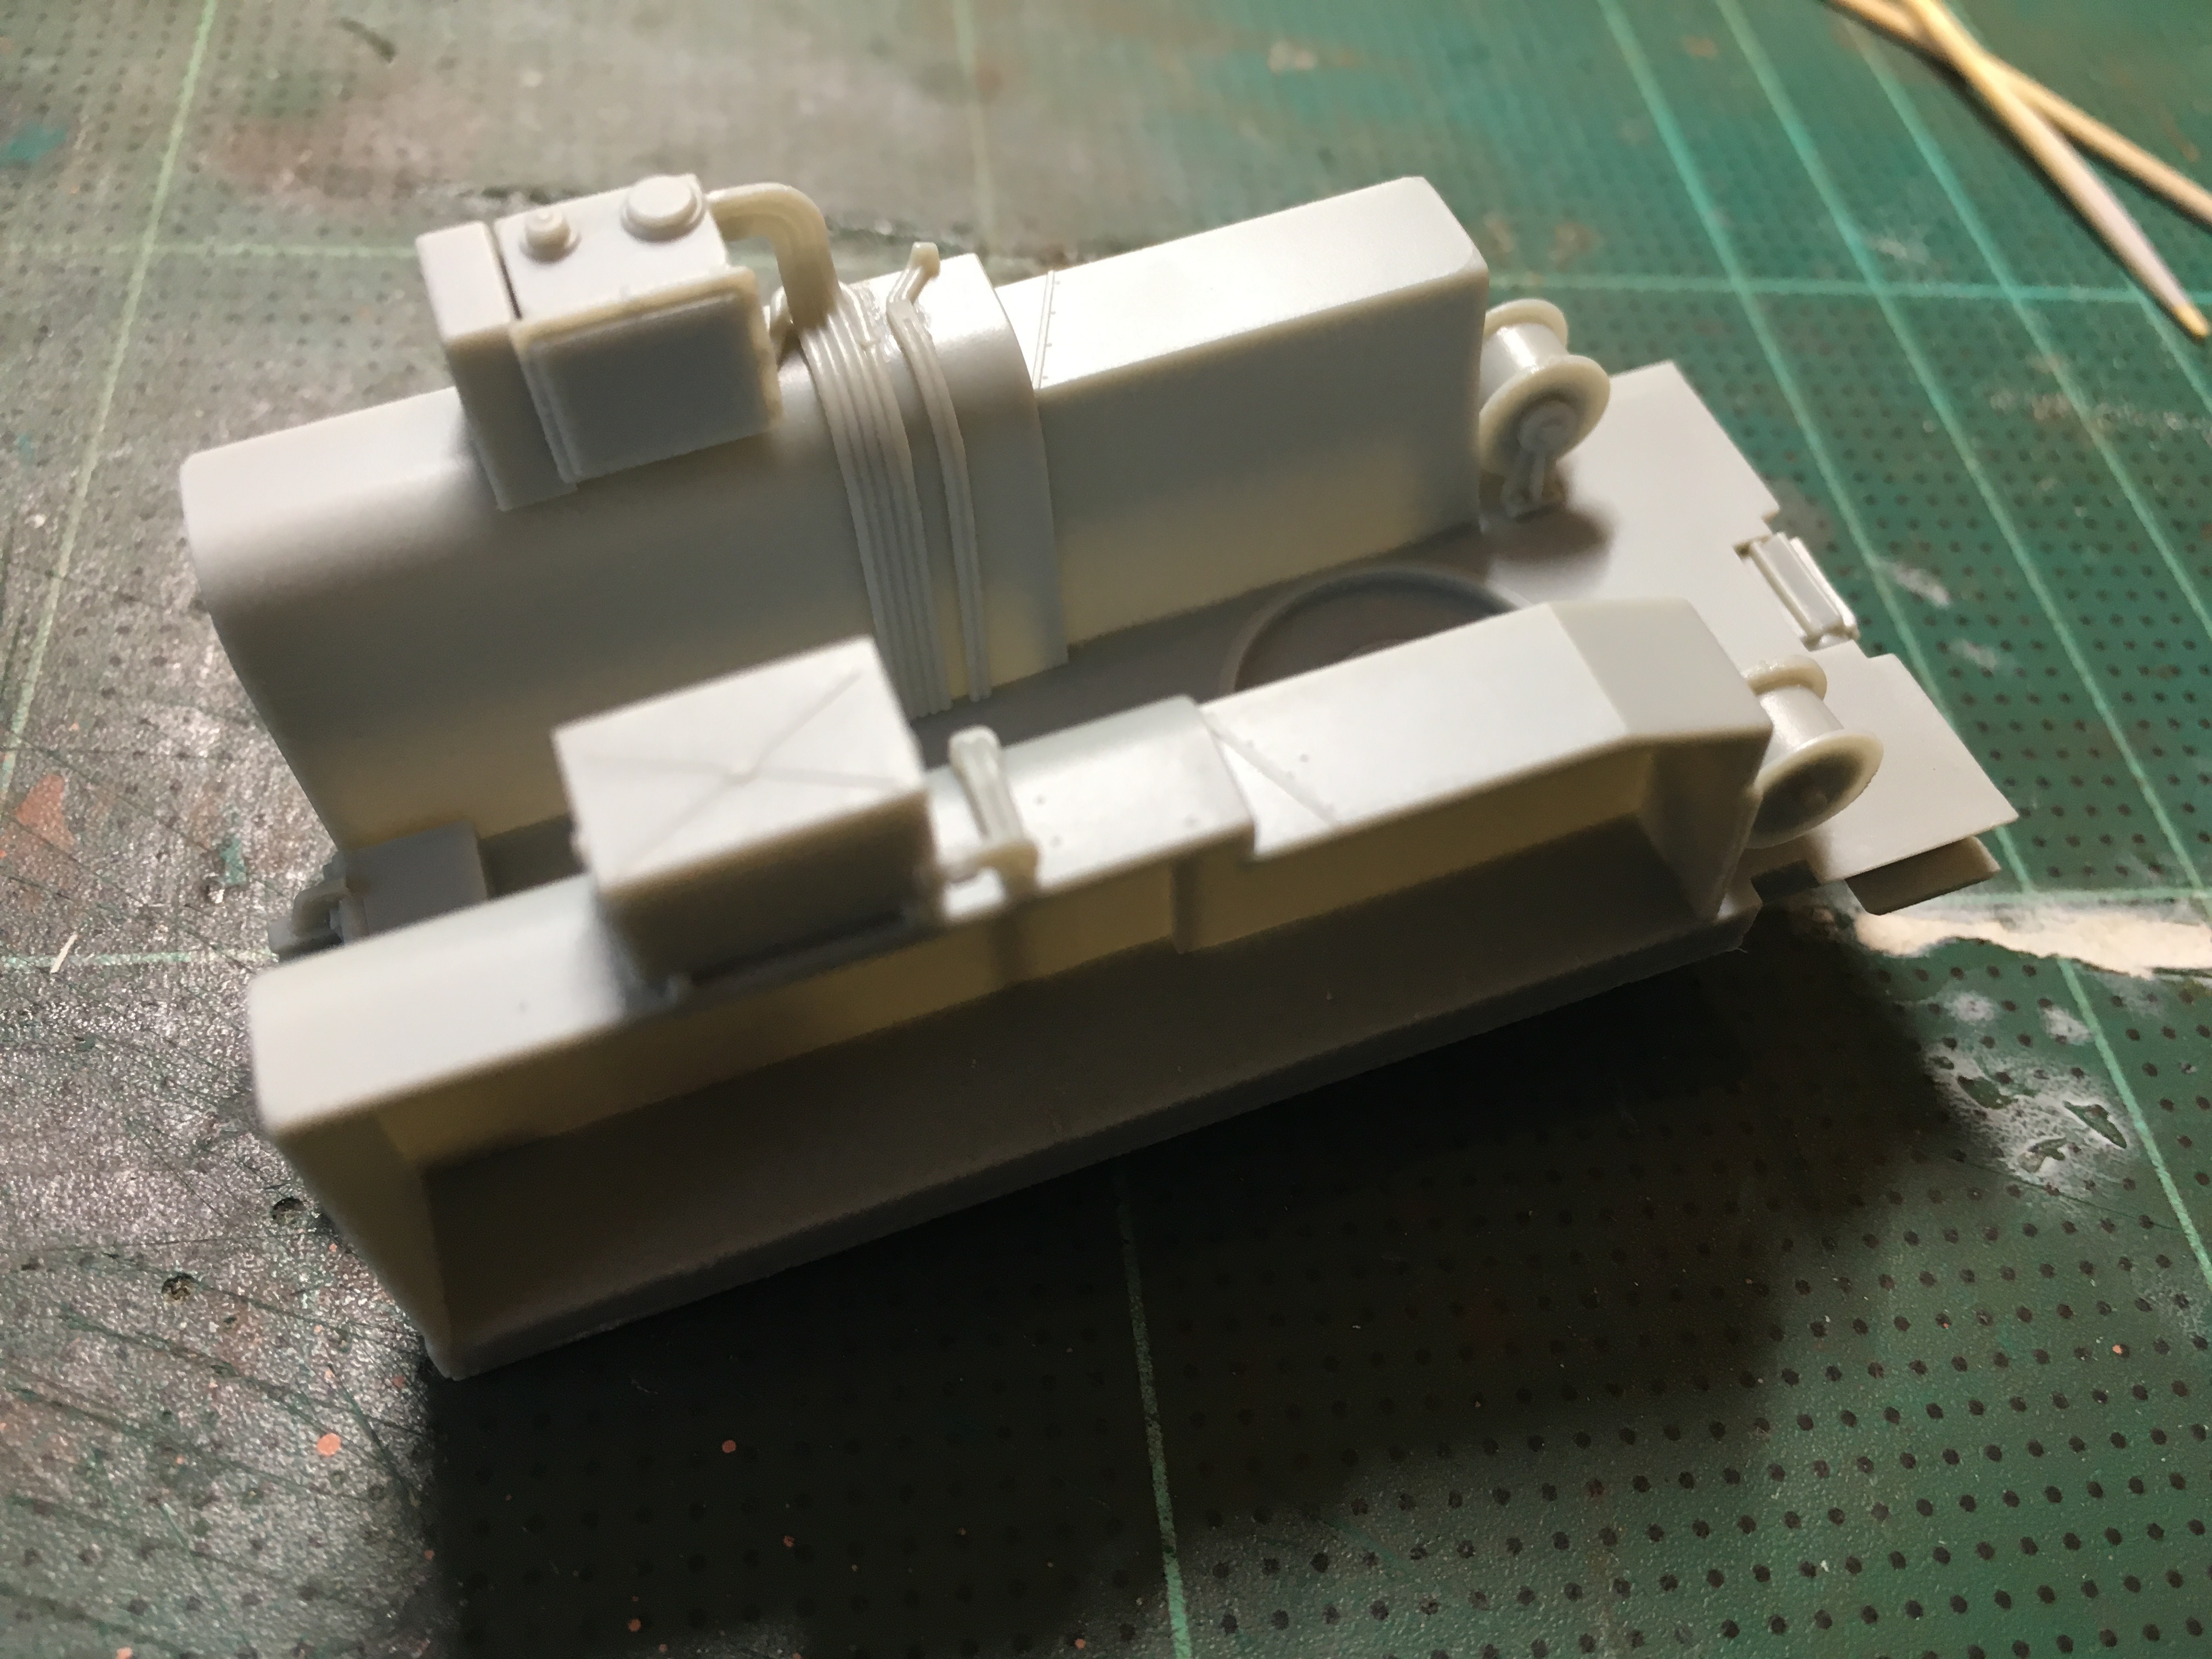
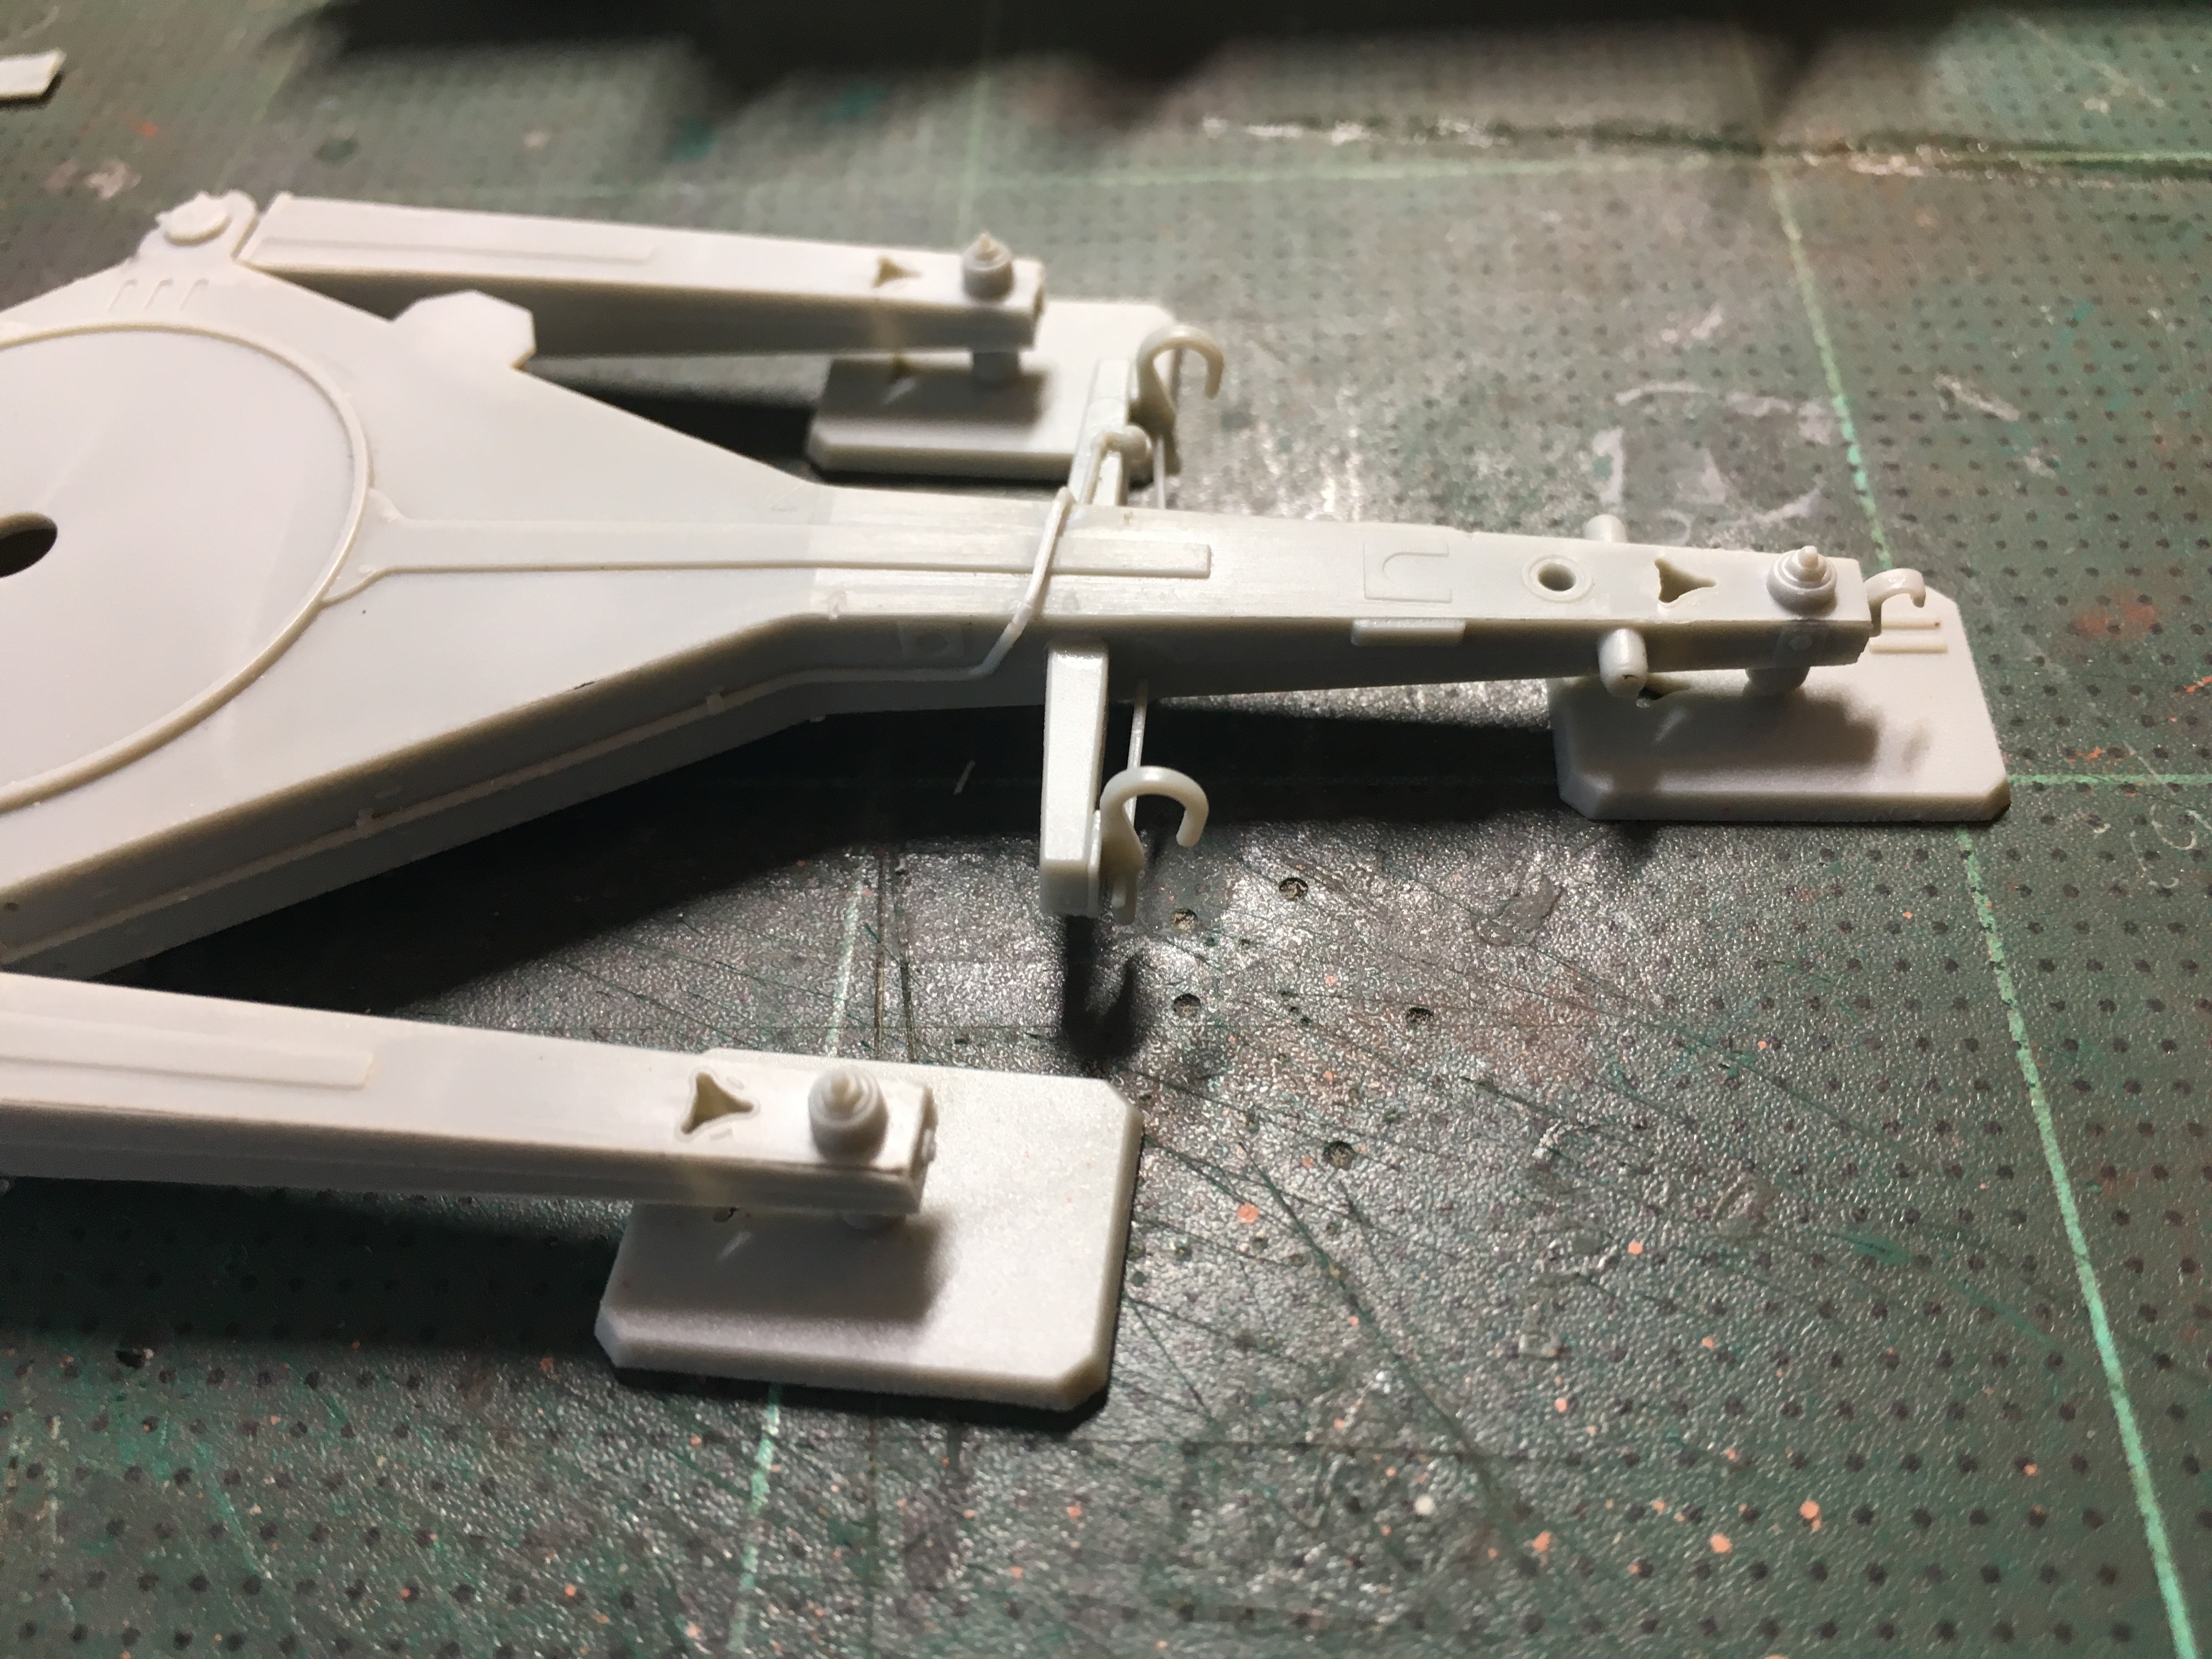
Some photos of the Tor...


- Alex
SpeedyJ
Visit this Community
Bangkok, Thailand / ไทย
Joined: September 17, 2013
KitMaker: 1,617 posts
Armorama: 1,150 posts
Posted: Sunday, March 31, 2019 - 02:26 AM UTC
Hi all AA campaigners.
Did some modeling over the weekend.
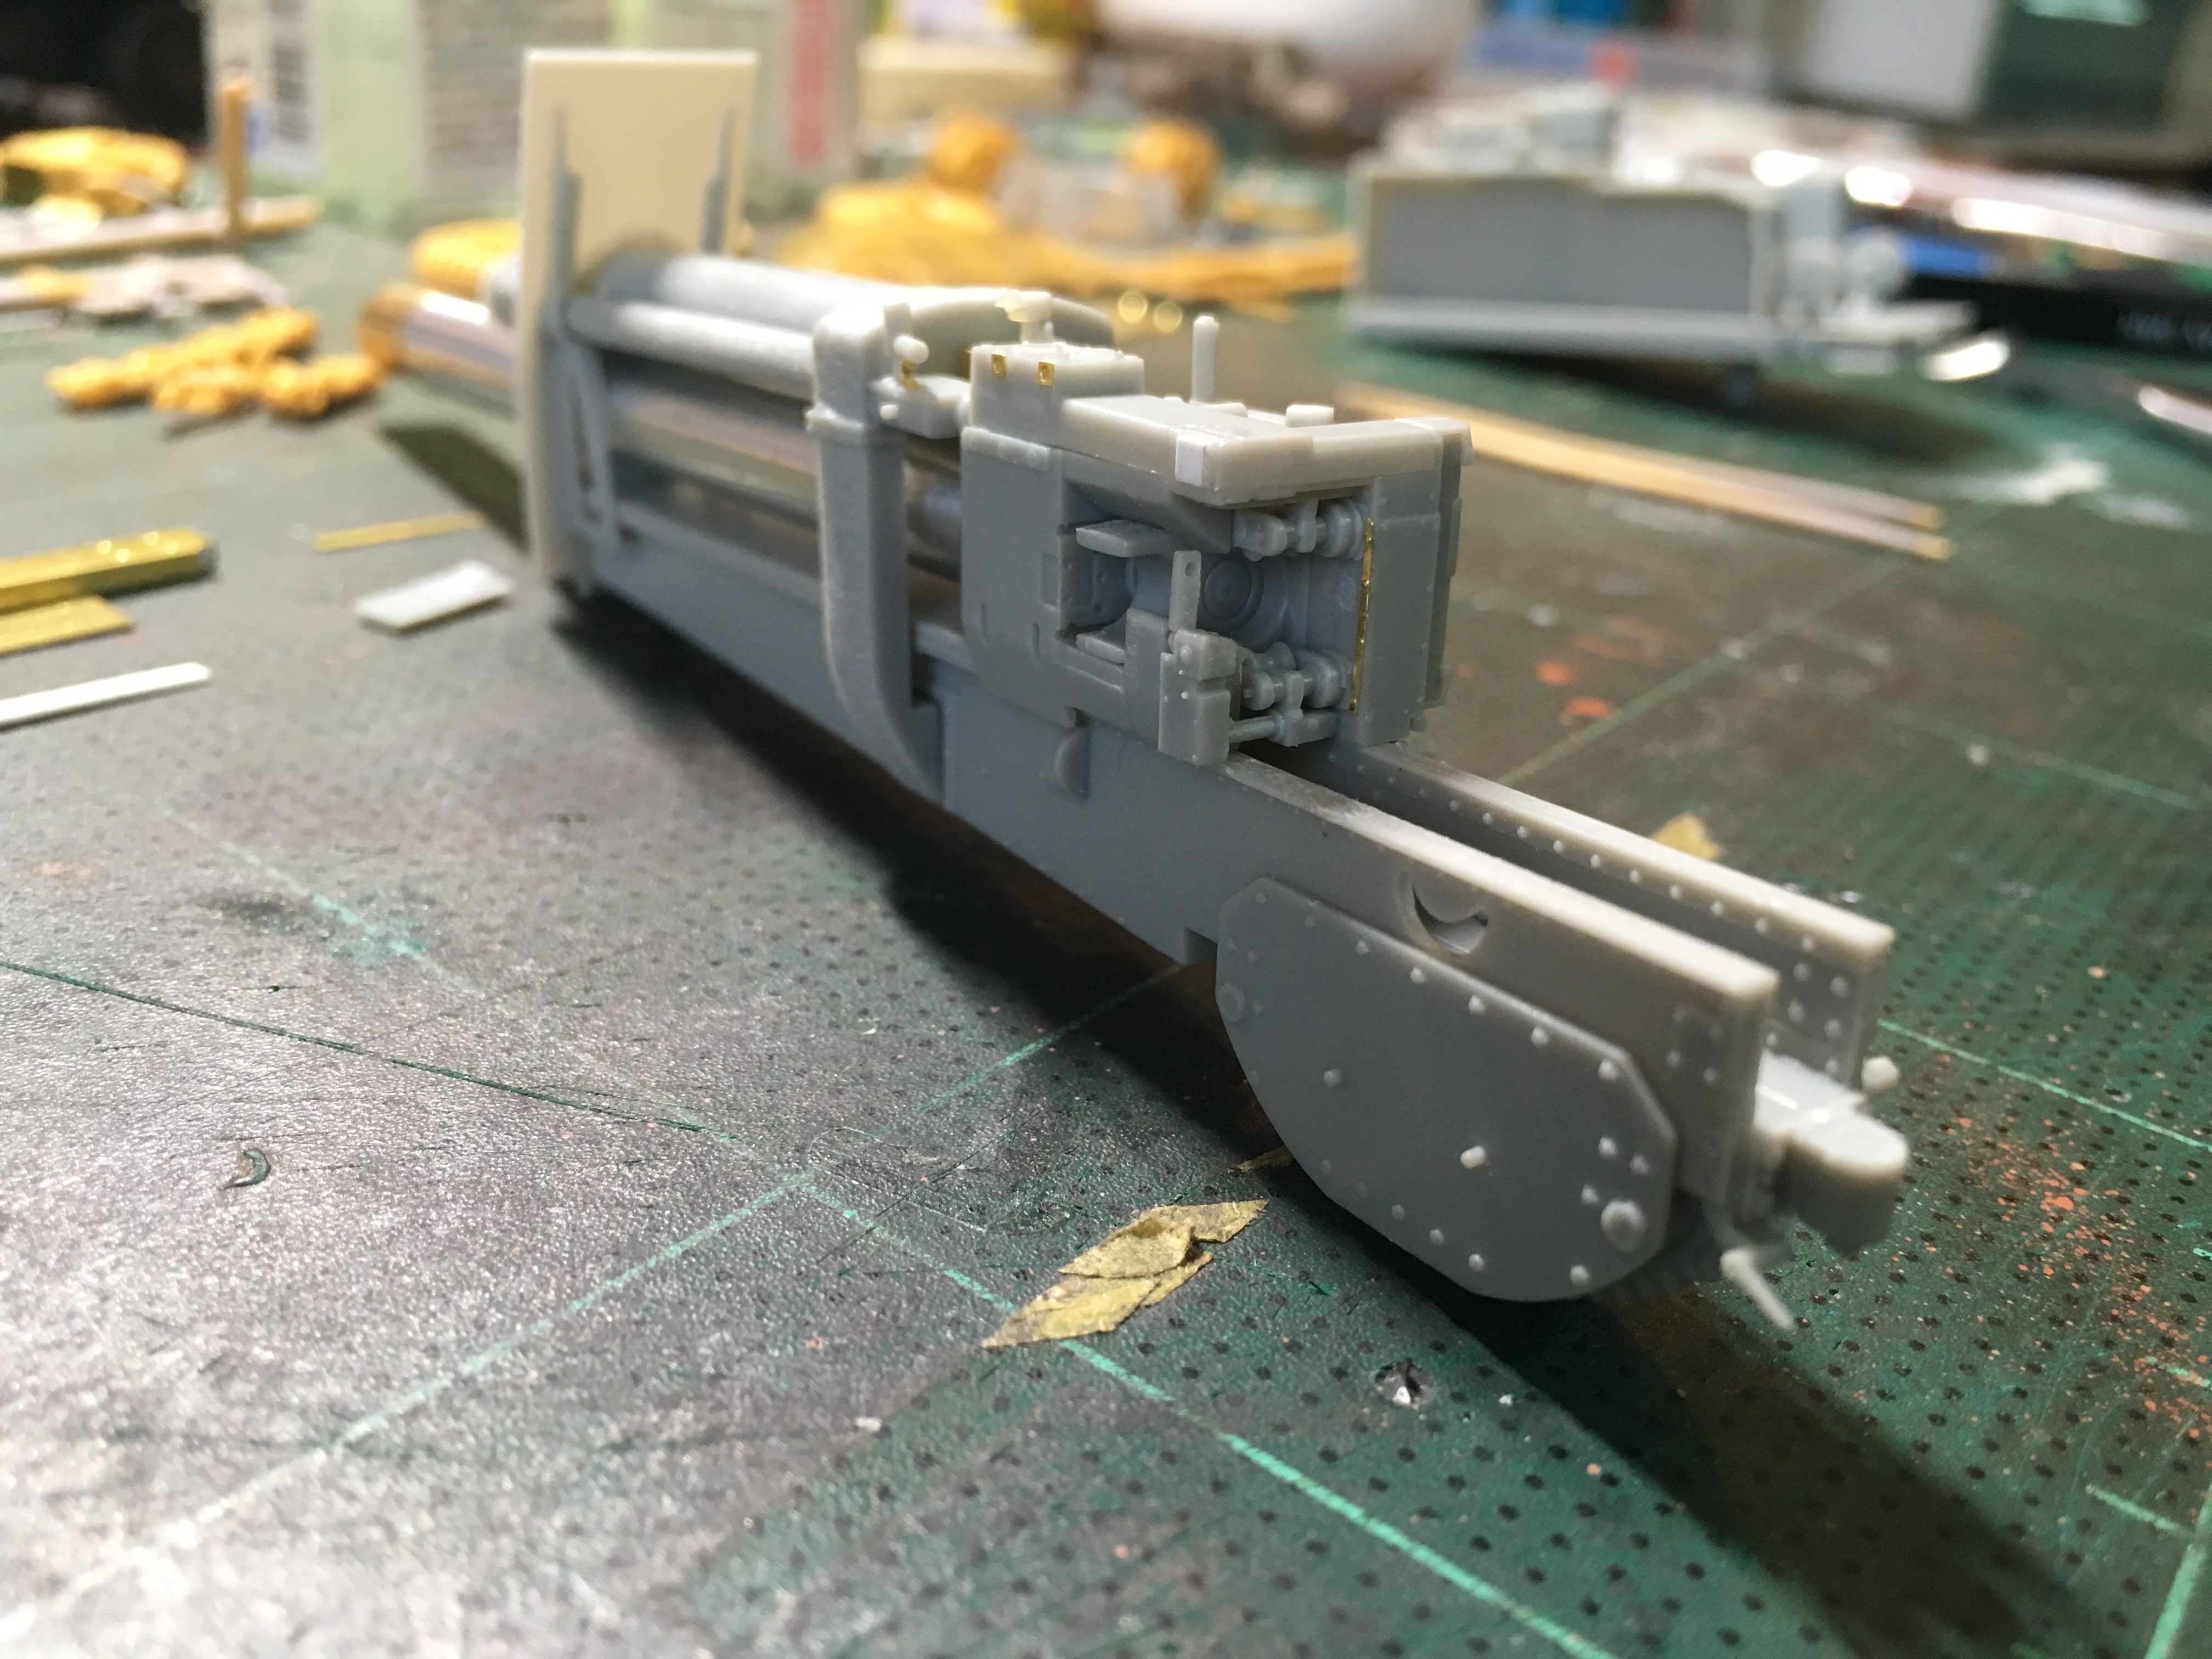
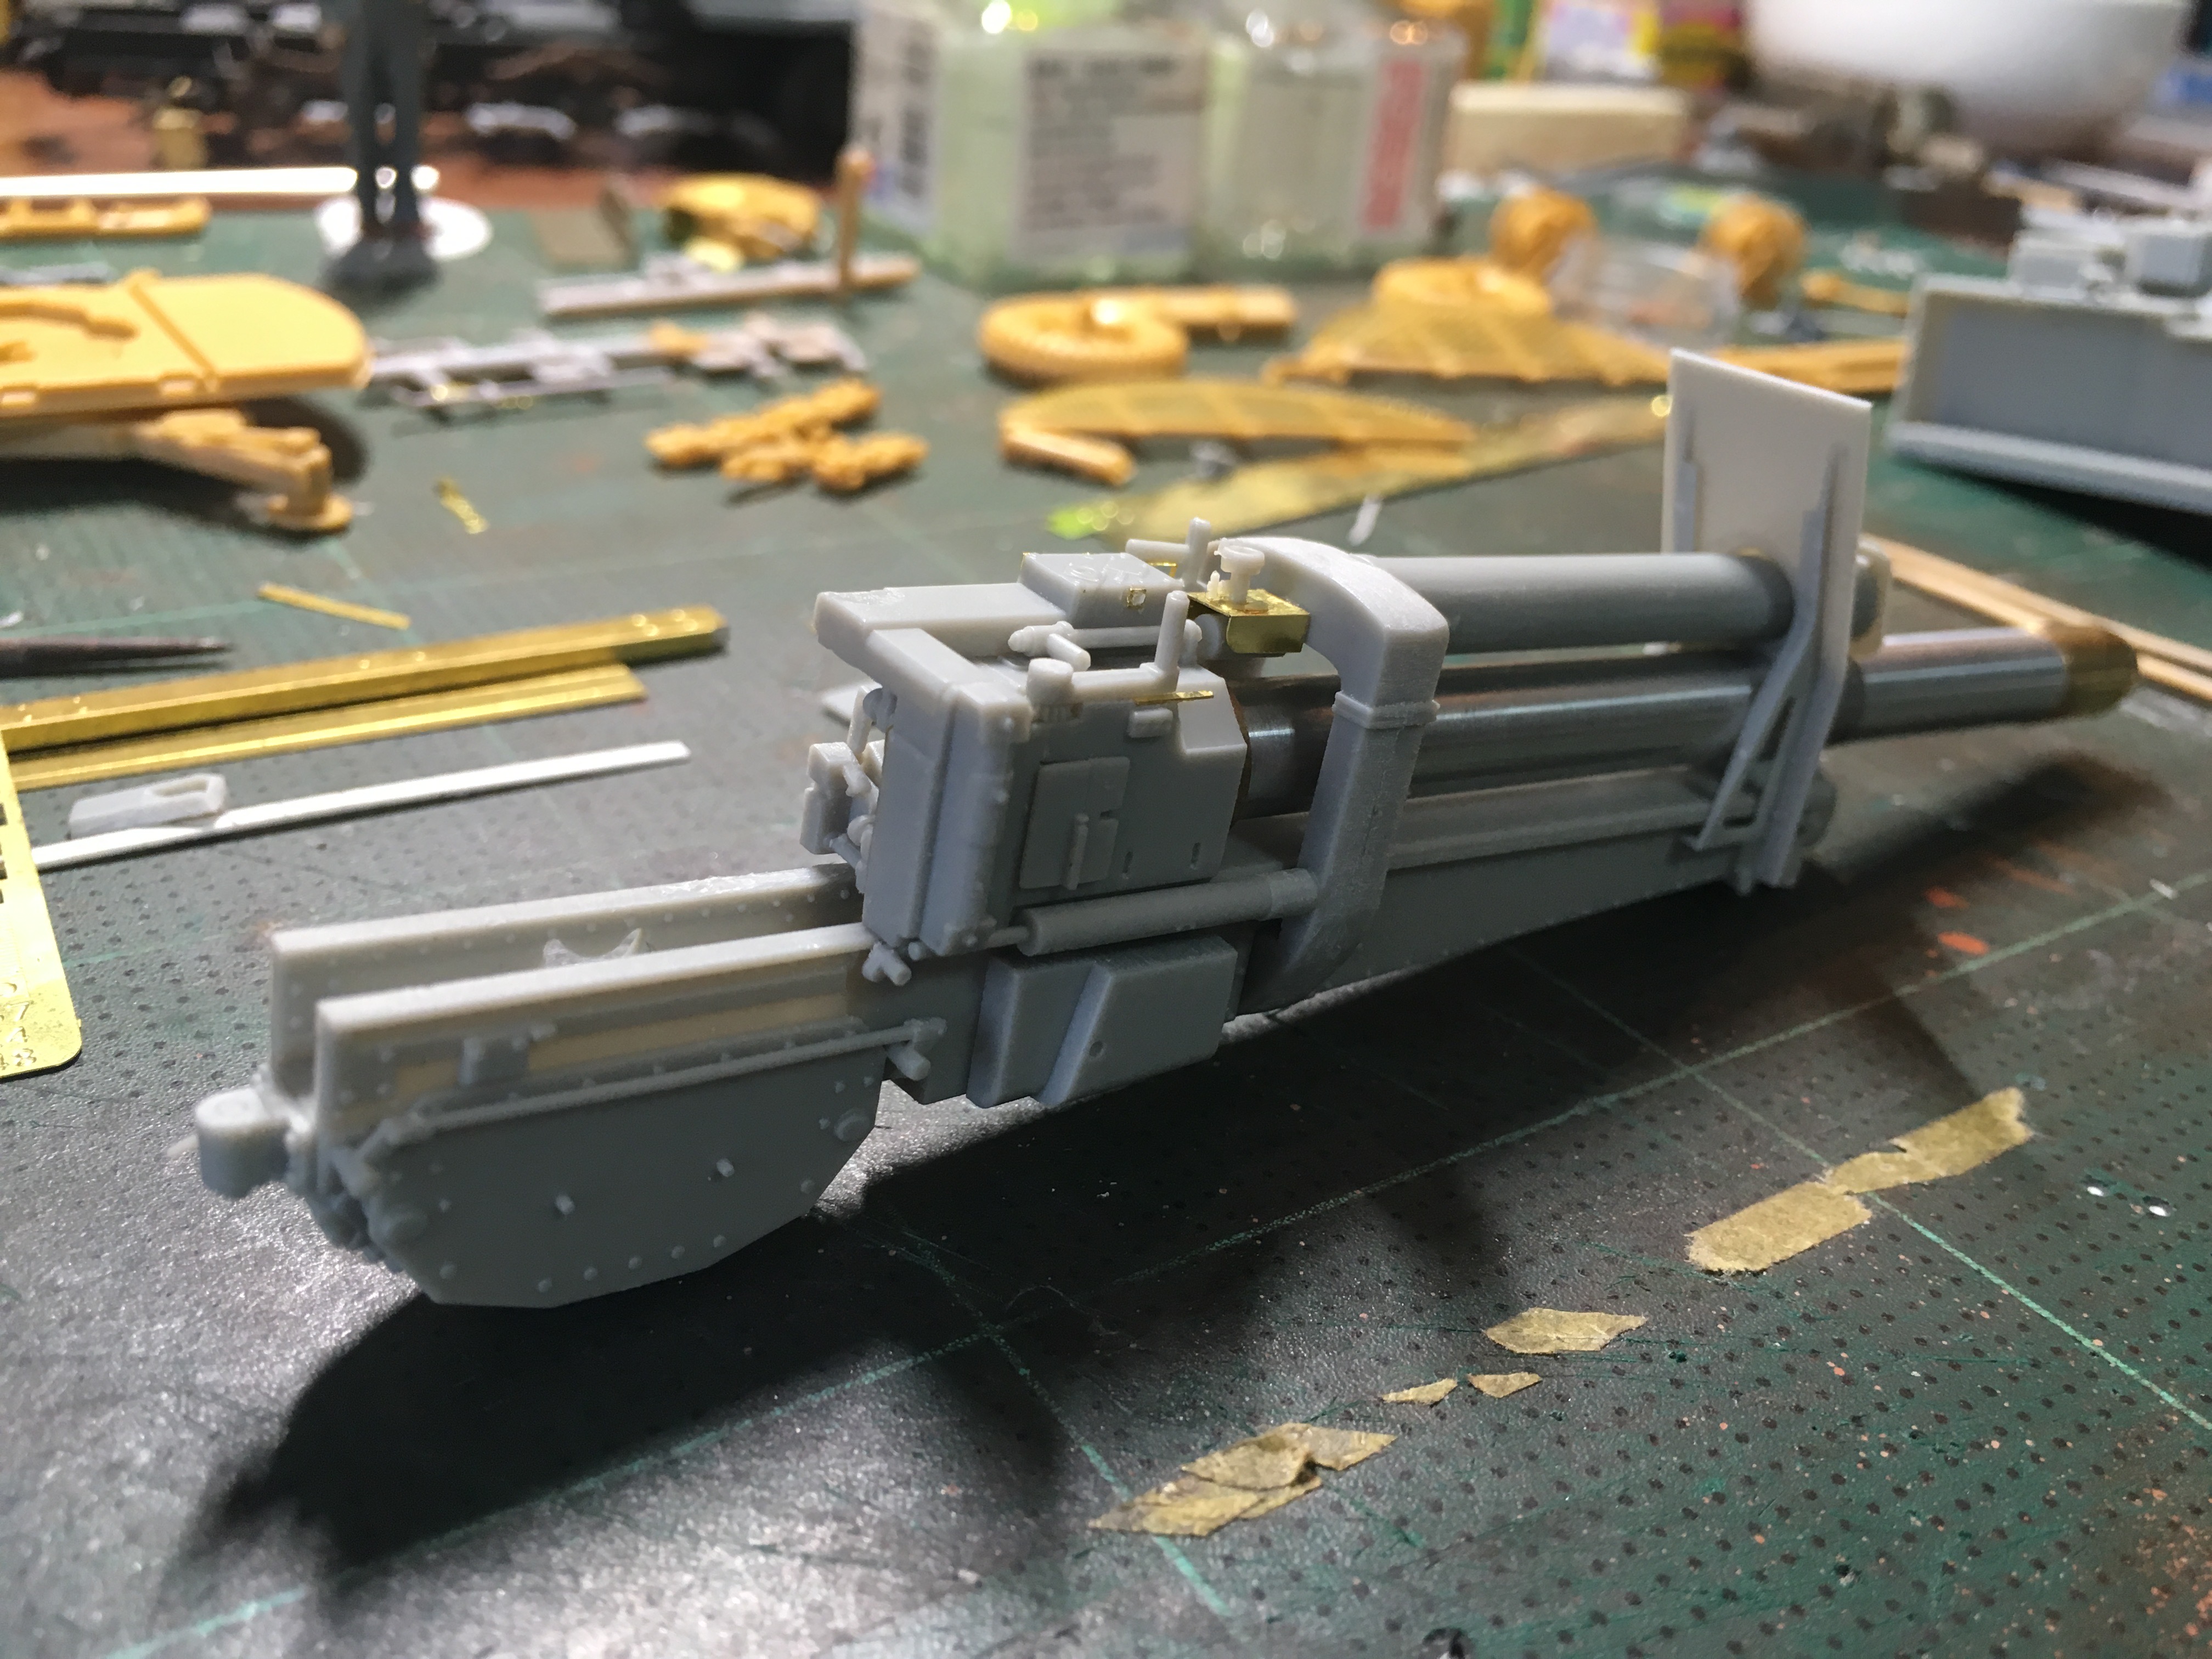
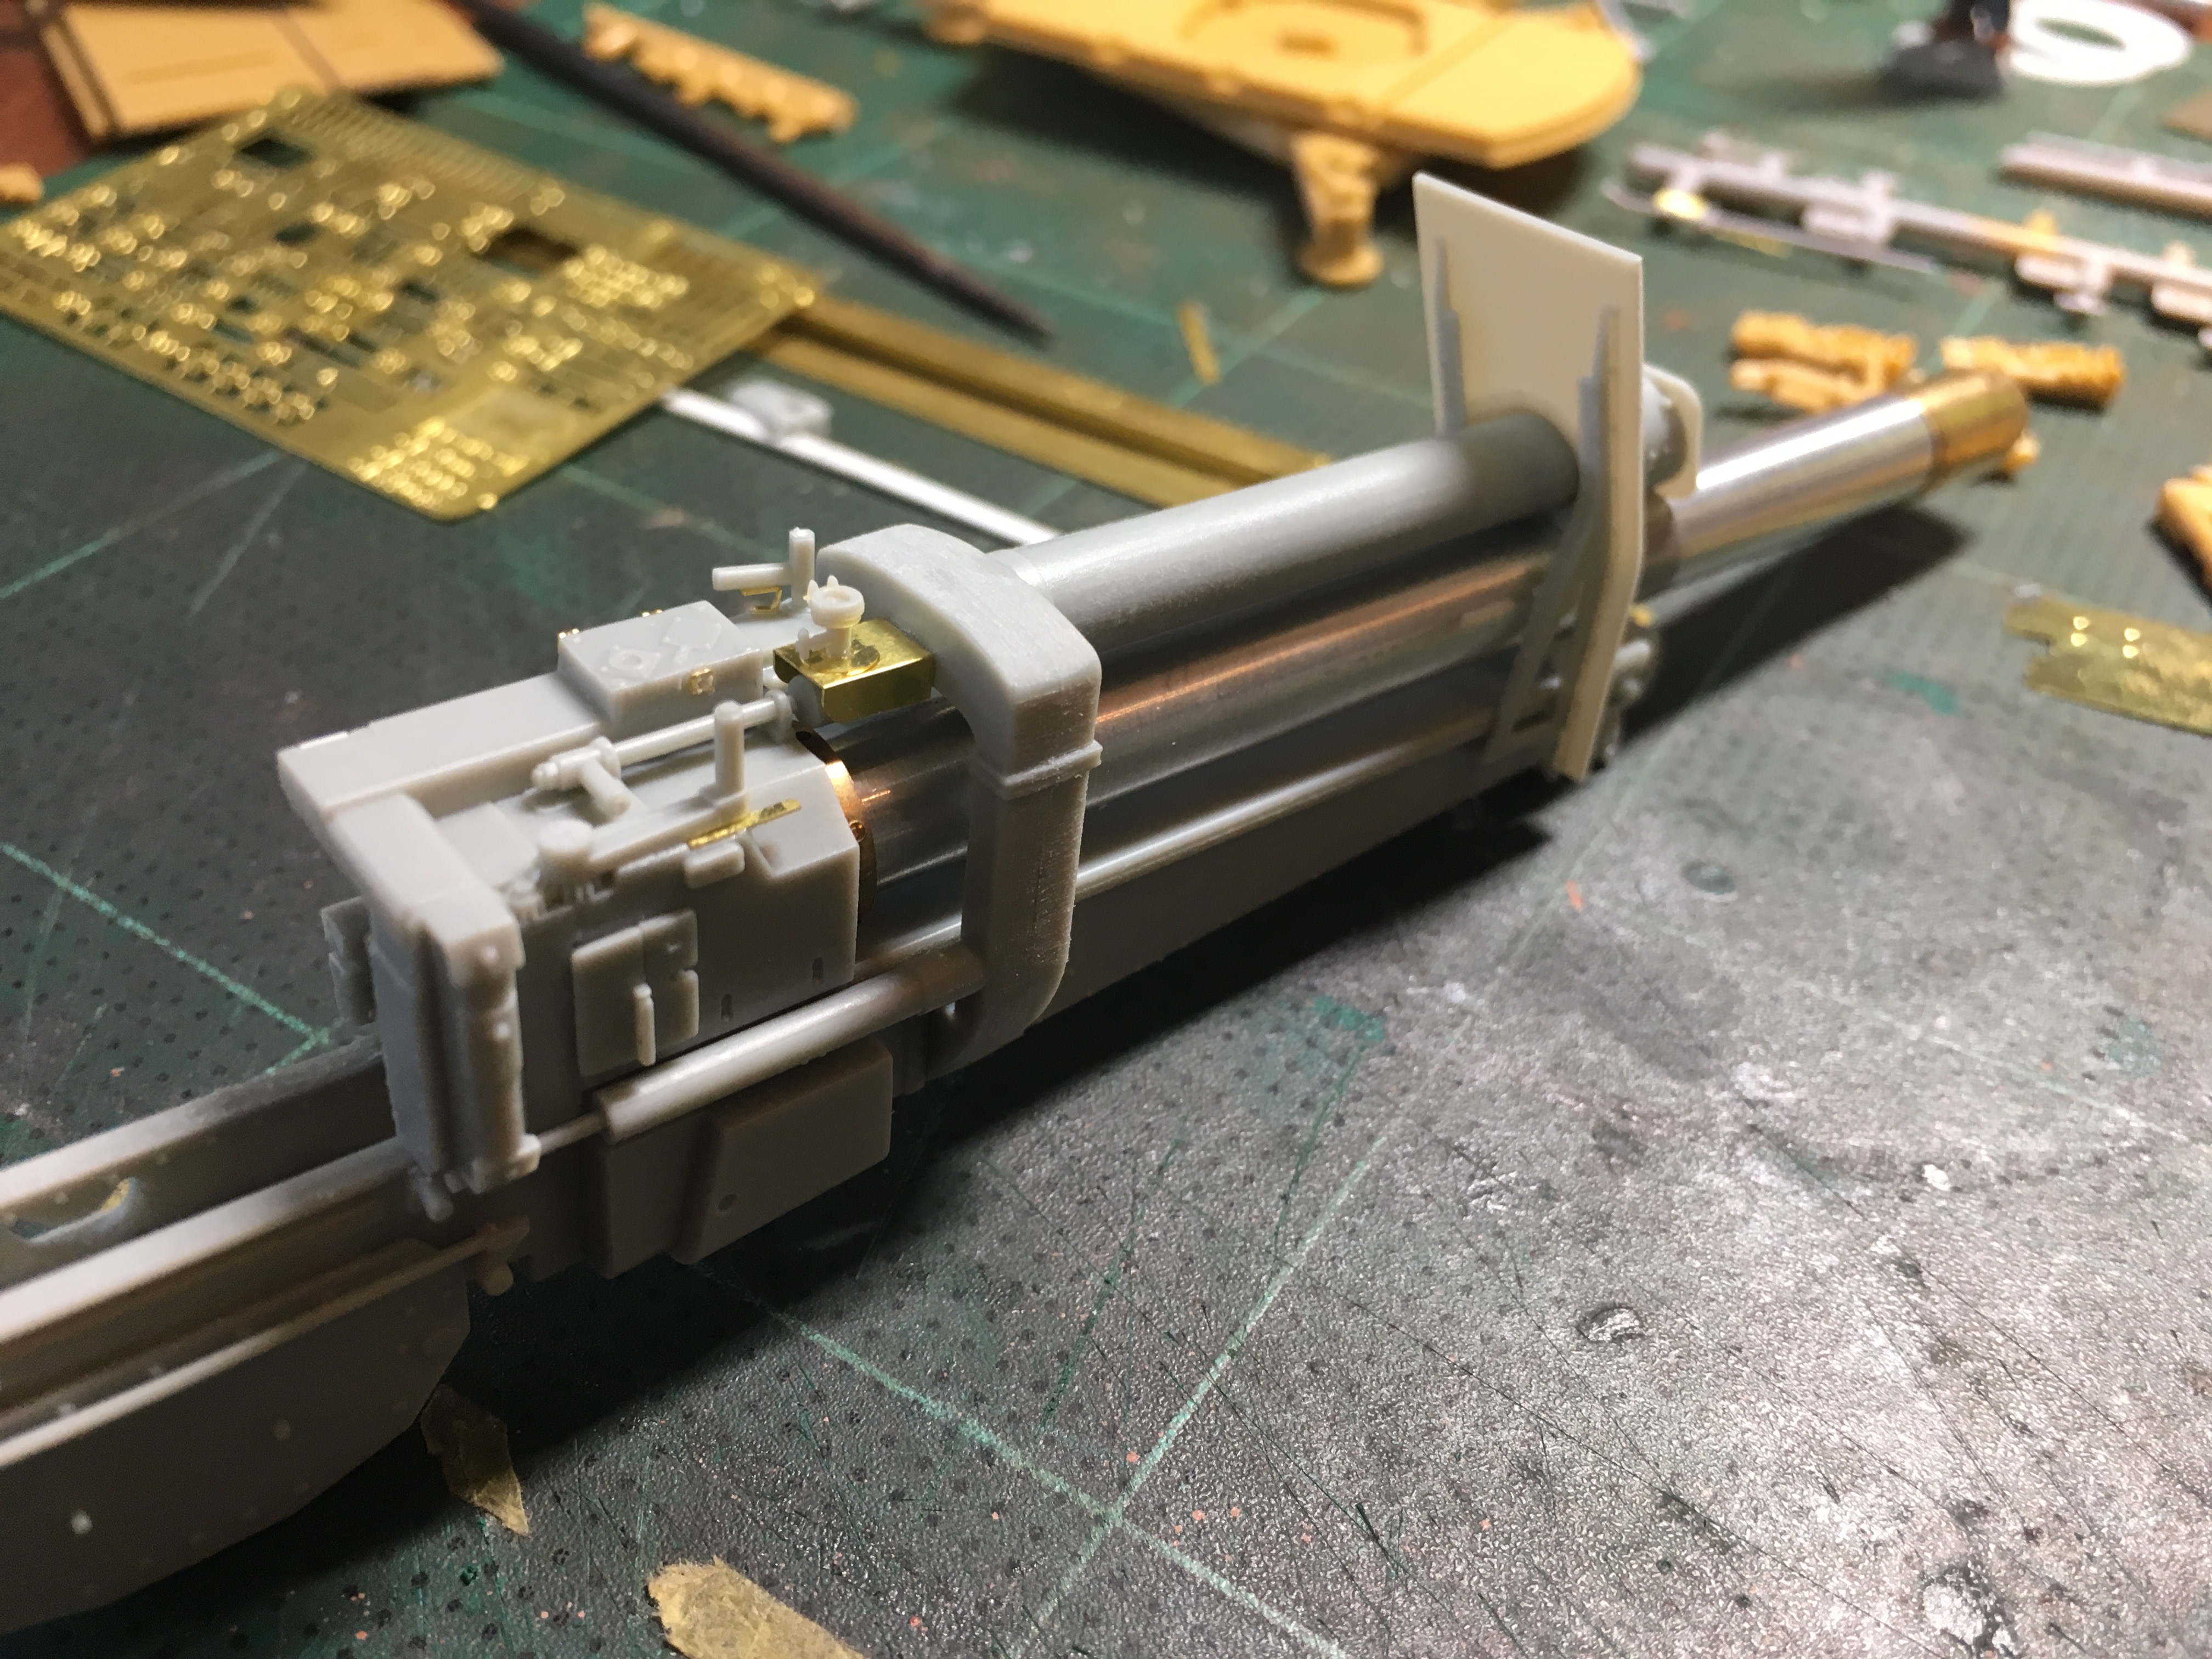
Bronco did a fantastic job with this kit. Pleasure to build with loads of detail.
Only now minor, their PE is not my favorite. Too flexible, so cleaning gives me a headache. Rest is worth every Thai Bath I spent one this one.

Progress:


So I bought another one, (the piece without the Sd.Ah) just because this an incredible model to build.
Next will be the Sd.Ah. from the Dragon kit. I forgot to make the hooks moveable, to pickup the Lafette.
Gone watch F! now, see what Vettel has in mind to stay ahead of Leclerc.

Happy modeling,

Robert Jan
SRAMSEY
Visit this Community
South Carolina, United States
Joined: January 28, 2010
KitMaker: 28 posts
Armorama: 27 posts
Posted: Thursday, April 04, 2019 - 11:06 AM UTC
Robert Jan

The Leadwarrior casting is very well done. Great detail and minimal clean up.

Some nice work that you are doing on your build.
Looking forward to your builds Alex and Mike.


Shawn
SRAMSEY
Visit this Community
South Carolina, United States
Joined: January 28, 2010
KitMaker: 28 posts
Armorama: 27 posts
Posted: Thursday, April 04, 2019 - 11:17 AM UTC
Moving forward with my build.

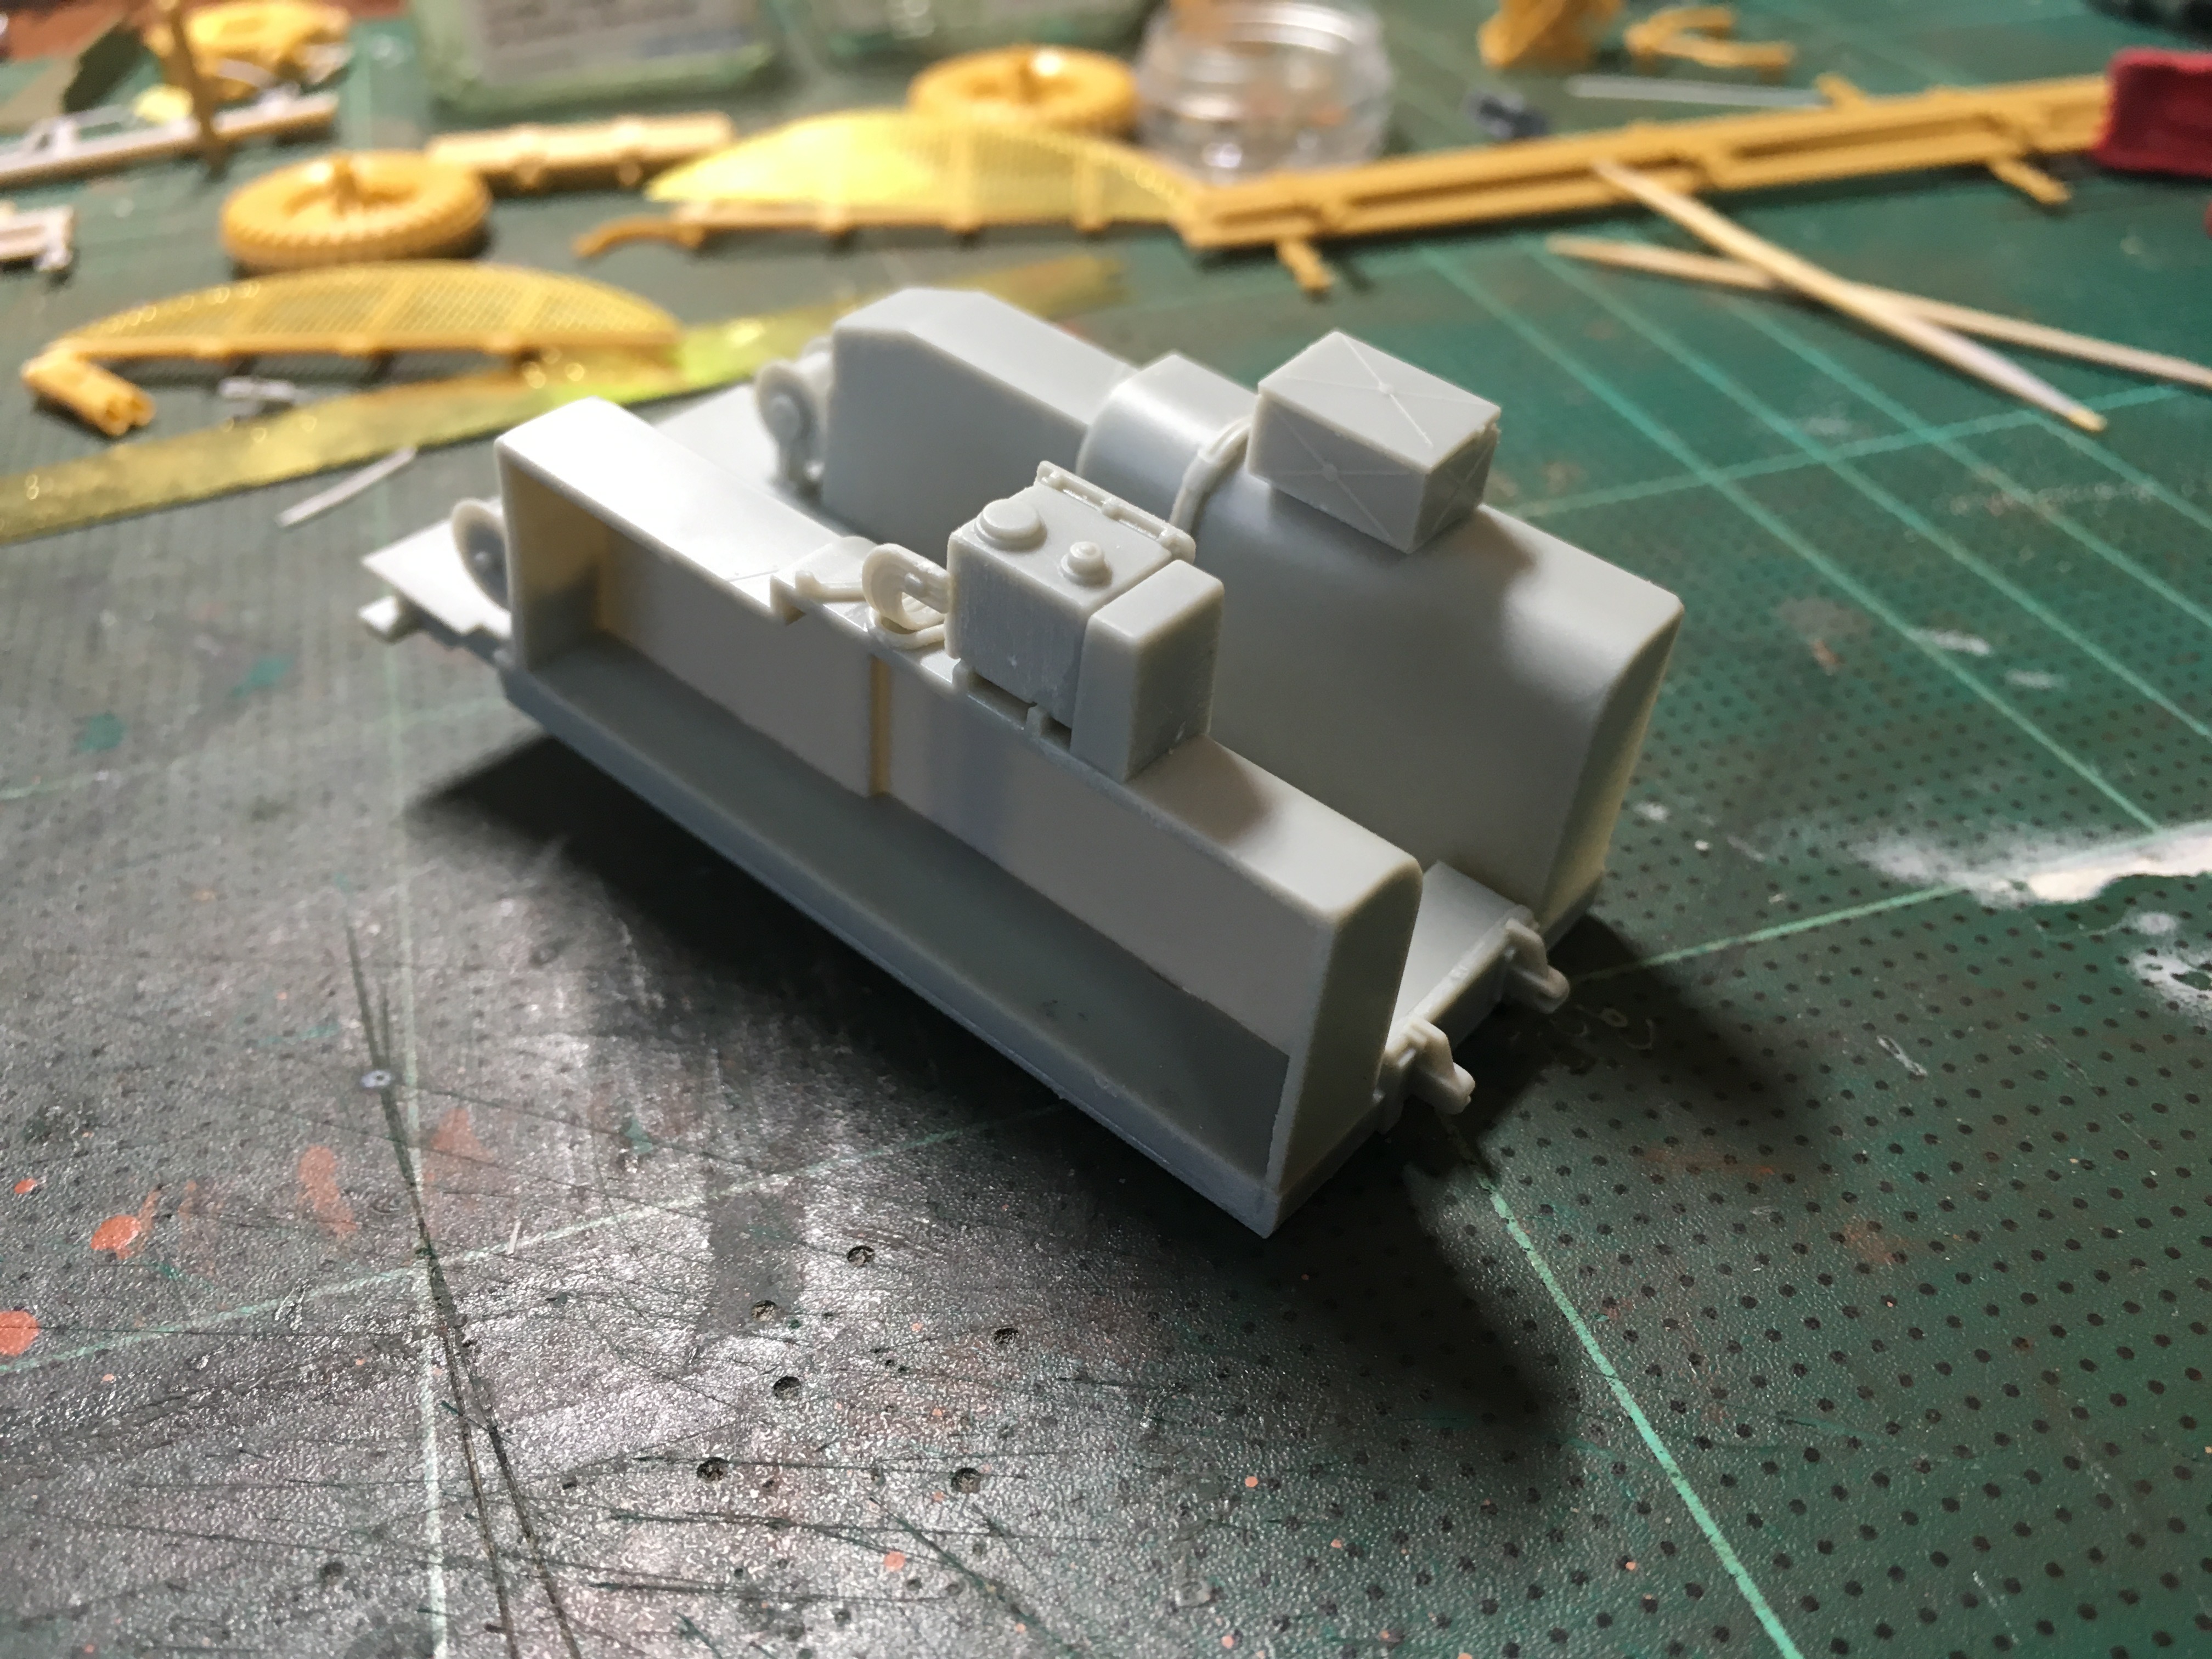
Again the Leadwarrior parts fix very well. I did use a good bit of PE (at least for me), but I think it provides a significant amount of better detail


I started on the bed. Again some nice detail and pretty easy assembly, but this did take me several attempts to get everything line up.


Thanks
Shawn
petbat
Visit this Community
Queensland, Australia
Joined: August 06, 2005
KitMaker: 3,353 posts
Armorama: 3,121 posts
Posted: Thursday, April 04, 2019 - 03:49 PM UTC
Looking great guys. Everyone progressing nicely
ComradeMP
#0
Visit this Community
United States
Joined: July 31, 2011
KitMaker: 472 posts
Armorama: 453 posts
Posted: Saturday, April 06, 2019 - 04:57 PM UTC
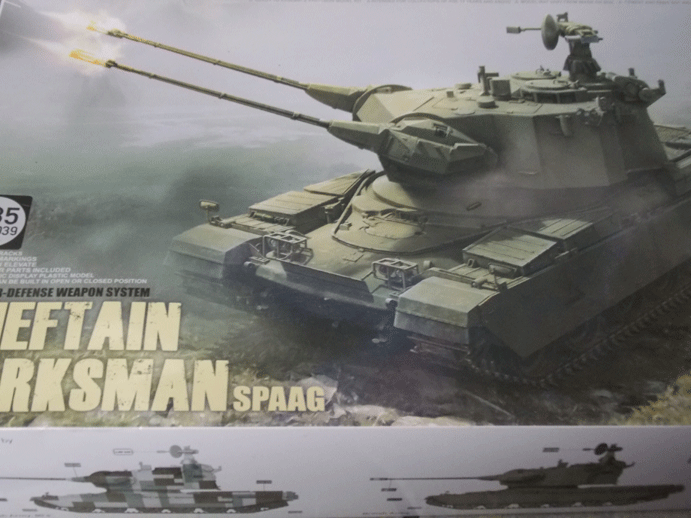
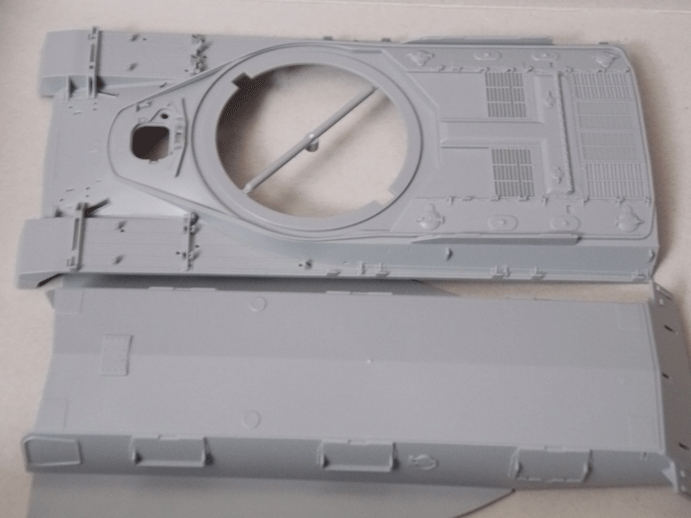
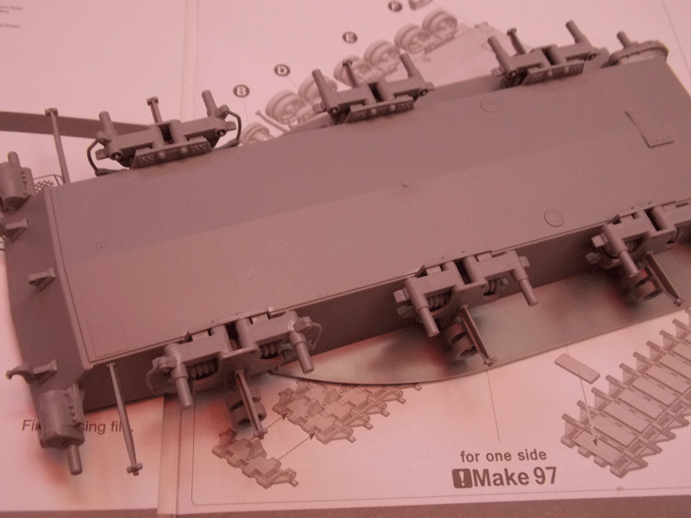
Looking to build my first AA subject, and I've chosen the Takom Chieftain Marksman to go along with my Chieftain Mk.5 I'm working on for the MBT campaign.


Like it so far, builds real easy.
darkmoon2010
Visit this Community
Bayern, Germany
Joined: May 12, 2014
KitMaker: 10 posts
Armorama: 9 posts
Posted: Sunday, April 07, 2019 - 02:37 AM UTC
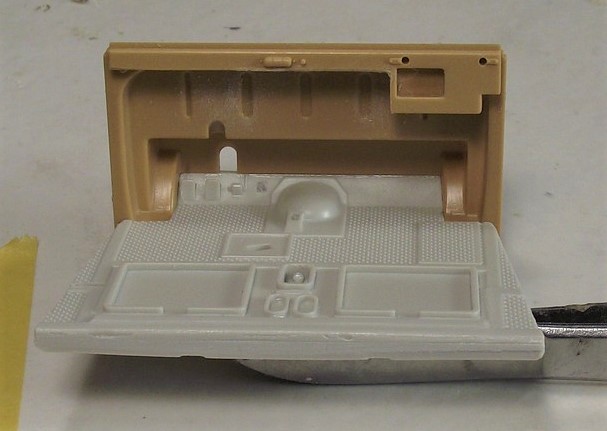
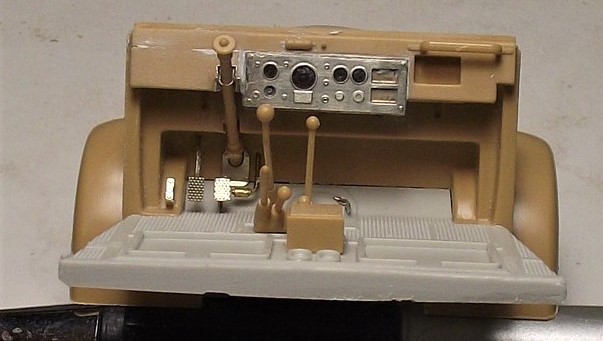
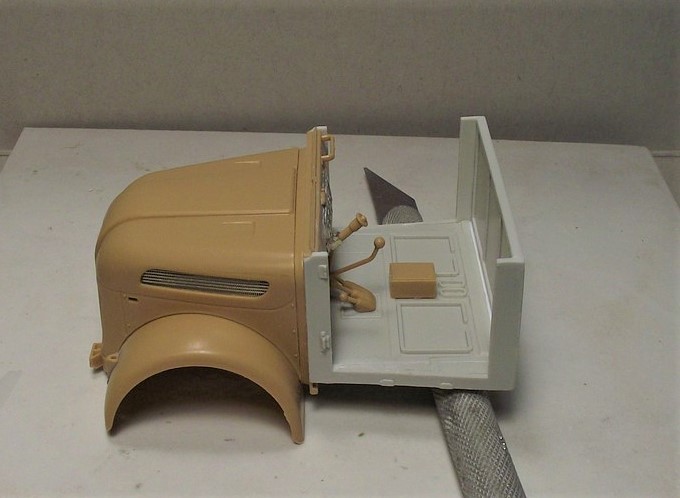
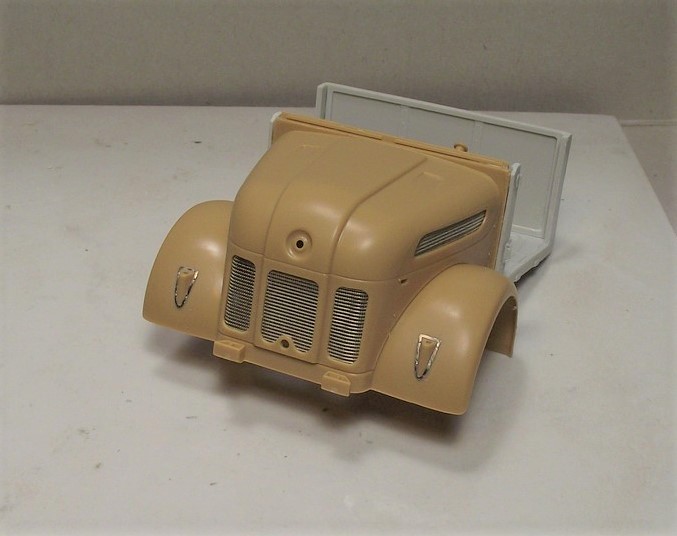
Today I started with the engine and the driver compartment. This is my progress at the moment.

terminators
Visit this Community
France
Joined: February 20, 2012
KitMaker: 1,932 posts
Armorama: 1,907 posts
Posted: Sunday, April 07, 2019 - 09:40 AM UTC
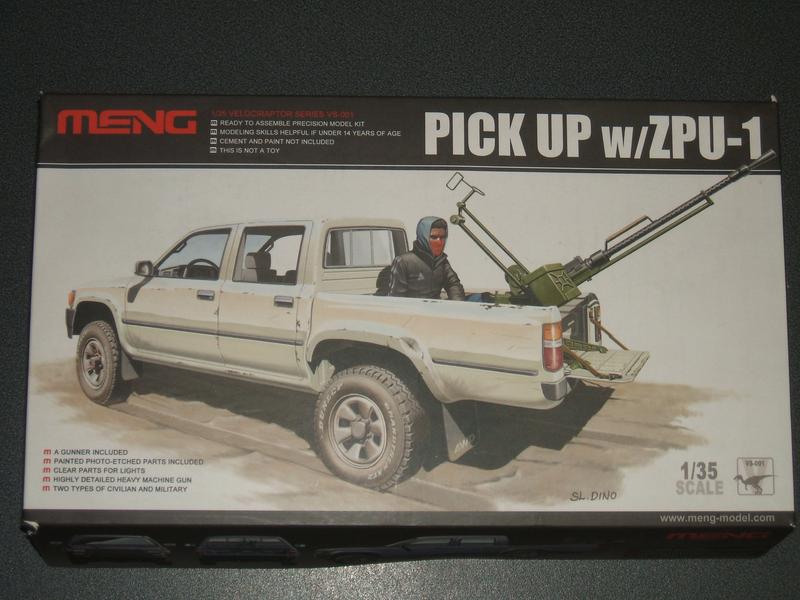
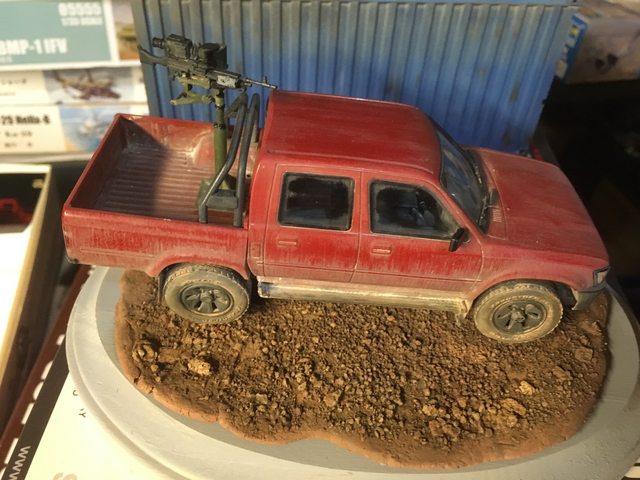
Hello all, I have enlisted with this kit:

MLD
Visit this Community
Vermont, United States
Joined: July 21, 2002
KitMaker: 3,569 posts
Armorama: 2,070 posts
Posted: Sunday, April 07, 2019 - 11:36 AM UTC
Alex, build the gun first. The truck is a much easier and smoother build than the gun. It's a kick in the shorts to run into the gun build after the truck falls together.
terminators
Visit this Community
France
Joined: February 20, 2012
KitMaker: 1,932 posts
Armorama: 1,907 posts
Posted: Monday, April 08, 2019 - 04:45 AM UTC
Mike thank you for the advice. I see you have already made a technical pickup, great work.

MLD
Visit this Community
Vermont, United States
Joined: July 21, 2002
KitMaker: 3,569 posts
Armorama: 2,070 posts
Posted: Monday, April 08, 2019 - 01:50 PM UTC

Quoted Text

Mike thank you for the advice. I see you have already made a technical pickup, great work.


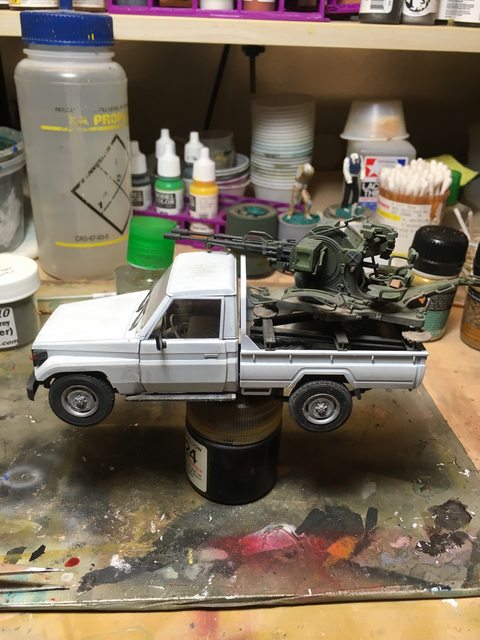
Thanks, the gun

is really fiddly.

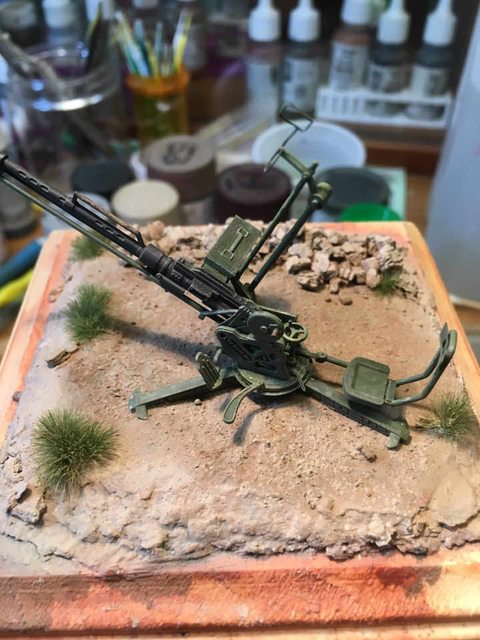
The seat post has a tiny folded etch piece as the joint between seat and base. Probably best to fit all three together, then apply thin superglue. I did not and it was a hassle to get lined up and the glue gunked up the hole for the seat post pin.
The base 'sandwich' was also not very positive in the fitting. Don't add all the fiddly bits to the top before getting the etch part sandwiched and legs on.
I wish there were another option for the ammo box. It's big and clunky.

Good luck. It does build up into a nice gun in the end.

I did not add crosshairs and I'm pretty sure I've got folded that etched sight the wrong way.. shhh... don't tell the contest judges..

On the plus side, the truck goes together GREAT!

terminators
Visit this Community
France
Joined: February 20, 2012
KitMaker: 1,932 posts
Armorama: 1,907 posts
Posted: Tuesday, April 09, 2019 - 05:44 AM UTC
Thank you Mike for all those elements.
Martinvidas
Visit this Community
Noord-Brabant, Netherlands
Joined: February 13, 2011
KitMaker: 322 posts
Armorama: 300 posts
Posted: Tuesday, April 09, 2019 - 07:17 PM UTC
Good morning
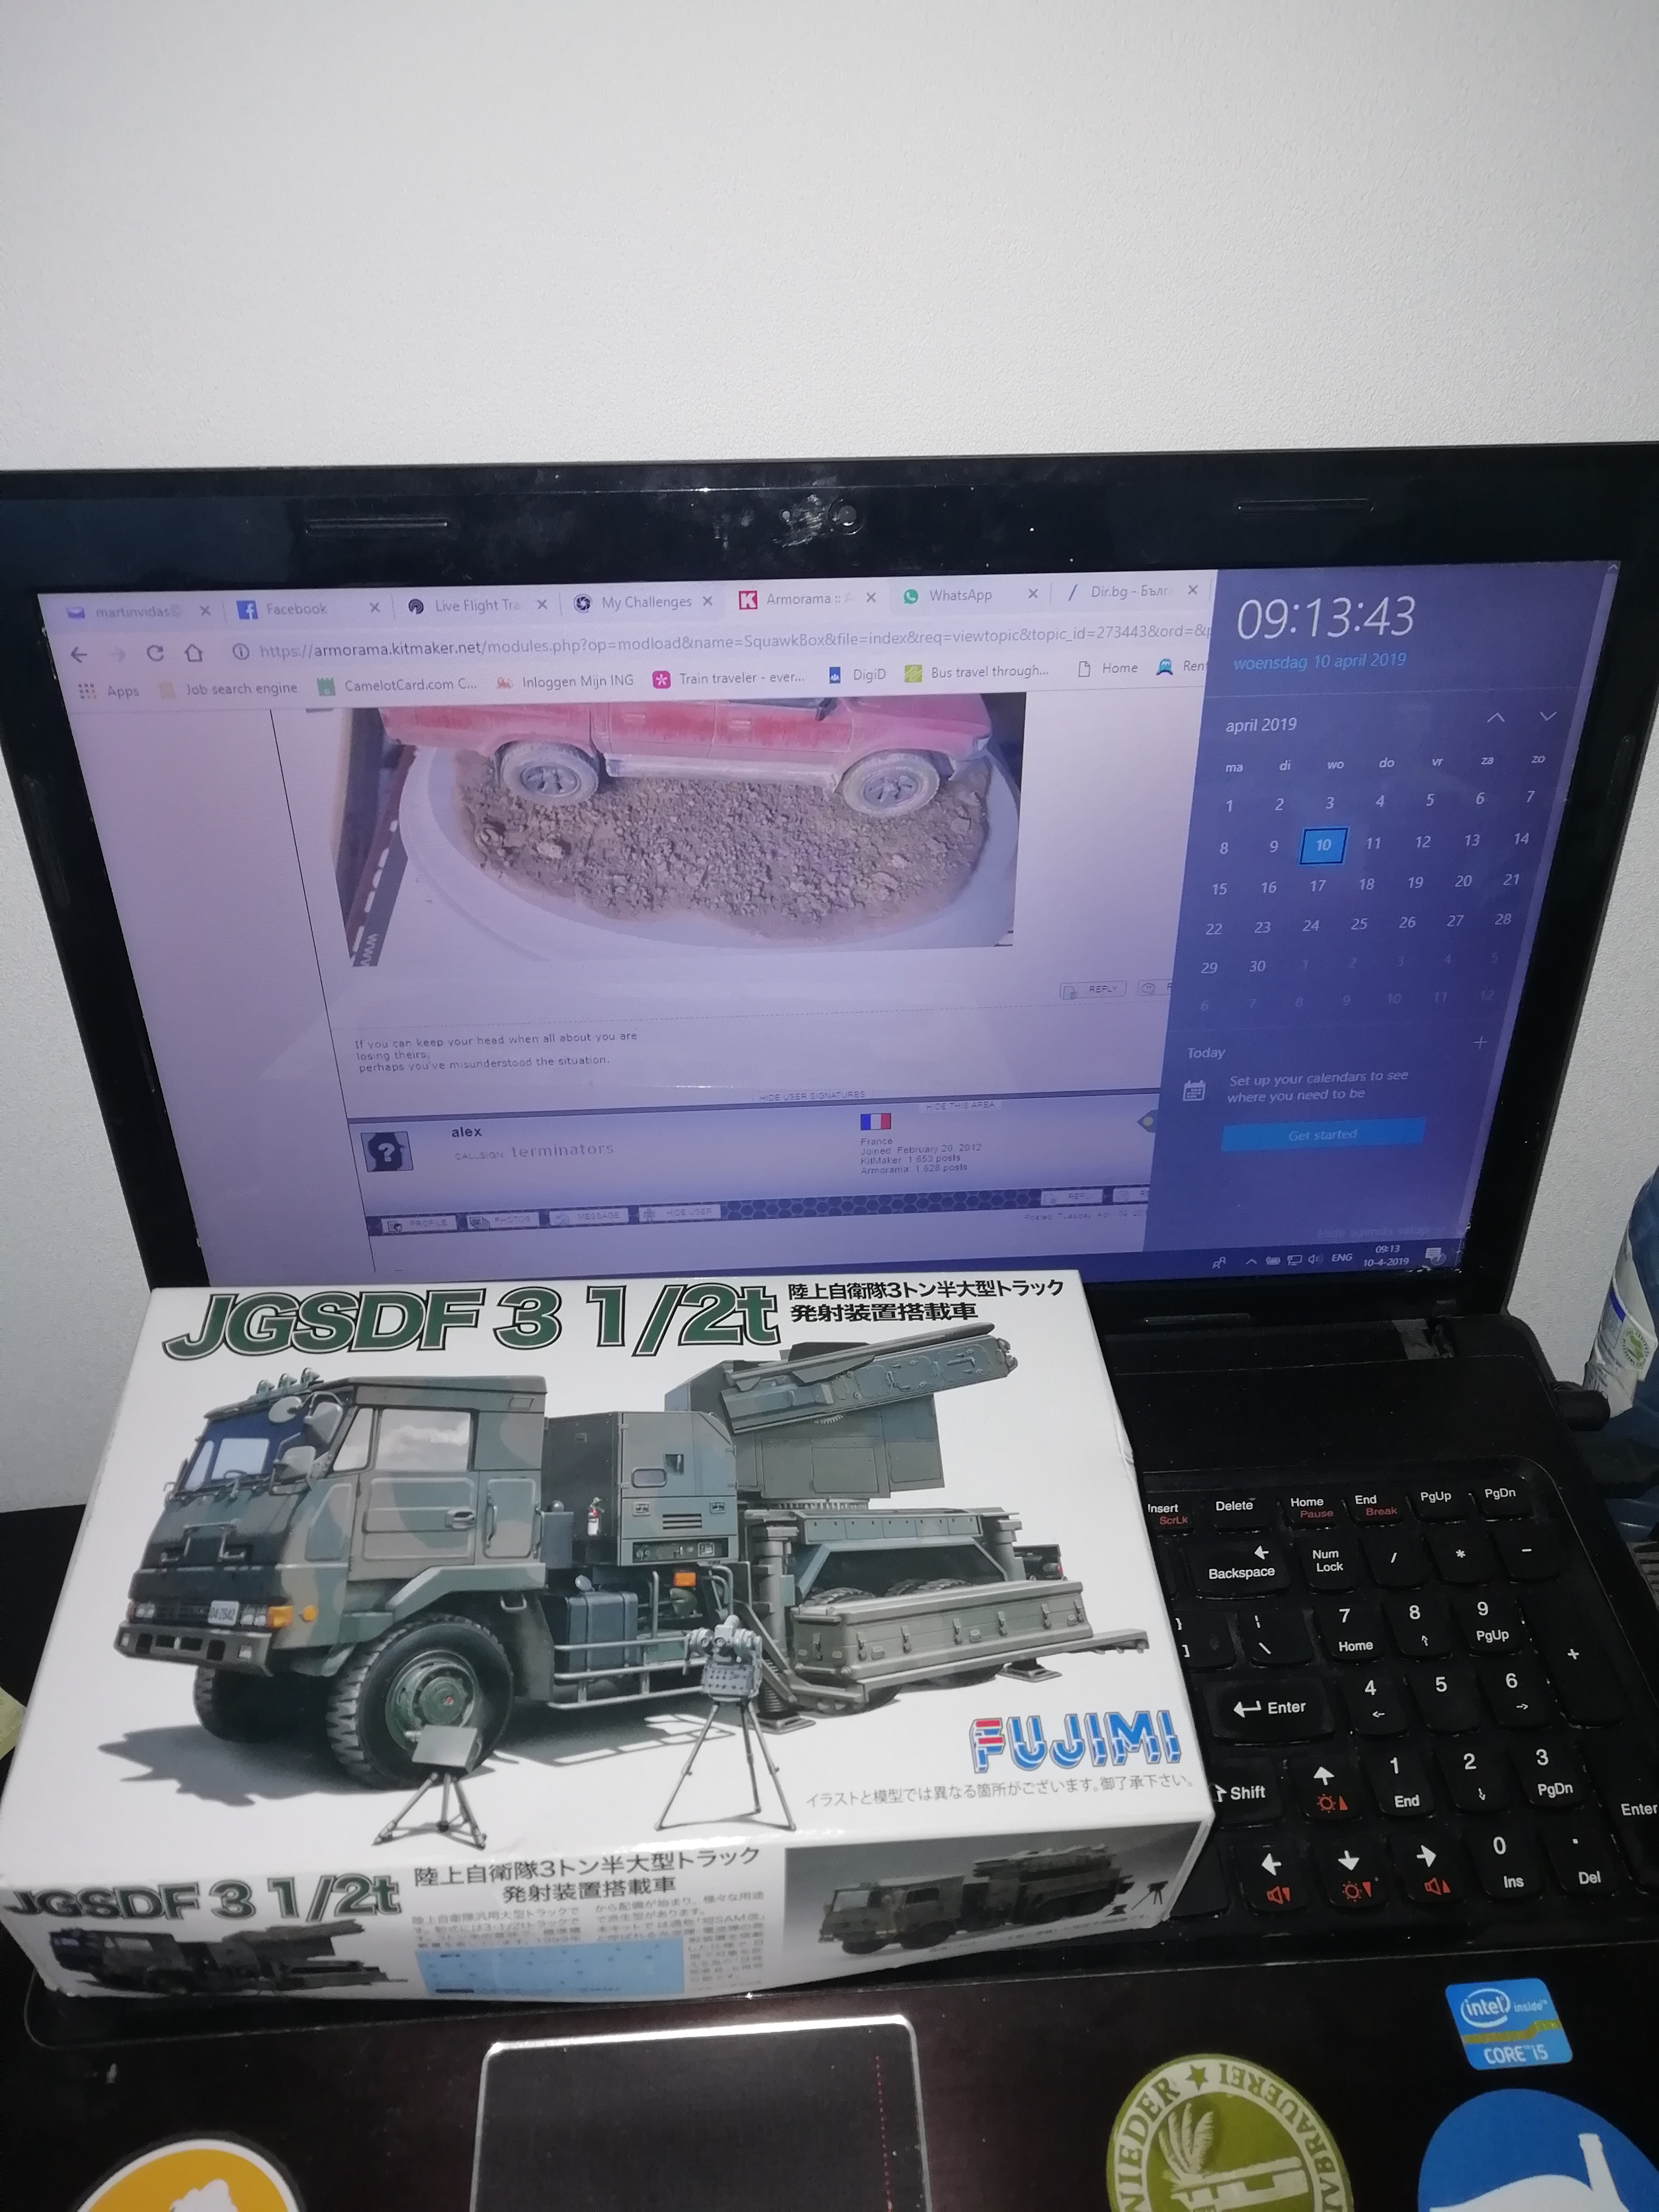
This will be my entry here - Japan AA truck in 1:72 scale:

deerstalker36
Visit this Community
Queensland, Australia
Joined: May 16, 2010
KitMaker: 232 posts
Armorama: 218 posts
Posted: Tuesday, April 09, 2019 - 08:43 PM UTC

Quoted Text

Good morning
This will be my entry here - Japan AA truck in 1:72 scale:


loving the look of that truck Martin