

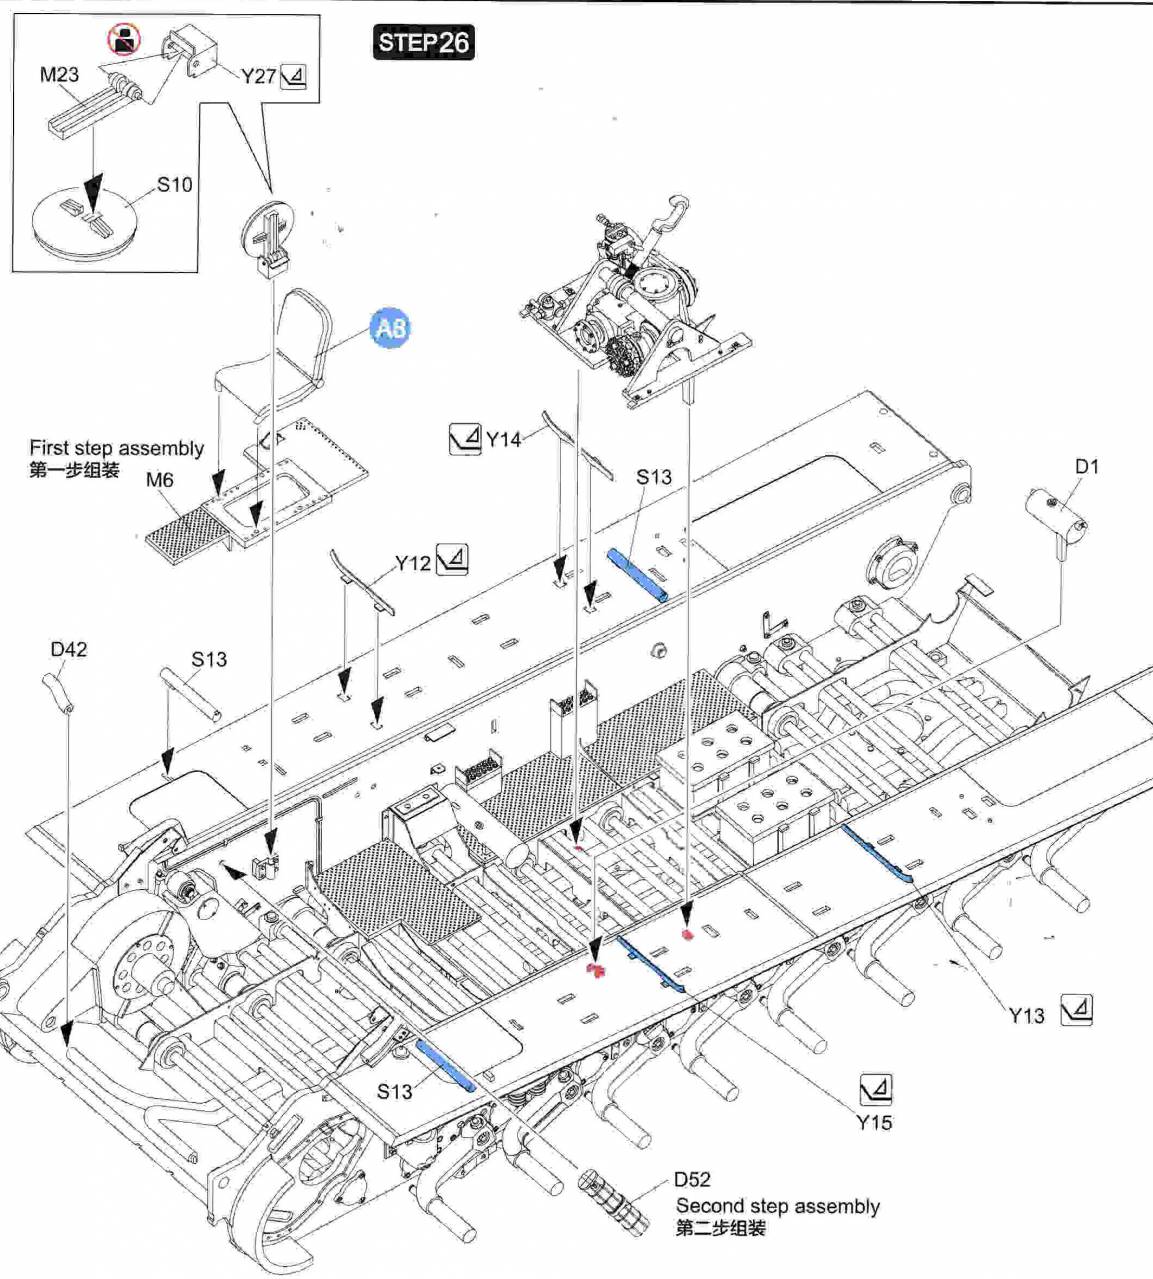
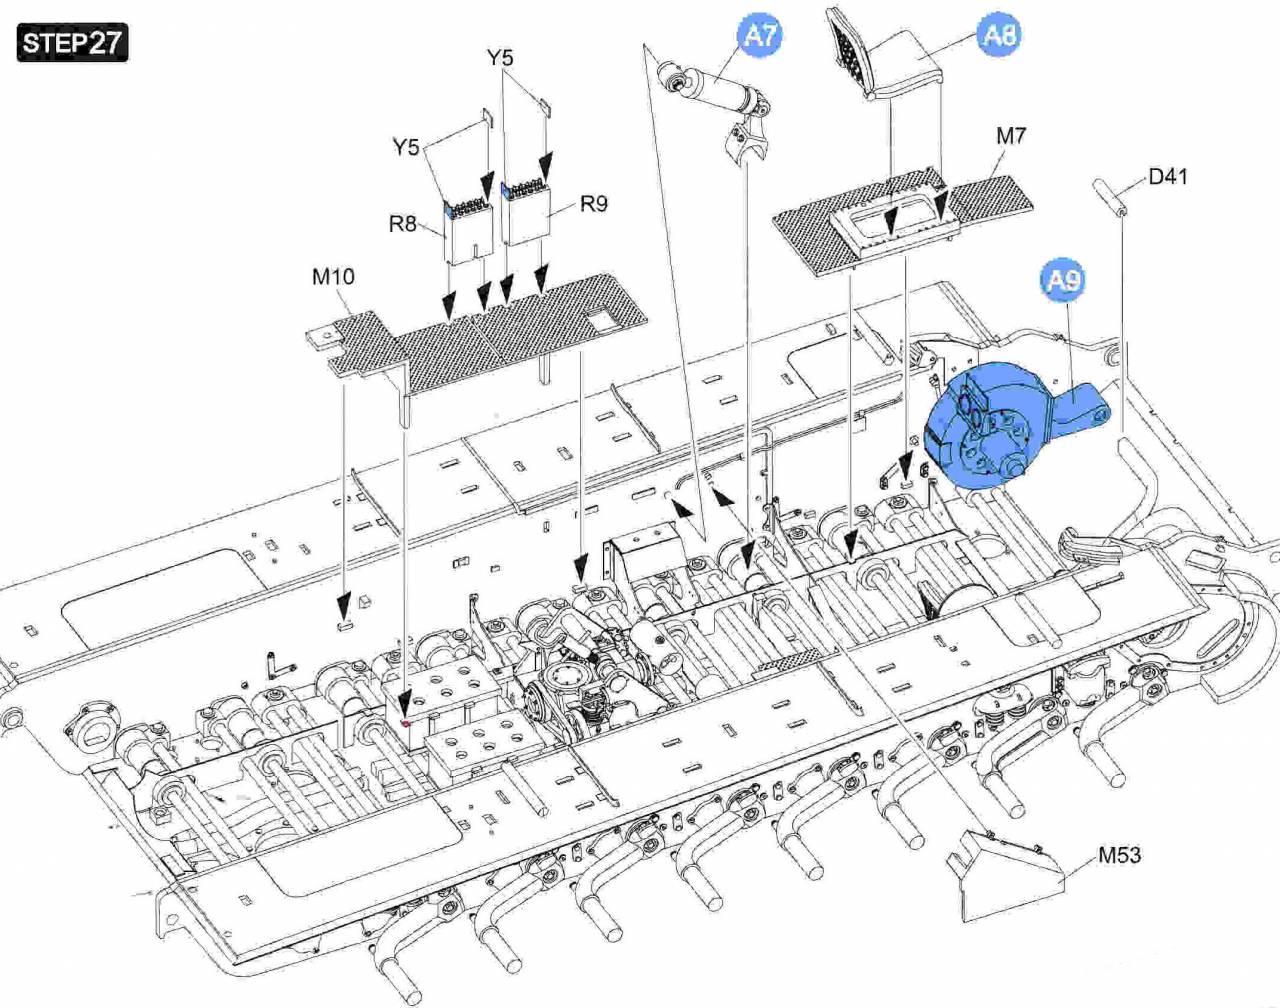
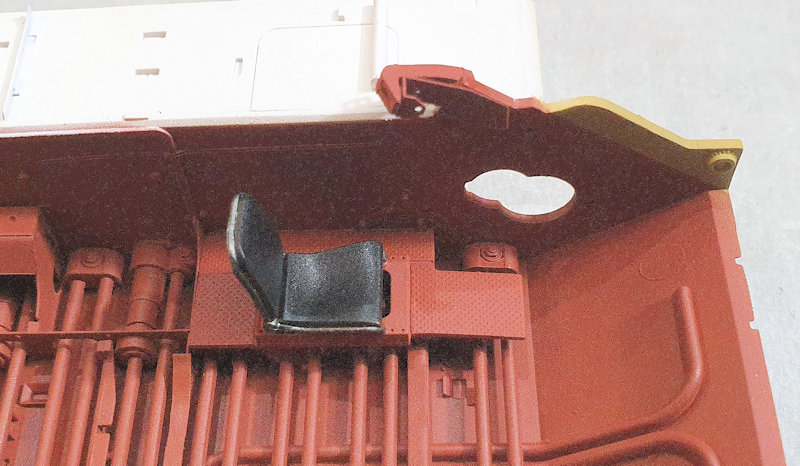
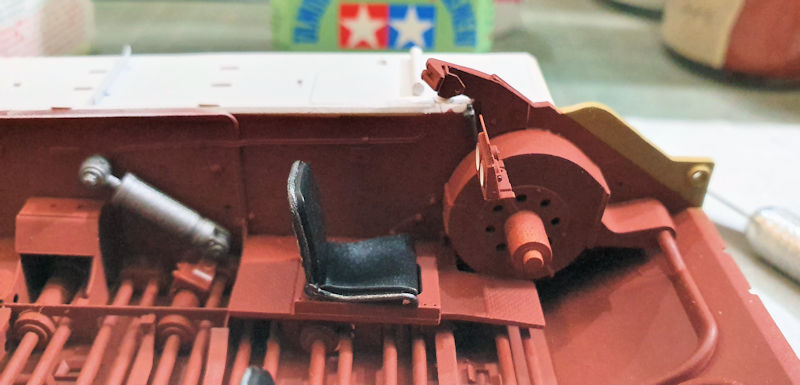
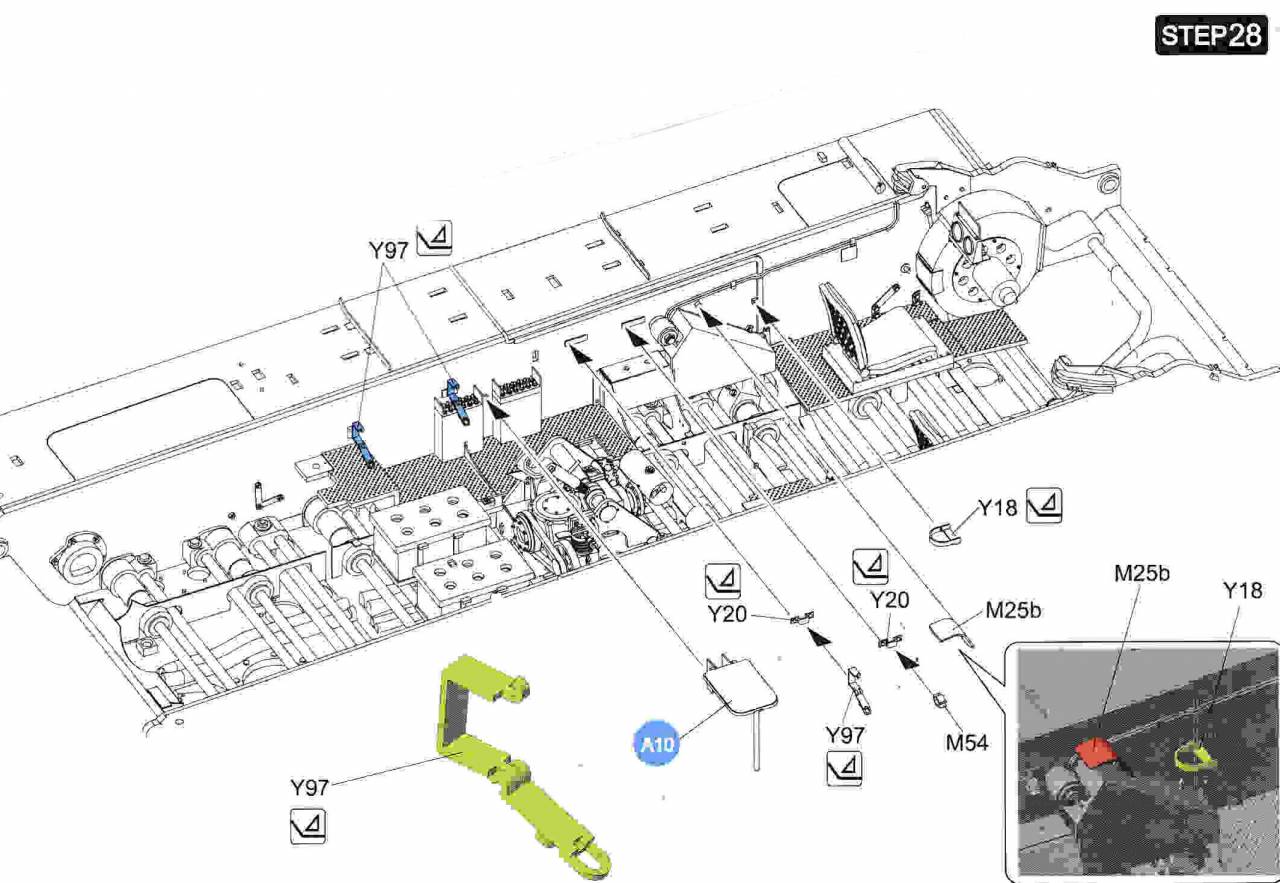
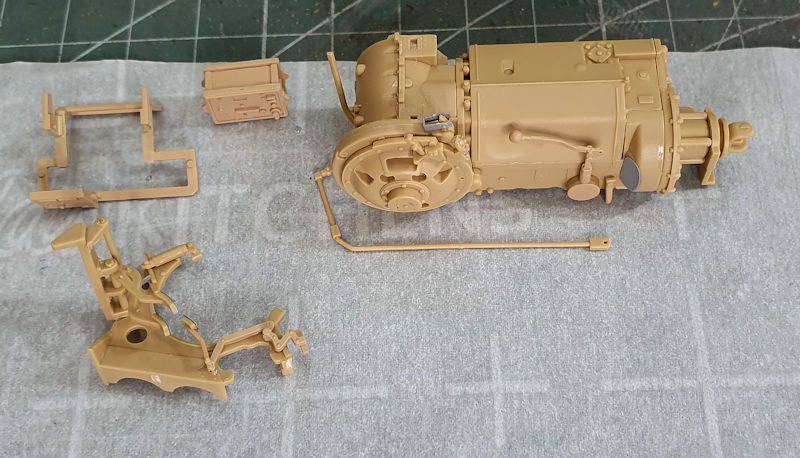
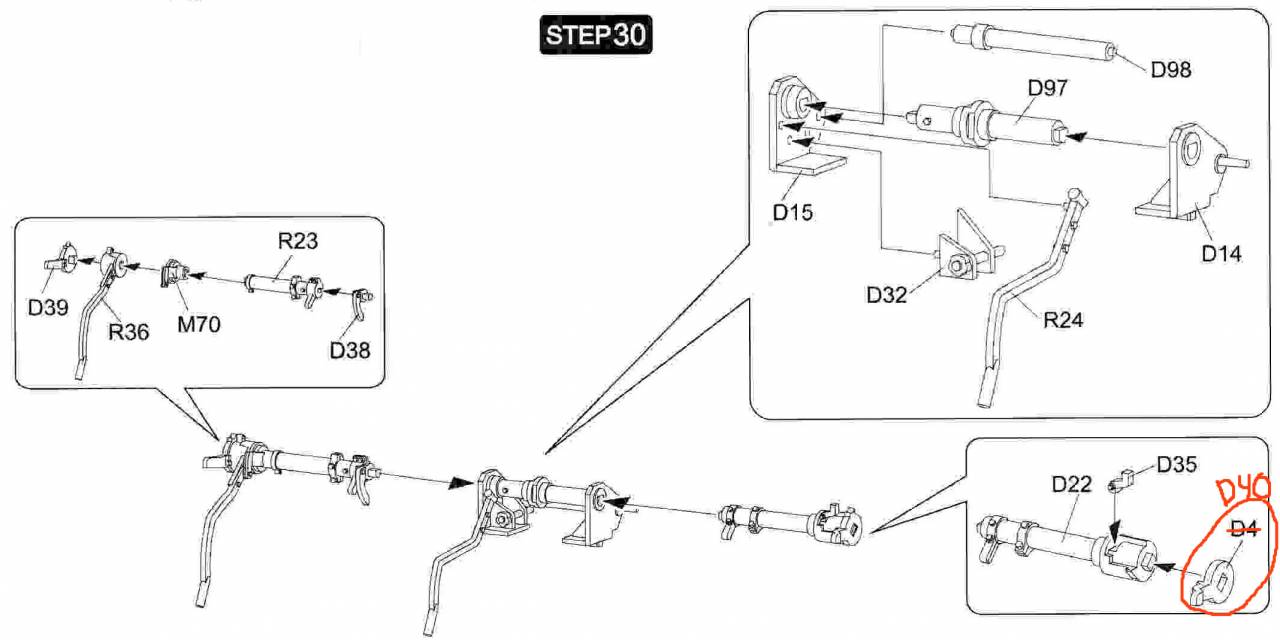
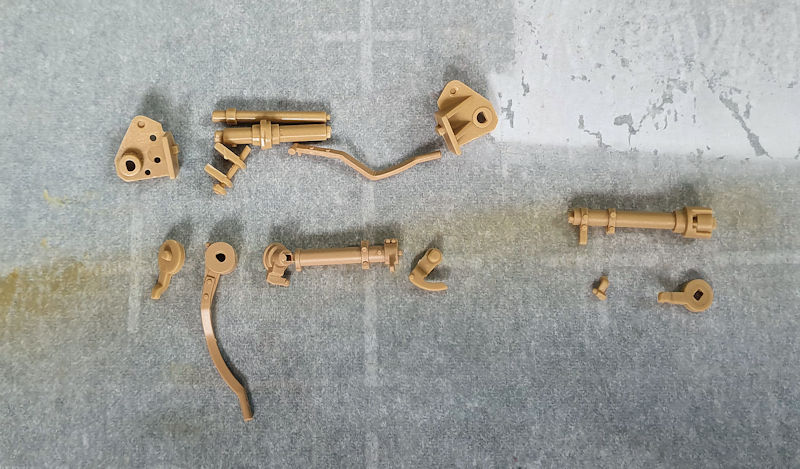
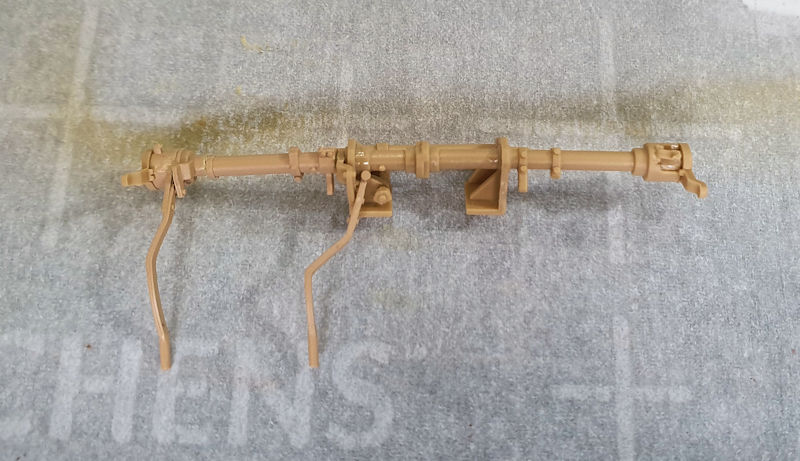
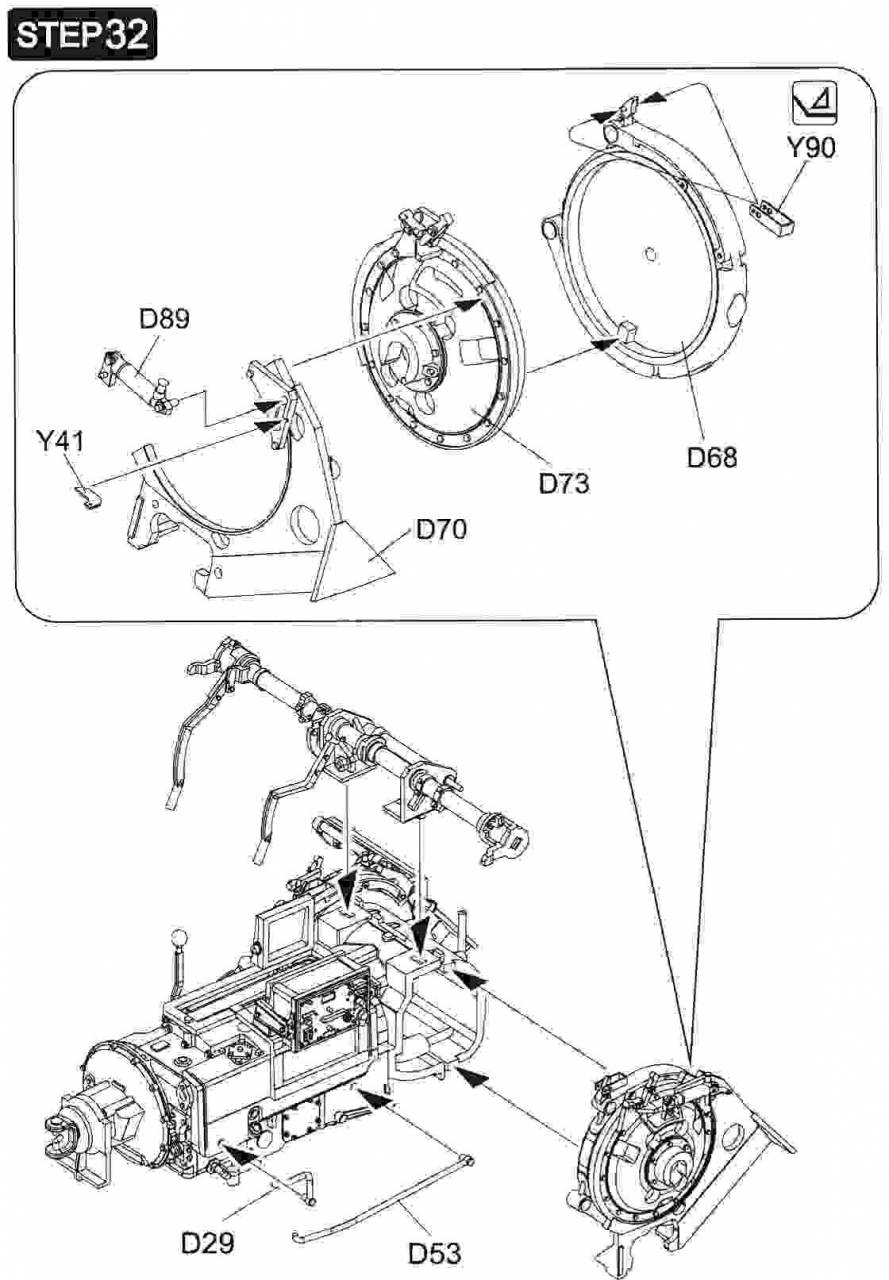
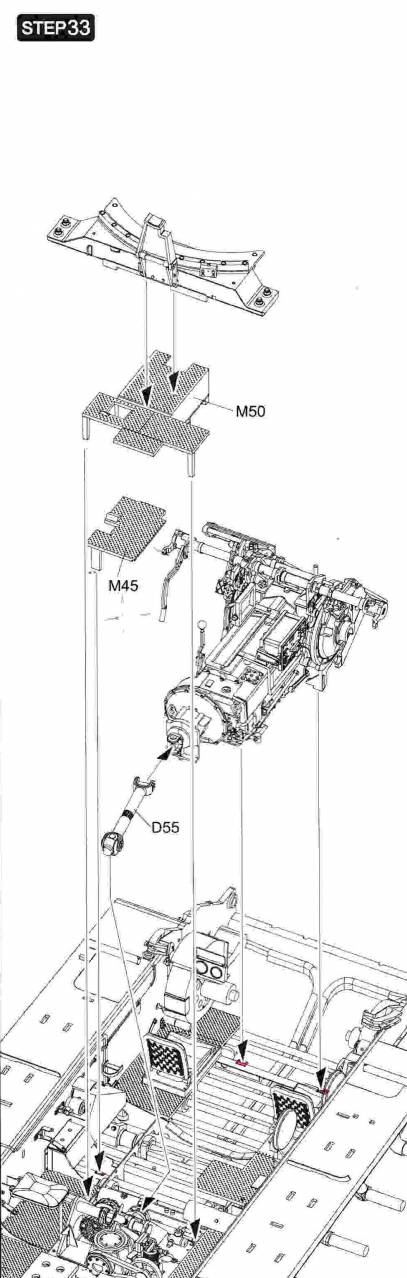
Instructions
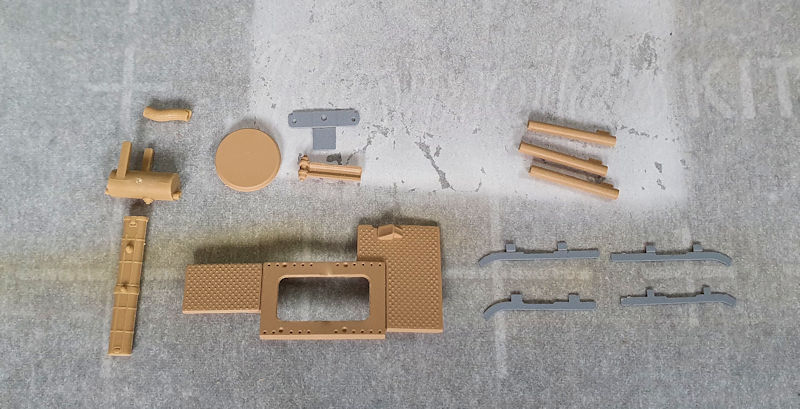
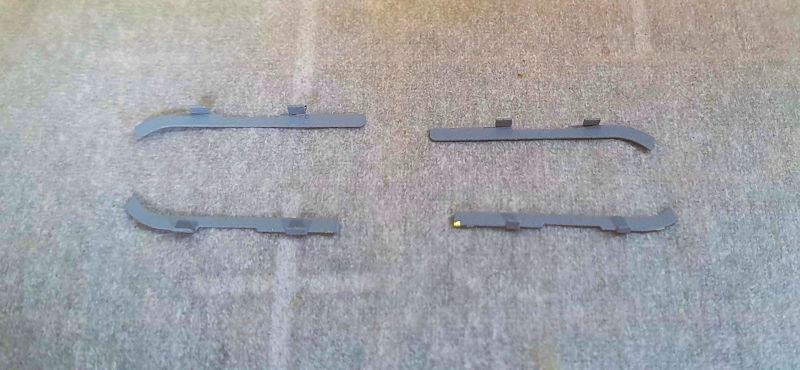
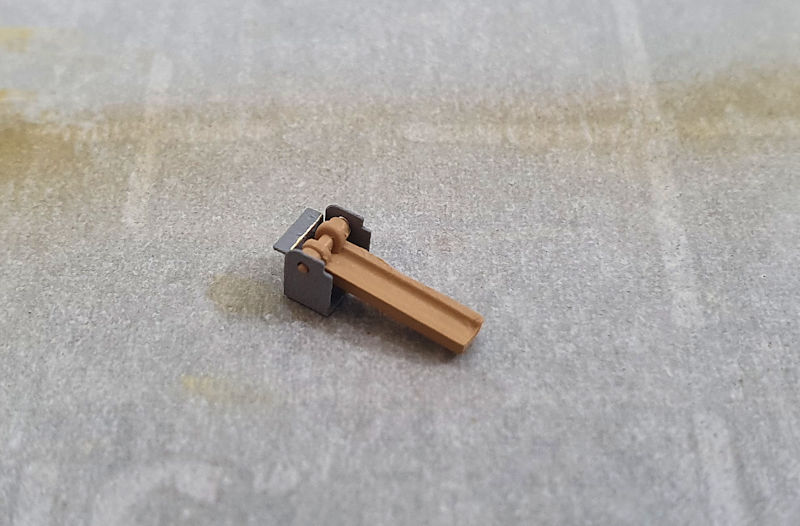
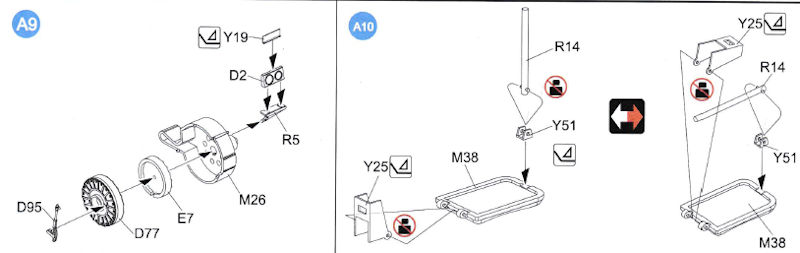
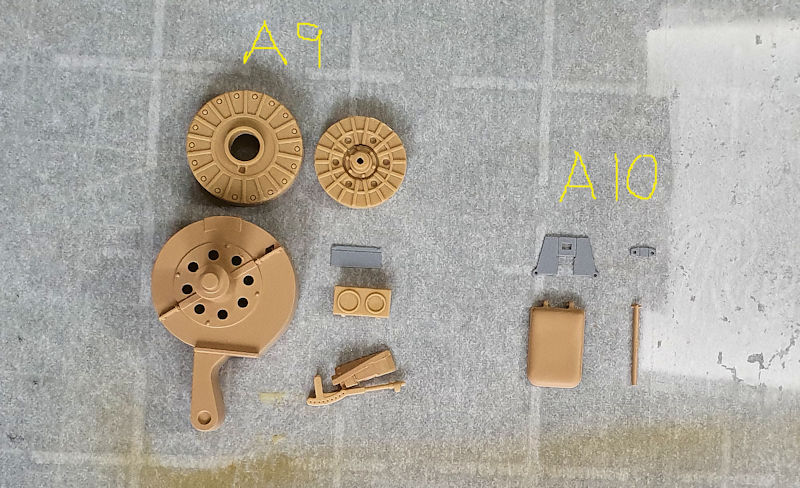
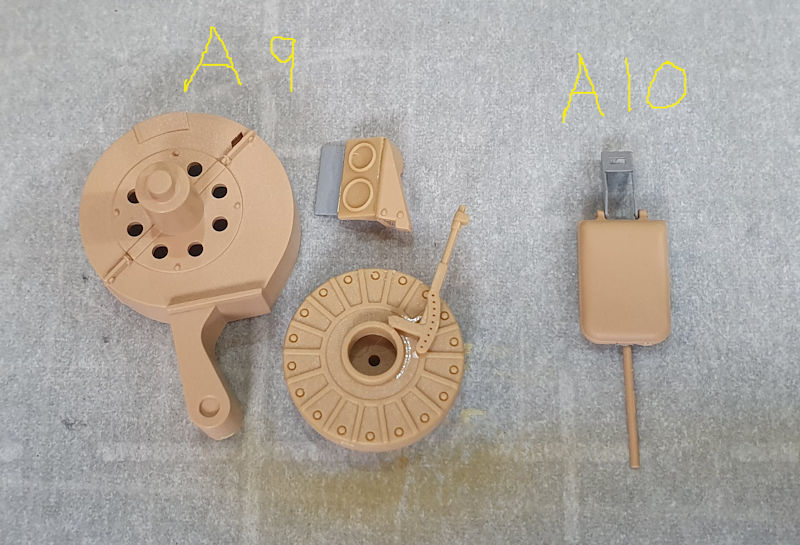
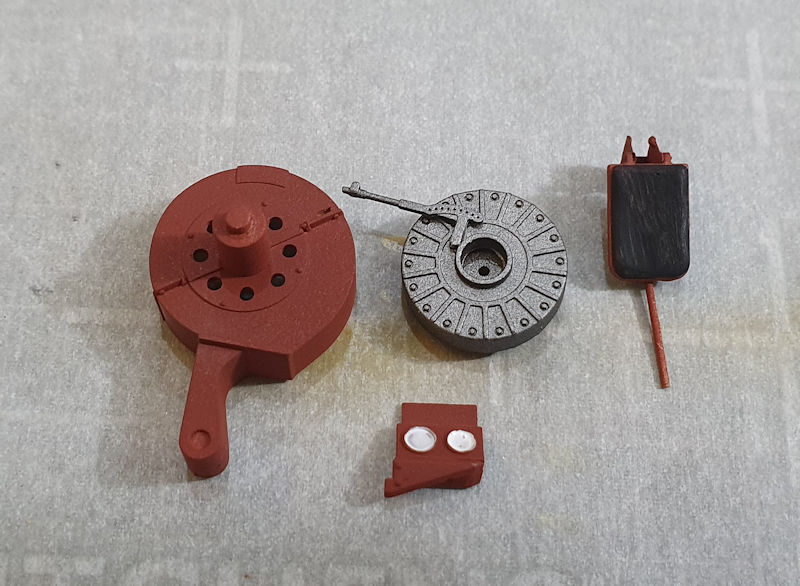
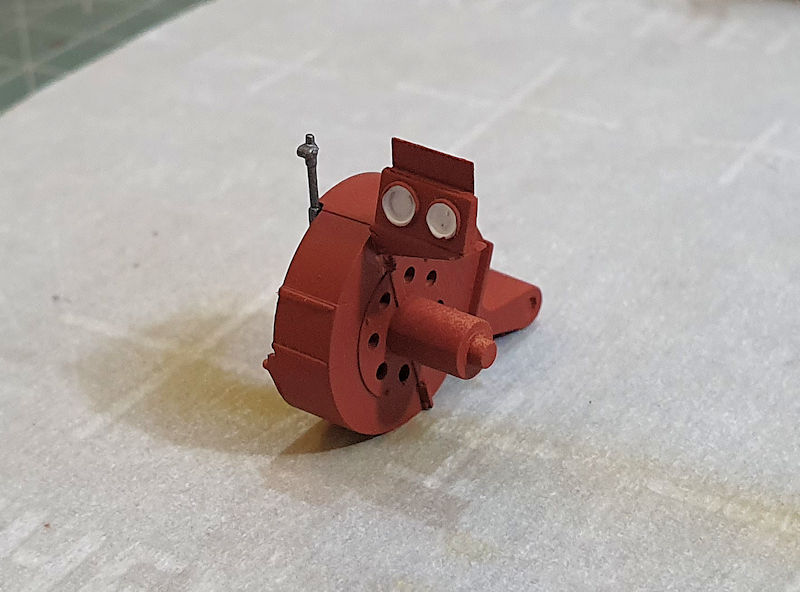
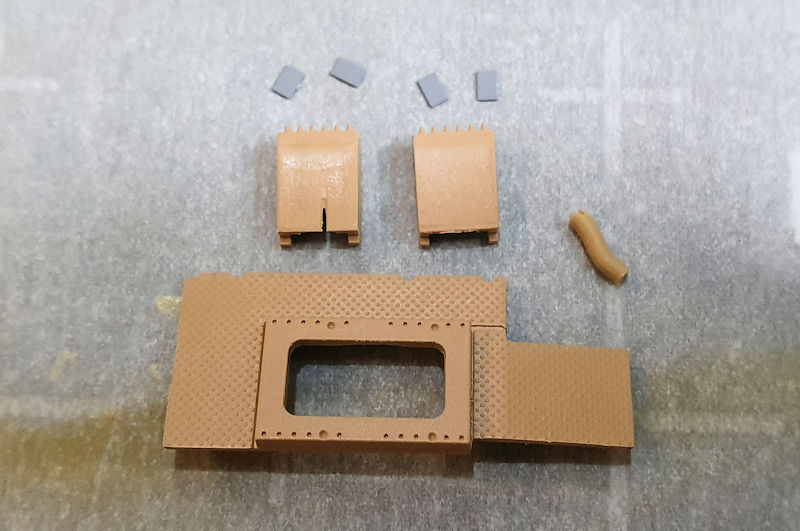
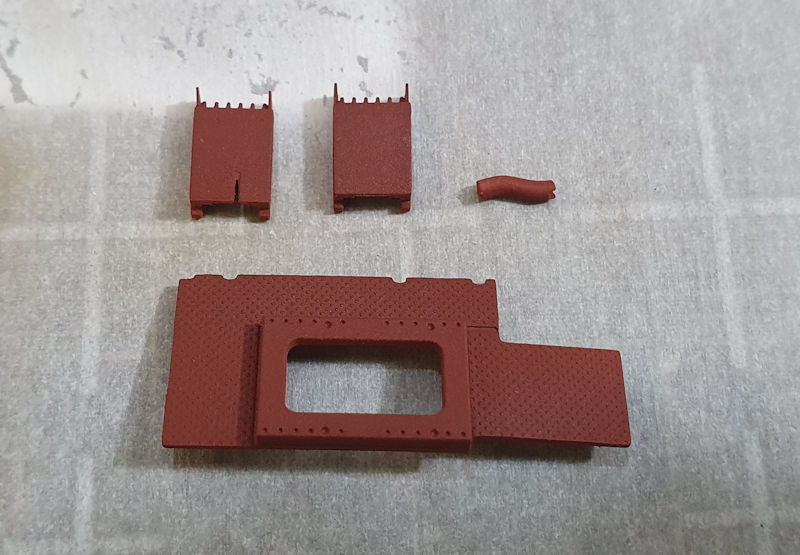
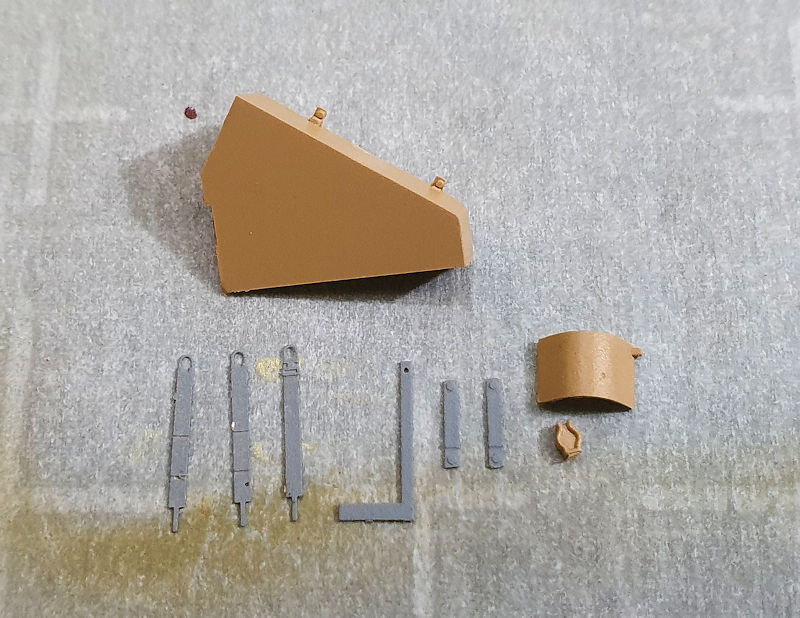
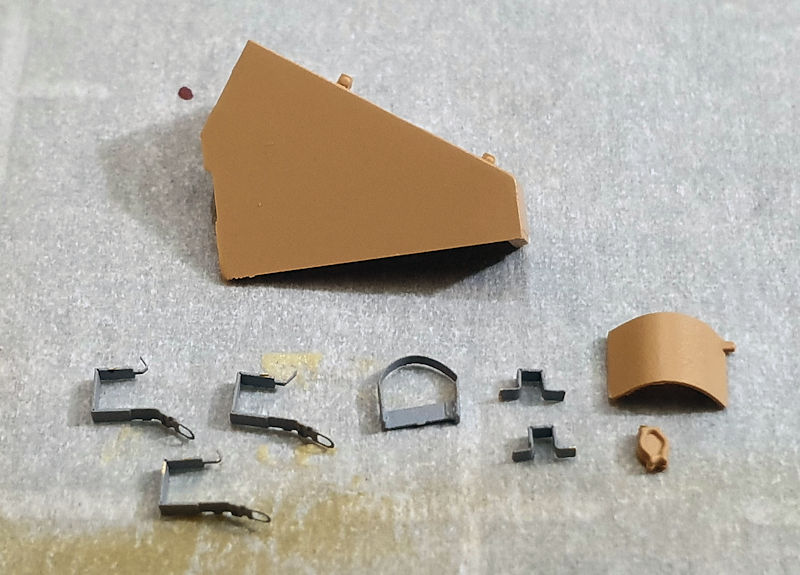
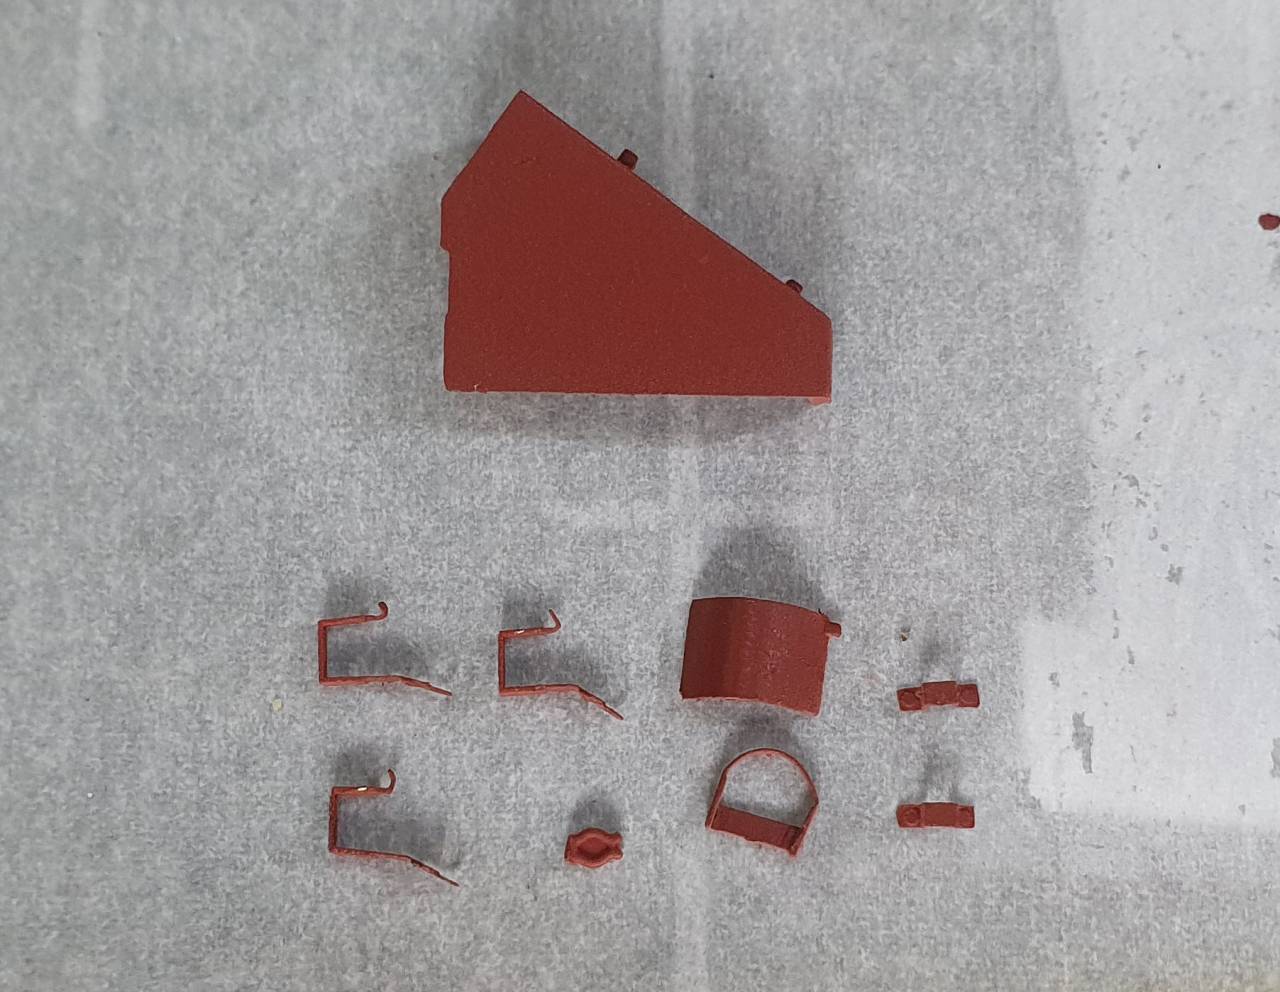
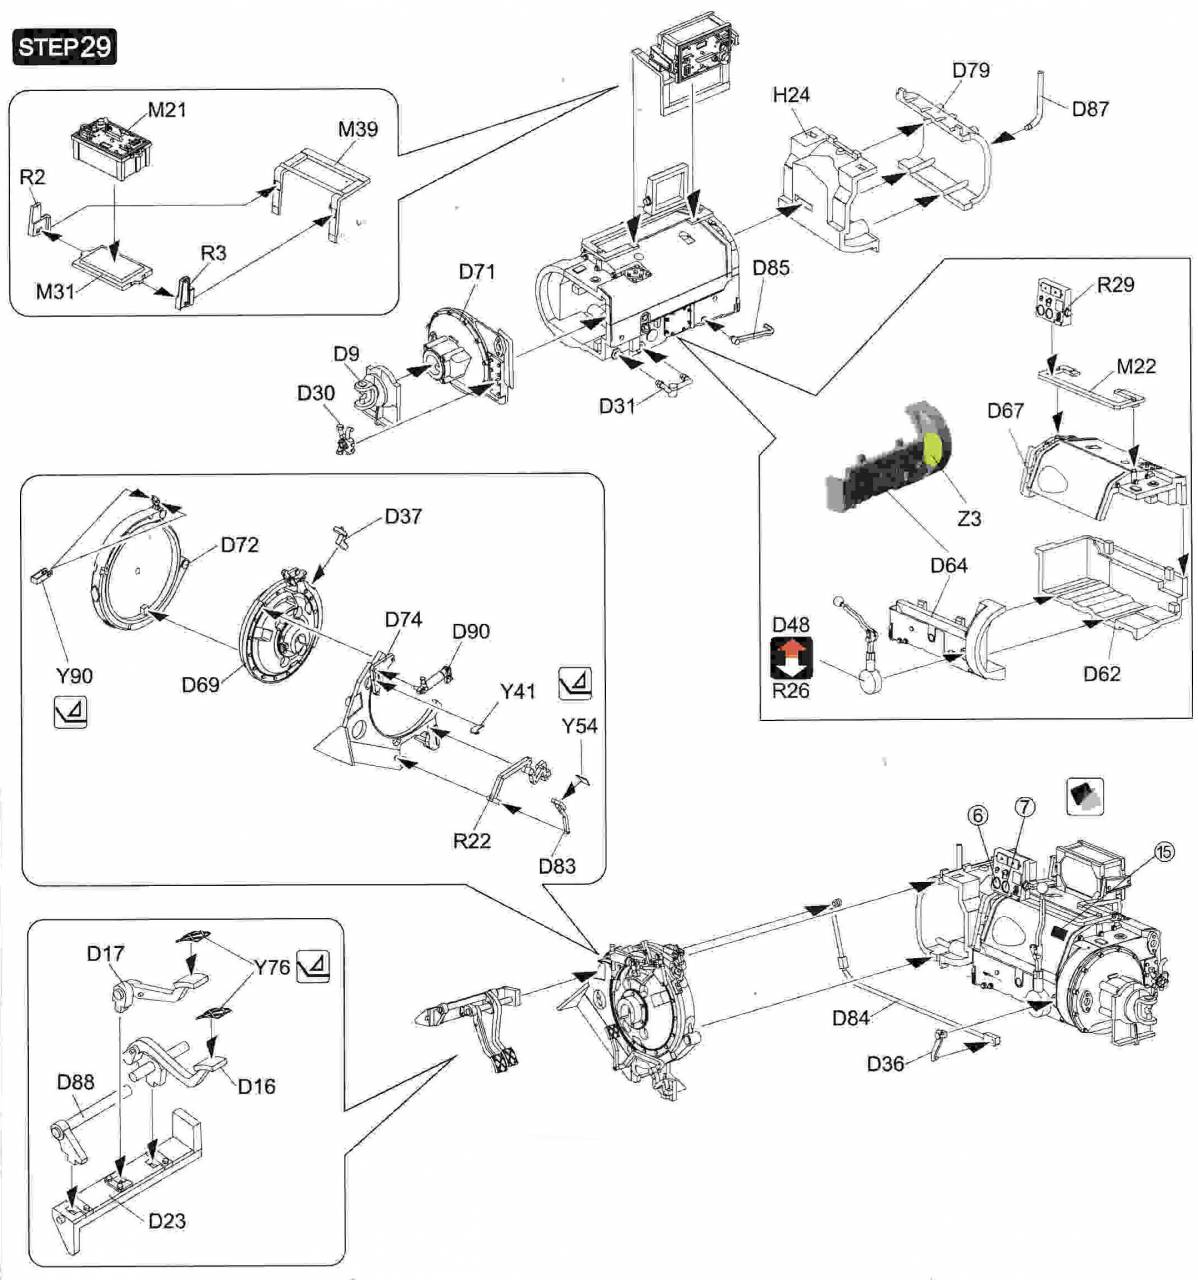
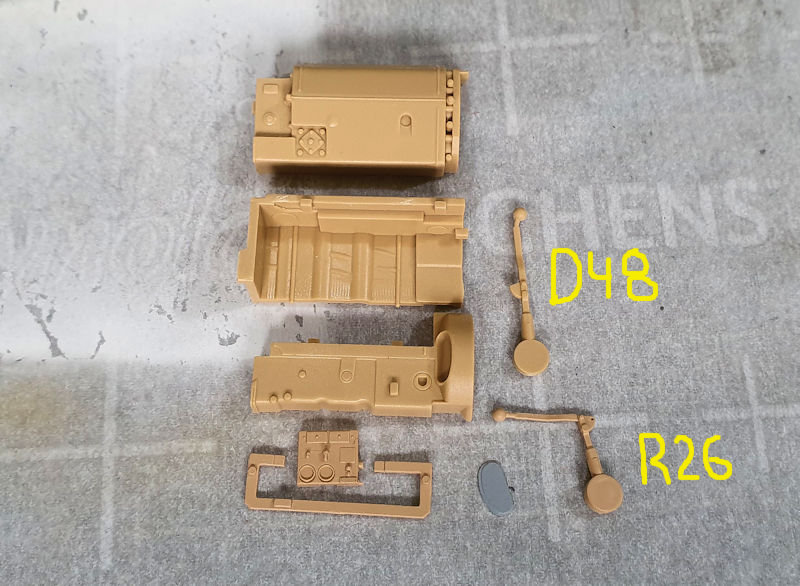
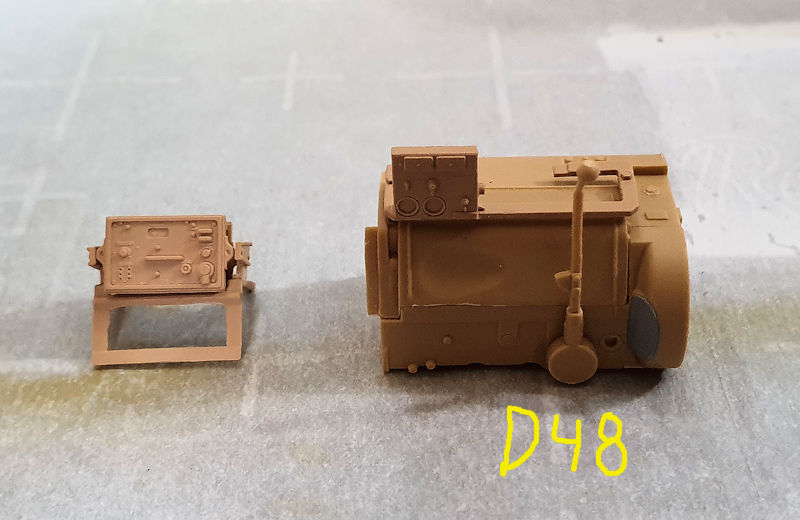
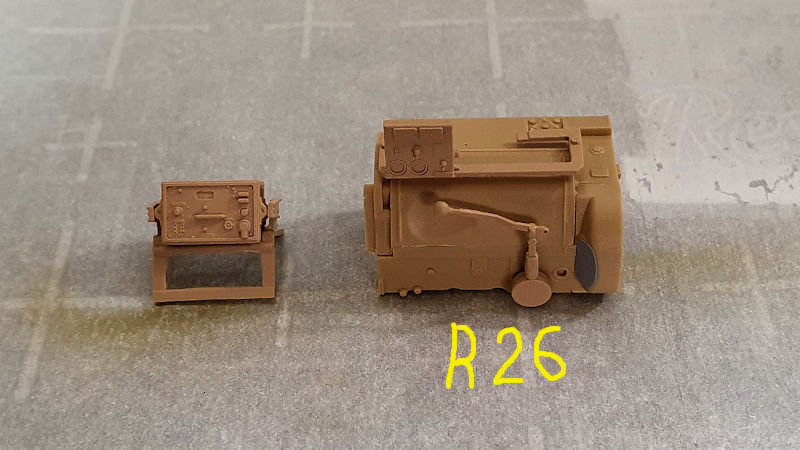
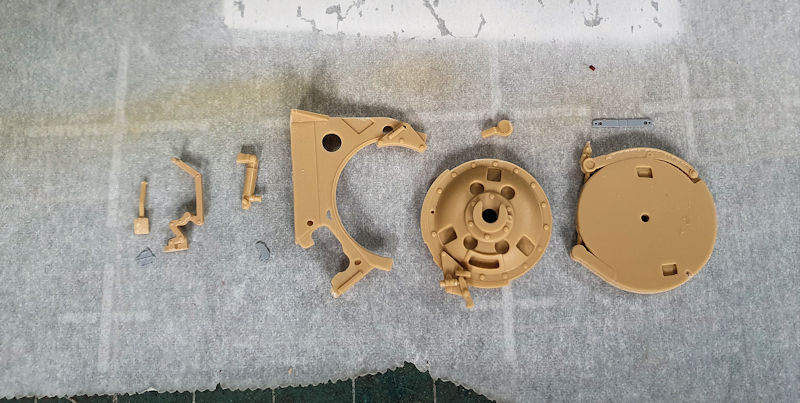
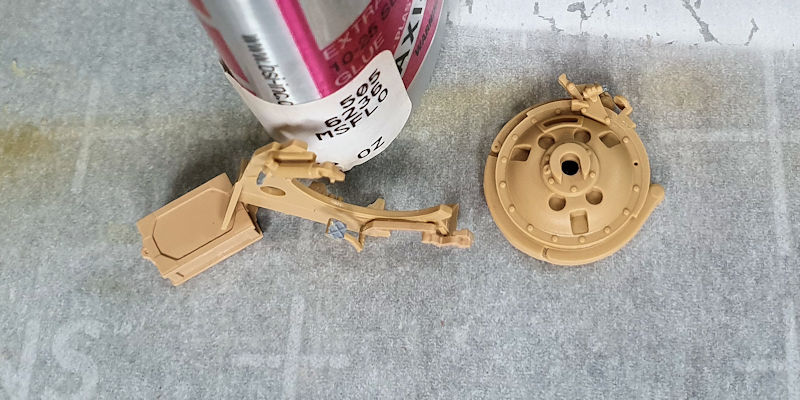
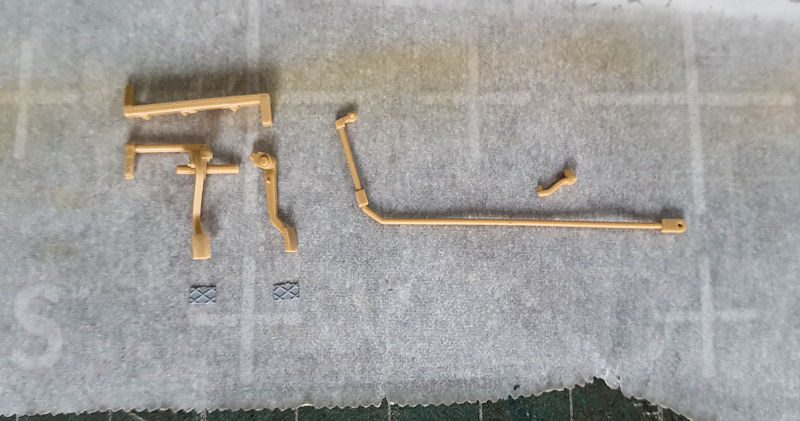
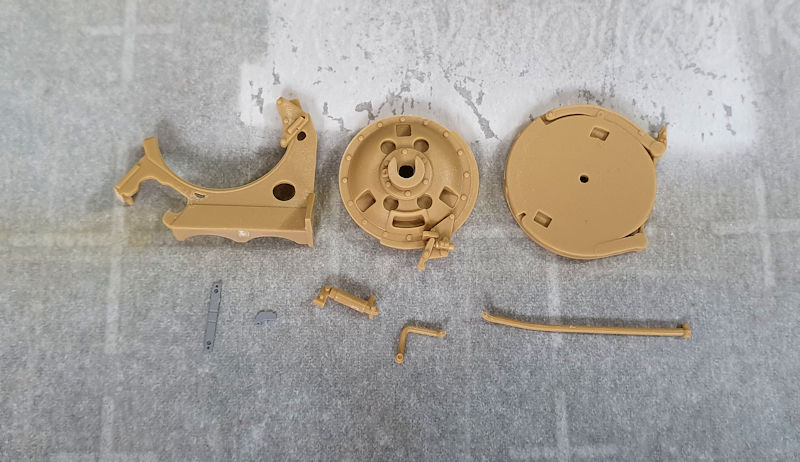
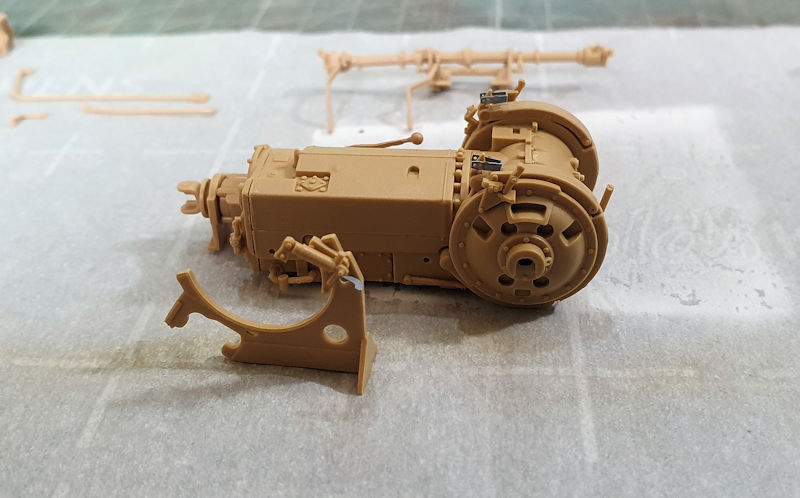
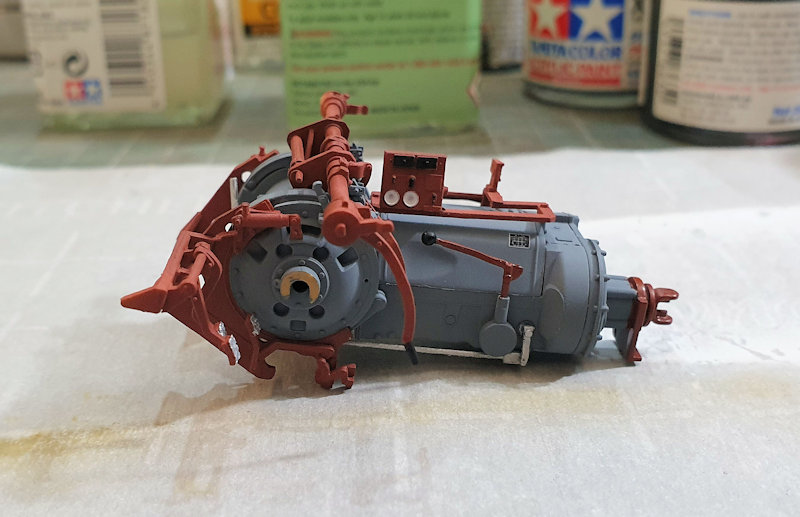
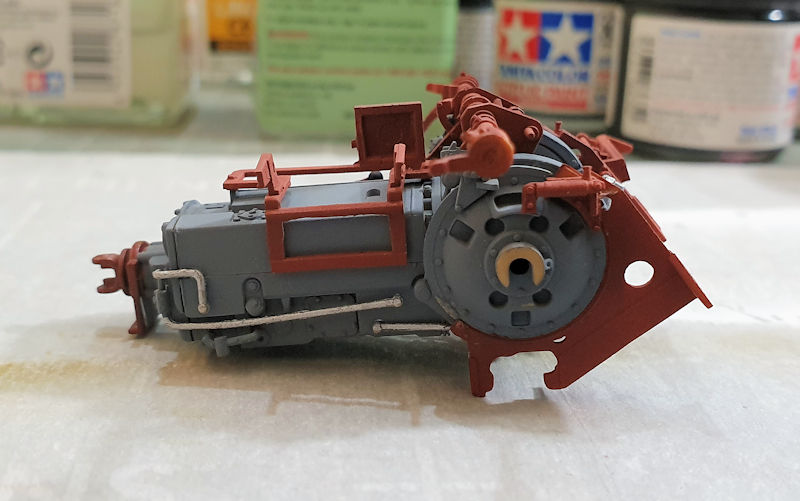
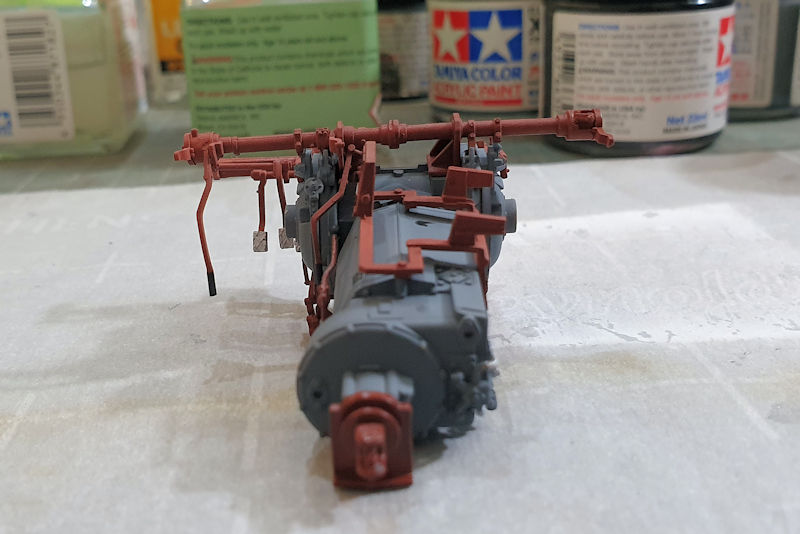
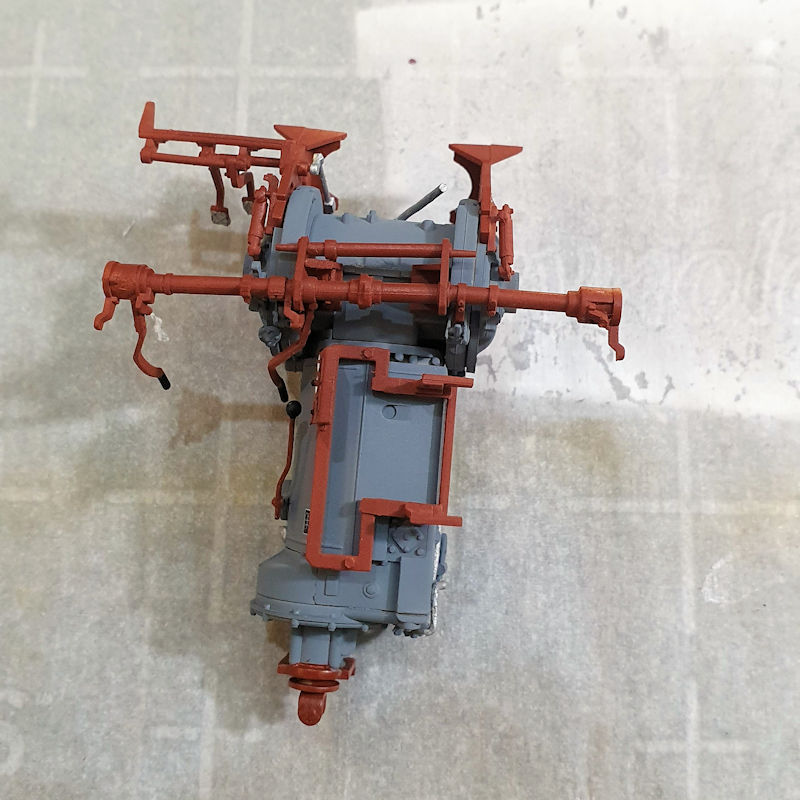
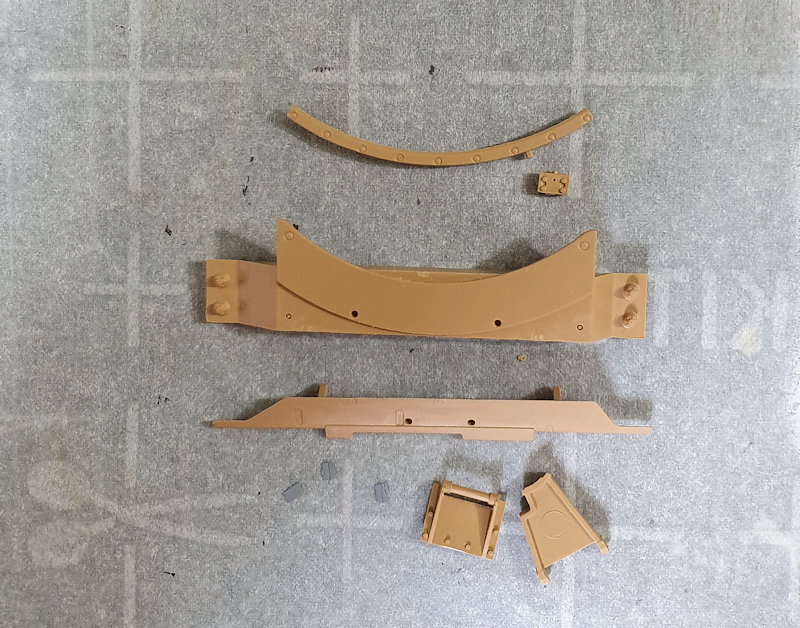
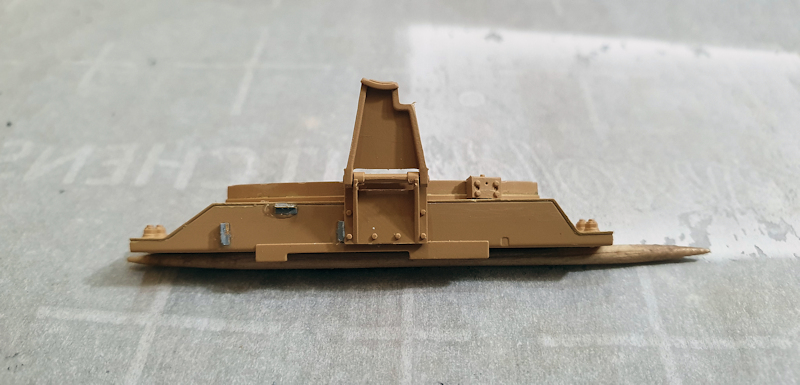
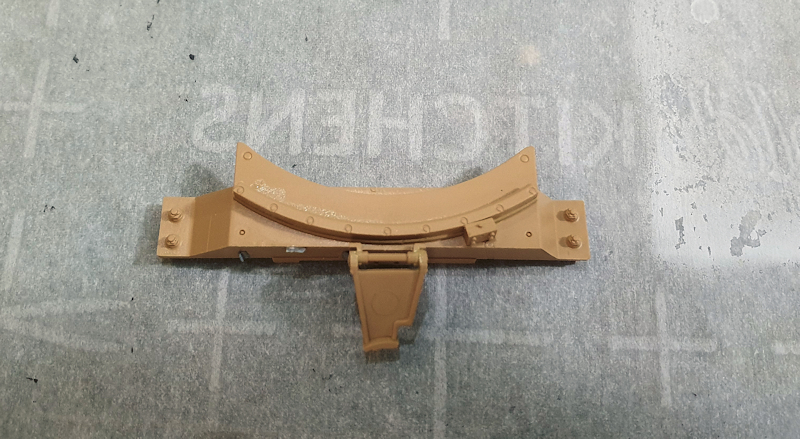
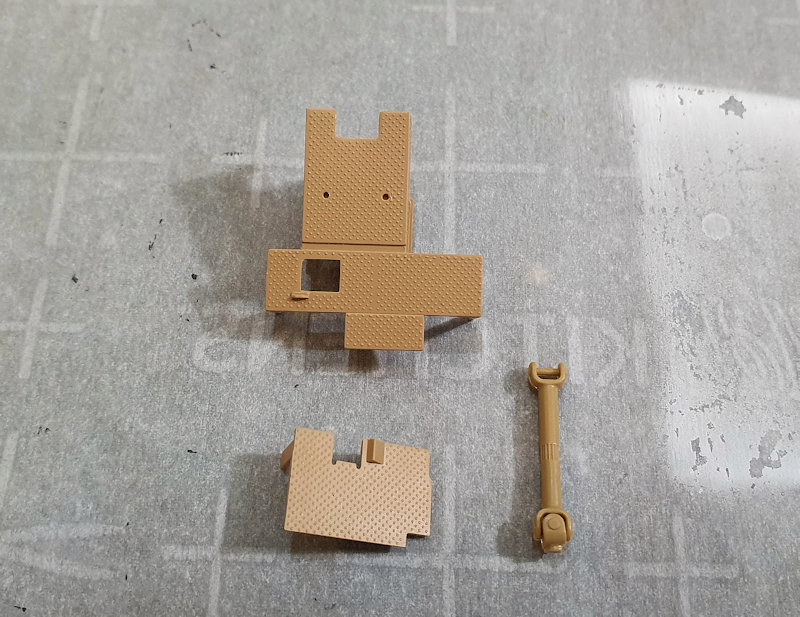
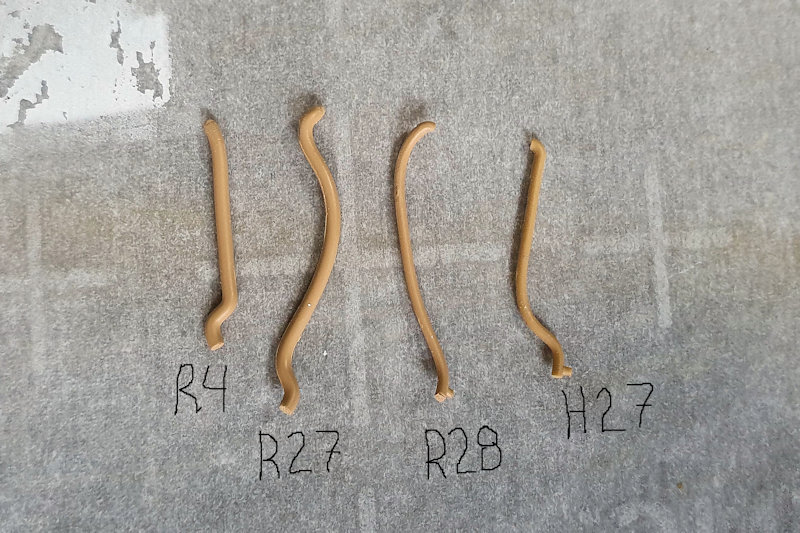
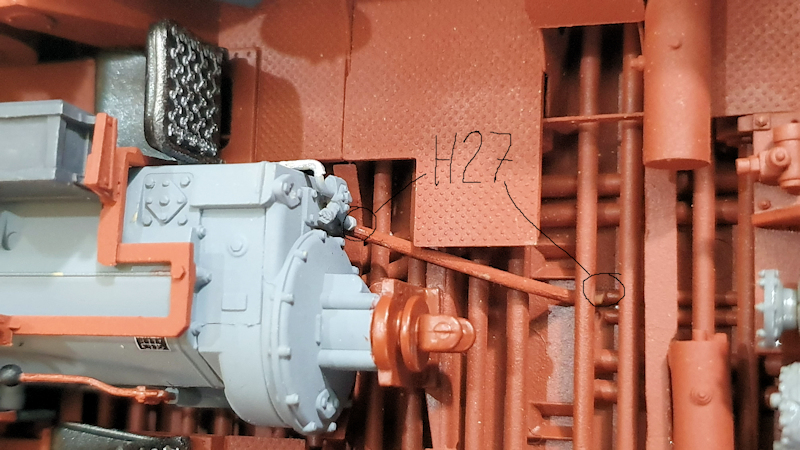
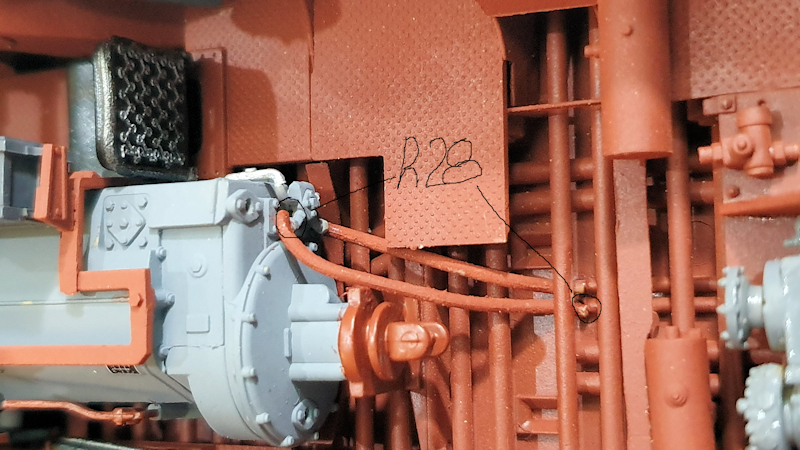
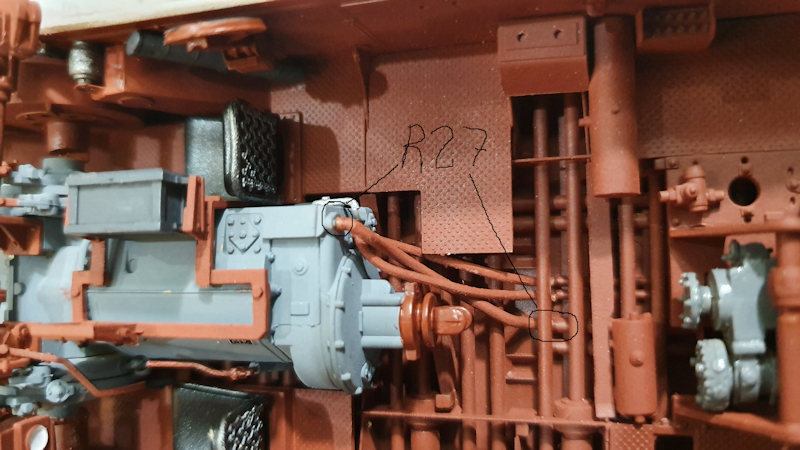
Parts
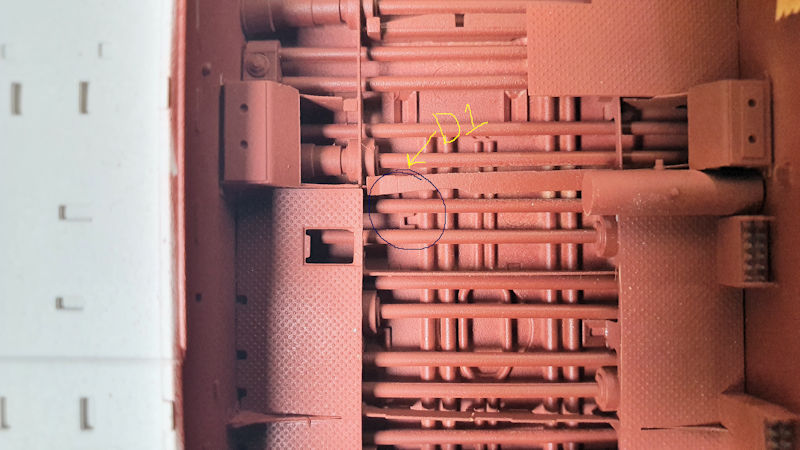
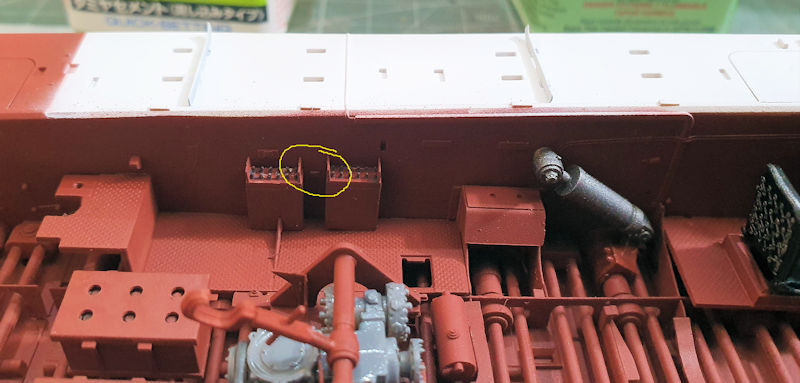
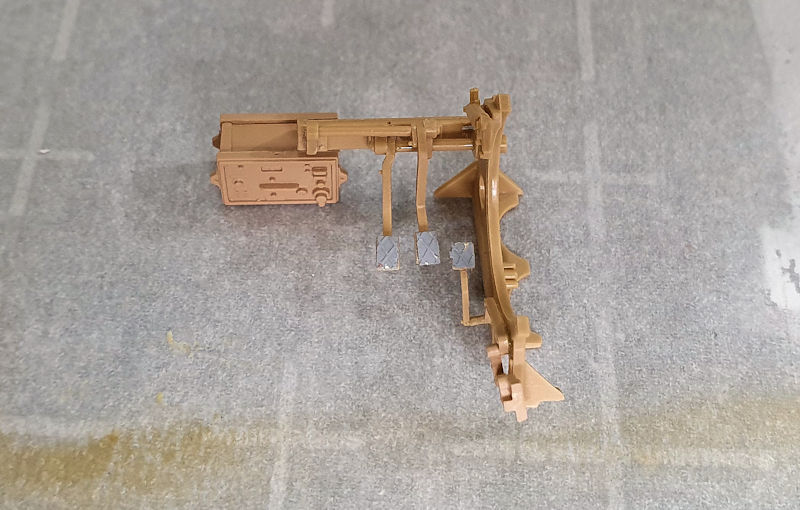
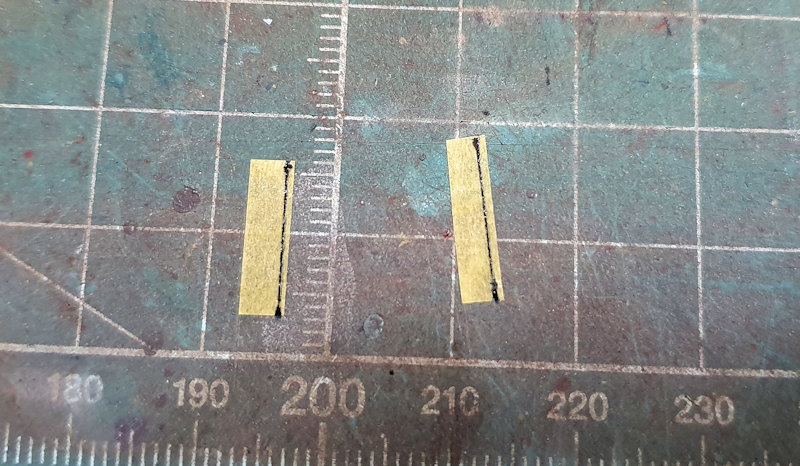
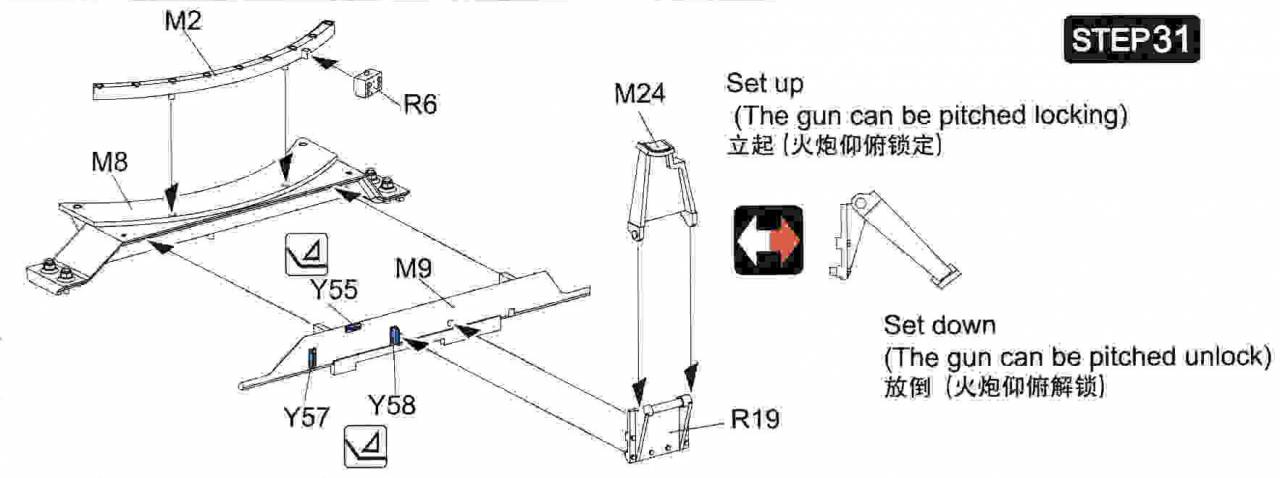
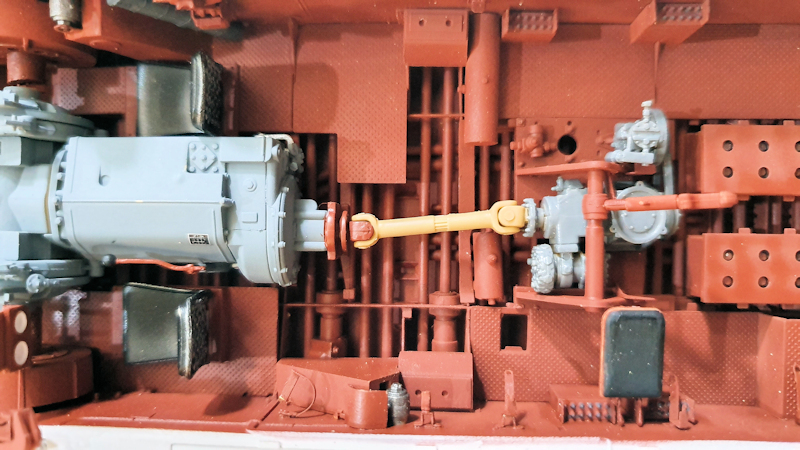
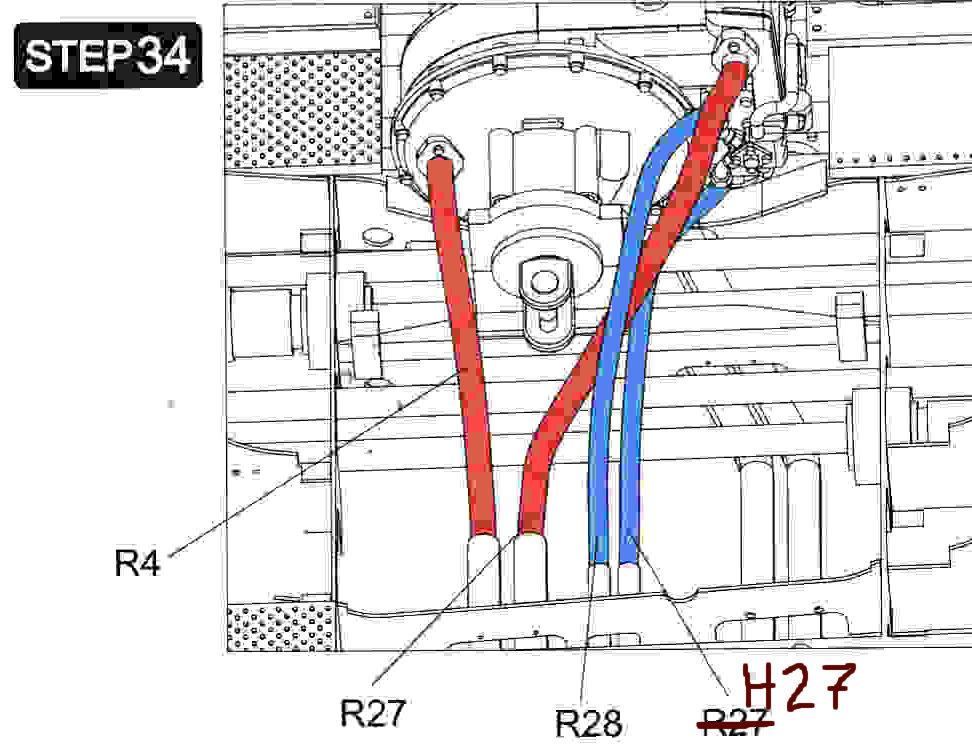
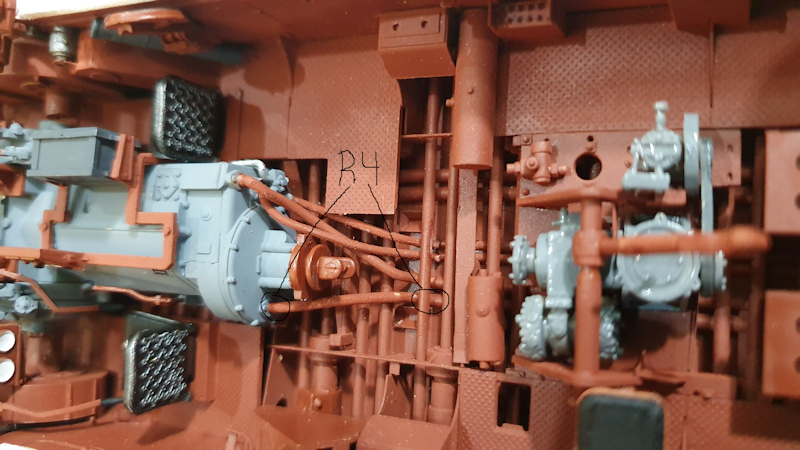
Bending of the PE. Just make sure you have M23 in the correct orientation before inserting it into Y27


Quality, quality, quality. Superb build log


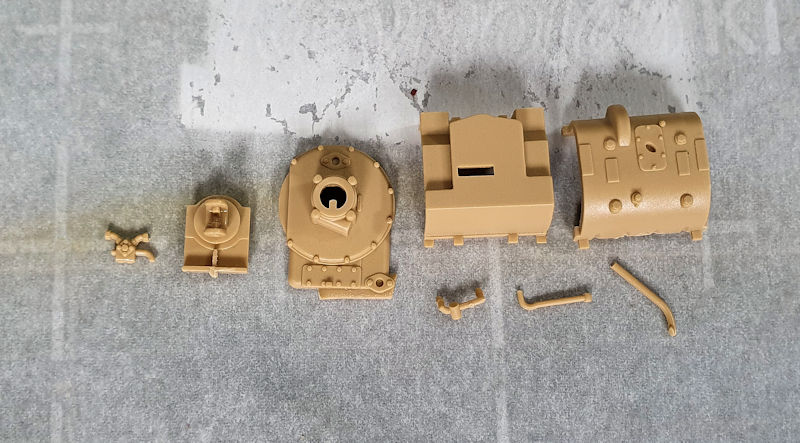
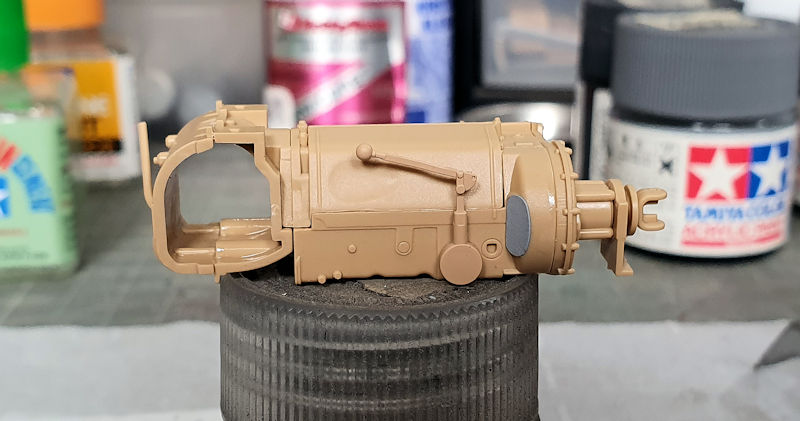
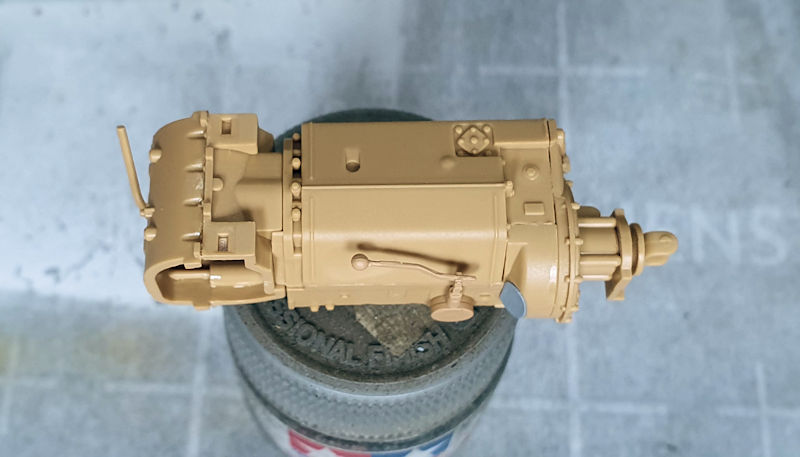
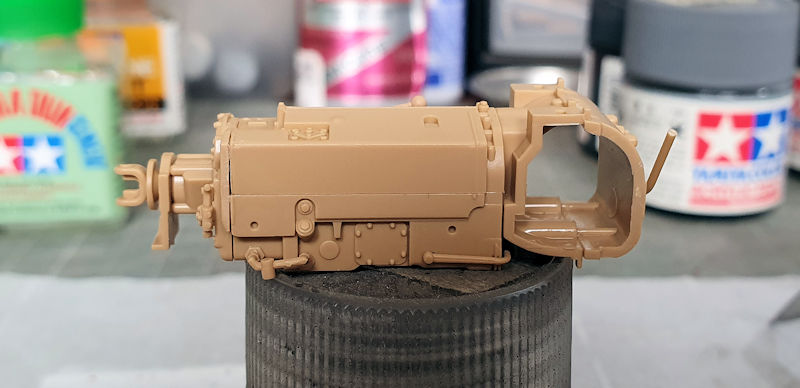


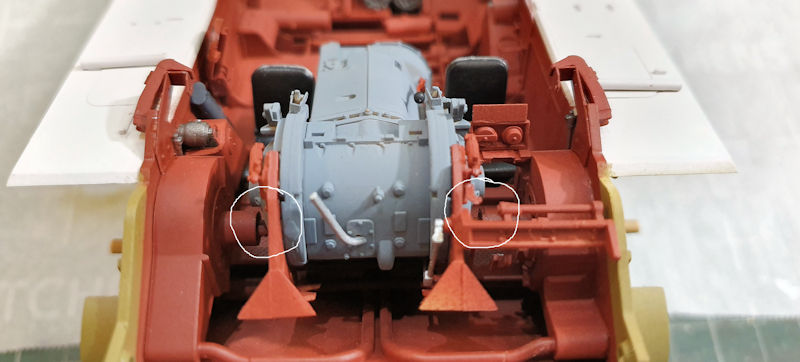
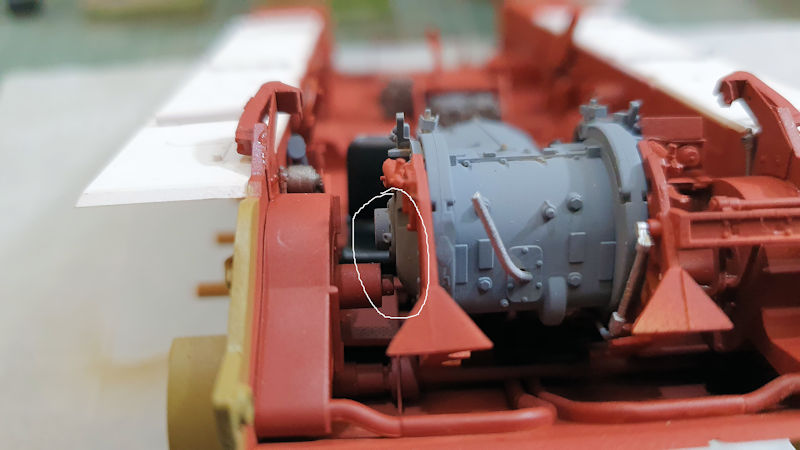


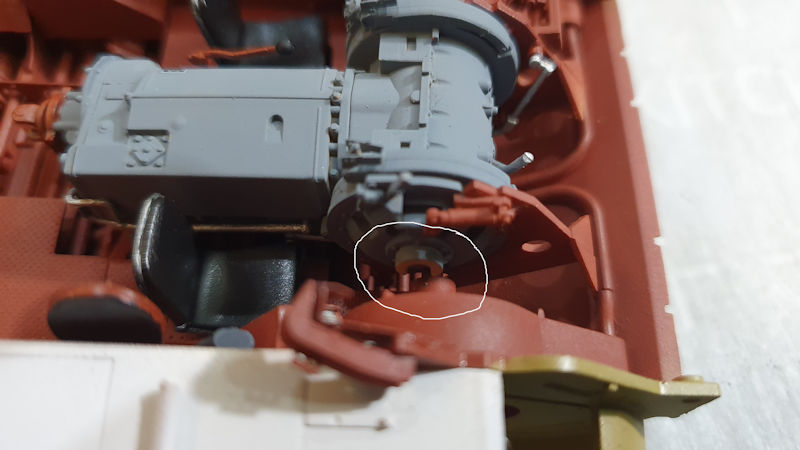
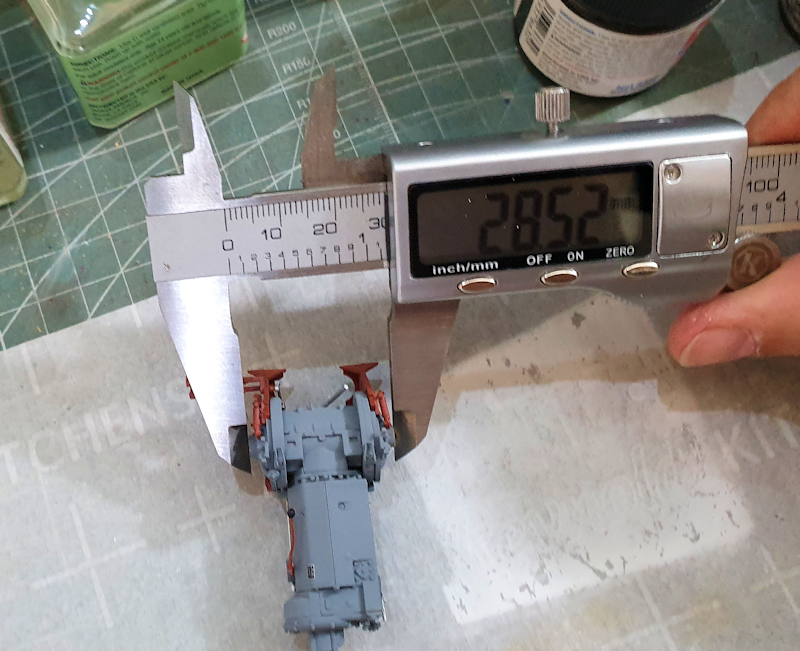
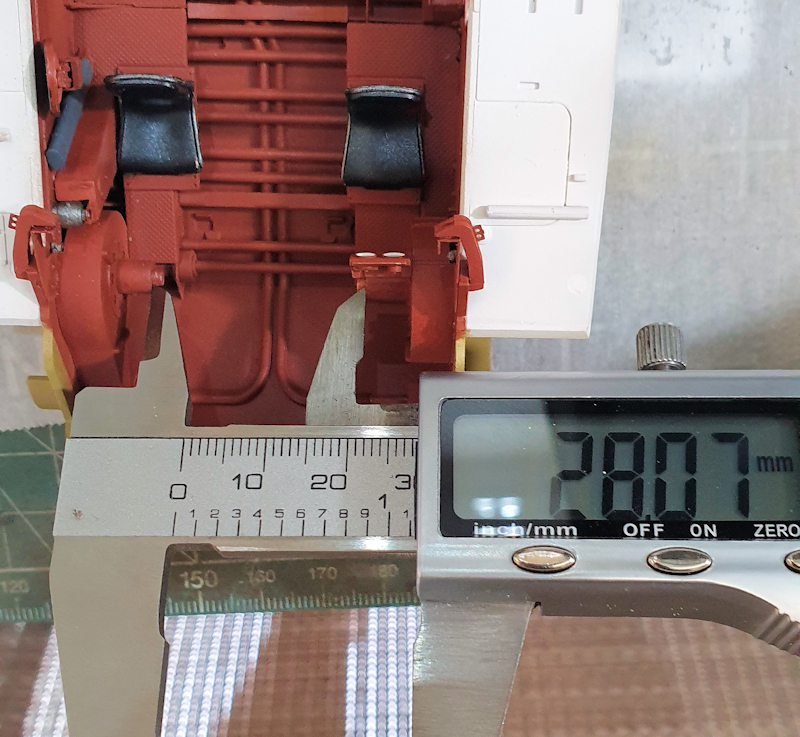
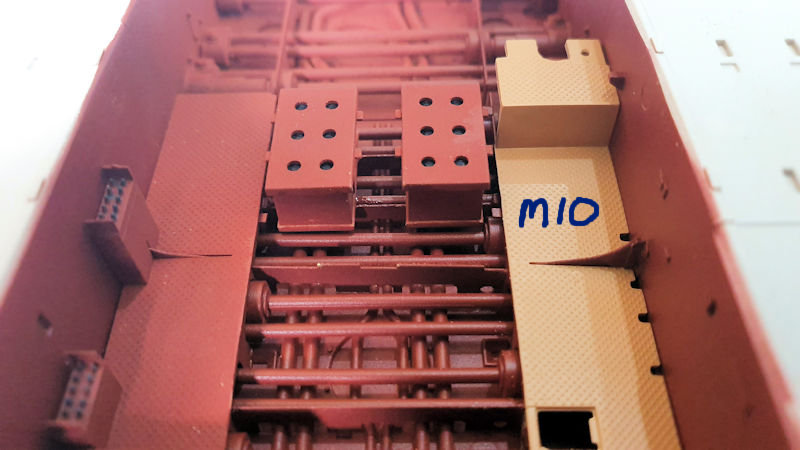
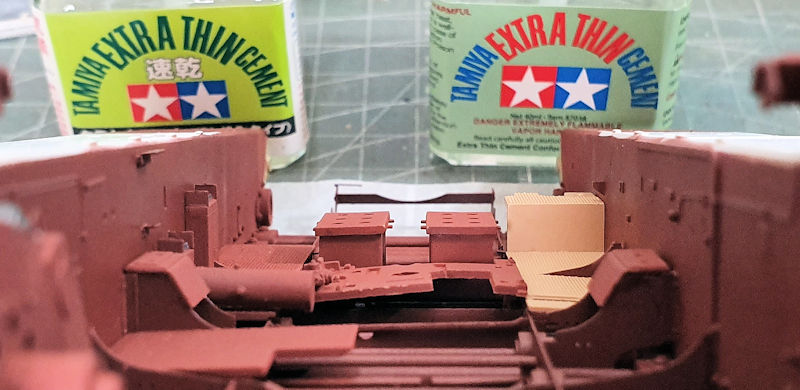
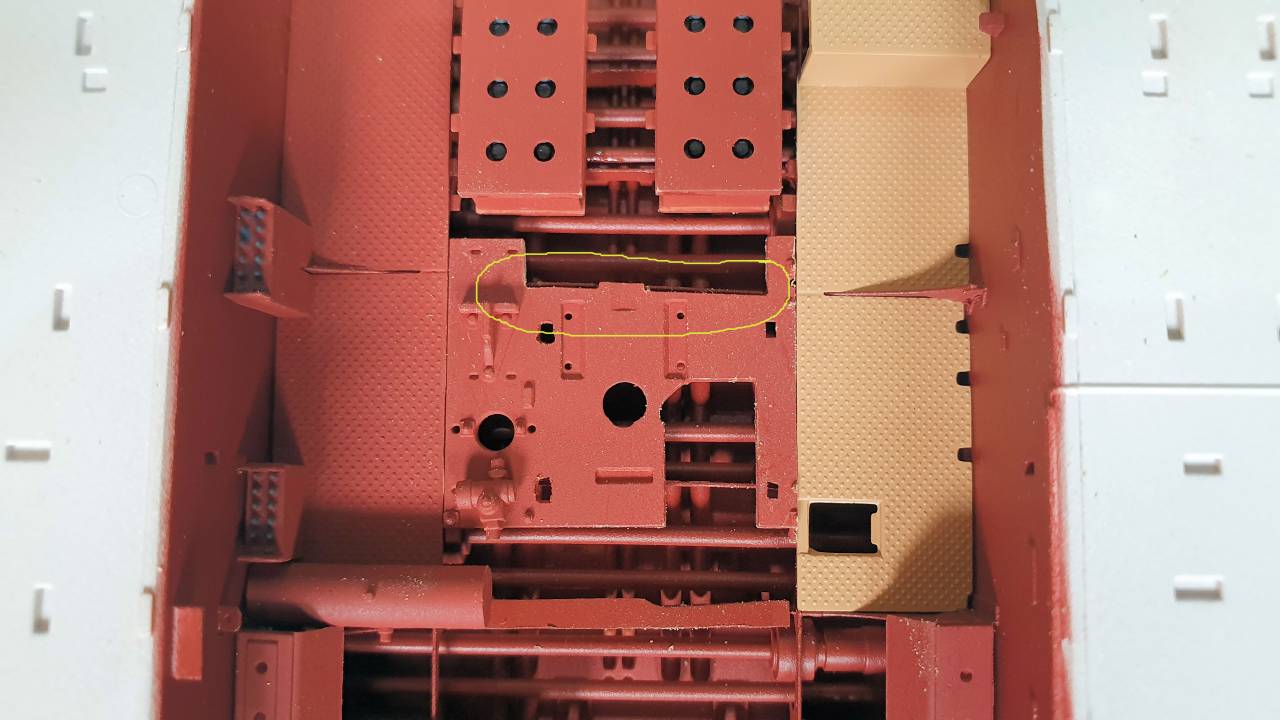
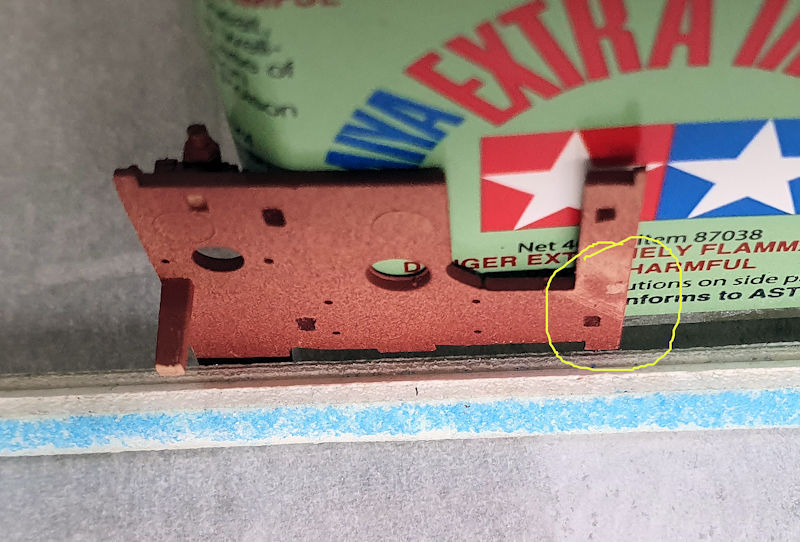
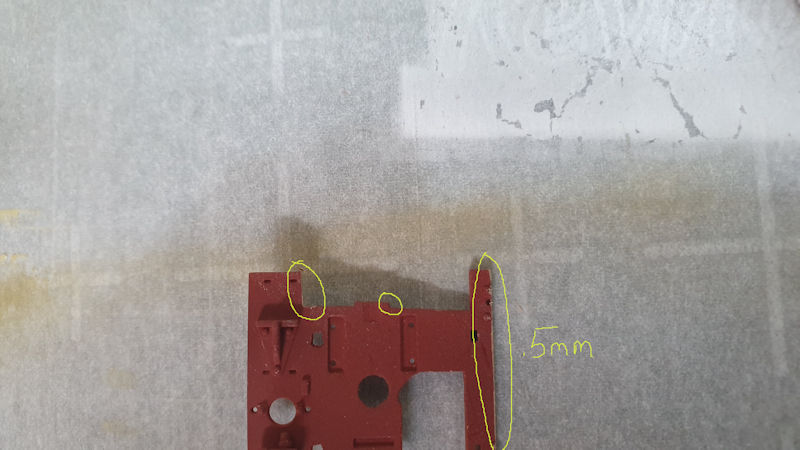
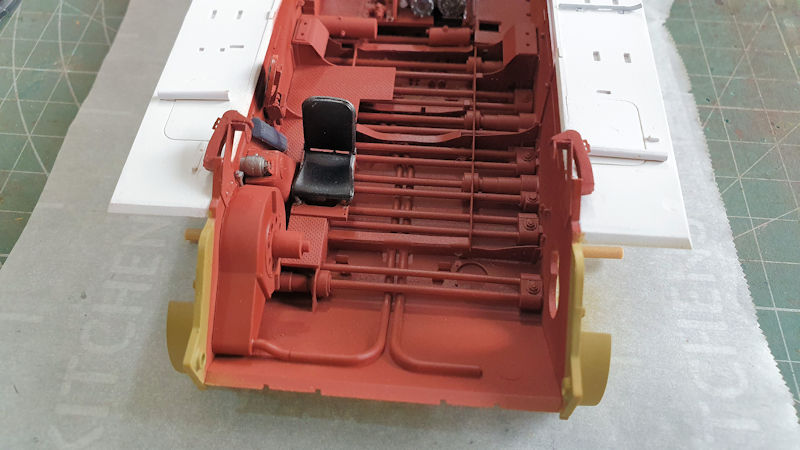
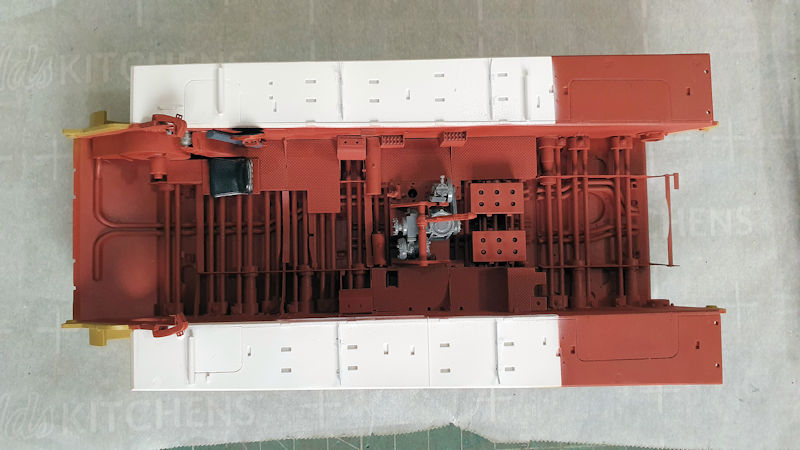
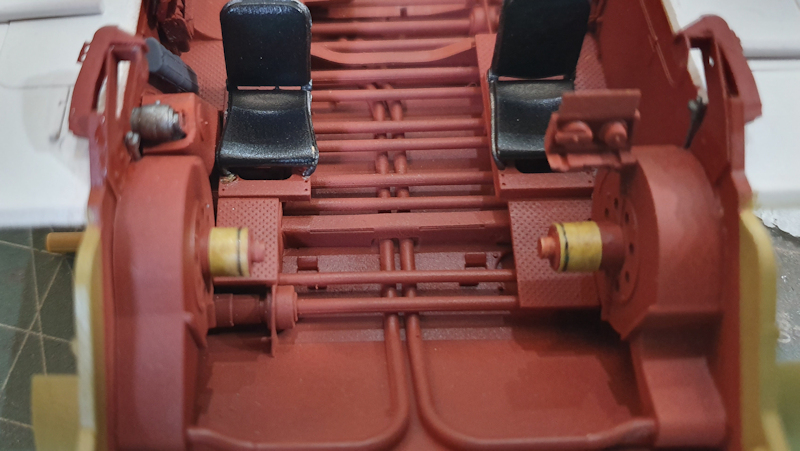
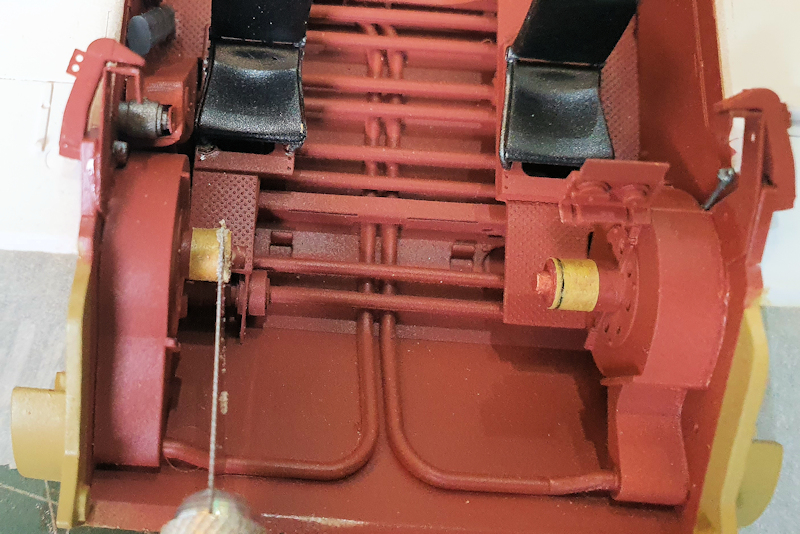
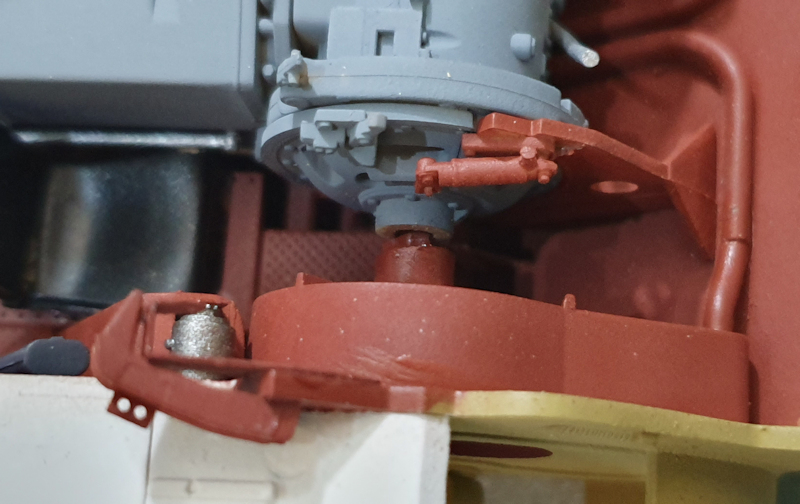
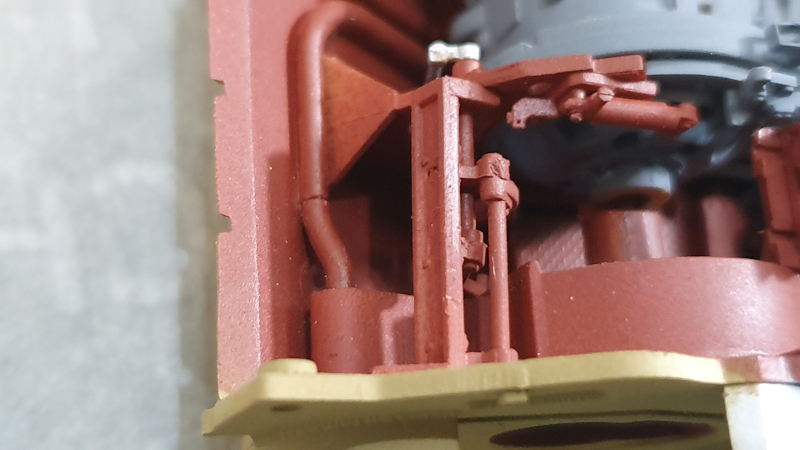
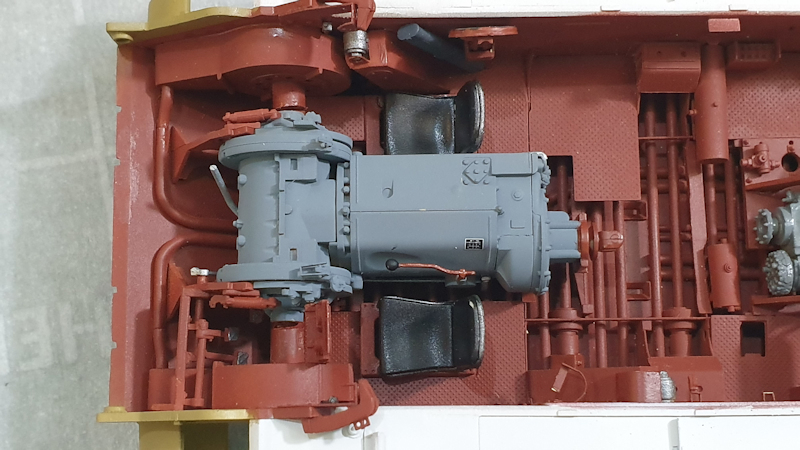
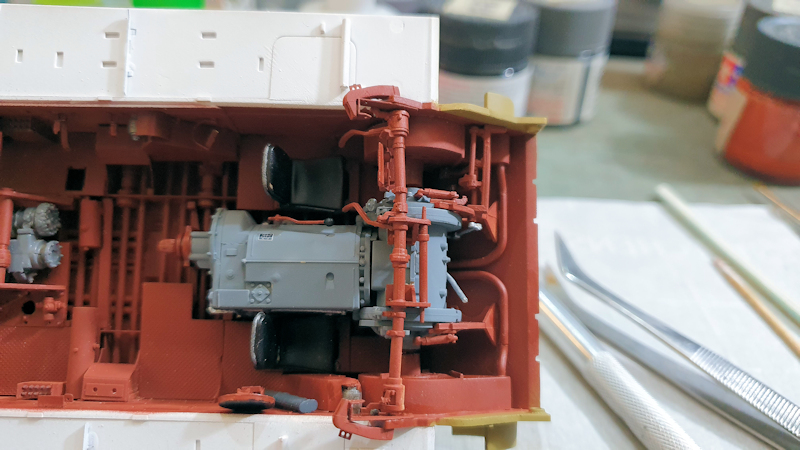
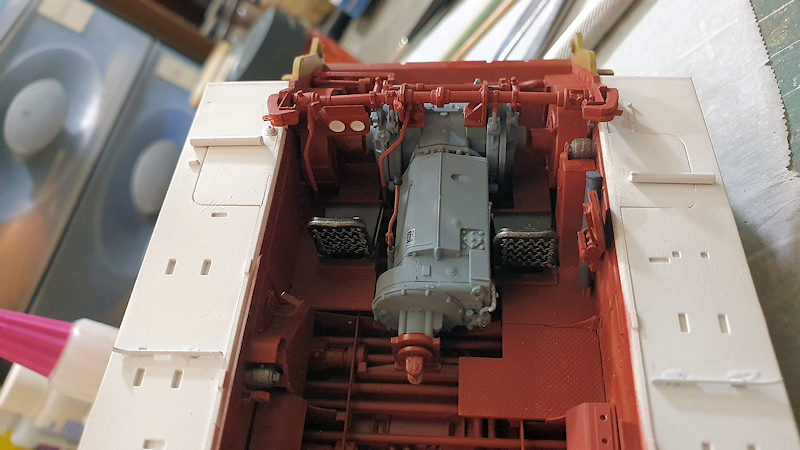
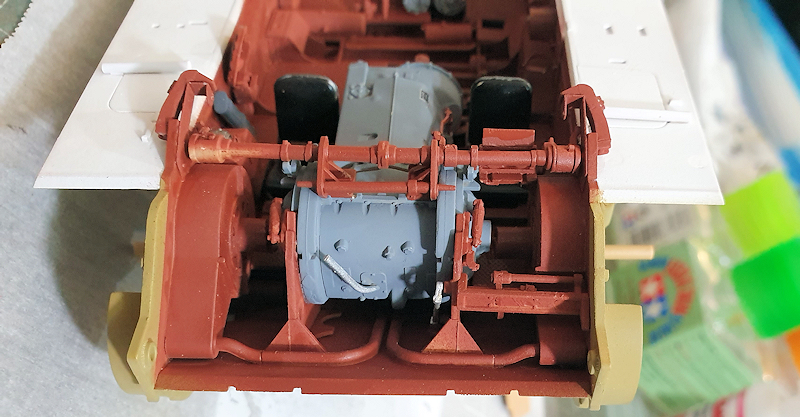
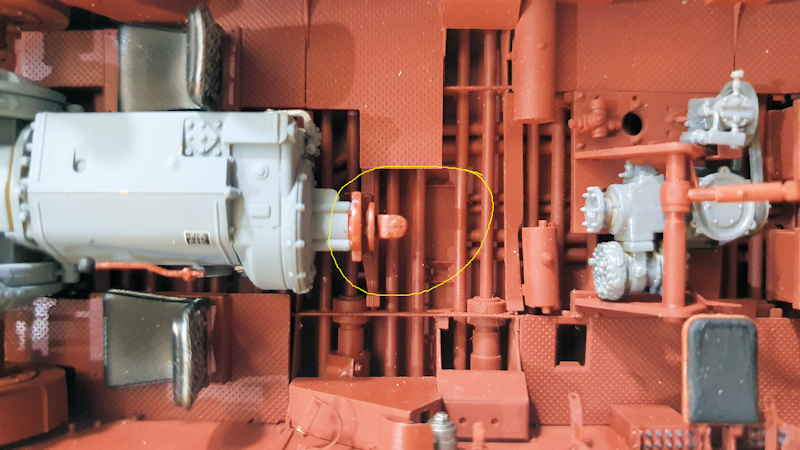
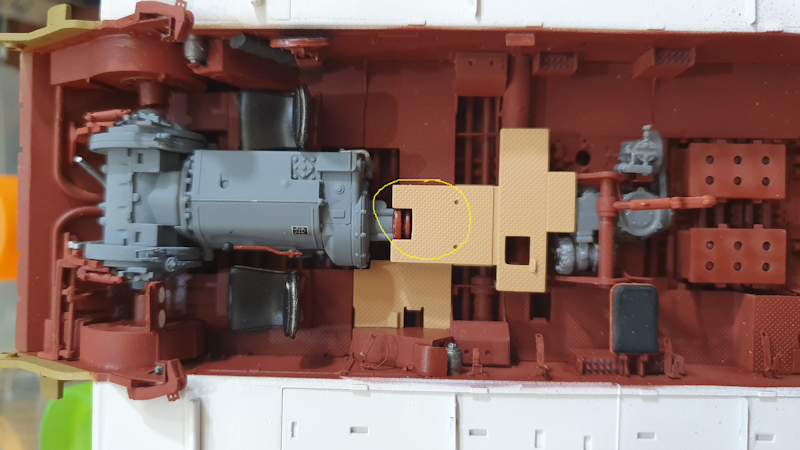
Here is the problem. The gearbox is wider than the space it needs to fit into.
@d111298pw Mark,
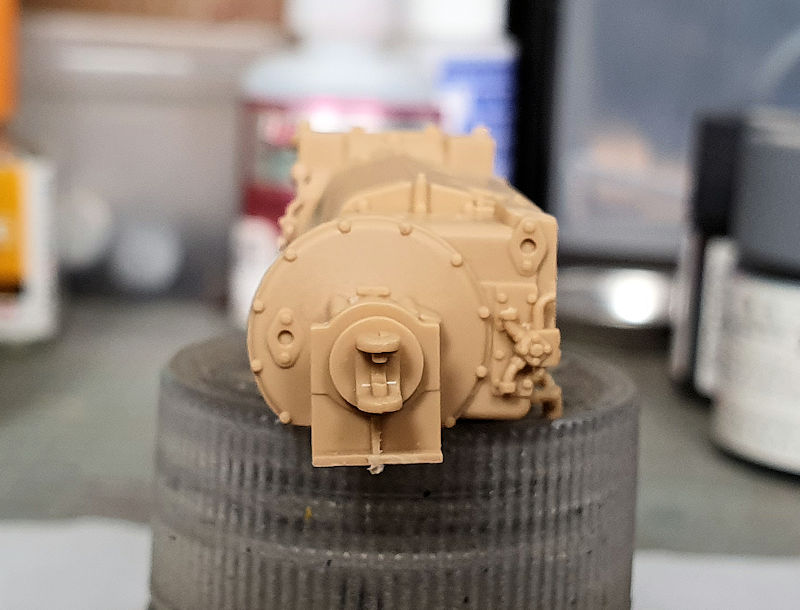
From the measurements you present it appears that you have approximately 0.45 of material that you will need to remove to get the gearbox to fit. If this measurement is correct that would equate to .225 material that would have to be removed on each side of the gearbox. Youll have to look closely at where exactly the gearbox will sit before removing any material. This will give you a better estimate of how much material will actually need to be removed on each side to get the gearbox to sit correctly on the hulls lower plate. Im sure you know that the important thing here is to make sure exactly where the gearbox needs to reside.
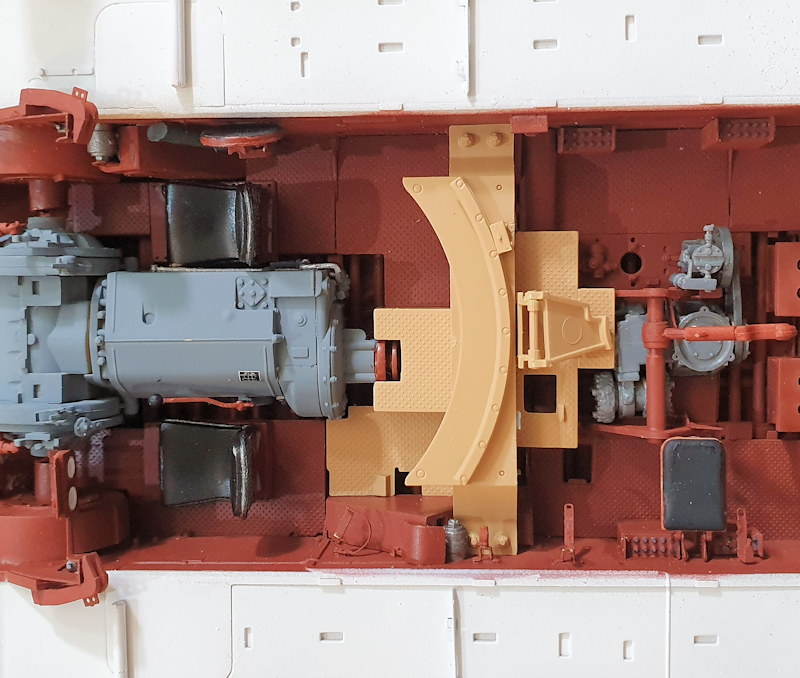
I always remove less material than I intend to remove and check for fit before proceeding further. All models present some issues and challenges of their own, learning to come up with simple solutions to solve these problems, is very rewarding and will make you a much better modeler with each kit you put together. Youve already demonstrated your ability to overcome some fit issues on this kit with very simple solutions. Think it out first and imagine how it will come out and work for you before taking knife to plastic. The easiest way is always the best way! I know you can do it . . .
~ Eddy


 |


