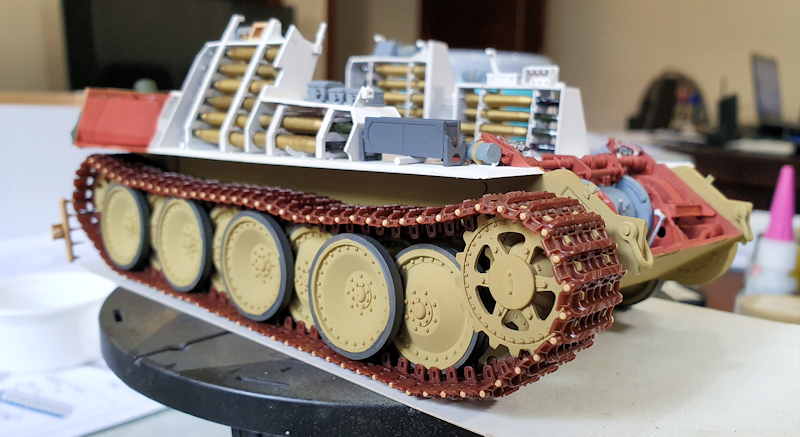
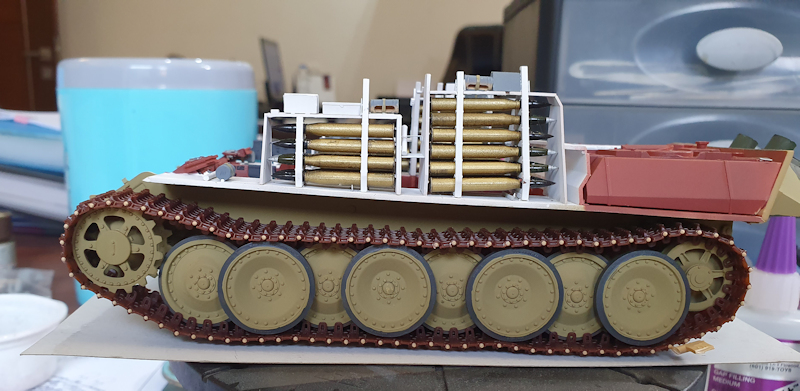
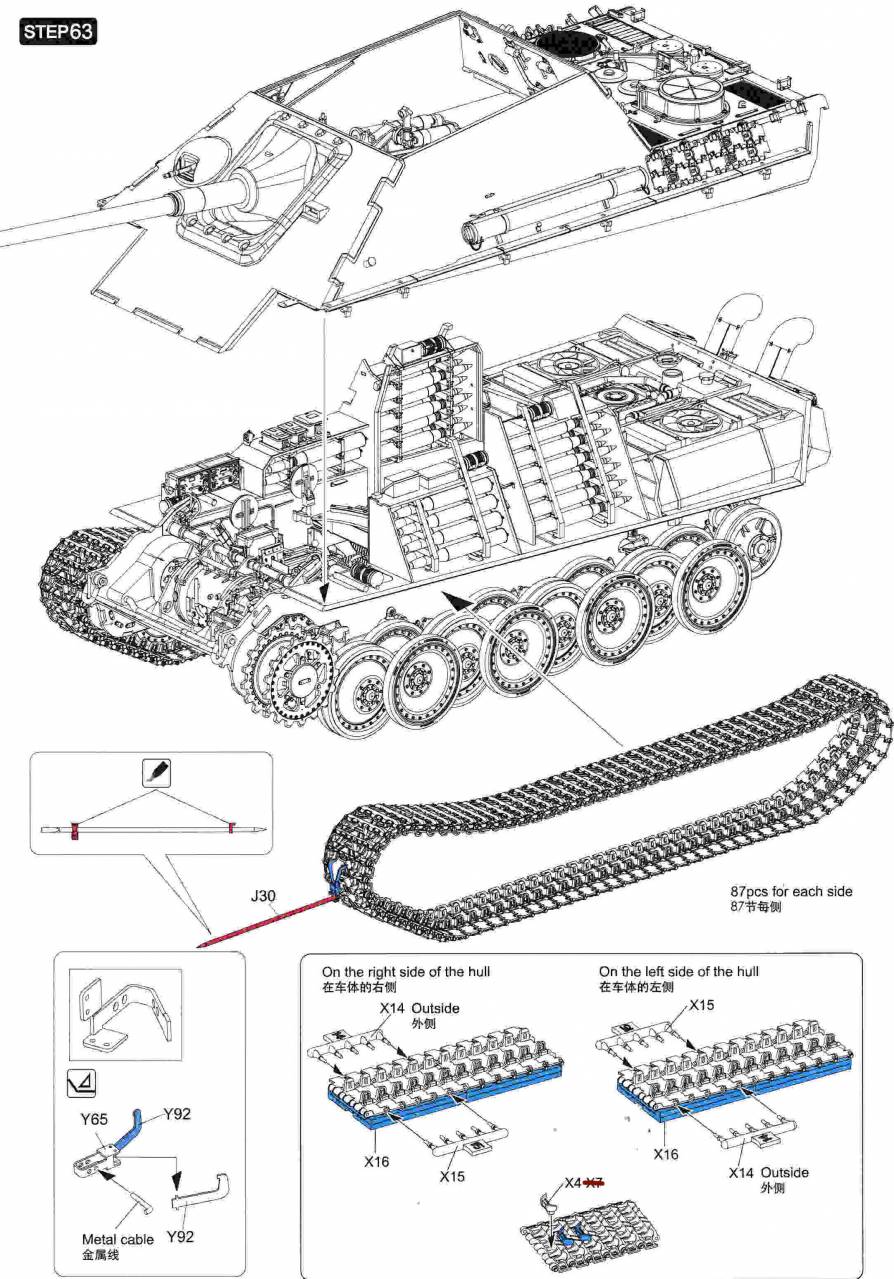
The main focus of Step 63 is the assembly of the tracks.
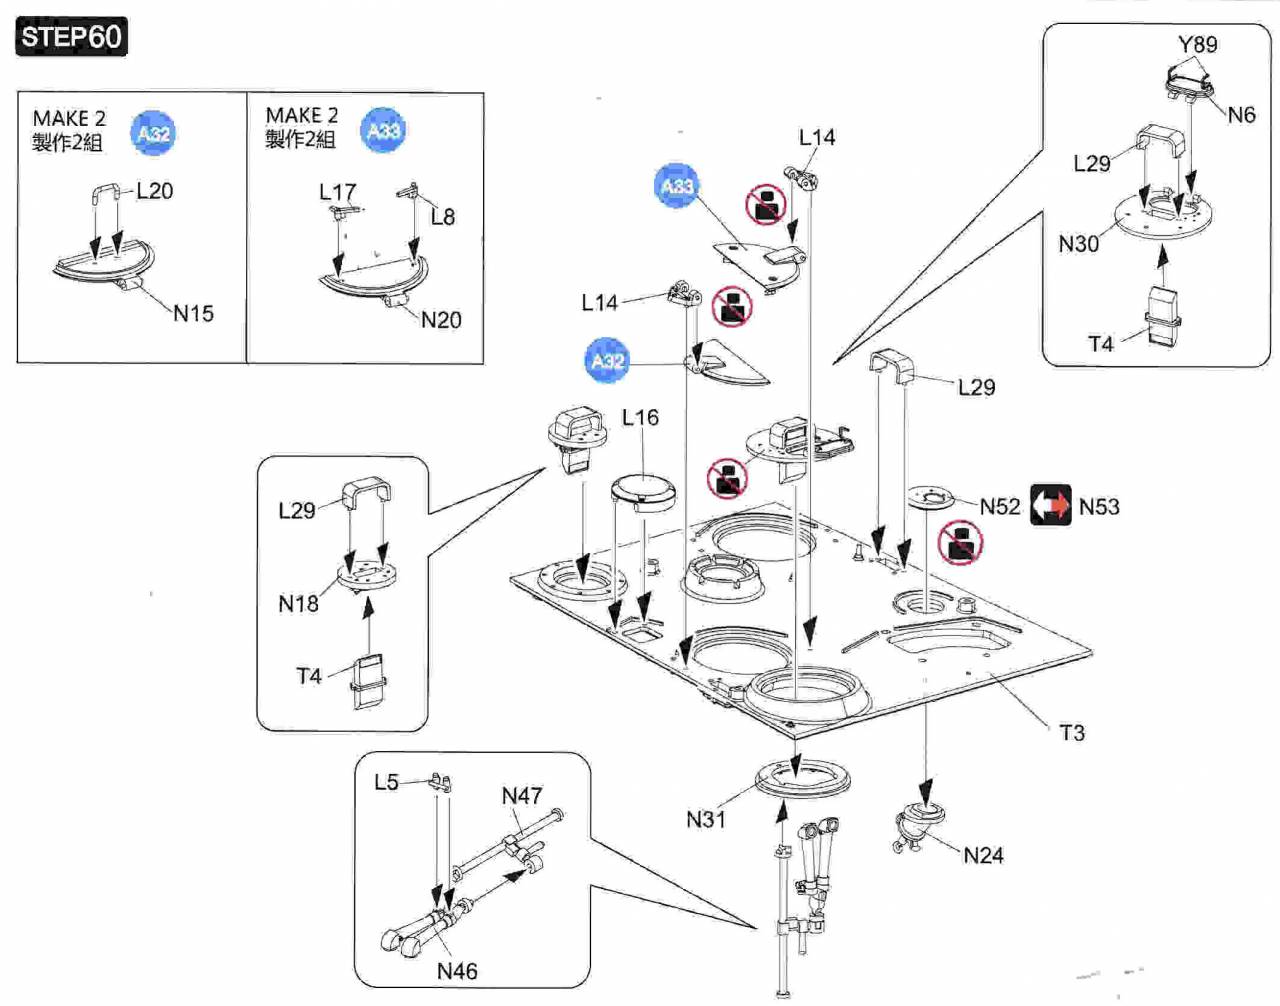
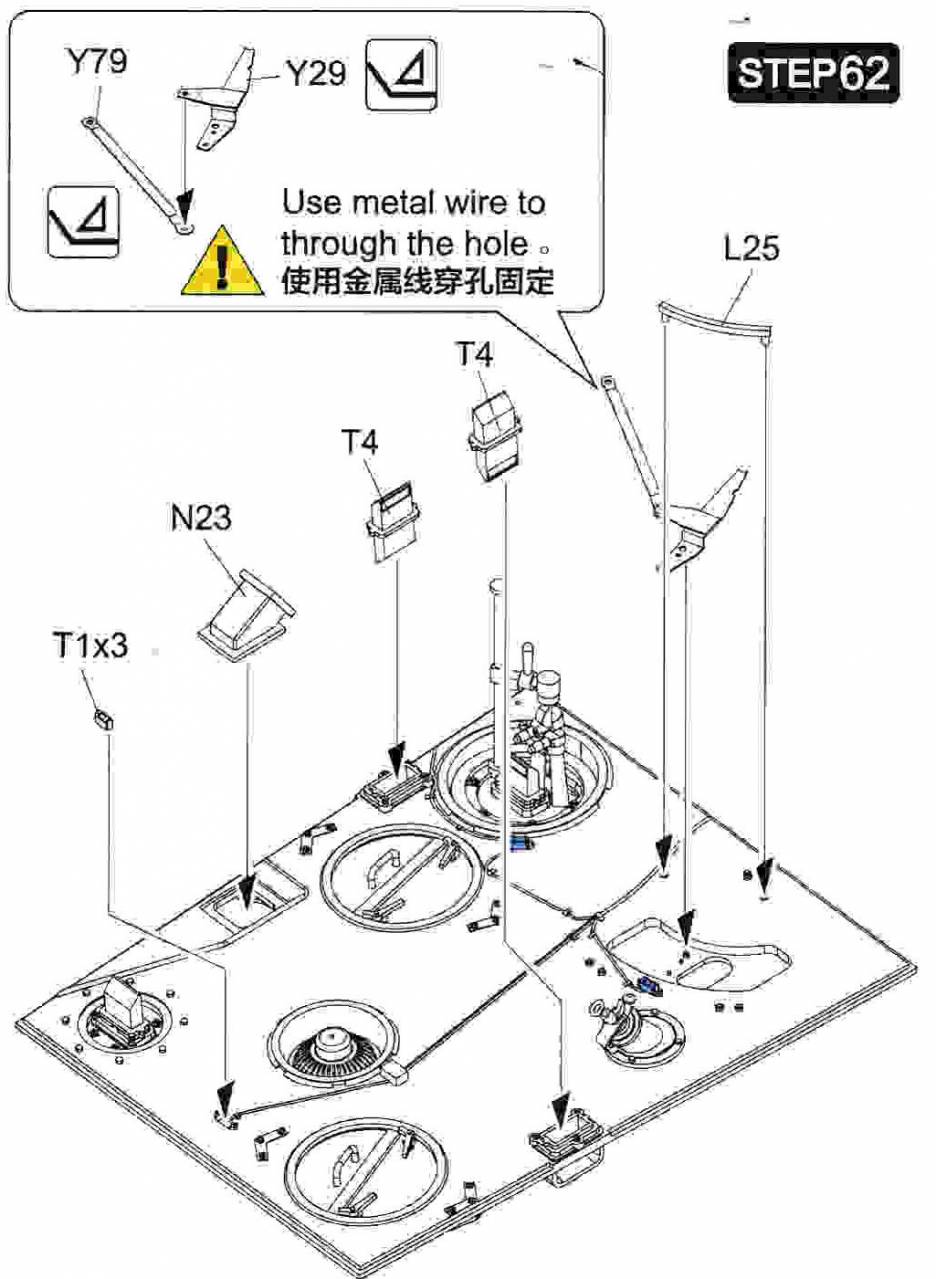
Instructions
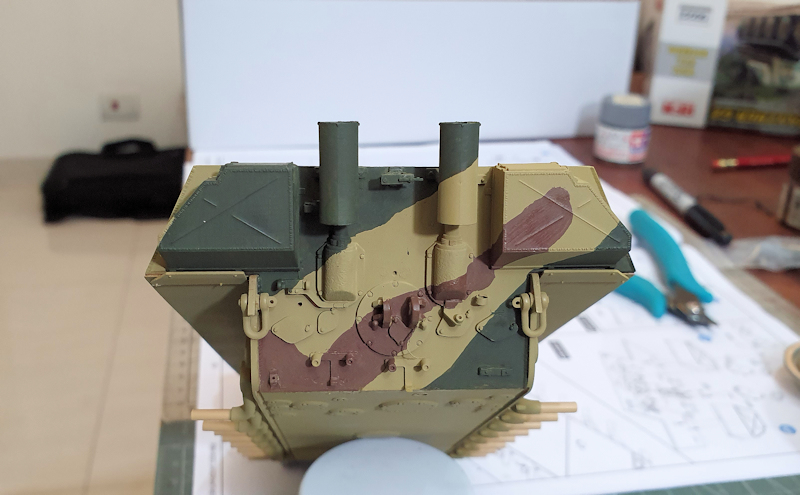
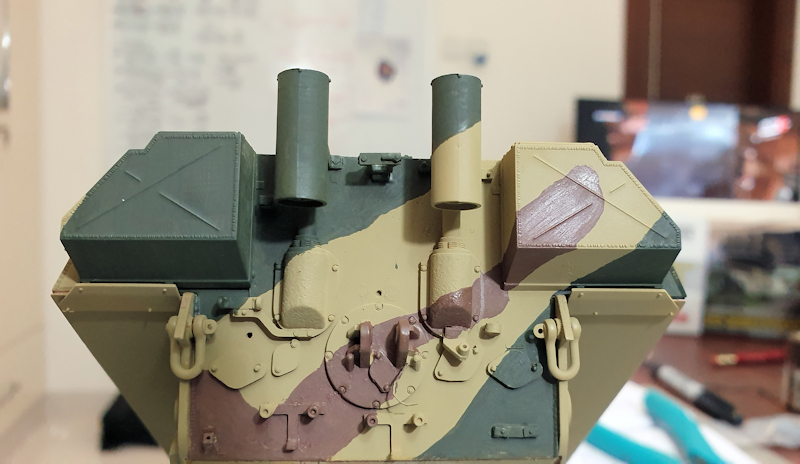
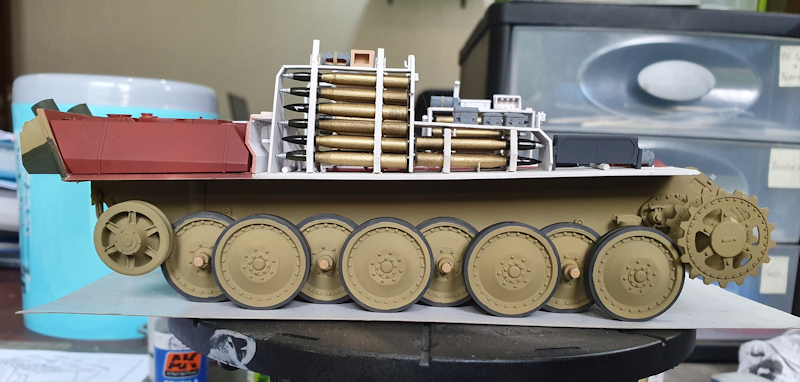
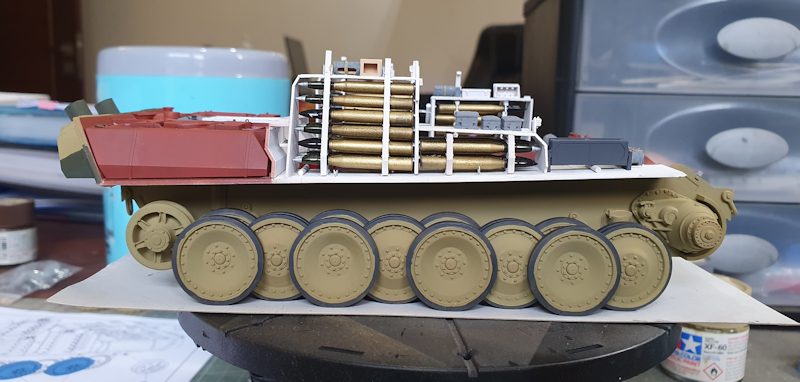
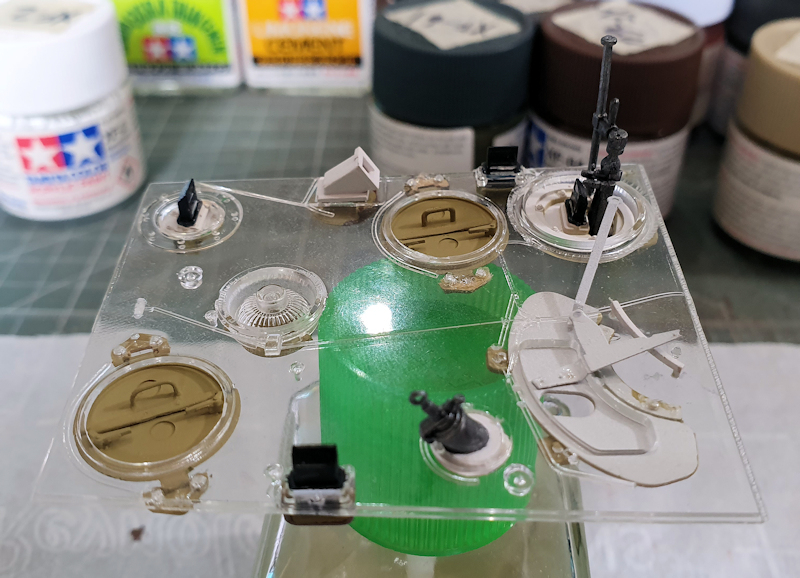
I'm not attaching the superstructure at this time. I haven't decided how I want to display this once it's finished.
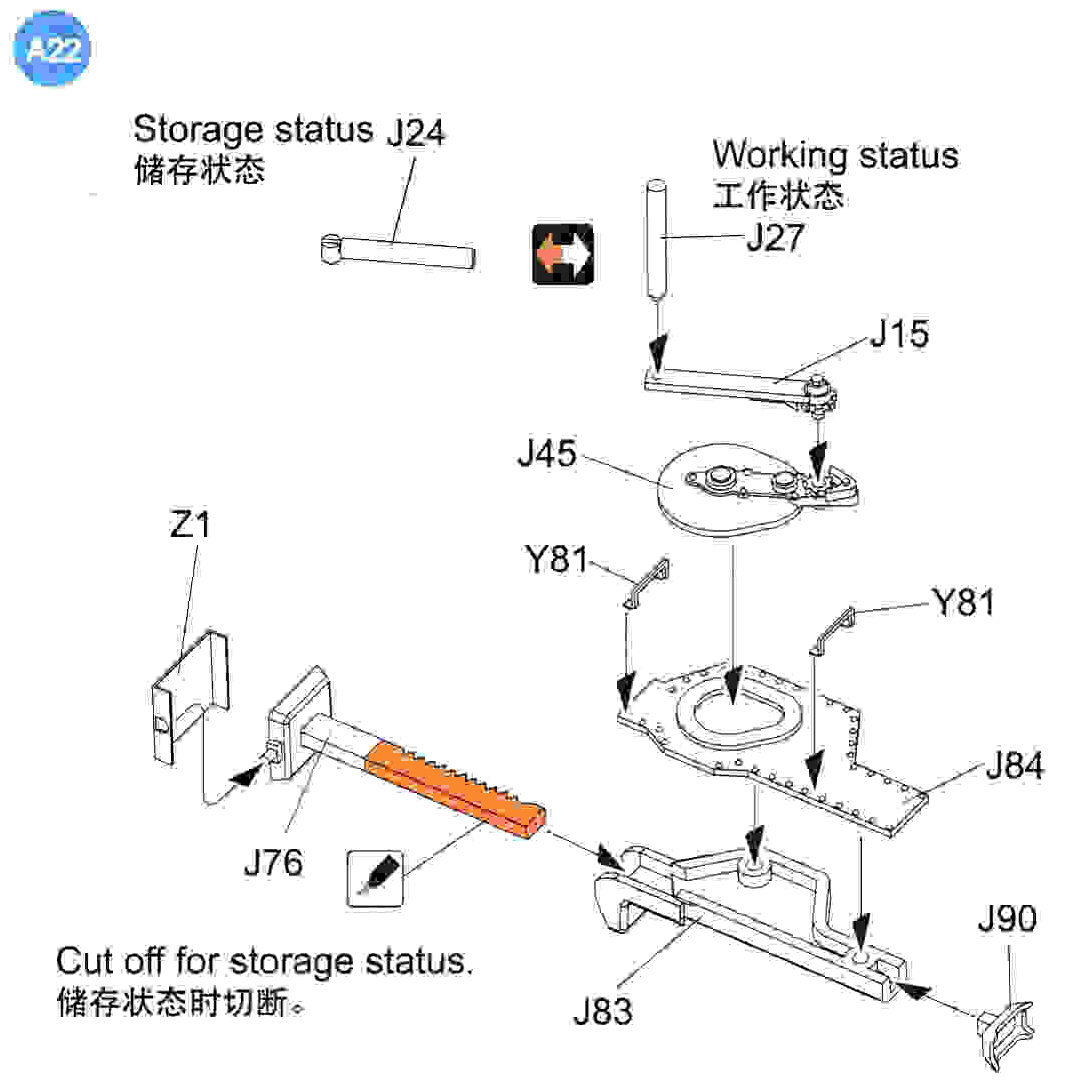
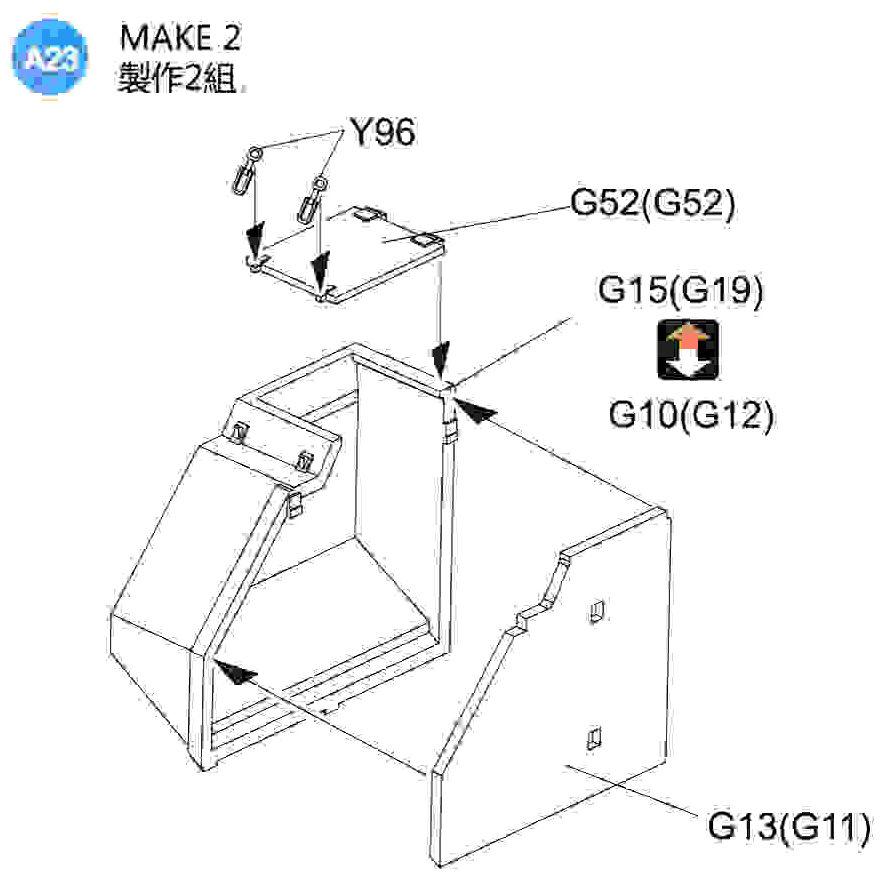
RFM also includes the option to build the track assembly tool for a diorama.
RFM also includes ice cleats (X4) for a winter build. The instructions also show these are part X7. That is not correct. Only X4 is the cleat. You are only given seven on each X Sprue. In reality, these were installed on every 5th to 7th track link. For 87 links, this would require 12-18 ice cleats per side. RFM hasn't given you enough to assemble correctly.
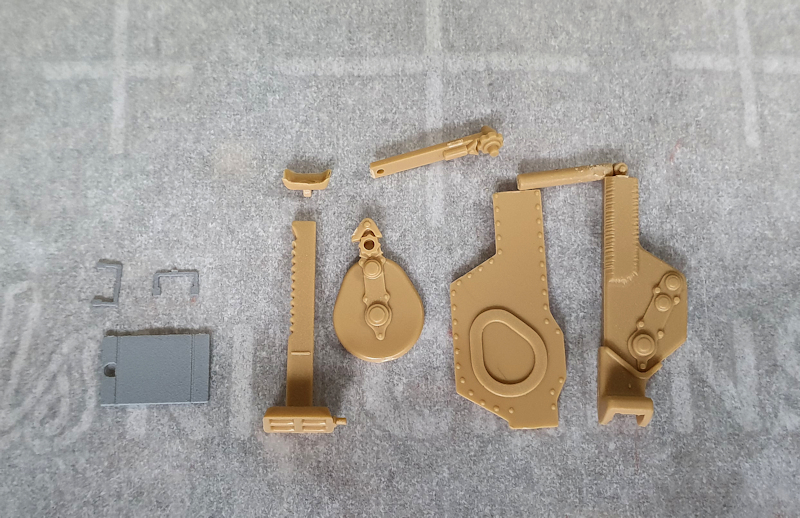
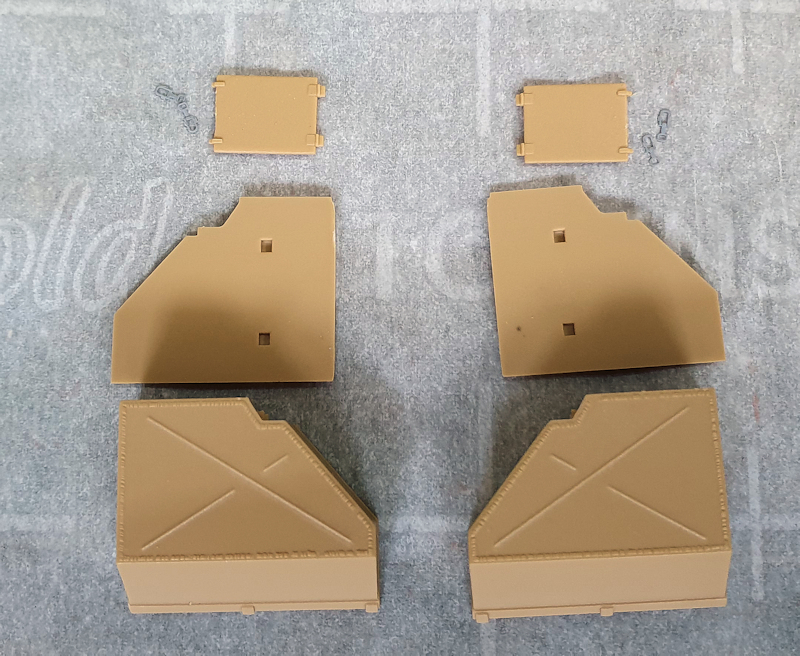
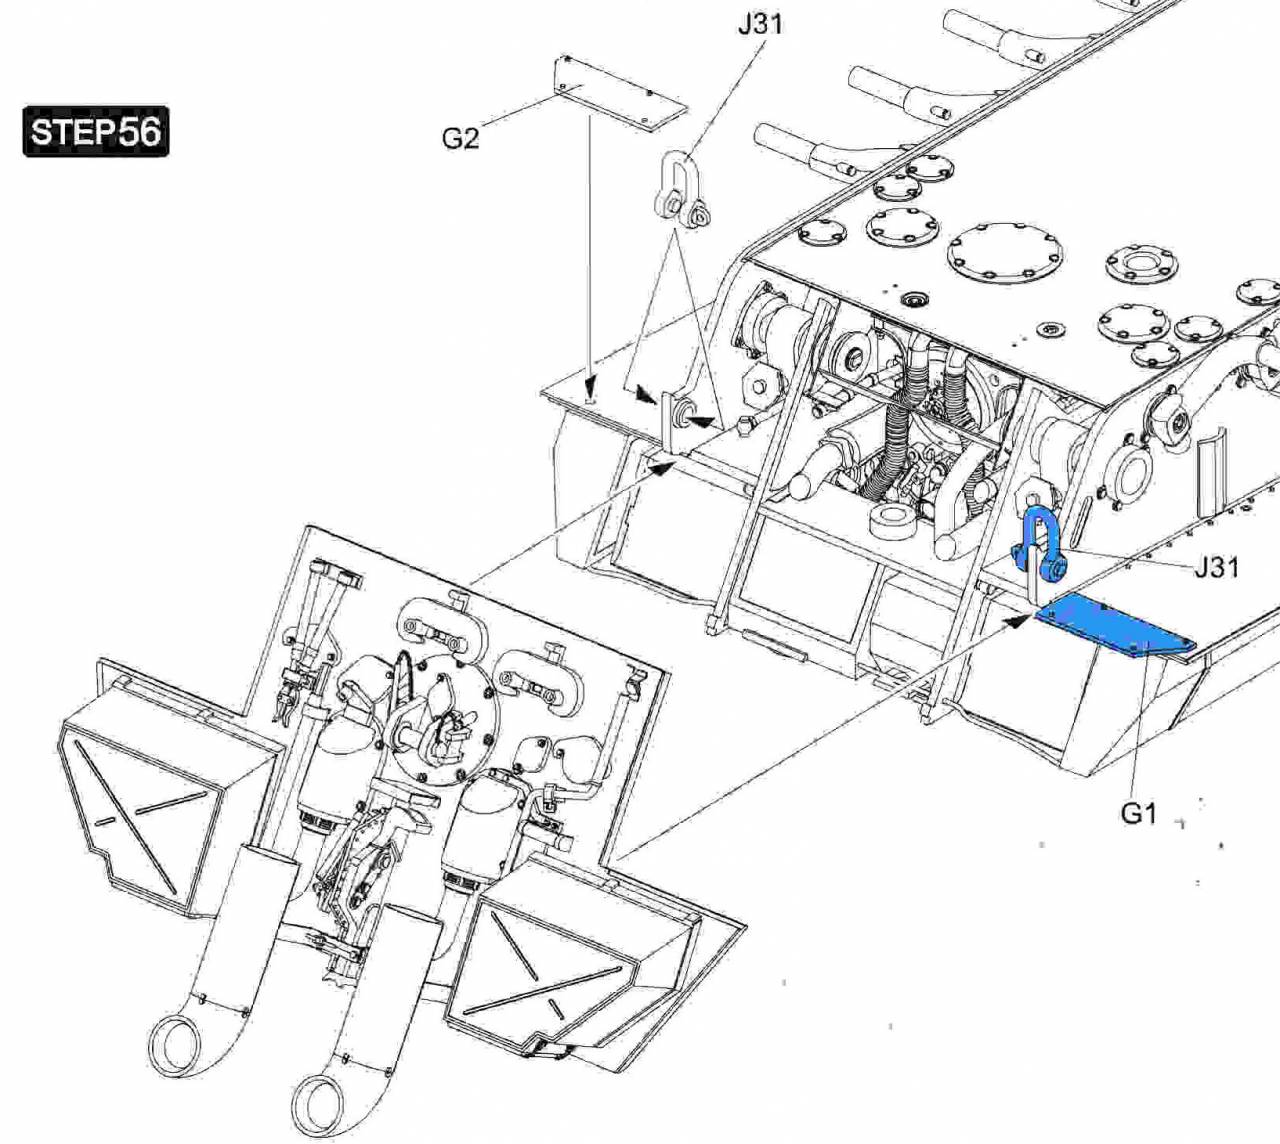
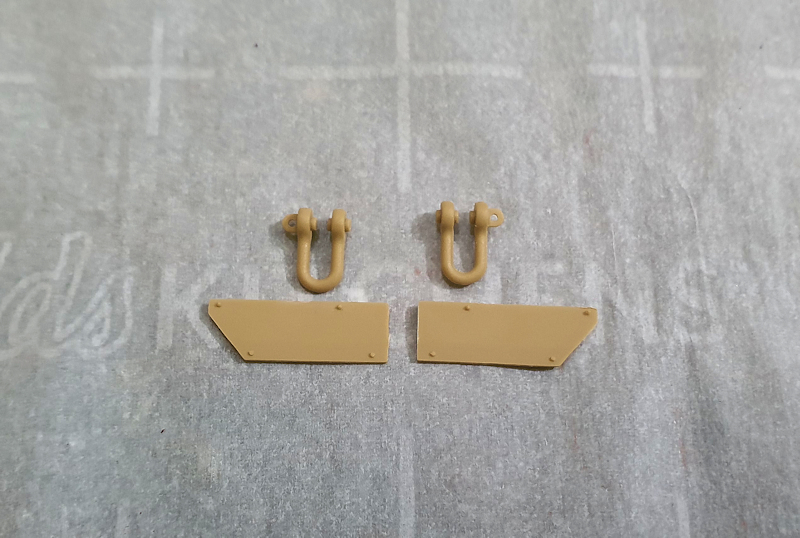
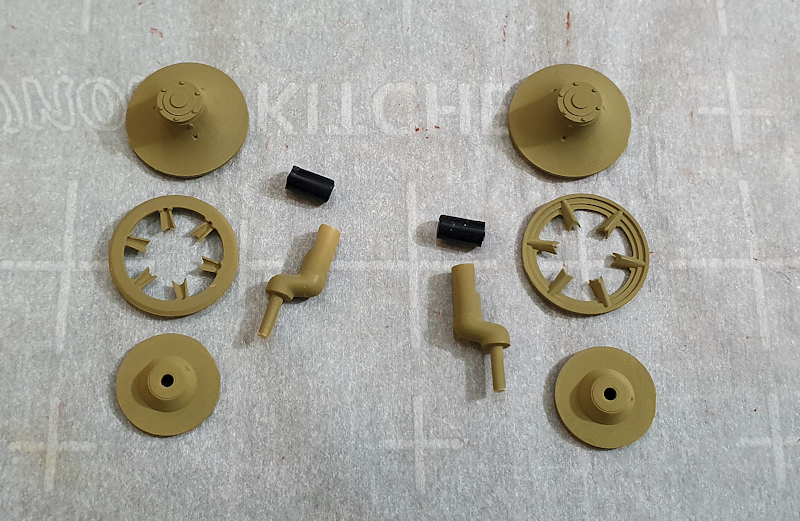
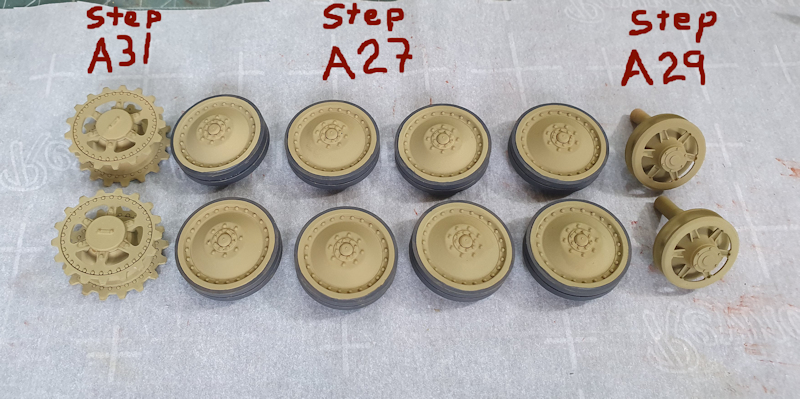
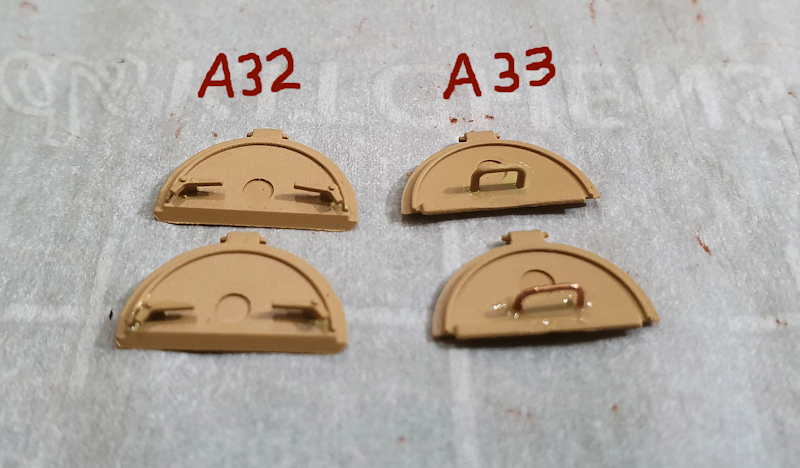
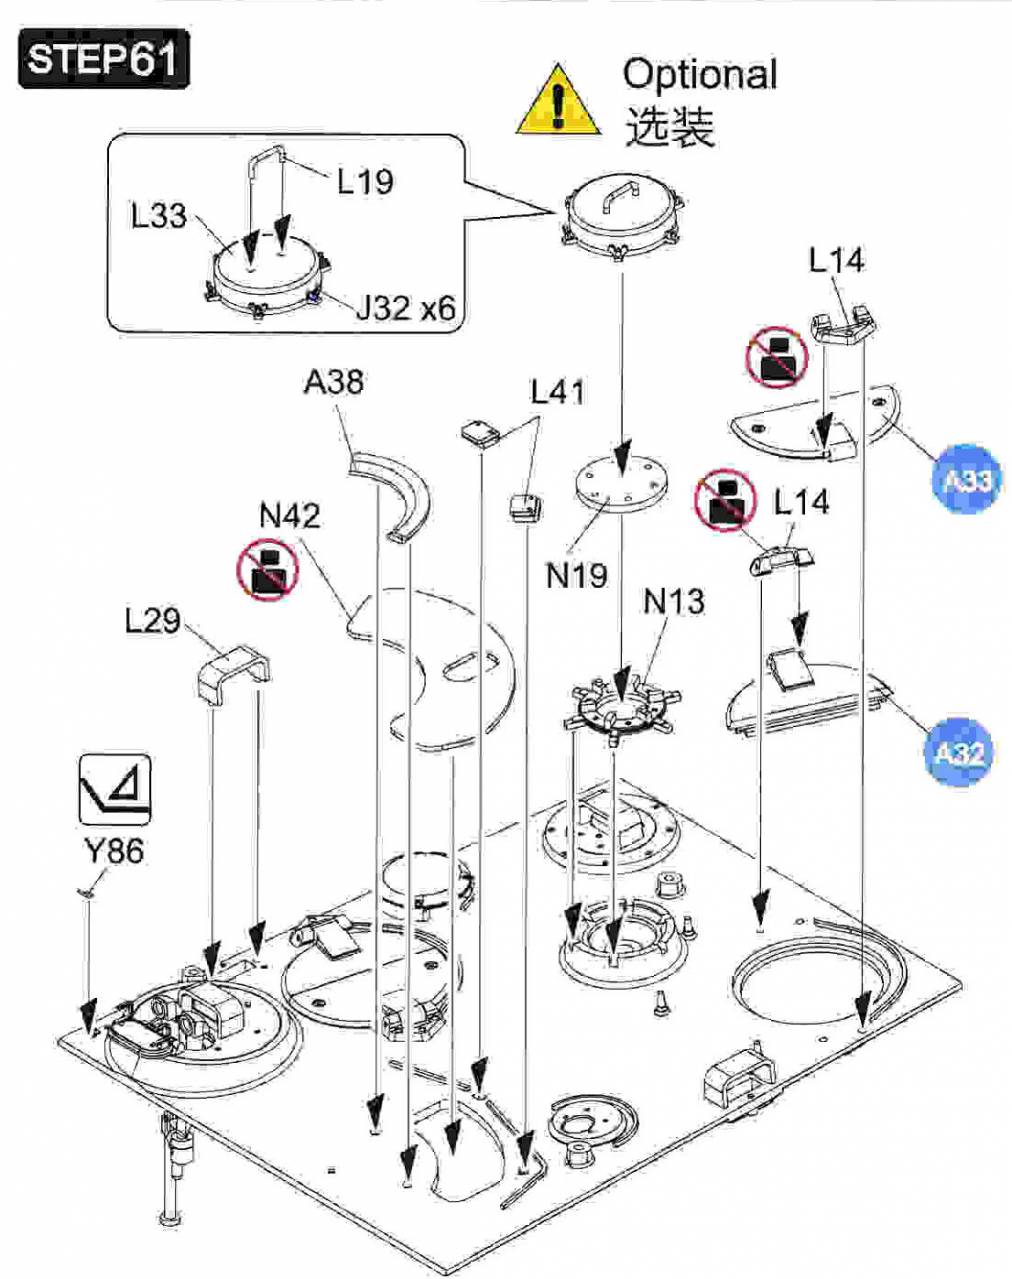
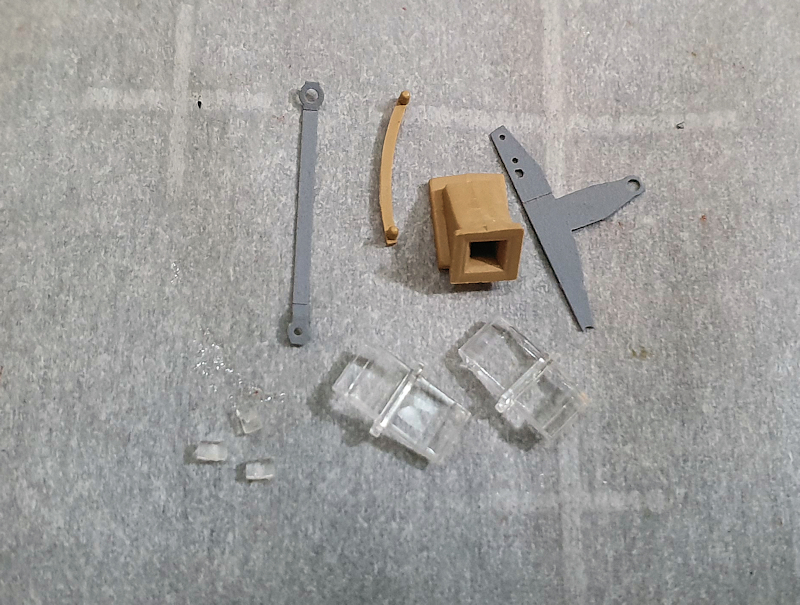
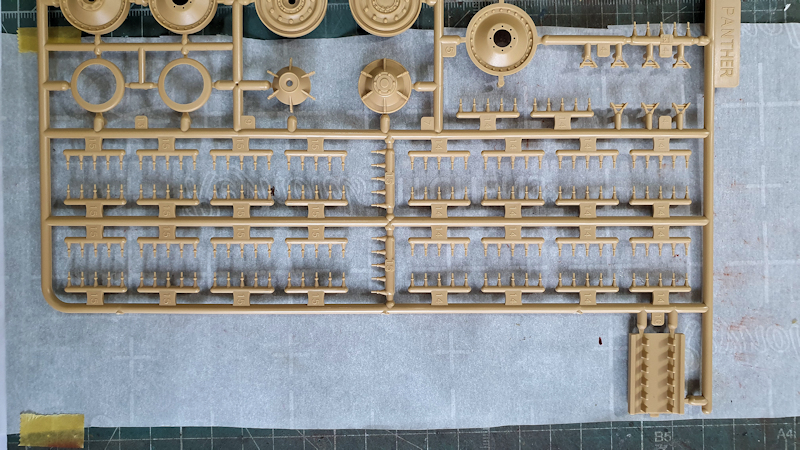
Parts


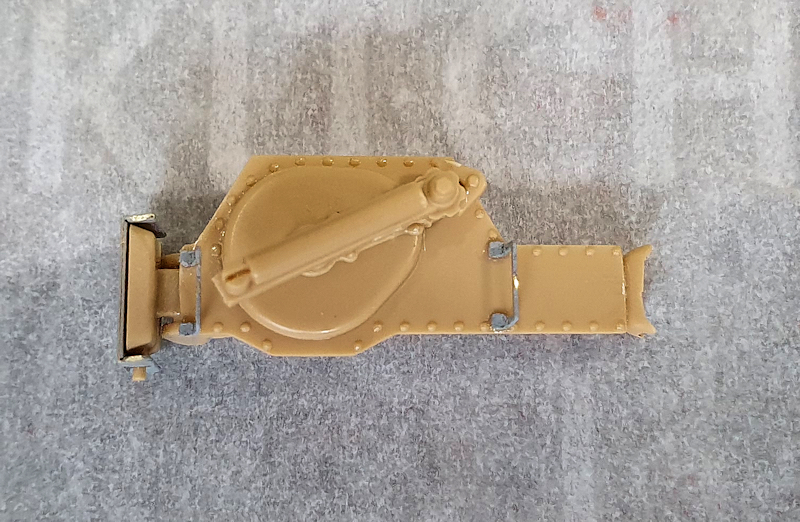
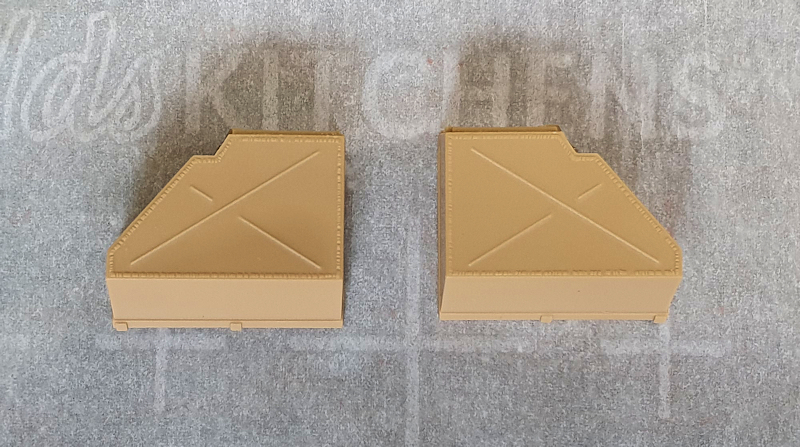
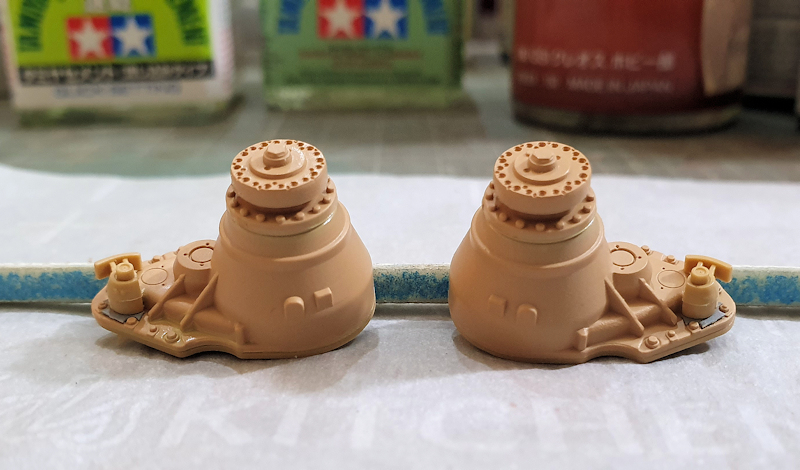
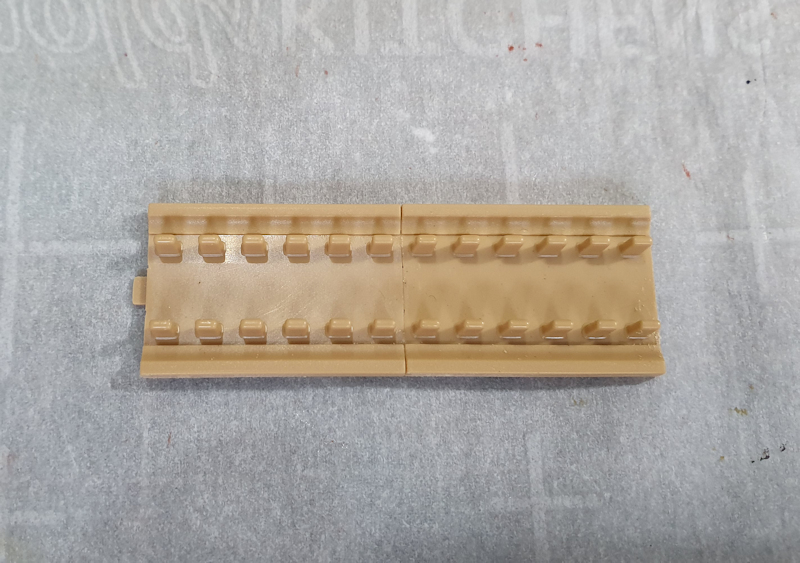
Track Assembly Jig - Glue the two parts together and it will hold 11 links.
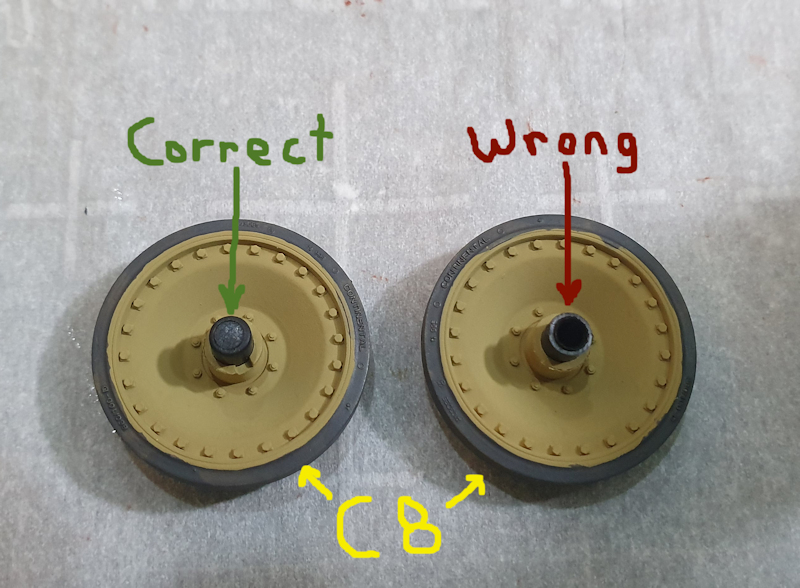
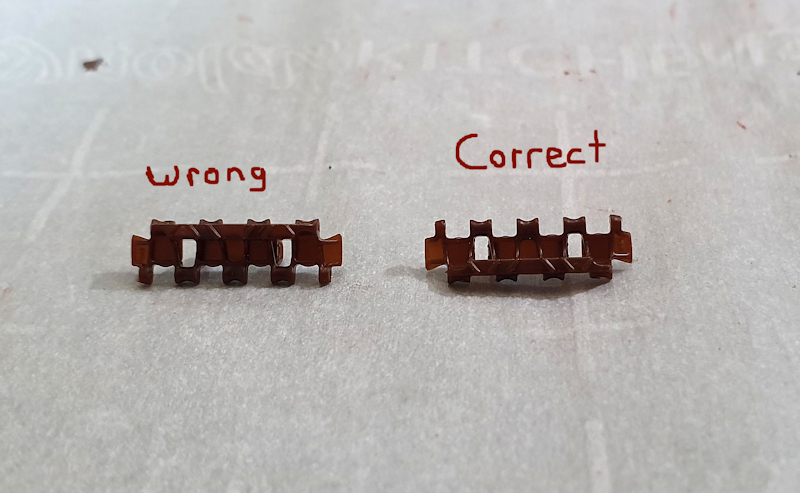
You need to be careful of the orientation of the links. Otherwise, you will assemble them backwards. Here, I show the correct and wrong orientation.
Here are the first 11 links in the jig
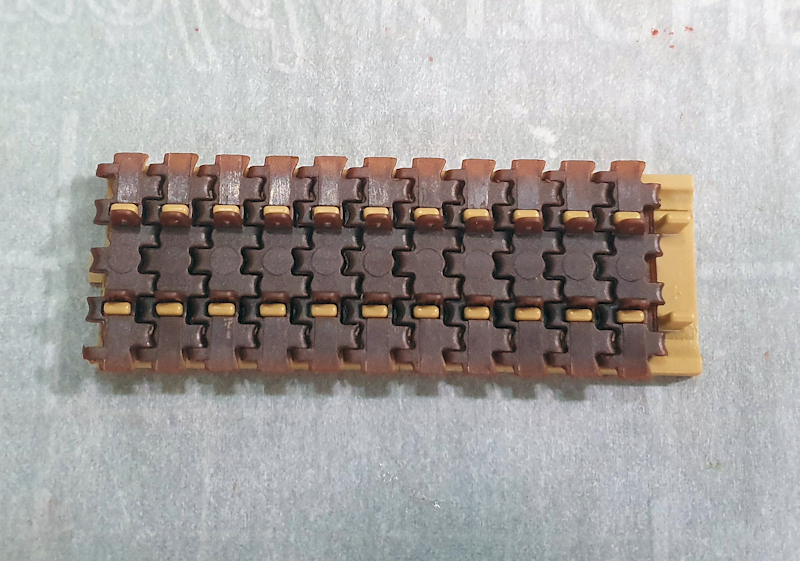
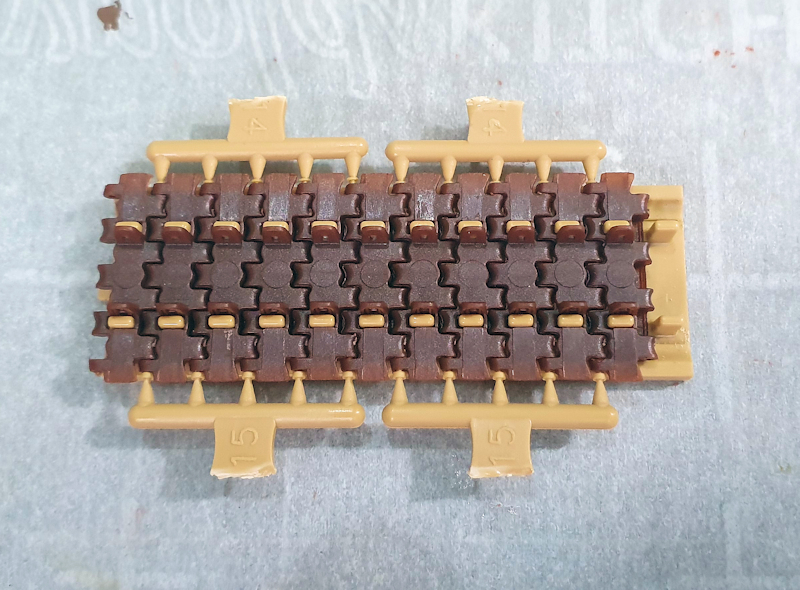
You have two types of pins, X14 & X15. Which side you install these determines if it is a left or right side track. X14 is the outside pin. The pins are grouped in sets of five to make is easy to install.
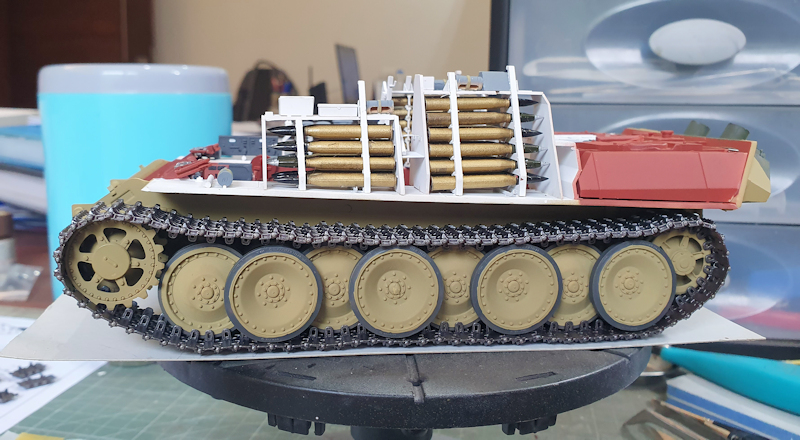
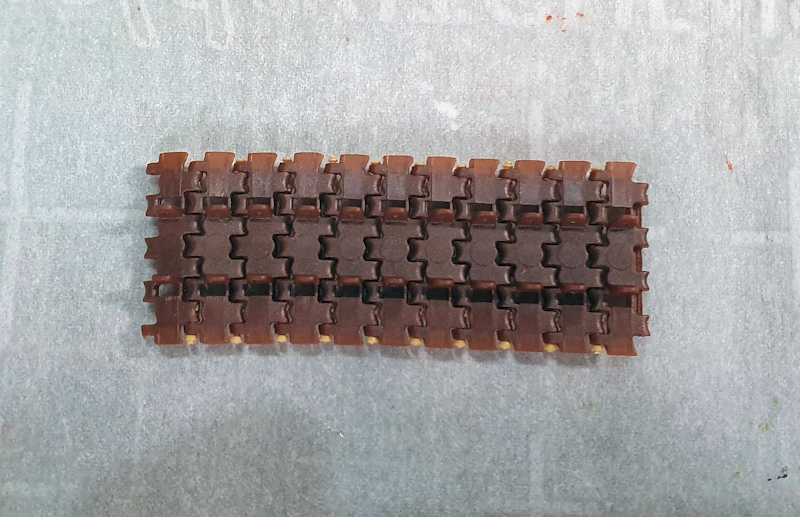
The assembled first run for the right side.
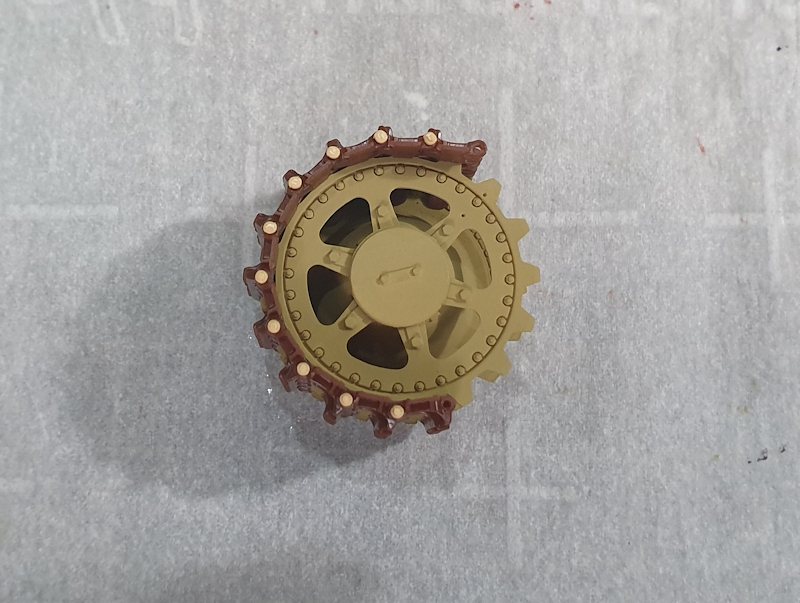
Test fit around the Drive Sprocket

Place the complete link into the first spot on the jig. Then place the next links to complete the second run.

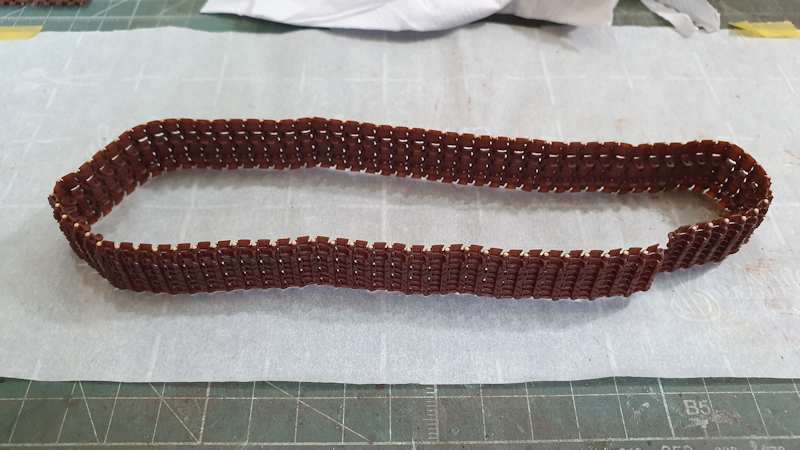
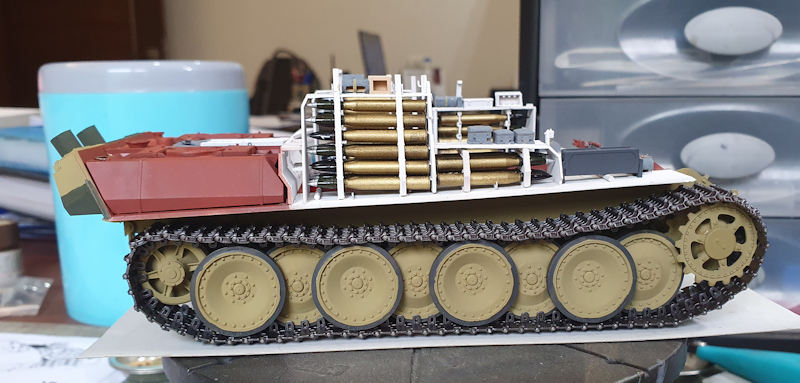
Continue doing this until all 87 links are assembled.
The tracks are designed to be workable. You need to carefully place a drop of glue at the head of each pin. Too much glue, and the track won't move. I use a pin to place the drop.

This is a slow process that can't be rushed.