Campaigns: Active Campaigns
Campaigns that are either in planning or underway should be grouped here.
Hosted by Richard S.
Israel Defense Forces Campaign - Active
panzerbob01
Visit this Community
Louisiana, United States
Joined: March 06, 2010
KitMaker: 3,128 posts
Armorama: 2,959 posts
Posted: Saturday, April 18, 2020 - 06:27 AM UTC
Oliver:

Wow! All that in a couple of hours? Yikes, man... Maybe you need to slow down and push it around on your bench going "vroom, Vroom!" occasionally - let the rest of us get a little closer to catching up!

It really looks like an interesting kit - I keep looking at it and thinking that maybe I'll order one. Seeing it come together makes me think more on doing this sooner...

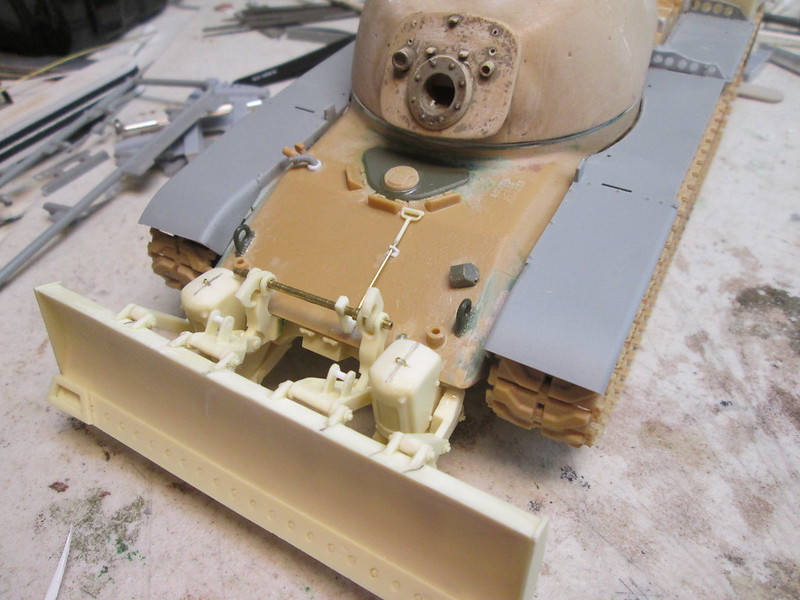
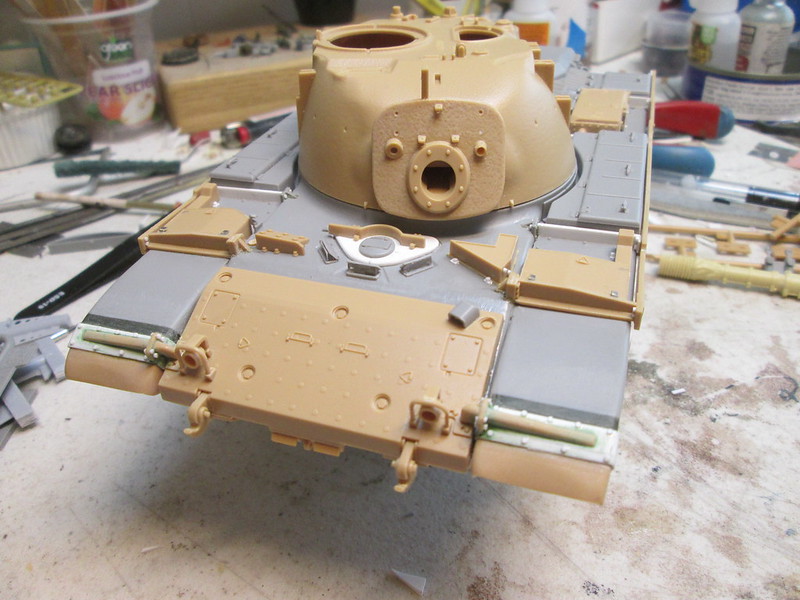
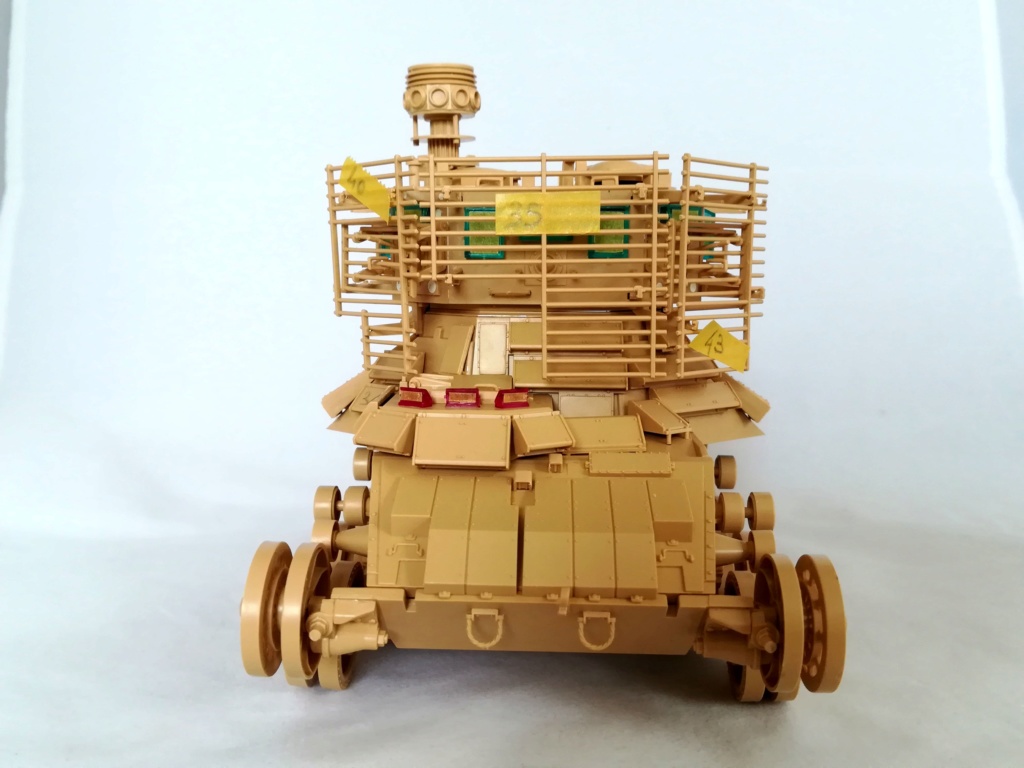
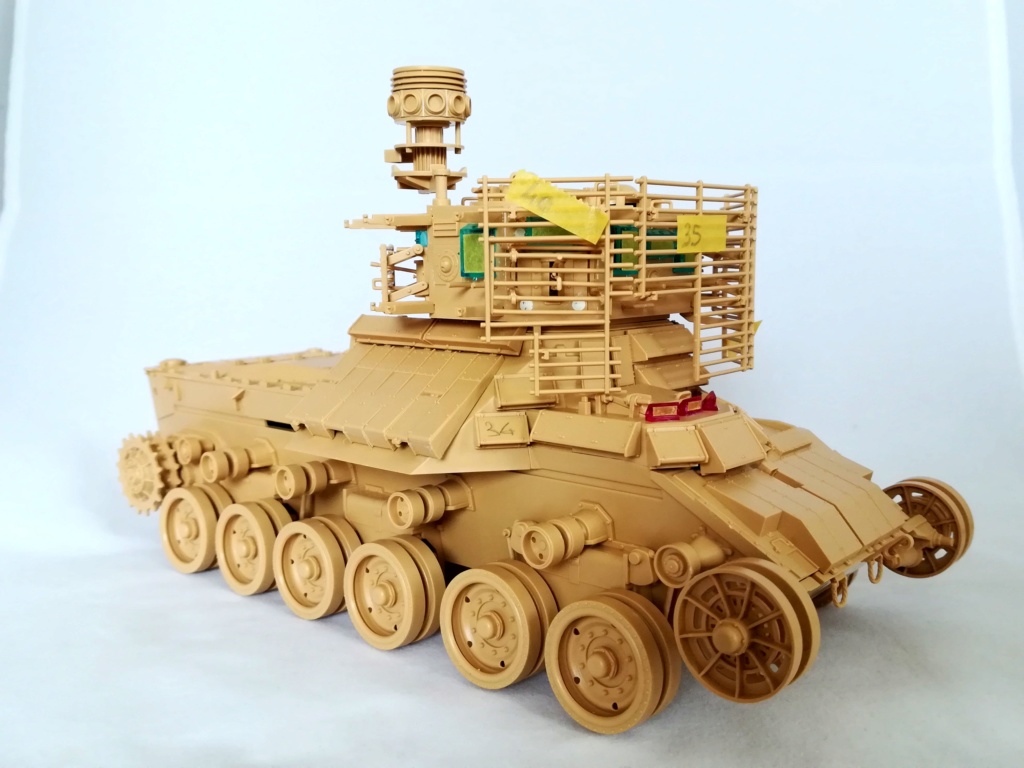
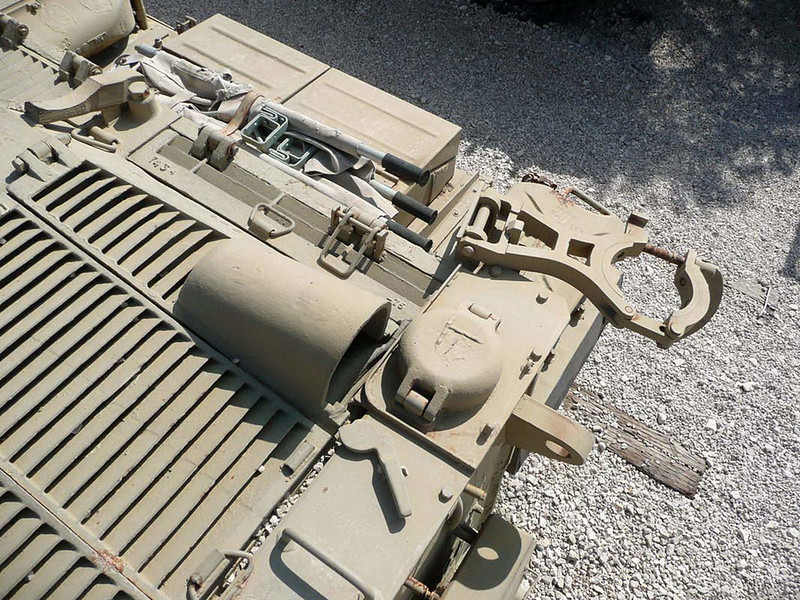
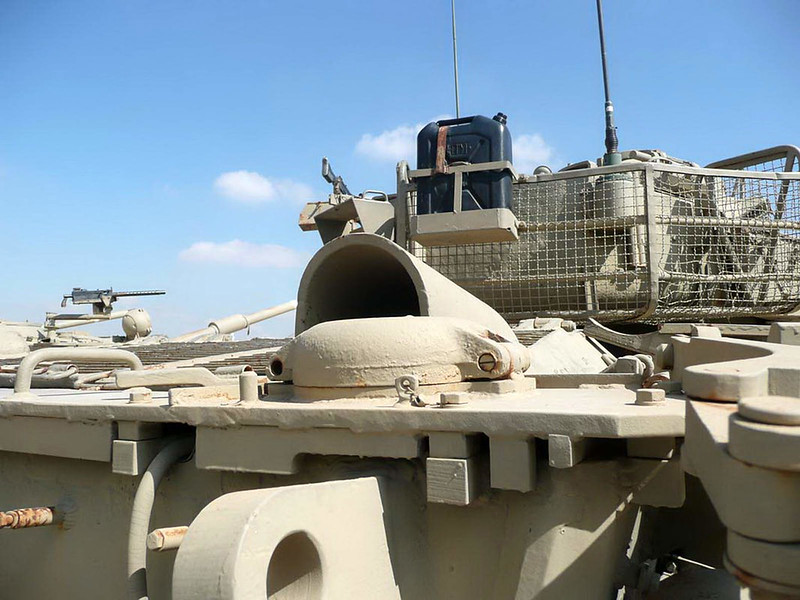
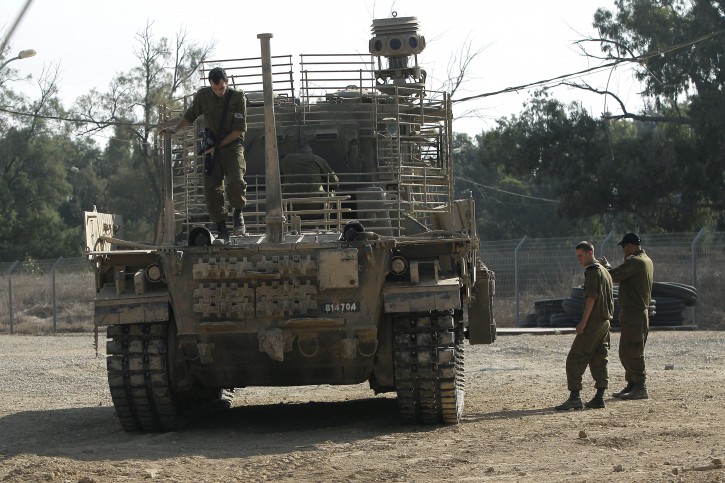
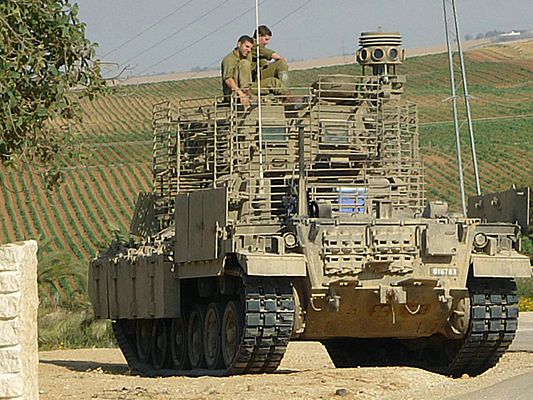
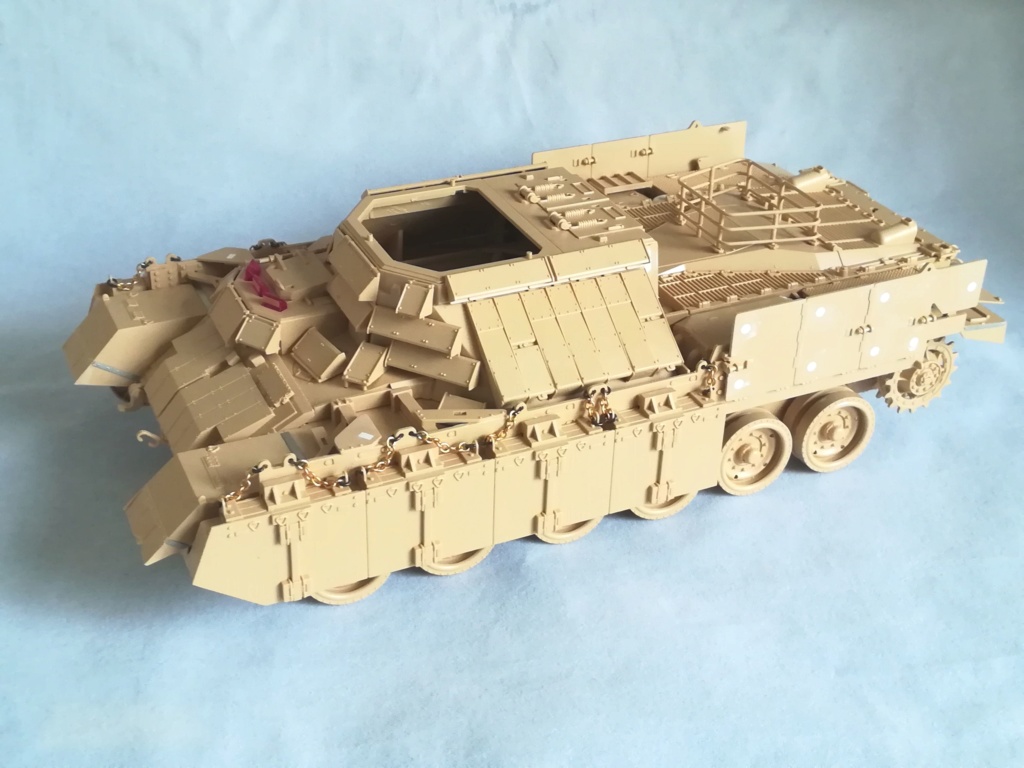
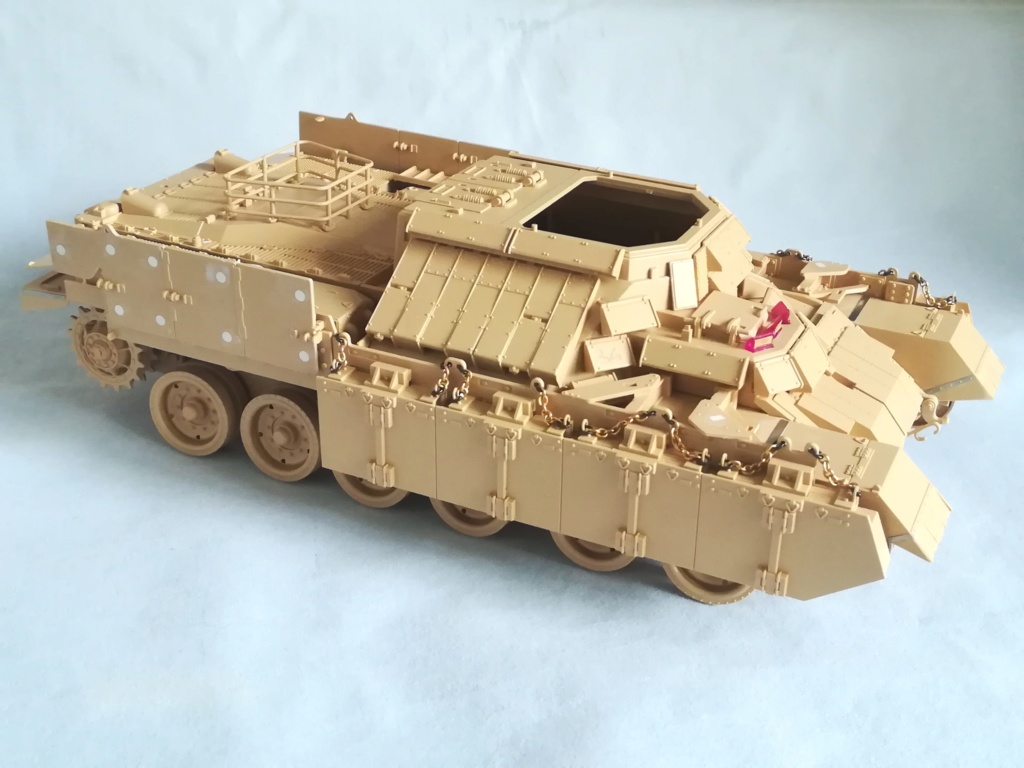
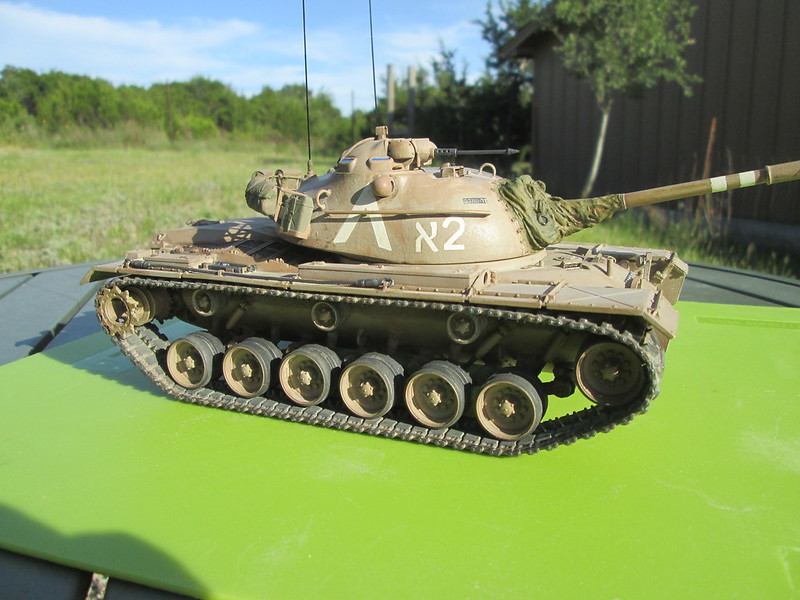
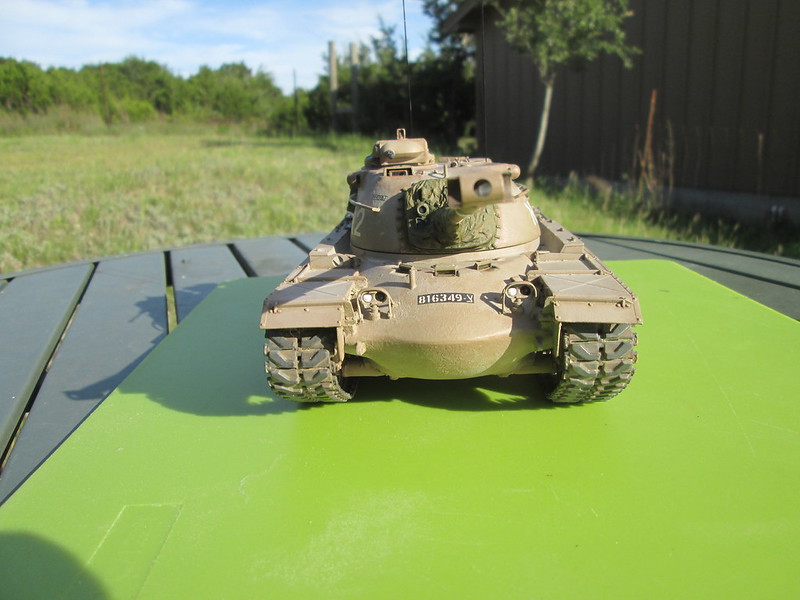
About the tracks and running gear and that lower hull painting issue...

Maybe you can assemble the tracks onto the wheels and rollers, set whatever sags you desire, and then remove that entire set-up for separate painting and re-attachment at the later stages of the build? I "always" do it sort of like that - allows me to paint and weather the entire hull at one go, followed by attaching the assembled wheels-and-track-runs as a unit.

In this (and other cases where there are various side-skirts and covers that hide the upper runs, rollers, etc.) case, maybe those runs only need to incorporate the visible wheels - leaving stuff not to be seen after completion in place - including the rollers and hidden top run segments (which I would consider simply skipping building and painting). Doing this would allow you to attach and mount all the side skirts and fender stuff for painting with the rest of the hull, and you would "just" slide the lower (visible portions) track and wheels up into place under the skirts after all the rest is painted.

Just a thought on this...

Cheers! Bob
ReluctantRenegade
Visit this Community
Wien, Austria
Joined: March 09, 2016
KitMaker: 2,408 posts
Armorama: 2,300 posts
Posted: Saturday, April 18, 2020 - 08:12 AM UTC

Quoted Text

The side protections are designed in a way that compels
you to build the tracks before adding the protections. This also means that you have to paint the lower hull and the running gear at minimum. This is not the way I planned this project but I don't think I have many other options.


I had the same problem. After some hesitation I've decided to deviate from the instructions and added the kit supplied tracks after adding the bazooka plates and painting the entire vehicle. It was a PITA but nevertheless possible.
petbat
Visit this Community
Queensland, Australia
Joined: August 06, 2005
KitMaker: 3,353 posts
Armorama: 3,121 posts
Posted: Saturday, April 18, 2020 - 08:41 AM UTC
Looking good so far Oliver.

I have the 'Early' version from TM, which was a contender for this build. It comes with separate rubber rings for the tyres, does your 'Late' kit have them or are the road wheels all in one? Also for the chains on the side skirts, does your version have shackles to add? The early only has the chain and TM tell you to just open an end link when they need shackles.

The coloured clear parts are interesting aren't they. The red and blue meant for reflective anti laser coating. I will need to use the 'clear, clear' parts and colour them with a green tint for the early though.

Looking forward to see how yours turns out.
rfbaer
Visit this Community
Texas, United States
Joined: June 12, 2007
KitMaker: 1,866 posts
Armorama: 1,696 posts
Posted: Saturday, April 18, 2020 - 10:05 AM UTC
I'm feeling slow, lots of progress here and my 2C is still within 30 minutes or so of being done. Maybe it's because I've got "modeler's ADD and have these two going too, I dunno.....
IMG_1291 by Russel Baer, on Flickr
IMG_1292 by Russel Baer, on Flickr
I should be going back to work soon, been on a two week furlough.
petbat
Visit this Community
Queensland, Australia
Joined: August 06, 2005
KitMaker: 3,353 posts
Armorama: 3,121 posts
Posted: Saturday, April 18, 2020 - 05:38 PM UTC
Fast or slow... we don't care Russel. We just love to see what you are doing
ReluctantRenegade
Visit this Community
Wien, Austria
Joined: March 09, 2016
KitMaker: 2,408 posts
Armorama: 2,300 posts
Posted: Saturday, April 18, 2020 - 07:56 PM UTC

Quoted Text

Ironic really, Jews using German MG's....


This is one of my favourite photos in my blog: American Thompson SMG, British scoped Lee-Enfield rifle, German MG34s on a Canadian Otter used by Jews against Arabs.

bison126
Visit this Community
Correze, France
Joined: June 10, 2004
KitMaker: 5,329 posts
Armorama: 5,204 posts
Posted: Sunday, April 19, 2020 - 05:20 AM UTC

Quoted Text

Looking good so far Oliver.

I have the 'Early' version from TM, which was a contender for this build. It comes with separate rubber rings for the tyres, does your 'Late' kit have them or are the road wheels all in one? Also for the chains on the side skirts, does your version have shackles to add? The early only has the chain and TM tell you to just open an end link when they need shackles.

The coloured clear parts are interesting aren't they. The red and blue meant for reflective anti laser coating. I will need to use the 'clear, clear' parts and colour them with a green tint for the early though.

Looking forward to see how yours turns out.


Peter,
the late model has plastic multipart roadwheels. No rubber parts. There are no shackles to attache the chains. I guess I'll make from metal rod as I'm sure I don't have enough in my stash.

Bob and Israel,
I won't use the kit tracks as I don't like the Hush Puppy type and I have seen very few pictures of Nagmachon fitted with them. Instead I'll use some AFV Club vinyl tracks. I know it could sound like I'm a dinosaur However when you see so few of the finished tracks I do think it is not worth spending so much time on preparing and assembling individual links tracks. And the time I'll save will be used to make the shackles

Olivier
ReluctantRenegade
Visit this Community
Wien, Austria
Joined: March 09, 2016
KitMaker: 2,408 posts
Armorama: 2,300 posts
Posted: Sunday, April 19, 2020 - 06:17 AM UTC

Quoted Text

I won't use the kit tracks as I don't like the Hush Puppy type and I have seen very few pictures of Nagmachon fitted with them. Instead I'll use some AFV Club vinyl tracks. I know it could sound like I'm a dinosaur


Not at all. Those are actually pretty good.

A couple of suggestions regarding the kit, if I may:

1. The instructions call for installing the forward smoke-grenade launchers. This is wrong, these are absent from the 'Doghouse' variant; only the rear ones should be used. Thanks for Kylie Newton for drawing my attention to it after seeing my kit (I did not remove them for the fear of damaging the kit).

2. Check the decals: in my kit there was a mismatch between the number plate and the numbers painted on the rubber mudguards (818783 vs 813783). Thanks for my wife for spotting the mistake - unfortunately after finishing the kit...


bison126
Visit this Community
Correze, France
Joined: June 10, 2004
KitMaker: 5,329 posts
Armorama: 5,204 posts
Posted: Tuesday, April 21, 2020 - 03:48 AM UTC
Hi all
here are some pictures of the beast.


I have two questions for Israel or other members.
The first concerns the front smoke grenade dischargers which is absent of the type with the doghouse. Do you have any photo of the support without the smoke discharger?

The second question is about the weird exhausts which come in the kit (red circles). I have never seen this type of exhaust cover on actual vehicles. Does anybody have pictures of these on a Nagmachon?


Olivier
ReluctantRenegade
Visit this Community
Wien, Austria
Joined: March 09, 2016
KitMaker: 2,408 posts
Armorama: 2,300 posts
Posted: Tuesday, April 21, 2020 - 06:33 AM UTC

Quoted Text

Do you have any photo of the support without the smoke discharger?


This is the best I have of the area in question. Looks like the mounting brackets are still there:


Quoted Text

The second question is about the weird exhausts which come in the kit (red circles). I have never seen this type of exhaust cover on actual vehicles. Does anybody have pictures of these on a Nagmachon?


The Nagmachon is based on the Shot Kal, so I would assume they have the same exhaust.

This is how they look on a Shot Kal:


These Nagmachons have a similar arrangements:


Now, this is where it gets interesting. Your kit depicts the very same vehicle shown here below, with a different exhaust arrangement which was, apparently, captured correctly by Tiger Model:


panzerbob01
Visit this Community
Louisiana, United States
Joined: March 06, 2010
KitMaker: 3,128 posts
Armorama: 2,959 posts
Posted: Tuesday, April 21, 2020 - 07:54 AM UTC
Israel:

Hi! I'm the proud orderer and future owner of this same Tiger Models Nagmachon w dog-house late kit with all the bar armor...

If I understand correctly you said in a previous post this thread that this version did not have the smoke-launchers mounted in front.

quote[1. The instructions call for installing the forward smoke-grenade launchers. This is wrong, these are absent from the 'Doghouse' variant; only the rear ones should be used. Thanks for Kylie Newton for drawing my attention to it after seeing my kit (I did not remove them for the fear of damaging the kit).]quote.

So, maybe I am confused about what "smoke launchers" you refer to. Aren't those boxes with the cloth / fabric covers mounted at angles to the front left and right corners of the dog-house "smoke launchers"? They show up in 3 "late version" Nagmachon pics that you posted. Looks to me like the launchers do belong there... unless I am just out to lunch (always possible!) as to what launchers "not to be used in the front" that you refer.

PS: As my kit hasn't arrived yet, I cannot consult the instructions in that box to see what parts you are saying not to install!

Cheers! Bob
ReluctantRenegade
Visit this Community
Wien, Austria
Joined: March 09, 2016
KitMaker: 2,408 posts
Armorama: 2,300 posts
Posted: Tuesday, April 21, 2020 - 08:28 AM UTC
Bob,

There are four launchers included in the kit, two per side. I don't have the instructions anymore, bit AFAIK they call to install all four of them. I did not research the vehicle before building the kit so that's exactly what I did - it turned out to be a mistake as the 'Doghouse' variant retains the two at the rear only.

The wrong setup:


petbat
Visit this Community
Queensland, Australia
Joined: August 06, 2005
KitMaker: 3,353 posts
Armorama: 3,121 posts
Posted: Tuesday, April 21, 2020 - 09:06 AM UTC
Hi Oliver

The exhausts in your instructions are like those found on the IDF PUMA. I have the SabInga Martin publication "Israeli Wild and Cruel Cats pt 1" (an excellent resource on PUMA and Achzarit) which has details pics of these armoured covers fitted


I can't say if they were common on the Nagmachon or only on the one vehicle as per Israel's post - noting too that one has hush puppy tracks you don't like!

TM's early Nagmachon instructions call out to use the different covers, parts E10, not parts E17 and E18 as per your instructions. I expect your kit has the E10 parts, but called out as unused.
r2d2
Visit this Community
England - South East, United Kingdom
Joined: April 13, 2006
KitMaker: 424 posts
Armorama: 419 posts
Posted: Tuesday, April 21, 2020 - 10:03 AM UTC
I have the book from Michael Mass with regards to the version of nagmachon with doghouse. I can see that it have 1 pair(2 smoke discharger) and others without dog house have 2 pairs (4 smoke discharger). So either it can be modelled with 2 or 4 smoke discharger depending on the presence of a dog house or not.

Hope this helps.
petbat
Visit this Community
Queensland, Australia
Joined: August 06, 2005
KitMaker: 3,353 posts
Armorama: 3,121 posts
Posted: Tuesday, April 21, 2020 - 02:11 PM UTC

Quoted Text


This is one of my favourite photos in my blog: American Thompson SMG, British scoped Lee-Enfield rifle, German MG34s on a Canadian Otter used by Jews against Arabs.


I don't think that is an Otter Israel. This is an Otter in Israeli service.
http://www.warwheels.net/images/otterMkI_israel1.jpg
ReluctantRenegade
Visit this Community
Wien, Austria
Joined: March 09, 2016
KitMaker: 2,408 posts
Armorama: 2,300 posts
Posted: Tuesday, April 21, 2020 - 09:06 PM UTC

Quoted Text

I don't think that is an Otter Israel.


The reason I think it's Otter based because it's RHD. The other two armored recon vehicles used during the Independence War, the M3 Scout Car and Dodge WC-51/52 based makeshifts, were LHD. Mind you, in many cases these vehicles were up-armored and up-gunned and looked different from the vehicles they were based on.
ReluctantRenegade
Visit this Community
Wien, Austria
Joined: March 09, 2016
KitMaker: 2,408 posts
Armorama: 2,300 posts
Posted: Tuesday, April 21, 2020 - 09:09 PM UTC

Quoted Text

The exhausts in your instructions are like those found on the IDF PUMA.


Maybe this specific vehicle was converted from a Puma...? Or just has an upgraded exhaust...

bison126
Visit this Community
Correze, France
Joined: June 10, 2004
KitMaker: 5,329 posts
Armorama: 5,204 posts
Posted: Tuesday, April 21, 2020 - 09:17 PM UTC
Maybe we could open a new topic about the Nagmachon.
Anyway here is a sum-up of the previous posts.

TM gives you four smoke-dischargers whereas two (one per side) are necessary on this type of Nagmachon (with Doghouse).
The question about how the unused front most bracket looks like remains.

The standard exhausts covers are the Shot Cal type. The type provided in the TM kit is mostly seen on Puma APCs but is correct for the registration number provided in the PE and decals sheets. And the standard exhaust covers are also in the kit.

The Hush Puppy tracks are rarely seen but still are correct especially for the vehicle depicted in the kit (the registration number matches with the tracks). Unfortunately I already exchanged the tracks for the standard Centurion ones.

Thank you all for your input.

Olivier
bison126
Visit this Community
Correze, France
Joined: June 10, 2004
KitMaker: 5,329 posts
Armorama: 5,204 posts
Posted: Wednesday, April 29, 2020 - 03:10 AM UTC
The last couple of days I've tackled the chains which retain the side ERA blocks.
Trumpeter gives you a length of chain which is nice but no shackles. I tried to make mine from metal and plastic rod but it was to difficult at the scale. Someone gave me a link to Shapeways but the shipping cost was more than the double of the kit price. I ended in playing Trumpeter's game but with my adapted rules. Instead of using only the chain of the kit I replaced the shaclkes by links of a larger chain I had in the stash. It is not perfectly accurate but it does the trick.


By the way you can see the numerous ill-placed ejection pin marks.

Olivier
petbat
Visit this Community
Queensland, Australia
Joined: August 06, 2005
KitMaker: 3,353 posts
Armorama: 3,121 posts
Posted: Wednesday, April 29, 2020 - 09:11 AM UTC
Wow, really bad engineering design on the knock outs Olivier. Obviously not designed by a model builder....

Nice compromise on the shackles. Yes, cost of mail from the US just makes it too prohibitive to buy anything from there. I once offered to build a model for a review here, but the cost of having the free kit shipped was actually just $10 more than actually buying the kit retail here... For $10 it was not worth the hassle of having admin at Armorama arrange the delivery...
ReluctantRenegade
Visit this Community
Wien, Austria
Joined: March 09, 2016
KitMaker: 2,408 posts
Armorama: 2,300 posts
Posted: Wednesday, April 29, 2020 - 07:44 PM UTC

Quoted Text

By the way you can see the numerous ill-placed ejection pin marks.


Really annoying, but fortunately an easy fix. What is not so easy to fix is the slat-armor: looking at the pictures, the bars seem to be over scaled.
bison126
Visit this Community
Correze, France
Joined: June 10, 2004
KitMaker: 5,329 posts
Armorama: 5,204 posts
Posted: Thursday, April 30, 2020 - 07:30 AM UTC
You're right Israel the bars are too thick but I won't try to fix that.
I have made some progress lately. I finally decided to use the standard exhaust covers and not to add the front smoke dischargers. I will post pictures later.

Olivier
bison126
Visit this Community
Correze, France
Joined: June 10, 2004
KitMaker: 5,329 posts
Armorama: 5,204 posts
Posted: Saturday, May 02, 2020 - 03:19 AM UTC
Some progress on the fenders and the side skirts. They are glued together and fitted to the hull with some blu-tac.
I also filled the void behind the first armor block as it remains partially visible from the front.


Olivier
rfbaer
Visit this Community
Texas, United States
Joined: June 12, 2007
KitMaker: 1,866 posts
Armorama: 1,696 posts
Posted: Saturday, May 02, 2020 - 03:51 AM UTC
There's some truly fine work going n here!
I myself finally took a couple hours out of my busy schedule (ha ha ha) and finished my project.
IMG_1304 by Russel Baer, on Flickr
IMG_1306 by Russel Baer, on Flickr
IMG_1307 by Russel Baer, on Flickr
IMG_1312 by Russel Baer, on Flickr
I suppose I should set up a kitmaker gallery.....
sinsling
Visit this Community
Singapore / 新加坡
Joined: January 16, 2007
KitMaker: 86 posts
Armorama: 85 posts
Posted: Saturday, May 02, 2020 - 05:15 AM UTC
Hi Russell,

Great job on the 2C! Especially like the stowage, it just adds that personal touch. I find IDF stowage a bit thin on the ground. I only know of the Legend set. Are Israeli duffel bags, and backpacks said my lard to US ones, or vastly different?

Great job and congrats on completing a great build!

Johanan