Campaigns: Active Campaigns
Campaigns that are either in planning or underway should be grouped here.
Campaigns that are either in planning or underway should be grouped here.
Hosted by Richard S.
Official Tank Destroyers Campaign
Armorsmith

Joined: April 09, 2015
KitMaker: 1,063 posts
Armorama: 1,000 posts

Posted: Friday, April 10, 2020 - 09:24 AM UTC
Jim- I like the camo, but you might want to try a light filter of the green base to help tie it together. It Should also help in reducing some of the stark contrast. It is also a bit bright at this stage but that will be taken care of once you apply your wash and begin the weathering process. Anxious to see the finished product.

LiquorRanch

Joined: November 22, 2018
KitMaker: 18 posts
Armorama: 18 posts

Posted: Friday, April 10, 2020 - 10:03 AM UTC
I've been considering a filter and it almost certainly needs one. Everything is quite bright still. It's looking a little better now with the wheels mocked up on it for contrast. I hope to get some more done over the next few days.
hetzer44

Joined: December 21, 2005
KitMaker: 241 posts
Armorama: 124 posts

Posted: Friday, April 10, 2020 - 10:30 AM UTC
I was finally able to post some pics of my progress on the Special Armour TACAM R-2 tank destroyer.


Gun cradle has some pretty good detail, though there were some knockout marks on some areas that were difficult to fix.

Shell holders in the casemate completed.

Adding a little interior detail to the lower hull.
Cheers everyone! Stay safe.
chuck


Gun cradle has some pretty good detail, though there were some knockout marks on some areas that were difficult to fix.

Shell holders in the casemate completed.

Adding a little interior detail to the lower hull.
Cheers everyone! Stay safe.
chuck
Posted: Saturday, April 11, 2020 - 02:07 AM UTC
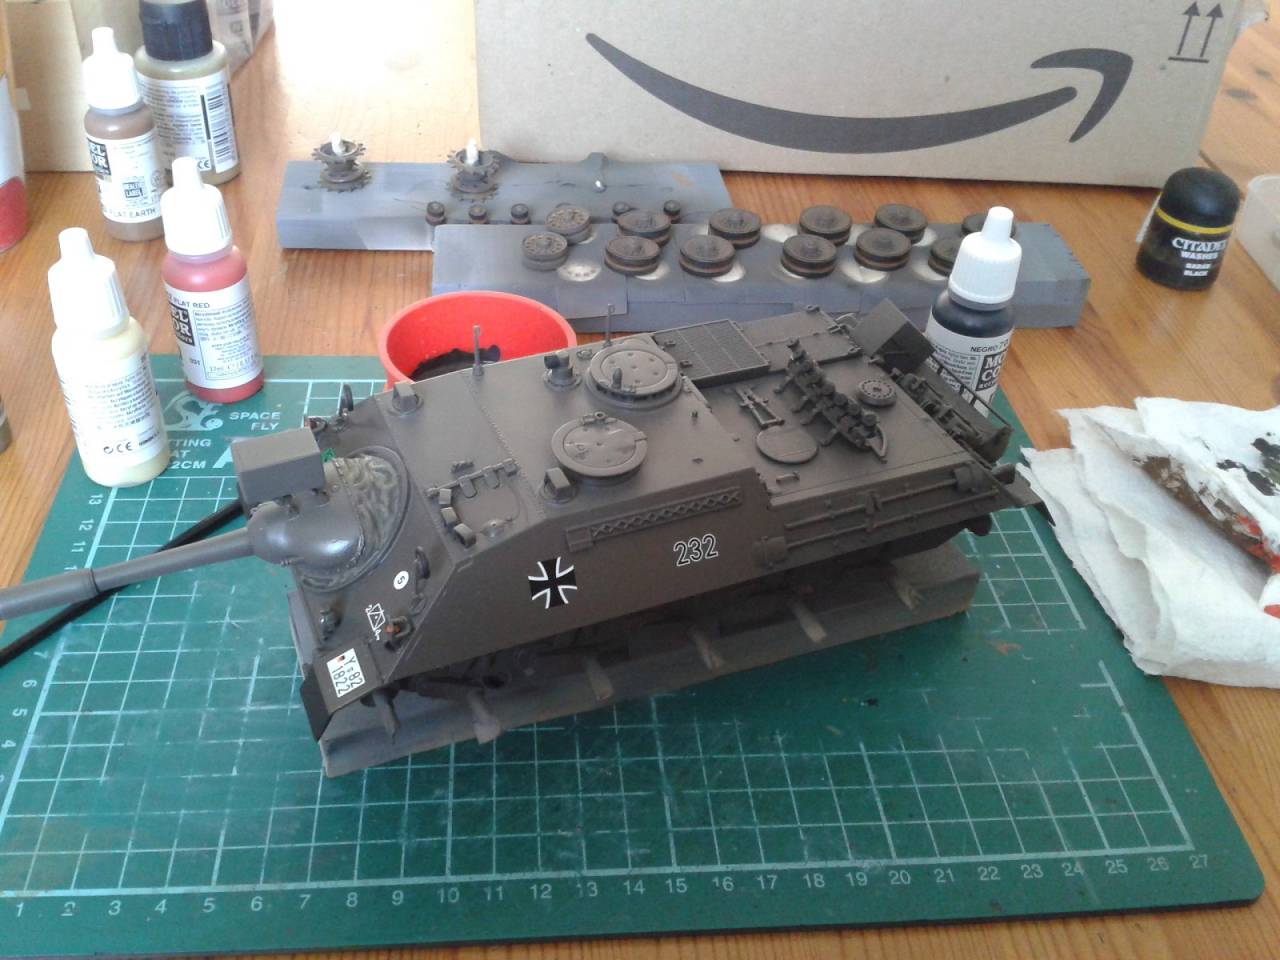
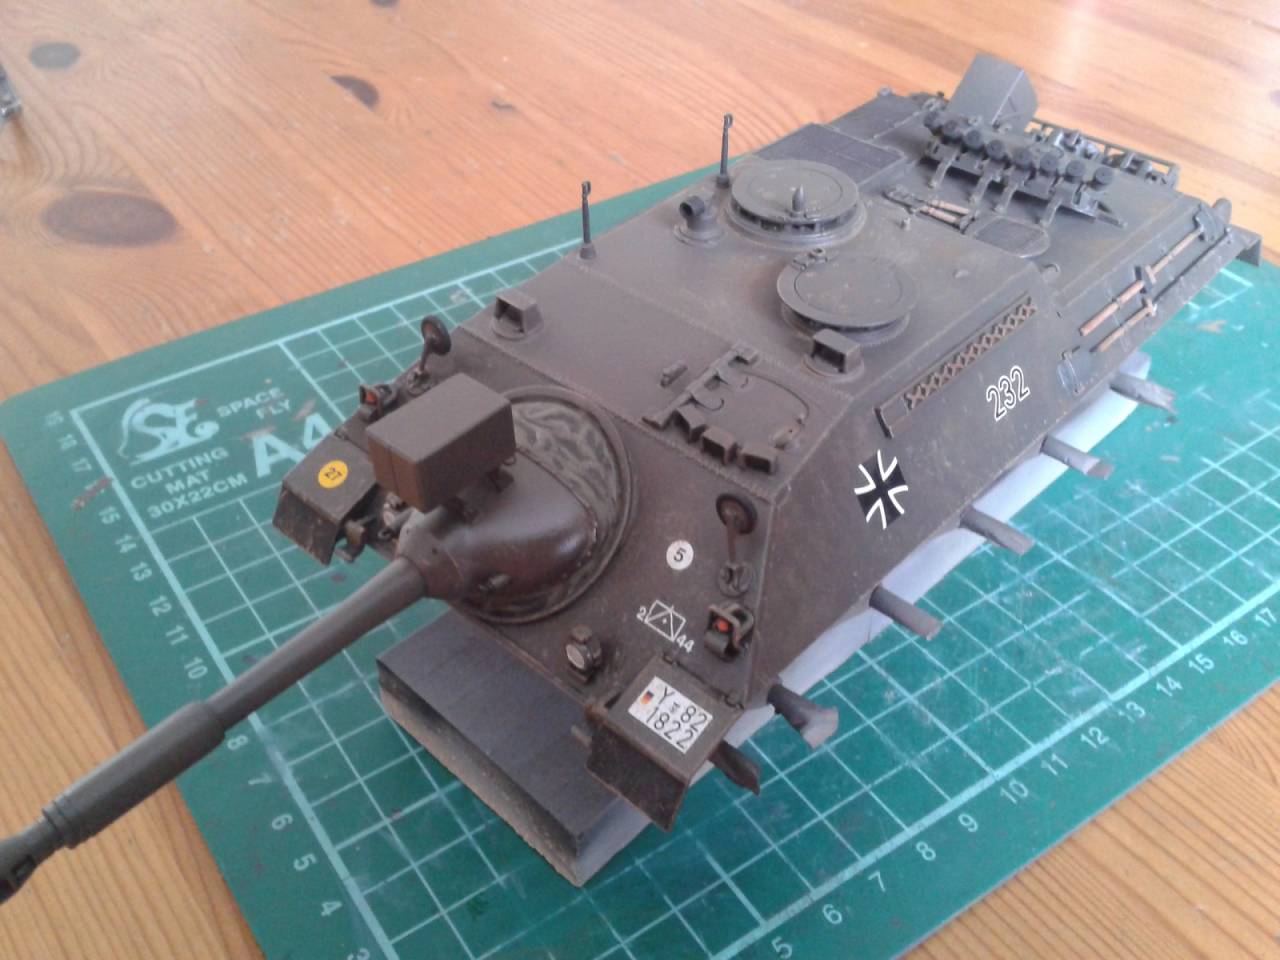
Well there's some seriously cool work coming on here! Bill, that Hetzer is amazingly crowded - it's hard to see how any of the crew had enough room to do their jobs! And Bogi that Pz1 interior is unbelievable! Time I showed a little progress on my modern Hetzer, the Kanonen Jagdpanzer:

I'm sorting out a ton of detail painting before I get stuck into pinwashing and then some dirt.
Keep safe everyone!

I'm sorting out a ton of detail painting before I get stuck into pinwashing and then some dirt.
Keep safe everyone!

bison126

Joined: June 10, 2004
KitMaker: 5,329 posts
Armorama: 5,204 posts

Posted: Saturday, April 11, 2020 - 07:07 PM UTC
Small update with the spare links rack redone. The kit one is the early model ands is not suitable for the new tracks with rubber pads.


Tom, nice job on the KaJaPa. I guess you'll weather it. Is it from the box or did you use some PSM upgrade sets ?
Olivier


Tom, nice job on the KaJaPa. I guess you'll weather it. Is it from the box or did you use some PSM upgrade sets ?
Olivier
Posted: Saturday, April 11, 2020 - 09:56 PM UTC
Hi Olivier,
It's just a quickie OOB build so I stand a chance of finishing in time! I realised the issue with periscopes too late, and the PSM hull is hard to come by. (I have another in the stash that might get surgery to fix the problems...). And the PSM track would be nice if a) it wasn't more expensive than the kit, and b) the zombie apocalypse hadn't closed the world down! Not sure why Revell insists on getting simple things so wrong...
It's just a quickie OOB build so I stand a chance of finishing in time! I realised the issue with periscopes too late, and the PSM hull is hard to come by. (I have another in the stash that might get surgery to fix the problems...). And the PSM track would be nice if a) it wasn't more expensive than the kit, and b) the zombie apocalypse hadn't closed the world down! Not sure why Revell insists on getting simple things so wrong...

bison126

Joined: June 10, 2004
KitMaker: 5,329 posts
Armorama: 5,204 posts

Posted: Sunday, April 12, 2020 - 04:06 AM UTC
Quoted Text
Not sure why Revell insists on getting simple things so wrong...
Thank you for the answer. Concerning Revell they are used to issue prototypes or preseries vehicles with differences with standard vehicles. But with the KaJaPa thet simply goofed. They would just have to pay a visit to the excellent Munster museum to get all what they needed to release an accurate model.
At least they released modern German AFV for cheap.
Olivier
Posted: Sunday, April 12, 2020 - 07:20 AM UTC
Time for me to join the party!
I'll be building Bulgarian Peoples Army Cold War tank destroyer SU-100.
The kit is the ancient Zvezda offering, I have a lot of PE goodies/leftovers I intend to use and a metal barrel to replace the groovy thing Zvezda offers.
BPA received 100 SU-100 in the mid-1950's.
All tank destroyers were equiped with the late T-34 type(spiderweb) wheels, which I was lacking.So I ordered and received MiniArts Late T-34 Wheels Set some time ago.
Surgery started yesterday.
I've built the hull, filled some gaps, built and glued the missing inner part of both fenders:

Then I scribed a line(2 actually, but one of them was wrong, so I used some 0,3 mm styrene rod to fill it) and added the escape hatch and some access hatches plus the drainage plugs on hulls bottom.

Next I'll remove kits fenders and will cut, bend and solder new ones from my trusty copper sheet,
Take care and keep modelbuilding!

I'll be building Bulgarian Peoples Army Cold War tank destroyer SU-100.
The kit is the ancient Zvezda offering, I have a lot of PE goodies/leftovers I intend to use and a metal barrel to replace the groovy thing Zvezda offers.
BPA received 100 SU-100 in the mid-1950's.
All tank destroyers were equiped with the late T-34 type(spiderweb) wheels, which I was lacking.So I ordered and received MiniArts Late T-34 Wheels Set some time ago.
Surgery started yesterday.
I've built the hull, filled some gaps, built and glued the missing inner part of both fenders:

Then I scribed a line(2 actually, but one of them was wrong, so I used some 0,3 mm styrene rod to fill it) and added the escape hatch and some access hatches plus the drainage plugs on hulls bottom.

Next I'll remove kits fenders and will cut, bend and solder new ones from my trusty copper sheet,
Take care and keep modelbuilding!


k_mero4

Joined: November 26, 2017
KitMaker: 393 posts
Armorama: 369 posts

Posted: Sunday, April 12, 2020 - 07:48 AM UTC
Well done, Angel! It seems like an interesting start. I expect the next step.
Kalin
Kalin
Posted: Sunday, April 12, 2020 - 10:48 AM UTC
Great looking stuff, everyone!
Posted: Sunday, April 12, 2020 - 11:48 PM UTC
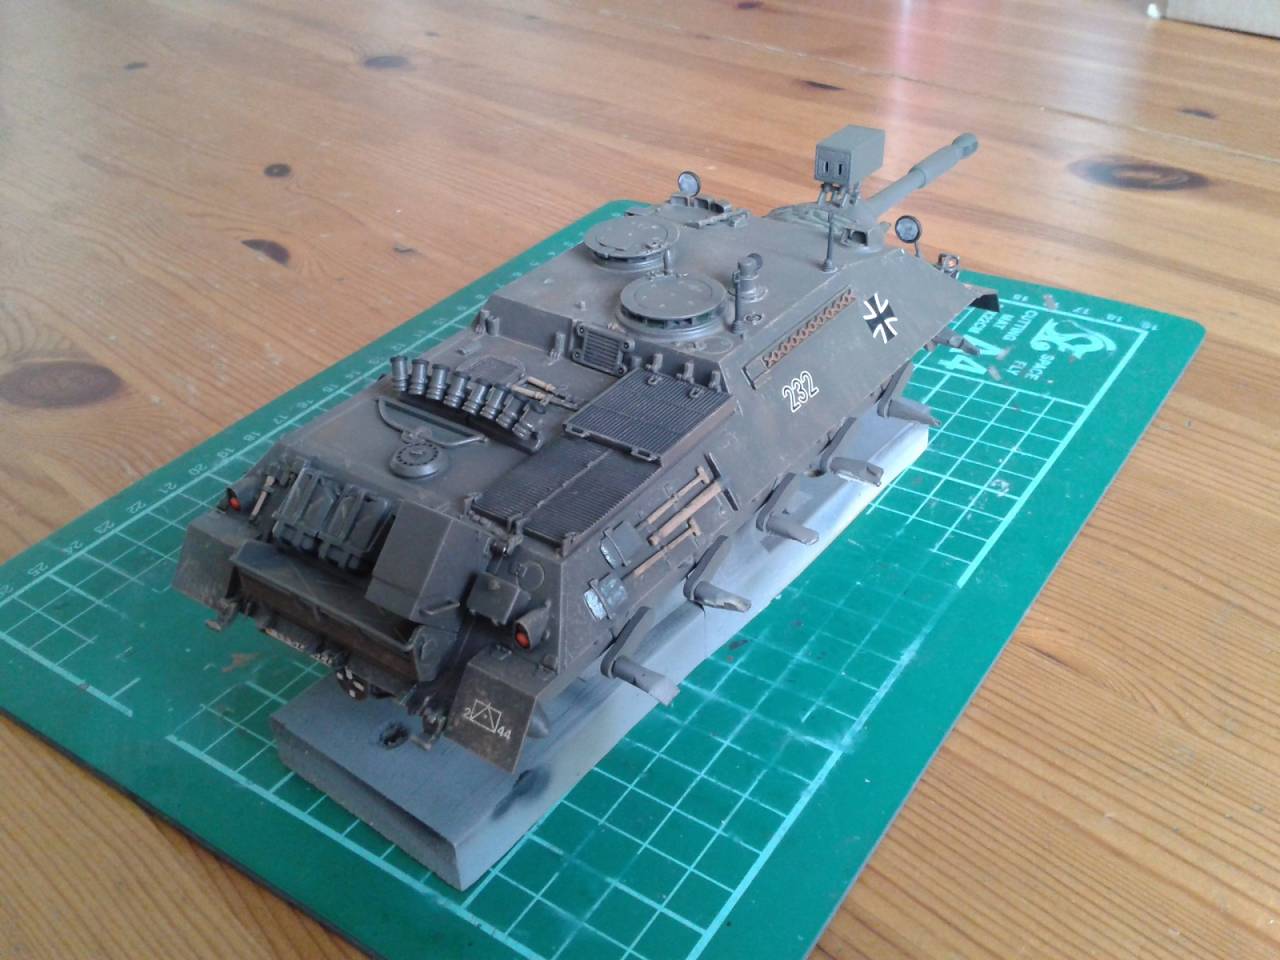
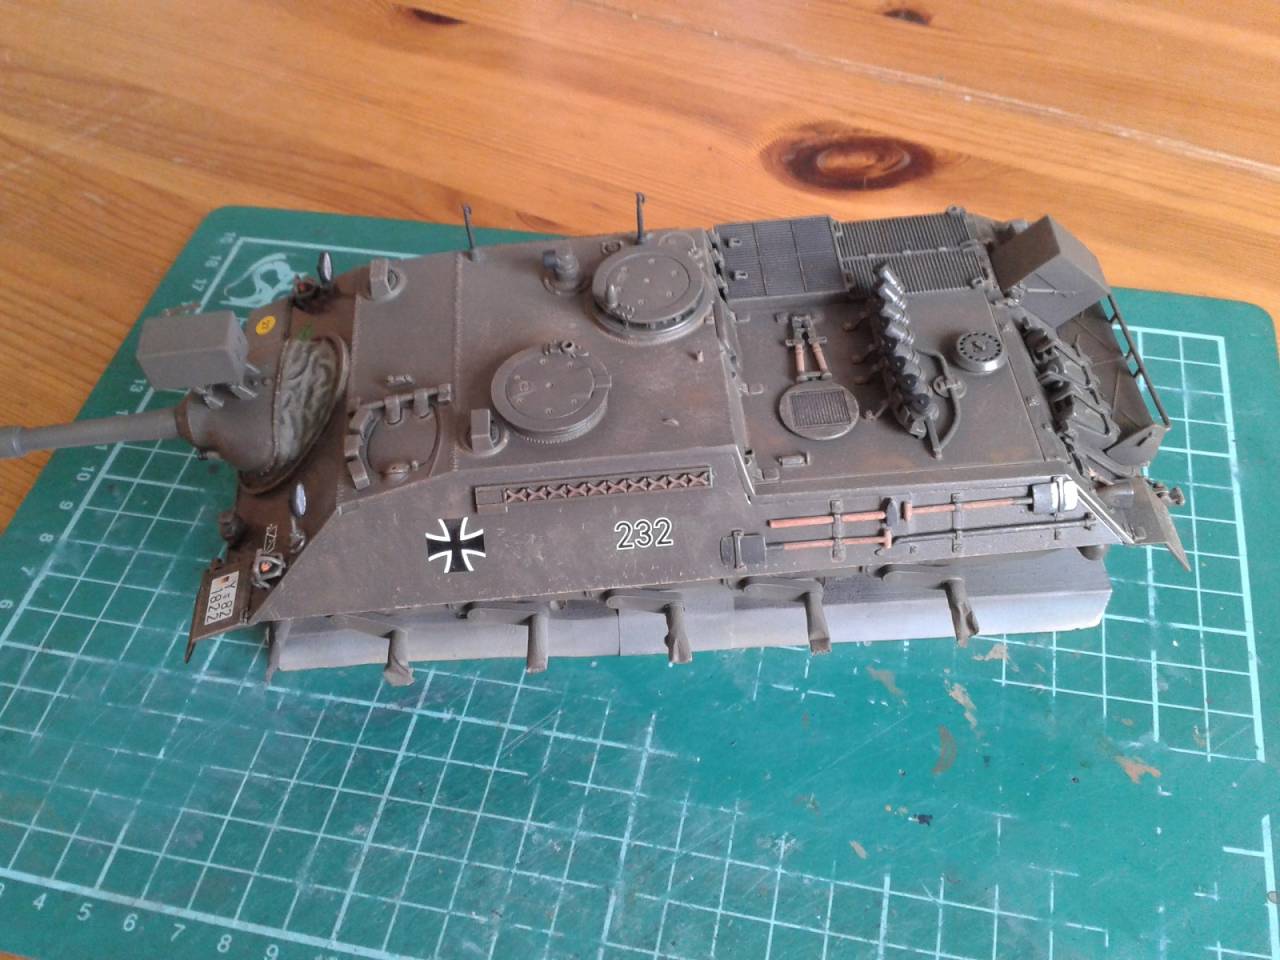
Just a little update with more colour on my KaJaPa. Still some way to go, but first round of pinwashes and drybrushing are on, and some AB weathering to come!


petbat

Joined: August 06, 2005
KitMaker: 3,353 posts
Armorama: 3,121 posts

Posted: Monday, April 13, 2020 - 09:31 AM UTC
Really coming together now guys.

bison126

Joined: June 10, 2004
KitMaker: 5,329 posts
Armorama: 5,204 posts

Posted: Monday, April 13, 2020 - 10:05 PM UTC
The assembly is officially complete. It's time for some paint now 
I made the last modifications to the instructions. First the metal protection (PE part) must be glued inside the frame and not outside. Then you have to glue the frame in line with the vertical "fin" of the missile support.
On the missiles Takom carved two large panel lines which must be filled. They are barely noticeable on the actual things.


Olivier

I made the last modifications to the instructions. First the metal protection (PE part) must be glued inside the frame and not outside. Then you have to glue the frame in line with the vertical "fin" of the missile support.
On the missiles Takom carved two large panel lines which must be filled. They are barely noticeable on the actual things.


Olivier

k_mero4

Joined: November 26, 2017
KitMaker: 393 posts
Armorama: 369 posts

Posted: Tuesday, April 14, 2020 - 05:52 AM UTC
Great job Tom. Especially with paint. There is a sense of metallic effect on the machine.
Monsieur Carneau, impressive. I don't know modern French armored vehicles well, but I like it. Congratulations.
Good luck gentlemen. Have fun.
Kalin
Monsieur Carneau, impressive. I don't know modern French armored vehicles well, but I like it. Congratulations.
Good luck gentlemen. Have fun.
Kalin
Hangelafette

Joined: April 22, 2012
KitMaker: 344 posts
Armorama: 315 posts

Posted: Tuesday, April 14, 2020 - 12:32 PM UTC
Klaus-Adler

Joined: June 08, 2015
KitMaker: 1,505 posts
Armorama: 840 posts

Posted: Tuesday, April 14, 2020 - 09:18 PM UTC
the main bulk of the painting is done and i have removed the blue/white tac. i would have done this during the easter weekend but we had a family emergency as our pet guinea pig became very ill and i spent a lot the time taking him to the vets and finally getting a referral to an exotic pet specialist...for exotic read expensive, where he is currently at.
progress shots for today:


progress shots for today:


Johnnych01

Joined: June 29, 2019
KitMaker: 604 posts
Armorama: 506 posts

Posted: Tuesday, April 14, 2020 - 10:15 PM UTC
The AMX is looking very nice Olivier, it certainly packs a formidable punch, and the Pz kanone looks spot on Tom, you've it done it justice, and the finish is great.
David, the JTiger is coming along very nicely.. I'm almost on the final stages of mine, just got to do some detailing,a wash then weathering and paint a crew figure and then across the finish line .... Yay
David, the JTiger is coming along very nicely.. I'm almost on the final stages of mine, just got to do some detailing,a wash then weathering and paint a crew figure and then across the finish line .... Yay

bison126

Joined: June 10, 2004
KitMaker: 5,329 posts
Armorama: 5,204 posts

Posted: Wednesday, April 15, 2020 - 01:07 AM UTC
Thank you very much Kalin and John. I needed to remove the missiles fins as I goofed with their orientation. Takom give two different parts so if you don't pay attention instead of getting the fins in a proper 90° cross you get the fins in a X cross.
I fixed this today. I should start painting tomorrow.
Olivier
I fixed this today. I should start painting tomorrow.
Olivier
Posted: Wednesday, April 15, 2020 - 03:49 AM UTC
Thanks guys - I just need a little spray-time now.
Olivier, that rocket-gun combo is interesting! Did they seriously use the main gun after the rockets were added, or was the gun essentially obsolete by then? I can't see it being good for the rockets if they were still there when the gun fired...
Olivier, that rocket-gun combo is interesting! Did they seriously use the main gun after the rockets were added, or was the gun essentially obsolete by then? I can't see it being good for the rockets if they were still there when the gun fired...

bison126

Joined: June 10, 2004
KitMaker: 5,329 posts
Armorama: 5,204 posts

Posted: Wednesday, April 15, 2020 - 05:49 AM UTC
Tom
At that time the 90 mm gun was already in service on the standard AMX 13. Some tanks were converted into missile tanks to increase the power of destruction against the newest Soviet tanks. The 75 mm gun was kept as a secondary weapon for use when the missiles were all fired.
Olivier
At that time the 90 mm gun was already in service on the standard AMX 13. Some tanks were converted into missile tanks to increase the power of destruction against the newest Soviet tanks. The 75 mm gun was kept as a secondary weapon for use when the missiles were all fired.
Olivier
Posted: Wednesday, April 15, 2020 - 06:56 AM UTC
Superb job on this bizzare TD, Olivier!
True eye-catcher!
Keep up the good work,

True eye-catcher!
Keep up the good work,

Posted: Wednesday, April 15, 2020 - 09:03 AM UTC
Fenders measured, cut from 0,1 mm. copper sheet, bent, soldered and dry-fitted:

Fender hinges are working so movable front parts can be flipped:


Fender hinges are working so movable front parts can be flipped:


johhar

Joined: September 22, 2008
KitMaker: 476 posts
Armorama: 447 posts

Posted: Wednesday, April 15, 2020 - 09:29 AM UTC
David, your camo on the JagdTiger is spot on in an almost indescribable way - very abstract. And I feel your pain about expensive pet specialists as I've been there, done that.
hetzer44

Joined: December 21, 2005
KitMaker: 241 posts
Armorama: 124 posts

Posted: Thursday, April 16, 2020 - 03:08 AM UTC
Angel,
Love your work so far. Can't wait till it's completed.
Cheers!
chuck
Love your work so far. Can't wait till it's completed.
Cheers!
chuck
hetzer44

Joined: December 21, 2005
KitMaker: 241 posts
Armorama: 124 posts

Posted: Thursday, April 16, 2020 - 03:20 AM UTC
Here are some update pics of the Special Armour TACAM R-2 I'm working on. I found a few walk around photos that show some interior details though most original parts may have been removed over time, so I'm sure my rendering is not complete and possibly inaccurate.

For the shell rack in the rear wall, I took some artistic license as I have no absolute proof a shell rack was mounted there, but it does not look too far fetched.

Right side interior, again with a bit of artistic license.

Enjoying this campaign. It's got me scratch building more than I anticipated, but am slowly improving. Love all the entries and hopefully everyone remains healthy and able to finish what they started.
Cheers!
chuck

For the shell rack in the rear wall, I took some artistic license as I have no absolute proof a shell rack was mounted there, but it does not look too far fetched.

Right side interior, again with a bit of artistic license.

Enjoying this campaign. It's got me scratch building more than I anticipated, but am slowly improving. Love all the entries and hopefully everyone remains healthy and able to finish what they started.
Cheers!
chuck
 |


