COMMENT CAFE:
Gary, thanks, Yes, I would NOT liked to have been a Hetzer crewman....too tight in there.
Angel, thank you, sir. Much appreciated.
Oliver, thanks a million.
Marc, greatly appreciated....thanks.
Oliver, Marvelous work on your AMX 13 SS11 tank. All the detail work you did paid off with a beautiful display model.
Norman, thank you, sir. I'm humbled by your accolade.
Tom, thanks a million. Yes, that Hetzer was a cramp little tank.
Phil, thank you, sir.
ComradeMP, greatly appreciated. Thanks. Love the Russian Hetzer. Cool paint scheme.
Peter, thank you, sir.
Phil, hey, progress is progress. Lots of detail on those fenders to paint.
Kelly, nice base coat painting. What paint did you use?
That's all for now. Good luck everyone on their projects.
Bill
Campaigns: Active Campaigns
Campaigns that are either in planning or underway should be grouped here.
Campaigns that are either in planning or underway should be grouped here.
Hosted by Richard S.
Official Tank Destroyers Campaign
panzerman1

Joined: September 30, 2010
KitMaker: 430 posts
Armorama: 291 posts

Posted: Wednesday, May 27, 2020 - 07:42 PM UTC
panzerman1

Joined: September 30, 2010
KitMaker: 430 posts
Armorama: 291 posts

Posted: Wednesday, May 27, 2020 - 07:55 PM UTC
Update on my Bandai 1/48 Hetzer.

I painted up the lower half of the tank. I'm NOT happy with the kit supplied tracks. Copious amounts of CA glue were used just to get them to fit. I will be replacing them with better ones.

The tracks rise up off of the sprocket and return idler horribly. I hate to cannibalize another kit, but these old vinyl tracks have to GO!

I started detailing the upper hull. The incorrect front vision block was replaced. I also drilled lightening holes into the fender tool box.
Thanks for viewing. Good luck everyone on your projects.
Bill

I painted up the lower half of the tank. I'm NOT happy with the kit supplied tracks. Copious amounts of CA glue were used just to get them to fit. I will be replacing them with better ones.

The tracks rise up off of the sprocket and return idler horribly. I hate to cannibalize another kit, but these old vinyl tracks have to GO!

I started detailing the upper hull. The incorrect front vision block was replaced. I also drilled lightening holes into the fender tool box.
Thanks for viewing. Good luck everyone on your projects.
Bill
Posted: Wednesday, May 27, 2020 - 08:18 PM UTC
Bill,
That looks awesome! Too bad about the tracks!
That looks awesome! Too bad about the tracks!
Panzer_Modeler

Joined: May 19, 2020
KitMaker: 419 posts
Armorama: 217 posts

Posted: Saturday, May 30, 2020 - 02:18 PM UTC
The herzer looks great! I will be entering my tamiya 1/48 M10 accilies.
Mrclark7

Joined: June 04, 2017
KitMaker: 503 posts
Armorama: 477 posts

Posted: Saturday, May 30, 2020 - 04:13 PM UTC
William, The color as seen now is a vallejo air 71.025. It is a color shade that I think many would be happy with when trying to go RAL 7028 and wondering which company has it right.
The tank was painted in green stripes but afterwards I didnt feel it went looked right. I started with a gray primer, then black shading, then the vallejo.
Today I spent my time building my first ever tree. I plan on doing a diorama for this one.

The tank was painted in green stripes but afterwards I didnt feel it went looked right. I started with a gray primer, then black shading, then the vallejo.
Today I spent my time building my first ever tree. I plan on doing a diorama for this one.

Posted: Saturday, May 30, 2020 - 11:57 PM UTC
Finished my KaJaPa! As per the rules, I've placed a pic in the Campaign gallery - the rest are in my member gallery if anyone wants them.
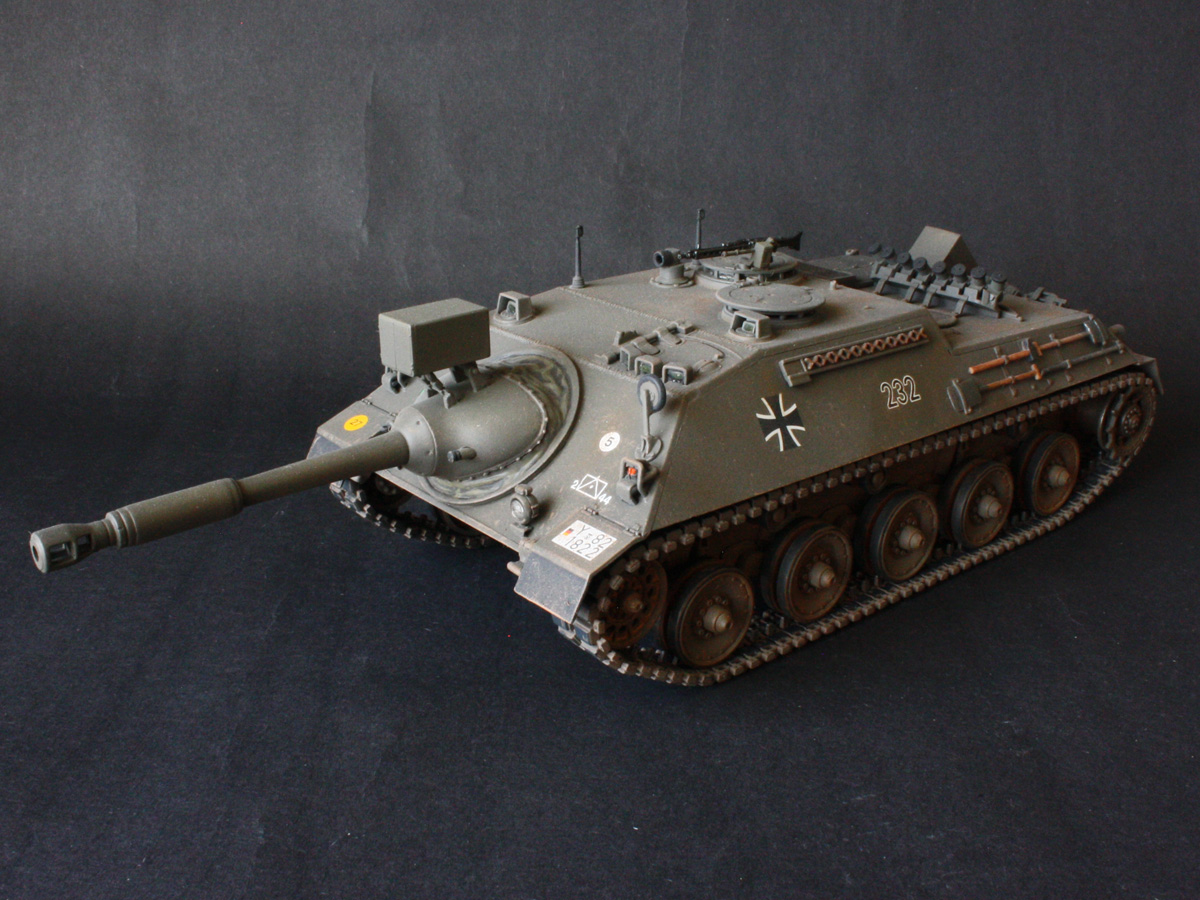
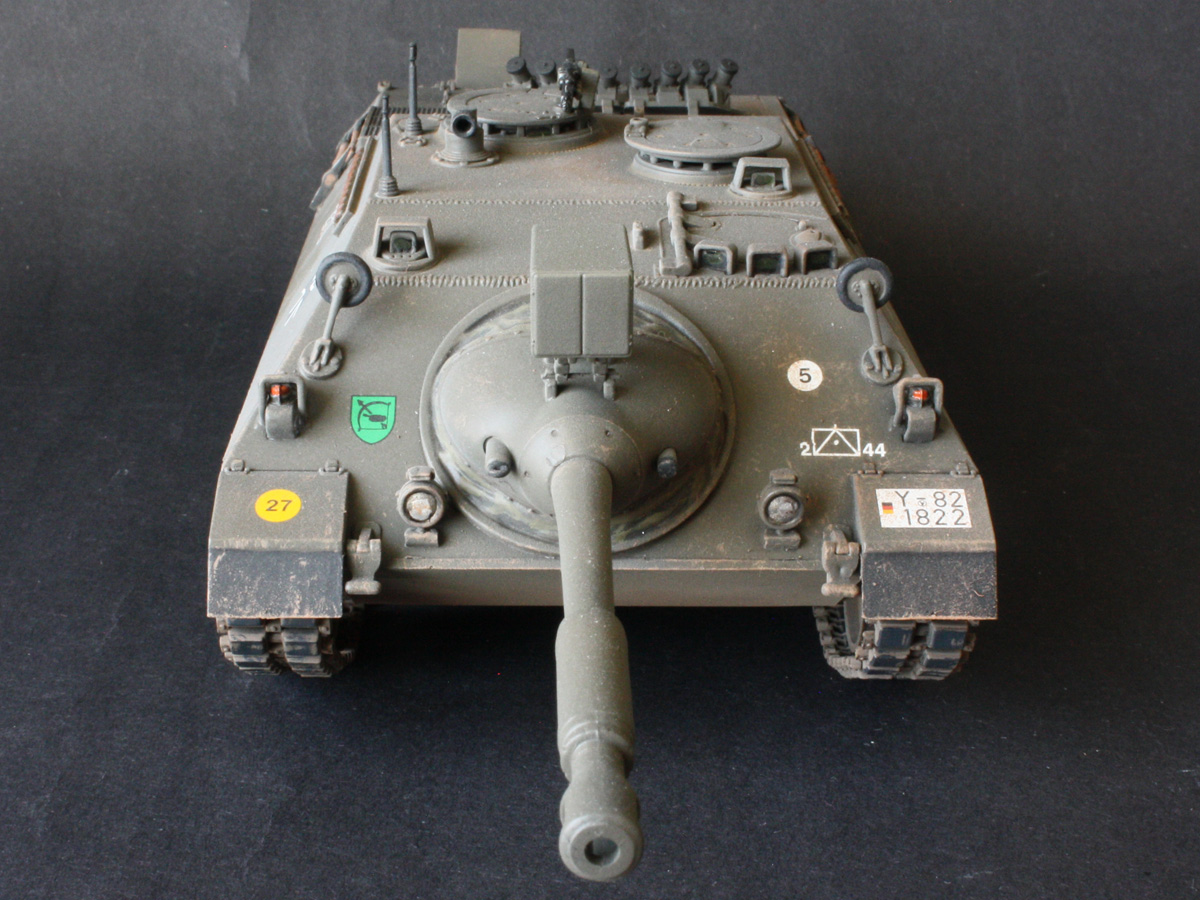
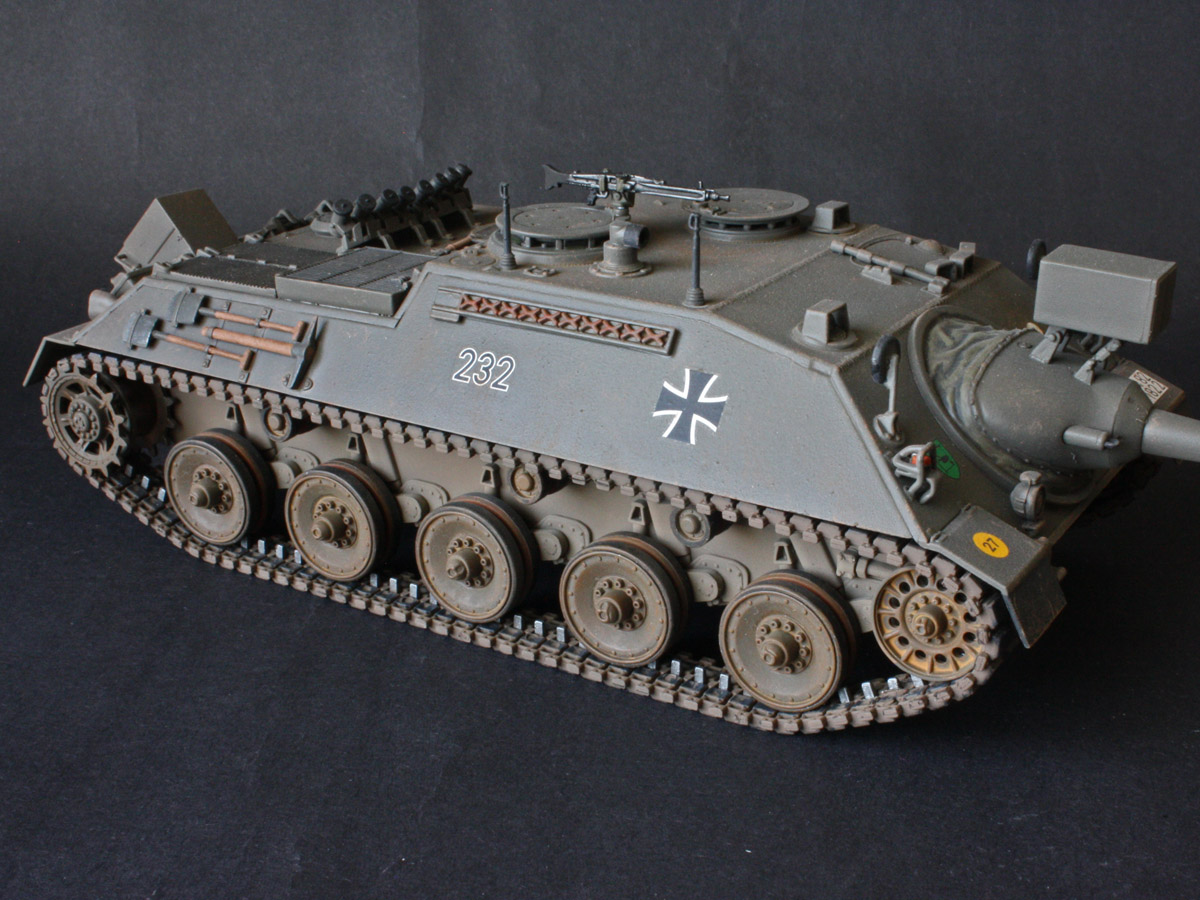
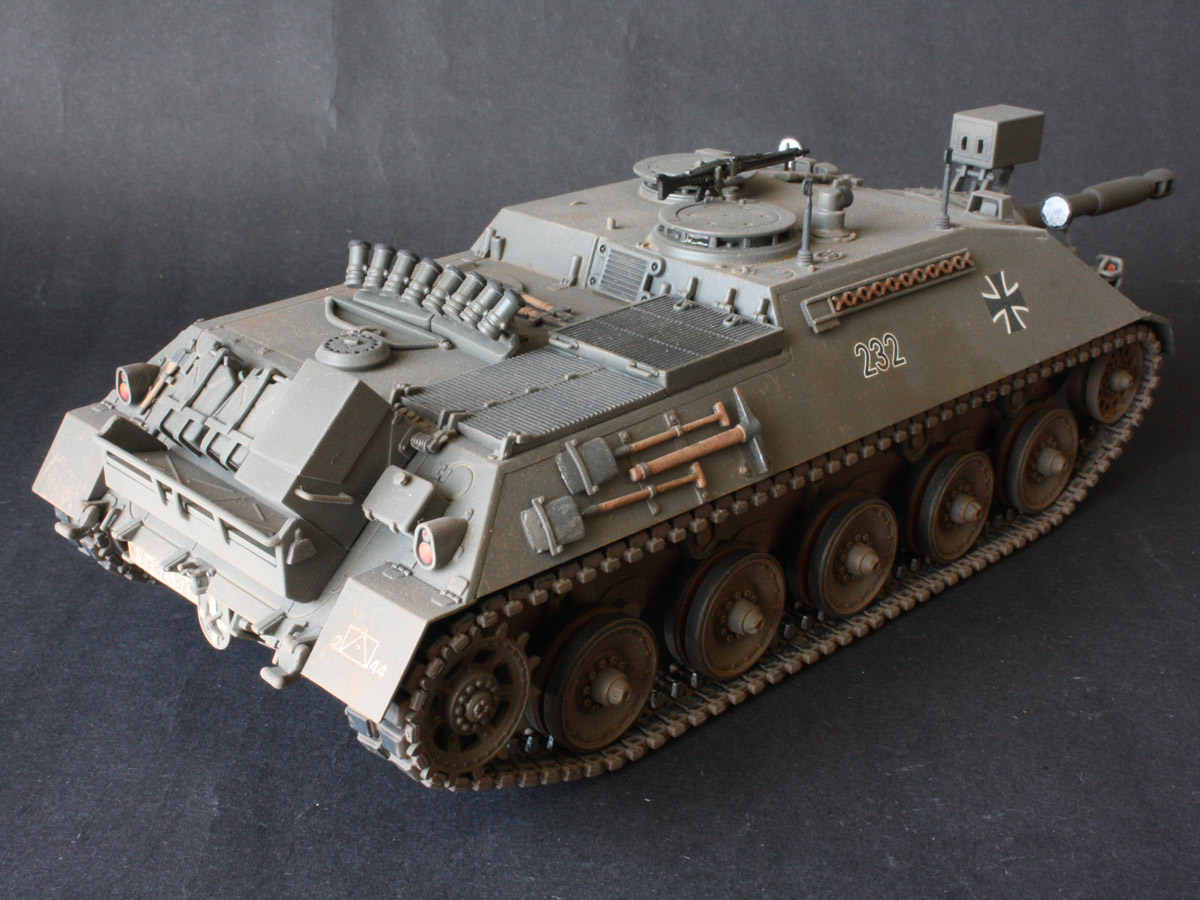
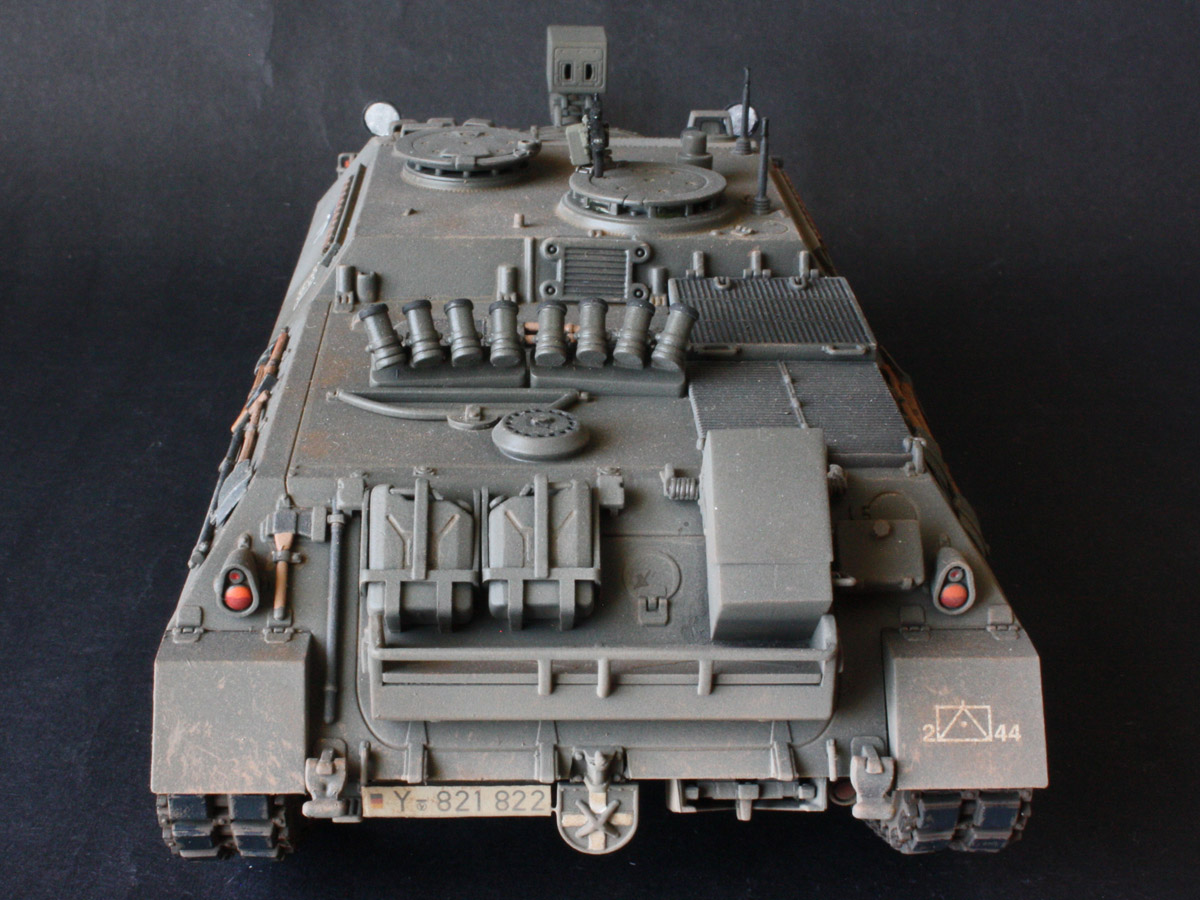
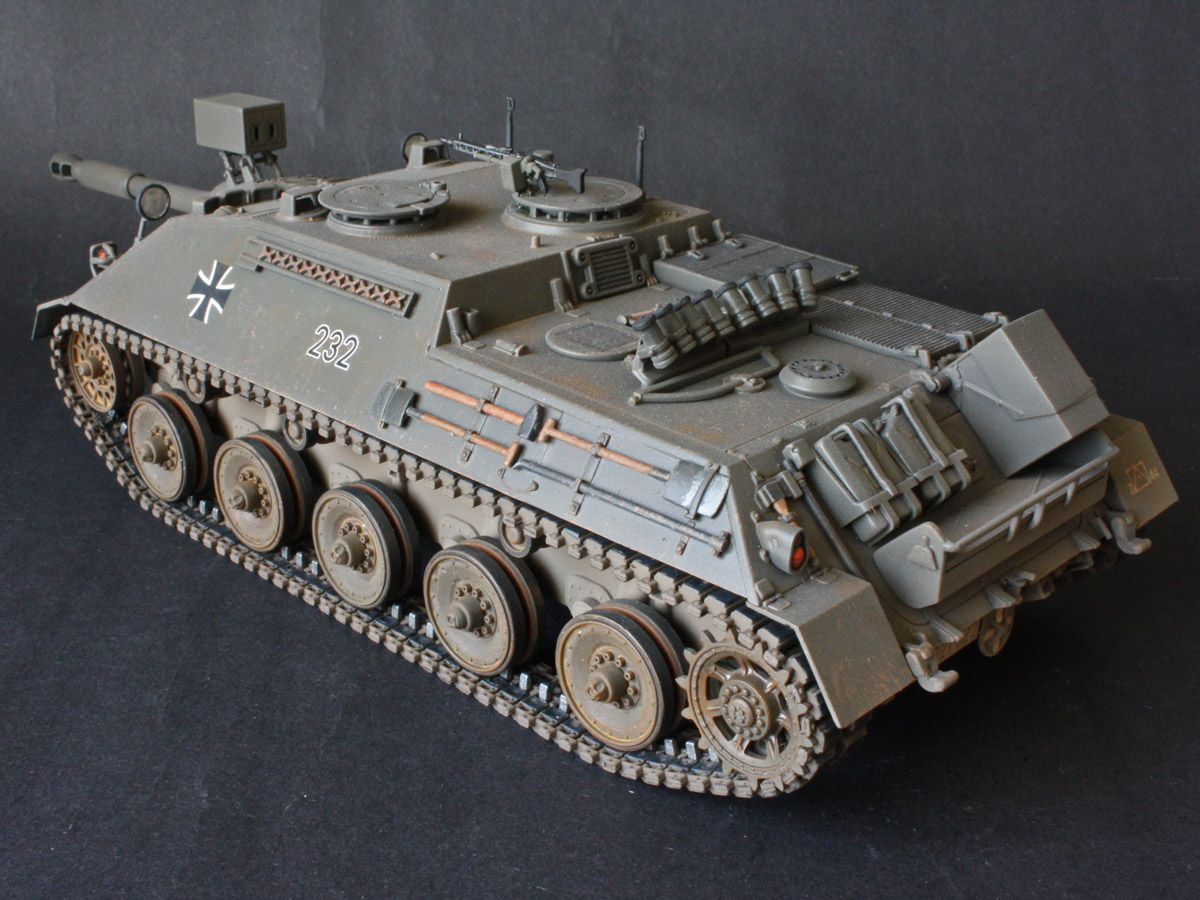
@Kelly, I didn't realise it was Arbor Day already! Your tree is looking good - can't wait to see how you flesh it out.
@Will, that cramped little Hetzer is a fantastic build!


@Kelly, I didn't realise it was Arbor Day already!
 Your tree is looking good - can't wait to see how you flesh it out.
@Will, that cramped little Hetzer is a fantastic build!

bison126

Joined: June 10, 2004
KitMaker: 5,329 posts
Armorama: 5,204 posts

Posted: Sunday, May 31, 2020 - 04:57 AM UTC
Nice and clean build Tom. Congratulations for crossing the finish line.
Olivier
Olivier
nsjohn

Joined: July 26, 2018
KitMaker: 279 posts
Armorama: 265 posts

Posted: Sunday, May 31, 2020 - 06:28 AM UTC
Nicely done Tom. I like the restrained weathering.

Panzer_Modeler

Joined: May 19, 2020
KitMaker: 419 posts
Armorama: 217 posts

Posted: Sunday, May 31, 2020 - 06:43 AM UTC
I'm new to campaigns how do I put my photos in the Gallery? 


Panzer_Modeler

Joined: May 19, 2020
KitMaker: 419 posts
Armorama: 217 posts

Posted: Sunday, May 31, 2020 - 06:57 AM UTC
Here is the stowage for the M10 painted!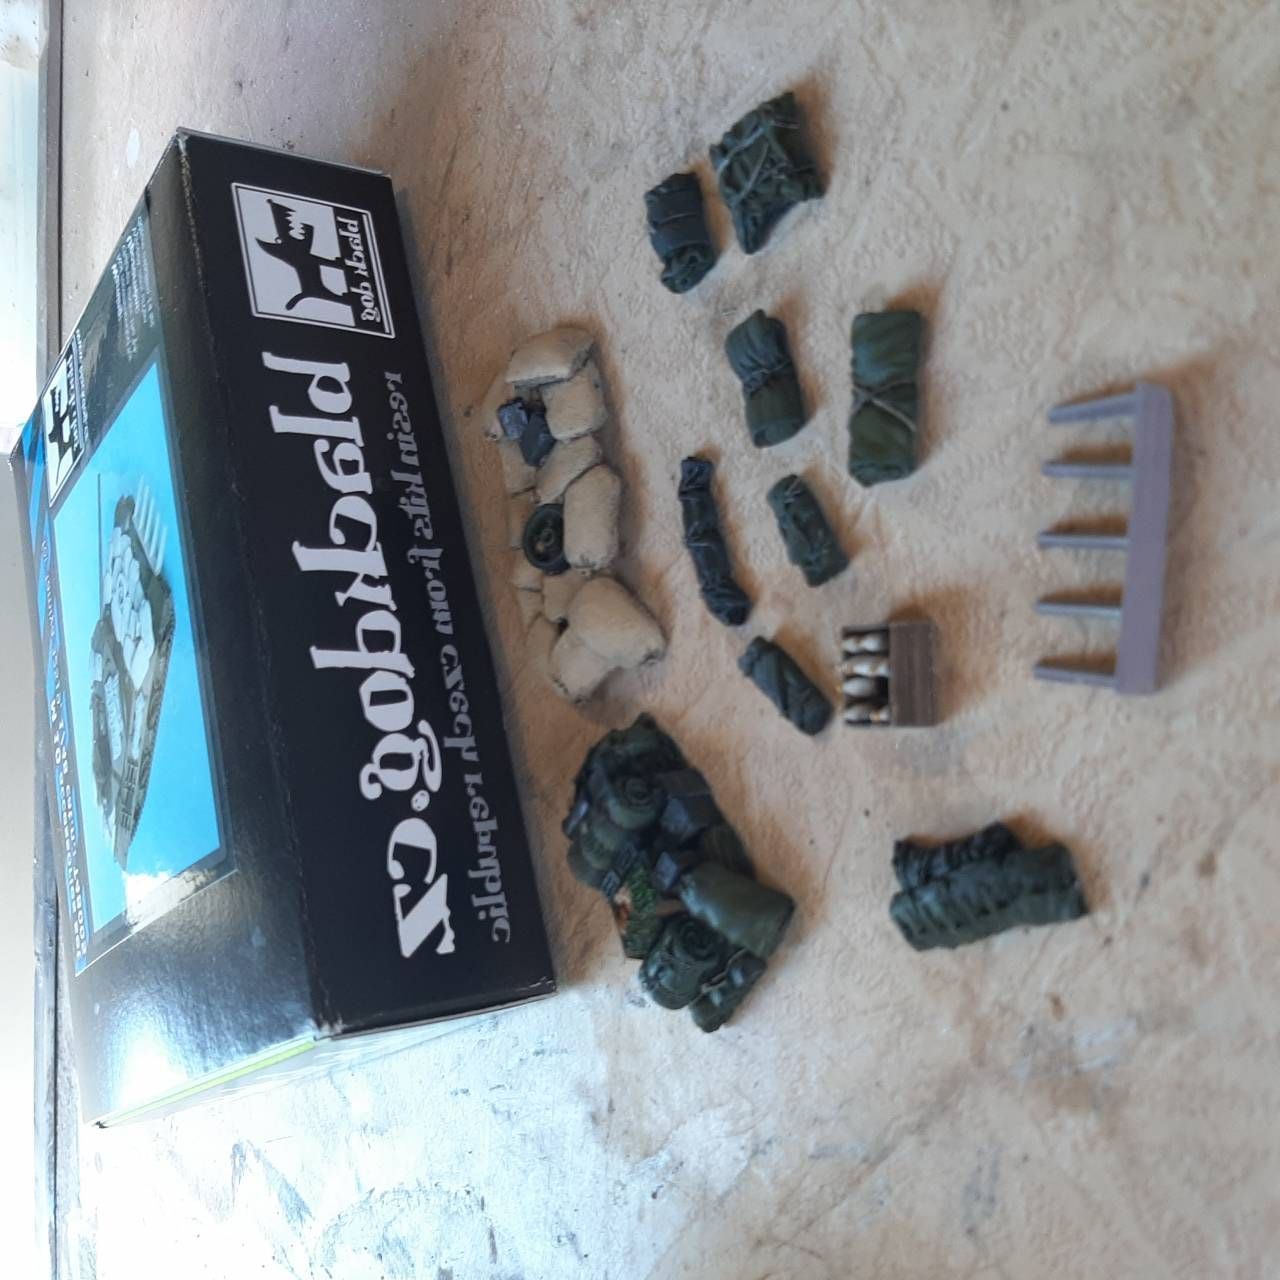


Panzer_Modeler

Joined: May 19, 2020
KitMaker: 419 posts
Armorama: 217 posts

Posted: Sunday, May 31, 2020 - 06:58 AM UTC
Your TD looks great tom!
roman

Joined: July 20, 2004
KitMaker: 99 posts
Armorama: 95 posts

Posted: Wednesday, June 03, 2020 - 07:44 AM UTC
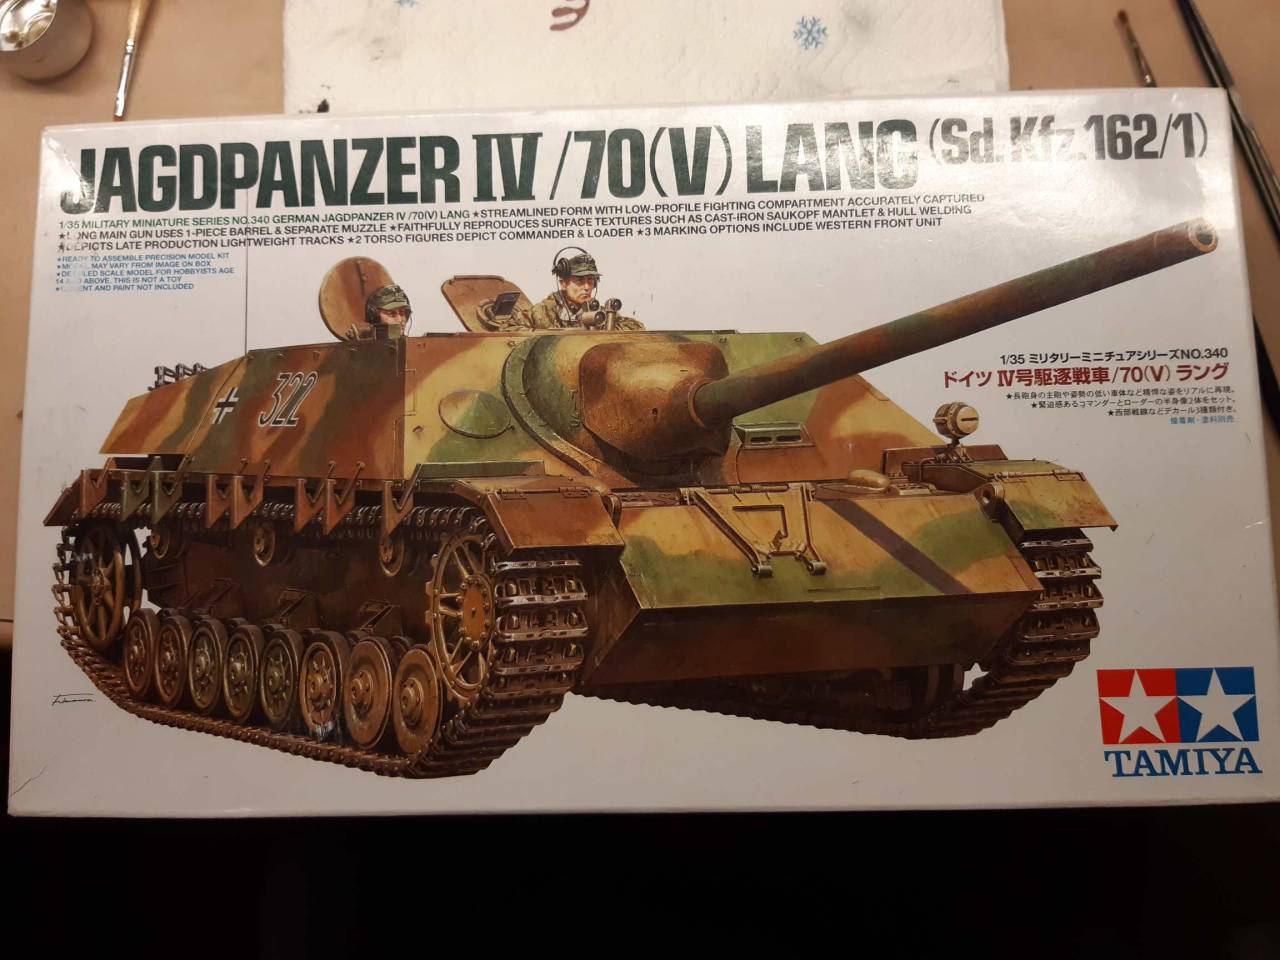
my contribution

nsjohn

Joined: July 26, 2018
KitMaker: 279 posts
Armorama: 265 posts

Posted: Wednesday, June 03, 2020 - 08:12 AM UTC
Good choice Roman. I built one just over a year ago, and the fit of the kit is very good.
Posted: Wednesday, June 03, 2020 - 09:29 AM UTC
Great Job, Tom!
petbat

Joined: August 06, 2005
KitMaker: 3,353 posts
Armorama: 3,121 posts

Posted: Wednesday, June 03, 2020 - 10:38 AM UTC
The Hetzer looks brilliant Bill. The poses of the crew really give the impression of claustrophobia!
Fantastic work on the Panzerjager Tom. Love the way it turned out.
Have you thought of using disks punched out of mylar packet wrappers for mirrors? The type of wrapper with the shiny inside that sweets and crisps come in (at least here in Oz). I find they really look like mirrors when applied with some PVA or clear lacquer as a glue.
Posted: Wednesday, June 03, 2020 - 10:53 AM UTC
Thanks guys!
Pete, I hadn't thought of that - I know the stuff you mean and will have to look for some around the house.
Pete, I hadn't thought of that - I know the stuff you mean and will have to look for some around the house.

Panzer_Modeler

Joined: May 19, 2020
KitMaker: 419 posts
Armorama: 217 posts

Posted: Wednesday, June 03, 2020 - 12:35 PM UTC
aaaaahhhhhhhhh crap!!!!! Im almost done with my Tamiya 1/48 M10 and I forgot to take any in progress photos. Any way I will try to get the finished pics up tomorrow morning and cant wait to hear your feedback! ( ohhyeah, everyone's builds look great!)
petbat

Joined: August 06, 2005
KitMaker: 3,353 posts
Armorama: 3,121 posts

Posted: Wednesday, June 03, 2020 - 06:13 PM UTC
It works well Tom. Here is an example where you can actually see the reflection!


Panzer_Modeler

Joined: May 19, 2020
KitMaker: 419 posts
Armorama: 217 posts

Posted: Thursday, June 04, 2020 - 03:16 AM UTC
Here we go, finally done! I would appreciate any feedback.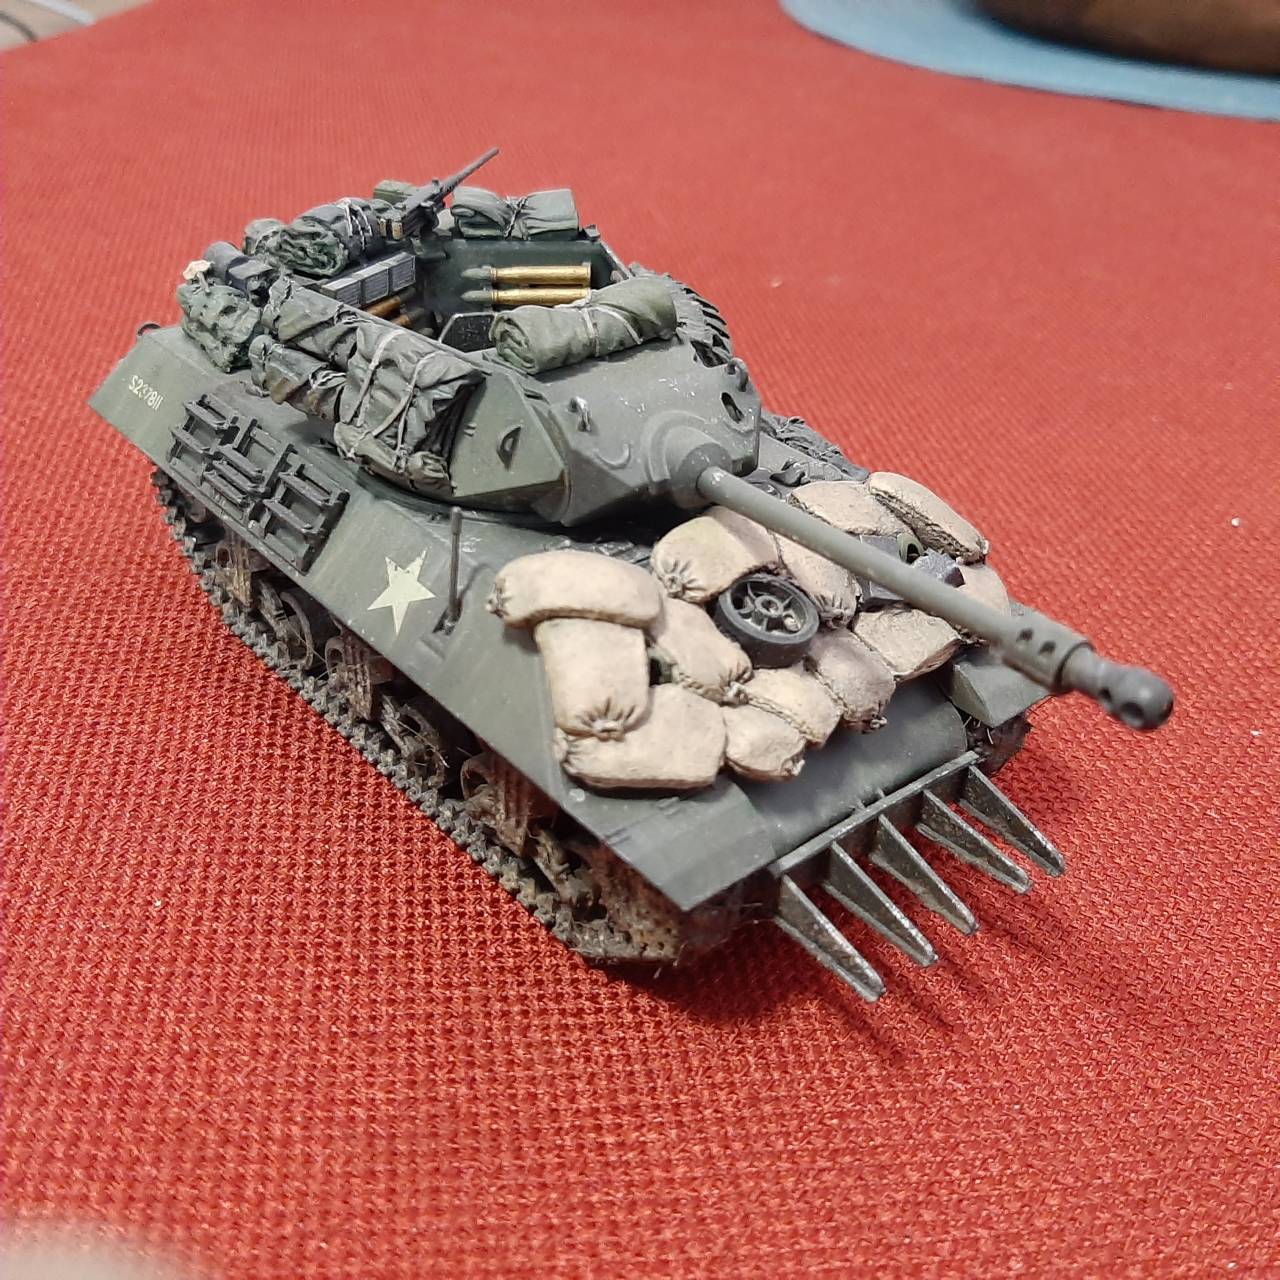


Panzer_Modeler

Joined: May 19, 2020
KitMaker: 419 posts
Armorama: 217 posts

Posted: Thursday, June 04, 2020 - 03:21 AM UTC
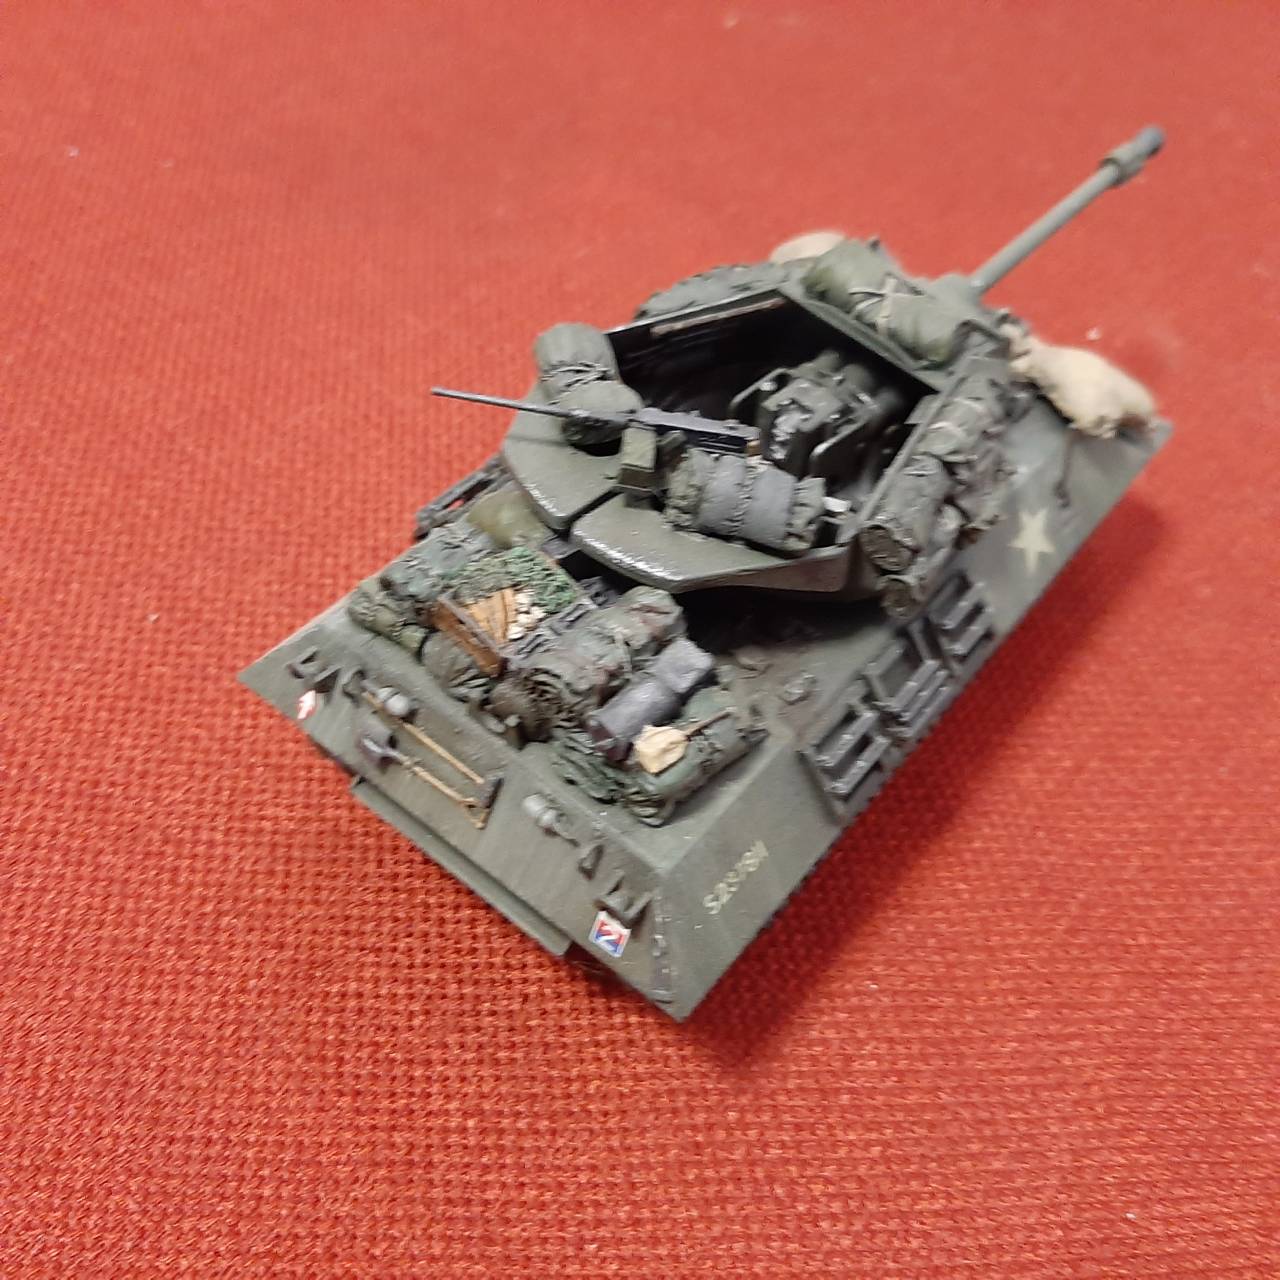
phil2015

Joined: July 27, 2015
KitMaker: 502 posts
Armorama: 325 posts

Posted: Thursday, June 04, 2020 - 06:34 AM UTC
It looks really great! I need to do an open-topped vehicle one of these days....

Panzer_Modeler

Joined: May 19, 2020
KitMaker: 419 posts
Armorama: 217 posts

Posted: Thursday, June 04, 2020 - 06:55 AM UTC
Thanks! Its nice to build something different!
Klaus-Adler

Joined: June 08, 2015
KitMaker: 1,505 posts
Armorama: 840 posts

Posted: Thursday, June 04, 2020 - 08:28 AM UTC
Ezra, I'm loving all the stowage, it really gives it that "lived in" look, well done mate.
petbat

Joined: August 06, 2005
KitMaker: 3,353 posts
Armorama: 3,121 posts

Posted: Thursday, June 04, 2020 - 09:10 AM UTC
Excellent Ezra. It looks fantastic.
Seeing as you asked for feedback, I will point out a couple of things.
You have fitted the fire extinguishers on the rear plate upside down. The spigot ends of the British FE should point to each other on the Achilles:

The spigot fits into a clip at one end of the bracket, and a strap goes around the body, so it really can only go on one way. Not to worry though, even the official WW2 documents for stowage show one wrong :
:

Also, it looks like you left off the First Aid box that is on the very rear section of engine deck, as per the stowage image. It was on all Achilles and is in the Tamiya kit:

Still a very fine build all in all. Another one to be proud of.
Seeing as you asked for feedback, I will point out a couple of things.
You have fitted the fire extinguishers on the rear plate upside down. The spigot ends of the British FE should point to each other on the Achilles:

The spigot fits into a clip at one end of the bracket, and a strap goes around the body, so it really can only go on one way. Not to worry though, even the official WW2 documents for stowage show one wrong
 :
:
Also, it looks like you left off the First Aid box that is on the very rear section of engine deck, as per the stowage image. It was on all Achilles and is in the Tamiya kit:

Still a very fine build all in all. Another one to be proud of.

Panzer_Modeler

Joined: May 19, 2020
KitMaker: 419 posts
Armorama: 217 posts

Posted: Thursday, June 04, 2020 - 10:24 AM UTC
Thanks, I appreciate all feedback! I will probably try to fix the fire extinguishers that now that you point it out! ( and I had to leave all the parts of step 9 (that had the first aid kit.) off or else the stowage set wouldn't fit. )
 |


