Official Tank Destroyers Campaign
Queensland, Australia
Joined: August 06, 2005
KitMaker: 3,353 posts
Armorama: 3,121 posts
Posted: Wednesday, June 17, 2020 - 03:24 PM UTC
If I recall correctly, Academy rounds are all the same sort and not shaped right. The turret should hold HE rounds on one side and AP on the other...


On the Bench:
Dust, styrene scraps, paint splotches and tears.
Virginia, United States
Joined: July 05, 2004
KitMaker: 769 posts
Armorama: 461 posts
Posted: Thursday, June 18, 2020 - 02:14 AM UTC
Those are perfect. Thanks Peter!

Time is a great teacher. Unfortunately, it kills all it's students.
Illinois, United States
Joined: July 27, 2015
KitMaker: 502 posts
Armorama: 325 posts
Posted: Saturday, June 20, 2020 - 01:59 PM UTC
Back to it on the Stug. Here's the crew:

I'll have to double check that the bottom half of the standing guy won't be visible. He's standing in the open hatch on the right. The commander will be glued together to the top of the cupola which will then be dropped in. He kinda looks like the guy in my inspiration picture. I decided not to try to scratch a hood for the guy in the open hatch.

I just attached the left side track tonight and decided to take pics before calling it a night. The right side track will go on tomorrow. Then it's time to put the winter white wash on most of the vehicle.
Didn't Peter do an awesome job on the Lend Lease banner
==>
==>
==>
Western Australia, Australia
Joined: June 24, 2020
KitMaker: 1 posts
Armorama: 1 posts
Posted: Thursday, June 25, 2020 - 09:04 AM UTC
United Kingdom
Joined: December 26, 2009
KitMaker: 57 posts
Armorama: 56 posts
Posted: Thursday, June 25, 2020 - 10:03 AM UTC
Some of those are mislabelled.
5 = Armour Piercing Capped, Ballistic Capped (APCBC)
6 = Armour Piercing (AP)
7 = Armour Piercing Capped (APC)
The rest are correct.
Scotland, United Kingdom
Joined: July 26, 2018
KitMaker: 279 posts
Armorama: 265 posts
Posted: Wednesday, July 01, 2020 - 12:45 PM UTC
England - South West, United Kingdom
Joined: June 29, 2019
KitMaker: 604 posts
Armorama: 506 posts
Posted: Wednesday, July 01, 2020 - 05:39 PM UTC
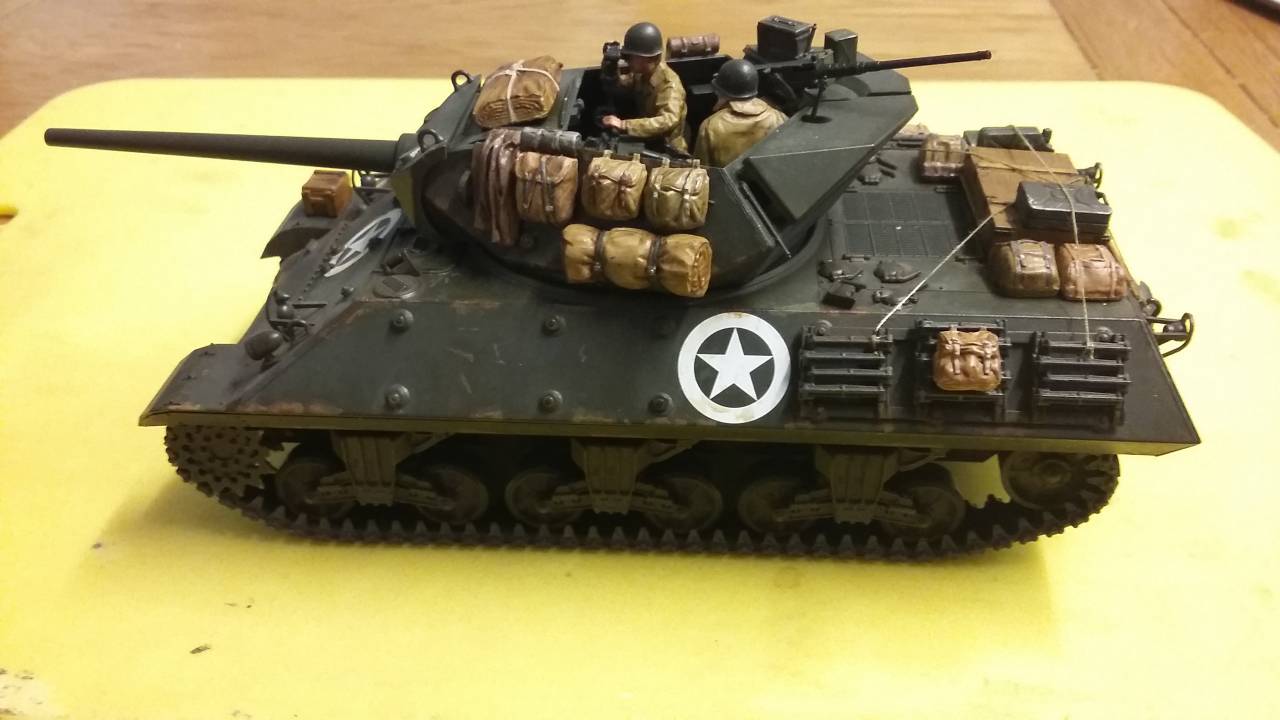
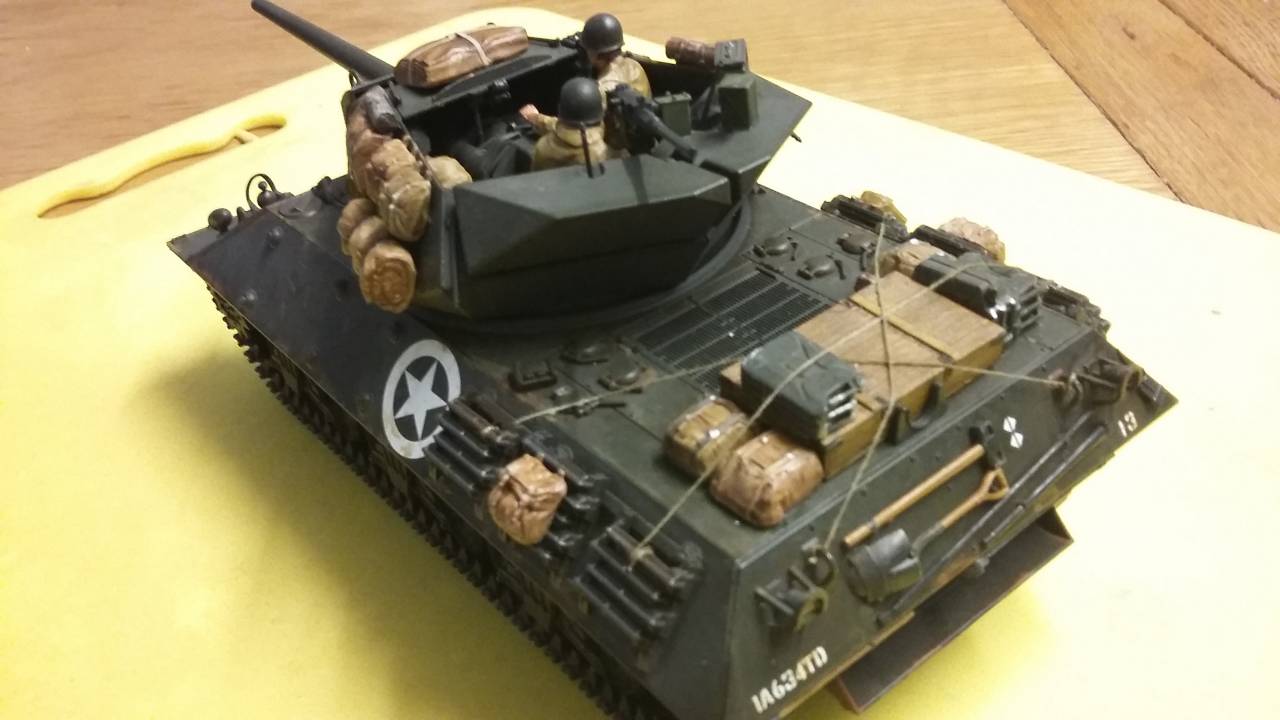
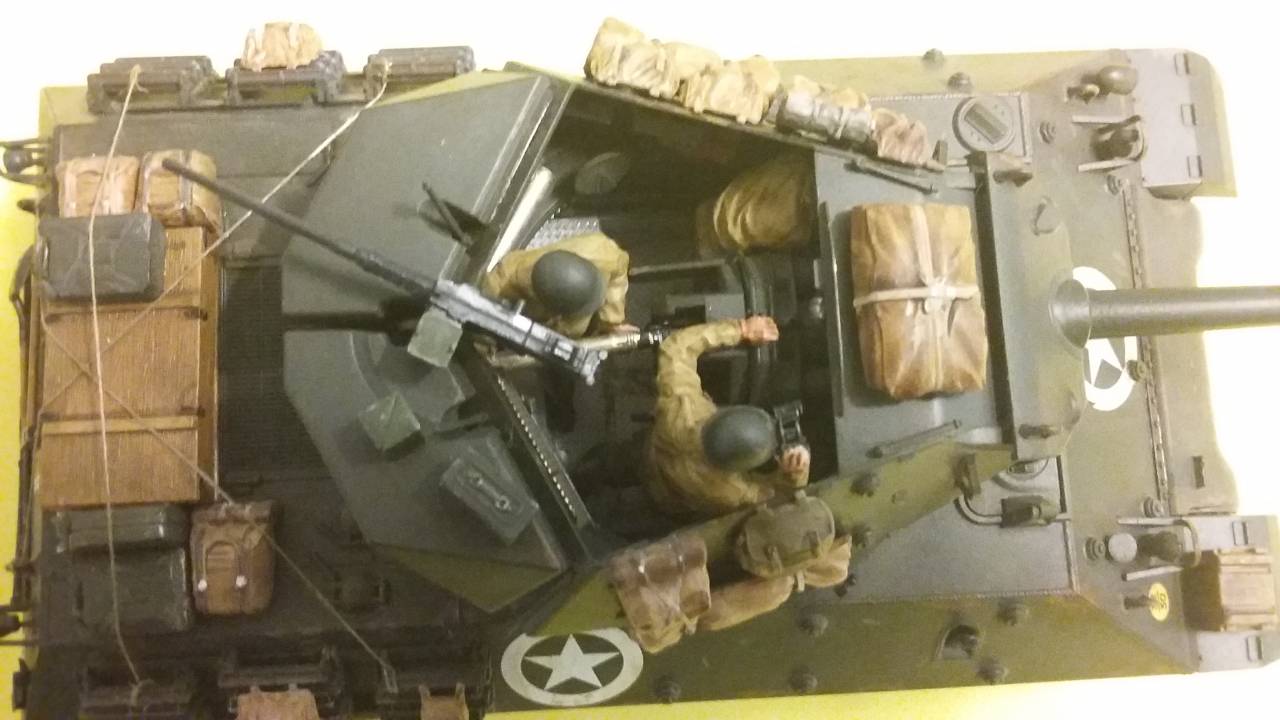
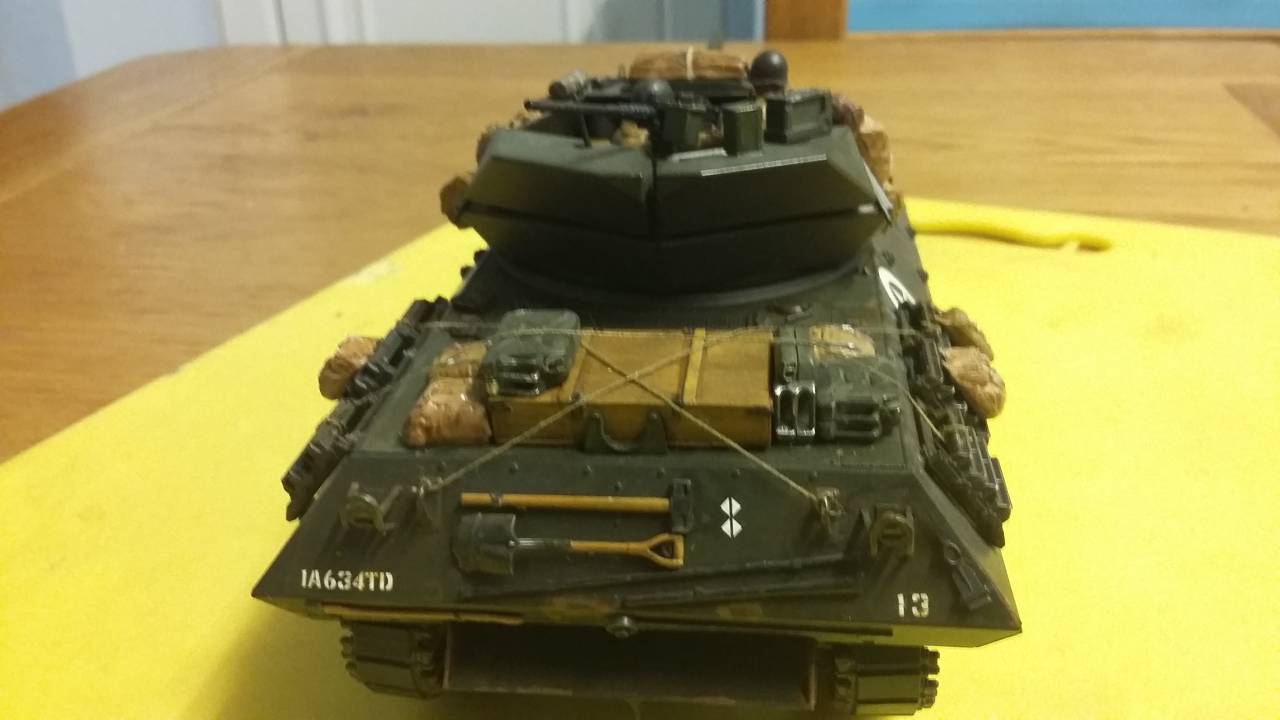
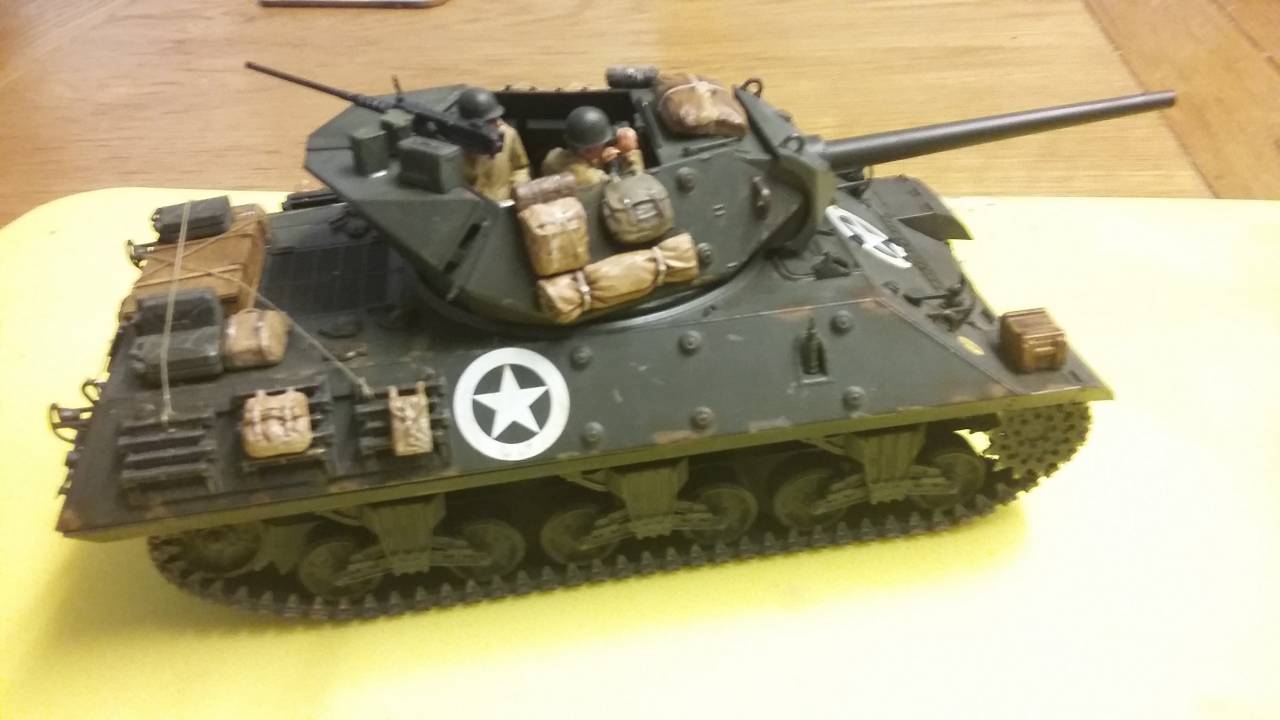
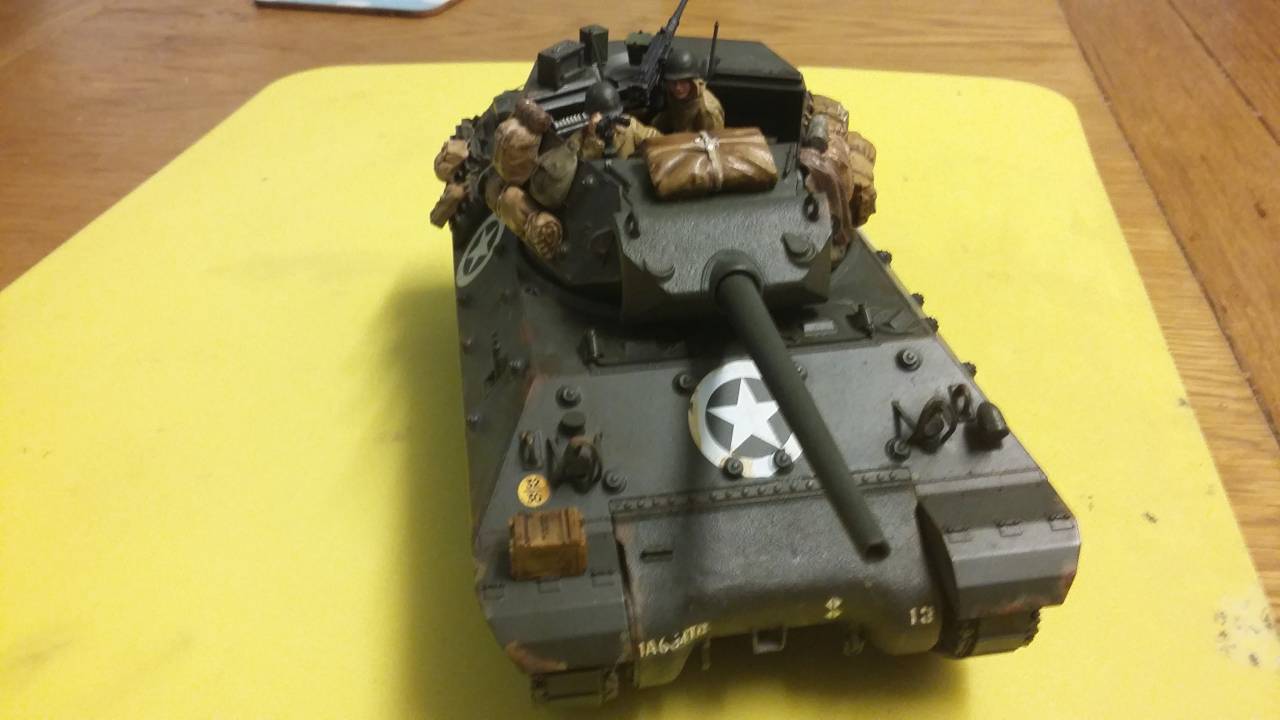
Well done on getting it finished Norman, and you have a far more than mediocre job !! it looks great.
I like how you managed to get the front star decal on so it sits under the hull bolts.
Its surprising just how much internal turret detail you lose with only 2 crew fitted.
Correze, France
Joined: June 10, 2004
KitMaker: 5,329 posts
Armorama: 5,204 posts
Posted: Wednesday, July 01, 2020 - 09:48 PM UTC
Quoted Text
Greetings everyone. I am joining this campaign with the Tiger Model kit of the French VBL Milan. I have never built a Tiger Model kit before so it should be an interesting experience. Looking at the sprues they all seem well molded.
TM can be a bit surprising. I've just completed their AMX 10RCR which had serious gap issues between hull parts on one hand and turret parts on the other hand. The VBL is reputedly a good kit. For your information, the firing post is mounted on top of the VBL only when ready to fire. It is not allowed to drive with the post in the firing position. If I remember well there can be an issue with the gunner seat rest. Check your reference pictures for its position. The interior is quite comprehensive.
Mine is still in the stash and I need to build it soon.
Olivier
Visit my site Click the banner
"La reine des batailles, j'ai nommé l'infanterie"
Napoléon
Scotland, United Kingdom
Joined: July 26, 2018
KitMaker: 279 posts
Armorama: 265 posts
Posted: Wednesday, July 01, 2020 - 11:25 PM UTC
Thanks John. The front decal actually is shaped to go round the bolts, but the real difficulty was getting the edges to sit down flush. Micro Set is my friend in that respect.
There are in fact 3 crewmen, in that the gunner is almost hidden from view on the left side of the gun. He does show up in the overhead photo. I could have saved a bit of time by simply painting his back, but then I would have known I had cheated slightly.
Illinois, United States
Joined: July 27, 2015
KitMaker: 502 posts
Armorama: 325 posts
Posted: Saturday, July 18, 2020 - 05:44 AM UTC
My Stug is so close to being done. I thought it would be done today and I'd be posting pictures, but I've run into a snag on the shurzen. These are dragon white metal shurzen if it makes a difference. Paint won't stick. Pretty much anything I touch causes the primer (Mr Surfacer) to lift. So I've stripped them now and am wondering what to do to get paint to stick to them. Any suggestions?
Didn't Peter do an awesome job on the Lend Lease banner
==>
==>
==>
barkingdigger
 Associate Editor
#013
England - East Anglia, United Kingdom
Joined: June 20, 2008
KitMaker: 3,981 posts
Armorama: 3,403 posts
Posted: Saturday, July 18, 2020 - 06:52 AM UTC
White metal skirts? Wow! You really need a good etching primer, so look in the auto-parts store. Or use them as templates to cut new ones from sheet plastic! (That'd be my choice...)
"Glue, or Glue Not - there is no Dry-Fit" - Yoda (original script from Return of the Jedi...)
Georgia, United States
Joined: July 26, 2013
KitMaker: 2,272 posts
Armorama: 1,860 posts
Posted: Saturday, July 18, 2020 - 07:08 AM UTC
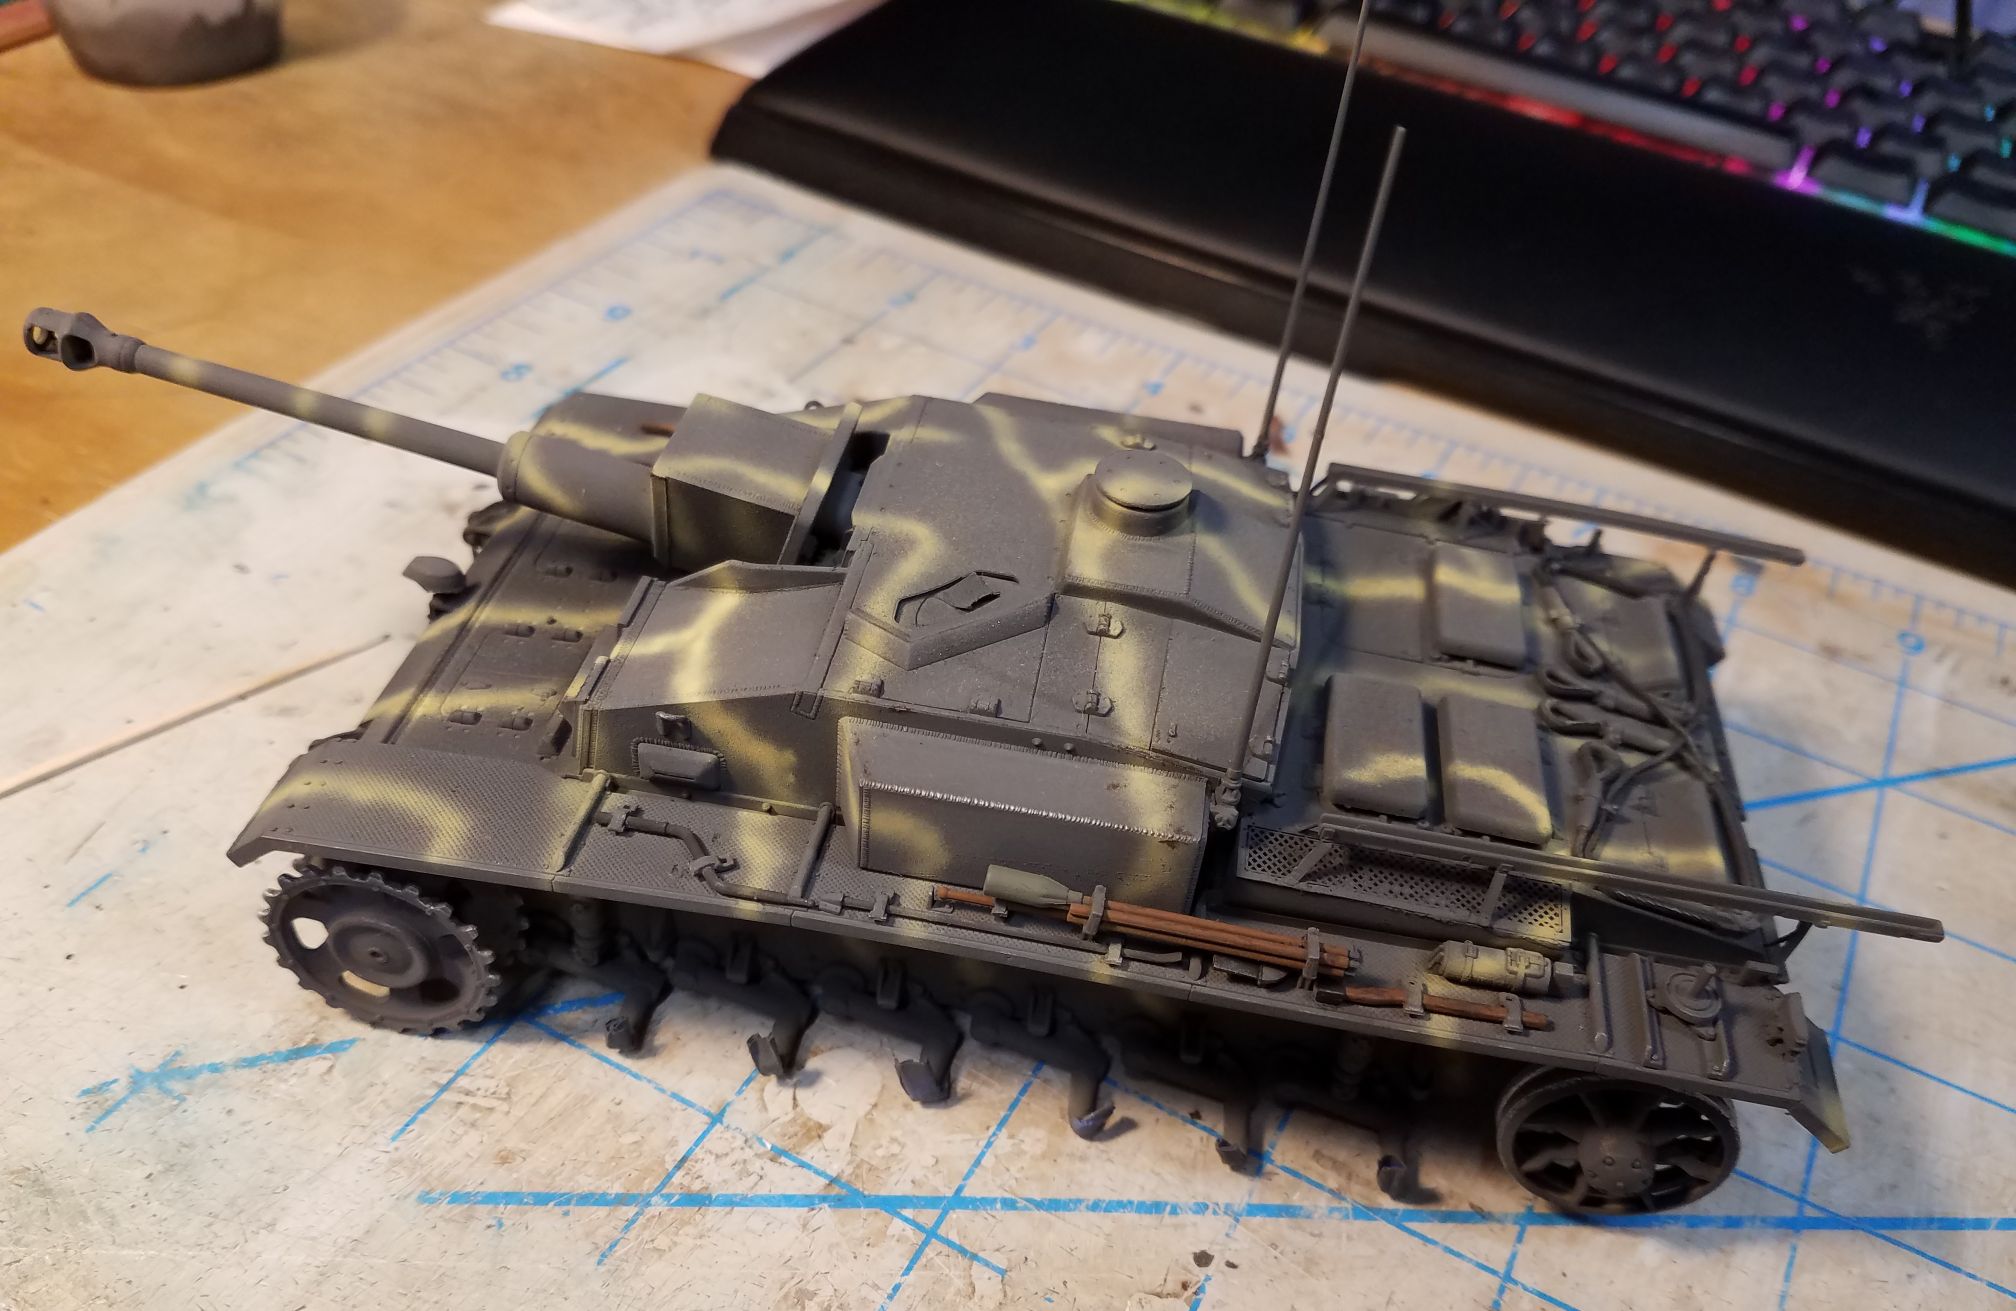
Getting close. Have done some initial weathering and a wash. Going to weather/dirty up behind the suspension and then do the tracks (DS unfortunately). Hit it again with some weathering and final coat it--done.

On the Campaign Trail:
Tank Destroyer 2020

#424
Queensland, Australia
Joined: April 23, 2015
KitMaker: 4,648 posts
Armorama: 2,248 posts
Posted: Saturday, July 18, 2020 - 08:15 PM UTC
That looks great, Shell! Interesting Camo!
Norman, great looking M10!
Phil, Your StuG looks excellent! Love the crew!
"Artillery adds dignity, to what would otherwise be an ugly brawl."
Frederick The Great
Scotland, United Kingdom
Joined: July 26, 2018
KitMaker: 279 posts
Armorama: 265 posts
Posted: Sunday, July 19, 2020 - 12:05 AM UTC
Maryland, United States
Joined: September 30, 2010
KitMaker: 430 posts
Armorama: 291 posts
Posted: Friday, July 24, 2020 - 08:19 PM UTC
COMMENT CAFE:
Gary, thanks. Yes, the vinyl tracks are crap and will be replaced.
Ezra, thanks a million.
Kelly, thanks for the paint info. Your scratchbuilt tree looks terrific.
Tom, your KaJaPa turned out great. That's a mean looking Tank Destroyer. Very cool. Yes, the Hetzer was a sardine can. Ha!
Ezra, stowage looks good. Have fun with the M10 build.
Roman, that's a classic Tamiya kit. Love the LANG.
Peter, thanks. Yes, tight quarters for sure.
Ezra, fantastic job on the M10. Stowage and weathering are uber realistic.
Peter, good info and photos.
Mike, cool kit for the campaign. Good luck.
Mike, making good progress.
Mike, I like the camo paint scheme. Very cool.
Mike, awesome finish on your TD. Realistic weathering and stowage.
Sinsling, nice work on the Jagpanther.
Jesse, nice corrections to your kit. Barrel looks fantastic.
Peter, cool reference info and photos.
Phil, great paintwork on your Stug and crewmen.
Tortise, very cool and unusual wheeled TD. Good luck.
Norman, great finish to your M10. Figures and stowage add realism.
Shell Bush, cool paintwork on your Stug. Love the camouflage scheme.
It's good to be back after a lengthy hiatus. Great work everyone.
Bill
Tank Destroyer campaign......Bandai 1/48 Hetzer
Shep Paine Tribute campaign......Brit. Paras vs Ostwind
Maryland, United States
Joined: September 30, 2010
KitMaker: 430 posts
Armorama: 291 posts
Posted: Friday, July 24, 2020 - 08:30 PM UTC
Update on my Bandai 1/48 Hetzer.

Replaced the crappy vinyl tracks with hard plastic ones from a Tamiya Hetzer kit. I also had to swap out the drive sprockets for the correction.

I am happy with the updated tracks. Now it's back to work on detailing the upper hull.
Thanks for viewing. Good luck to all on their projects.
Bill
Tank Destroyer campaign......Bandai 1/48 Hetzer
Shep Paine Tribute campaign......Brit. Paras vs Ostwind
Scotland, United Kingdom
Joined: July 26, 2018
KitMaker: 279 posts
Armorama: 265 posts
Posted: Friday, July 24, 2020 - 09:39 PM UTC
Thanks Bill. The figures are the Tamiya ones that come with the kit, and the stowage is a mix of Tamiya, Miniart ICM and some Academy thrown in.
Great progress on the Hetzer. Believe it or not I built that kit in the mid 1970's. Needless to say it did not look anything like yours.
barkingdigger
 Associate Editor
#013
England - East Anglia, United Kingdom
Joined: June 20, 2008
KitMaker: 3,981 posts
Armorama: 3,403 posts
Posted: Saturday, July 25, 2020 - 02:27 AM UTC
Wow Bill, that Hetzer is looking great!
"Glue, or Glue Not - there is no Dry-Fit" - Yoda (original script from Return of the Jedi...)
Klaus-Adler
 Campaigns Administrator
Scotland, United Kingdom
Joined: June 08, 2015
KitMaker: 1,505 posts
Armorama: 840 posts
Posted: Saturday, July 25, 2020 - 03:48 AM UTC
yep, i have to agree with all the posts above, that hetzer looks so sweet bill.
Illinois, United States
Joined: July 27, 2015
KitMaker: 502 posts
Armorama: 325 posts
Posted: Saturday, July 25, 2020 - 02:45 PM UTC
Quoted Text
White metal skirts? Wow! You really need a good etching primer, so look in the auto-parts store. Or use them as templates to cut new ones from sheet plastic! (That'd be my choice...)
I had some self-etching primer that I picked up from the automotive store some time ago to do a resin model. It's nasty stuff. I'm glad I didn't spray it on a model - leaves a thick residue everywhere. But it sticks. On the skirts, I sanded the primer down and the paint sticks to it really well. Thanks for the suggestion!
Didn't Peter do an awesome job on the Lend Lease banner
==>
==>
==>
Illinois, United States
Joined: July 27, 2015
KitMaker: 502 posts
Armorama: 325 posts
Posted: Thursday, July 30, 2020 - 01:51 PM UTC
Almost there. I need to do a little more weathering and add a couple of antennae.


I've been reading up on taking pictures of models. I just shot these on my work table but I think I know how to set them up for good pics. Will experiment on that before posting the final pic.
Didn't Peter do an awesome job on the Lend Lease banner
==>
==>
==>
Texas, United States
Joined: June 04, 2017
KitMaker: 503 posts
Armorama: 477 posts
Posted: Friday, July 31, 2020 - 11:00 AM UTC


two pics of the build as it stands. I thought 8/1 was the end date for this campaign. So I might work on it a bit more before this ends.
Scotland, United Kingdom
Joined: July 26, 2018
KitMaker: 279 posts
Armorama: 265 posts
Posted: Friday, July 31, 2020 - 11:31 AM UTC
Jagdpanzer looks great.As an aside both this kit and the M10 date from the mid 2010's and show just how far Tamiya have come with their new (as opposed to their re-issues) in the last 10 years or so.
Klaus-Adler
 Campaigns Administrator
Scotland, United Kingdom
Joined: June 08, 2015
KitMaker: 1,505 posts
Armorama: 840 posts
Posted: Friday, July 31, 2020 - 12:12 PM UTC
I'm loving that jagdpanzer, I can't wait to see that one finished.
Florida, United States
Joined: December 31, 2009
KitMaker: 399 posts
Armorama: 157 posts
Posted: Friday, July 31, 2020 - 03:50 PM UTC
Here is my entry, Academy 1/35 M10 GMC Tank Destroyer


Too little time, too many models to build..........


