Campaigns: Active Campaigns
Campaigns that are either in planning or underway should be grouped here.
Hosted by Richard S.
Official Tank Destroyers Campaign
Panzer_Modeler
Visit this Community
New Mexico, United States
Joined: May 19, 2020
KitMaker: 419 posts
Armorama: 217 posts
Posted: Thursday, June 04, 2020 - 10:41 AM UTC

Quoted Text

Ezra, I'm loving all the stowage, it really gives it that "lived in" look, well done mate.

Thanks it was a quick fun build, and so was painting the stowage!
petbat
Visit this Community
Queensland, Australia
Joined: August 06, 2005
KitMaker: 3,353 posts
Armorama: 3,121 posts
Posted: Thursday, June 04, 2020 - 03:02 PM UTC

Quoted Text

I will probably try to fix the fire extinguishers that now that you point it out!


Don't destroy what you have done just to swap them out. It is such a little thing, and only someone that has studied the Achilles would know. I built the Academy 1/35th one years back. A lot of scratch building to fix its issues which is why I picked up on the FE on yours.

The quality of your work is very good and you are trying different things which is fantastic to see.
Panzer_Modeler
Visit this Community
New Mexico, United States
Joined: May 19, 2020
KitMaker: 419 posts
Armorama: 217 posts
Posted: Thursday, June 04, 2020 - 04:28 PM UTC
Thanks! It Probably wont be much of a problem, I could most likely cut them of and reglue them with out any paint touch ups.
modelguy2
Visit this Community
Ohio, United States
Joined: March 09, 2002
KitMaker: 818 posts
Armorama: 269 posts
Posted: Friday, June 05, 2020 - 11:34 PM UTC
Jumping in with Tamiya's Achilles. Photos of yesterdays work, this is gonna be fast....


Panzer_Modeler
Visit this Community
New Mexico, United States
Joined: May 19, 2020
KitMaker: 419 posts
Armorama: 217 posts
Posted: Saturday, June 06, 2020 - 02:11 AM UTC
Looking good i just finished the Tamiya 1/48 M10 17pdr. Cant waiit to see what you do with it!
modelguy2
Visit this Community
Ohio, United States
Joined: March 09, 2002
KitMaker: 818 posts
Armorama: 269 posts
Posted: Saturday, June 06, 2020 - 02:57 PM UTC
Thanks Ezra

Today's progress


Panzer_Modeler
Visit this Community
New Mexico, United States
Joined: May 19, 2020
KitMaker: 419 posts
Armorama: 217 posts
Posted: Saturday, June 06, 2020 - 04:17 PM UTC
Cool! Itll be a nice change from all the OD M-10s
modelguy2
Visit this Community
Ohio, United States
Joined: March 09, 2002
KitMaker: 818 posts
Armorama: 269 posts
Posted: Saturday, June 06, 2020 - 04:59 PM UTC
Nice. Hard to believe it's 1/48
modelguy2
Visit this Community
Ohio, United States
Joined: March 09, 2002
KitMaker: 818 posts
Armorama: 269 posts
Posted: Monday, June 08, 2020 - 01:58 AM UTC
More progress


Panzer_Modeler
Visit this Community
New Mexico, United States
Joined: May 19, 2020
KitMaker: 419 posts
Armorama: 217 posts
Posted: Monday, June 08, 2020 - 02:44 AM UTC
Great job! Love the turret inside and camo!
modelguy2
Visit this Community
Ohio, United States
Joined: March 09, 2002
KitMaker: 818 posts
Armorama: 269 posts
Posted: Monday, June 08, 2020 - 08:19 AM UTC
Today's marathon. Next series of photos will be when complete


Petro
Visit this Community
Connecticut, United States
Joined: November 02, 2003
KitMaker: 984 posts
Armorama: 846 posts
Posted: Monday, June 08, 2020 - 12:09 PM UTC
Looking really good Mike.
modelguy2
Visit this Community
Ohio, United States
Joined: March 09, 2002
KitMaker: 818 posts
Armorama: 269 posts
Posted: Monday, June 08, 2020 - 01:14 PM UTC
Finished...


Armorsmith
Visit this Community
Pennsylvania, United States
Joined: April 09, 2015
KitMaker: 1,063 posts
Armorama: 1,000 posts
Posted: Monday, June 08, 2020 - 01:31 PM UTC
Nicely done. Like the camo. Where is the stowage from?
modelguy2
Visit this Community
Ohio, United States
Joined: March 09, 2002
KitMaker: 818 posts
Armorama: 269 posts
Posted: Monday, June 08, 2020 - 02:21 PM UTC

Quoted Text

Nicely done. Like the camo. Where is the stowage from?


Spares box, so...everywhere
Panzer_Modeler
Visit this Community
New Mexico, United States
Joined: May 19, 2020
KitMaker: 419 posts
Armorama: 217 posts
Posted: Tuesday, June 09, 2020 - 03:01 AM UTC
That looks really good mike!
sinsling
Visit this Community
Singapore / 新加坡
Joined: January 16, 2007
KitMaker: 86 posts
Armorama: 85 posts
Posted: Saturday, June 13, 2020 - 04:36 AM UTC
Wow, almost 6 months to the day since I enlisted. Finally getting some work done on Meng's JP.


Seems most everyone else is wrapping things up and I'm just getting started! Time to hustle!

Cheers,
Johanan
Panzer_Modeler
Visit this Community
New Mexico, United States
Joined: May 19, 2020
KitMaker: 419 posts
Armorama: 217 posts
Posted: Saturday, June 13, 2020 - 08:13 AM UTC
Cool! cant wait to see it finished!
oldbean
Visit this Community
Virginia, United States
Joined: July 05, 2004
KitMaker: 769 posts
Armorama: 461 posts
Posted: Wednesday, June 17, 2020 - 02:03 AM UTC
Update on my Academy Achilles:
The turret interior is a mess. It's got lots of huge knockout pin marks and all the stowage boxes are on the wrong side and there are not enough of them.
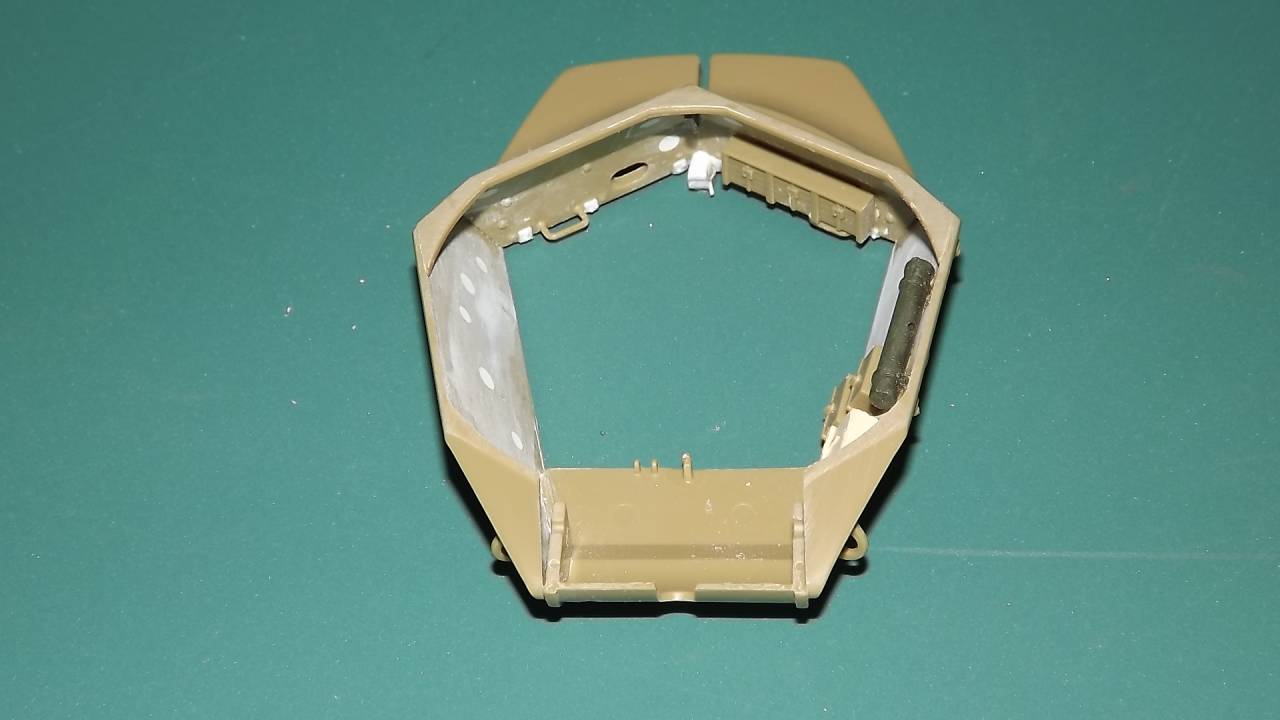
The straps for the counter weights are incorrect and needed to be replaced. I also made the interior lift ring and replaced the MG mount.
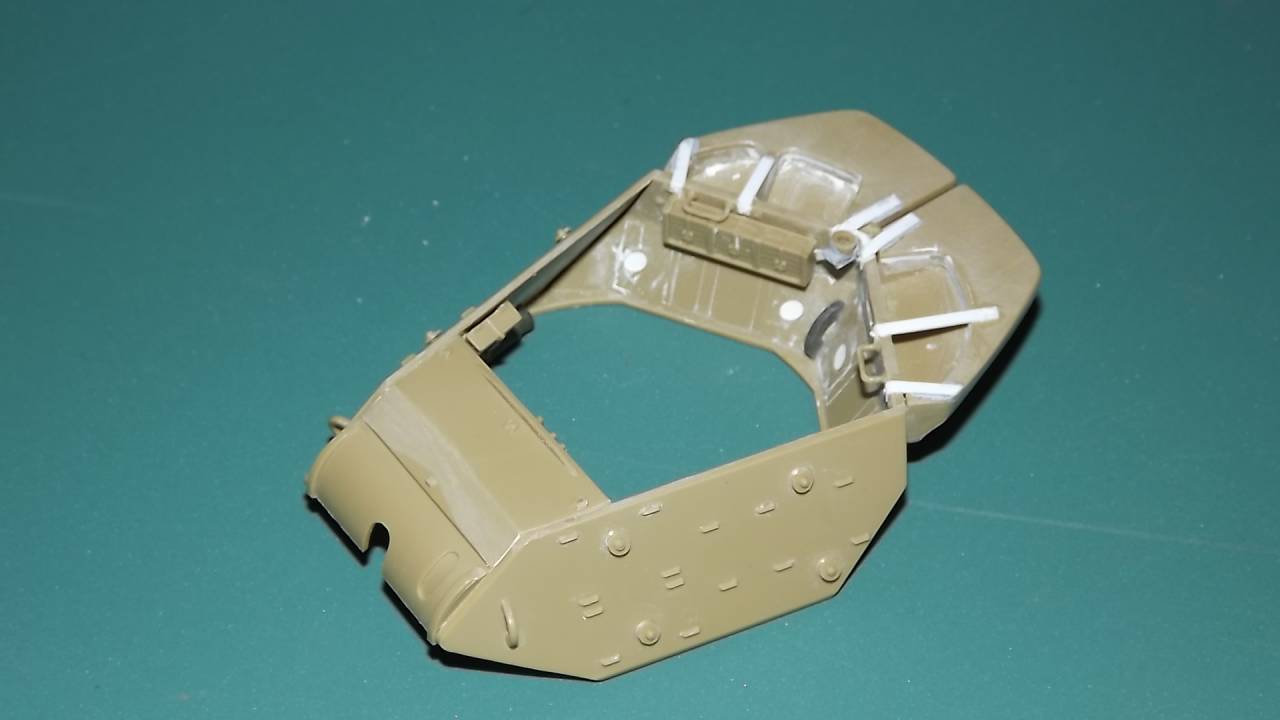
The gun shield provided with the kit is for an American M10 and not the correct one for the 17PDR. I scratch built one from brass wire and plastic card. Not totally accurate but a lot closer than what Academy give you.
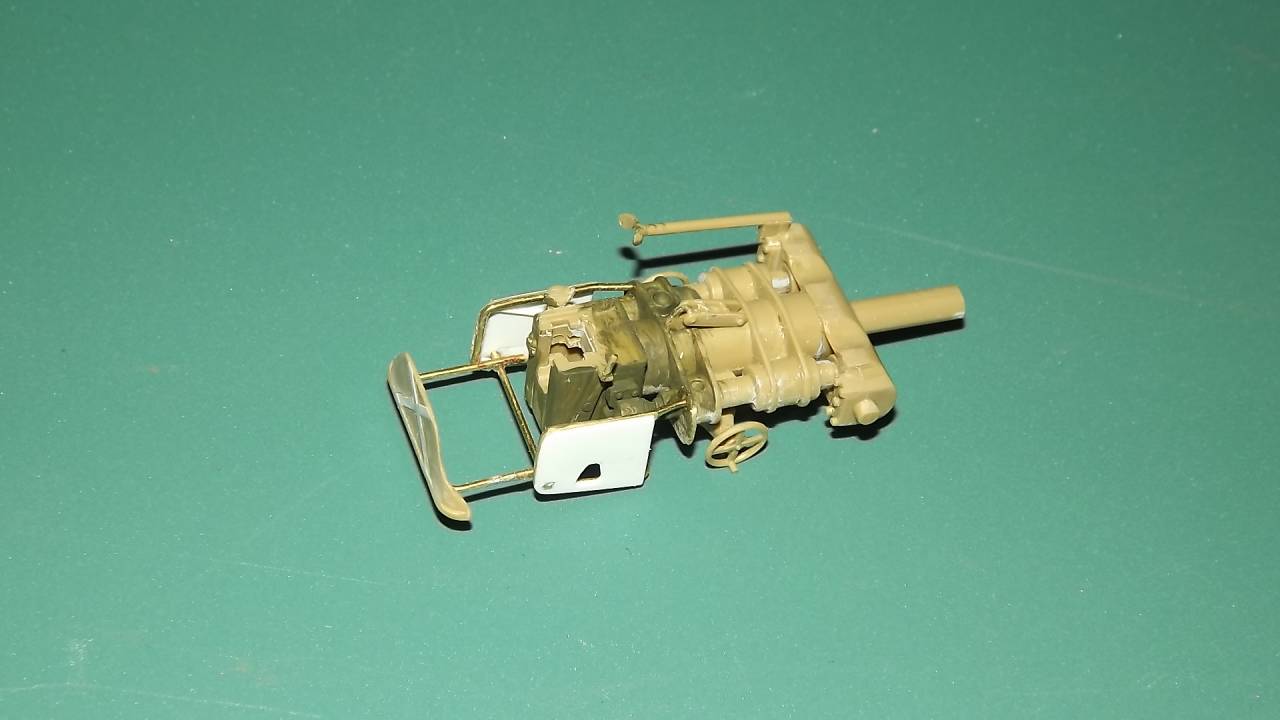
The barrel is totally off. Too small and it doesn't even look like a 17 prd barrel. I took one from an old Dragon Firefly kit and cut it down a little. Still a little undersized, but I think it will work.
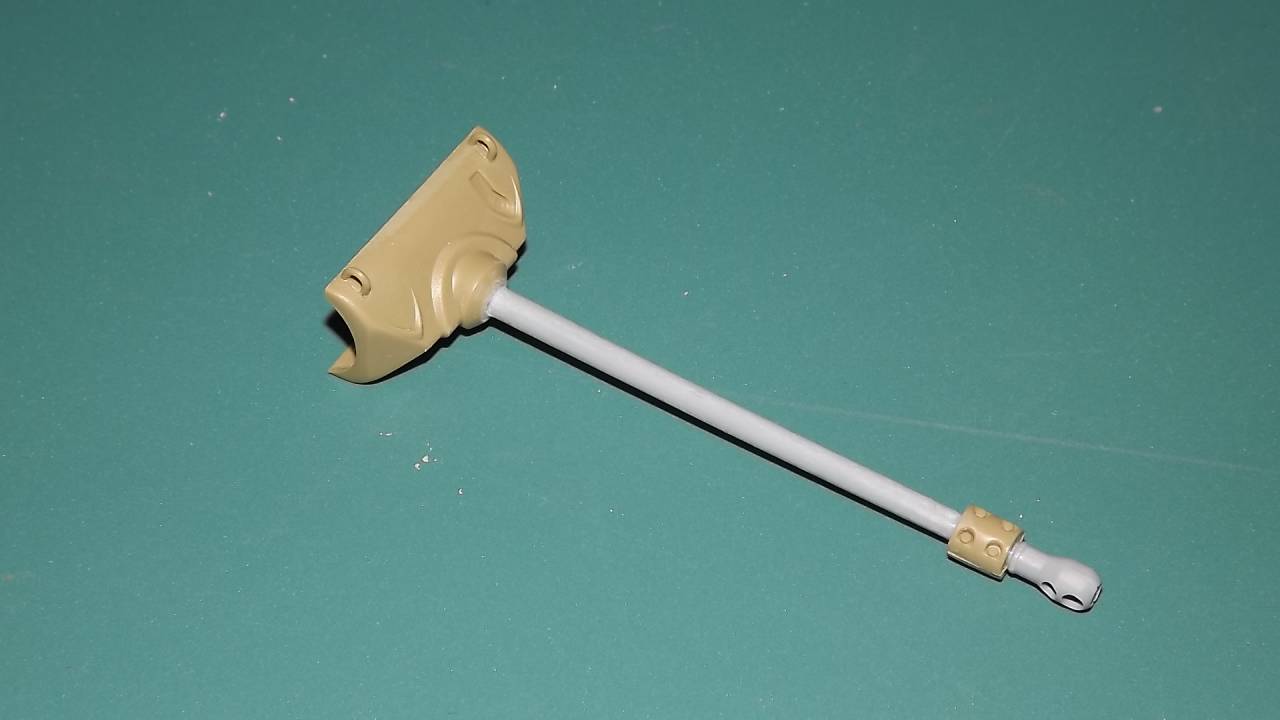
The hatches for the driver and radio operator are good, but the hinges are too small and at the wrong angle. I corrected these and thought "what the heck" and added pins to them so that they work. I added British fire extinguishers to the rear, repositioned the fuel and water covers and sanded off all the raised locating marks on the rear for the tool placement. I also added the first aide box on the left rear side.
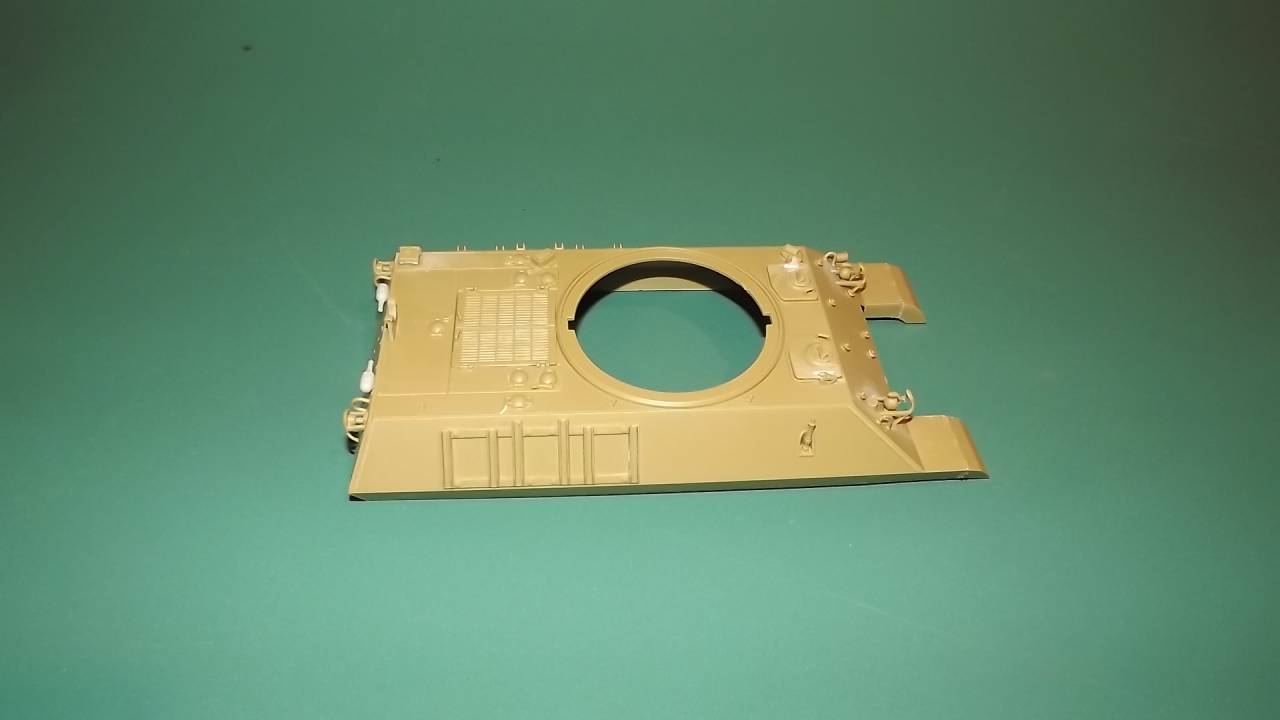
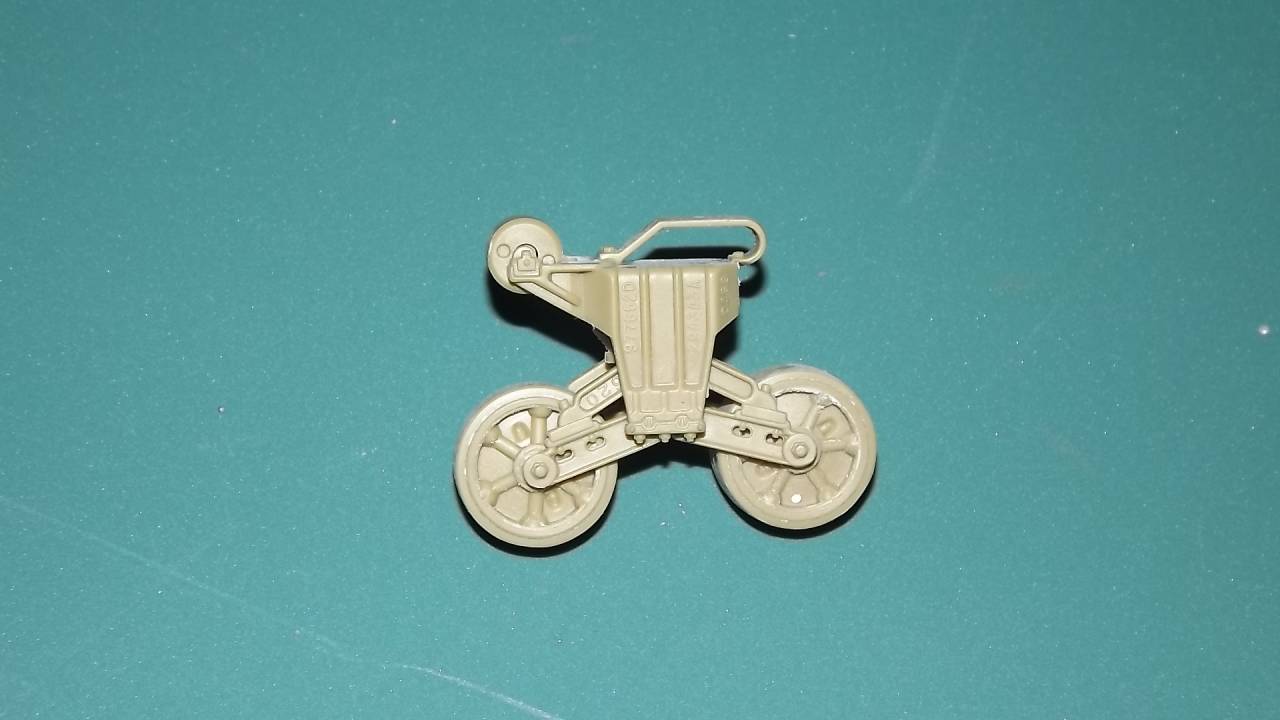
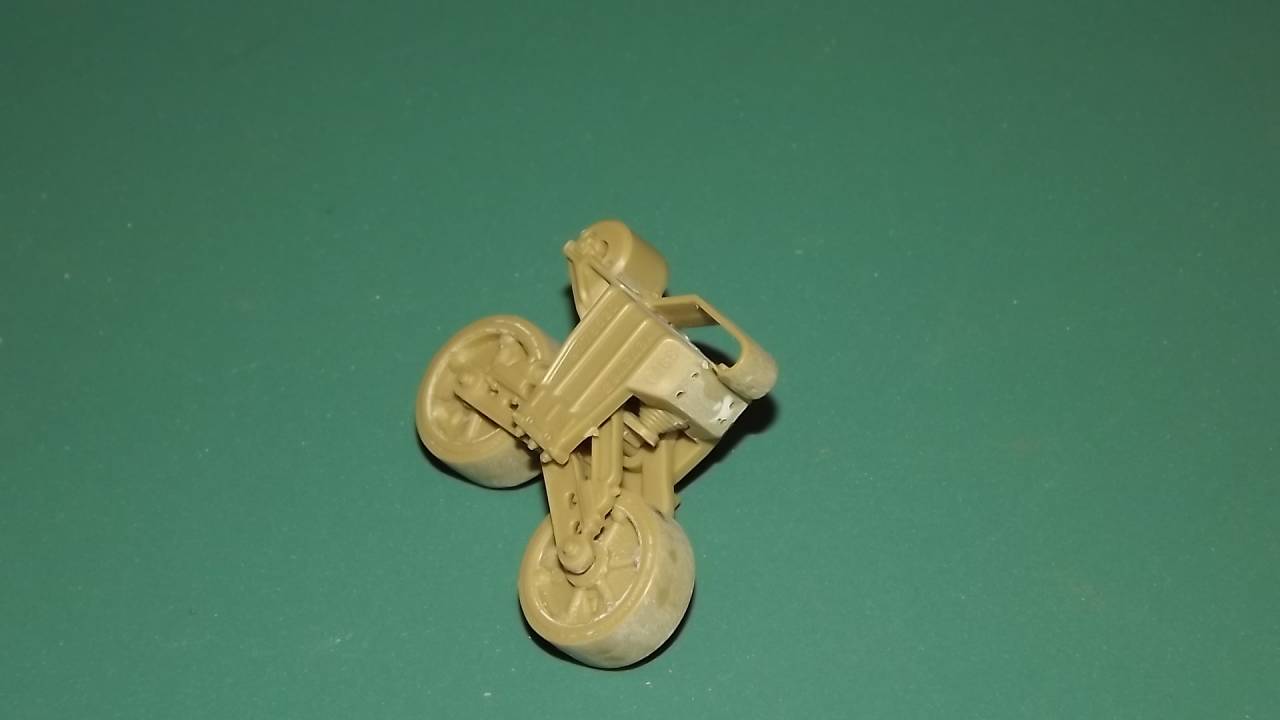
On the boogies, I thinned out the track skids, added bolt heads (taken from the alternate ones provided) and drilled the mounting holes for the return roller assembly on the blank side.
The interior looks pretty good, but the ammunition racks are again for the M10 (stored in fiber tubes) and not for the Achilles. I am working on making those now. The floor sections are a little off, but once the top is on, you won't really be able to see it so I'm not going to bother with it.
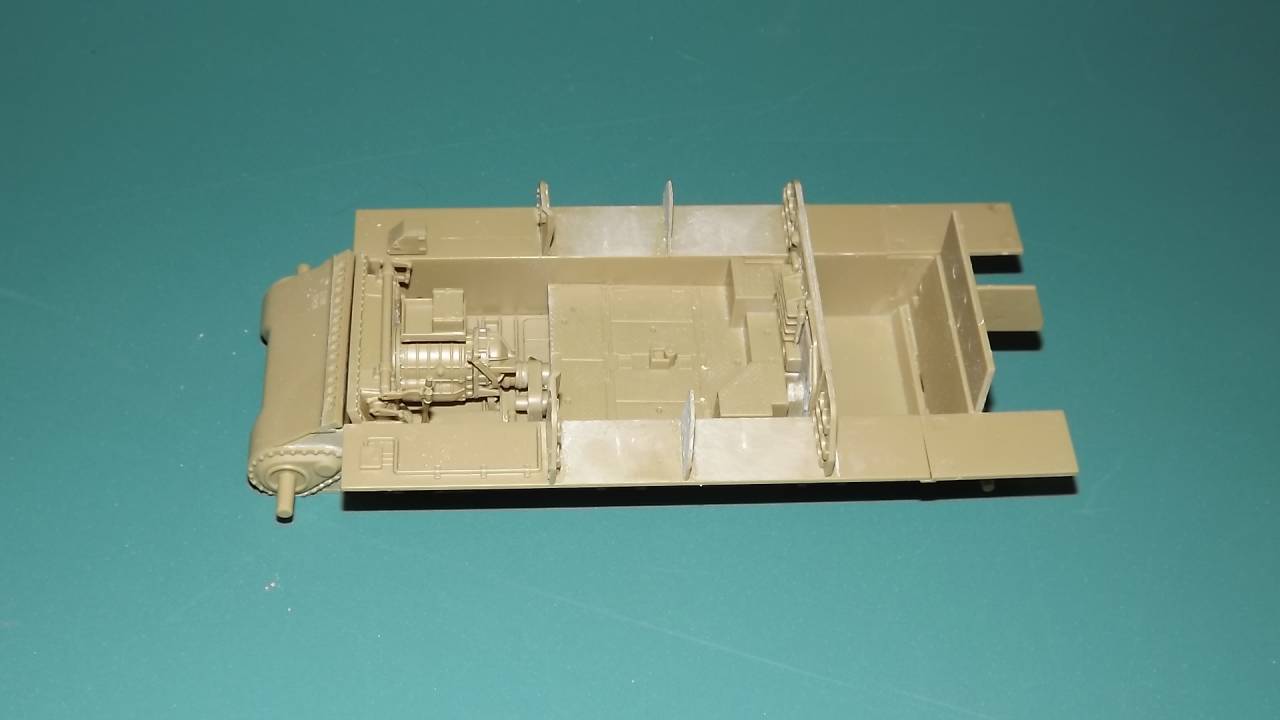
As soon as I can get the ammunition racks finished, I will start throwing some paint on it.

Jesse
oldbean
Visit this Community
Virginia, United States
Joined: July 05, 2004
KitMaker: 769 posts
Armorama: 461 posts
Posted: Wednesday, June 17, 2020 - 02:29 AM UTC
Mike,
That looks great. hope my 1/35 turns out half as good!

Jesse
Panzer_Modeler
Visit this Community
New Mexico, United States
Joined: May 19, 2020
KitMaker: 419 posts
Armorama: 217 posts
Posted: Wednesday, June 17, 2020 - 03:17 AM UTC
Looks good Jesse! I love that your fixing all the inaccuracies, cant wait to see it finished!
modelguy2
Visit this Community
Ohio, United States
Joined: March 09, 2002
KitMaker: 818 posts
Armorama: 269 posts
Posted: Wednesday, June 17, 2020 - 05:30 AM UTC
" but the ammunition racks are again for the M10 (stored in fiber tubes) and not for the Achilles. I am working on making those now. The floor sections are a little off, but once the top is on, you won't really be able to see it so I'm not going to bother with it."

That's where I was when the Tamiya came out and I said "screw this"
petbat
Visit this Community
Queensland, Australia
Joined: August 06, 2005
KitMaker: 3,353 posts
Armorama: 3,121 posts
Posted: Wednesday, June 17, 2020 - 09:08 AM UTC
Been there done that Jesse. I feel the pain. I built mine way back when brass ammunition was not available and I had to make all mine from turning styrene rod in a drill!

If I recall correctly, there are a few missing items for the turret and inside it like the canvas support struts, binoculars case, signal flag brackets and flags, etc.

Good luck on the rest of the build
oldbean
Visit this Community
Virginia, United States
Joined: July 05, 2004
KitMaker: 769 posts
Armorama: 461 posts
Posted: Wednesday, June 17, 2020 - 10:31 AM UTC
Hi Pete,
I just made resin copies of the 5 extra shells Academy provides. I've got most of the items for the turret interior from the scrap box. Still trying to figure the ammo racks out though. Now a question for everyone: I know the Americans painted the interior of their M10's in olive drab (except for the drivers area) but it appears that the British painted the vertical surfaces white and the tops of the bins and firewall in green. Is this correct? I'm having a hard time finding good reference photos.
Jesse
petbat
Visit this Community
Queensland, Australia
Joined: August 06, 2005
KitMaker: 3,353 posts
Armorama: 3,121 posts
Posted: Wednesday, June 17, 2020 - 03:20 PM UTC
Do these help? From Armor Phot Gallery book on the Achilles.


Beware of contemporary pictures, as the vehicles have often been repainted or modifications made, but these racks are original.

These pics come from an ex-Danish army vehicle and I read somewhere that the Danes painted their vertical surfaces white post war. This book references to the fact that all OD/SCC15 would be normal.