Campaigns
Where Armorama group builds can be discussed, organized, and updates posted.
Panther Campaign
wedgetail53
Visit this Community
Queensland, Australia
Joined: October 02, 2008
KitMaker: 658 posts
Armorama: 629 posts
Posted: Thursday, December 29, 2011 - 05:04 PM UTC
G'day team

It would appear from the previous image that I have at long last figured out the image posting thingie . . . Many thanks Gary Kato!

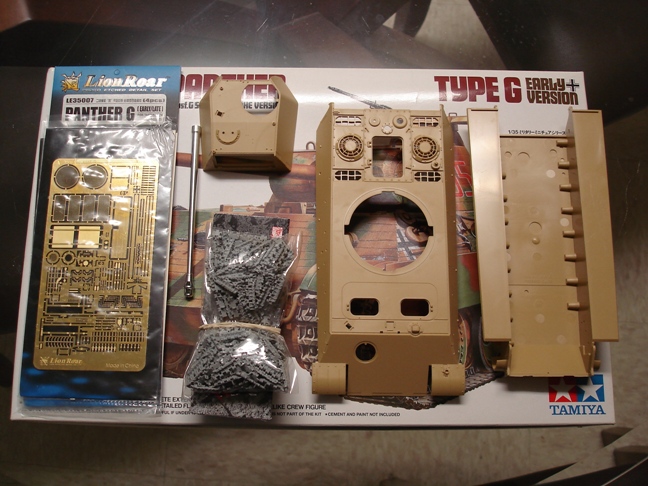
The Panther I am planning to model is shown above. The kit I will be using is the DML late Panther G:


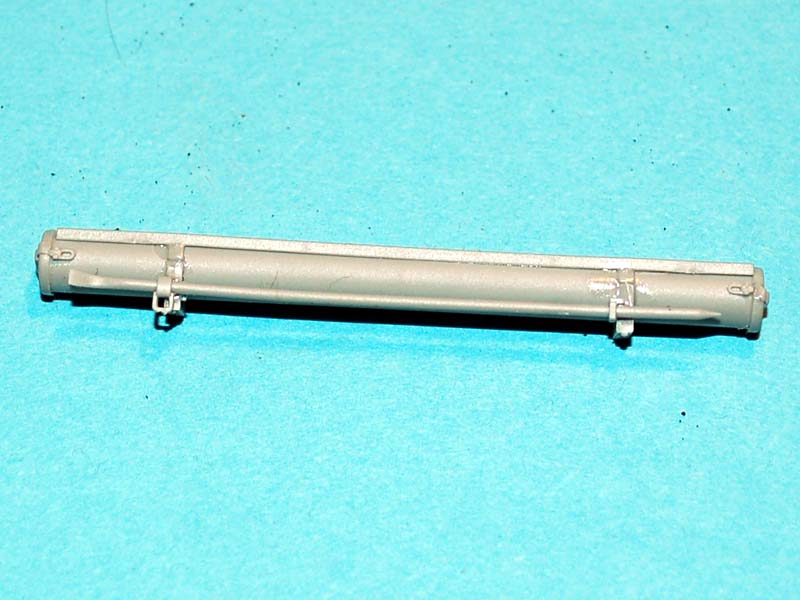
I have assembled a few extra bits and pieces to assist me, the first of which is the Griffon Model tool racks and antenna storage tube:


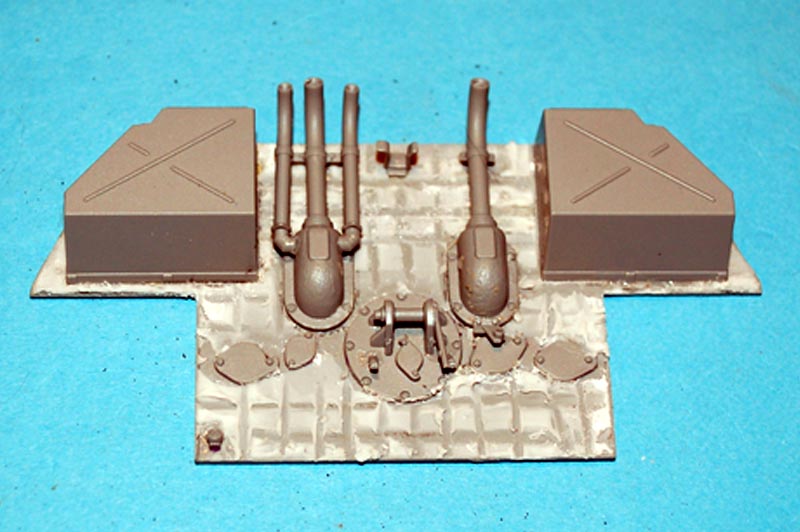
I will also be using the Griffon Model rear storage boxes:


I have at the moment a Jordi Rubio barrel (see below) but might wait until the Griffon Model one arrives, as I suspect it will be better than the JR one:


Finally, I found in my spares box a set of Tiger Model Designs front hatches for the DML Panther, which may prove to be useful:


Talk to you all again soon

Rob
Removed by original poster on 12/30/11 - 06:23:53 (GMT).
Removed by original poster on 12/30/11 - 06:26:07 (GMT).
Removed by original poster on 12/30/11 - 06:31:22 (GMT).
RuloMxy
Visit this Community
District of Columbia, United States
Joined: March 05, 2009
KitMaker: 154 posts
Armorama: 137 posts
Posted: Thursday, December 29, 2011 - 06:34 PM UTC

Here is the kit that I'm going to build for the campaign. I am still undecided on which pattern of zimmerit to use.


Braille
#135
Visit this Community
California, United States
Joined: August 05, 2007
KitMaker: 1,501 posts
Armorama: 1,485 posts
Posted: Thursday, December 29, 2011 - 07:23 PM UTC

Quoted Text


Quoted Text

@Itb073[/b] – Sal, of the 75 members currently enlisted in this campaign I think you’re the first one finished, congratulations! I think you did a really good job with the hand painted camouflage scheme. I like the turret tactical numbers you selected for your vehicle. Aside from what has already been pointed out you may want to think about removing the T.S.R.1 observation periscope (optional part B39) from the Pilzen (socket) just forward of the commander’s cupola. This item is seen on the first prototype Panther F vehicle in the extended position, if you must have it on your vehicle it should be placed on the commander’s cupola, on the post with the hole in it, just to the left of the forward periscope hood (the instructions are incorrect and have you place it where you now have it). You could also carefully add a drop of black paint to the openings of the two range finder sights (Parts B26 & B27).
~ Eddy


Eddy thanks for the complements and for the correction about the T.S.R.1 observation periscope placement, I just wish that you would have mentioned it before, primer, paint, washes and dull coat went on So I'm not going to move it now but I will hit the 2 range finders with a spot of black


@Itb073 – Sal,

Sorry that I couldn’t mention about the T.S.R.1 observation periscope before. That’s because I had not gone through my reference books on the Panther before you painted your Panther F. Although I do have books on this vehicle, I find that I am still learning about this vehicle as I do my own build, and I’m also finally getting the opportunity to read through these reference books.

Anyhow, when I do pick out a color scheme for my build I hope that it will turn out as interesting as yours is to me.

Happy Holidays,
~ Eddy
Sabretooth
Visit this Community
Alberta, Canada
Joined: September 03, 2011
KitMaker: 55 posts
Armorama: 39 posts
Posted: Friday, December 30, 2011 - 06:36 AM UTC
I would have posted this on Monday, but the server was busy every time I tried to upload pictures for posting. Anyways, I bought three kits on Monday, the Black Knights Panther G for this campaign and the Dragon Pz 38(t) for the light tanks campaign and a Miniart crew set for both tanks. Here are the photos.


I will be building this one out of the box, including the DS tracks. (Being a newbie to modeling, I have a fear of indy tracks.)

Okay, I would post the picture of the unbuilt crew set and some progress shots but the server just shut me out again so that's all for now.

Mark

Update: The server just let me on again so here is the photo of the crew set. Only one of the figures will be going to this tank and the rest will be going to the Pz 38(t).


Haven't decided which figure will be going to this tank yet, I'll see after I build the Pz 38(t).

Cheers'

Mark
wedgetail53
Visit this Community
Queensland, Australia
Joined: October 02, 2008
KitMaker: 658 posts
Armorama: 629 posts
Posted: Friday, December 30, 2011 - 11:55 AM UTC
G'day team

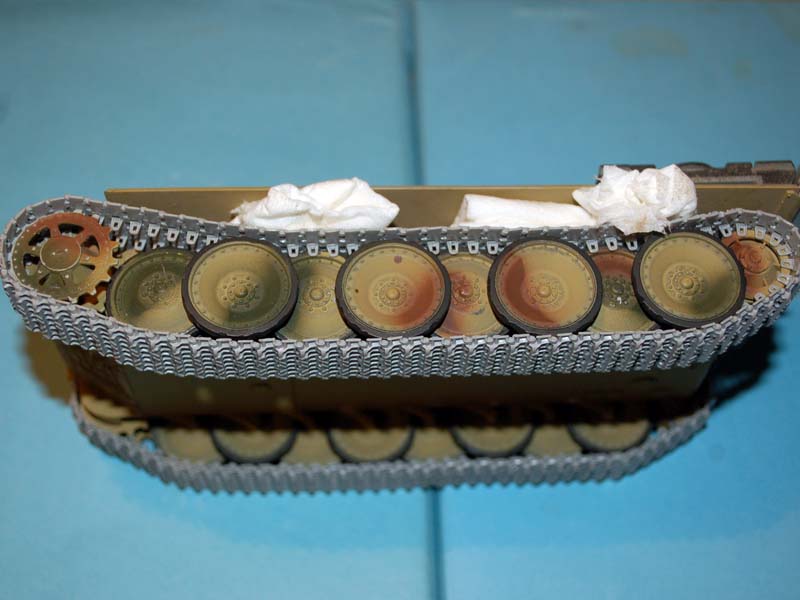
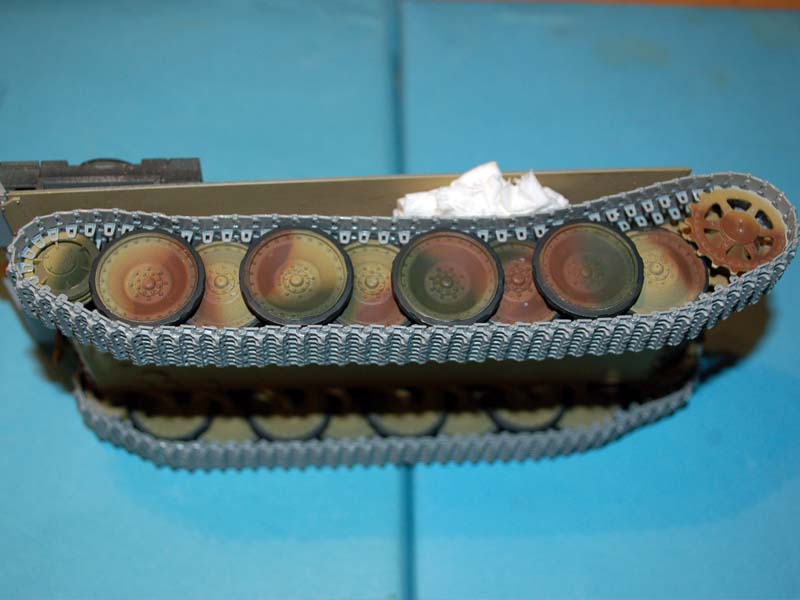
OK, construction is now well under way. The following photos show completion of the first two stages, with the only real change from the instructions being the addition of the oil drain blug to the bottom of the differential housing on each side.

You will notice that the first set of raodwheels are mounted on bits of sprue - that's because I always paint my wheels off the vehicle. More to follow on that.


Right - back to the model bench.

Regards

Rob
CMOT
Staff MemberEditor-in-Chief
ARMORAMA
Visit this Community
England - South West, United Kingdom
Joined: May 14, 2006
KitMaker: 10,954 posts
Armorama: 8,571 posts
Posted: Sunday, January 01, 2012 - 09:03 AM UTC
I believe an update from me is more than over due so here goes. Firstly a note on the rear plate, the instructions tell you to use parts (Q3 and Q4) for the exhausts which is wrong as you should use parts (T6 and T7).

Next in stage 6 you are told to use part (S4) for the periscope which sits in front of the driver and you should use part (S1) as this one has the slanted mounting point.

In stage 9 you are instructed to assemble the gun cleaning rod storage pod, as on my model this is going to be stored on the engine deck I had to cut off the angle area on one of the supports and before mounting will require some stock plastic to raise its height on the engine deck.


Moving on to stage 14 there is another misnumbered part which is the guard over the periscope on the commaders station, the instructions tell you to use part (N19) and it should say part (N10)

Moving onto the magitrack links it should be mentioned that unless you use the multi part links for the drive wheel area you will need to sand the teeth on the drive cog to make the tracks fit. I had to use 86 links to get the tracks to look the way I wanted


wedgetail53
Visit this Community
Queensland, Australia
Joined: October 02, 2008
KitMaker: 658 posts
Armorama: 629 posts
Posted: Sunday, January 01, 2012 - 02:17 PM UTC
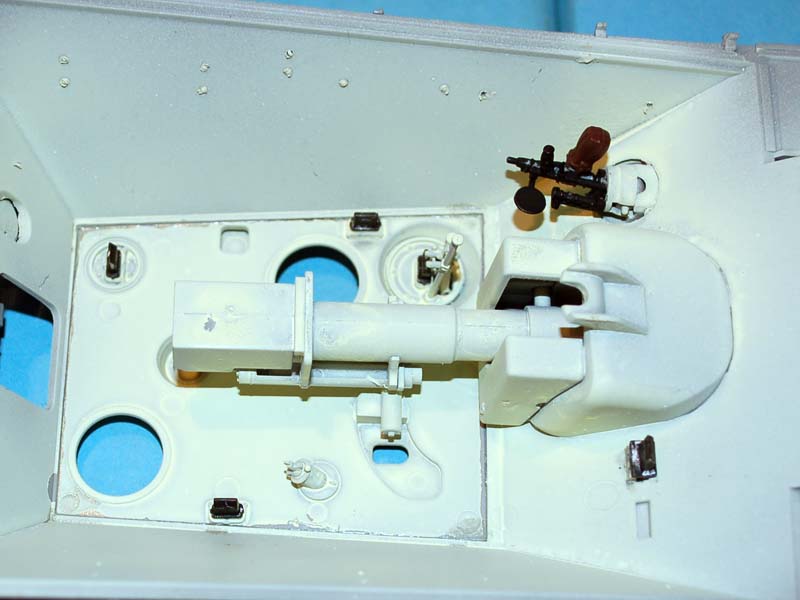
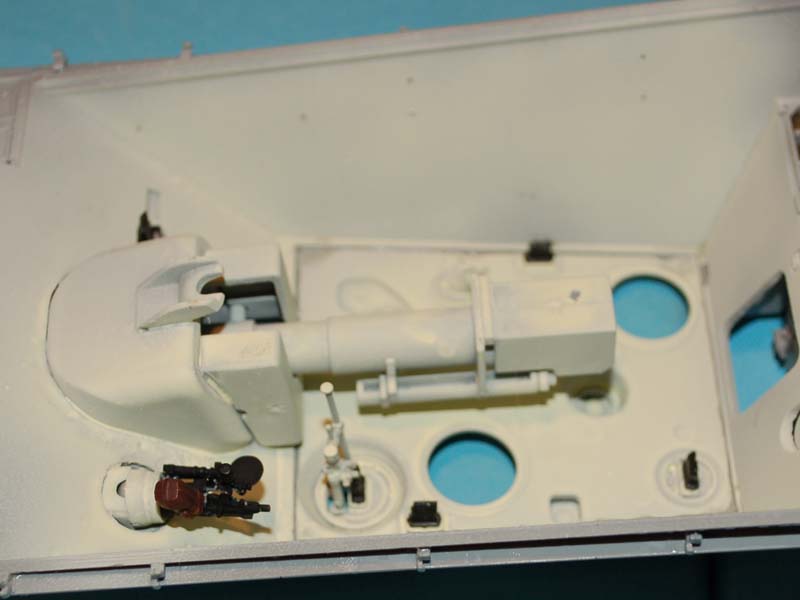
Darren

Mmmm - I was beginning to wonder if you'd gone to sleep over there . . .

Like the progress on the Jagdpanther. I'm just wondering about the colour of the girtsack under the machine gun - I would have though a canvas colour more appropriate ?

Regards

Rob
CMOT
Staff MemberEditor-in-Chief
ARMORAMA
Visit this Community
England - South West, United Kingdom
Joined: May 14, 2006
KitMaker: 10,954 posts
Armorama: 8,571 posts
Posted: Sunday, January 01, 2012 - 03:11 PM UTC
If I am honest Rob I was not going to bother with it as it will not be seen and I am not a fan of doing things for the sake of it. I built the MG as I felt I should see how easy or difficult it was to build and I found the instructions on placing the ammo sack poor, also I cannot recall ever actually seeing one of these and so brown seemed as a good colour as any. Do you have a picture of one?
wedgetail53
Visit this Community
Queensland, Australia
Joined: October 02, 2008
KitMaker: 658 posts
Armorama: 629 posts
Posted: Sunday, January 01, 2012 - 06:02 PM UTC
Darren

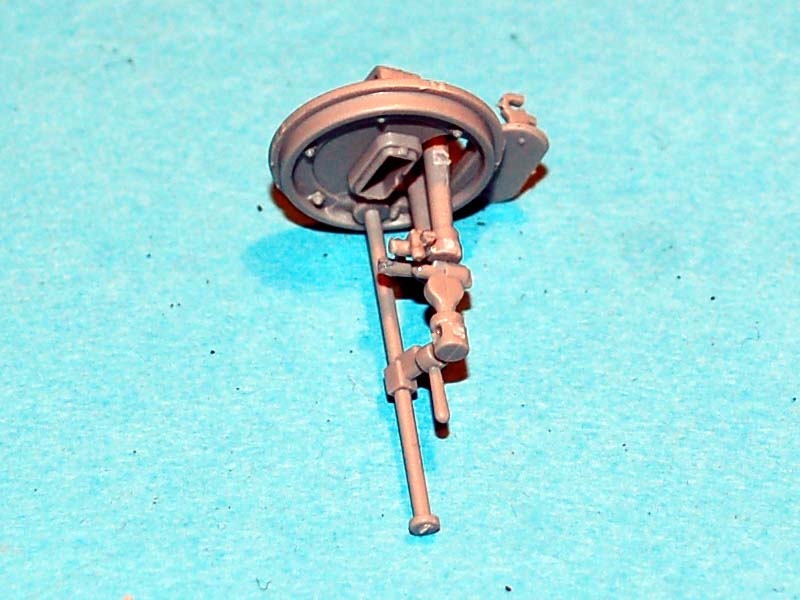
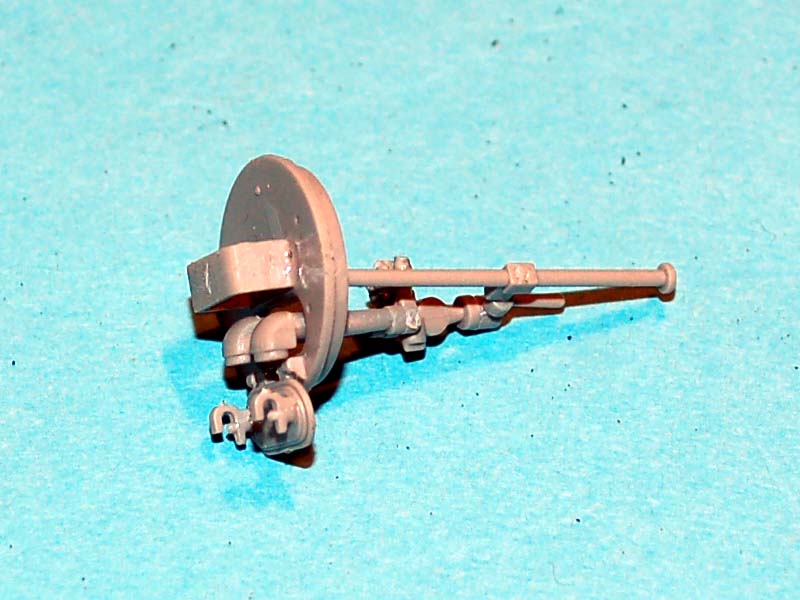
I'm in the same situation, having just completed the MG for my Panther G, and I left the girtsack off mine for the same reason as you quoted - noboby's going to see it anyway.

IIRC, they came filled with 150 rounds for the MG 34 and I believe were also used for collection of the used cases and links, which would have been somewhat hazardous rolling around the floor of a Panther. I don't have a picture of one, but I'll have a scratch around and see what turns up.

I quite agree with you about the adequacy of DML's instructions regarding placement of the girtsack - when they're used in a turret AA mount, they're on a bracket to the left of the gun, but that's a bit difficult with all the other bits and pieces around the hull MG.

Regards

Rob
wedgetail53
Visit this Community
Queensland, Australia
Joined: October 02, 2008
KitMaker: 658 posts
Armorama: 629 posts
Posted: Sunday, January 01, 2012 - 06:39 PM UTC
Darren


Found one!


Regards

Rob
Tojo72
Visit this Community
North Carolina, United States
Joined: June 06, 2006
KitMaker: 4,691 posts
Armorama: 3,509 posts
Posted: Monday, January 02, 2012 - 02:05 AM UTC
I put on the XF-64 basecoat on the DS Tracks,Attached all tools except tow cables and spare tracks,I applied an oil burnt umber wash.It's coming to an end as all thats lelt is to attach these items,and to do some drybrushing and weathering with pigments.


Also final pics will be better as I will use my photo booth with better lighting
CMOT
Staff MemberEditor-in-Chief
ARMORAMA
Visit this Community
England - South West, United Kingdom
Joined: May 14, 2006
KitMaker: 10,954 posts
Armorama: 8,571 posts
Posted: Monday, January 02, 2012 - 02:40 AM UTC
Thank you for that Rob I will have another look at the painting of it.

Anthony this looks as if it will be a fine example of a Panther well done.
Tojo72
Visit this Community
North Carolina, United States
Joined: June 06, 2006
KitMaker: 4,691 posts
Armorama: 3,509 posts
Posted: Monday, January 02, 2012 - 04:09 AM UTC
Thanks,Darren,I have enjoyed the kit and your campaign.

That Jag is coming along,never have attempted homemade Zimm,are you going to add more interior or just kit parts?
CMOT
Staff MemberEditor-in-Chief
ARMORAMA
Visit this Community
England - South West, United Kingdom
Joined: May 14, 2006
KitMaker: 10,954 posts
Armorama: 8,571 posts
Posted: Monday, January 02, 2012 - 05:14 AM UTC
Anthony I am planing on using some figures with this build and that is an area I am very weak on painting wise, so the interior will be only what is included in the kit.
MLD
Visit this Community
Vermont, United States
Joined: July 21, 2002
KitMaker: 3,569 posts
Armorama: 2,070 posts
Posted: Monday, January 02, 2012 - 06:33 AM UTC
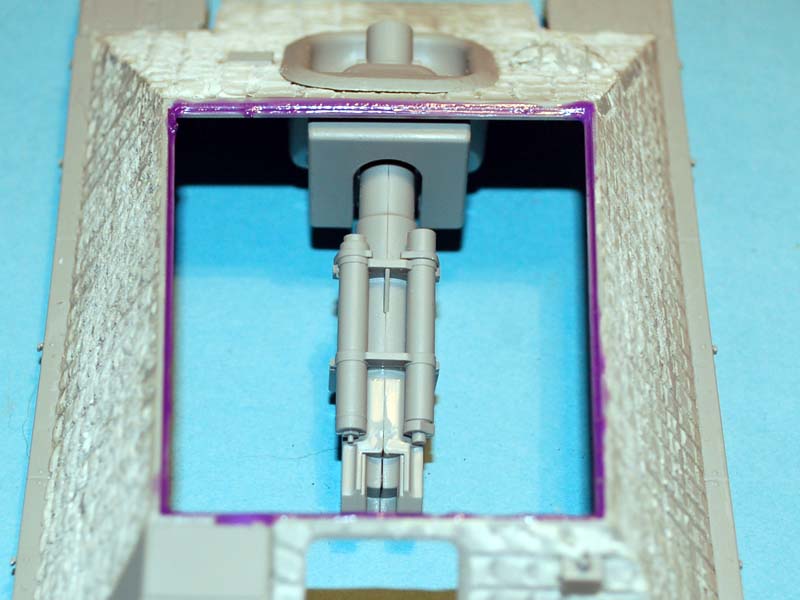
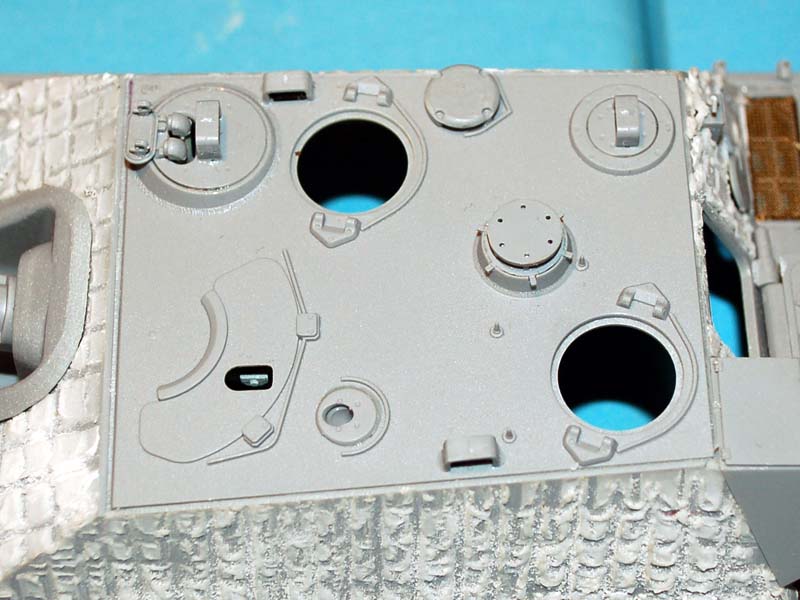
Some more fits and starts on the Panther interior. I think I found the source of one of my problems. i seen to have co-mingled bits from a Jaguar inteiror set with those from the Tank Workshop in all the forthing and backing between deciding what to use and what not to.

So now the turret elevation drive and turret floor plate from the Tank Workshop kit hang up with the detailed side walls from the Jaguar kit.


Specifically the large box on the turret wall next to my thumb in this photo


I did however get the gunners sight and mg mount added to the breech assembly and test fit it in the turret front.


The whole assembly needs a shot of elfbein and some detail painting, then we're all but ready to button up the turret and add the lower basket.

good thing I have 11 months to finish this.

Nito74
Visit this Community
Lisboa, Portugal
Joined: March 04, 2008
KitMaker: 5,386 posts
Armorama: 4,727 posts
Posted: Monday, January 02, 2012 - 07:29 AM UTC
I started mine, finally...
I'm still waiting for some goodies to arrive this month ( PE side skirts, resin rear tool box )
I will add to the Tamyia kit :
- LionRoar 75mm KwK42 Metal barrel
- Aber Additional shrapnel covers
- Dragon IR set
- Eduard Zimmerit (w/ kit)


Sorry about the flash light, I started with the turret for a change...
imatanker
Visit this Community
Maine, United States
Joined: February 11, 2011
KitMaker: 1,654 posts
Armorama: 1,565 posts
Posted: Monday, January 02, 2012 - 10:13 AM UTC
Man,You guys are moving right along.I'm still waiting for my kit to arrive , hopefully it will be this week.One of the reasons I joined this campaign was that I liked the idea of showing and sharing information ,so that even a Newb like me and other members not enlisted could benefit .It is just luck that I happened to be building a Panther F (Dragon Kit # 6403) for the "What If 2" Campaign and that there are at least a couple of you doing the same kit.As most of you have discovered ,there are ALOT of options to this kit and the instructions are not very clear.With the help of you Gentlemen,I have figured out most of the suspension swing arm and roadwheel stuff,but now have 2 more questions.And they are...
1:There are 2 rear idler arm assy.listed.Sub assy.C and sub assy Q in step 1 of the instructions.One is a little larger than the other. I will be building the all rubber roadwheel version,so which one do I use?
2: In step 2 of the instructions they show part # A24 rear idler arm? going into a hole in the lower hull.That's fine,Both the arm and the hole are "keyed" in the shape of a D.The problem is,the keyed portion of the arm does not fit snuggly into the keyed portion of the hole in the hull.This allows the arm to rotate fore and aft about 25 to 35 degrees.Where do I position it? Thanks again for the help,and hope to have pics of my build for this campaign by the end of next weekend,J.Tucker
wedgetail53
Visit this Community
Queensland, Australia
Joined: October 02, 2008
KitMaker: 658 posts
Armorama: 629 posts
Posted: Monday, January 02, 2012 - 11:51 AM UTC
Jeff

Can't help with the first question, but the reason for the wriggle room on the idler support arm is so that you can get the track tension right. Fit the tracks, then adjust the idler back or forward until the tracks have the right amount of sag.

Regards

Rob
imatanker
Visit this Community
Maine, United States
Joined: February 11, 2011
KitMaker: 1,654 posts
Armorama: 1,565 posts
Posted: Monday, January 02, 2012 - 01:14 PM UTC

Quoted Text

Jeff

Can't help with the first question, but the reason for the wriggle room on the idler support arm is so that you can get the track tension right. Fit the tracks, then adjust the idler back or forward until the tracks have the right amount of sag.

Regards

Rob

Rob,I will be using the MagicTracks that come with the kit.As they will be glued together ,I guess I will have to find a way to hold the wheel in place after I get the sag right,and then glue .I've done 2 sets of the indy link tracks,a set on a Panzer and on a Sherman so I'm comfortable with them.I should be good.On the first question,I kind of like the look of the "C" idler wheel but don't know if it is correct or not.Thanks,J.T.
Braille
#135
Visit this Community
California, United States
Joined: August 05, 2007
KitMaker: 1,501 posts
Armorama: 1,485 posts
Posted: Monday, January 02, 2012 - 08:15 PM UTC
@imatanker – Jeff,

Regarding your question of which idler wheels to use, I'd go with the “C” sub-assembly idler wheels. These are the later and larger diameter self cleaning idlers and would have been used on the Panther F. Actually either idler assembly could be used as there were many part shortages during the final months of the war and the smaller idlers would have been used in place of the larger idlers if they were not available. This would not have been reason enough to hold up production.

Hope this helps and Happy New Year’s
~ Eddy
imatanker
Visit this Community
Maine, United States
Joined: February 11, 2011
KitMaker: 1,654 posts
Armorama: 1,565 posts
Posted: Tuesday, January 03, 2012 - 12:31 PM UTC
Eddy,Thanks bud,I knew I could count on you guys, liked the look of the larger wheel better anyway.My Jagdpanther kit came today so pics by this weekend I hope.J.T.
Nito74
Visit this Community
Lisboa, Portugal
Joined: March 04, 2008
KitMaker: 5,386 posts
Armorama: 4,727 posts
Posted: Thursday, January 05, 2012 - 02:47 PM UTC
I will post the pics soon.
I have finished the turret details, added the Lion Roar Gun (the metal tube is way too long and large so I had to remove some interior parts, mainly the interior gun base). Added the Eduard Zimm too.

I'm still waiting for some extras so I'll have to keep working on the turret