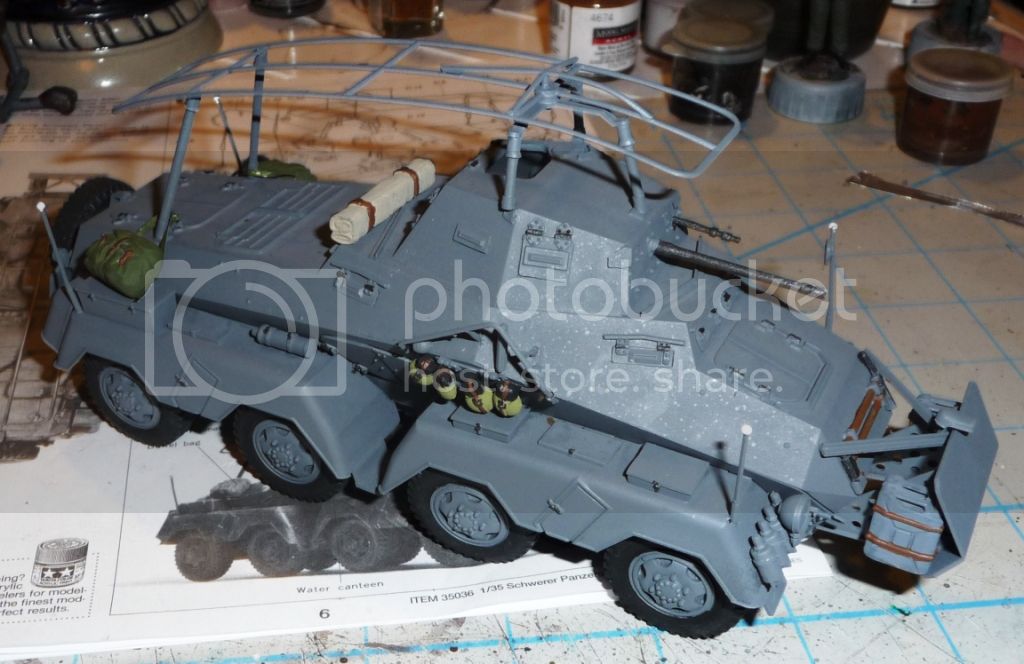
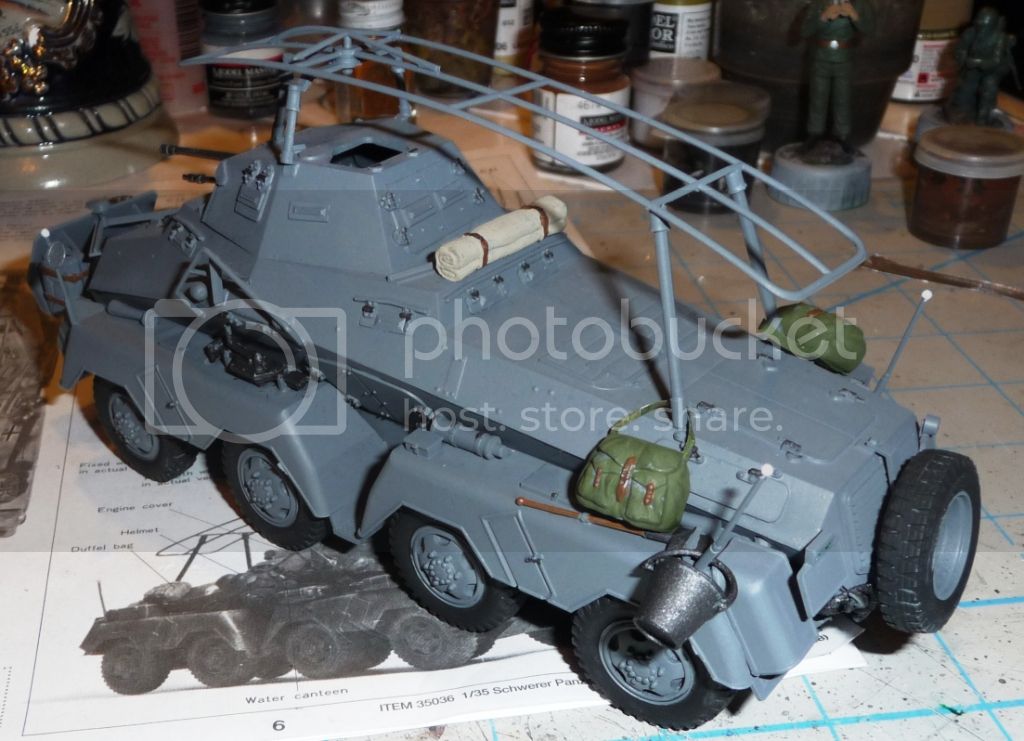
Nate the tracks were $38 through sprue brothers while the kit was $30. Sucks, but worth it since I like workable tracks more. HB is suppose to be release a new track link set for the kit to hopefully fix the issues.
Chris
Campaigns
Where Armorama group builds can be discussed, organized, and updates posted.
Where Armorama group builds can be discussed, organized, and updates posted.
Hosted by Darren Baker, Richard S.
Official Thread: Blitzkrieg 4 Russia
kruppw

Joined: March 17, 2006
KitMaker: 1,117 posts
Armorama: 1,115 posts

Posted: Monday, July 09, 2012 - 03:05 PM UTC
ltb073

Joined: March 08, 2010
KitMaker: 3,662 posts
Armorama: 3,078 posts

Posted: Tuesday, July 10, 2012 - 02:24 PM UTC
Welcome back Bruce hope your feeling better

Nate thats a nice kit just throw some glue in the box, shake it and it comes out built
My Rad 8 is built and ready to hit the spray booth tomorrow morning
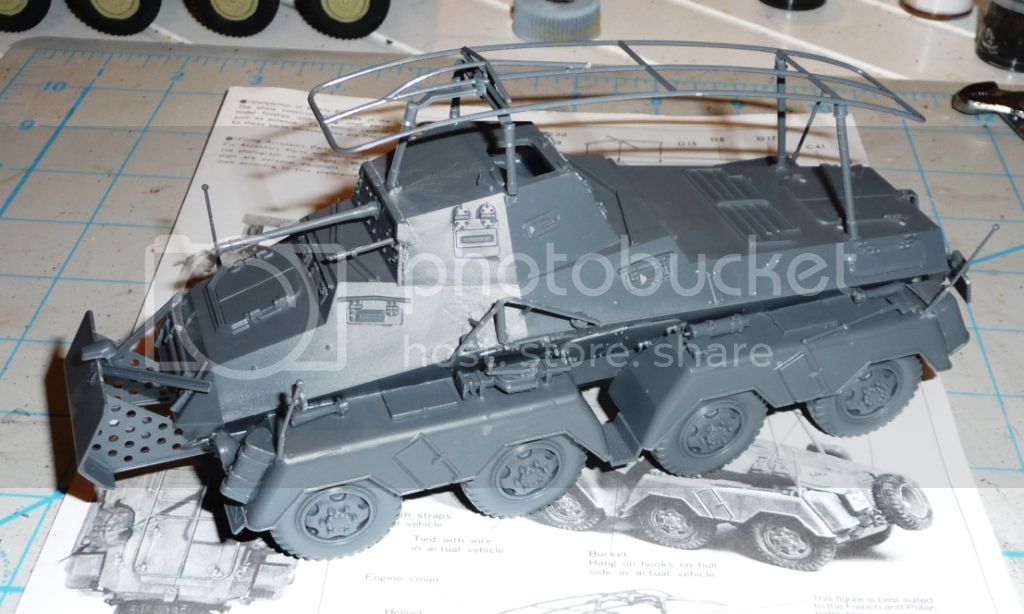
Need to find a figure for the hatch and figure out what storage i will use
Quoted Text
I would like to enter with Trumpeter's KV-II.
Nate

Nate thats a nice kit just throw some glue in the box, shake it and it comes out built

My Rad 8 is built and ready to hit the spray booth tomorrow morning

Need to find a figure for the hatch and figure out what storage i will use


vonHengest

Joined: June 29, 2010
KitMaker: 5,854 posts
Armorama: 4,817 posts

Posted: Tuesday, July 10, 2012 - 04:49 PM UTC
John: Quit slacking off, lets see some more progress!! 
Nathan: Great choice! And you just reminded me I have some of those Trumpy KV's waiting to see the light of day again, very tempting
Chris: Be glad you didn't have to pay the new price of $59.99. I still can't believe he's trying to charge that for them now...
Sal: Can't wait to see the paint on

Nathan: Great choice! And you just reminded me I have some of those Trumpy KV's waiting to see the light of day again, very tempting

Chris: Be glad you didn't have to pay the new price of $59.99. I still can't believe he's trying to charge that for them now...
Sal: Can't wait to see the paint on

kruppw

Joined: March 17, 2006
KitMaker: 1,117 posts
Armorama: 1,115 posts

Posted: Wednesday, July 11, 2012 - 02:03 PM UTC
Hey Jeremy, just checked sprue brothers and now their 46.49. Why so high is beyond me, even with a metal drive sprocket in the set, still doesn't justify the cost.........oh well 
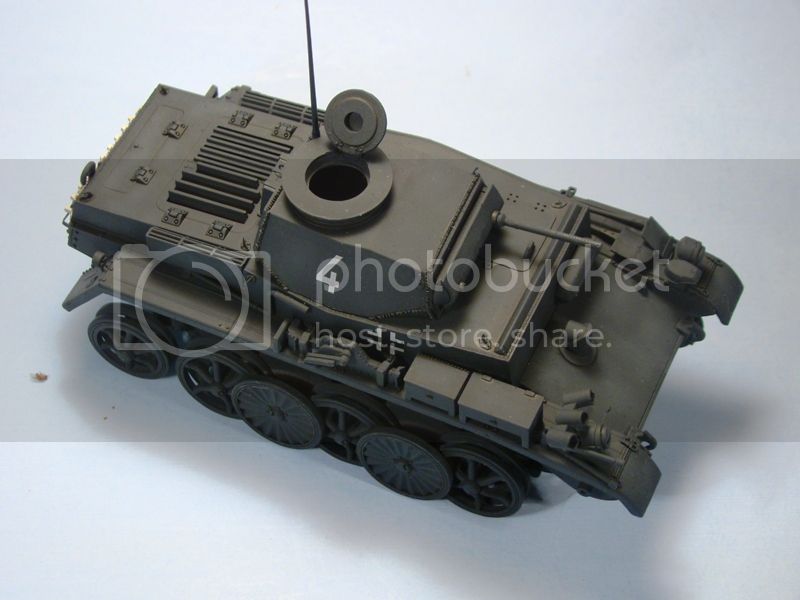
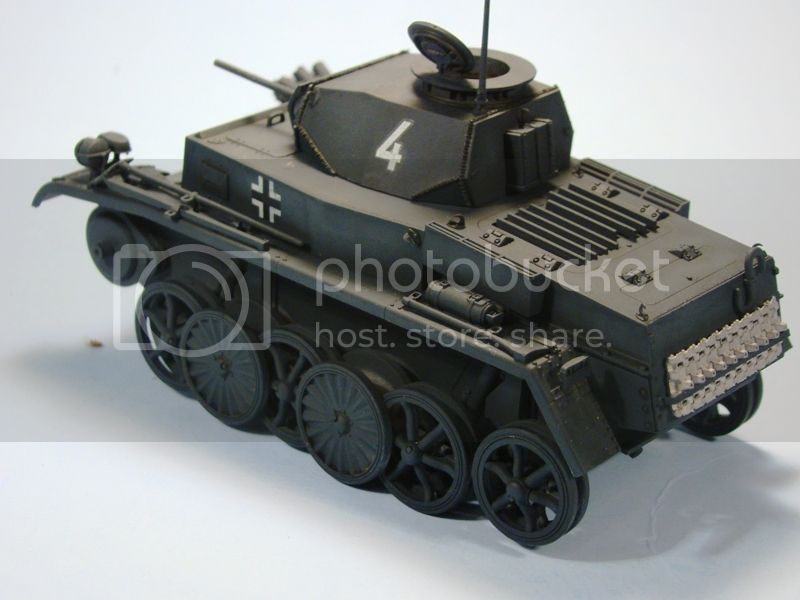
Well here is just a small update since progress is going slow for me. Managed to get the base coat of paint done along with some filters and pin wash. Another let down of the kit is that it missing the decals. This was minor and simple to replace with the handful of decals I have laying around. More to follow soon.
Cheers


vonHengest

Joined: June 29, 2010
KitMaker: 5,854 posts
Armorama: 4,817 posts

Posted: Wednesday, July 11, 2012 - 04:23 PM UTC
It's because the owner wants to charge higher prices, no reason given.
Your build is coming along nicely.
Your build is coming along nicely.
kruppw

Joined: March 17, 2006
KitMaker: 1,117 posts
Armorama: 1,115 posts

Posted: Wednesday, July 11, 2012 - 05:21 PM UTC
Thanks for the comments Jeremy 
It's a fun little build and a break from the more serious builds I do.
Keep up the good work everyone
Chris

It's a fun little build and a break from the more serious builds I do.
Keep up the good work everyone

Chris

nico37

Joined: May 23, 2011
KitMaker: 651 posts
Armorama: 126 posts

Posted: Thursday, July 12, 2012 - 12:03 AM UTC
Hi all,
here is my entry in this campaign, i would like to sculp a 70mm tall figure of a soviet naval troop rifleman on the Baltic front in summer 1941.
I use Sculpey Firm on a green stuff base:


Cheers
nico
here is my entry in this campaign, i would like to sculp a 70mm tall figure of a soviet naval troop rifleman on the Baltic front in summer 1941.
I use Sculpey Firm on a green stuff base:


Cheers
nico
ltb073

Joined: March 08, 2010
KitMaker: 3,662 posts
Armorama: 3,078 posts

Posted: Thursday, July 12, 2012 - 12:51 AM UTC
Quoted Text
Hi all,
here is my entry in this campaign, i would like to sculp a 70mm tall figure of a soviet naval troop rifleman on the Baltic front in summer 1941.
I use Sculpey Firm on a green stuff base:
Cheers
nico
Nico, that is some wild work how you take a piece of wire and mold it into a figure, i would never attempt that and yours is looking great except that the chest cavity looks a little small compared to the legs or does he have his belt line up by his nipples


Nito74

Joined: March 04, 2008
KitMaker: 5,386 posts
Armorama: 4,727 posts

Posted: Thursday, July 12, 2012 - 04:43 AM UTC
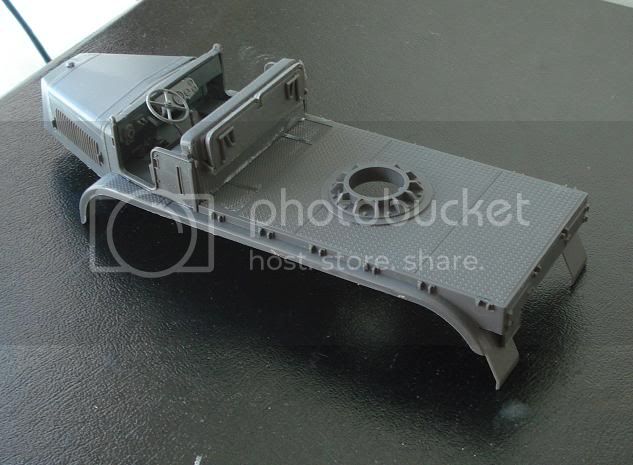
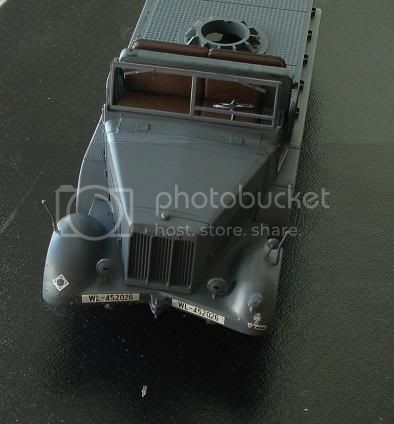
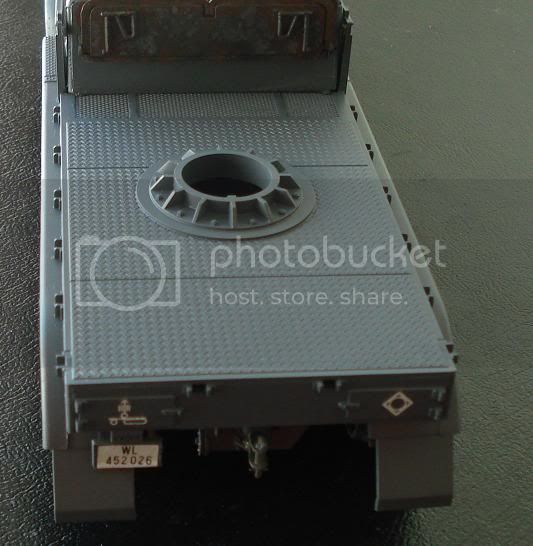
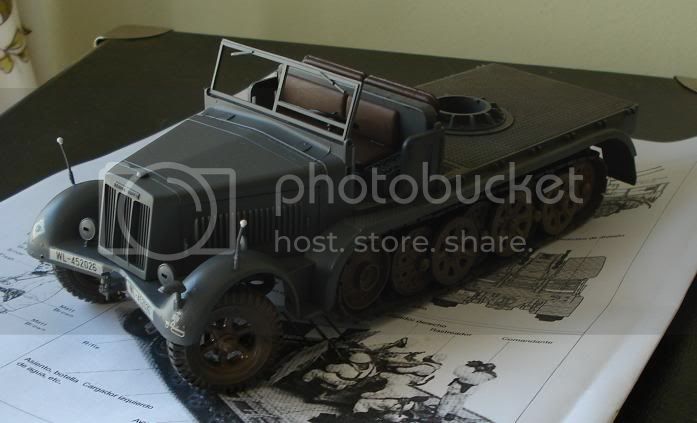
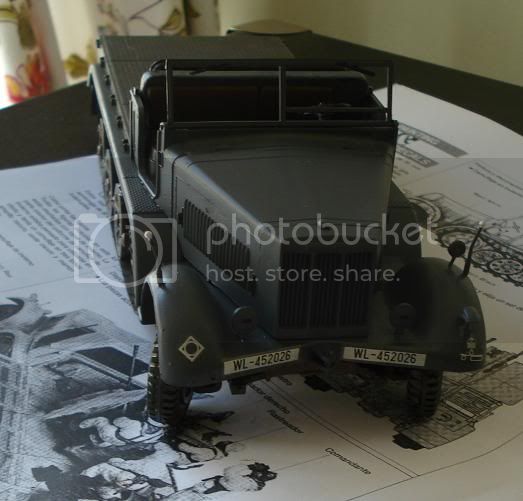
Finally some progress...
Rear
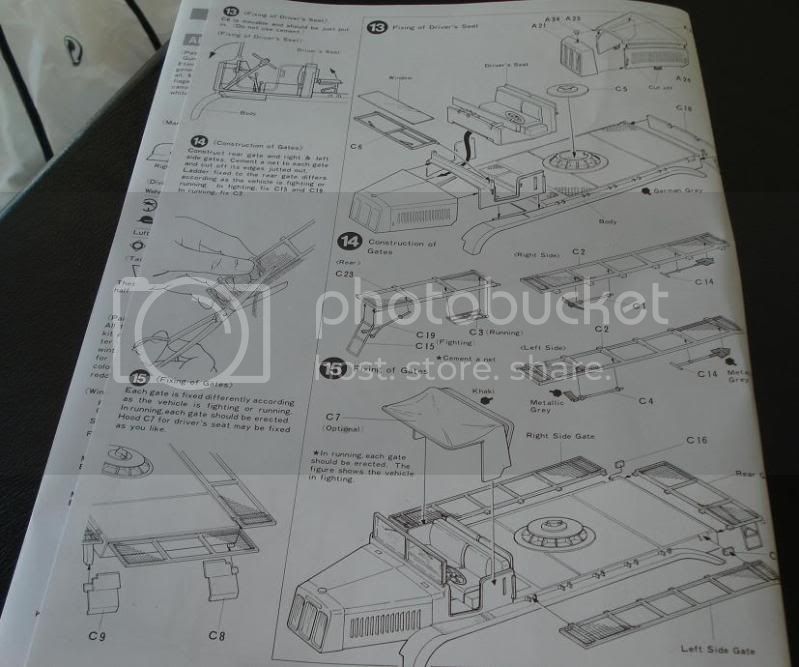
Front
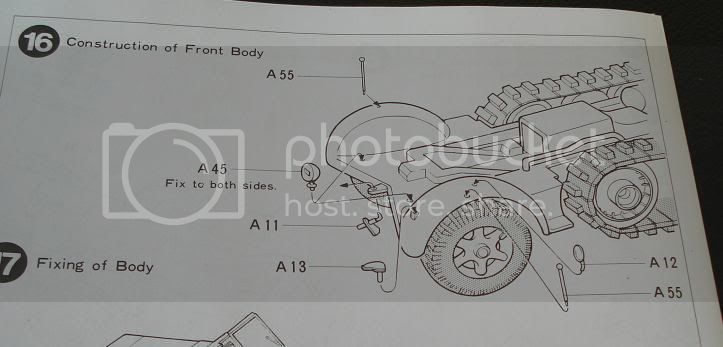
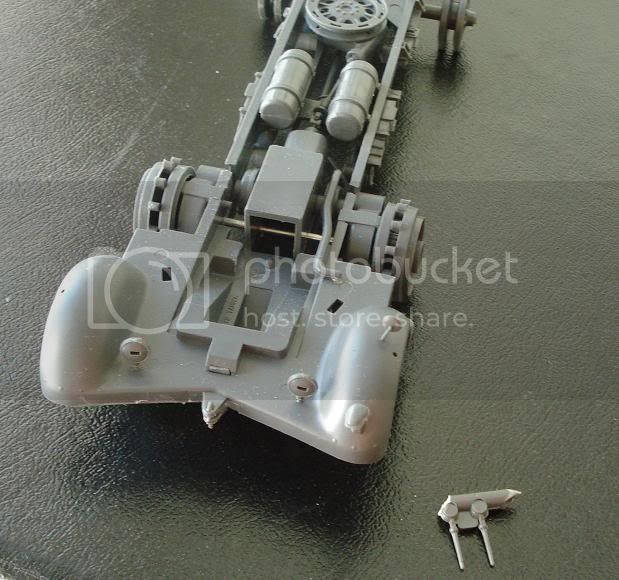
I might change the front indicators, those 1972's look a bit crude.. I'll check my spare box for some Dragon's or Bronco's.
After this I'll tackle the wheels & track.
Stay tuned !
Rear


Front


I might change the front indicators, those 1972's look a bit crude.. I'll check my spare box for some Dragon's or Bronco's.
After this I'll tackle the wheels & track.
Stay tuned !
JonDicks

Joined: October 13, 2009
KitMaker: 223 posts
Armorama: 224 posts

Posted: Thursday, July 12, 2012 - 09:46 PM UTC
Hi All,
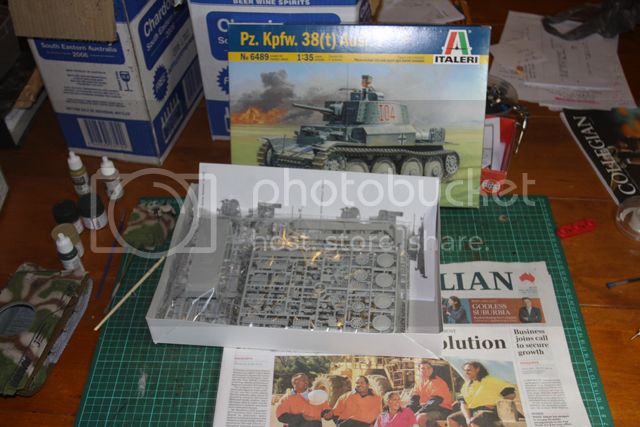
I am ready to start with my Italeri Pz.Kpfw 38t. It really looks like a nice crisp little (and I mean little) kit. I think I will try a worn winter camo scheme on this one using my just arrived AK Chipping fluid. These's a first time for everything!
Cheers
Jon
I am ready to start with my Italeri Pz.Kpfw 38t. It really looks like a nice crisp little (and I mean little) kit. I think I will try a worn winter camo scheme on this one using my just arrived AK Chipping fluid. These's a first time for everything!


Cheers
Jon
Nito74

Joined: March 04, 2008
KitMaker: 5,386 posts
Armorama: 4,727 posts

Posted: Thursday, July 12, 2012 - 10:10 PM UTC
Jon, I tried to get the Italeri version, but my LHS only had the Tristar versions.
How is the kit tracks ? details on the turret & hull ?
Does it have a metal gun barrel or MG ?
How does the AK chipping works ?
Sorry about all the questions...
How is the kit tracks ? details on the turret & hull ?
Does it have a metal gun barrel or MG ?
How does the AK chipping works ?
Sorry about all the questions...

JonDicks

Joined: October 13, 2009
KitMaker: 223 posts
Armorama: 224 posts

Posted: Thursday, July 12, 2012 - 10:28 PM UTC
Hi John,
Kit comes with link and length tracks and a metal barrel and a small pe fret - most of which is for the jerry can holders. The detail seems very good - on par with any new dragon offering.
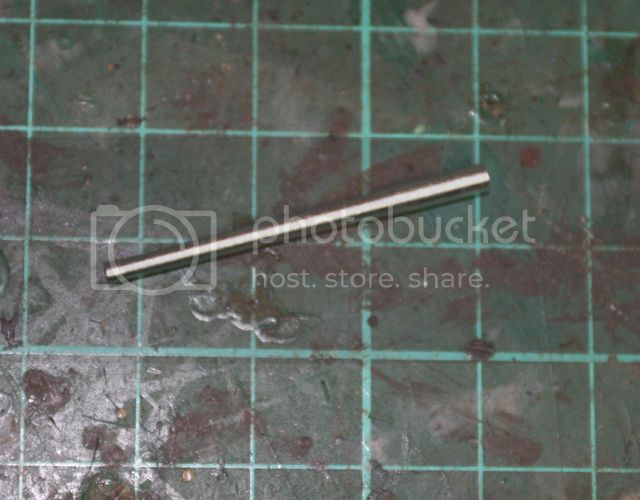
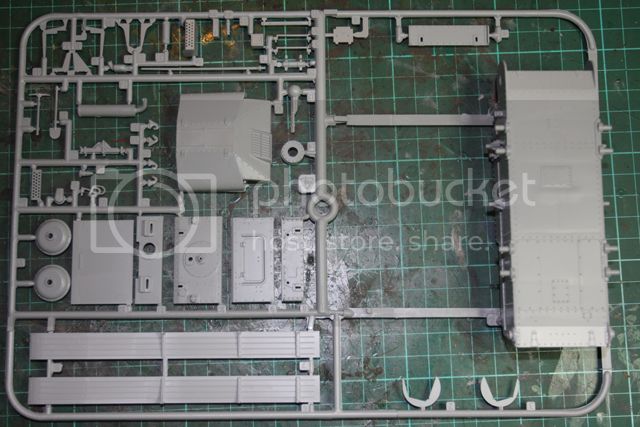
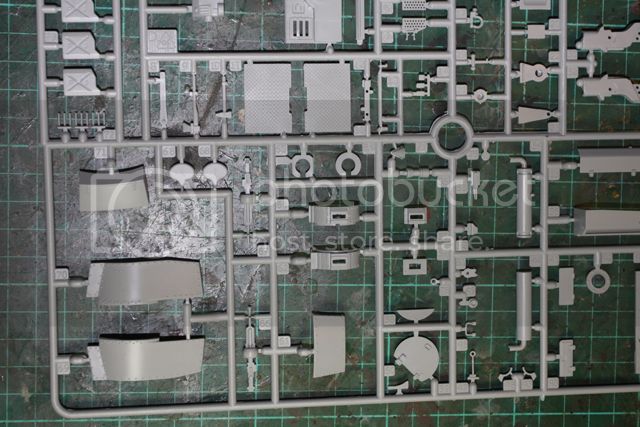
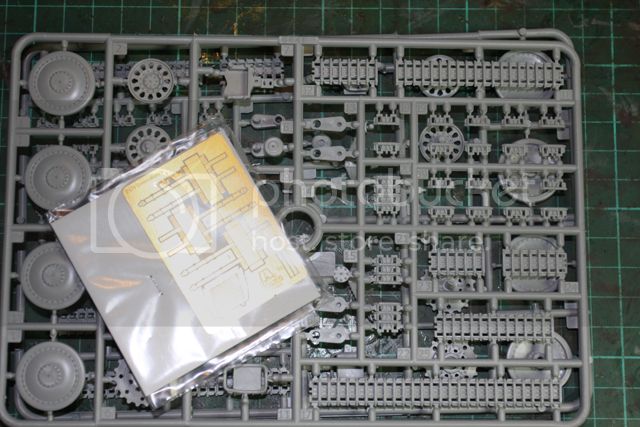
The AK Chipping Effects fluid works the same as hairspray. This will be my first time using it so I can't say too much about the product yet.
Cheers
Jon
Kit comes with link and length tracks and a metal barrel and a small pe fret - most of which is for the jerry can holders. The detail seems very good - on par with any new dragon offering.


The AK Chipping Effects fluid works the same as hairspray. This will be my first time using it so I can't say too much about the product yet.
Cheers
Jon
ltb073

Joined: March 08, 2010
KitMaker: 3,662 posts
Armorama: 3,078 posts

Posted: Friday, July 13, 2012 - 12:39 AM UTC
Quoted Text
Sal: Can't wait to see the paint on
Just gonna go with a Panzer Gray paint scheme I may make it a 3rd SS Panzer Division and but it it a dio with my StuG III
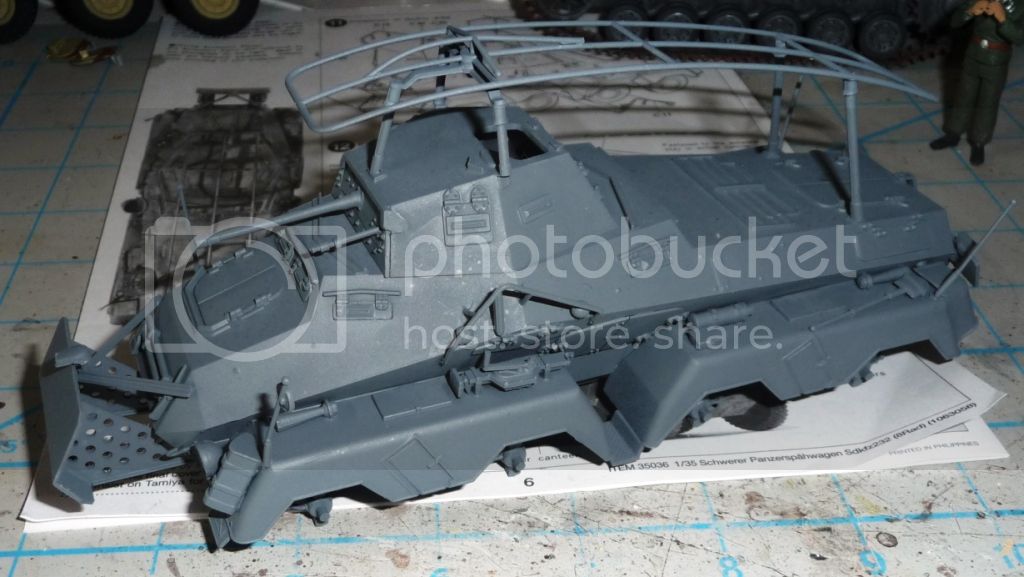
I have a busy day today and a busy weekend so I dont know how much more I will get done


Man when did I have any time to do all this stuff before I retired


vonHengest

Joined: June 29, 2010
KitMaker: 5,854 posts
Armorama: 4,817 posts

Posted: Friday, July 13, 2012 - 08:20 AM UTC
Nico: It's great to see your figure sculpts in progress as you are always improving! I do agree with Sal's assessment about the top portion looking smaller than the lower portion.
John: Those indicators look like a nightmare to remove without damaging them... You can always scratchbuild some to your liking if you can't find a suitable replacement.
Jon: Those are great kits, but require some skill and patience. Great choice for this campaign btw
Sal: That armored car is a great companion for a Stug III! And I don't know, I can't seem to find enough time myself as it is
John: Those indicators look like a nightmare to remove without damaging them... You can always scratchbuild some to your liking if you can't find a suitable replacement.
Jon: Those are great kits, but require some skill and patience. Great choice for this campaign btw

Sal: That armored car is a great companion for a Stug III! And I don't know, I can't seem to find enough time myself as it is

JonDicks

Joined: October 13, 2009
KitMaker: 223 posts
Armorama: 224 posts

Posted: Friday, July 13, 2012 - 11:51 AM UTC
Hi all,
Well the kit is going together fairly well. Test fitting the various glacis plates shows what I think will be a nasty gap that I will have to fill with some evergreen somehow.
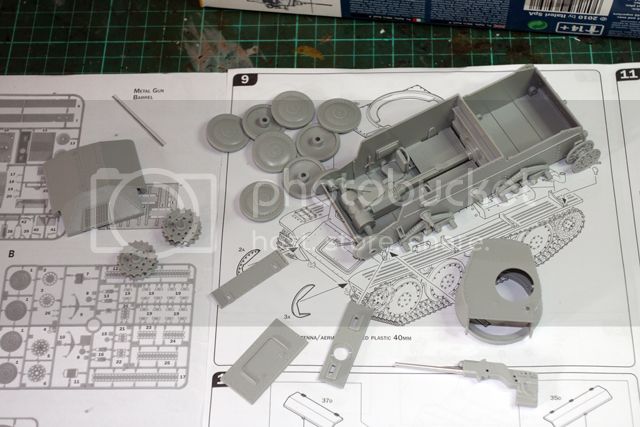
The turret is fitting nicely with just a few tiny areas that will need filler.
The interior components are simple and will give some interest though the hatch.
Jon
Well the kit is going together fairly well. Test fitting the various glacis plates shows what I think will be a nasty gap that I will have to fill with some evergreen somehow.

The turret is fitting nicely with just a few tiny areas that will need filler.
The interior components are simple and will give some interest though the hatch.
Jon
Nito74

Joined: March 04, 2008
KitMaker: 5,386 posts
Armorama: 4,727 posts

Posted: Friday, July 13, 2012 - 12:03 PM UTC
Looking good so far Jon !
I agree Jeremy. I know I have some Dragon spares, I'll look into it.
This afternoon I did the wheels, tracks and gave a Panzer Grey coat too.
Tomorrow I'll work on the cabin details and add some filters before the white winter coat.
Will post some shots of the AFV sprues comparing to the Tamyia's 72 ones.
Posted: Saturday, July 14, 2012 - 07:12 AM UTC
Hi Guys,
Attached three images of the (dare I mention it) Marder III
Slow progress so far but now got two weeks holiday so progress will be faster. (wife willing!!)


Cheers chaps
Martin


Attached three images of the (dare I mention it) Marder III
Slow progress so far but now got two weeks holiday so progress will be faster. (wife willing!!)
Cheers chaps
Martin


JonDicks

Joined: October 13, 2009
KitMaker: 223 posts
Armorama: 224 posts

Posted: Saturday, July 14, 2012 - 08:56 PM UTC
Nice work Martin - any idea of a colour scheme yet?
I have made some slow progress this weekend. Painted and weathered the interior (not that you will see much through the tiny hatches) and fitted the front armour plates. This did show up a large gap that I filled with and evergreen plastic card strip. After sanding and filler it seems to be ok (we shall see when the primer goes on )
)
This gap could have been at the top or bottom of the plate and I chose the bottom as it seemed the easier option. I am not sure of accuracy here but as I am not a rivet counter - what the hell.
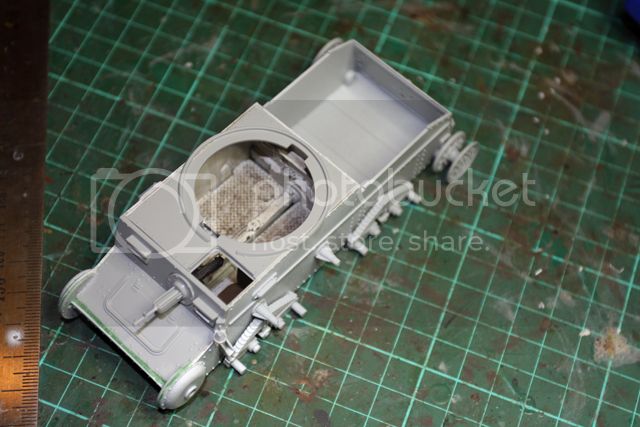
I have made some slow progress this weekend. Painted and weathered the interior (not that you will see much through the tiny hatches) and fitted the front armour plates. This did show up a large gap that I filled with and evergreen plastic card strip. After sanding and filler it seems to be ok (we shall see when the primer goes on
 )
)This gap could have been at the top or bottom of the plate and I chose the bottom as it seemed the easier option. I am not sure of accuracy here but as I am not a rivet counter - what the hell.

Nito74

Joined: March 04, 2008
KitMaker: 5,386 posts
Armorama: 4,727 posts

Posted: Sunday, July 15, 2012 - 01:20 AM UTC
Nice work Jon !!
Here's my update
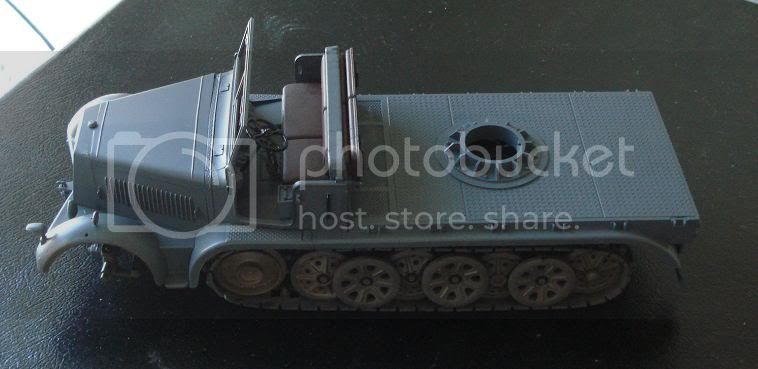
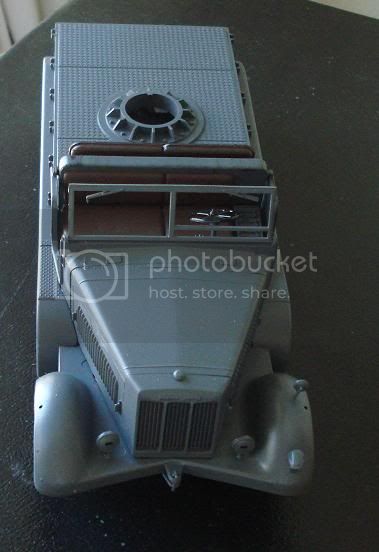
Here's my update


Posted: Sunday, July 15, 2012 - 11:12 PM UTC
Thanks Jon
I havn't decided which colour scheme yet.
Martin
I havn't decided which colour scheme yet.
Martin

Nito74

Joined: March 04, 2008
KitMaker: 5,386 posts
Armorama: 4,727 posts

Posted: Monday, July 16, 2012 - 04:46 AM UTC
Here today's update:
- Decals & Dragon indicators
Still need to paint the dials inside the cabin and paint the cabin cover.
I hope to start the AFVClub Flak this week.
- Decals & Dragon indicators
Still need to paint the dials inside the cabin and paint the cabin cover.
I hope to start the AFVClub Flak this week.


Nito74

Joined: March 04, 2008
KitMaker: 5,386 posts
Armorama: 4,727 posts

Posted: Tuesday, July 17, 2012 - 03:34 AM UTC
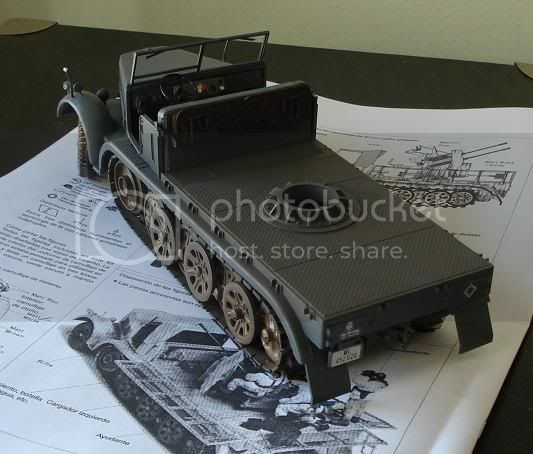
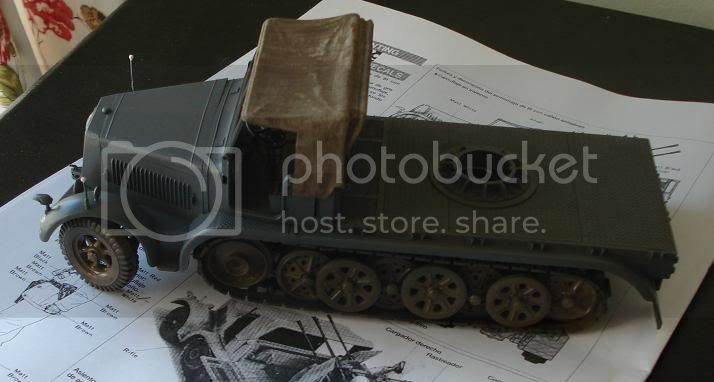
Here's the latest update
- Cabin details painted.
- Some dirt on the lower chassis, wheels and tracks.
- Cabin roof
- Microsol solutions on the decals & white ball indicators
- back & side door/panels painted and added the mesh wire (still drying no pic)
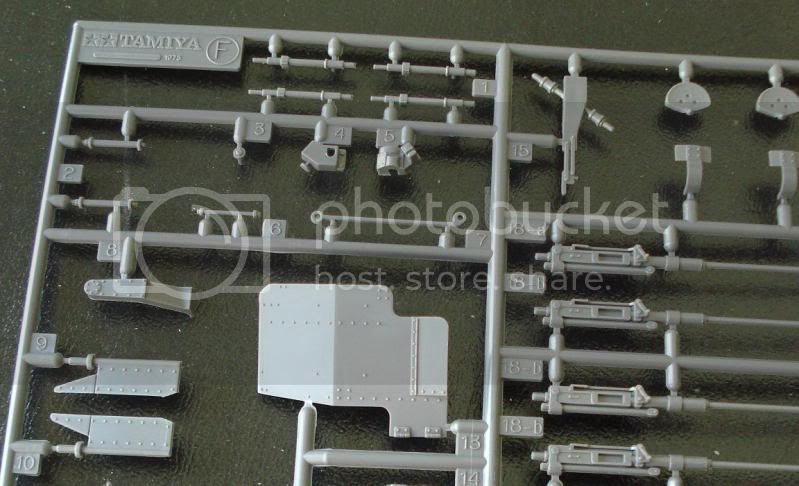
Started working on the flak gun and will start the equipment too (personal gear, axe,shovel,maybe some jerrycans...)
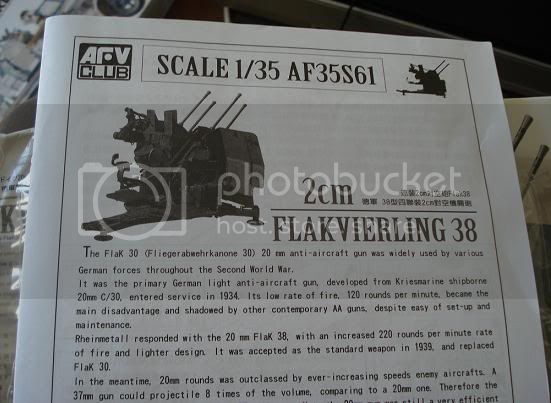
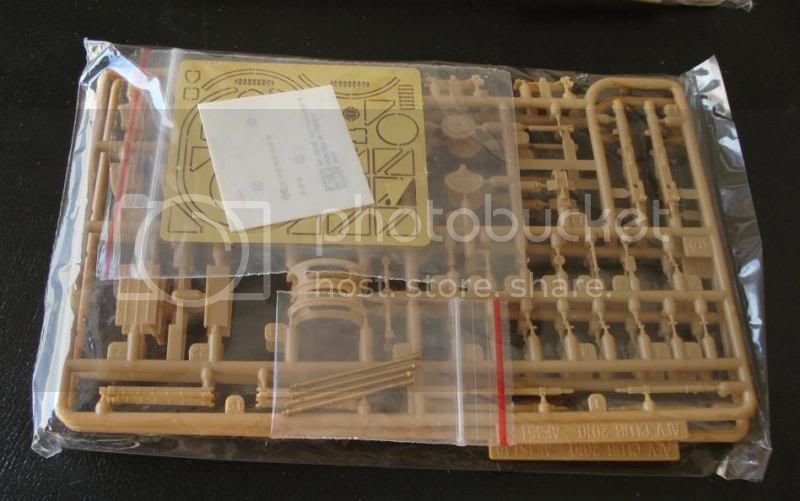
Now the AFV Club sprues
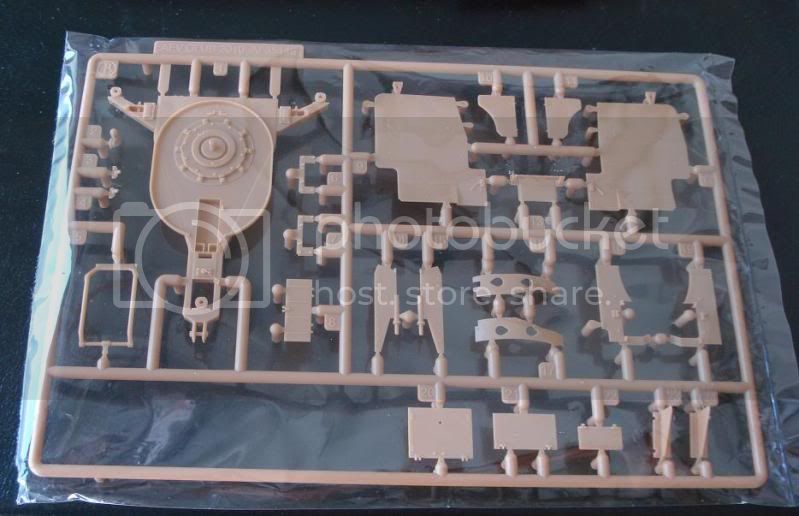
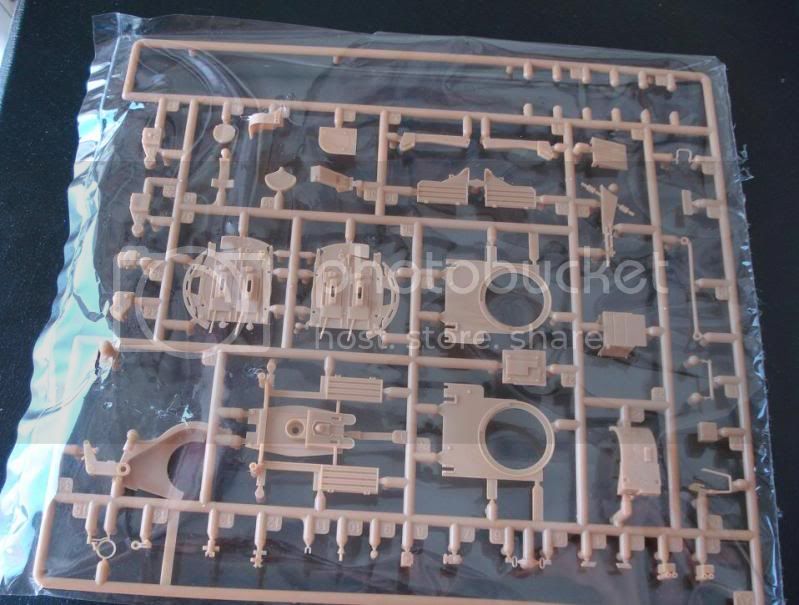
And the Tamyia...
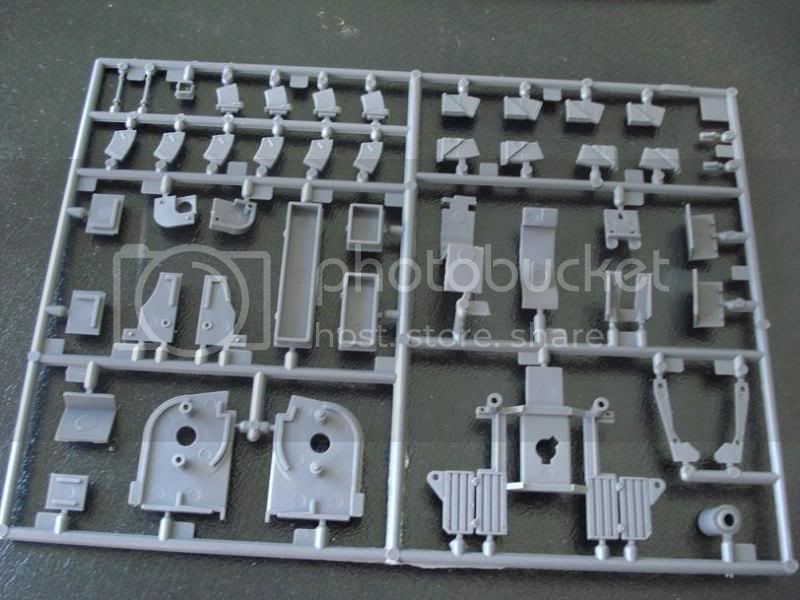
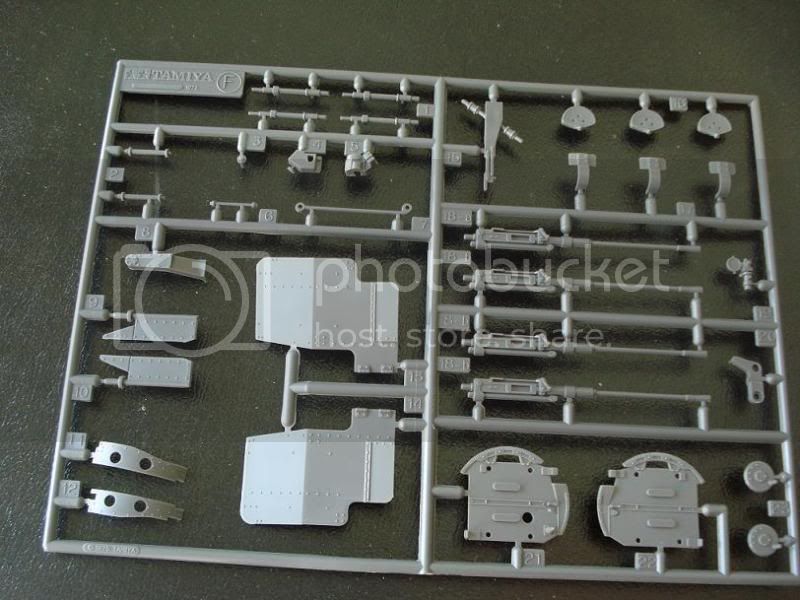
- Cabin details painted.
- Some dirt on the lower chassis, wheels and tracks.
- Cabin roof
- Microsol solutions on the decals & white ball indicators
- back & side door/panels painted and added the mesh wire (still drying no pic)
Started working on the flak gun and will start the equipment too (personal gear, axe,shovel,maybe some jerrycans...)


Now the AFV Club sprues


And the Tamyia...


Nito74

Joined: March 04, 2008
KitMaker: 5,386 posts
Armorama: 4,727 posts

Posted: Wednesday, July 18, 2012 - 04:28 AM UTC
Here's the finished halftrack tractor, next is the AFV Flak.
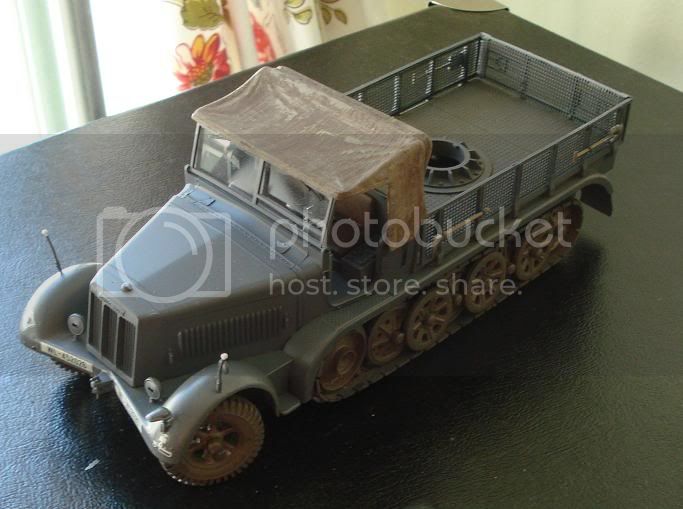
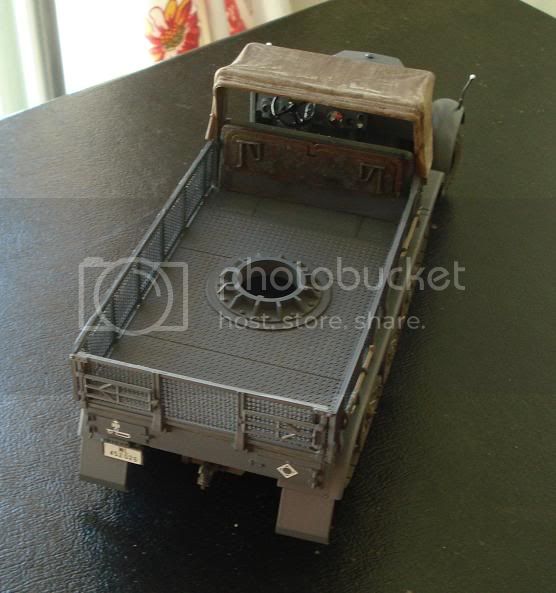
I will try to apply the Winter finished look w/ dirt & mud too.


I will try to apply the Winter finished look w/ dirt & mud too.
Nito74

Joined: March 04, 2008
KitMaker: 5,386 posts
Armorama: 4,727 posts

Posted: Wednesday, July 18, 2012 - 05:09 AM UTC
The winter camo & some dirt. Pigments will be for a later stage.
I'm itchy to start the Flak...
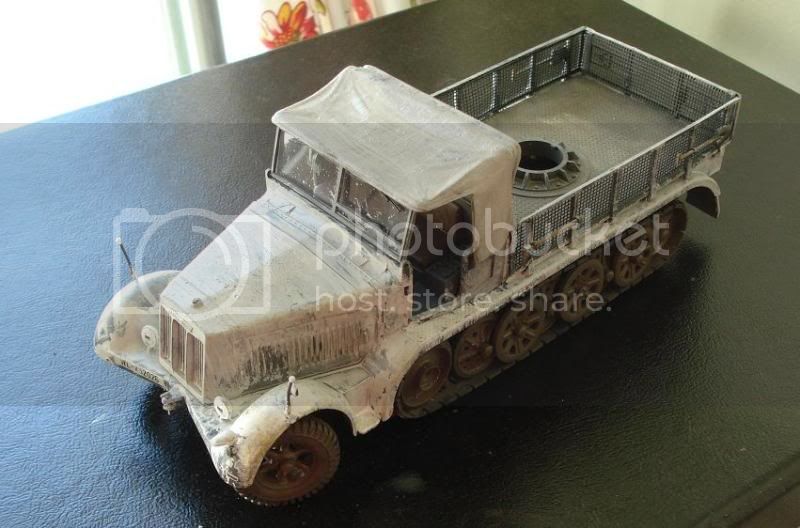
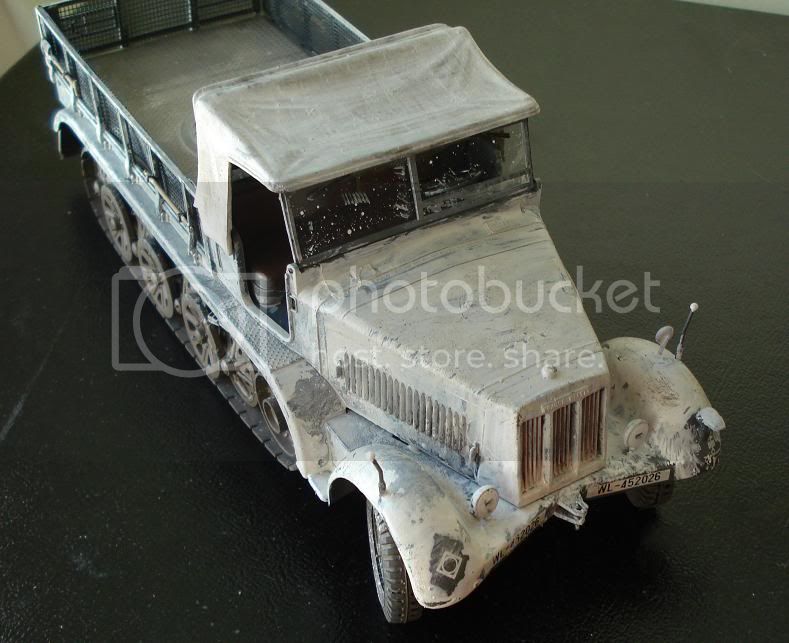
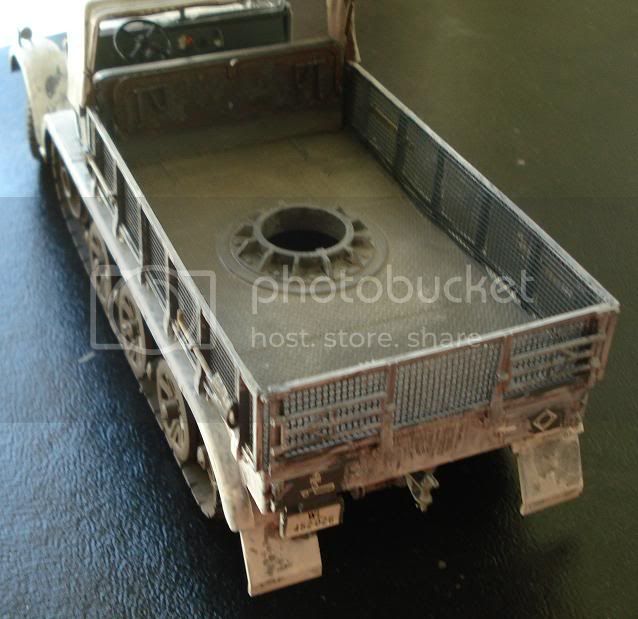
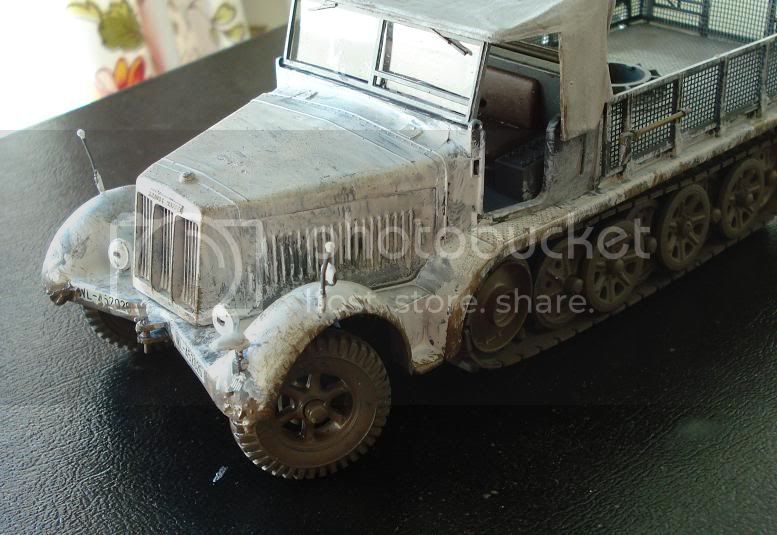
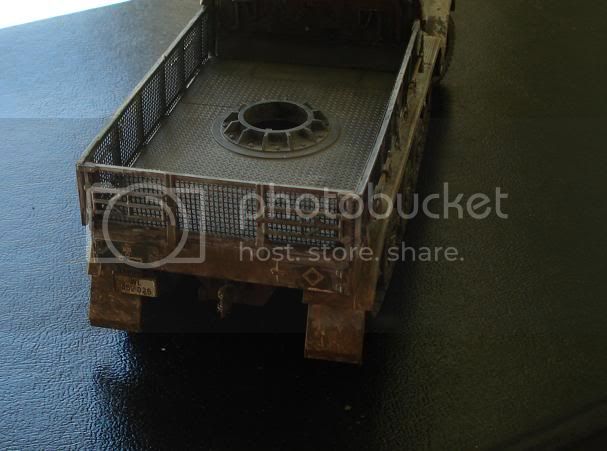
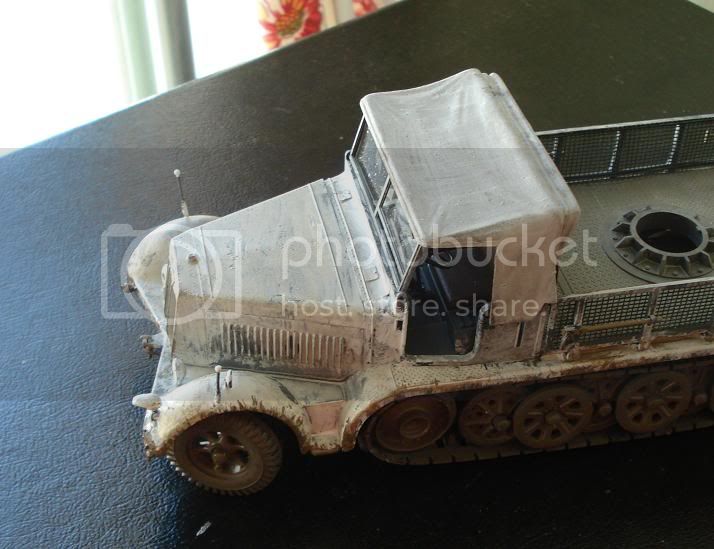
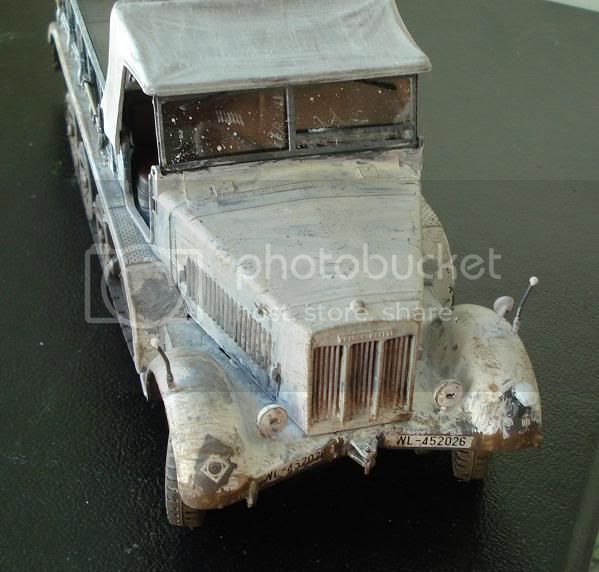
Also will have to work on the gear & equipment, a camo net too.
I'm itchy to start the Flak...


Also will have to work on the gear & equipment, a camo net too.
ltb073

Joined: March 08, 2010
KitMaker: 3,662 posts
Armorama: 3,078 posts

Posted: Wednesday, July 18, 2012 - 05:33 AM UTC
 |


