Campaigns
Where Armorama group builds can be discussed, organized, and updates posted.
King Campaign
Nito74
Visit this Community
Lisboa, Portugal
Joined: March 04, 2008
KitMaker: 5,386 posts
Armorama: 4,727 posts
Posted: Monday, December 10, 2012 - 05:14 AM UTC
Latest work

Decals & rusted exauhst


-- After these pics I added the green dots missing on the last pic--
imatanker
Visit this Community
Maine, United States
Joined: February 11, 2011
KitMaker: 1,654 posts
Armorama: 1,565 posts
Posted: Monday, December 10, 2012 - 11:55 AM UTC
Had a "weather day" today so had some extra time.I love when that happens
Keith...Nice drill job,looks sweet.Wasn't so bad was it?
John...What do you use for your rust? I'm still trying to come up with something thats easy and looks good.
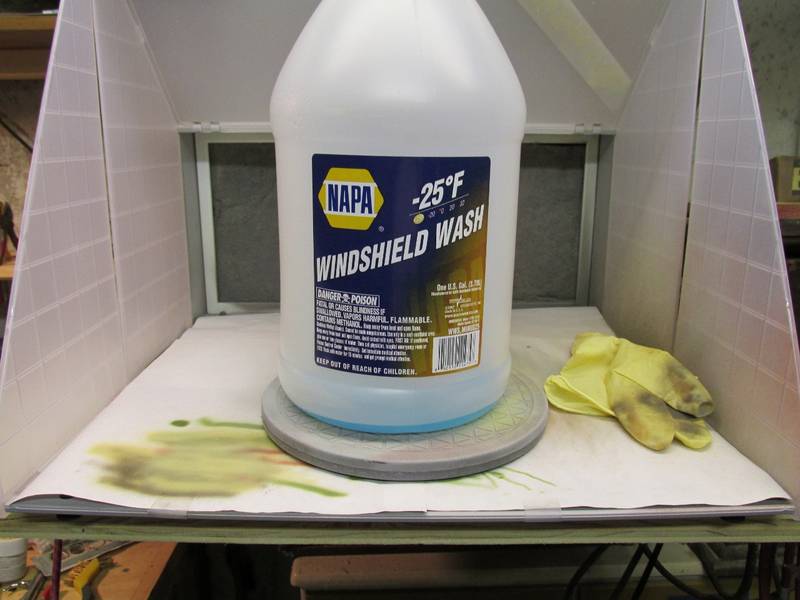
Sal...Here's what I used to thin my paint with
I had read on this site many times that this type of stuff worked for thinning,had a little left over and tried it.It did work pretty well.I thinned the paint 2-3 parts paint to 1 part fluid.I put on three coats.I got scared after the first coat,cause it looked horrible But kept at it and each coat got better and better.Looking back,4 coats would have really iced it
I will say though that this is a 1/72nd build,so the areas where pretty small.I don't know how well this would work in the larger scales.But,it did slow down the drying rate,and let the brush marks settle down enough to make the process a lot easier.For figures or other small stuff,I think it would work great.
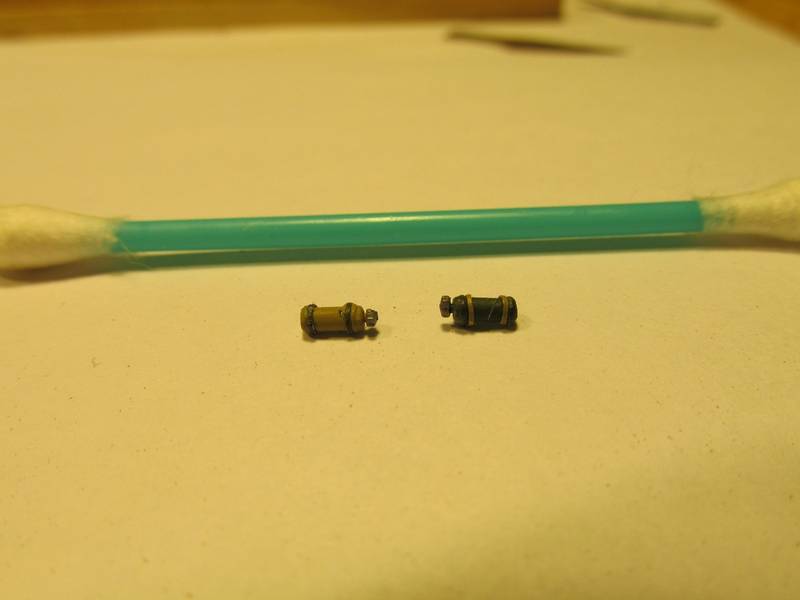
Oh,I made some straps for the fire extinguishers and got them painted

Model on,Jeff T.
PantherF
Visit this Community
Indiana, United States
Joined: June 10, 2005
KitMaker: 6,188 posts
Armorama: 5,960 posts
Posted: Monday, December 10, 2012 - 12:54 PM UTC
Model on Jeff T.!

Looks like we're gonna ramp up for a good winter of modeling!


~ Jeff
ltb073
Visit this Community
New York, United States
Joined: March 08, 2010
KitMaker: 3,662 posts
Armorama: 3,078 posts
Posted: Monday, December 10, 2012 - 02:27 PM UTC
Jeff Windshield washer fluid ok may have to try that
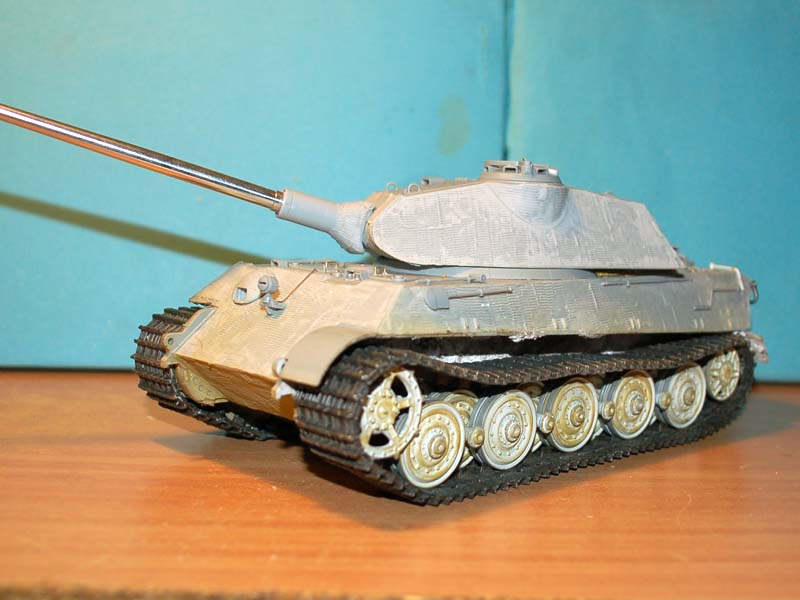
@ John your paint job of 332 is looking really nice, but on this site
http://www.ss501panzer.com/index.htm
There is a story called "The Saga of 332" and it says that 332 had a different paint scheme then other KT's no spot and tri color camo
But hey like I said it looks great the way you have it
Nito74
Visit this Community
Lisboa, Portugal
Joined: March 04, 2008
KitMaker: 5,386 posts
Armorama: 4,727 posts
Posted: Monday, December 10, 2012 - 04:25 PM UTC
@Jeff

It was quite simple Jeff, and I really liked the results, will try to take some better pics next time too.
First I gave a coat of Humbrol 27004 GUNMETAL METALCOTE, let it dry for a day.
Then I used AK Interactive Rust streaks and gave just 2 coats to achieve the tone I wanted.

@Sal
Thanks !
I wasn't trying to be accurate (unit/paintjob), the other decal option was for a Zimmerit version so I picked the 332.
What I really wanted was to try a different colour scheme
woltersk
Visit this Community
Utah, United States
Joined: May 27, 2003
KitMaker: 1,026 posts
Armorama: 654 posts
Posted: Monday, December 10, 2012 - 05:21 PM UTC
I stole this idea from somebody's playbook, but I can't recall who's. Drilled out the tow hooks and installed wire 'bolts'. It beats the little snap-on 'nubs'.


Keith
wedgetail53
Visit this Community
Queensland, Australia
Joined: October 02, 2008
KitMaker: 658 posts
Armorama: 629 posts
Posted: Monday, December 10, 2012 - 07:59 PM UTC
G'day guys

Despite my silence while I worked in Papua New Guinea for a week, I have been busy on my KT. I applied a first base coat of XF61 Dark Green lightened with some Dark Yellow, but it turned out far too brown.

Next I tried XF67 Nato green with 1ml of Medium Grey added, and I was much happier with the result. You will notice the first piece of J's Work mask on the right side.


Then I painted the wheels the same colour.


Then I had the fun job of applying all the bits of mask, and the photo below shows all the green bits masked. I will admit it's not as hard as cutting out all the bits myself, but it's a bit like a 3D jigsaw puzzle.


After masking all the bits and applying the three camo colours, I then started to apply the dots of the ambush camouflage. By the time I was finished, I was definitely seeing spots before my eyes!


Next, I decided to apply some dirt to the road wheels. This photo shows the wheels after I applied a thin mix of jointing plaster, Mig Industrial City Dirt, and Mig Concrete Duat.


Last but not least, I then gently brushed off the excess dirt with a relatively soft brush in the Dreml, a slow speed and a gentle touch.

Stay tuned for another instalment soon.

Regards

Rob

SaxonTheShiba
Visit this Community
United States
Joined: February 01, 2009
KitMaker: 1,233 posts
Armorama: 557 posts
Posted: Monday, December 10, 2012 - 11:21 PM UTC
John and Rob----- beautiful ambush schemes on both Tigers. Really well done.


Best wishes. ian
imatanker
Visit this Community
Maine, United States
Joined: February 11, 2011
KitMaker: 1,654 posts
Armorama: 1,565 posts
Posted: Tuesday, December 11, 2012 - 01:45 PM UTC
Gentlemen,We are all making progress I see.Well done.
Mr. Stringer,nice to hear from you.Yes, I think it will be a good winter
I do have a question guys.I'm getting ready to paint my pioneer tools,and I've never been able to come up with a good color for the handles.Any sugestions?Jeff T.
BBD468
Visit this Community
Texas, United States
Joined: March 08, 2010
KitMaker: 2,465 posts
Armorama: 2,383 posts
Posted: Tuesday, December 11, 2012 - 03:43 PM UTC

Quoted Text

Rob and Sal... Ha,so I was right about the lifting tube I like it when I'm right.Doesn't happen very much any more.
About the cable,they will do that if they are loaded to the point of almost breaking.It looks as if at some point in time it was wrapped around something and REALLY worked.


Ian... Nice work Dude,You should think about adding a wading kit to it though,cause if it needs to cross any water,with all that weight, it's goin' to the bottom
Next up,got some more paint work done.

WHO SAYS YOU CAN'T BRUSH PAINT TAMIYA?
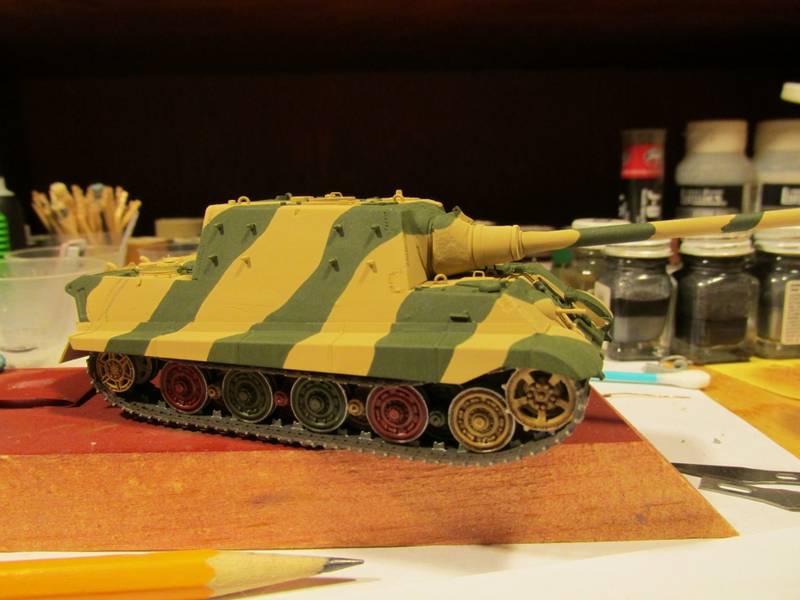


Any questions?

Didn't think so I think it came out pretty well.All comments welcome.Jeff T.


Jeff T., That is the most impressive brush paint job with Tamiya ive ever seen...HOW DID YOU DO THAT??? That couldnt have been easy. Did you thin or apply straight out tha bottle? Well done sir!!!

Lots of great build going on here...wish i coulda jopined in the fun, but not kit to qualify and im commited to other builds. Ill stop in and say hello and soak in some of this good stuff.

Gary
woltersk
Visit this Community
Utah, United States
Joined: May 27, 2003
KitMaker: 1,026 posts
Armorama: 654 posts
Posted: Tuesday, December 11, 2012 - 04:03 PM UTC

Quoted Text

Gentlemen...I'm getting ready to paint my pioneer tools,and I've never been able to come up with a good color for the handles.Any sugestions?Jeff T.

Jeff, I've had decent luck with a wood tan, coat of Future, and some different shades of brown artist's oils applied in a woodgrain pattern.


(My apologies for the fly-ie thing in an armor thread)

Wait...what scale is your KT? This technique might not translate well in Braille scale.

Keith
CMOT
Staff MemberEditor-in-Chief
ARMORAMA
Visit this Community
England - South West, United Kingdom
Joined: May 14, 2006
KitMaker: 10,954 posts
Armorama: 8,571 posts
Posted: Tuesday, December 11, 2012 - 05:28 PM UTC
I really like these ambush paint schemes that are appearing almost makes me wish mine didn't have to be white washed. Great work everyone.

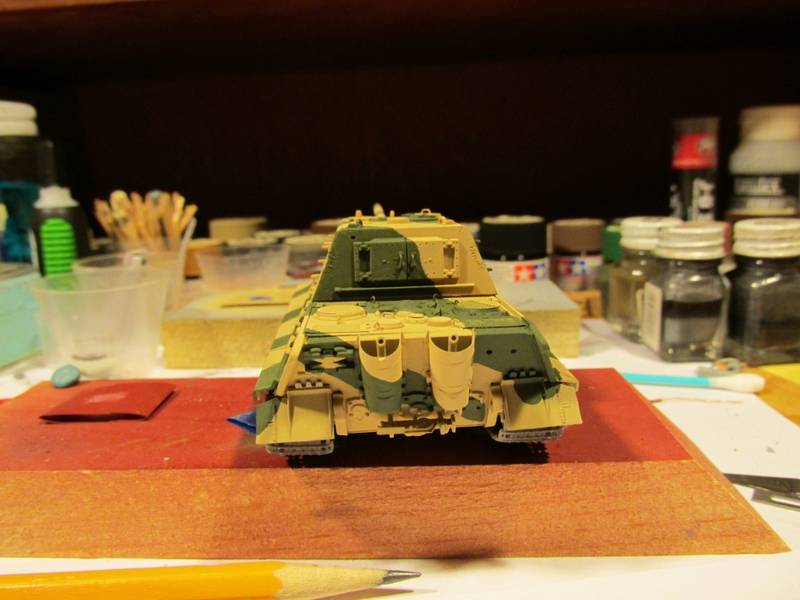
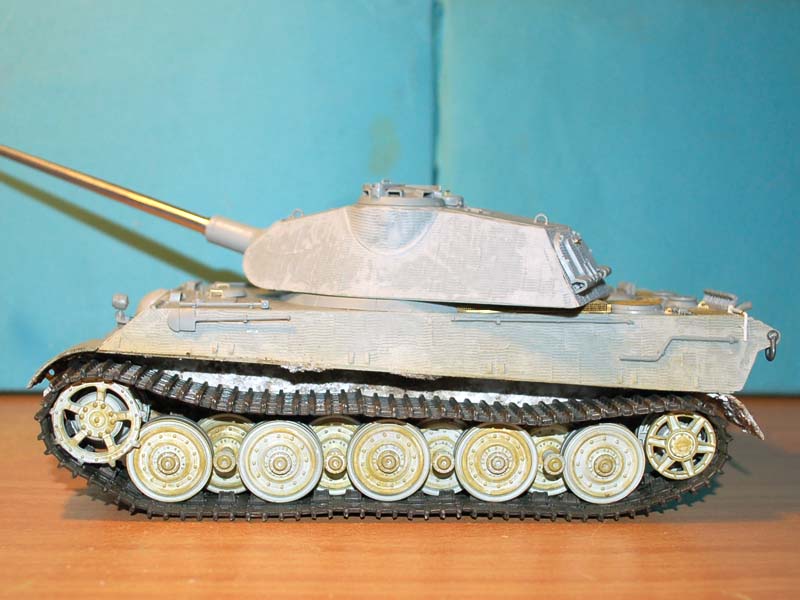
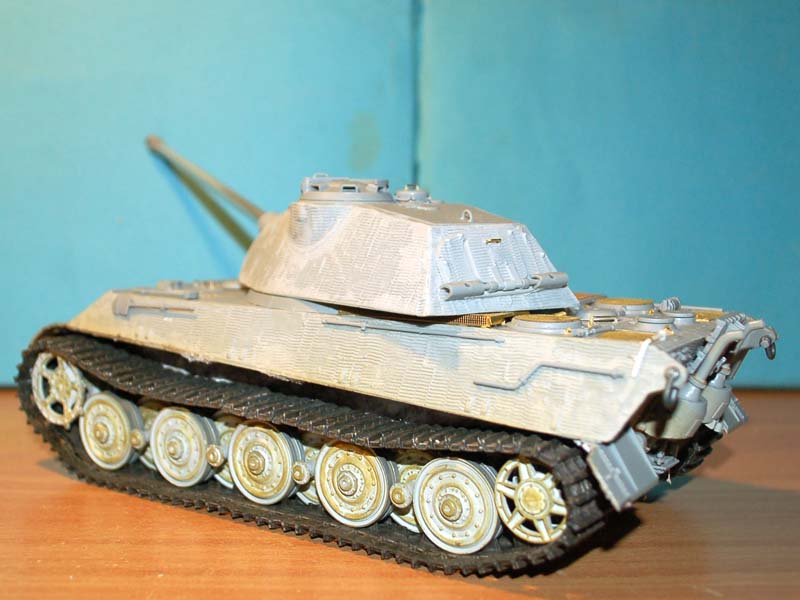
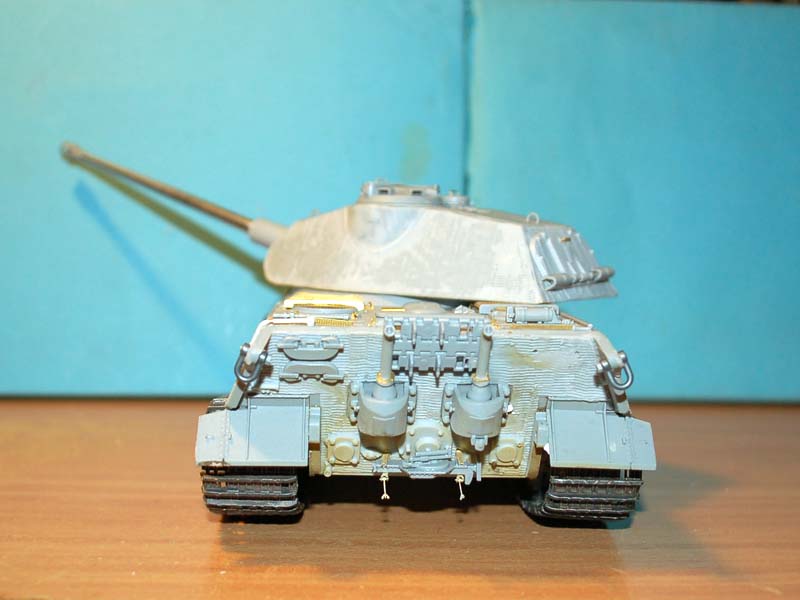
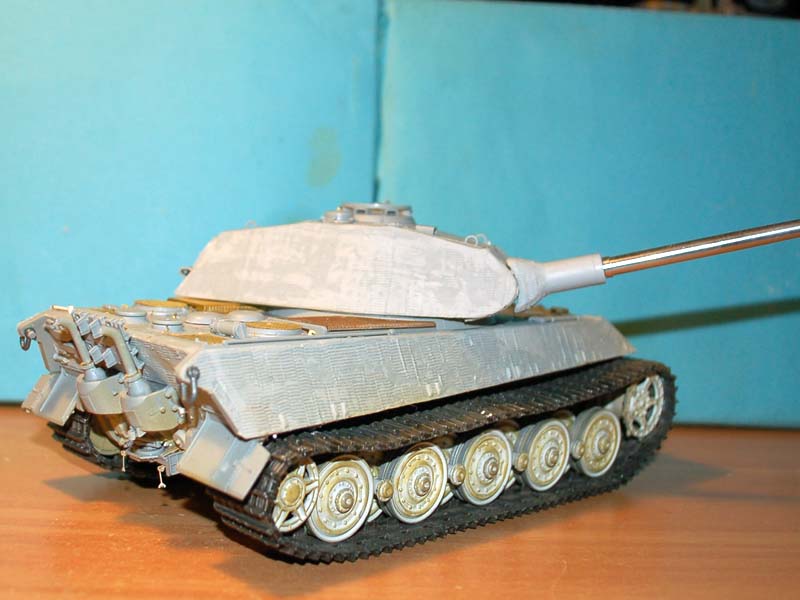
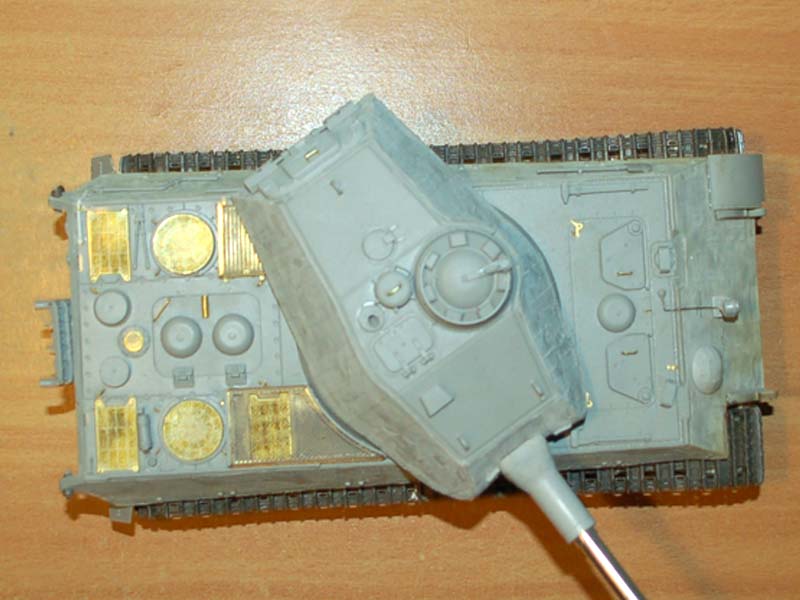
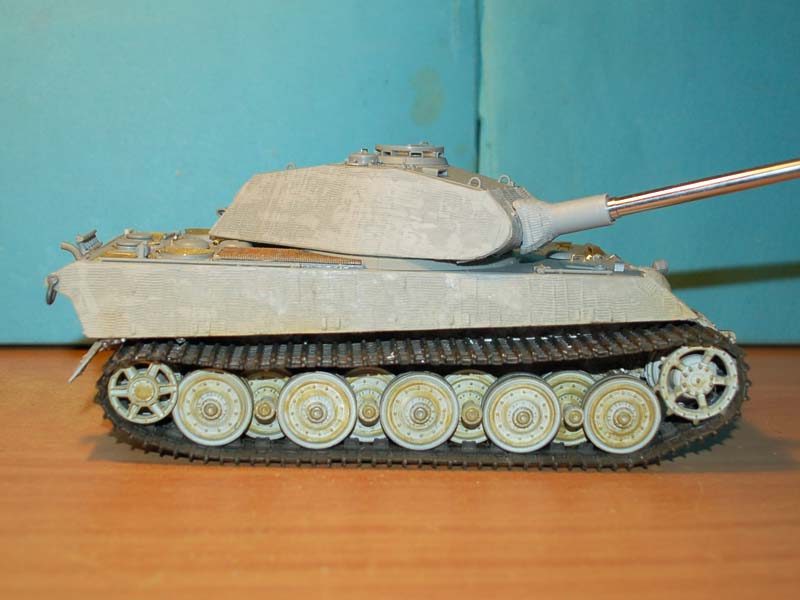
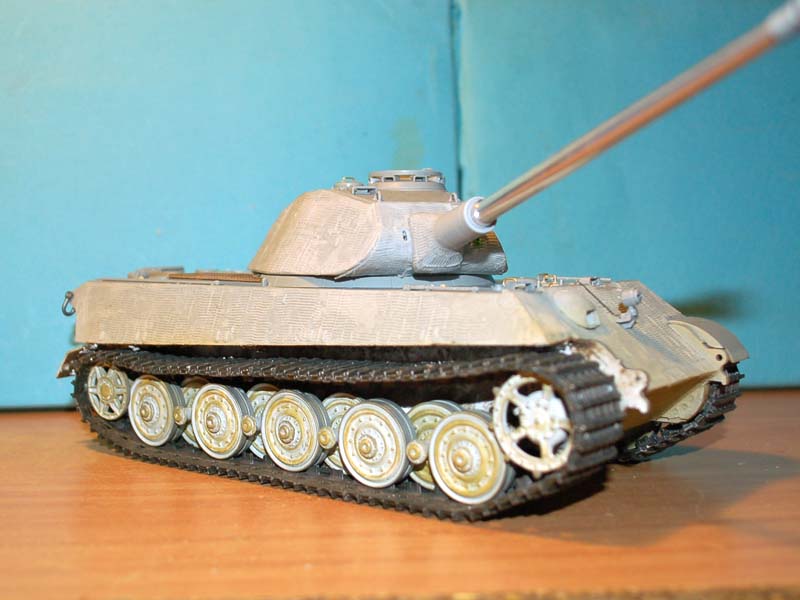
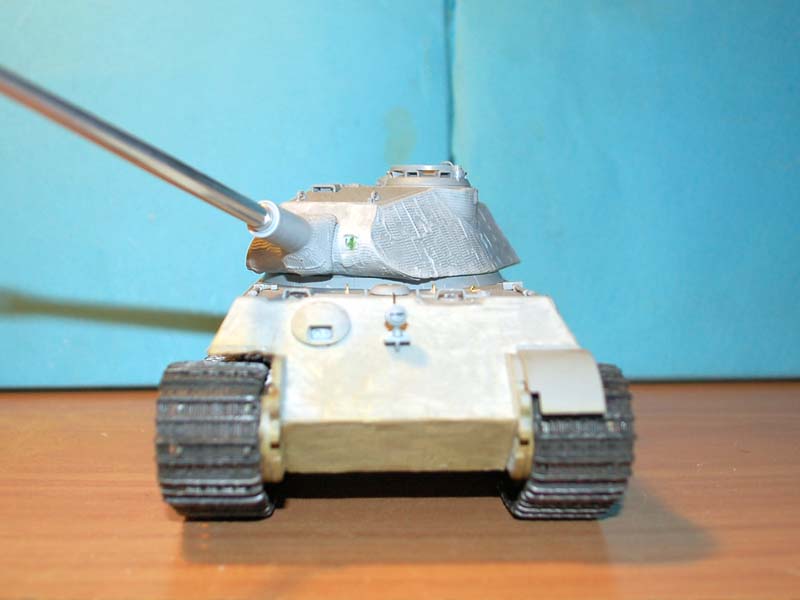
Well I am getting very close to the painting stage at last with the track hangers and cable clasps all that is left, I forgot I have to scratch structure where the jacking block usually resides. I have added a tube at the right rear of the KT as I know it is supposed to be there (just can’t remember why). Well here is a walk around so to speak let me know what you think.


wedgetail53
Visit this Community
Queensland, Australia
Joined: October 02, 2008
KitMaker: 658 posts
Armorama: 629 posts
Posted: Wednesday, December 12, 2012 - 11:34 AM UTC
Darren

I think that tube is a container for a spare aerial.

Regards

Rob
imatanker
Visit this Community
Maine, United States
Joined: February 11, 2011
KitMaker: 1,654 posts
Armorama: 1,565 posts
Posted: Wednesday, December 12, 2012 - 12:06 PM UTC

Keith, Thanks for the help with the woodgrain,I think you're right about it being do able in 1/72nd. Don't worry,I haven't got anything against wingy-thingies.
Gary,Thanks man,scroll up a little for how I did it.If you need more info let me know.
Darren,That thing just gets better and better.
Rob, I'm pretty sure you're right about the tube.
I'm messing with the small stuff now getting ready to start washing and weathering,should have some pics soon.Jeff T.
woltersk
Visit this Community
Utah, United States
Joined: May 27, 2003
KitMaker: 1,026 posts
Armorama: 654 posts
Posted: Wednesday, December 12, 2012 - 05:12 PM UTC
It's the little things in life...


Another old trick, which now works even better with PE: using an inverted strip of masking tape to grip the minuscule parts while you cut them off the sprue, or brass, tree. It then does double duty as a sticky surface to hold the parts while they are cleaned up, and they can stay there until needed. Less parts for the carpet monster. Of course, now I have to get them from the tape to the glue and then to the kit. Tweezers don't fail me now!

Keith
CMOT
Staff MemberEditor-in-Chief
ARMORAMA
Visit this Community
England - South West, United Kingdom
Joined: May 14, 2006
KitMaker: 10,954 posts
Armorama: 8,571 posts
Posted: Wednesday, December 12, 2012 - 09:57 PM UTC

Quoted Text

Darren

I think that tube is a container for a spare aerial.

Regards

Rob


Other side Rob at the very rear and then hangs over the side.
wedgetail53
Visit this Community
Queensland, Australia
Joined: October 02, 2008
KitMaker: 658 posts
Armorama: 629 posts
Posted: Wednesday, December 12, 2012 - 11:01 PM UTC
Darren

In that case, it's the fuel tank vent pipe. Later KTs had four.

Regards

Rob
CMOT
Staff MemberEditor-in-Chief
ARMORAMA
Visit this Community
England - South West, United Kingdom
Joined: May 14, 2006
KitMaker: 10,954 posts
Armorama: 8,571 posts
Posted: Wednesday, December 12, 2012 - 11:09 PM UTC
Thank you for the info
Nito74
Visit this Community
Lisboa, Portugal
Joined: March 04, 2008
KitMaker: 5,386 posts
Armorama: 4,727 posts
Posted: Thursday, December 13, 2012 - 12:51 AM UTC
Working on equipment, wheels and side skirts. Pics soon.

Great work Darren, that KT is looking great !
Snorri23
Visit this Community
Ontario, Canada
Joined: March 25, 2010
KitMaker: 514 posts
Armorama: 261 posts
Posted: Thursday, December 13, 2012 - 12:52 AM UTC
I was thinking of presenting my JagdTiger as Heinrich Rondorf's mount. Does anyone have a good photo or such depicting his tank's paint scheme? Thanks.
CMOT
Staff MemberEditor-in-Chief
ARMORAMA
Visit this Community
England - South West, United Kingdom
Joined: May 14, 2006
KitMaker: 10,954 posts
Armorama: 8,571 posts
Posted: Thursday, December 13, 2012 - 04:49 AM UTC
trevor what unit was he with and when?

John thanks for the compliment
Snorri23
Visit this Community
Ontario, Canada
Joined: March 25, 2010
KitMaker: 514 posts
Armorama: 261 posts
Posted: Thursday, December 13, 2012 - 07:38 AM UTC
Unit 512 April 45 Iserlohn, Rhur thanks
Nito74
Visit this Community
Lisboa, Portugal
Joined: March 04, 2008
KitMaker: 5,386 posts
Armorama: 4,727 posts
Posted: Thursday, December 13, 2012 - 08:14 AM UTC
Jeff some pics rusted exaust & equipment


CMOT
Staff MemberEditor-in-Chief
ARMORAMA
Visit this Community
England - South West, United Kingdom
Joined: May 14, 2006
KitMaker: 10,954 posts
Armorama: 8,571 posts
Posted: Thursday, December 13, 2012 - 08:32 AM UTC
Trevor what is the tanks number?
Snorri23
Visit this Community
Ontario, Canada
Joined: March 25, 2010
KitMaker: 514 posts
Armorama: 261 posts
Posted: Thursday, December 13, 2012 - 04:42 PM UTC
The tanks number is 'X2'