

1⁄35Trakz German Staff Car
10
Comments
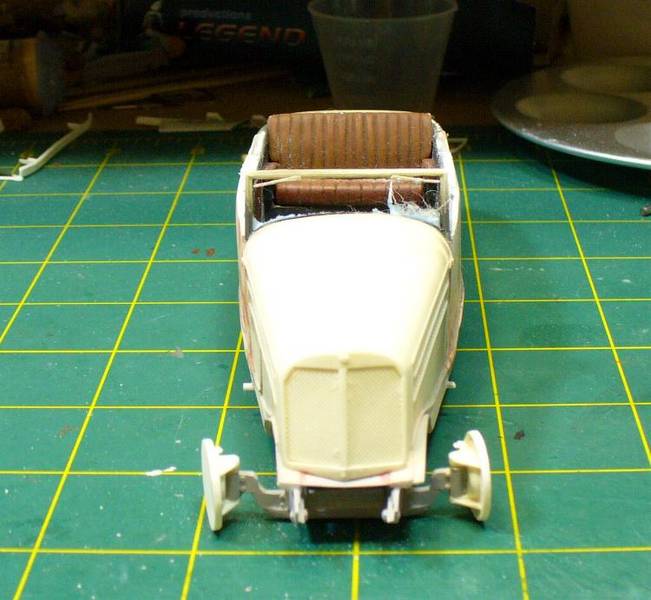
Time to face the music! After another extended break, it was time to face the music, and fix those extra thick doors. I started out using some good old fashion 80 grit sand paper. This turned out to be way too slow for my liking, and after a while it looked like I didnt even do anything. Soooooooo--- out came the Dremel, and sanding drum. In no time I had those doors cut down to size, but sure had a lot of repair work to do also. I puttied and sanded, puttied and sanded, puttied and sanded.
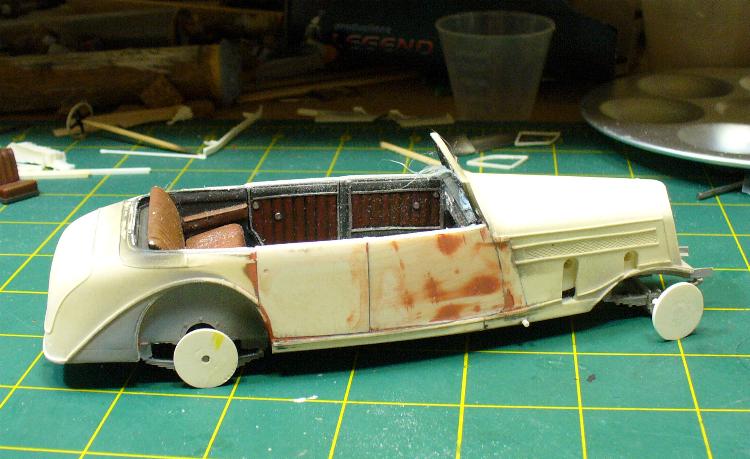
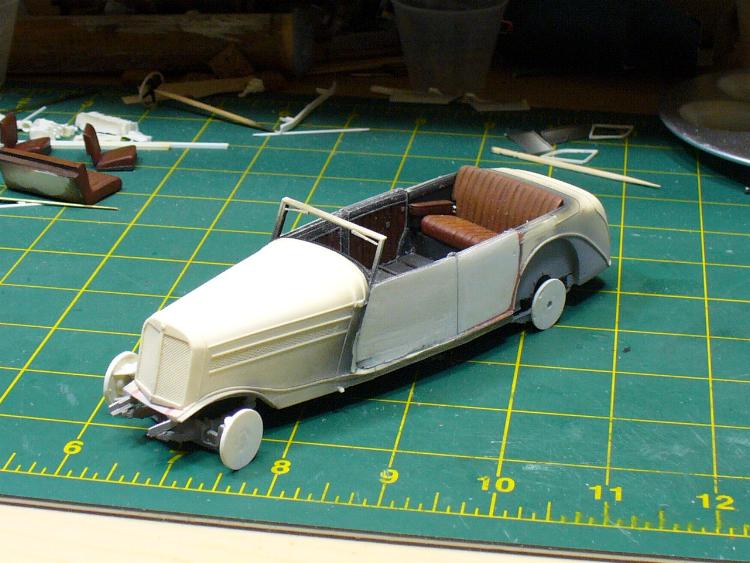
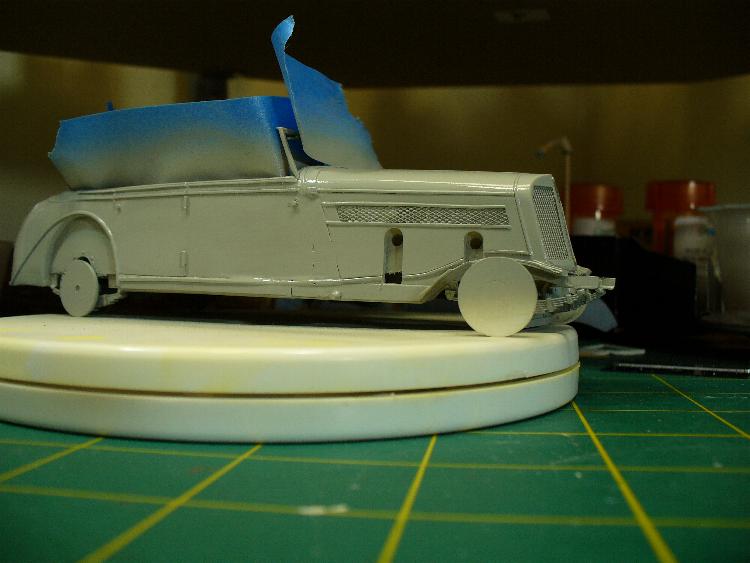
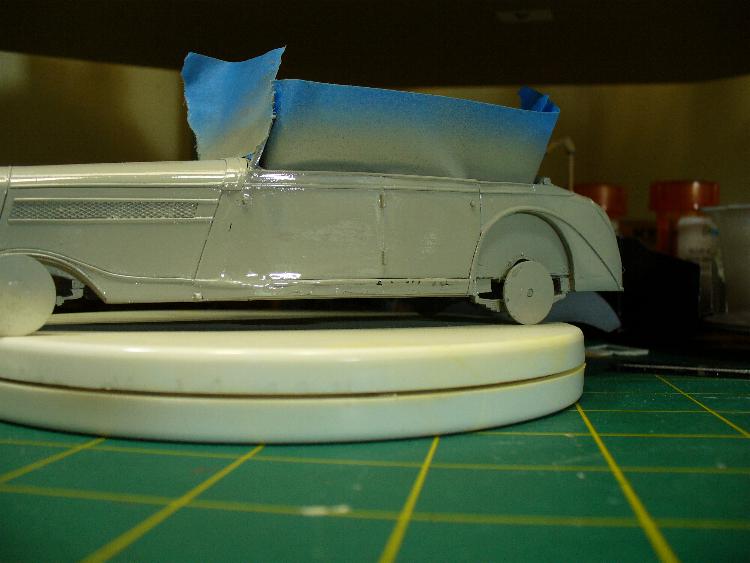
I then replaced the lost chrome trim pieces. On hindsight I should have waited until more of the bodywork was finished, but hey we all arent perfect, and I sometimes do get ahead on myself. Anyway, replacing these strips was rather simple; I first ran a strip of Tamyia tape aligning it with the front hood strip, and the rear top strip. I then laid down a strip of .10x.15 plastic strip, and tacked it in place with thin CA. After it looked straight, I ran a little thin CA along its length, removed the tape, and proceeded to replace the other strips the same way (Photos 26-27). I masked off the interior with some blue painters tape, and shot some primer (Photos 28-29). You can see why I said I should have waited to apply the trim. More filling and sanding on the horizon! And again the kit was set aside to allow myself to recover from the frustrations.After a few weeks I returned and after several sessions of filling and sanding, I started sanding through the resin of the doors, exposing large pinholes. I really was approaching the point of throwing this kit out, but instead once again put it aside, until I was in a better frame of mind.
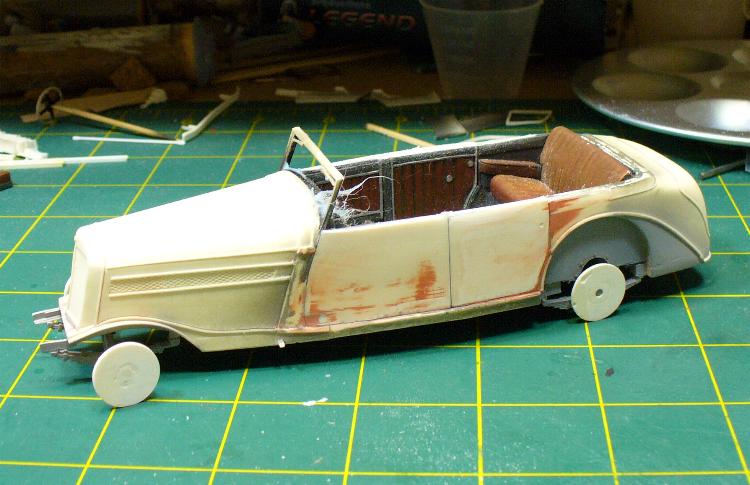
When I returned, I took a ##11 blade, enlarged the holes, and mixed up some Magic Sculpt, and used this for filler, smoothing with a wet finger. After it cured, I again sanded it smooth, and shot a coat of the gloss grey I was going to use. This coat showed up some more blemishes, (Photos 30-31) so some more sanding and spraying, sanding and spraying. Fortunately the trim remained safe, but the hinges disappeared. Photos 32-33 show the hinges replaced. A little re-scribing of the door lines followed. Several light coats of gloss grey, and light sanding in-between, and eventually I got a somewhat presentable finish.
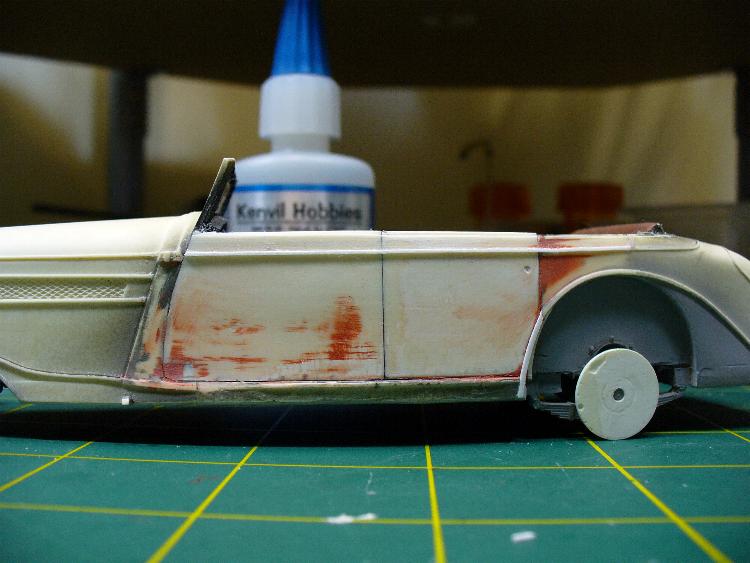
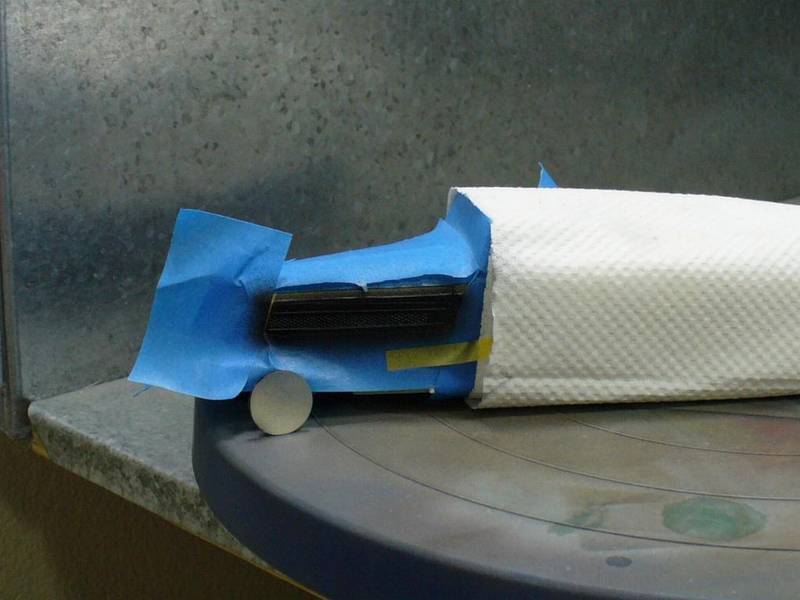
After letting this grey cure for several weeks, (actually I really didnt want to look at this kit again) I started masking off the body for the chrome trim. Photos 34-35 show the first stage of the Alclad II black primer. I masked and shot the chrome in stages. I got a nice shiny smooth finished from this primer, I decided to also use it for the black finish on the fenders. (A future nightmare well come to!)
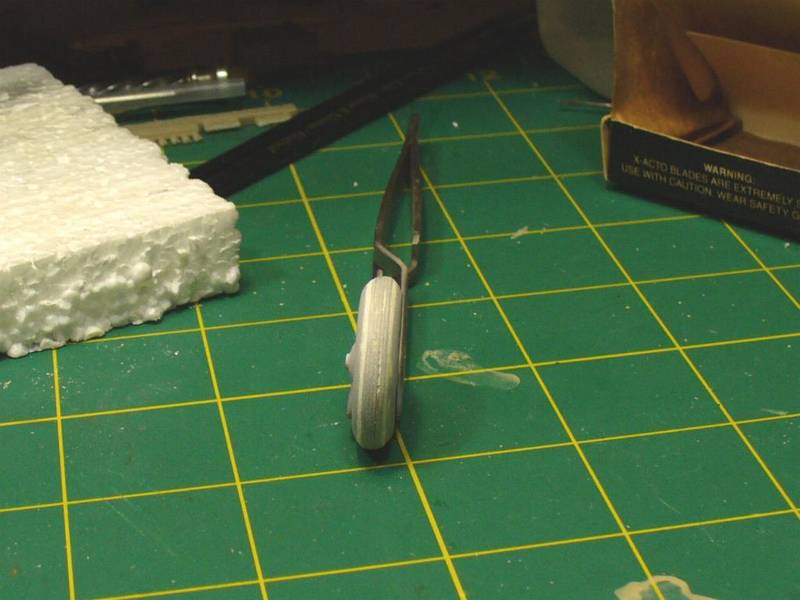
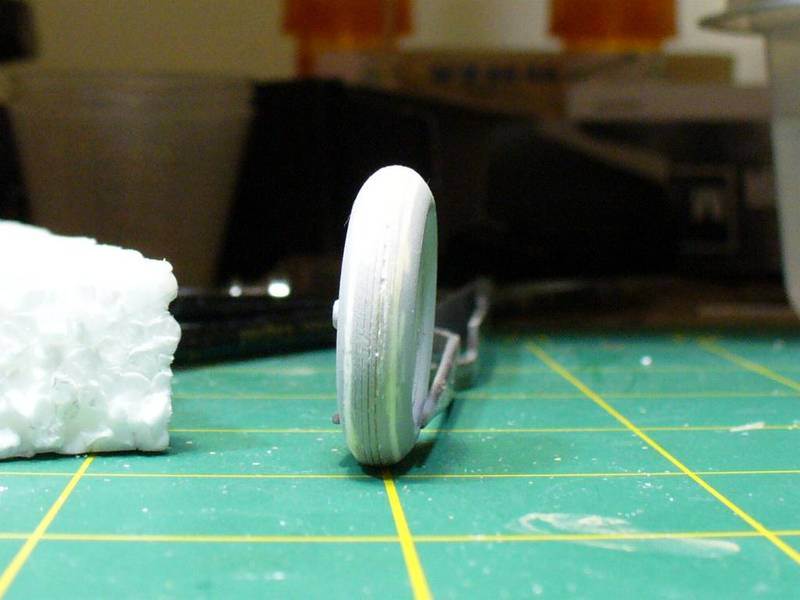
Next I tackled the tires. These had three rather wide groves to represent the treads. I decided to try to improve this area, and used Magic Sculpt to fill these grooves in. A little sanding, and I was able to try to re-engrave treads. I made up a jig from a stack of #11 blades, and some scrap boxwood. It was then a simple matter of loosening up the screw, and aligning the blades to the curve of the tire, tightening the screw, hoping nothing moved, and lightly scribing in the new tread. Not perfect, but they do look better than before (Photos 36-38). I then mounted all the smaller parts on toothpicks, wire, etc to prime with my normal primer, followed by the black Alclad II primer, then the Alclad II Chrome for the chrome parts (Photos 39-41).


About the Author


FROM: FLORIDA, UNITED STATES
I'm rewriting this in a much more humoristic way, to help over inflate my ego, and place my self on a pedestal, because I don't have a life, and plastic models are the only thing I live for. I plead guilty as charged to excessive babble, light hearted humor, and continued encouragement to youngsters...
Comments
Ah, yes - the staffcar from hell - congratulations on a beautiful result Dave - your hard work really paid of ... but what took you so long
Good read!
Cheers/Jan
JAN 07, 2008 - 09:05 PM

I just realized I forgot to send the photos of it finished with the little Nazi flags!
JAN 07, 2008 - 11:58 PM

I'm glad to see this in a feature. I had fun watching the build threads.
Great figures.
Nice job Dave.
JAN 08, 2008 - 02:25 AM


Beautiful job !!!!
Wonderful work !!!
Amazing model !!!
Wow ...all is superlative ...
Congrats, Dave....
You rock !!!!
JAN 08, 2008 - 08:30 AM

Great job Dave,
I'd never have the patience for this one; it would have been in pieces long ago.
Turned out great, sharp looking trim, congrats,
Bob
JAN 08, 2008 - 09:32 AM
That's a nice feature Dave, i like it when it doesn't go alright
Next time, scratchbuilding such a little beggar could be an option!
JAN 09, 2008 - 09:35 PM
Thanks for the nice comments guys.
"The check is in the mail"....
JAN 09, 2008 - 09:46 PM
Nice model and something different from all those "Panzers" I like it a lot and you've done an absolutely great job on it!! Something nice for the showcase!
JAN 15, 2008 - 09:29 PM

Dave, Awesome Job, i've never seen this vehicle before. So your from Jersey, Originally I grew up in Bergen county, gotta say it , GO Giants ! LOOKING FORWARD to seeing more of your work...
JAN 30, 2008 - 03:32 PM
Copyright ©2021 by Dave O'Meara. Images and/or videos also by copyright holder unless otherwise noted. The views and opinions expressed herein are solely the views and opinions of the authors and/or contributors to this Web site and do not necessarily represent the views and/or opinions of Armorama, KitMaker Network, or Silver Star Enterrpises. All rights reserved. Originally published on: 2008-01-08 00:00:00. Unique Reads: 27737

WEB HOSTING BY


Copyright ©2021 Armorama and Kitmaker Network, a subsidiary of Silver Star Enterprises
All Rights Reserved. Please read our Conditions of Use and Privacy Policy.
All Rights Reserved. Please read our Conditions of Use and Privacy Policy.