

1⁄35Trakz German Staff Car
10
Comments
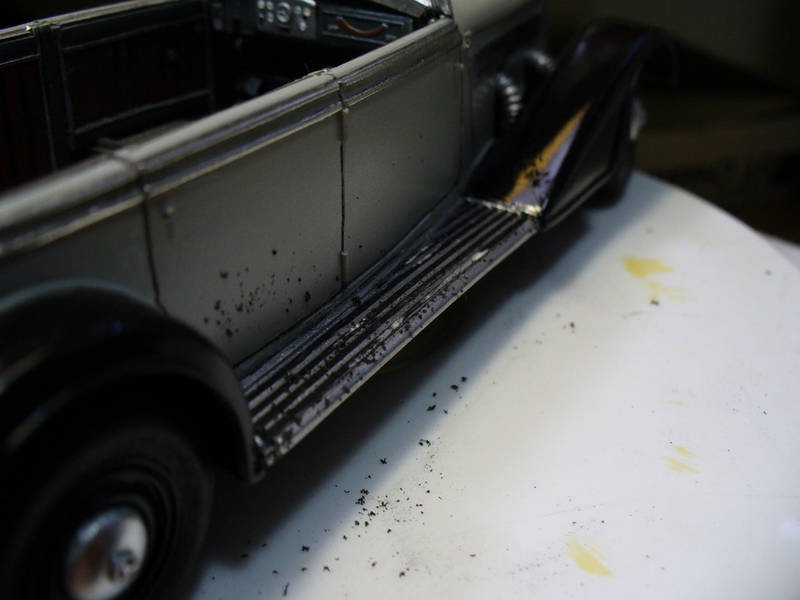
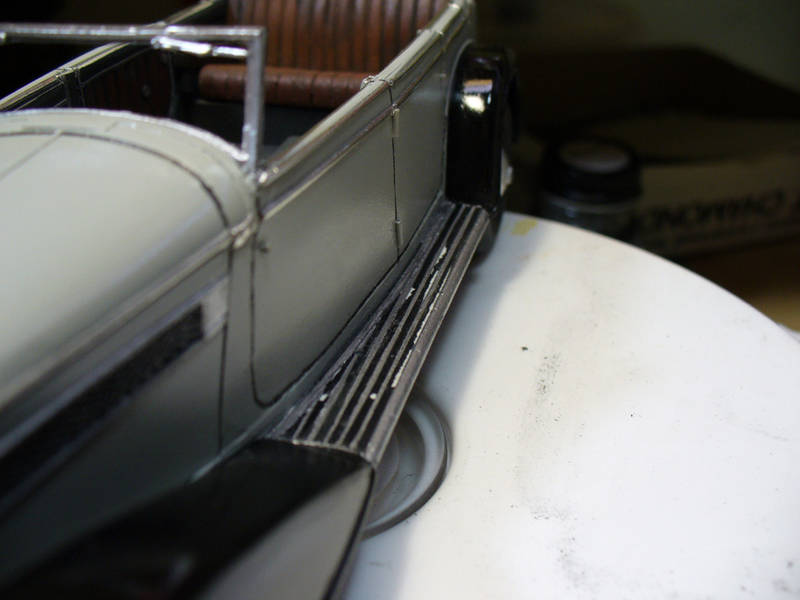
Another breather, and part 3I had previously glued the three fender sections together, primed them, and taped them into position when making the supercharger pipes. I now sprayed them with a few coats of Alclad II black primer, and after that dried, tried to fit them. They no longer fitted! I was really losing my patience by this time, and ended up separating the three sections. I glued the front sections to the body sides and they fitted with no problems. I then glued the rear fenders into place, and again they fitted reasonably well. The running board section was a totally different story. Both were too short! One side by one mm; the other by two mm! I added this from plastic strip to each side. I tried to recreate the pattern as molded and then glued then in place, and used filler for any gaps. Of course my nice shiny black finish was a wreck, and now required some fancy masking of the grey body to re-spray (Photos 42-44).
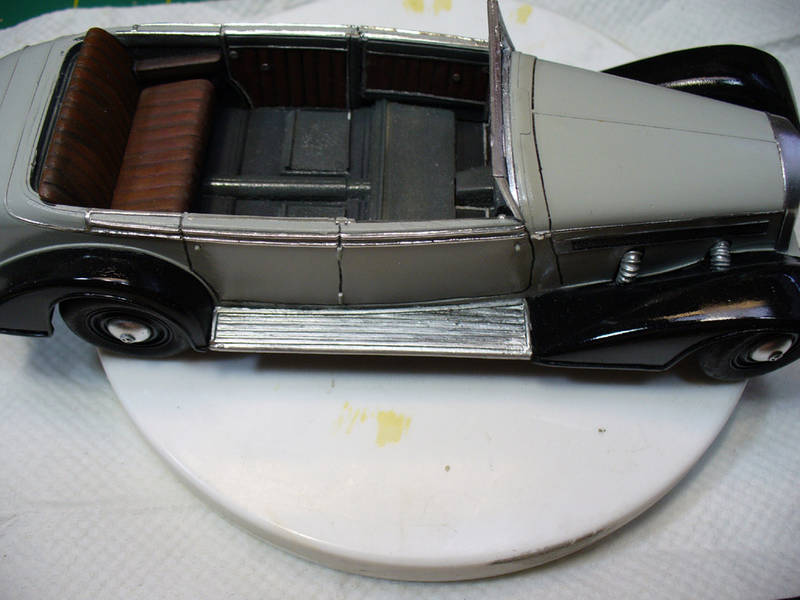
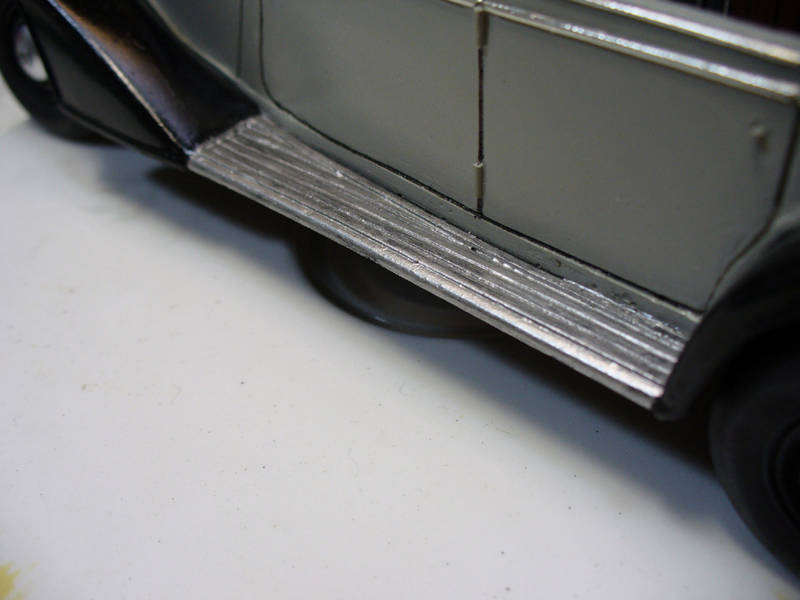
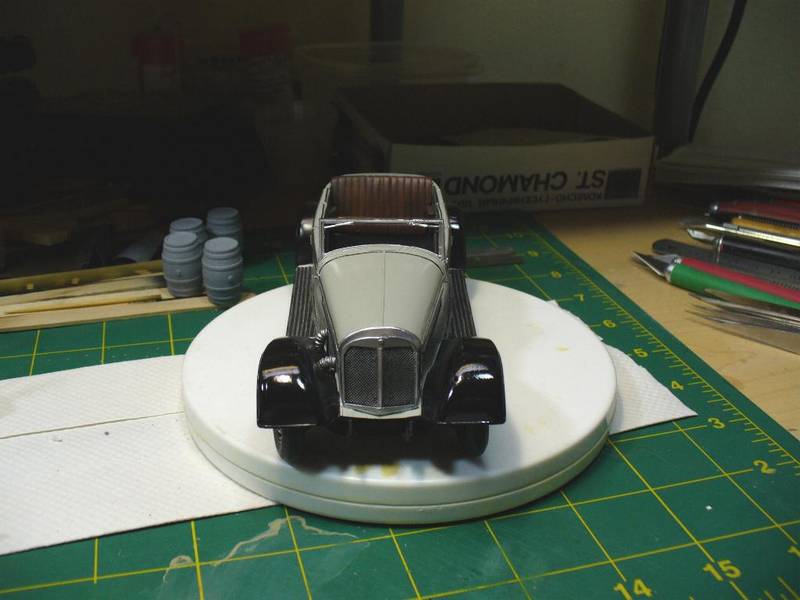
CHROME! Certainly not something the average military vehicle builder does everyday. Im sure if I was a car builder, or a steady aircraft builder, I would be more adapted at using this Alclad II product, but this was my first venture into using it. I used it for all the smaller parts, the radiator shell, and chrome trim on the side of the hood. After spraying on the gloss black primer, I waited until the next day to spray the chrome. This like the primer is airbrush ready. I sprayed on several light coats, as the instructions said, waiting about 15 minutes between coats. Eventually it built up into a nice shiny chrome finish, that looked as good as chrome plated parts. With practice, I'm sure you could replicate a good chrome finish on just about anything you can mask off. Im not that experienced with it, and frankly trying to mask off extremely thin trim strips would have surely put me over the edge, so I resorted to good old fashion Bare-Metal-Foil bright chrome for the long and thin trim. This is really a pretty simple process, of cutting it a little over size, applying it, and burnishing it down with a q-tip, and tooth picks, and trimming with a NEW #11 blade. For the supercharger pipes, I flowed on several coats of Polly S Stainless Steel. The running boards were my next headache. No matter how many times I tried, I just couldnt get the nice thin chrome strips running along between the rubber strips. I eventually said the hell with it, and gave the car plain old solid rubber running boards with a little chrome trim (Photos 45-50).
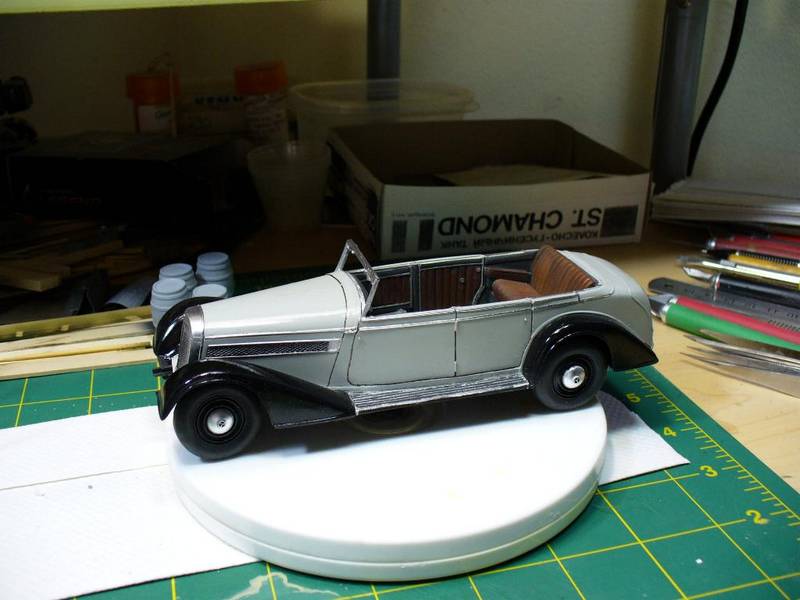
Moving right along at a snails pace, I started placing the smaller parts. I reamed out the light housings, and installed some MV lenses. I cut the wind shield out from .10 clear plastic, ran a black sharpie along its edges, and white glued the wind shield in place. I flowed in The Detailer Black into the panel lines, and radiator and hood side vents (Photos 51-54). Photo 55 shows the car next to another long running project, a PSP Renault AHN truck. Yeah, Ill finish that some day too!
In went the seats, no problems here and on to the figures and base. Photos 56-59 show fitting the one figure, sitting on a Verlinden resin cobble stone street section cut down to fit the base, and a few of the small parts added. The smaller parts were now getting added in-between sessions of working on the figures. The folded top was primed and brushed painted with craft store acrylics, and then given a coating of raw umber oil paint was worked over the surface, and after it had set up for several hours, the excess wiped off with a paper towel. This left not only a darker color in the recesses, but also darkened the tan nicely and all discovered by mistake! The license plates are from an old SMA photo etched set. Photos 60-67 show the model fast approaching the finish line.
About the Author


FROM: FLORIDA, UNITED STATES
I'm rewriting this in a much more humoristic way, to help over inflate my ego, and place my self on a pedestal, because I don't have a life, and plastic models are the only thing I live for. I plead guilty as charged to excessive babble, light hearted humor, and continued encouragement to youngsters...
Comments
Ah, yes - the staffcar from hell - congratulations on a beautiful result Dave - your hard work really paid of ... but what took you so long
Good read!
Cheers/Jan
JAN 07, 2008 - 09:05 PM

I just realized I forgot to send the photos of it finished with the little Nazi flags!
JAN 07, 2008 - 11:58 PM

I'm glad to see this in a feature. I had fun watching the build threads.
Great figures.
Nice job Dave.
JAN 08, 2008 - 02:25 AM


Beautiful job !!!!
Wonderful work !!!
Amazing model !!!
Wow ...all is superlative ...
Congrats, Dave....
You rock !!!!
JAN 08, 2008 - 08:30 AM
Great job Dave,
I'd never have the patience for this one; it would have been in pieces long ago.
Turned out great, sharp looking trim, congrats,
Bob
JAN 08, 2008 - 09:32 AM
That's a nice feature Dave, i like it when it doesn't go alright
Next time, scratchbuilding such a little beggar could be an option!
JAN 09, 2008 - 09:35 PM
Thanks for the nice comments guys.
"The check is in the mail"....
JAN 09, 2008 - 09:46 PM
Nice model and something different from all those "Panzers" I like it a lot and you've done an absolutely great job on it!! Something nice for the showcase!
JAN 15, 2008 - 09:29 PM

Dave, Awesome Job, i've never seen this vehicle before. So your from Jersey, Originally I grew up in Bergen county, gotta say it , GO Giants ! LOOKING FORWARD to seeing more of your work...
JAN 30, 2008 - 03:32 PM
Copyright ©2021 by Dave O'Meara. Images and/or videos also by copyright holder unless otherwise noted. The views and opinions expressed herein are solely the views and opinions of the authors and/or contributors to this Web site and do not necessarily represent the views and/or opinions of Armorama, KitMaker Network, or Silver Star Enterrpises. All rights reserved. Originally published on: 2008-01-08 00:00:00. Unique Reads: 27737

WEB HOSTING BY


Copyright ©2021 Armorama and Kitmaker Network, a subsidiary of Silver Star Enterprises
All Rights Reserved. Please read our Conditions of Use and Privacy Policy.
All Rights Reserved. Please read our Conditions of Use and Privacy Policy.