

1⁄35Building the Churchill Mk III c/w Interior
13
Comments
Let building commence
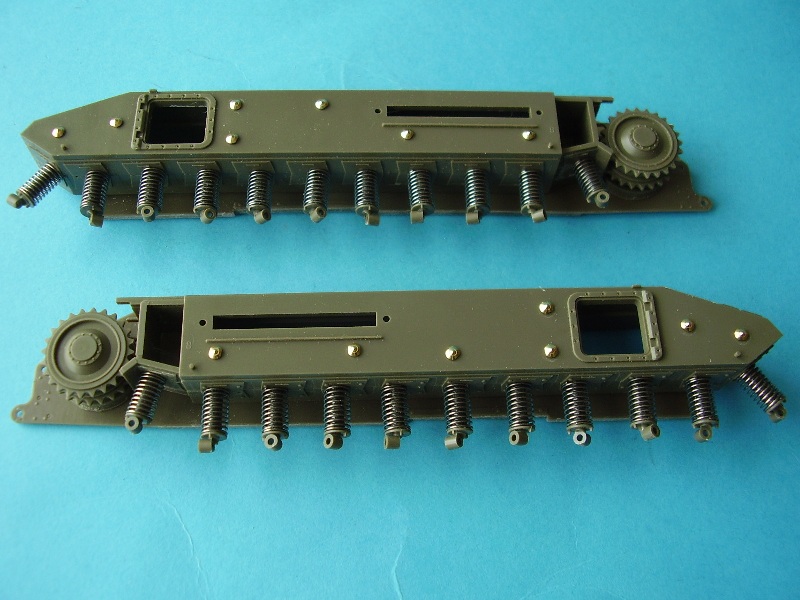
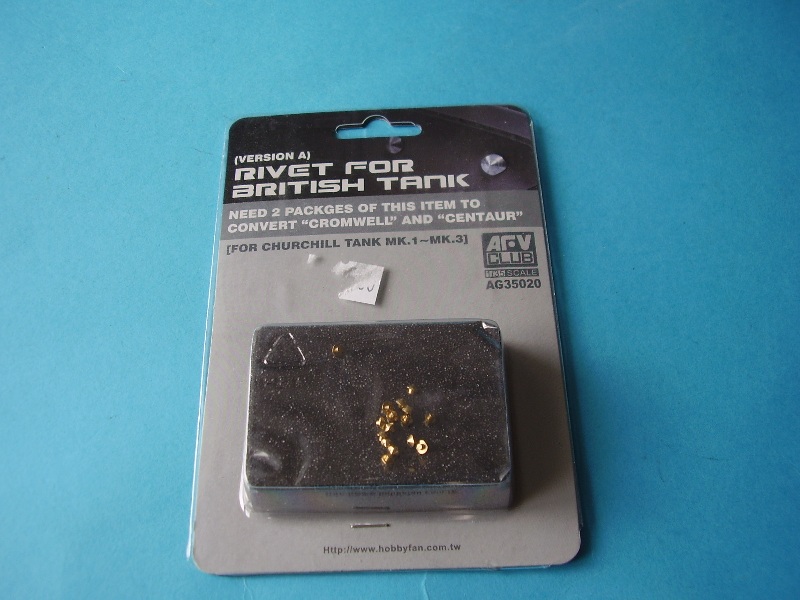
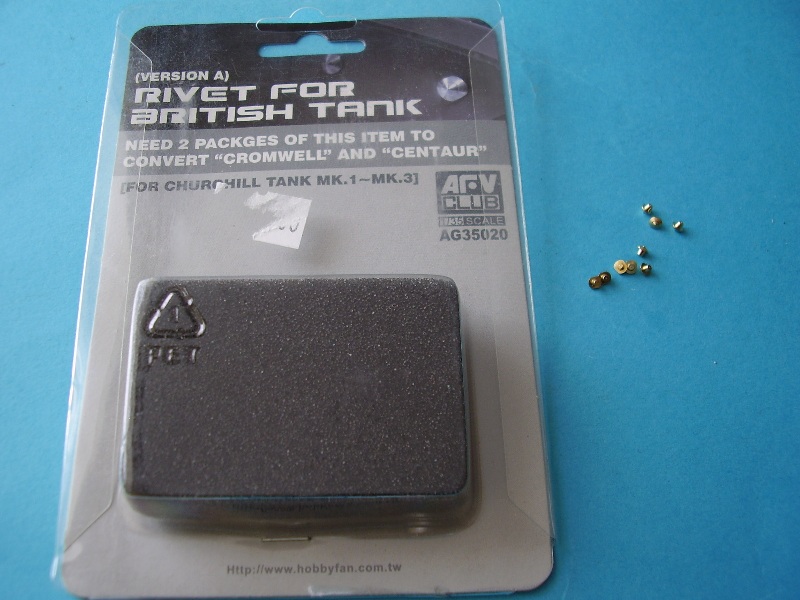
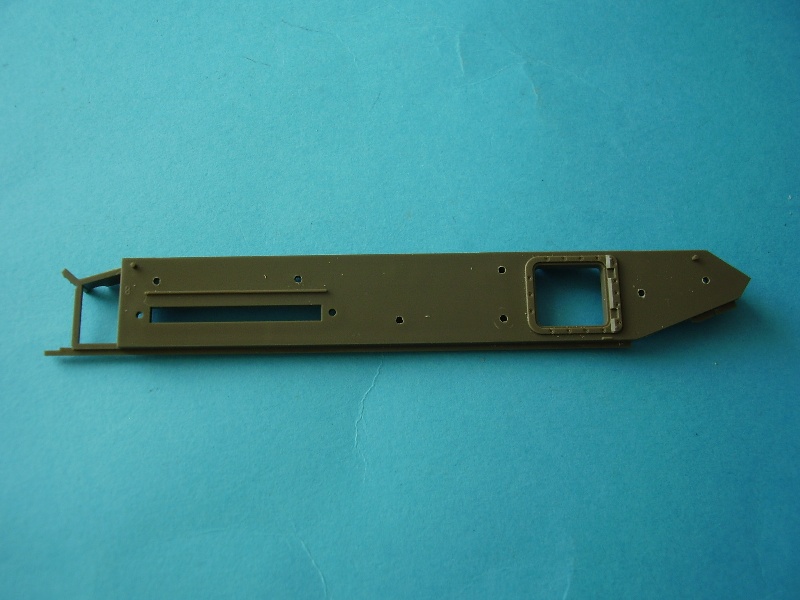
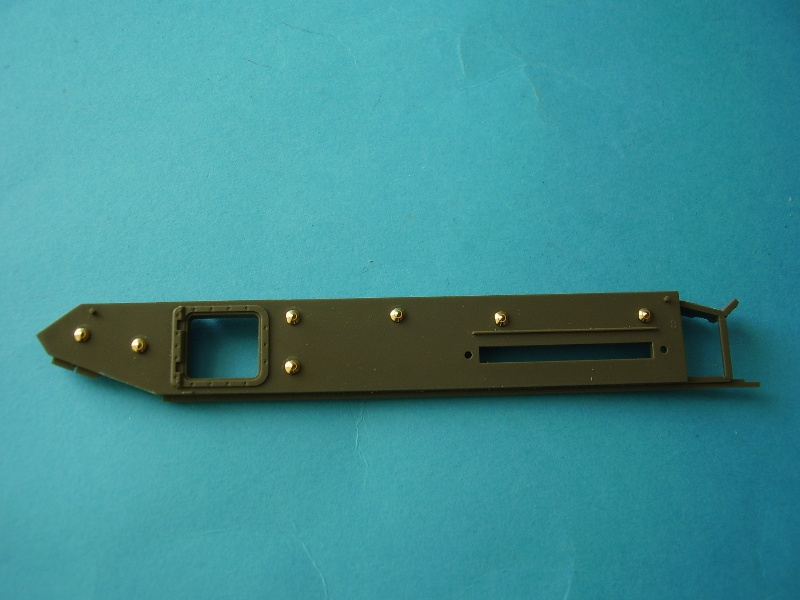
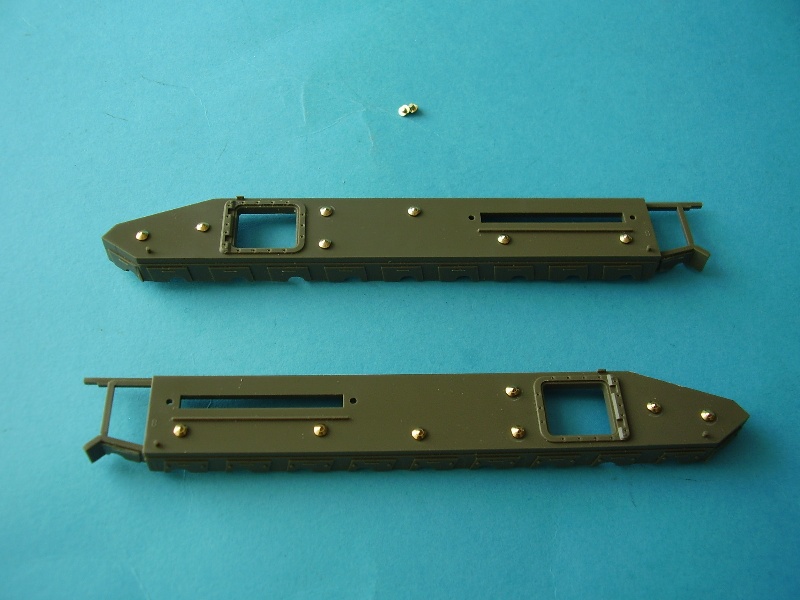
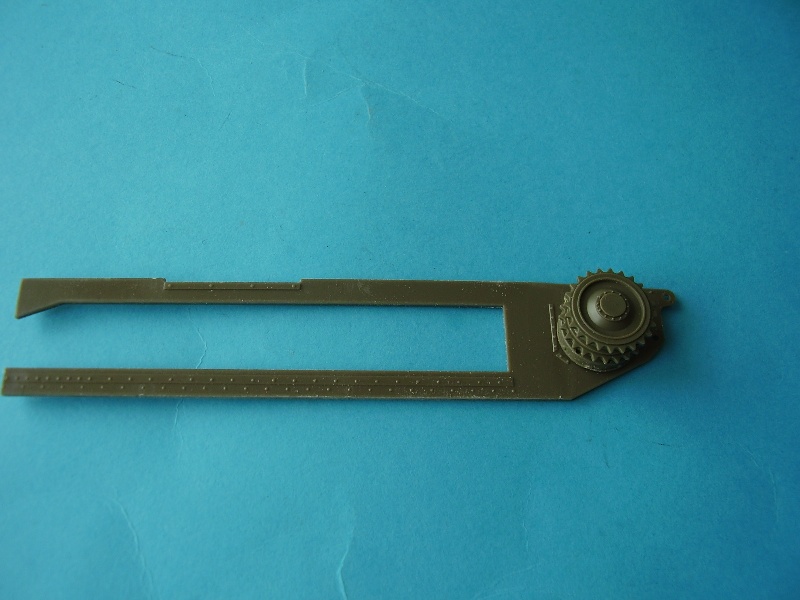
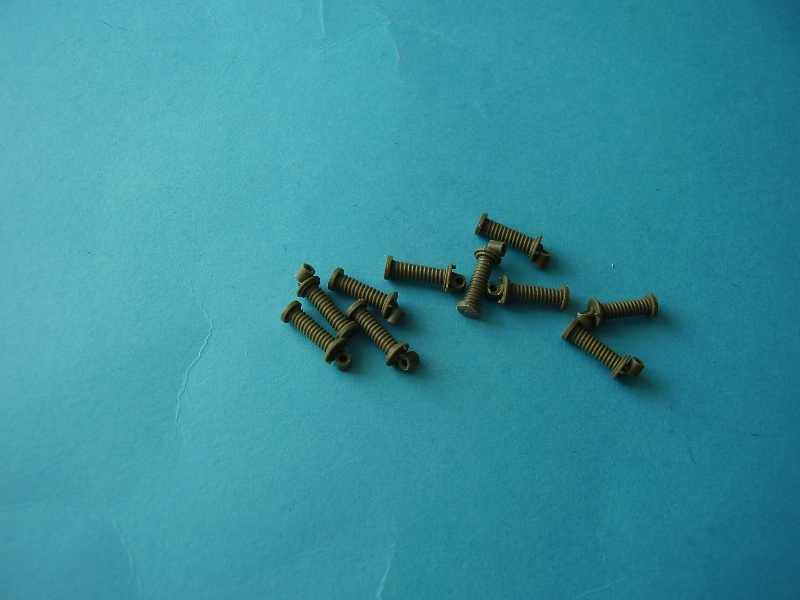
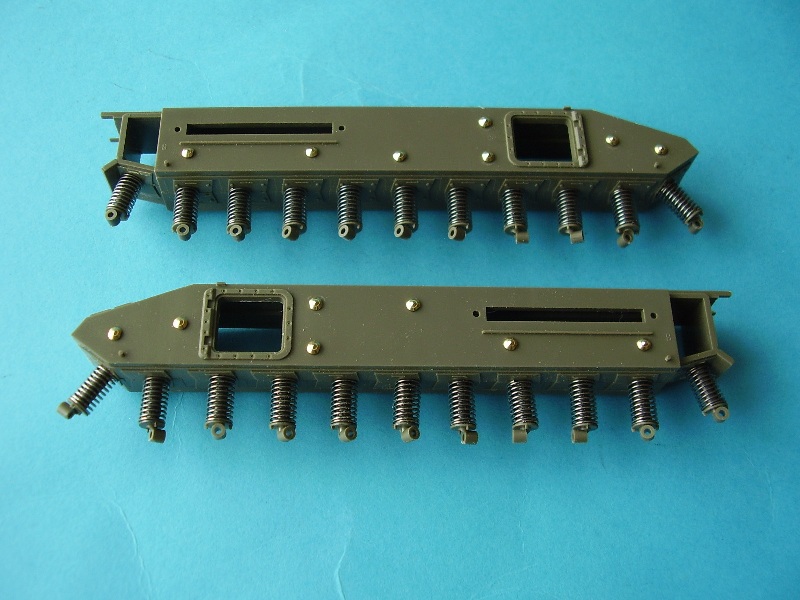
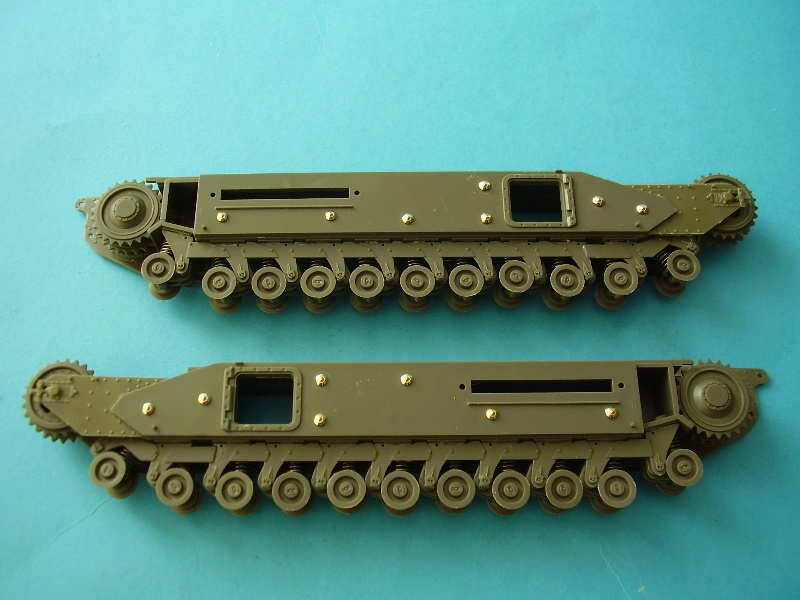
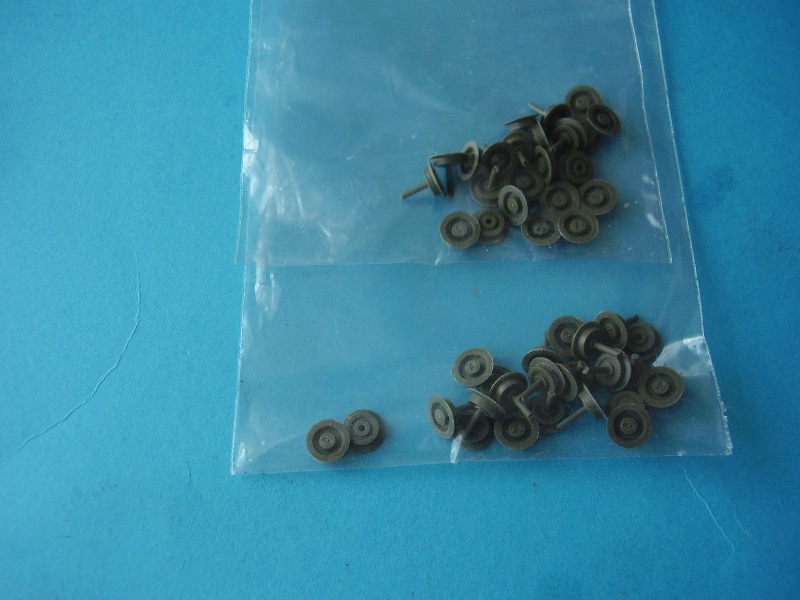
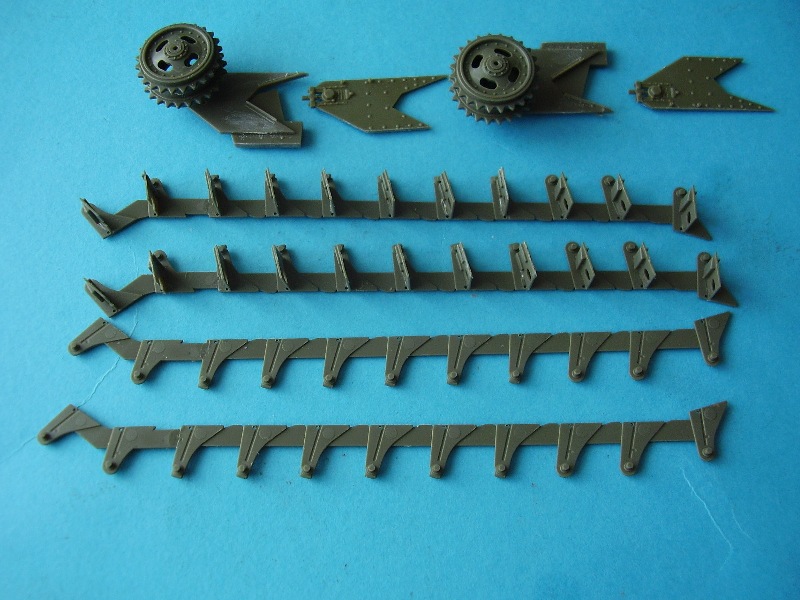
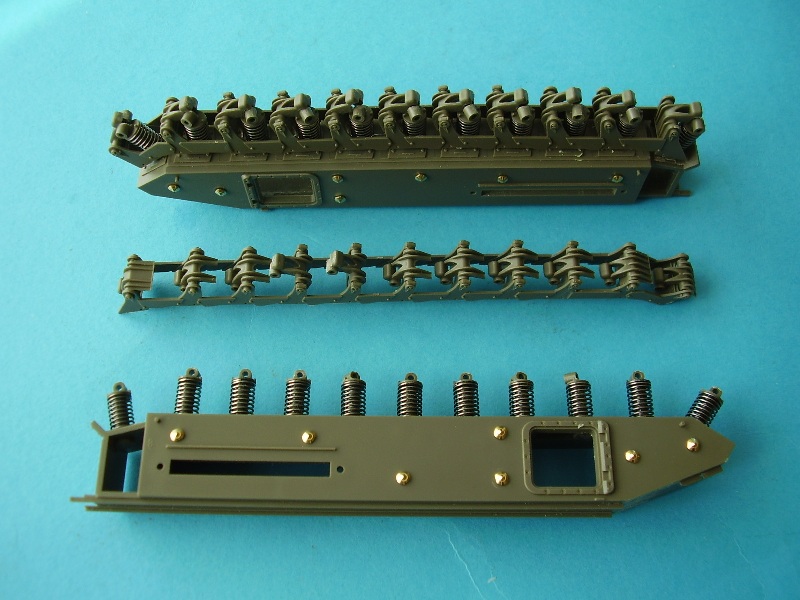
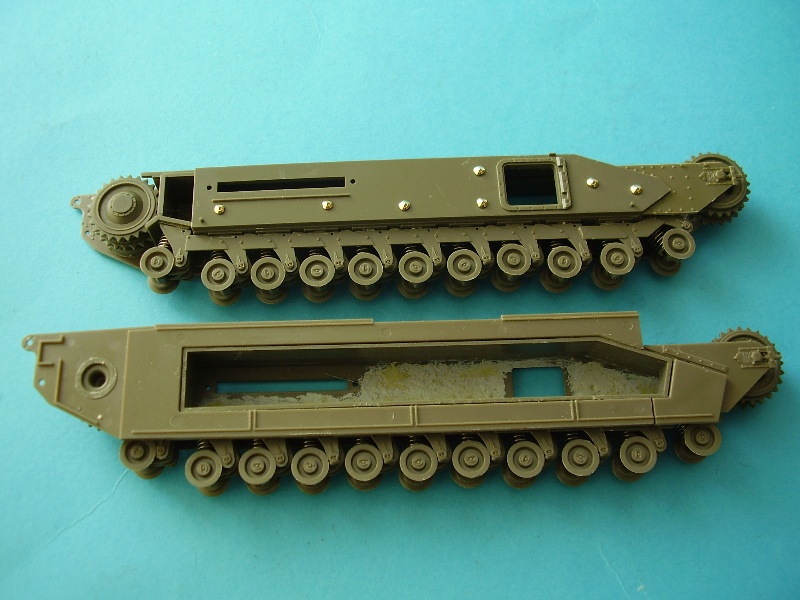
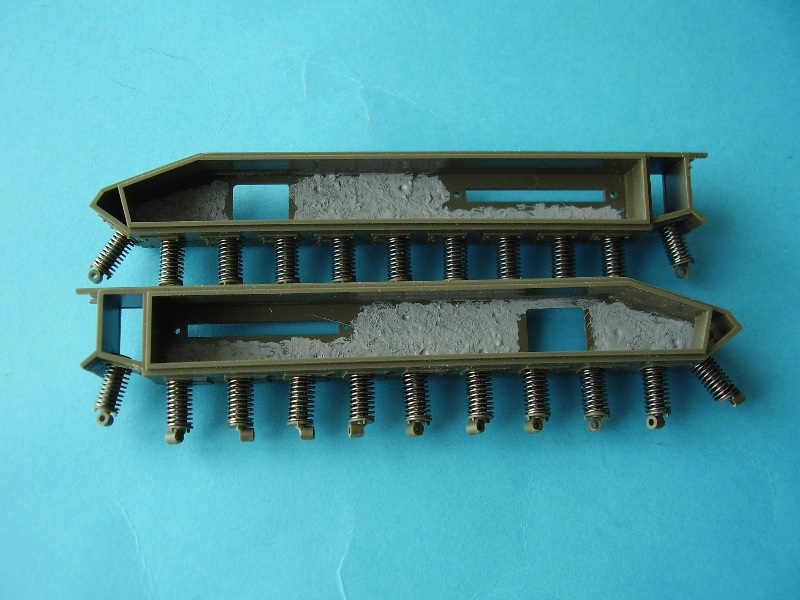
First up was to build the AFV Club suspension units. These are quite complex and very close to the real thing. I found Terry Ashleys review of the kit over on PMMS and that is a valuable resource when delving into the kit and the world of Churchills. I would recommend reading both the review on site here by Jim Rea and the review on PMMS before you commence work on the AFV Club Kit, the wider you knowledge the better. Jim's Review Live linksTerry's Review Live links The first thing was to drill out the opening for the side rivets. There are different placements for these rivets depending on which version of the tank you intent to build and Terrys article is very useful here. When I got the Churchills I also purchased a couple of sets of the AFV Club brass rivets. These are somewhat over priced and not a must for the build as plastic rivets are supplied but they did make fitting them that much easier. Once the rivets were in place I started work on the suspension units, following the kit build instructions which are pretty good. The only part that needed left out was part D 13 which is added later as the scraper wasnt shown on my reference picture. When you have the suspension units added it is probably a good idea to glue the front and rear bogies in place to stop them moving when youre adding the tracks, (thanks to Kevin Tucker for that tip). Next up came the addition of the pannier floors, these came from the Interior conversion kit in nice PE sheet form. You need to file down the tops of the suspension units (Parts D5) and as there are a lot of these I opted to file them down once I had them in place. Once you have these in place you might want to consider adding a weld seem along the bottom, it gives the interior a more finished look. I did this late in the build but it would be easier at this stage. To complete the suspension units I cleaned up the road wheels (which I stored in bags as you have no spares if the carpet monster gets one), and glued parts D2/D15 and D1/D16 together. The separating plates are Parts D17, D18, D19 and D 20. Terrys build review recommends you number these so you don't mix them up, I just cut and fitted them individually once the side bracings were dry. I got on with making the cross members for the outer suspension mountings. These needed to dry before I moved on to add the axel mountings, but I did glue the front idler parts together. Following on from that I added some Mr Surface to the inside of the pannier walls to roughen up the texture a little and proceeded to clean up and test fit the resin parts for the right hand side pannier. Well after a little battle I attached the suspension units and wheels. A set of rubber bands is recommended here to hold them down. The LHS fitted with ease, the RHS just didn't want to sit snug so a bit of brute force and elastic bands finally did the trick. The axle mountings are not a big problem, just remember there are 3 different types of parts. Part D22 x 2 which go at the front, parts D 21 x 8 the centre and Part D 23 comes at the rear. I thought this might have been tricky but if you add each part individually it is fairly easy. I also added the front idler and rear drive wheels at this point.
About the Author


FROM: ENGLAND - EAST ANGLIA, UNITED KINGDOM
Greying slightly, but young at heart. I've been teaching adults off and on for most of my life. Left the services in 85 and first started modelling in about 87 for a few years. Then I had a long spell when I didn't build anything (too busy) and really just got started again during the summer of ...
Comments

I just skimmed through this build feature and am already finding it helpful. Maybe this will be my next non-campaign project after I finish my MK IV? It's a good thing Darren likes British armour, or we may never get around to finishing some of these builds
SEP 01, 2010 - 05:31 PM
Looked like an interesting build Alan. Thanks for the article.
I may have to add another Churchill to my list by the looks of it - I'm beginning to love doing resin interiors.
SEP 01, 2010 - 11:07 PM

I've just started the MkIII Avre, hope i haven't already dropped a cod with how far i've progressed. Just about to read and find out....
Andy
SEP 02, 2010 - 01:22 AM


Hi Andy,
Here's a live link for the AVRE.
https://armorama.kitmaker.net//features/3168
Enjoy.
Al
SEP 04, 2010 - 12:00 AM
This kind of support and interaction is what makes this community great!
SEP 04, 2010 - 12:03 PM
Hi Jeremy,
Yes, there are a good bunch of helpful people around, they are what make most of my builds possible.
Al
OCT 01, 2010 - 11:17 PM
Copyright ©2021 by Alan McNeilly. Images and/or videos also by copyright holder unless otherwise noted. The views and opinions expressed herein are solely the views and opinions of the authors and/or contributors to this Web site and do not necessarily represent the views and/or opinions of Armorama, KitMaker Network, or Silver Star Enterrpises. All rights reserved. Originally published on: 2010-08-31 00:00:00. Unique Reads: 18992

WEB HOSTING BY


Copyright ©2021 Armorama and Kitmaker Network, a subsidiary of Silver Star Enterprises
All Rights Reserved. Please read our Conditions of Use and Privacy Policy.
All Rights Reserved. Please read our Conditions of Use and Privacy Policy.