

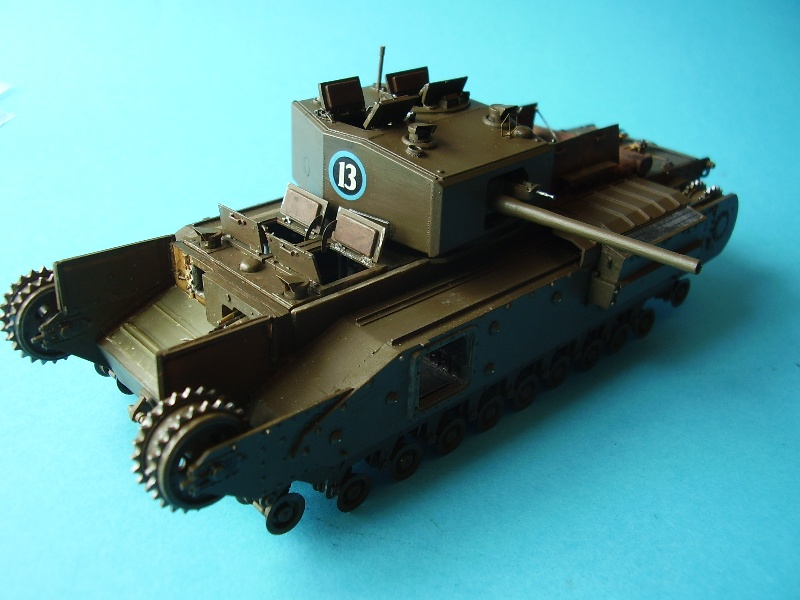
1⁄35Building the Churchill Mk III c/w Interior
13
Comments
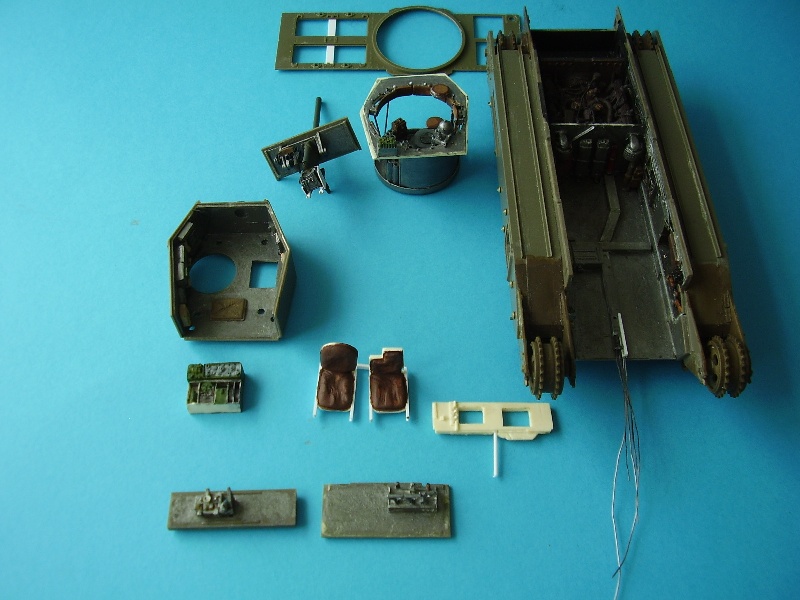
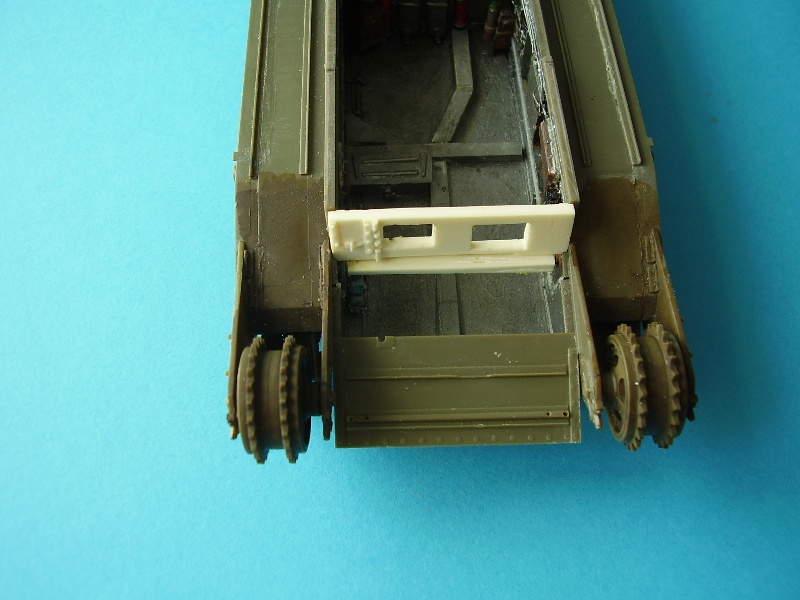
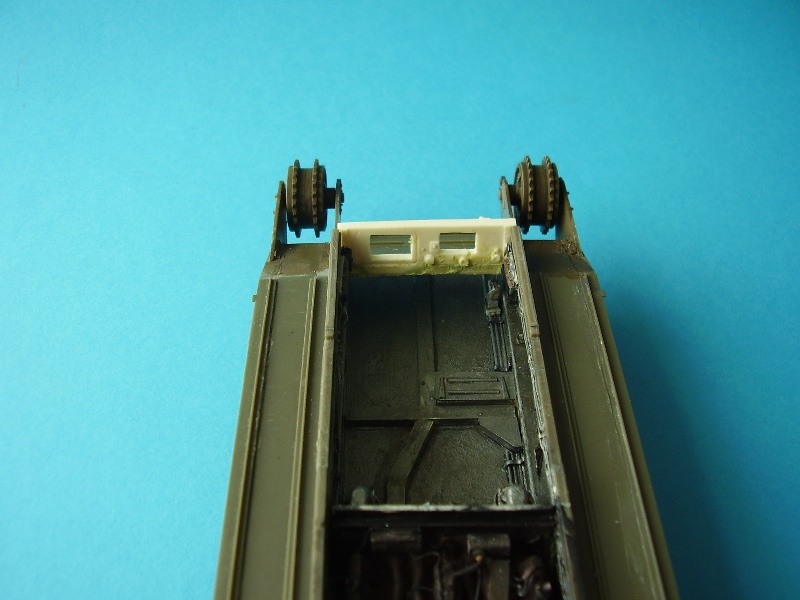
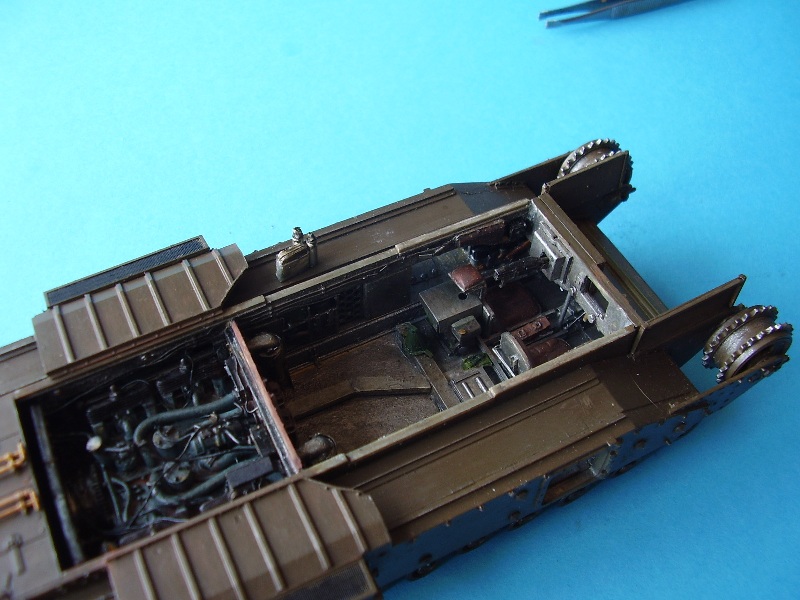
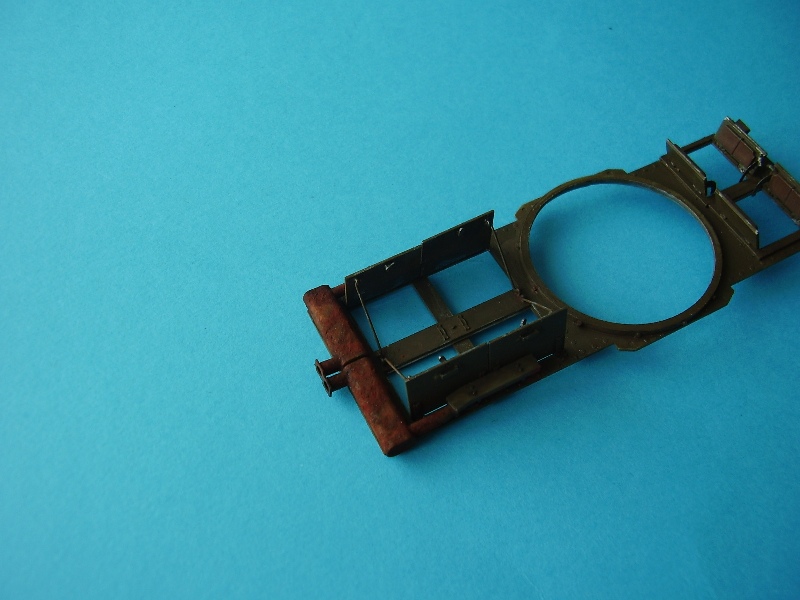
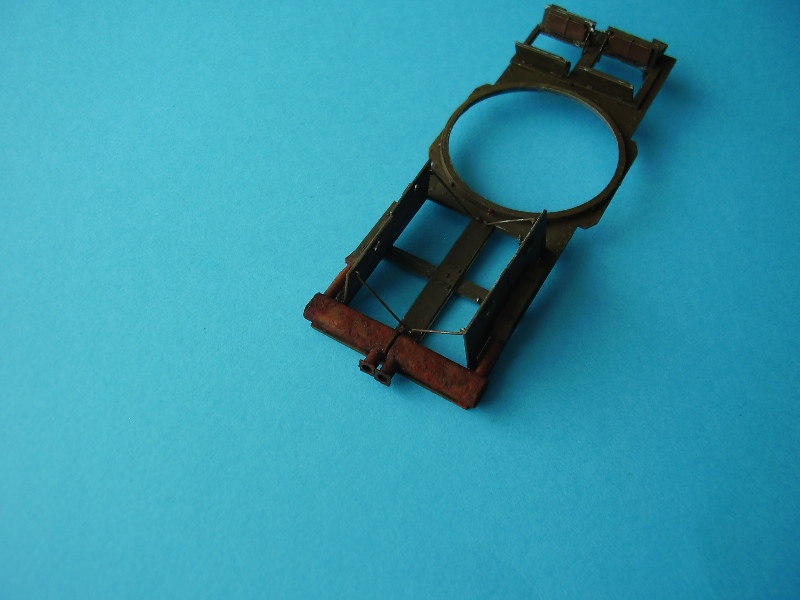
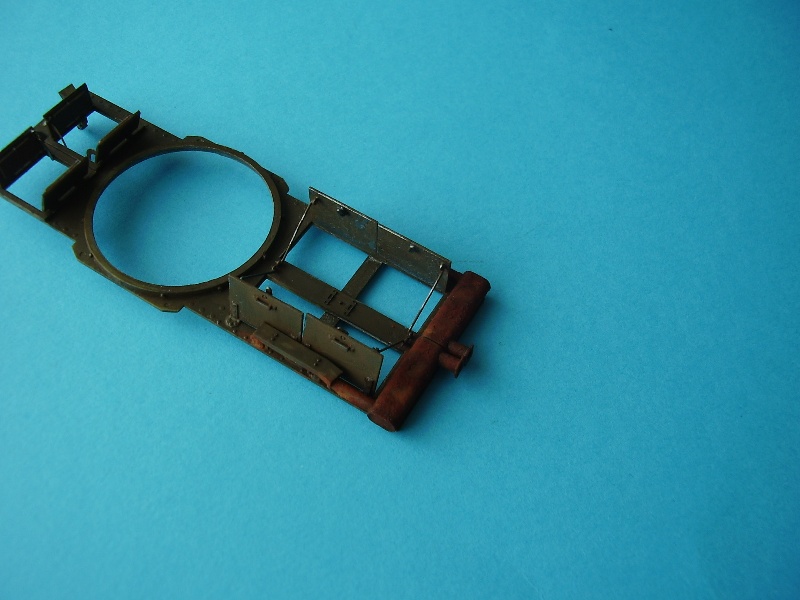
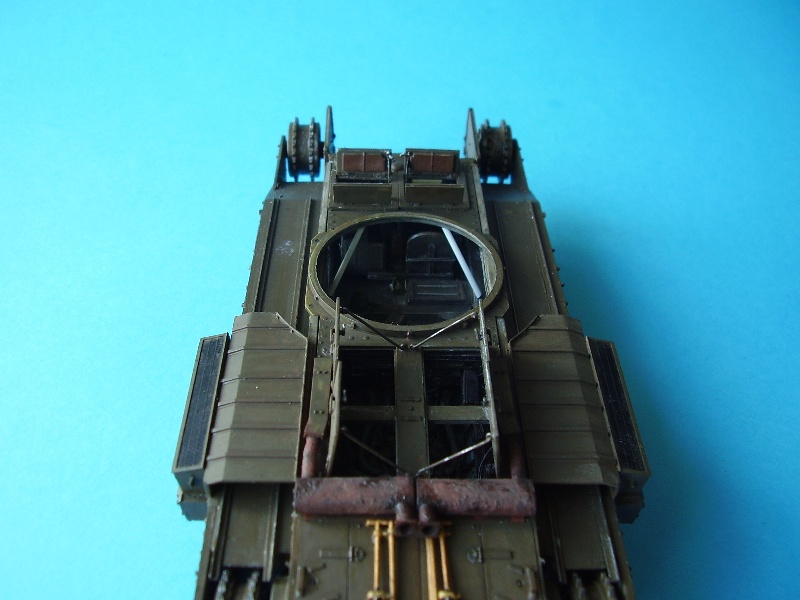
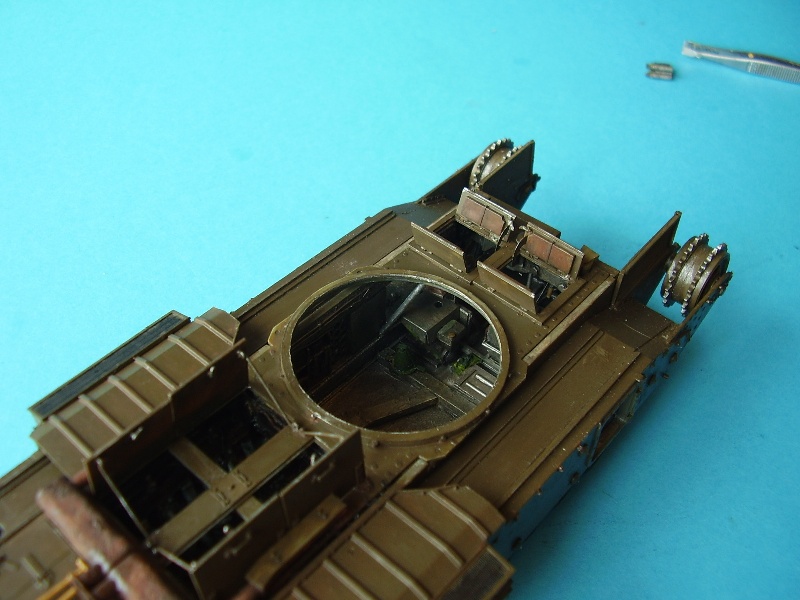
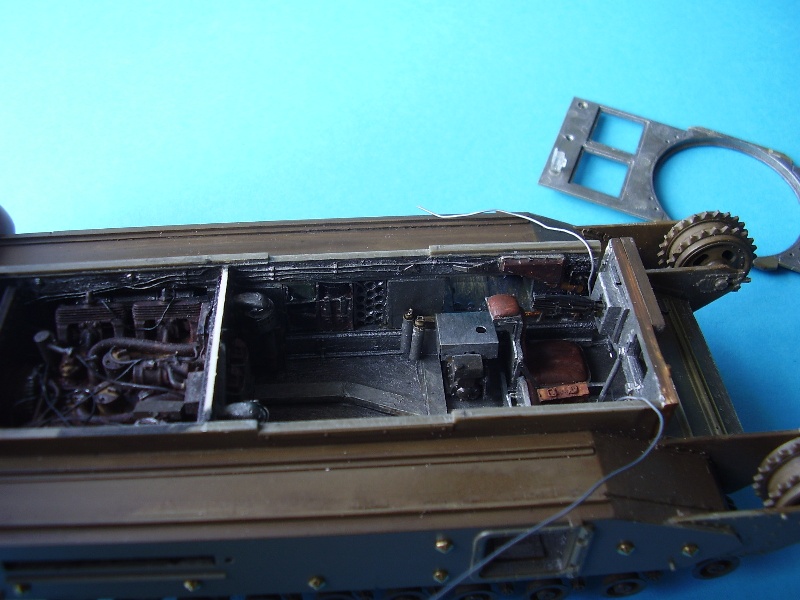
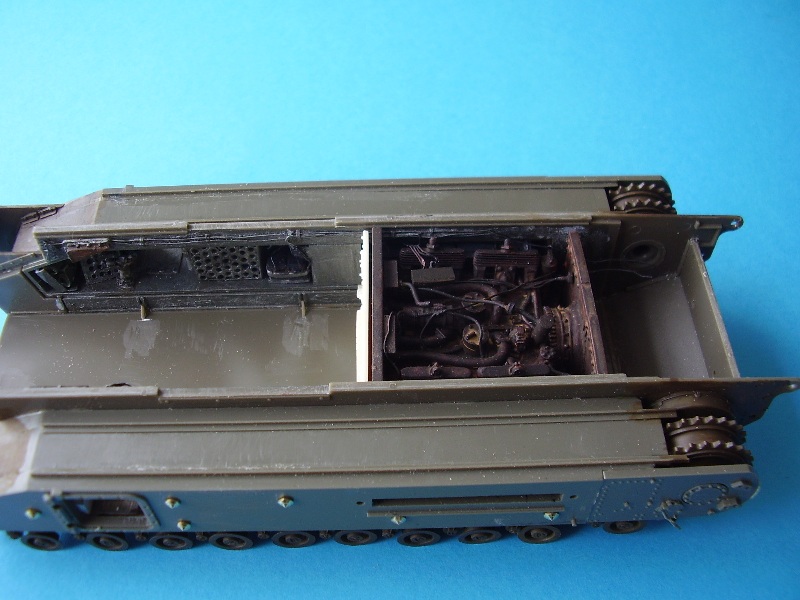
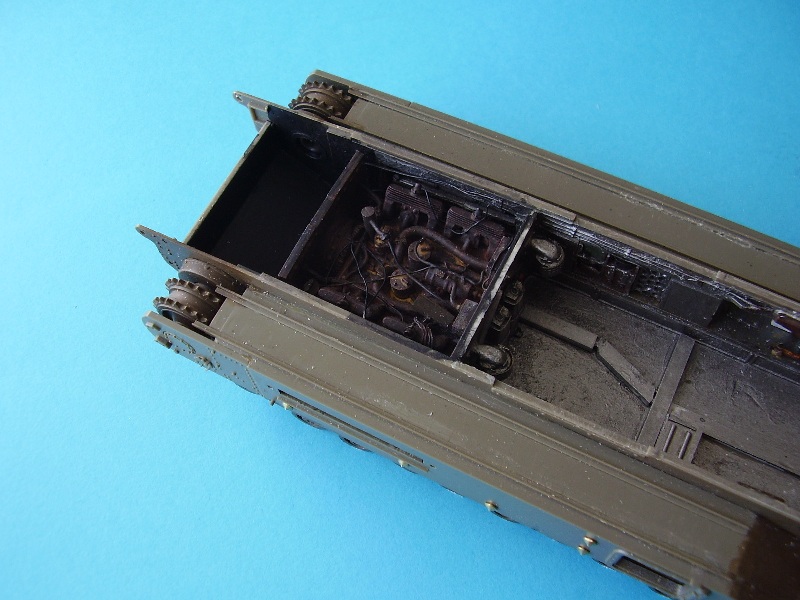
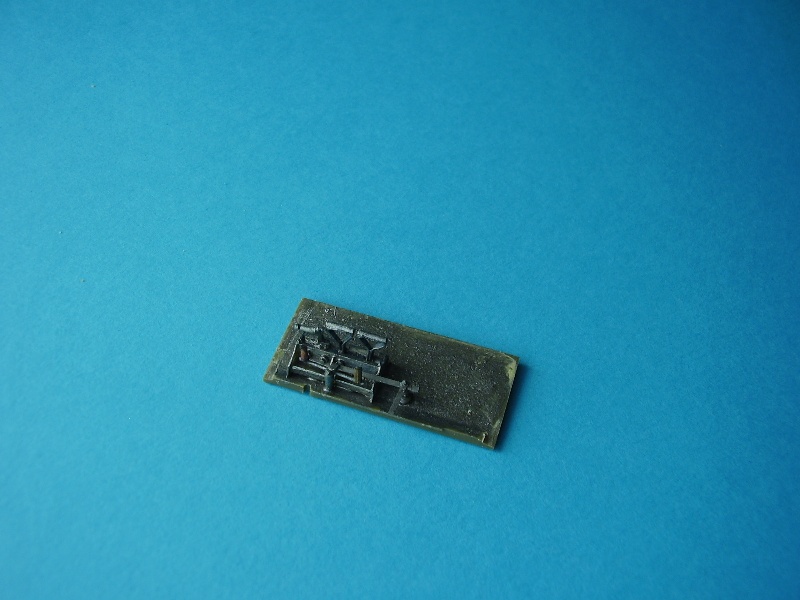
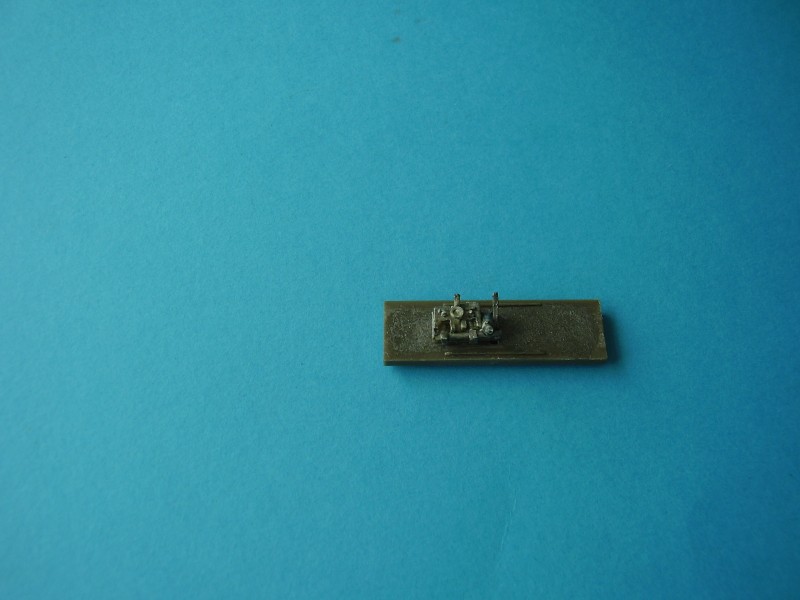
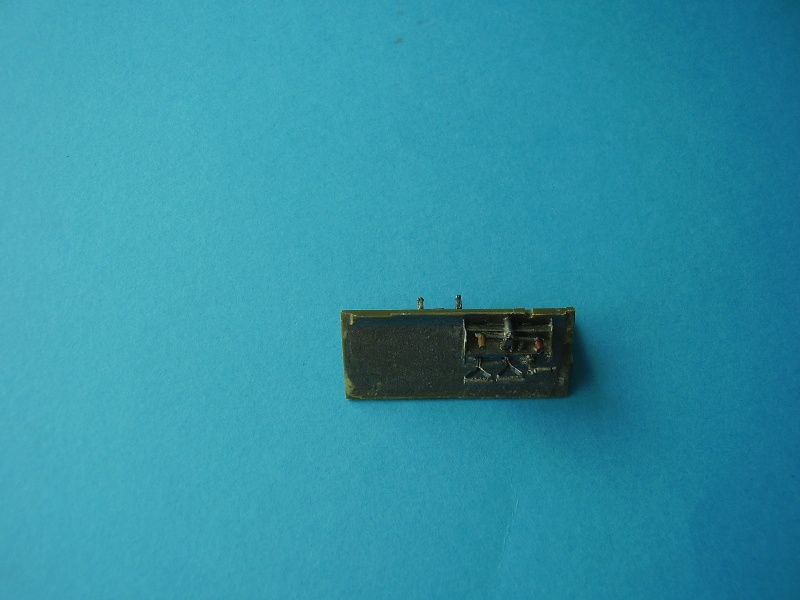
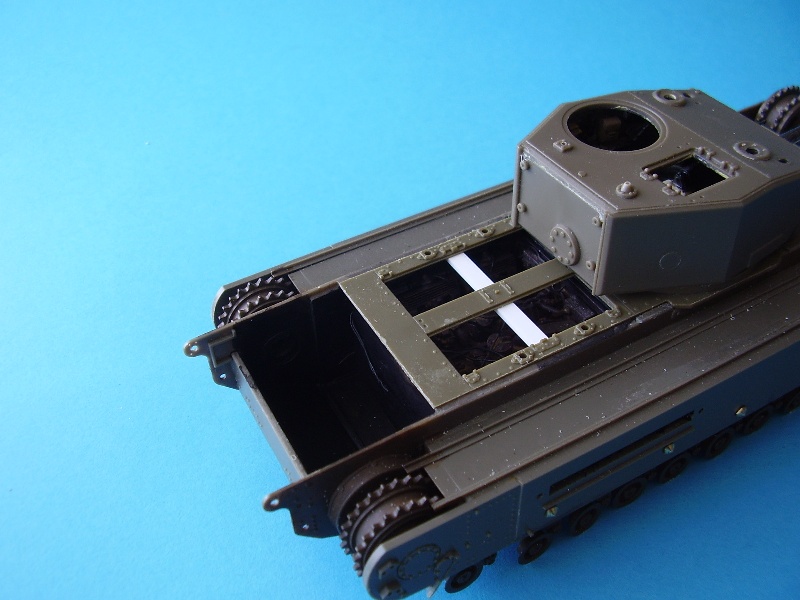
Next I moved onto dry fitting the frontal armour and adding the pedals and drivers controls and the interchange for the hydraulic steering along with some wiring, the handbrake and gear box. The kit provided parts for the steering mechanism but I made one from Bren gun carrying handles and plastic rod as I reckoned Id snap the small part getting it off the spur. I also added some additional detail from plastic rod/strip to the steering mechanism. Then I started work on the front seating adding some additional detail there. I used plastic H bean for the runners and used reference pictures for the layout of the seating arrangement. I also made a small generator from a cut down version of the Italeri kit part as no generator was in the set the original mould having gone astray in the post. I later altered this to be a bit more like the part but as it is covered over by a PE hood it was the basic shape I needed not a detailed part.
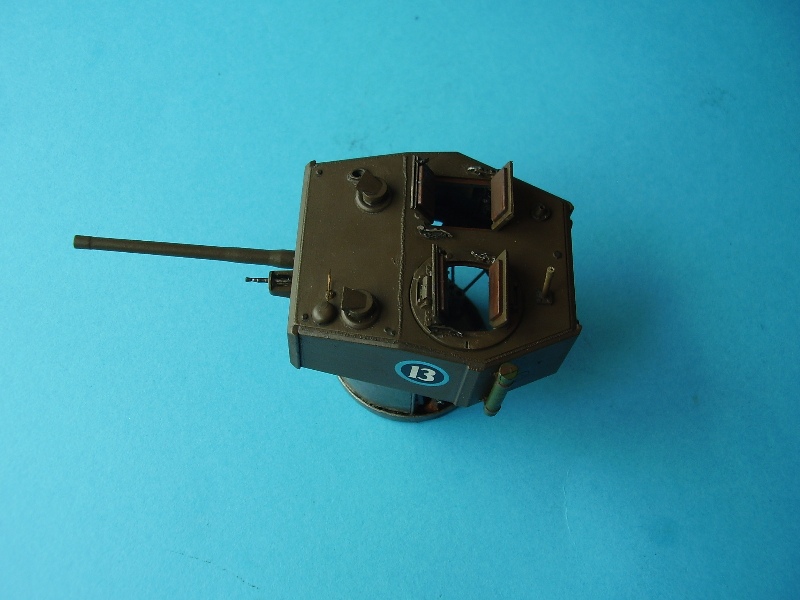
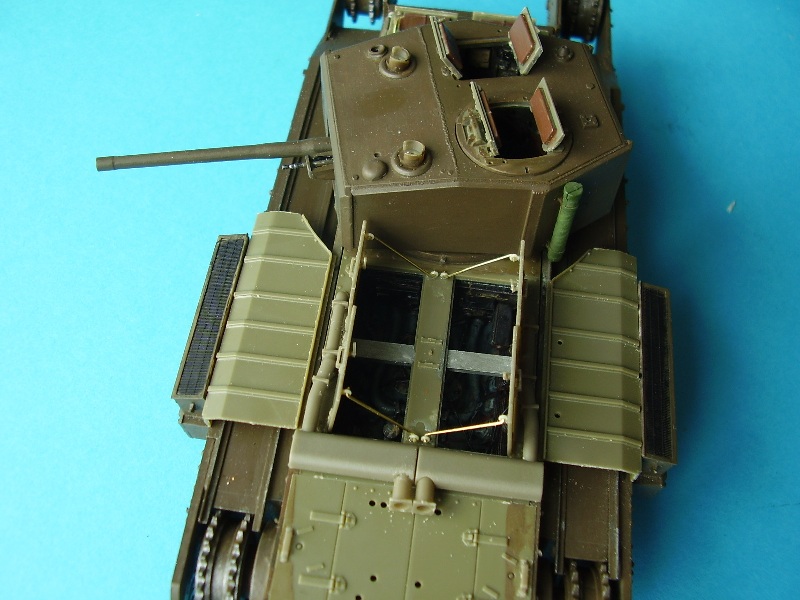
I had been working at the 6pdr gun and turret across the build. The kit provides a new breach but I also wanted to alter the kit brackets that elevate the gun and I simply cut these down a bit and added a sighting mechanism for a bit more detail/illusion. I also made a small part for the Turret Travers Mechanism that I though was missing, in fact there was an appropriate part in the kit I just misidentified it!
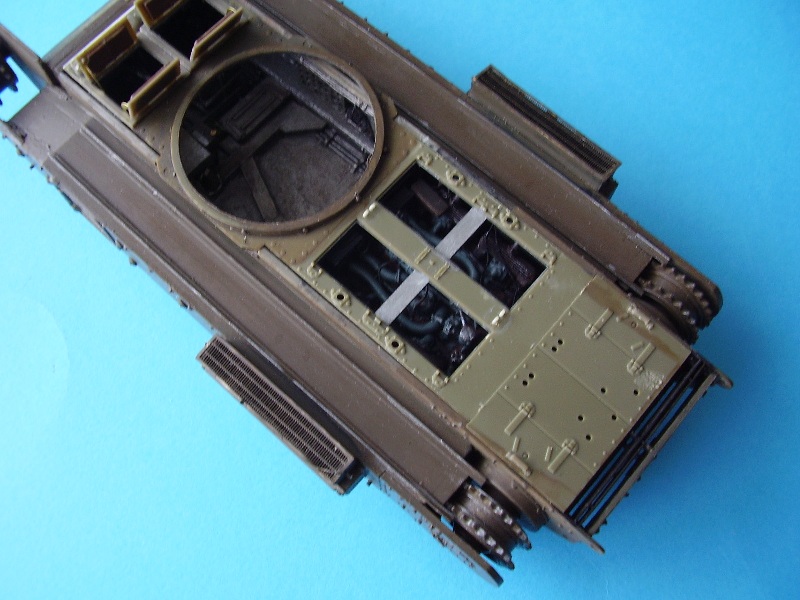
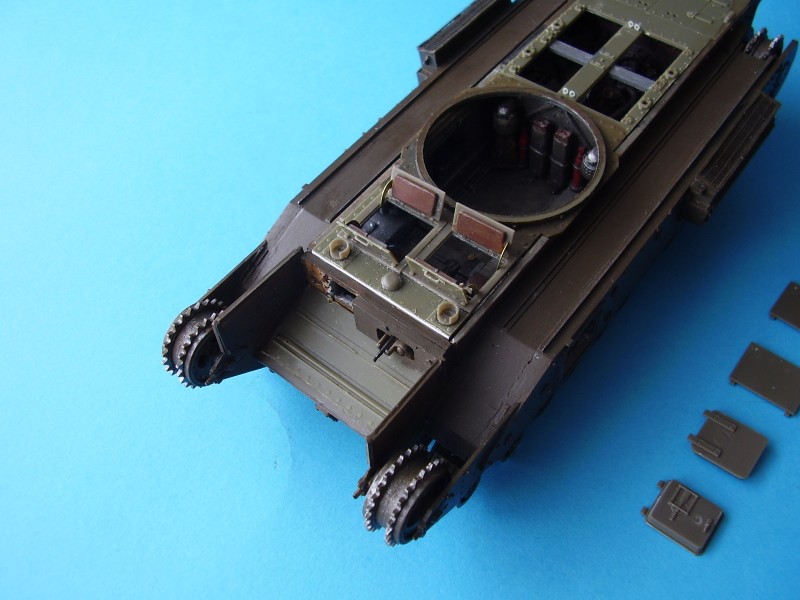
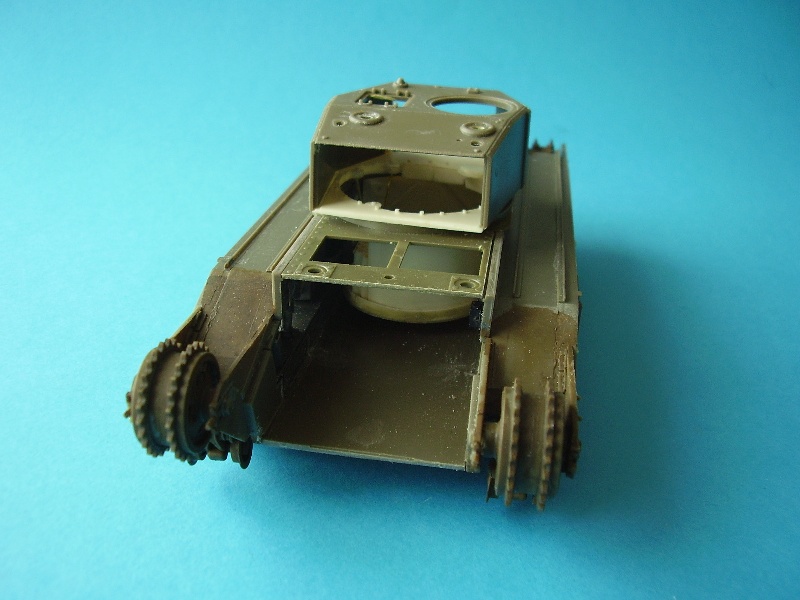
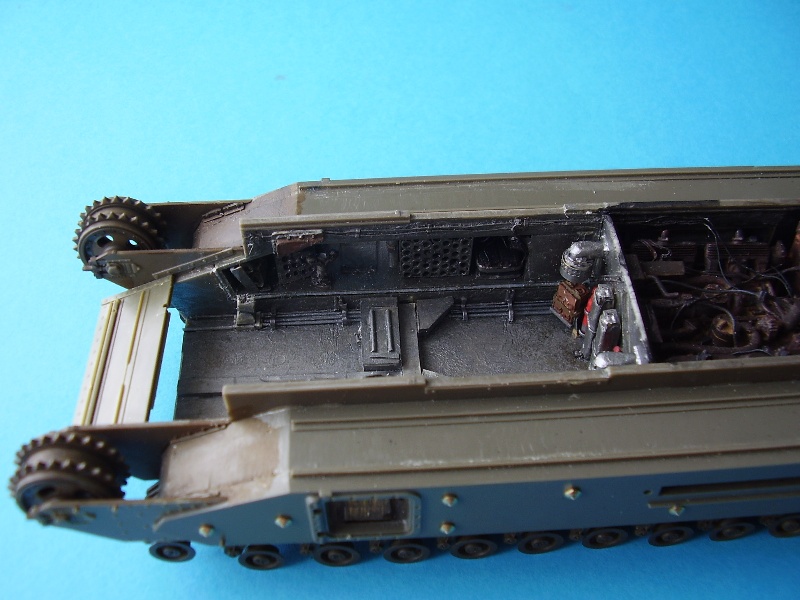
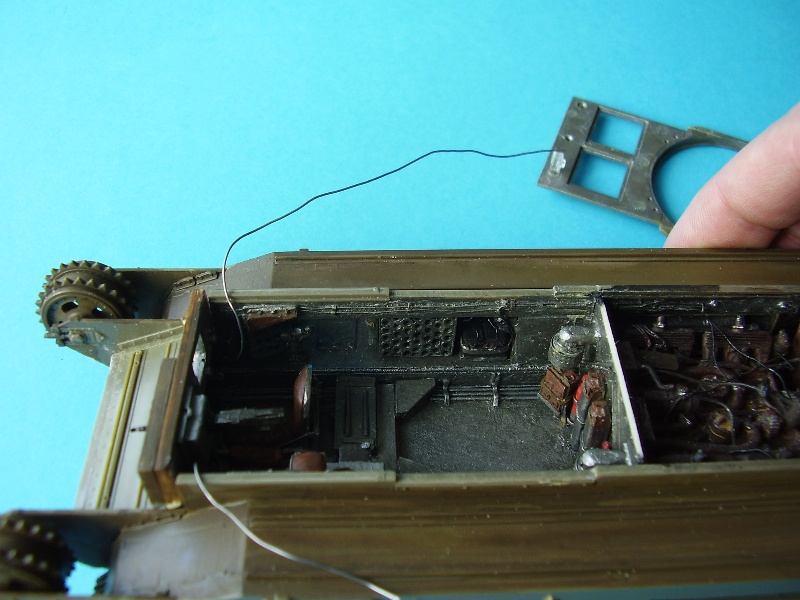
To finish off the driving area you need to add a small Besa ammo box between the seats, a water container just in front of the co-driver/gunners seat and a small periscope/prism fitting. After that I added the frontal armour to which I added a piece of plastic support rod that sits just between the seats running up from the floor to the underside of the frontal armour.
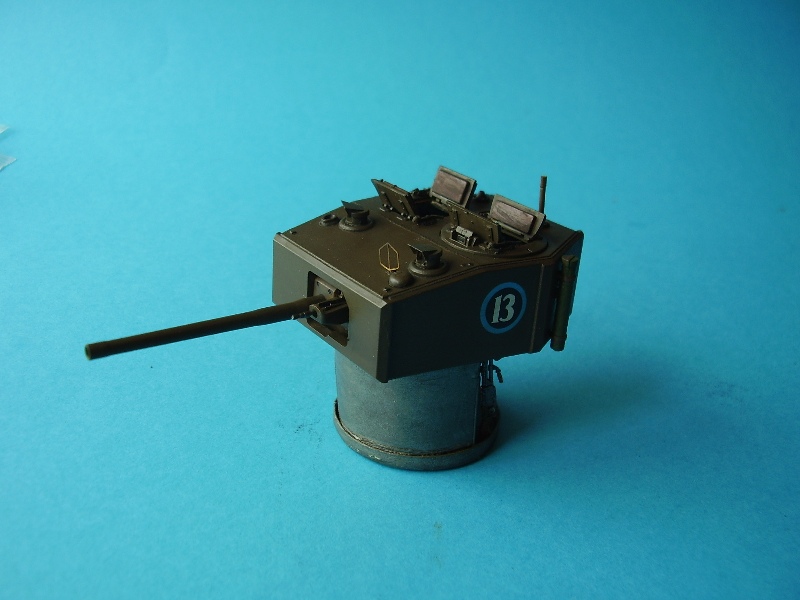
Next I completed the No 19 radio, this needed the back cut down a bit to fit into the rear of the turret, I also added some plumbing and additional fittings in this area.
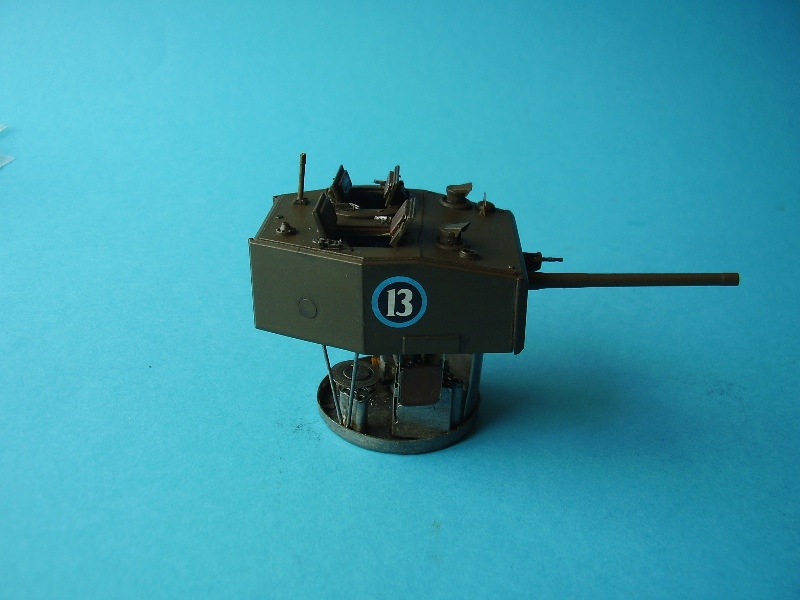
I had been painting the sub-sections as work progressed and once I added the small elevating wheel to the 6pdr mechanism the turret parts were getting close to being able to be joined up and secured to the basket.
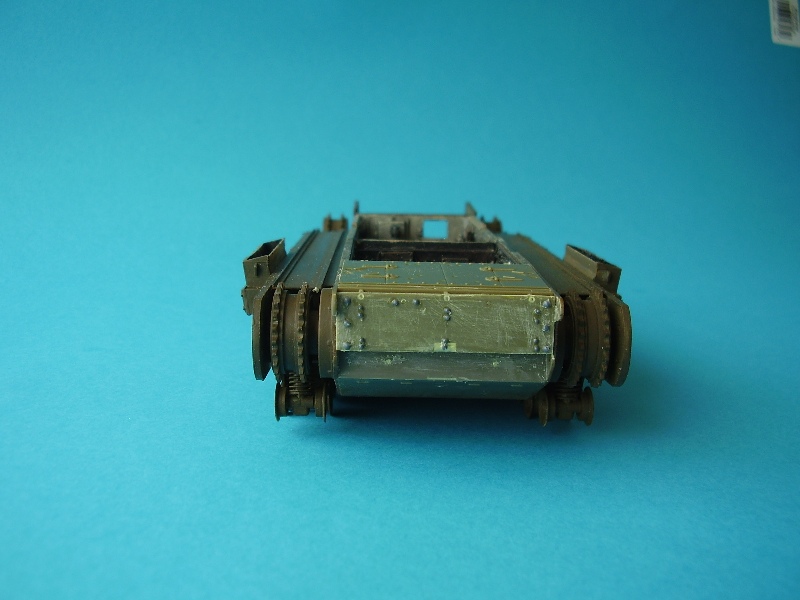
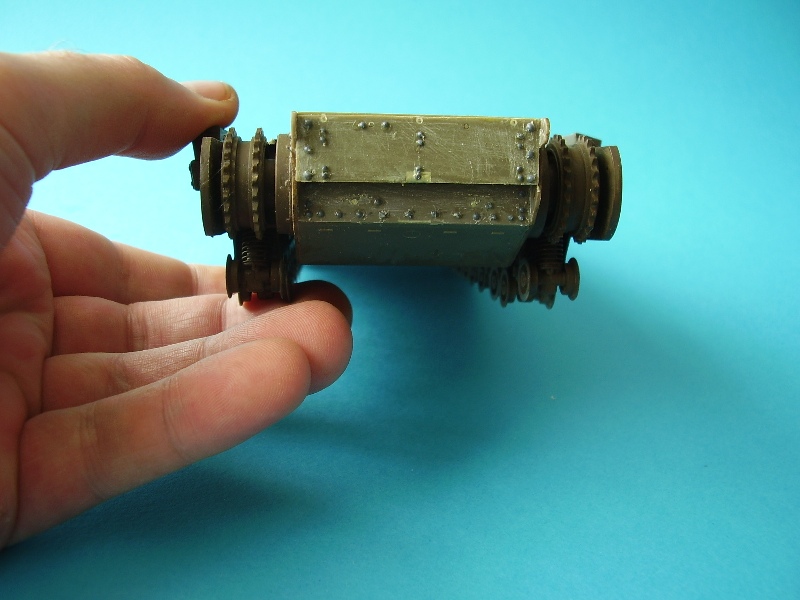
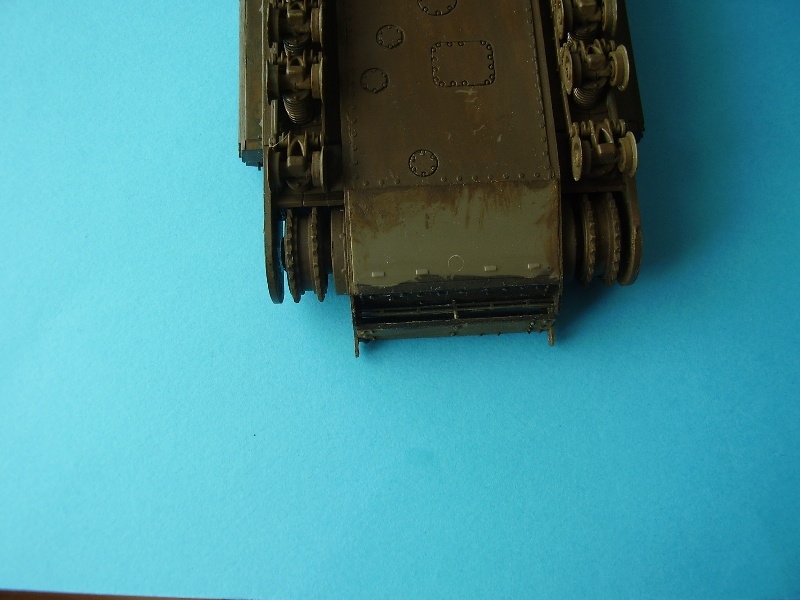
A note here on rivets!! This particular version of the Churchill Mk III had a slightly different rivet arrangement and I had to added these alterations to the front hull sides, rear inner hull and back plate. I used some of the Grandt Line rivets to accomplish this along with some made from plastic rod. Also the removal of some of the fittings on the front hull plate was necessary, these were cut off and the plate sanded down.
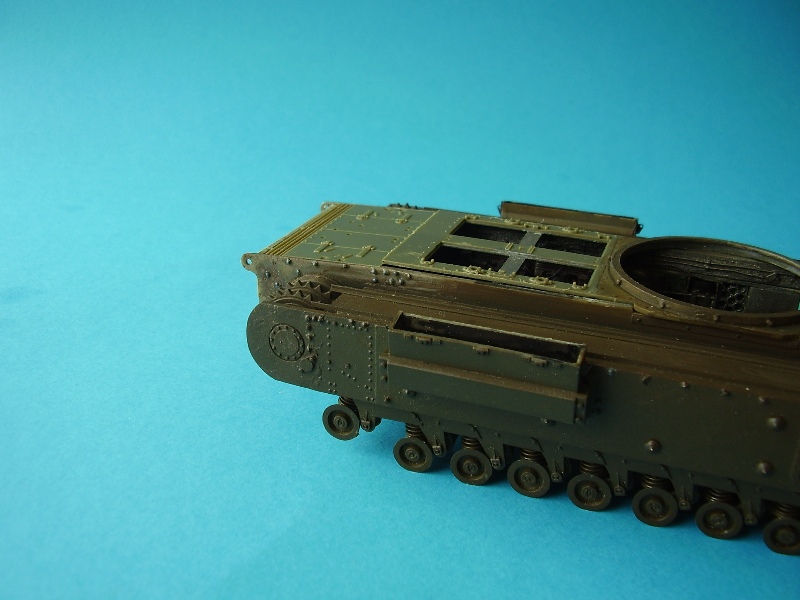
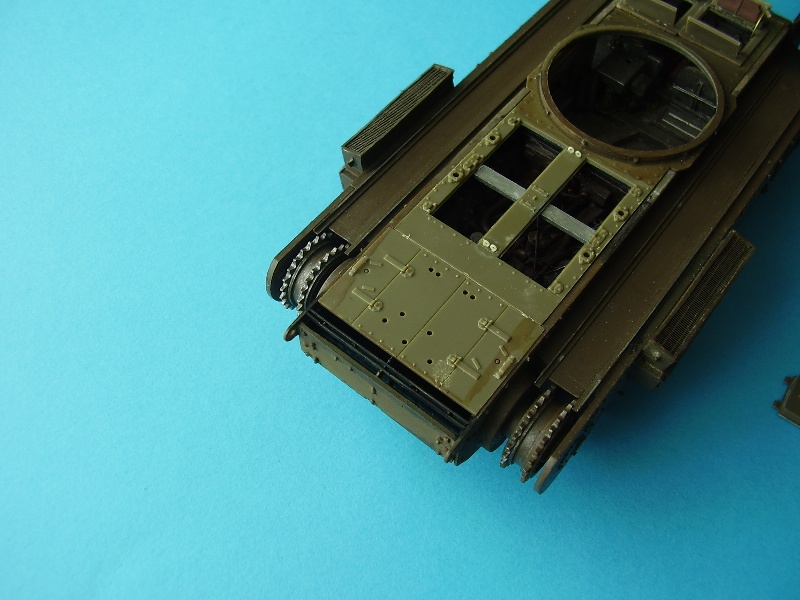
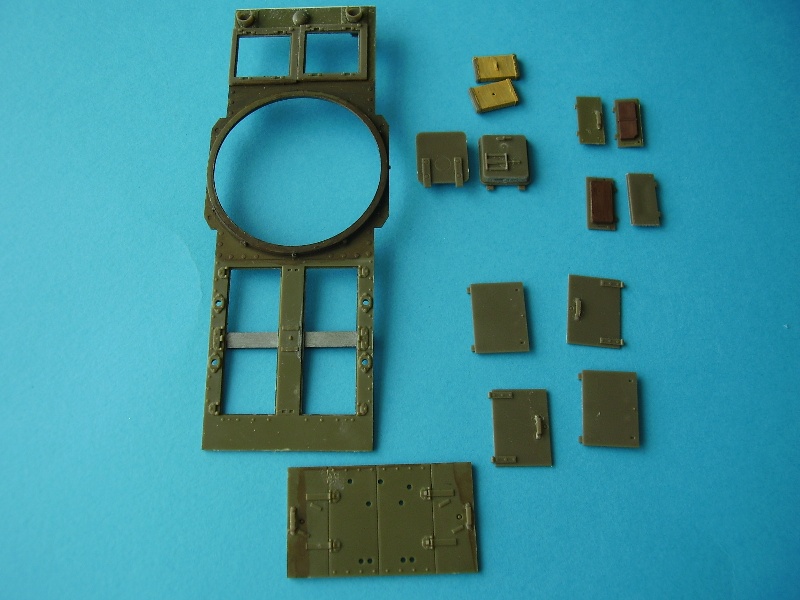
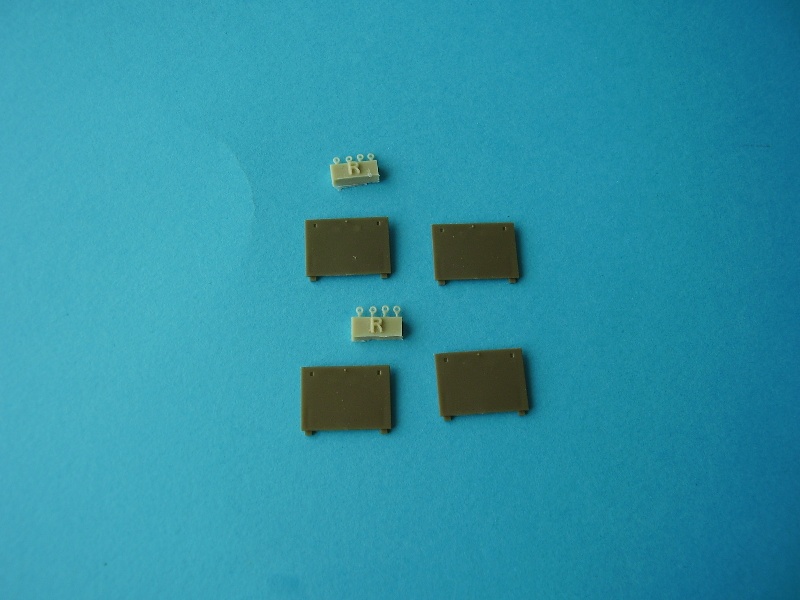
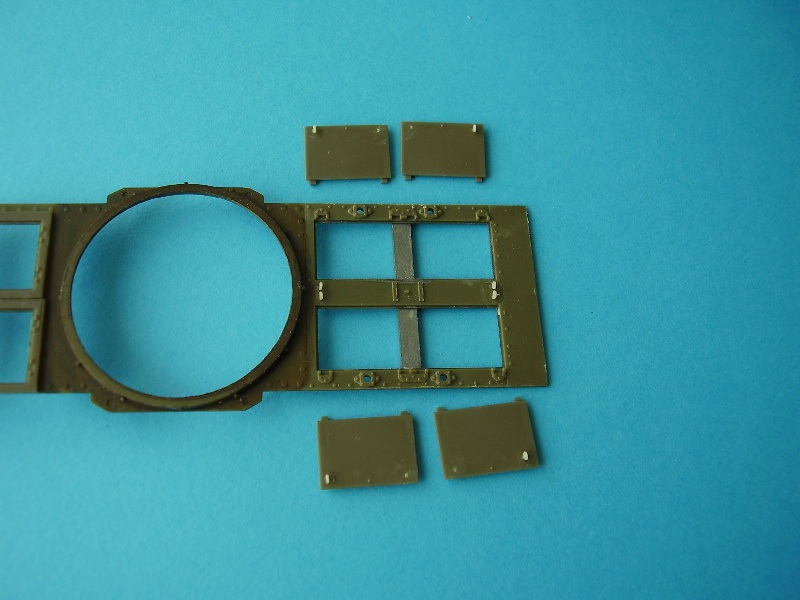
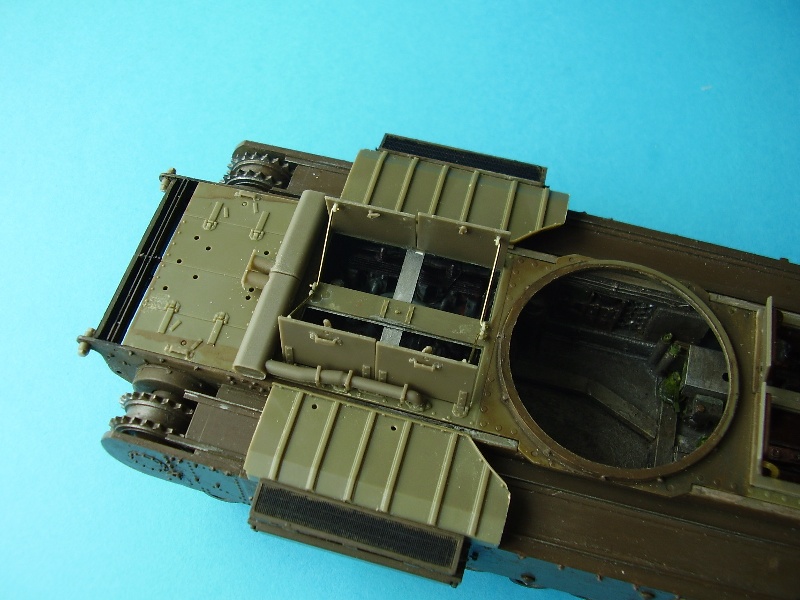
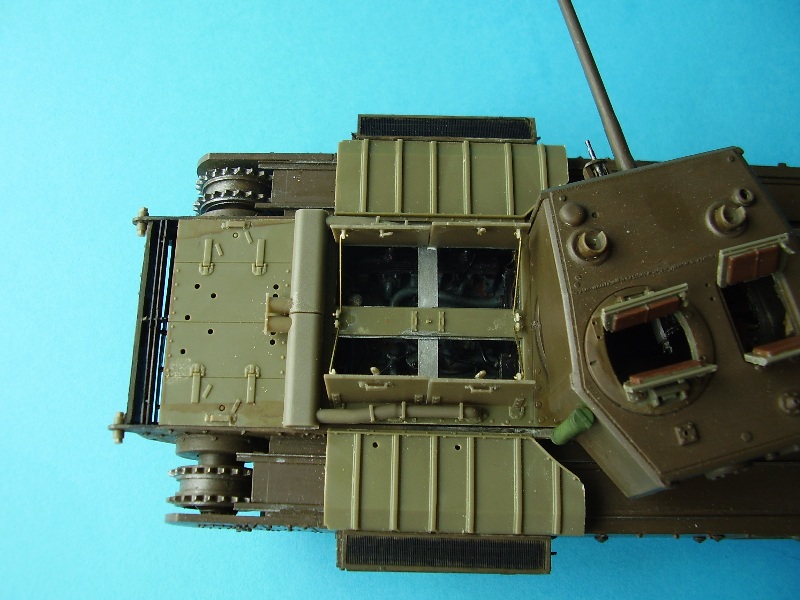
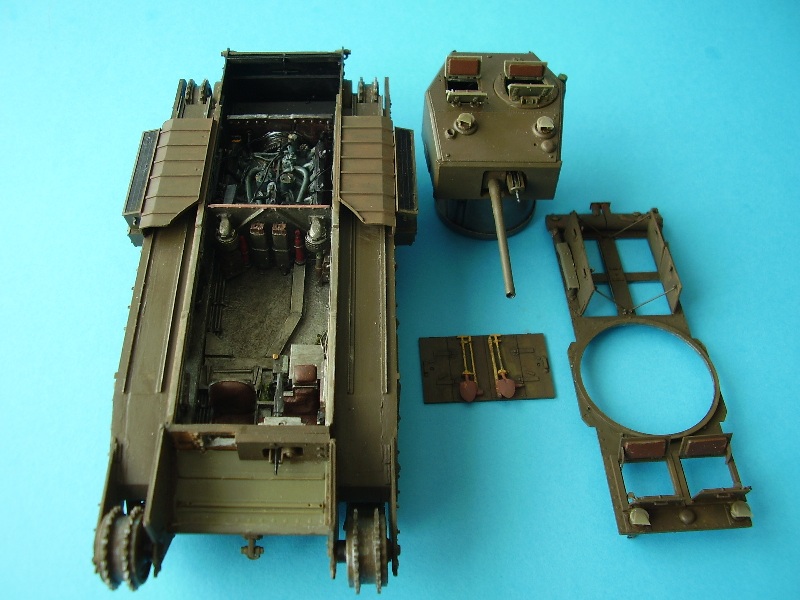
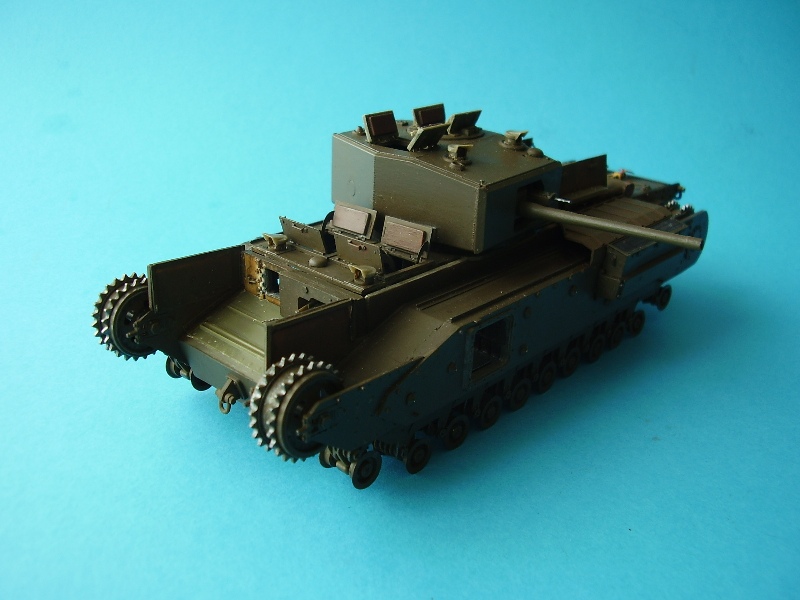
With most of the internal fixtures and fittings now added, I turned my attention to the various hatches and opening on the tank. I added the rear hatches in the open position. I used some brass rod for the supports to give a bit more strength and also added the turret hatches and drivers/co-drivers hatches. Resicast provide a small set of eyes with their Engine Set so that the rear hatches can be shown open. The AFV kit has small PE brackets for the hatches which are nice. I connected the drivers hatch PE options to the wrong side initially so just check you build instruction here!! The kit has good plastic gab handles and catches for the inside of the hatches which made life easier, although it took me a while to identify the parts as the inside catches for the rear hatches are hard to spot. The latches for the rear hatches are shown as Parts E40, I missed this. The rods are Parts E39, these don't, as far as I can see, appear on the AVF instructions. My thanks to Graham at Resicast for pointing me in the right direction here.
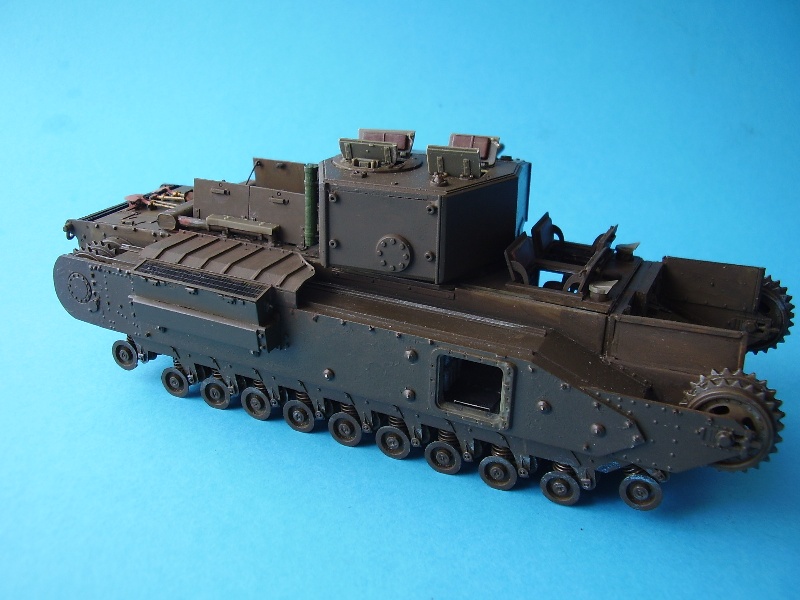
I also fitted parts B12 the front side panels,of the fenders. Pictures showed that these had a small square surround and I added this with some plastic rod. The fitting of part of the fenders to the rear of the turret is a simple job and the nice thing about the AFV kit is that you have the fenders broken down into parts to add what you need for your build.
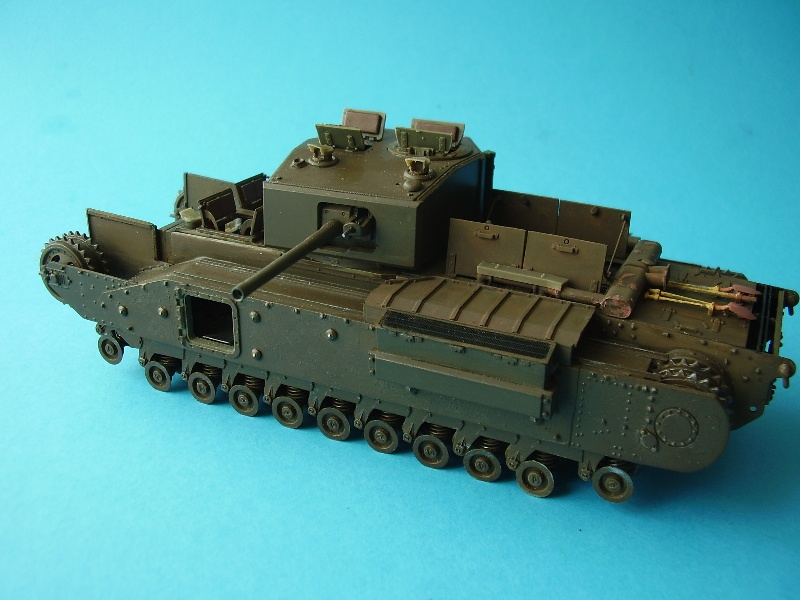
Also around this time I fittted the side air vents Parts E15. My plan had been to add some spare PE grills I had but both thee parts had a warp/bent in the middle and the only way I could correct it was to use the kit part to help push out the bend as these have a square surround underneath. There is still a slight warp in both, but one I can live with. The alternative would be to make some internal plates and insert them between the hull and the outer plate of the vent to force the bend out.
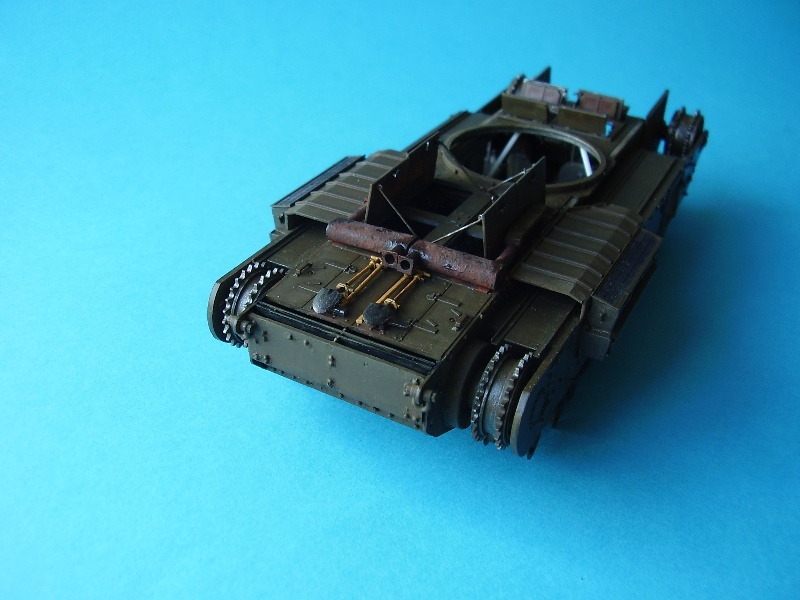
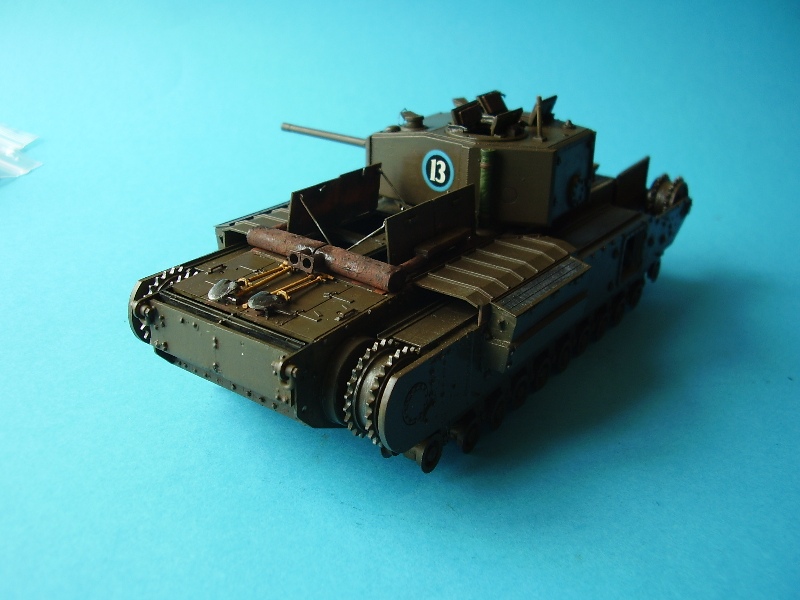
I also altered the vents on the rear of the air intake by cutting down the kit part, again this was a detail that differed on the version I was making. Similarly when fitting the picks and shovels the parts need altered to show the early arrangement, with the shovels on the outside.
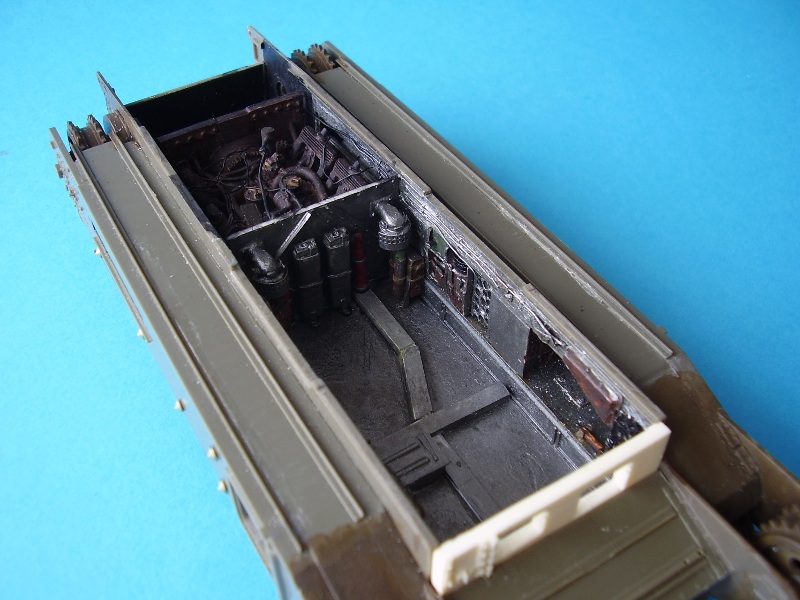
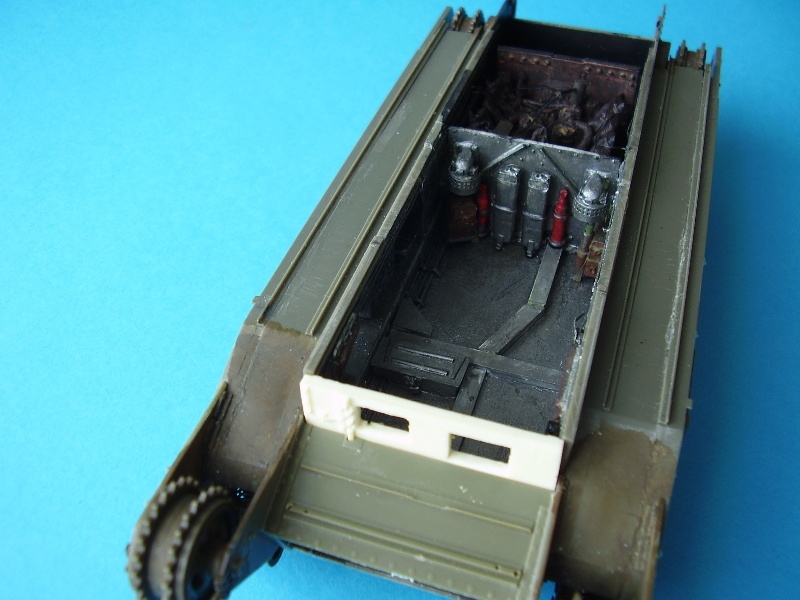
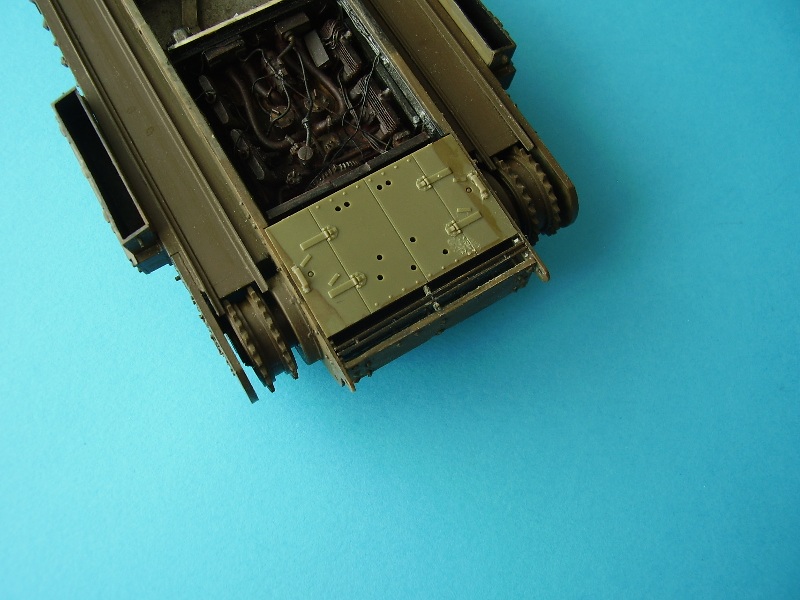
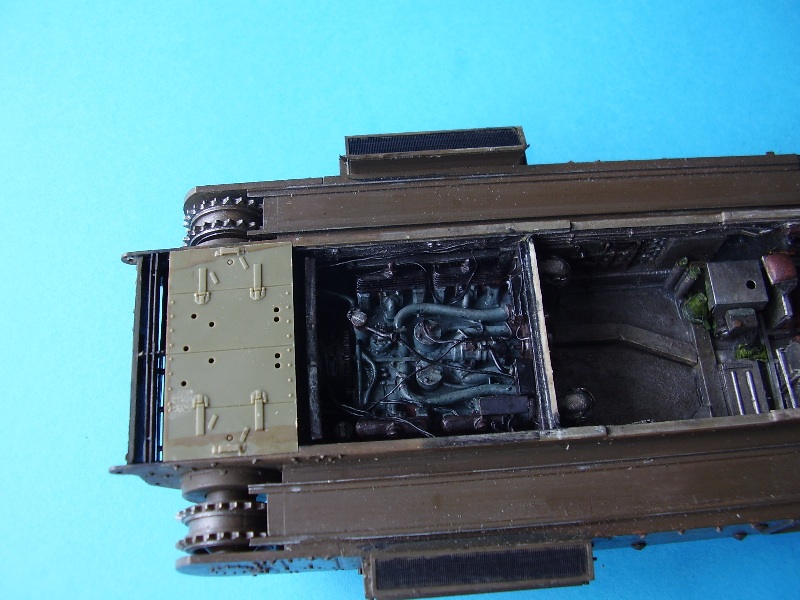
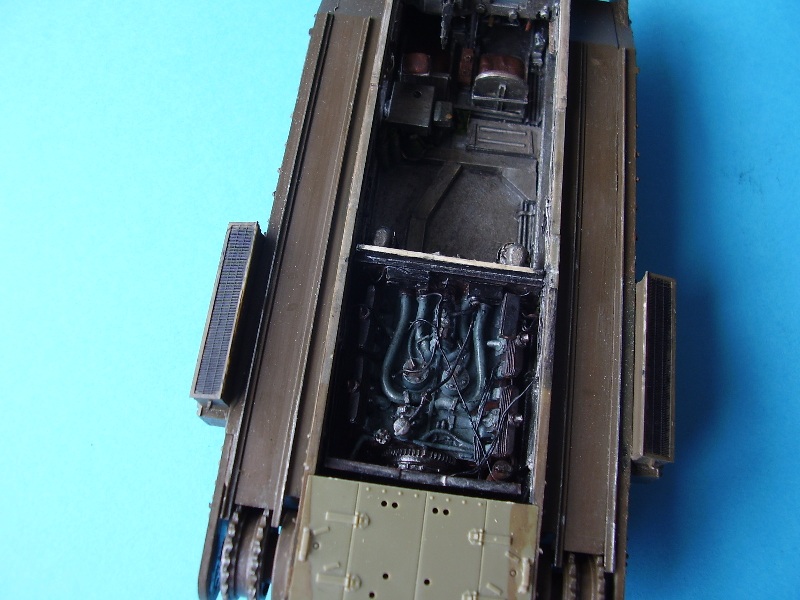
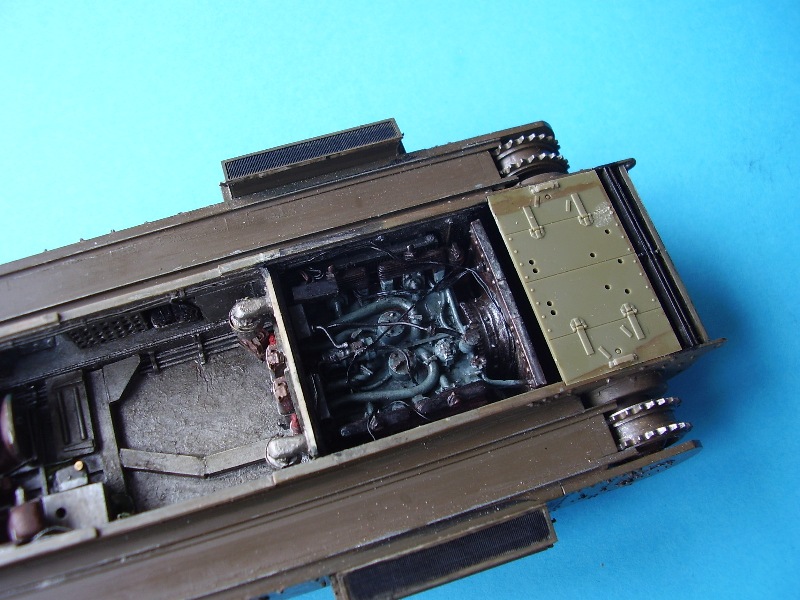
Around this stage I did a bit more painting on the engine to add some colour and help the detail stand out a bit more.
I had received a set of the Vallejo Rust and Oil Pigment which I reviewed here on site and I used these to experiment with and add some rust and heat effects to the exposed exhaust system. I found the pigments fairly easy to work with and I think the effect is pretty good. I also added the turret decals at this point
Vallejo Rust & Oil Pigments Live links


About the Author


FROM: ENGLAND - EAST ANGLIA, UNITED KINGDOM
Greying slightly, but young at heart. I've been teaching adults off and on for most of my life. Left the services in 85 and first started modelling in about 87 for a few years. Then I had a long spell when I didn't build anything (too busy) and really just got started again during the summer of ...
Comments

I just skimmed through this build feature and am already finding it helpful. Maybe this will be my next non-campaign project after I finish my MK IV? It's a good thing Darren likes British armour, or we may never get around to finishing some of these builds
SEP 01, 2010 - 05:31 PM
Looked like an interesting build Alan. Thanks for the article.
I may have to add another Churchill to my list by the looks of it - I'm beginning to love doing resin interiors.
SEP 01, 2010 - 11:07 PM

I've just started the MkIII Avre, hope i haven't already dropped a cod with how far i've progressed. Just about to read and find out....
Andy
SEP 02, 2010 - 01:22 AM


Hi Andy,
Here's a live link for the AVRE.
https://armorama.kitmaker.net//features/3168
Enjoy.
Al
SEP 04, 2010 - 12:00 AM
This kind of support and interaction is what makes this community great!
SEP 04, 2010 - 12:03 PM
Hi Jeremy,
Yes, there are a good bunch of helpful people around, they are what make most of my builds possible.
Al
OCT 01, 2010 - 11:17 PM
Copyright ©2021 by Alan McNeilly. Images and/or videos also by copyright holder unless otherwise noted. The views and opinions expressed herein are solely the views and opinions of the authors and/or contributors to this Web site and do not necessarily represent the views and/or opinions of Armorama, KitMaker Network, or Silver Star Enterrpises. All rights reserved. Originally published on: 2010-08-31 00:00:00. Unique Reads: 18992

WEB HOSTING BY


Copyright ©2021 Armorama and Kitmaker Network, a subsidiary of Silver Star Enterprises
All Rights Reserved. Please read our Conditions of Use and Privacy Policy.
All Rights Reserved. Please read our Conditions of Use and Privacy Policy.