

1⁄35Building the Churchill Mk III c/w Interior
13
Comments

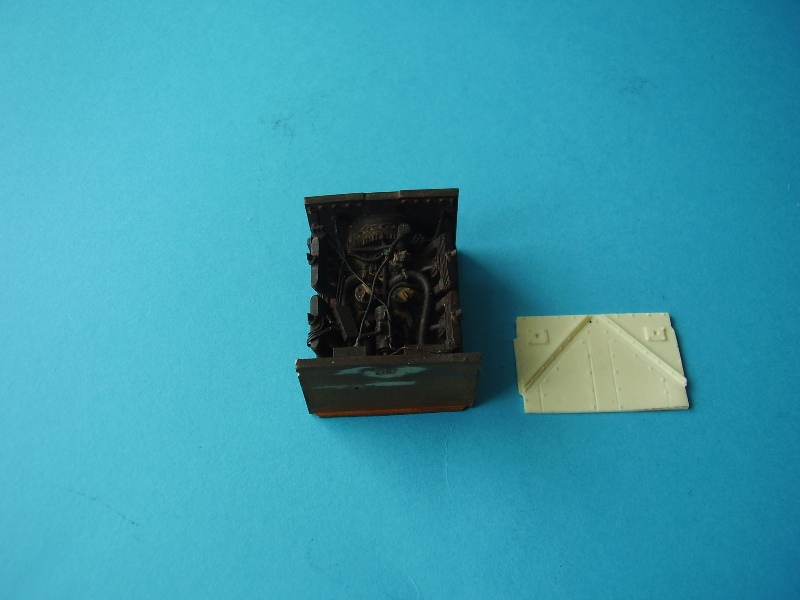
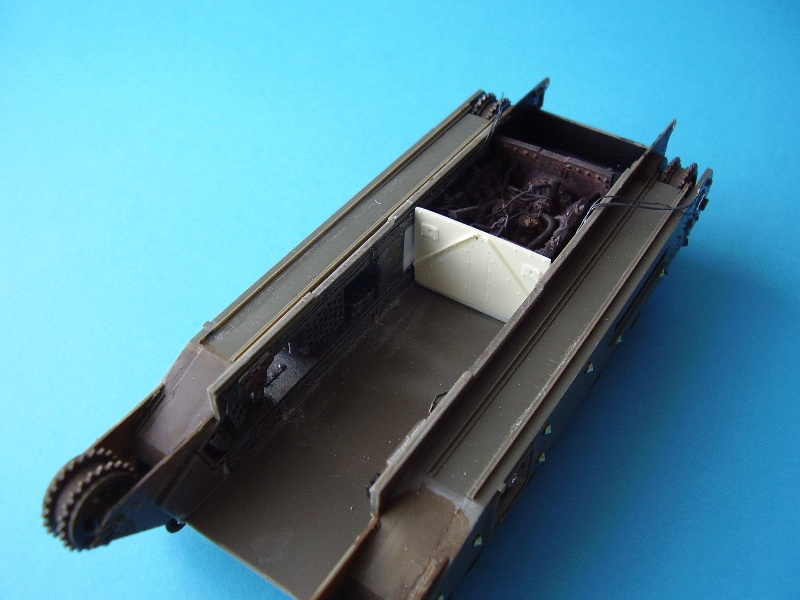
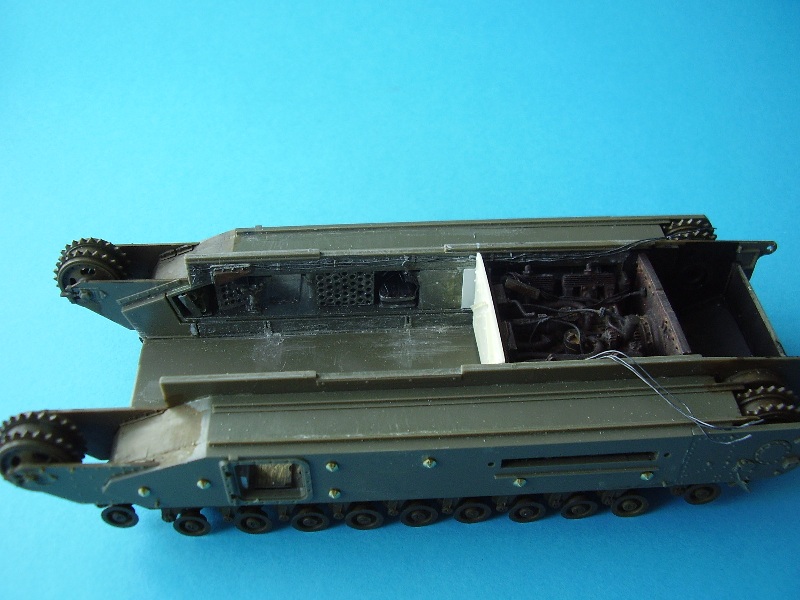
With the panniers looking well stocked with items I moved onto fitting the kit floor and sides together. A fairly easy job, although my floor was a little warped but it fitted well enough in the end.
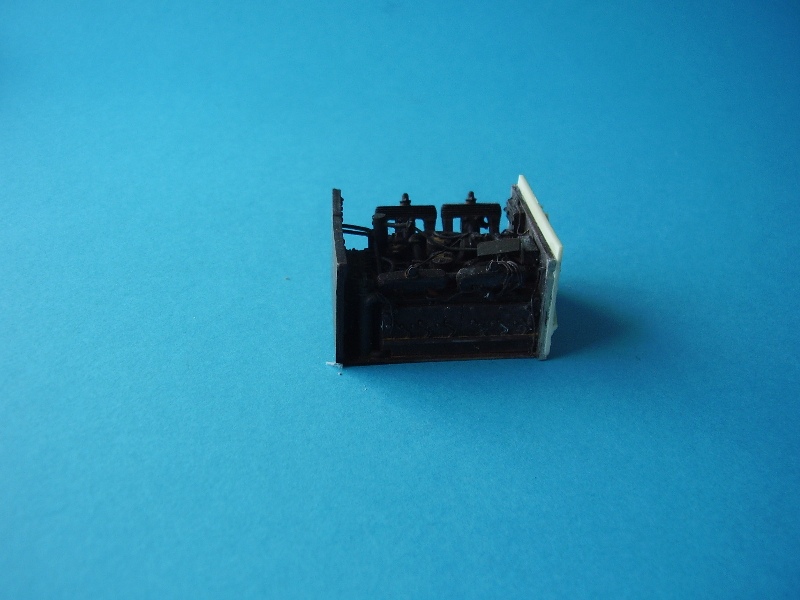
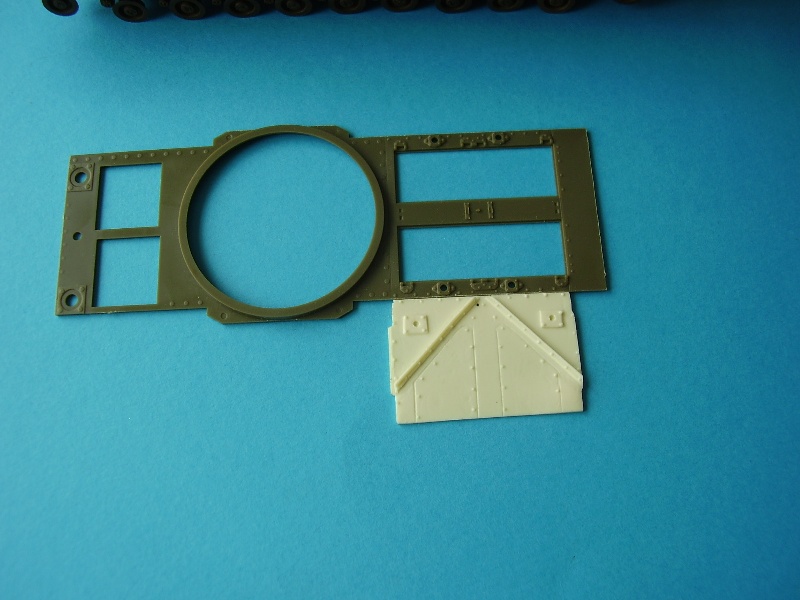
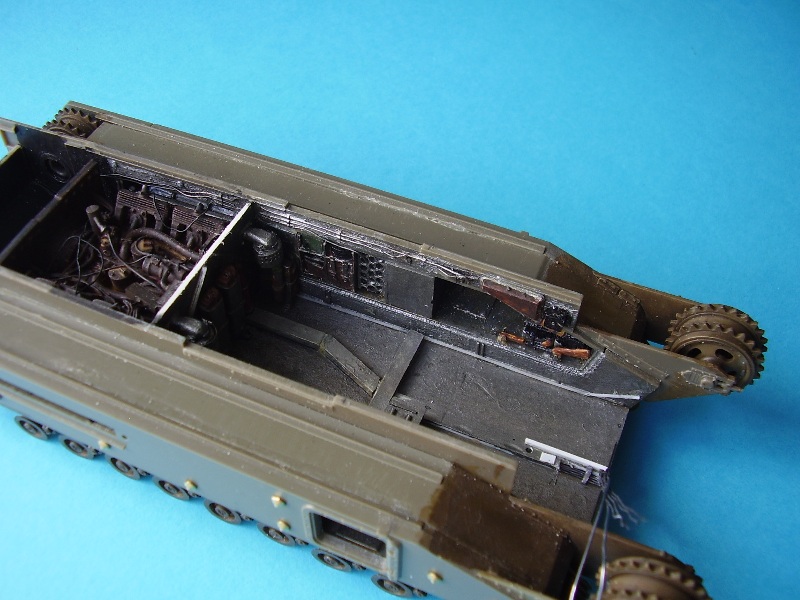
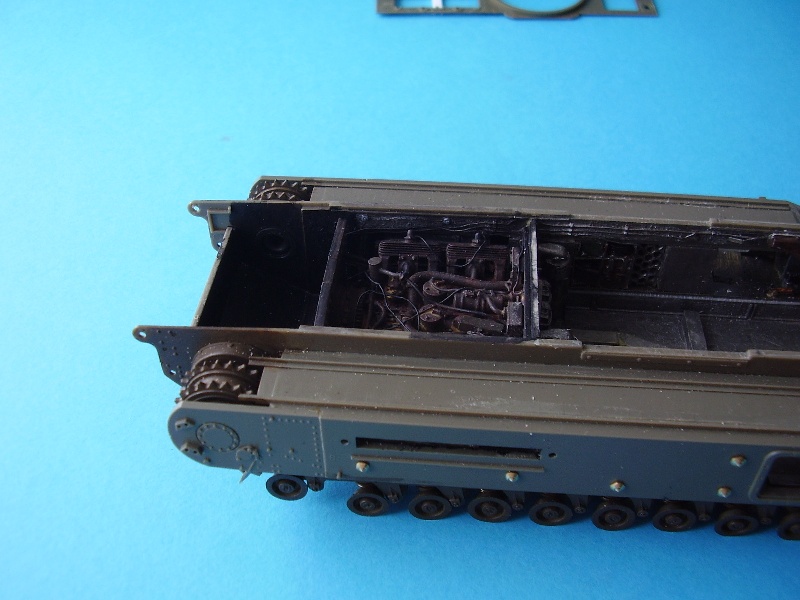
The next thing I looked at was test fitting the rear firewall and the engine. The firewall presents a bit of a problem as the base is not square so some adjustment will be needed to get the fit right. (I believe this part has also been re-mastered to correct this error).
The engine itself is a straight forward build, being designed to drop into the tank. The detail is excellent and I reviewed this part here on site some time ago:
Resicast Churchill Drop In Engine Live links
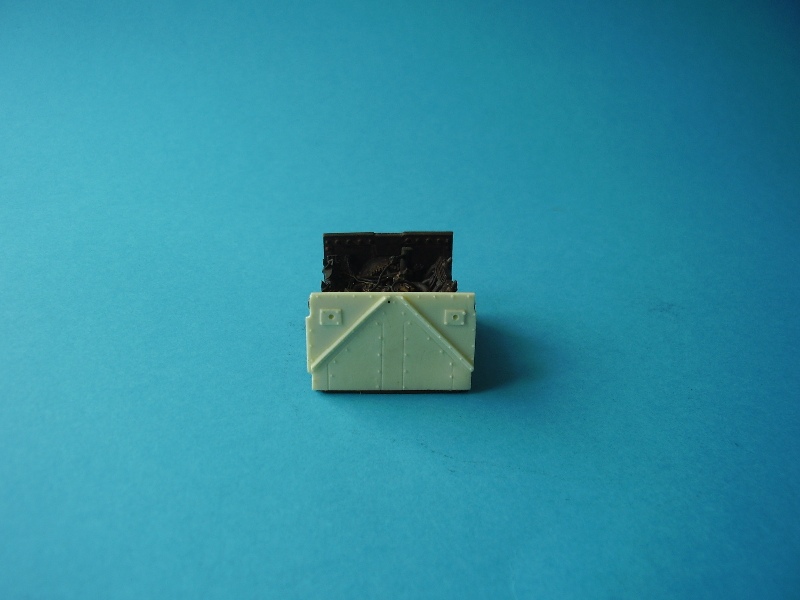
I thought it was best to fit the firewall first and then work forward as it will be the starting line for everything else. You need to let the whole hull dry completely first though, as you need to remove the small triangular fixing points on the AFV kit before moving on with the hull floor fixings.
Also when fitting the firewall make sure it doesn't press the sides of the hull out otherwise this will effect the fit of the upper hull plate when you add it later.
Marrying up the rear plate of the Resicast Engine and the Replacement Inside the Armour rear firewall, created a few problems. In the end I cut and filed off a section of the Resicast bulkhead and attached the firewall directly to the engine, thereby allowing me to insert the engine and firewall as one complete unit. Also I found that having removed the small triangular supports on the kit floor and having removed the plug from the base of the Resicast engine I ended up with the engine probably about 1mm lower that it should have been. So in retrospect my advice here would be to either leave the plug in place or add 4 small corner blocks to the base of the engine so that you get the height spot on.
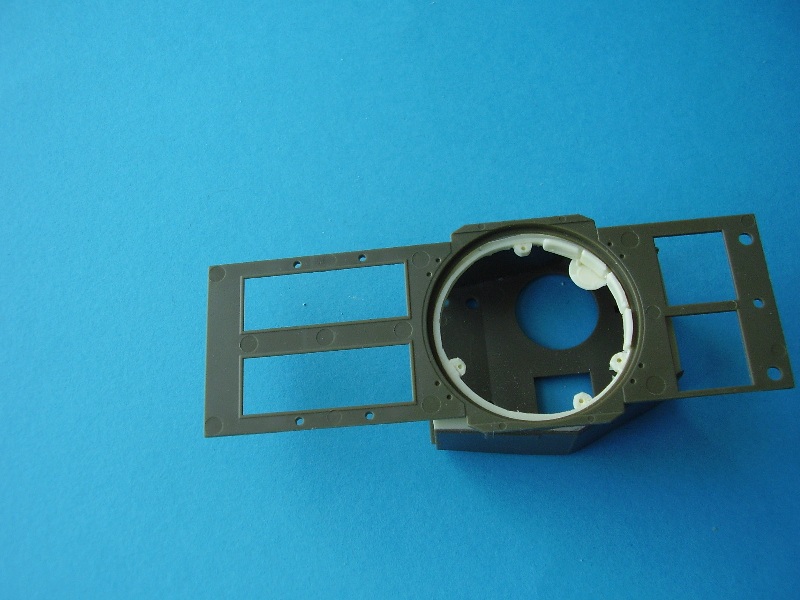
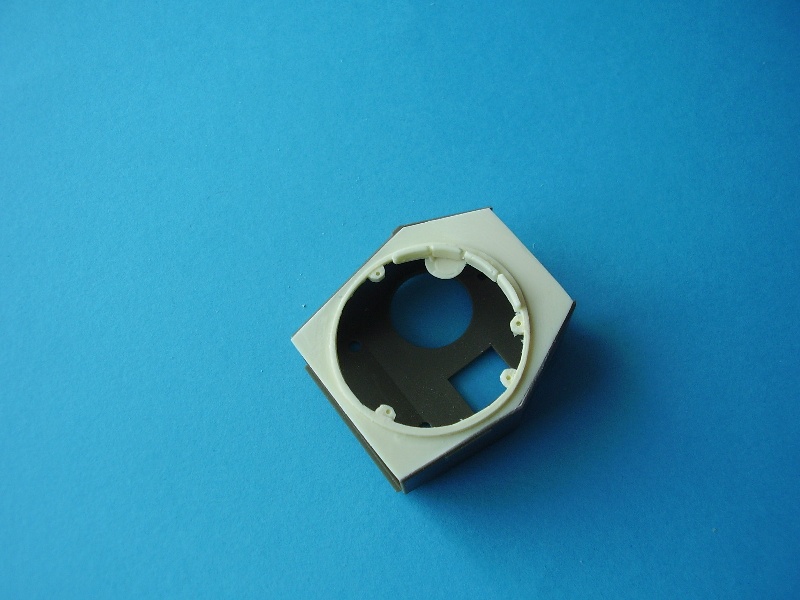
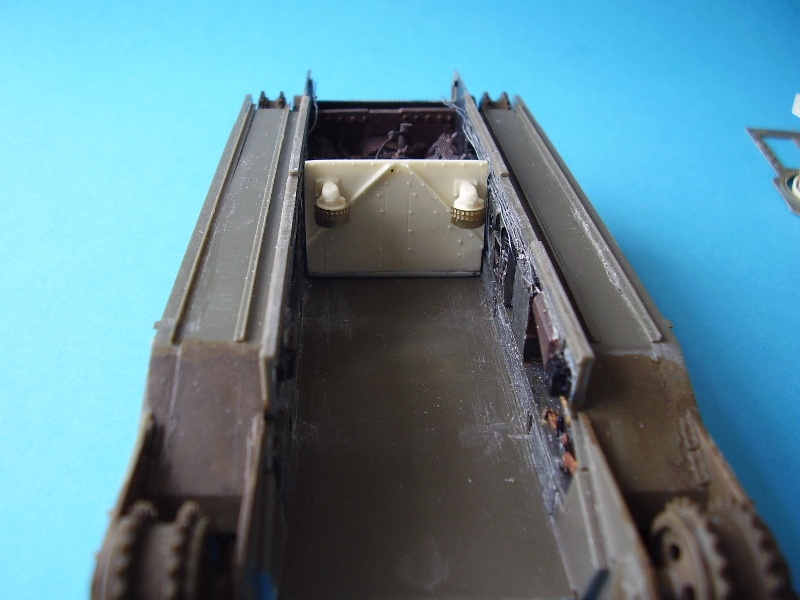
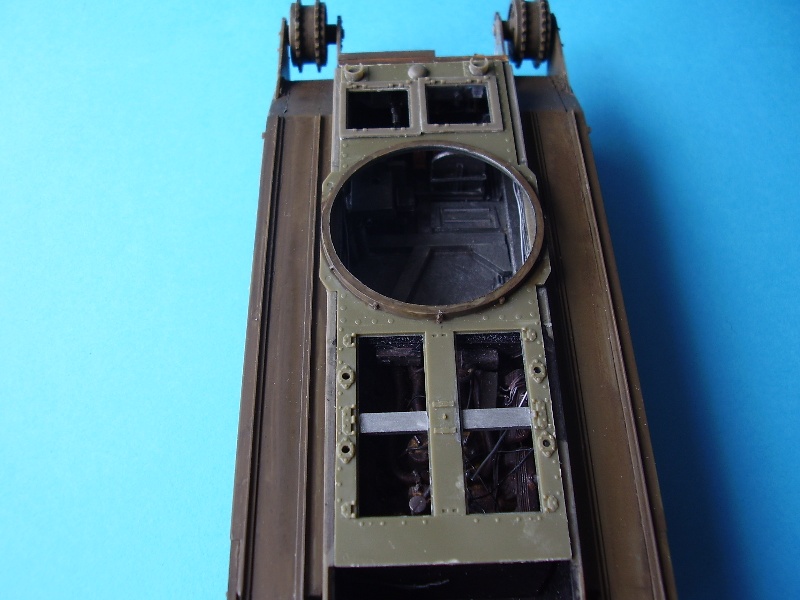
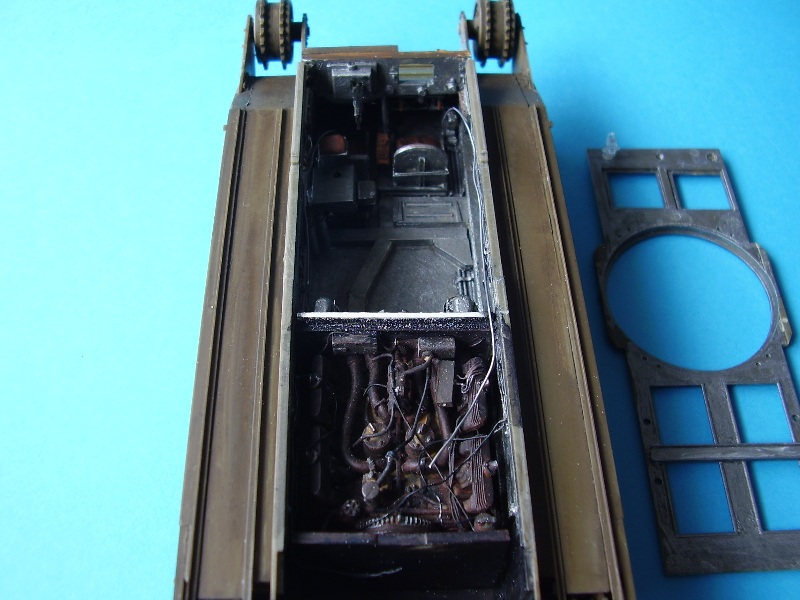
The fit of the firewall is critical to the interior build, as it effects everything else forward of that point and there is very little room for manoeuvre once you start adding the floor and firewall fittings, as if not correct they will interfere with the turret basket. So before you fit this part build the turret basket and you will be in a much more controlled situation. There were no exact measurements in the conversion instructions for the placement of the firewall but after many test fits 94mm from front of hull floor to the base of the firewall worked for me.
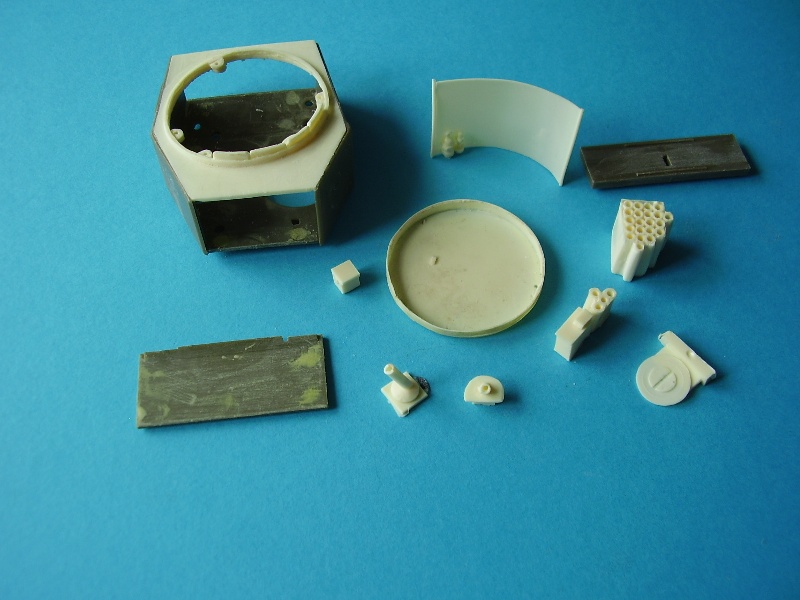
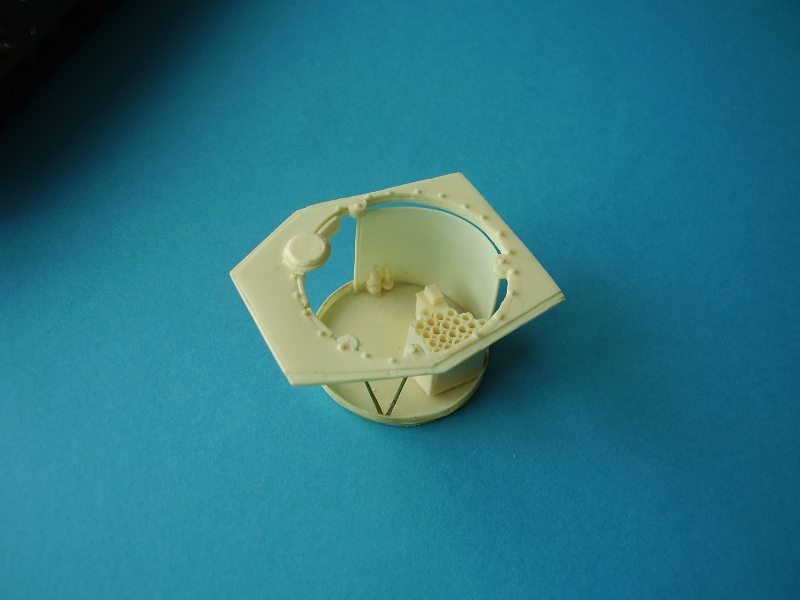
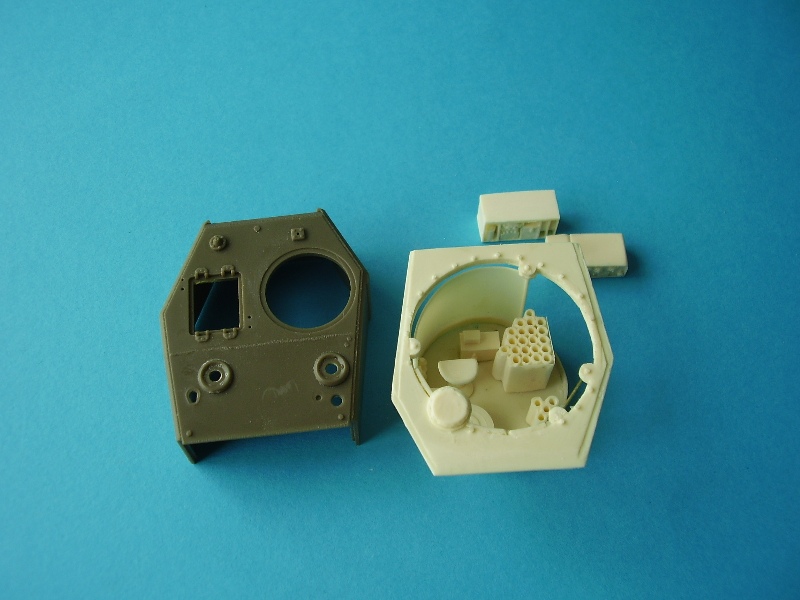
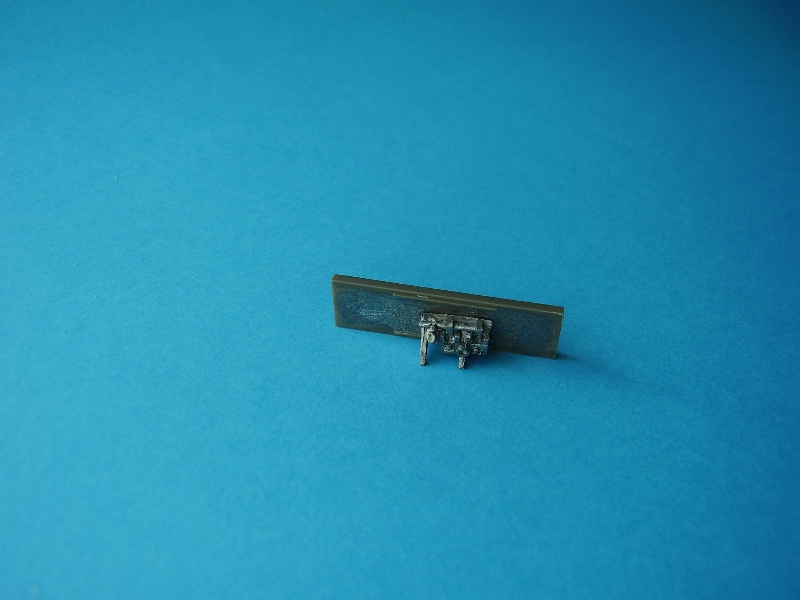
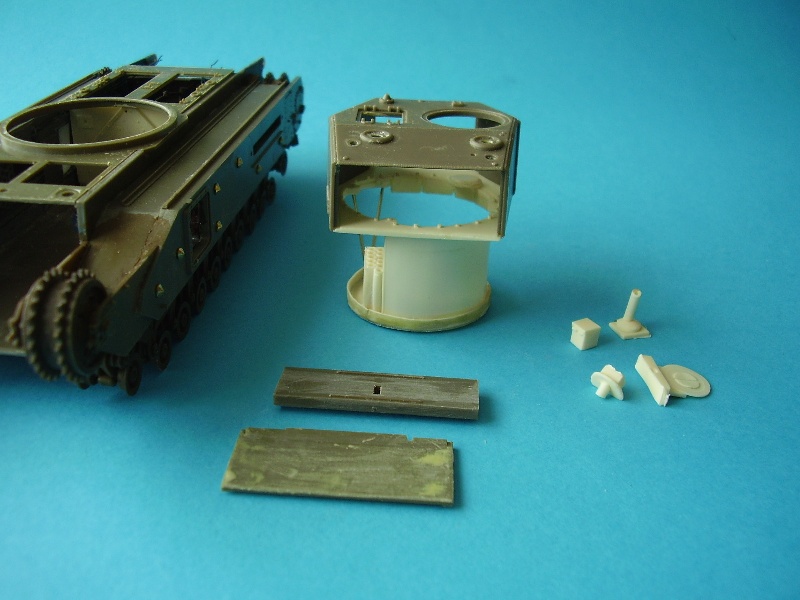
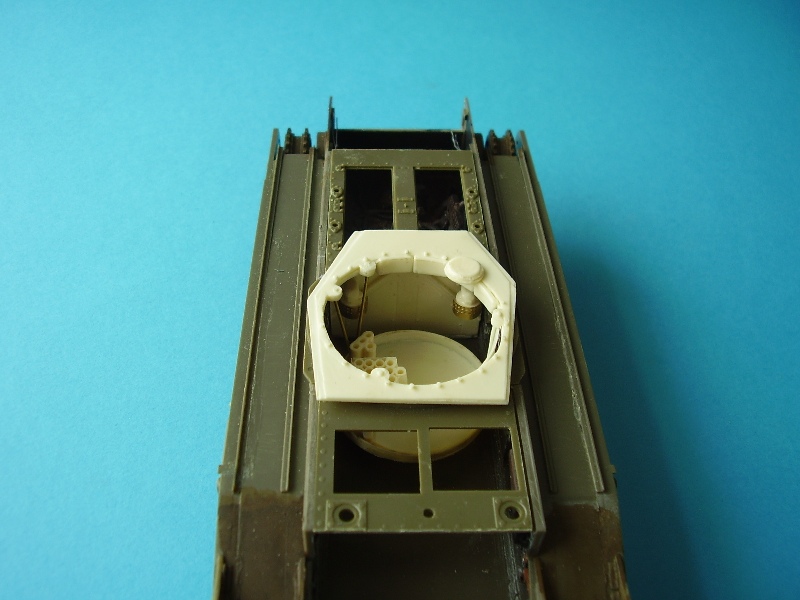
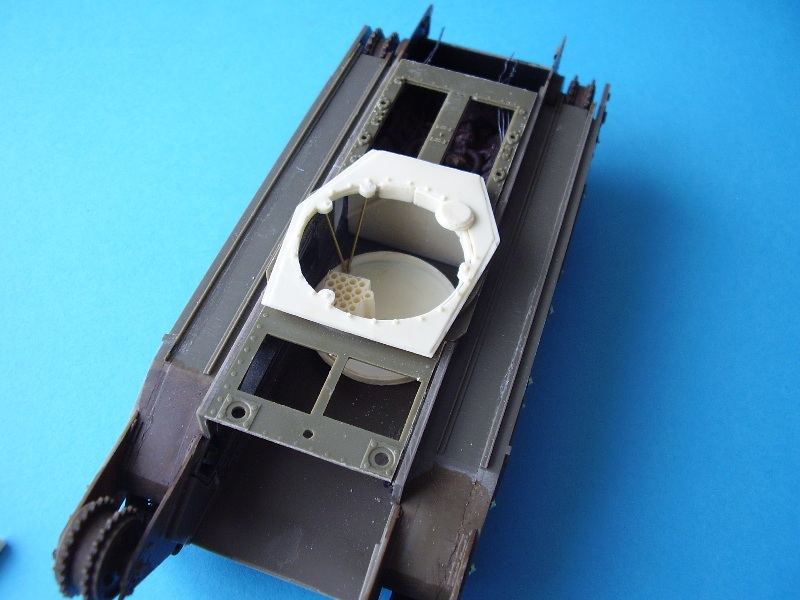
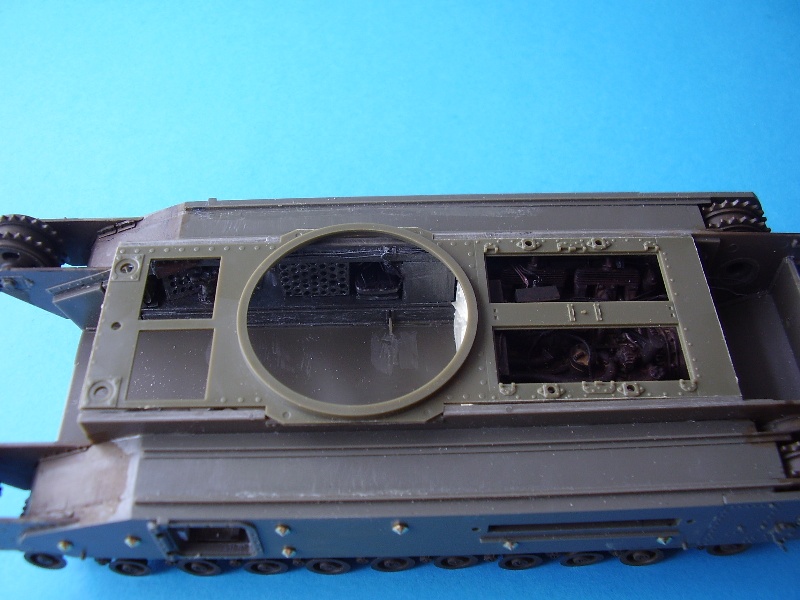
Bearing the above I mind I then switched my attention to build the turret basket. Again clean up the resin parts took some time and patience. The Inside the Armour kit provides almost everything you might need for the conversion but what is not included is a replacement elevation mechanism and sighting arrangement for the gun. I choose to botch a bit of work here, mainly to clear away much of the AFV kit elevation bracket as possible and open up the turret a bit more.
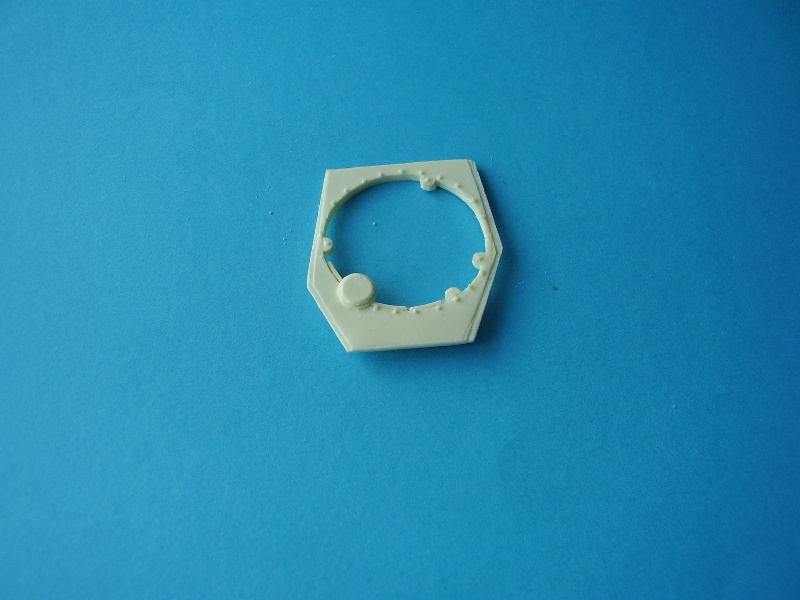
The turret ring was not a good fit as there was a lot of spillage and varied thickness in the part, which took a lot of work and patience to clean up. Chris from Inside the Armour has subsequently re-master this part also to overcome the issues it raised and I believe the same is true for the basket floor.
Rather than use the plastic rod provided for the basket floor support arms I used brass rod for a bit of extra strength and given the amount of test fitting and handling that went on Im glad I did.
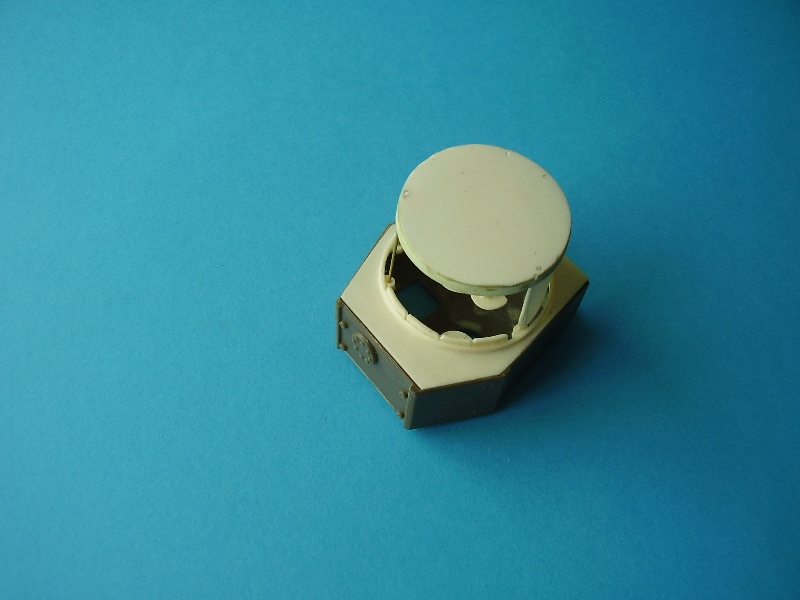
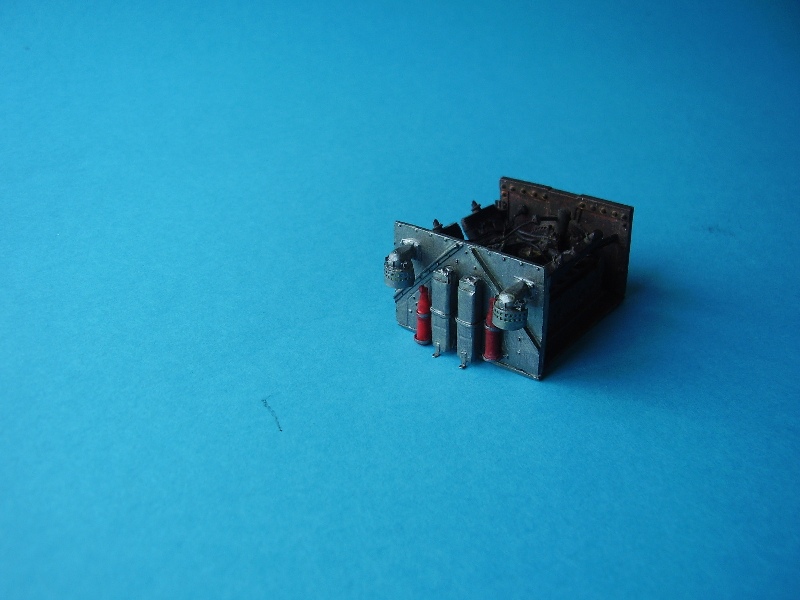
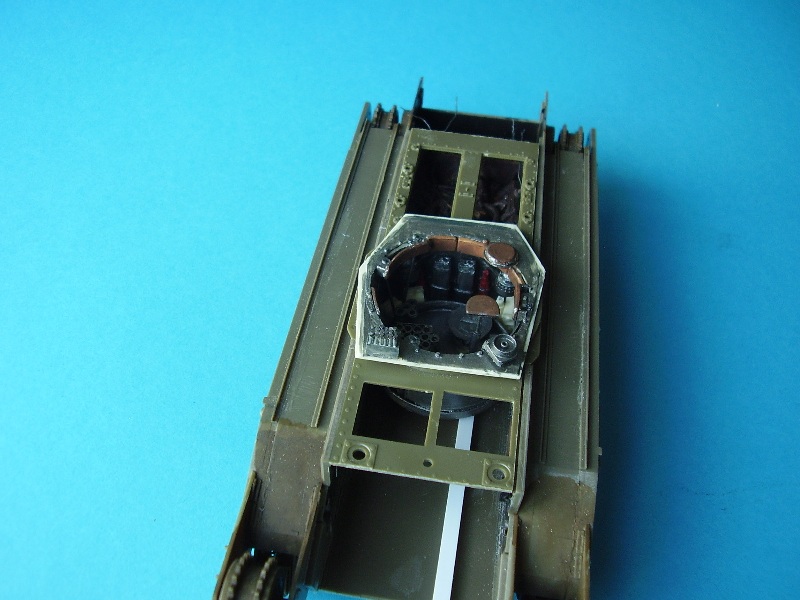
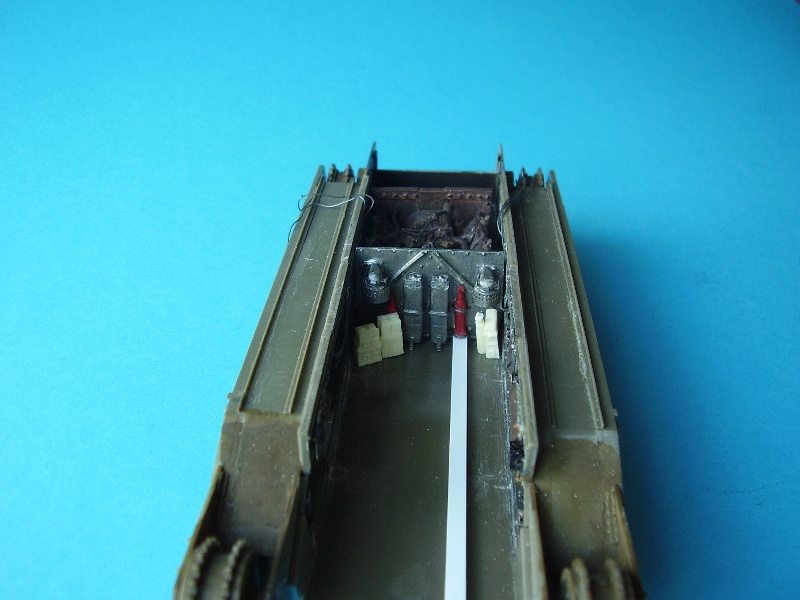
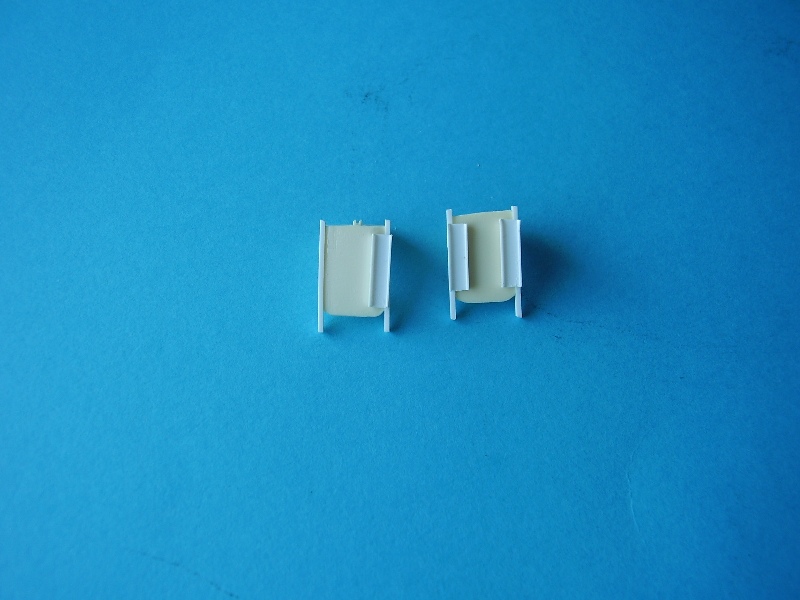
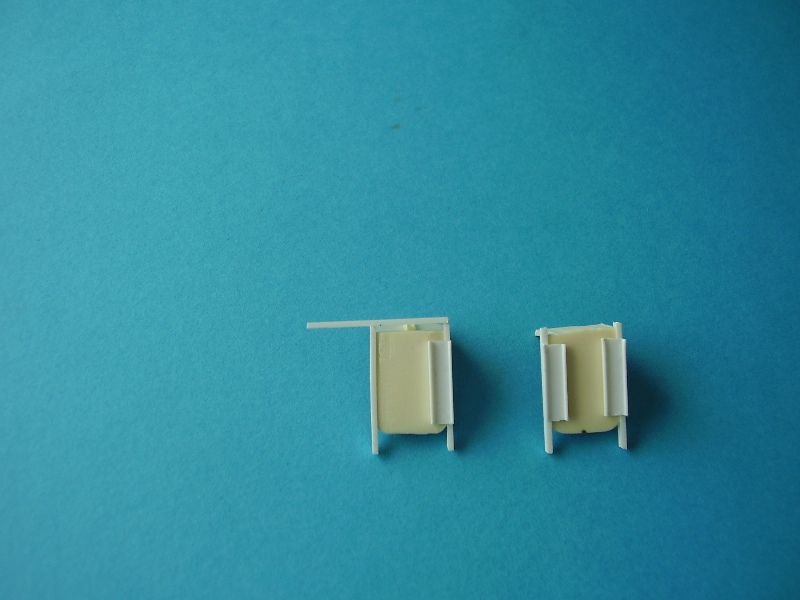
Once the basic basket was finished, I added the air filters to the rear of the firewall and set about test fitting the parts and once I was happy that things would fit I finished off the build of the turret interior (More later). The AFV kit provides a nice metal 6pdr barrel and you may wish to fill in the ejection marks on the inside of the turret.
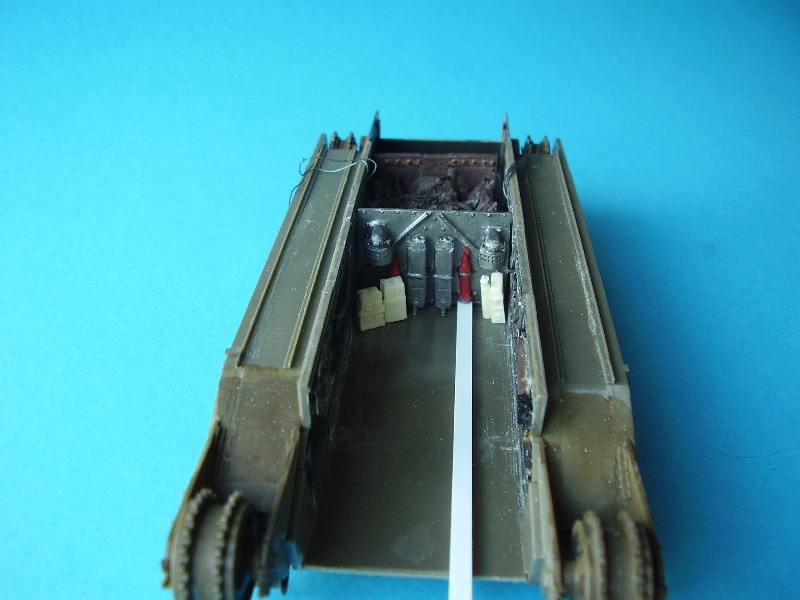
After the basic turret basket was completed I turned my attention to adding the additional parts to the rear firewall, these included the Besa ammo stowage tins, CO2 system, which I didnt plum in but should have, and making the additional small fittings that sit just in front of the firewall. Lost more test fitting but things were looking pretty good so I completed the gun breach, altered the mantel ready to add to the painted turret. There are a lot of small fittings that need added to the turret so it is almost a complete model build on its own right.
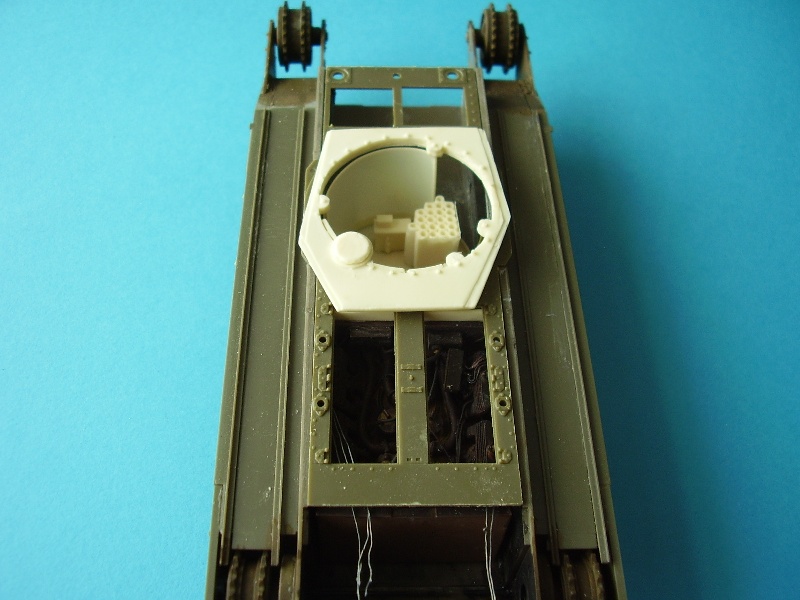
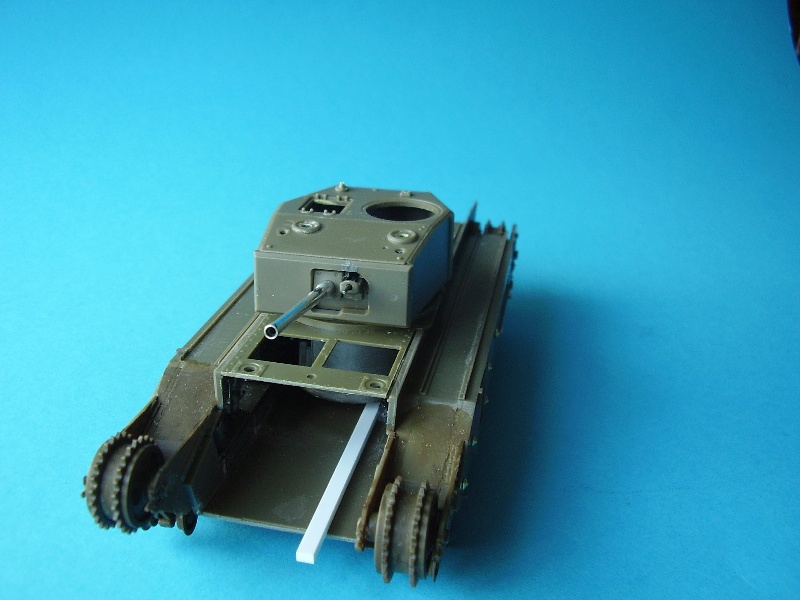
I also added a missing cross member to the rear of the engine housing and dry fitted the frontal armour at this point.
Work them moved on to fitting the engine, mine stuck fast to the floor almost at once and wouldnt budge despite the application of great pressure but I was lucky enough in that I was pretty close to where I wanted it to be, not exact but close enough to my 94mm mark. A quick test fit of the turret basket and things actually worked so a bit of disappointment but a sight of relief too that I wasnt going to have to force the whole part off and cause major damage to what had gone before. Dont you just love 5 minute Super Glue,!!!
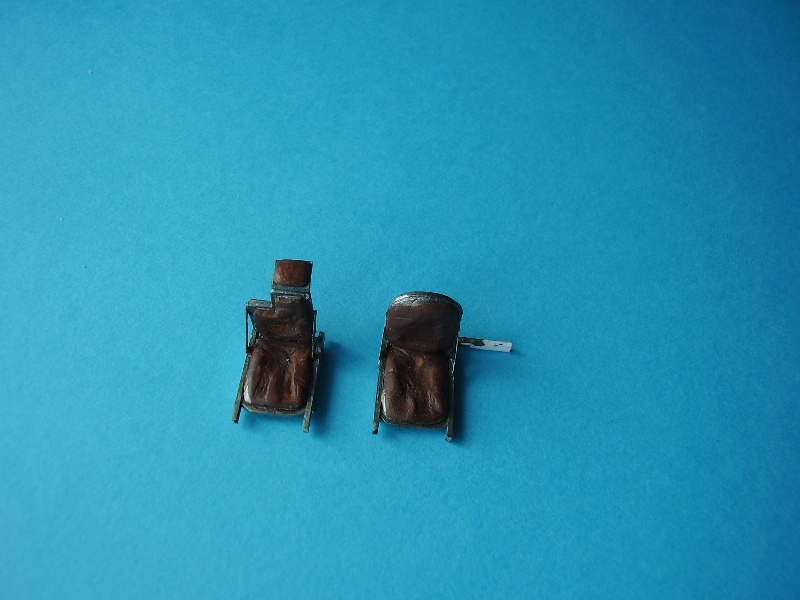
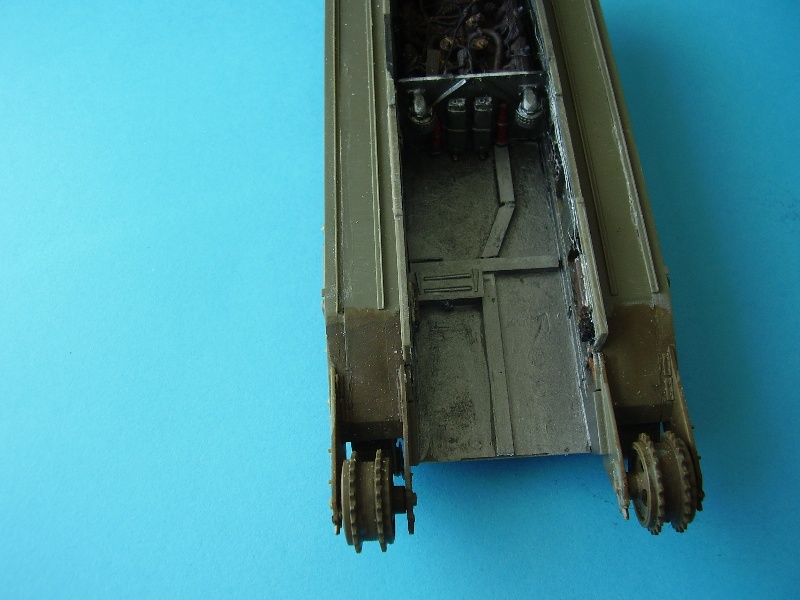
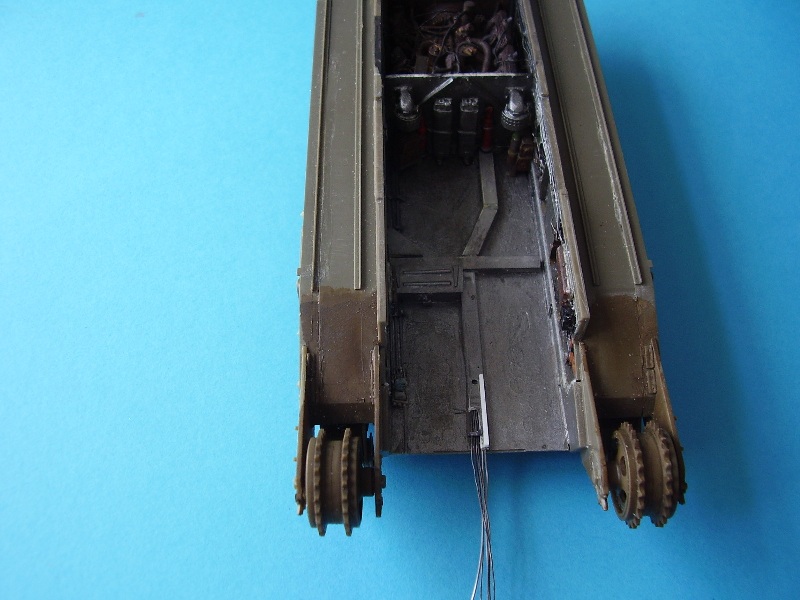
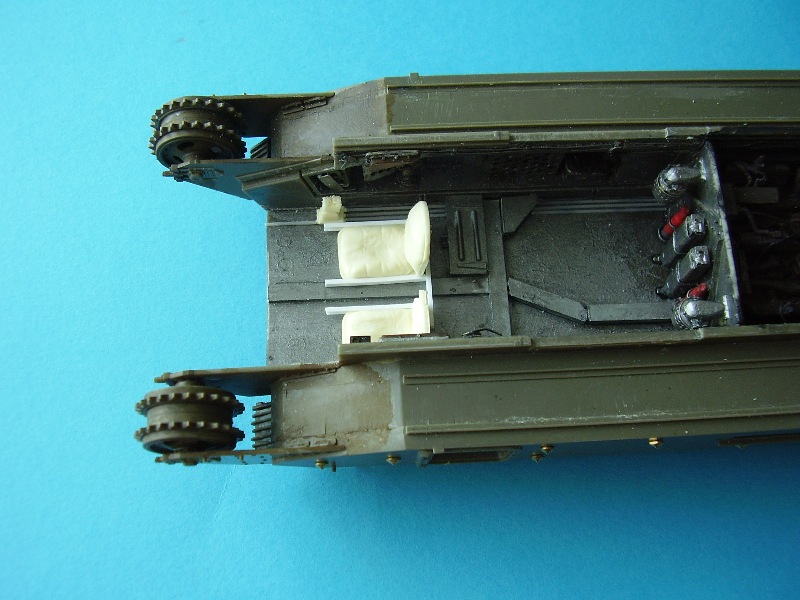
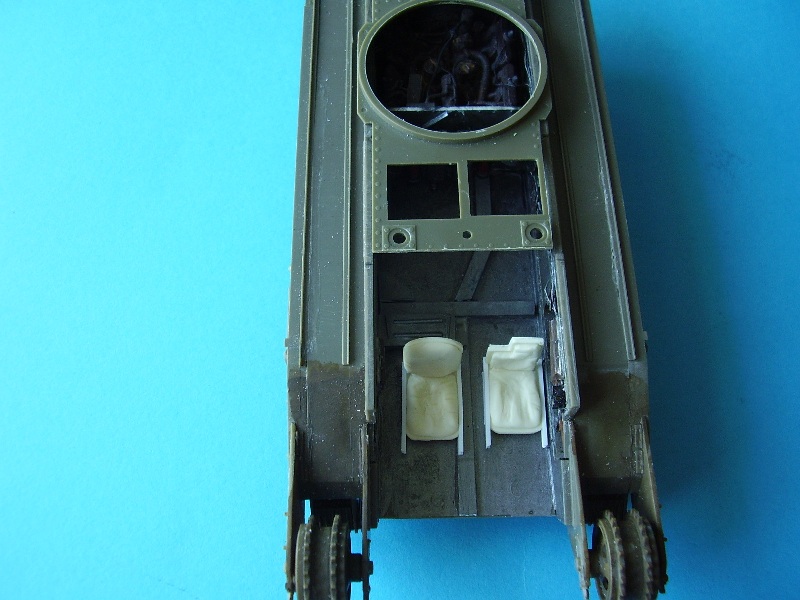
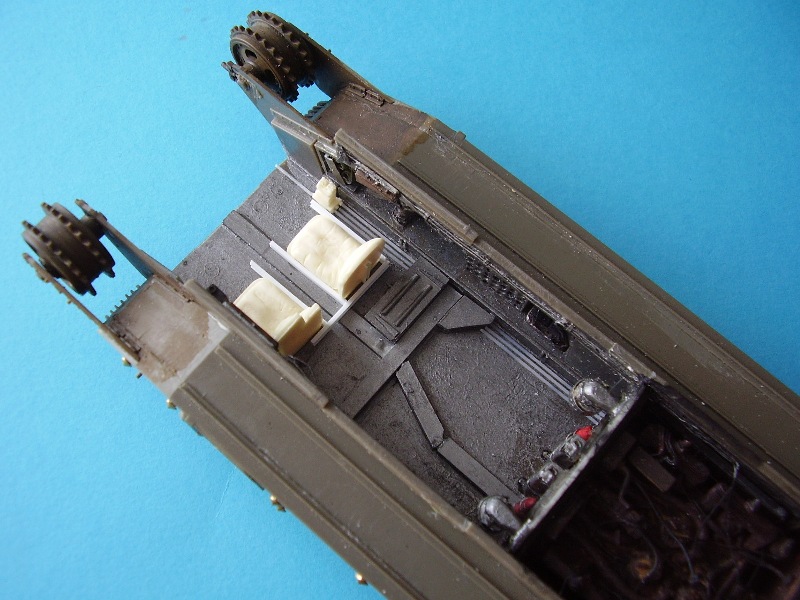
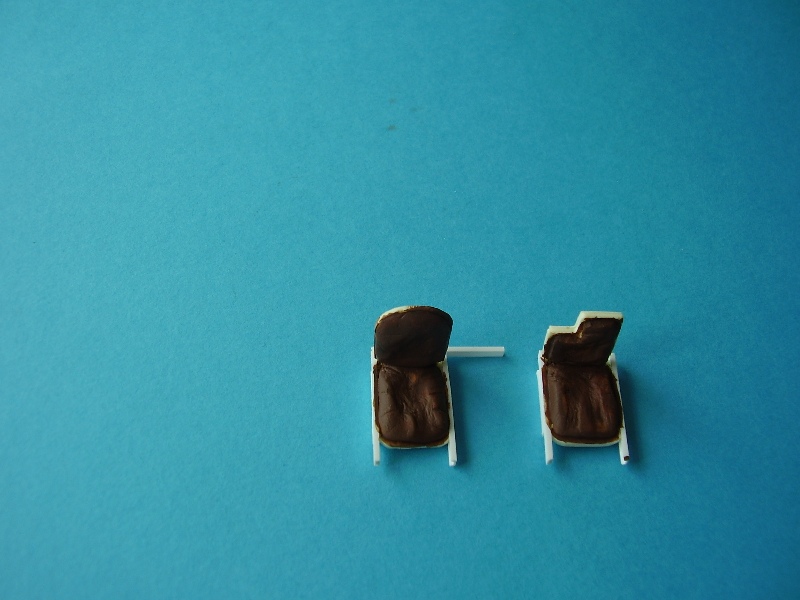
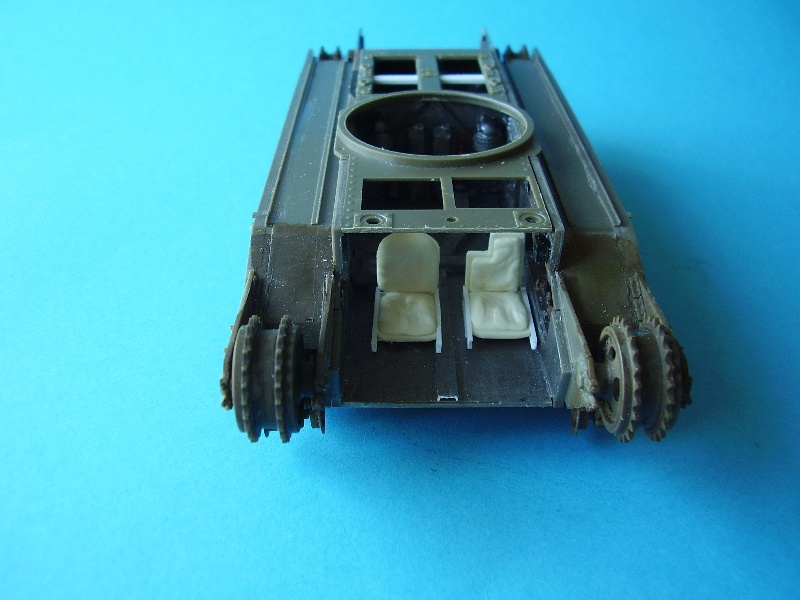
With the firewall/engine in place I then started to build forward, adding the various items and scratch building a Generator part that wasnt in the kit. Whilst various measurements are provided in the build instructions I used the Mk I eyeball for most of this part of the build as I added runners to the drivers and co drivers seat bottoms for a more busy and realistic finish and also to help me line things up.
The next important fitting is actually the cross member that runs across the floor between the side doors. I believe mine is about 1/2mm too high up but I used the measurements for the trunking running from the firewall to place this part so not much I could do there, as this only became apparent later on in the build when I tried to add a small oil can and it didnt want to fit without interfering with the turret basket so got left off in the end.
If there are two measurements that need included in future kits instructions it is the distance from the front of the hull floor to the fire wall and the distance from the front of the hull of floor to the cross member,taking into account the width of the cross member. Get these right, and everything else will fit fine.
About the Author


FROM: ENGLAND - EAST ANGLIA, UNITED KINGDOM
Greying slightly, but young at heart. I've been teaching adults off and on for most of my life. Left the services in 85 and first started modelling in about 87 for a few years. Then I had a long spell when I didn't build anything (too busy) and really just got started again during the summer of ...
Comments

I just skimmed through this build feature and am already finding it helpful. Maybe this will be my next non-campaign project after I finish my MK IV? It's a good thing Darren likes British armour, or we may never get around to finishing some of these builds
SEP 01, 2010 - 05:31 PM

Looked like an interesting build Alan. Thanks for the article.
I may have to add another Churchill to my list by the looks of it - I'm beginning to love doing resin interiors.
SEP 01, 2010 - 11:07 PM

I've just started the MkIII Avre, hope i haven't already dropped a cod with how far i've progressed. Just about to read and find out....
Andy
SEP 02, 2010 - 01:22 AM


Hi Andy,
Here's a live link for the AVRE.
https://armorama.kitmaker.net//features/3168
Enjoy.
Al
SEP 04, 2010 - 12:00 AM
This kind of support and interaction is what makes this community great!
SEP 04, 2010 - 12:03 PM
Hi Jeremy,
Yes, there are a good bunch of helpful people around, they are what make most of my builds possible.
Al
OCT 01, 2010 - 11:17 PM
Copyright ©2021 by Alan McNeilly. Images and/or videos also by copyright holder unless otherwise noted. The views and opinions expressed herein are solely the views and opinions of the authors and/or contributors to this Web site and do not necessarily represent the views and/or opinions of Armorama, KitMaker Network, or Silver Star Enterrpises. All rights reserved. Originally published on: 2010-08-31 00:00:00. Unique Reads: 18992

WEB HOSTING BY


Copyright ©2021 Armorama and Kitmaker Network, a subsidiary of Silver Star Enterprises
All Rights Reserved. Please read our Conditions of Use and Privacy Policy.
All Rights Reserved. Please read our Conditions of Use and Privacy Policy.