

1⁄35Building the Dragon 25pdr w/ Trailer
8
Comments
25 pdr Gun
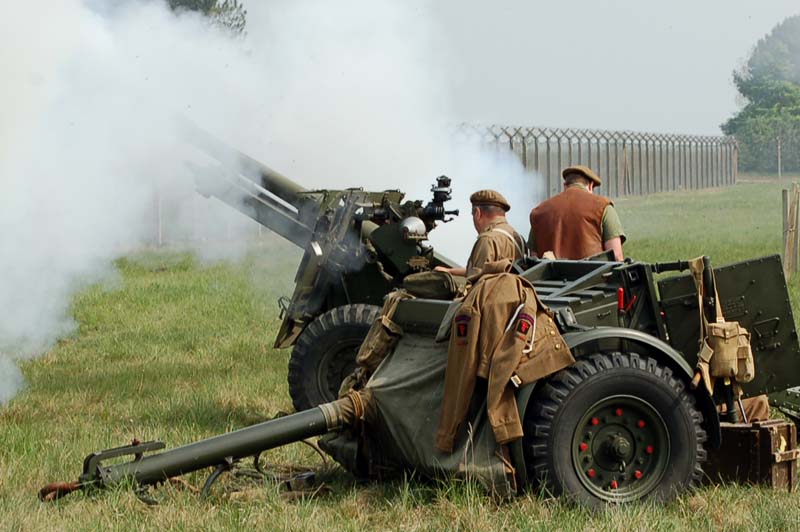
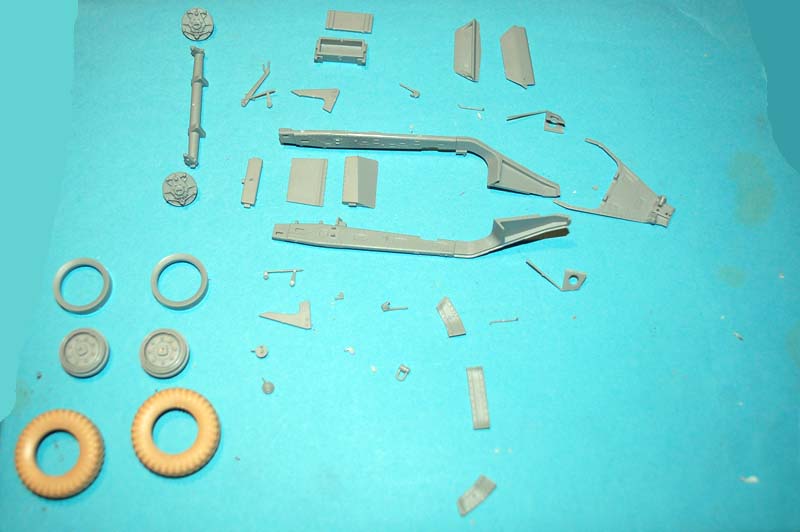
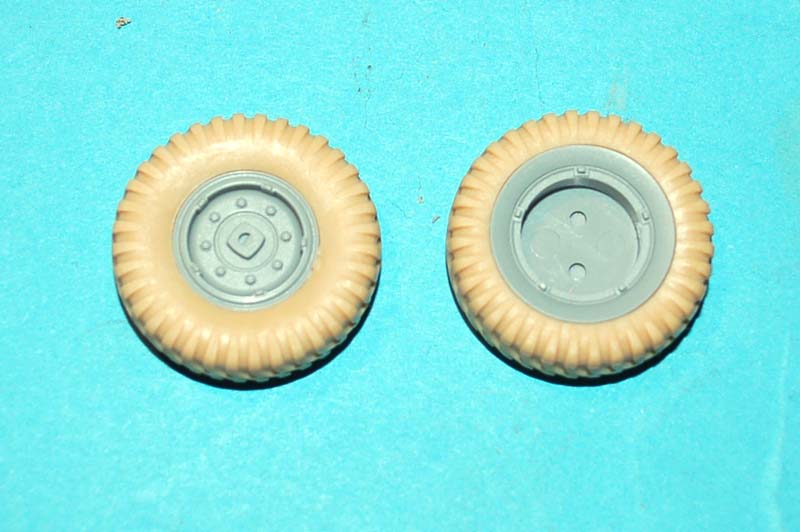
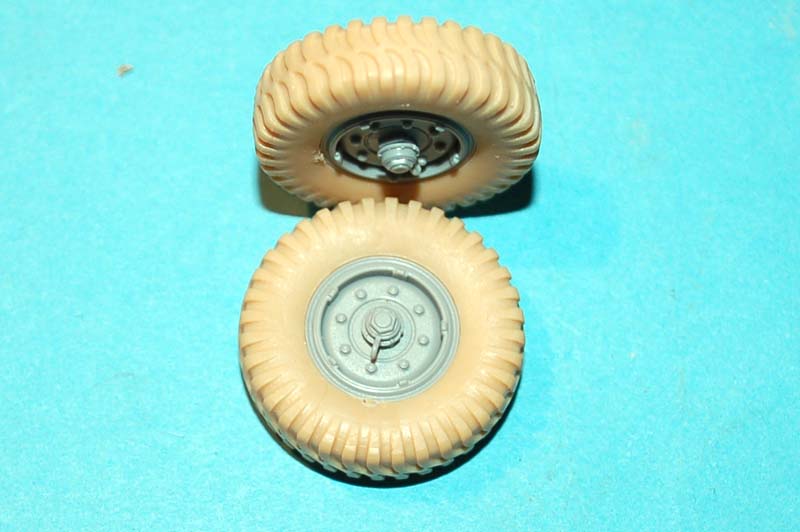
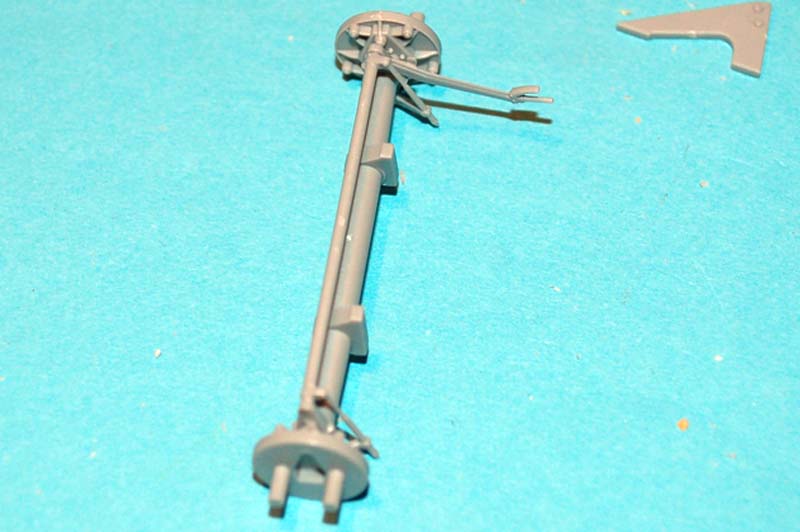
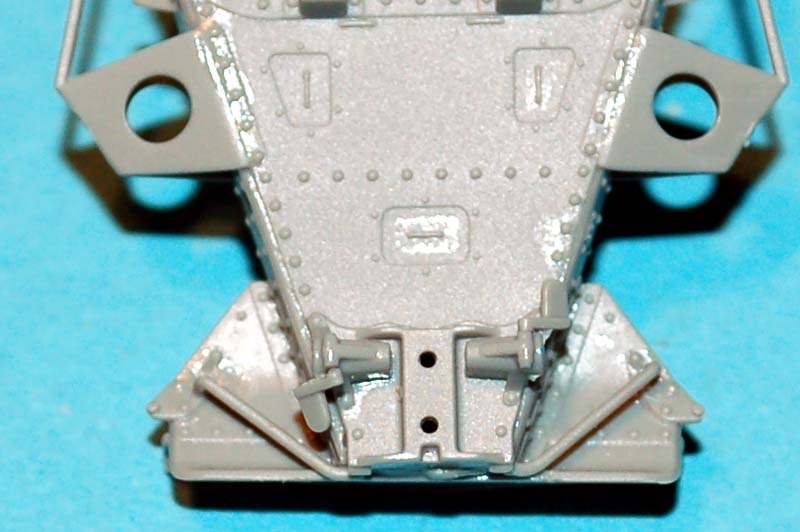
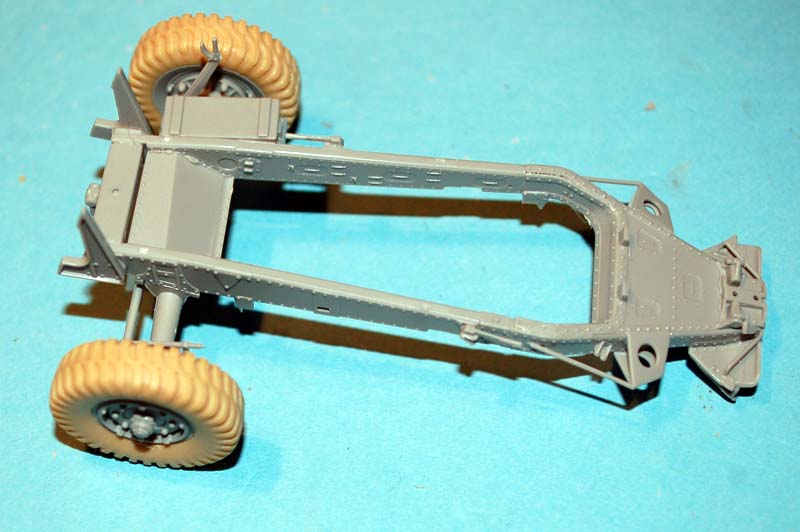
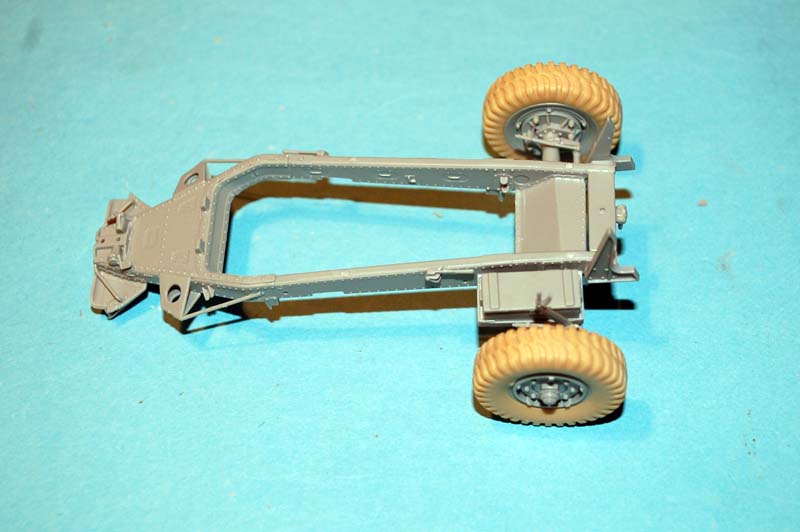
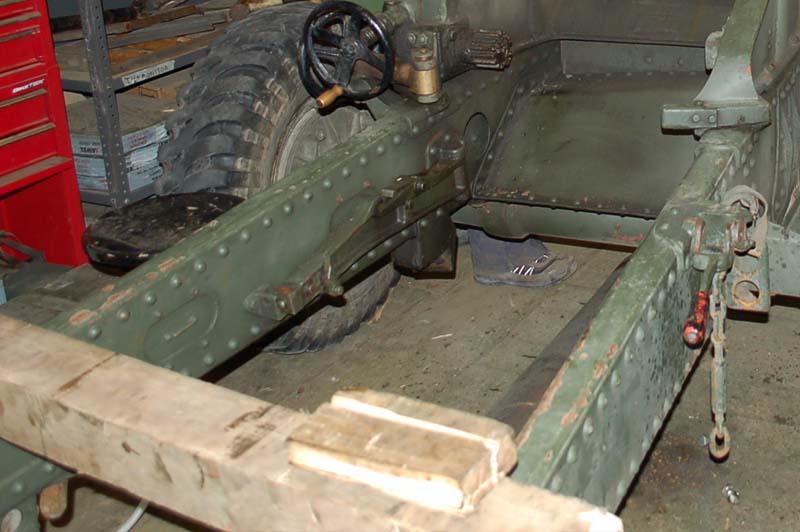
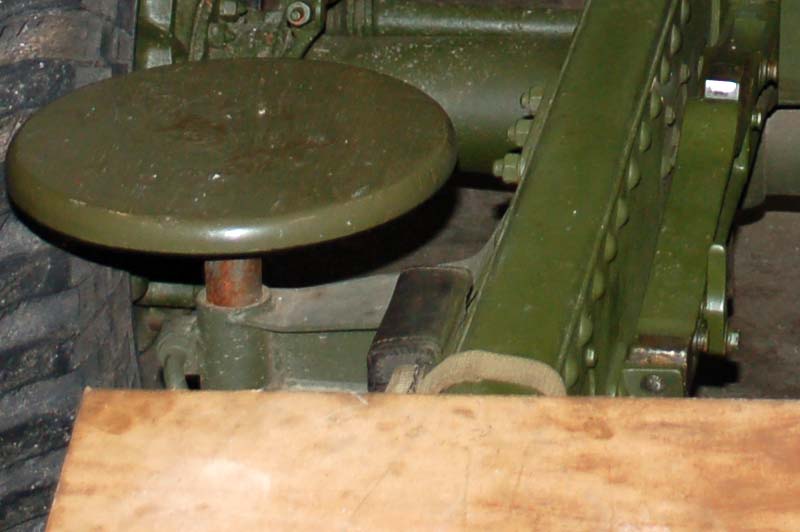
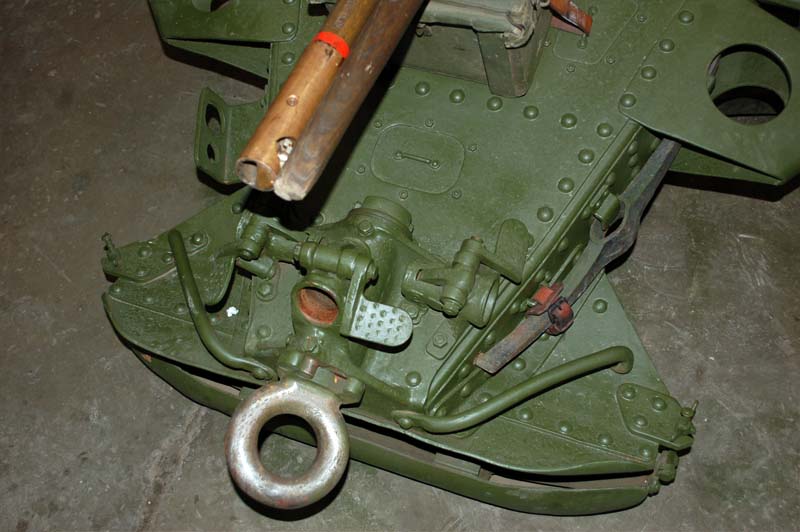
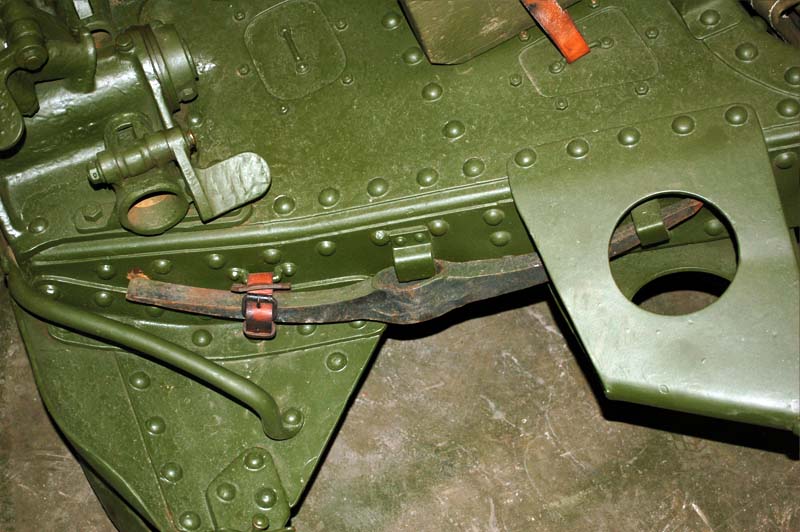
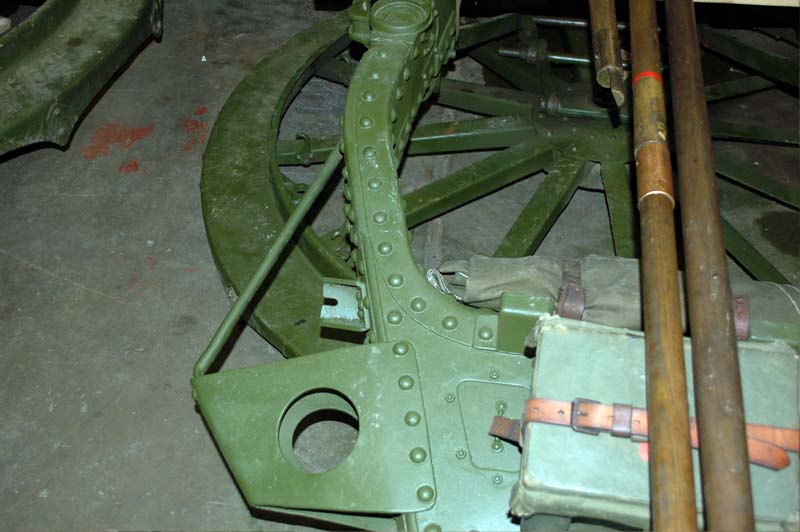
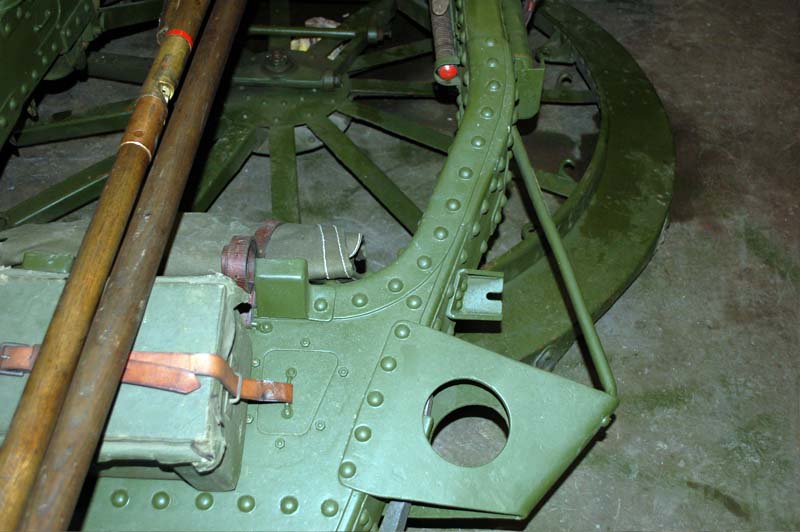
Step 1 This stage builds up the gun carriage and is quite busy. The instructions here are accurate and correctly numbered if not always perfectly clear. Take note of the correct position of the braking system and how it attaches to the brake drums. I started by assembling the gun carriage (coffin) and the axle followed by the wheels, remembering to note the wheel eyes, as they must hang down when attached to the carriage. I didnt encounter any issues with the fit of the parts, though the instructions arent completely clear as to where to attach some items, and there is a lack of moulded connection points provided that could have been used to aid assembly. That said the carriage did go together fairly well and no imperfections were found in visible locations. For those who like their models flawless, I recommend that the seam on the underside of the carriage near the spade is filled, taking care when sanding to avoid destroying the fine seam and bolt detail around the inner edge. One issue I encountered is that the two handles which activate the chains that hold the ground plate in position when in travel mode, are not in the correct position for the gun in firing mode; the only way for the manufacturer to overcome this would have been to supply alternate handles, along with, perhaps, photo etched chains for them. Also in this area of the model, the rivet detail securing the handle brackets is completely missing. The gunners seat requires some careful cleaning up as there is a mould seam running across the top of it which needs to be completely removed. It should be mentioned that while the seat is in reality made of wood, on a real gun there is no grain visible as it is totally smoothed out and hidden by the paint. The mould seam here needs to be removed at the point where it attaches, or it will be difficult to obtain a clean join. An area that I like is the hand spike releasing foot levers which really look the part and are accurately placed on the model. There is a but here though, and that is again the lack of an indicated connection point; they should be placed on the top edge, and a photo is included here to illustrate this. I should mention that at this stage the tools have been left off the gun and will be added later.


About the Author


FROM: ENGLAND - SOUTH WEST, UNITED KINGDOM
I have been building model kits since the early 70s starting with Airfix kits of mostly aircraft, then progressing to the point I am at now building predominantly armour kits from all countries and time periods. Living in the middle of Salisbury plain since the 70s, I have had lots of opportunitie...
Comments

Excellent review, and I really like the reference photos mixed in as well.
MAR 09, 2012 - 12:35 PM


Thanks guys as it took a lot of work to get the pictures I needed but it was an interesting exercise for me. I hope you find it of help along with the pictures of the 25pdr in various parts.
MAR 09, 2012 - 10:03 PM

Hi Darren,
Thanks for the review. Seems another rushed Allied job which is a pity. I like the crew, perhaps they will release them separately?
I have the Bronco kit which offers more finish choice so it's doubtful I'll bother with this one.
Cheers
Al
MAR 09, 2012 - 10:21 PM
Alan thank you. To be fair to Dragon their offering does include a couple of details that Bronco missed such as the pick axe head however I do agree with you. Also in the interest of fairness I am in the process of writing a build review of the Bronco 25pdr which is taking some time due to the number of parts and miniscule size of some parts. I hope that this way the members here will have the information to make an informed decision on which offering best meets their requirements.
MAR 10, 2012 - 05:06 AM

Thanks Darren ! My instruction sheet is covered with lots of notes. Great work inter mingling the kit with the real thing. Thanks again for all your hard work/labor of love on this review !
MAR 10, 2012 - 06:39 AM
Hi Darren,
Yes, there are a lot of parts in the Bronco kit. I've made a start on mine but I have only the barrel made at this point.
Look forward to the Bronco review, your write up of the DML kit is very good and comprehensive. Thanks also for the additional reference pics.
Cheers
Al
MAR 10, 2012 - 08:09 AM
Guys I am glad this was of help and if any member needs help with specific areas of the 25pdr or limber drop me a line and I will get the pictorial information you need.
APR 05, 2012 - 05:18 AM
Copyright ©2021 by Darren Baker. Images and/or videos also by copyright holder unless otherwise noted. The views and opinions expressed herein are solely the views and opinions of the authors and/or contributors to this Web site and do not necessarily represent the views and/or opinions of Armorama, KitMaker Network, or Silver Star Enterrpises. All rights reserved. Originally published on: 2012-03-09 00:00:00. Unique Reads: 21853

WEB HOSTING BY


Copyright ©2021 Armorama and Kitmaker Network, a subsidiary of Silver Star Enterprises
All Rights Reserved. Please read our Conditions of Use and Privacy Policy.
All Rights Reserved. Please read our Conditions of Use and Privacy Policy.