

1⁄24Rusting, Chipping and Weathering
47
Comments
Onward to the motor!!
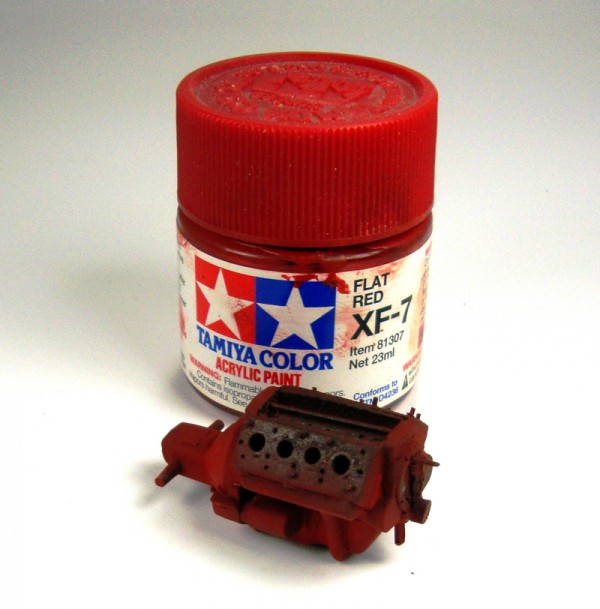
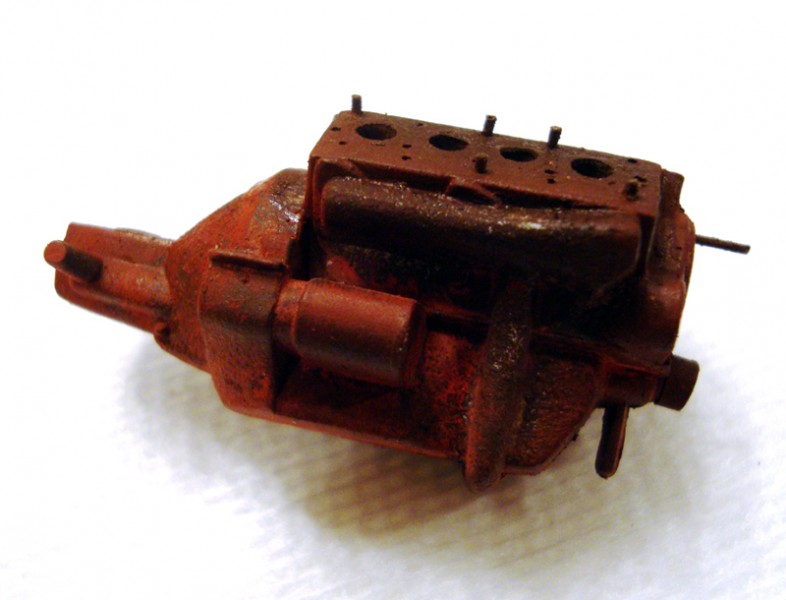
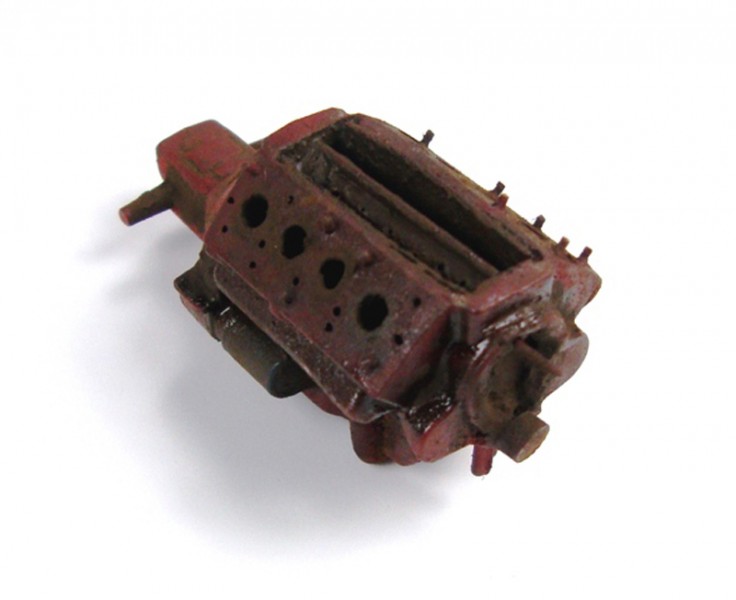
After laying down some clear coat it was onto the AK Worn Effects as I went to town on the forgotten power plant.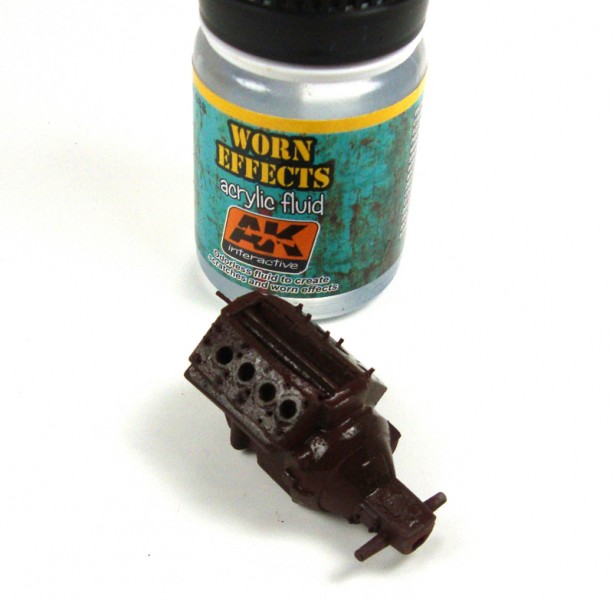 I decided to use some Tamiya Flat Red to add a touch of color. Most of this will most likely not be seen but I know it there and the tiniest of accents sometime will surprise you.
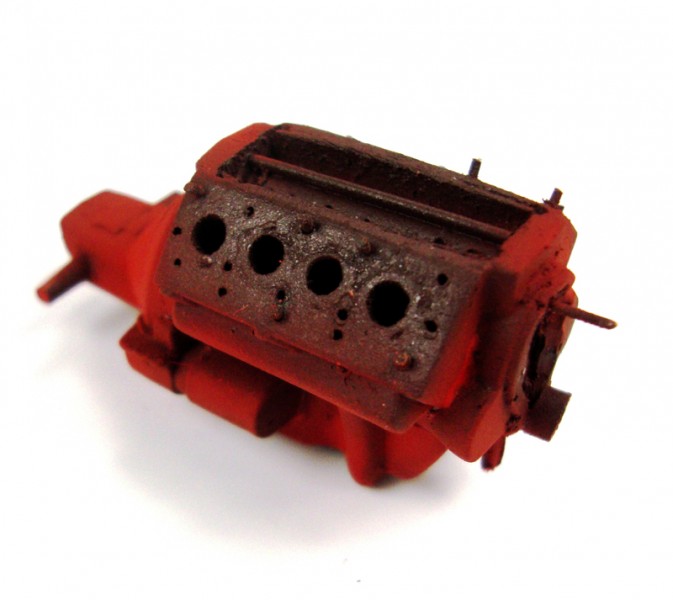
 You can see I left the manifold areas where the heads were installed, untouched.
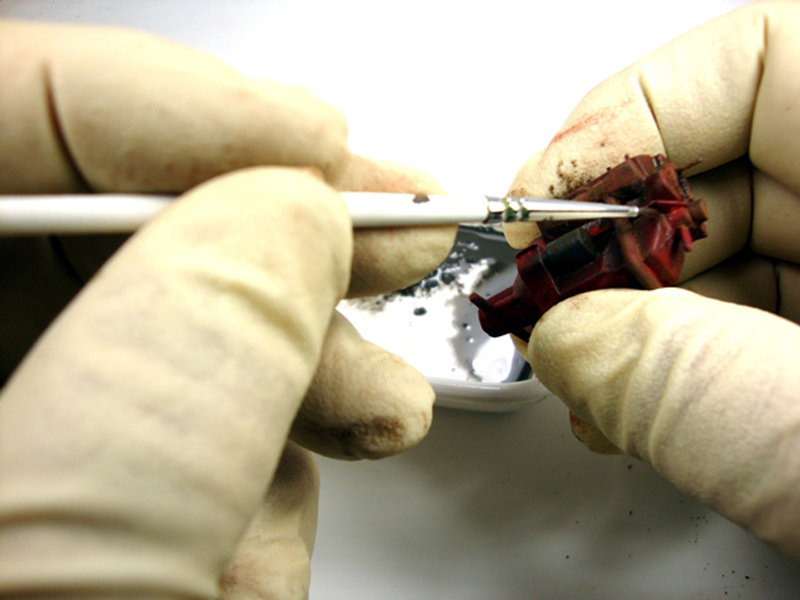
 Now we need to chip, chip and chip away again. Taking a small tipped brush I applied a little warm water mixed with a touch of thinner to the freshly painted motor.
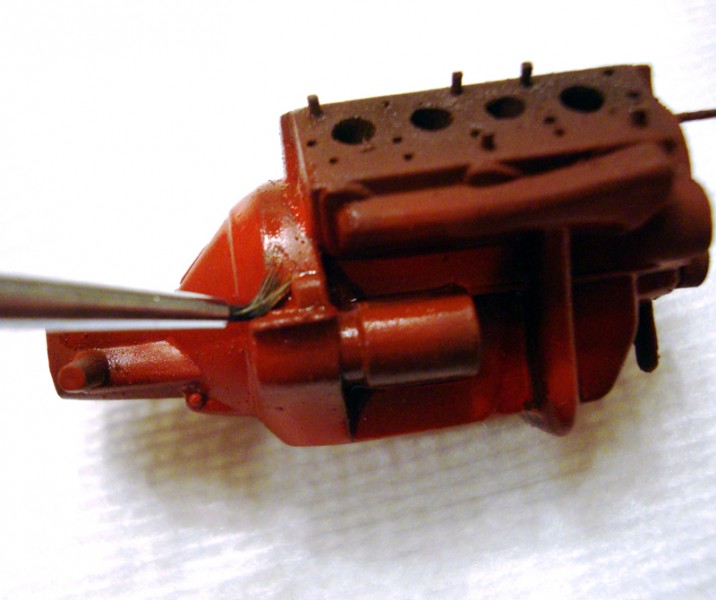 Following the same process on other parts of this kit, I used a stiff bristled brush and lightly stabbed the painted section of the motor trying to hit areas that I think would show through the rustiness below.
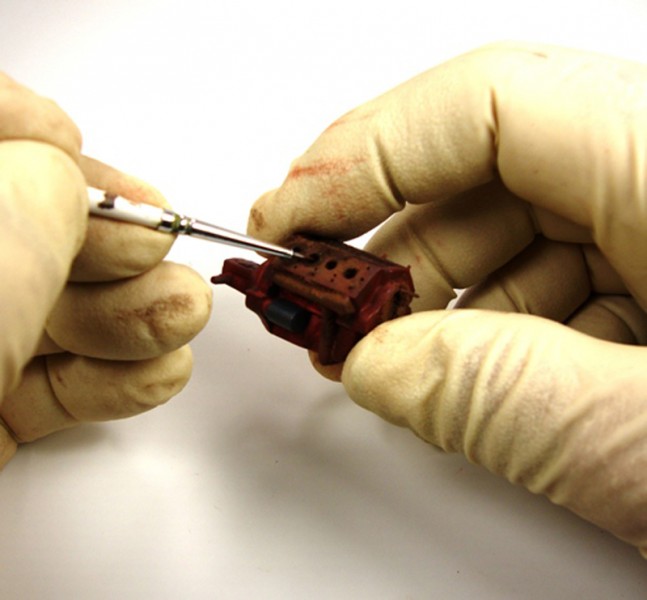
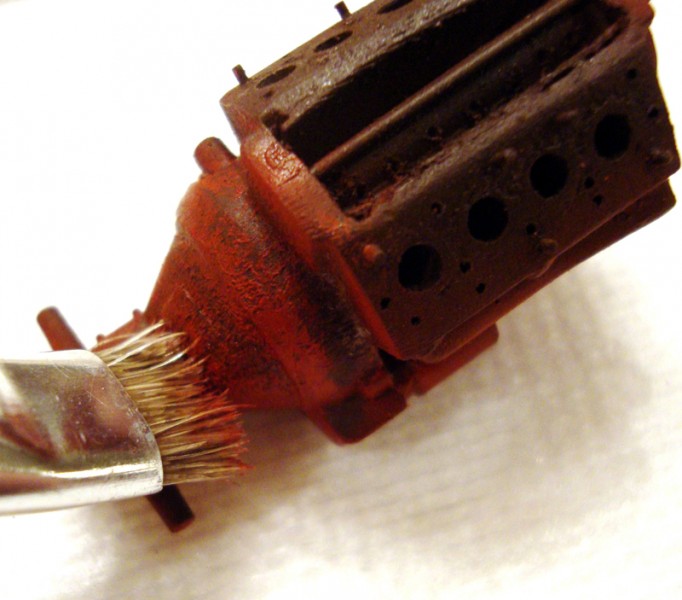 You can see the depth from just this chipping and it only will get deeper.
 I need to dirty up the motor and make a little bit of greasy, oily mess, glue some parts together and add some more layers to the cab and frame.
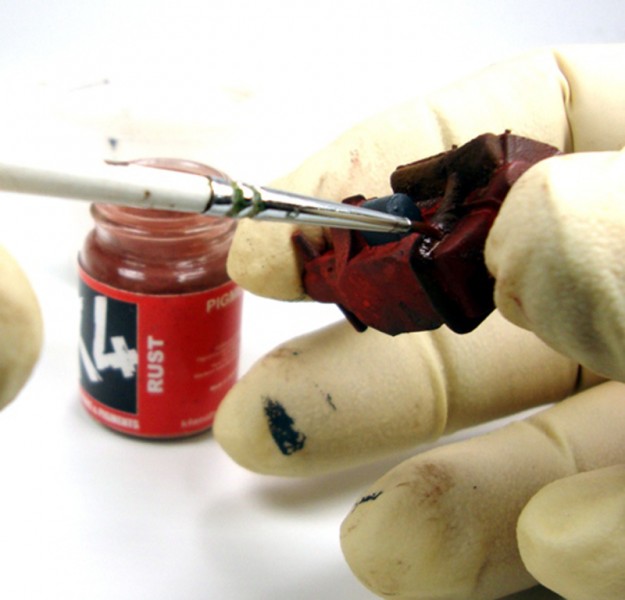
Beginning where I left off, I moistened the molded exhaust section with spirits and began to add some pigments. To change things up a bit, I am using some K4 True Rust for starters.
I need to dirty up the motor and make a little bit of greasy, oily mess, glue some parts together and add some more layers to the cab and frame.
Beginning where I left off, I moistened the molded exhaust section with spirits and began to add some pigments. To change things up a bit, I am using some K4 True Rust for starters.
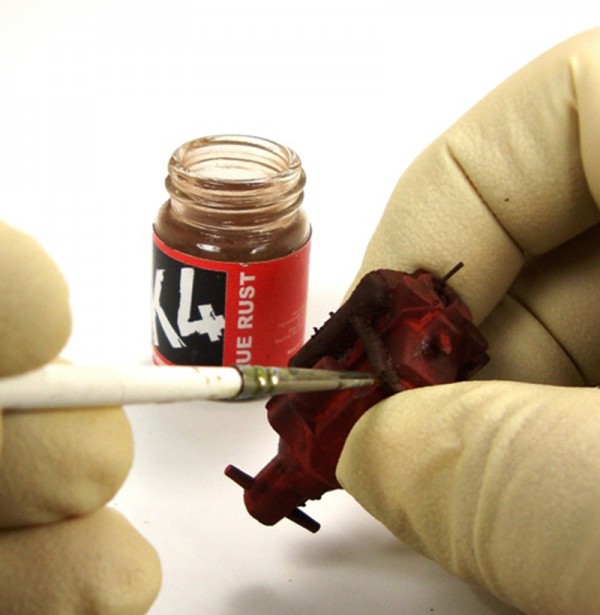
 True Rust is nicely colored. I say this, because it is a pigment made from actual rust. I repeated the same process of spirits again and then added a couple random dabs of K4 Rust, which is slightly lighter to the reddish orange scale.
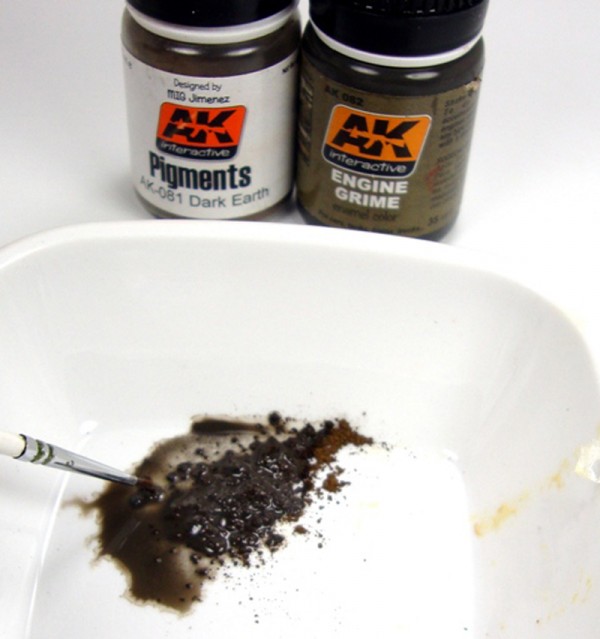
 We need to add the dirt and grime in the corners. Now, on a working engine, there may be more dusty areas that have more fresh that are wet with oil. For this, the motor has been neglected for a while and will have some oily sections but most will be oil stained dirt and rust.
Starting with some AK Dark Earth and Engine Grime, I made a sort of slurry. This will be applied in to the corners.
We need to add the dirt and grime in the corners. Now, on a working engine, there may be more dusty areas that have more fresh that are wet with oil. For this, the motor has been neglected for a while and will have some oily sections but most will be oil stained dirt and rust.
Starting with some AK Dark Earth and Engine Grime, I made a sort of slurry. This will be applied in to the corners.
 You do not have to have the Engine Grime. Similar slurry can be created with Burnt Sienna and Paynes Grey oil paints.
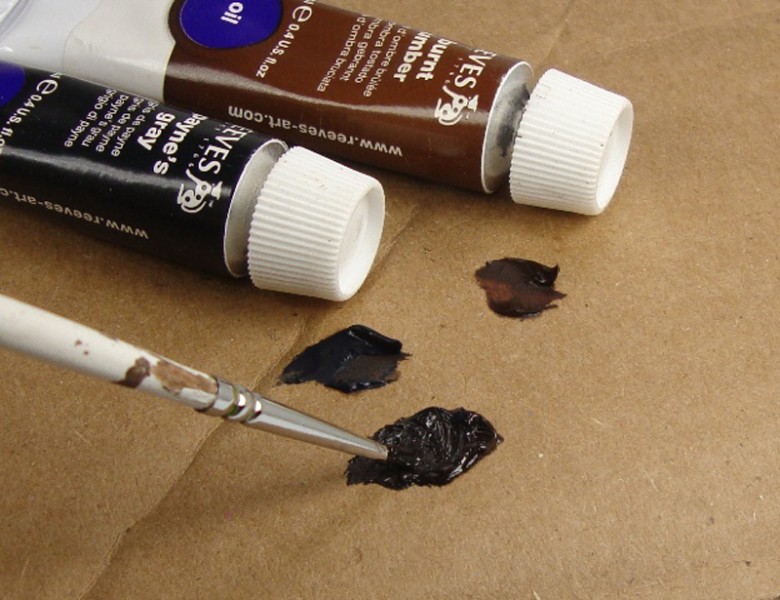 Mixing the two will give the grimy color and the oil is thicker and can fill the cracks on the engine nicely. You can even add any dark pigment to the oils as well. This will give the oily dirt effect. By adding some spirits to the oils you can make the oily grime wash as well.
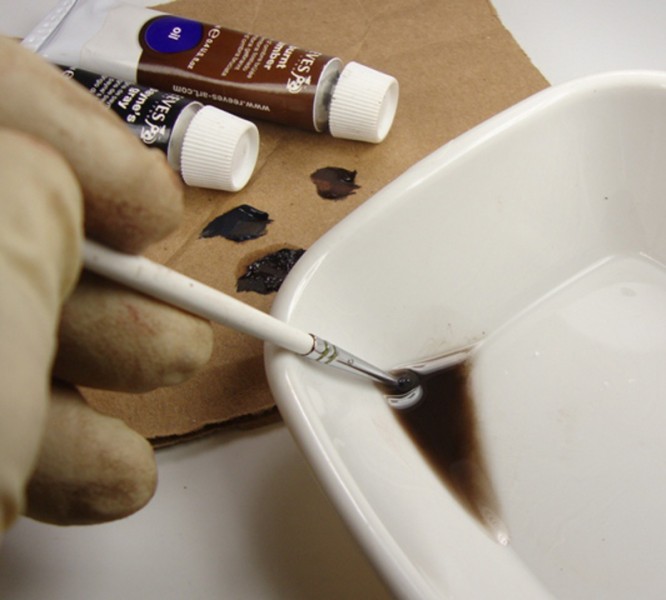 Make sure to dab the grime mixture into the tight corners and areas that oil and dirt would have collected.
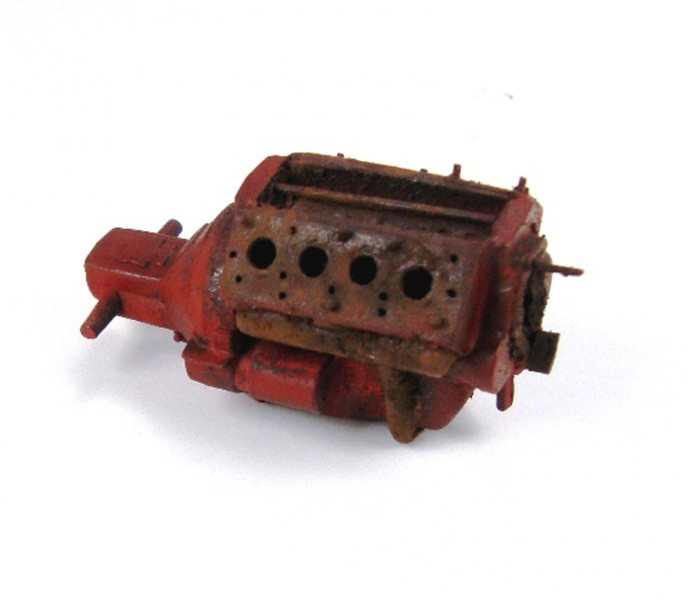
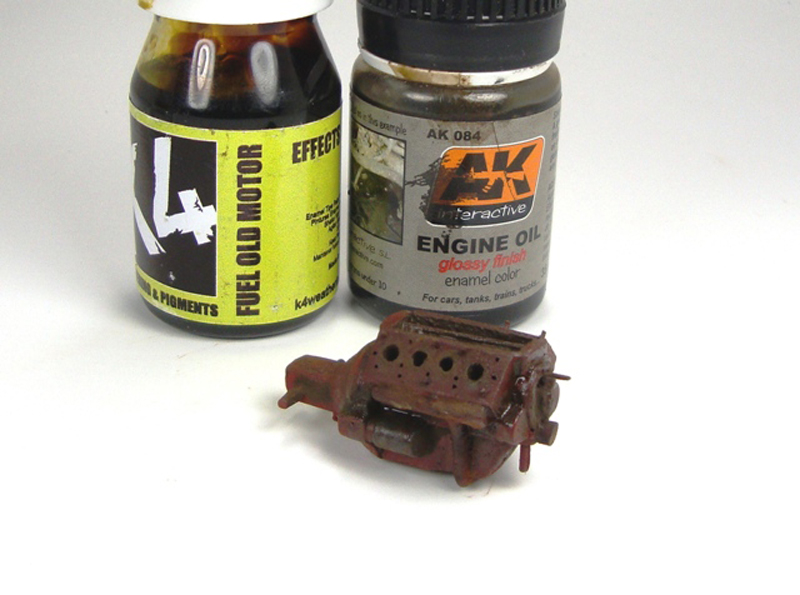
 Next I felt I needed to add a little wetter looking oil staining. I have a couple choices, AK Engine Oil and K4 Old Engine Oil. Again, this can be achieved with the oils. Don't wick the oils out on cardboard but rather leave the oils still with the pigment. This will keep a bit of shine to the mixture leaving a slightly damp appearance.
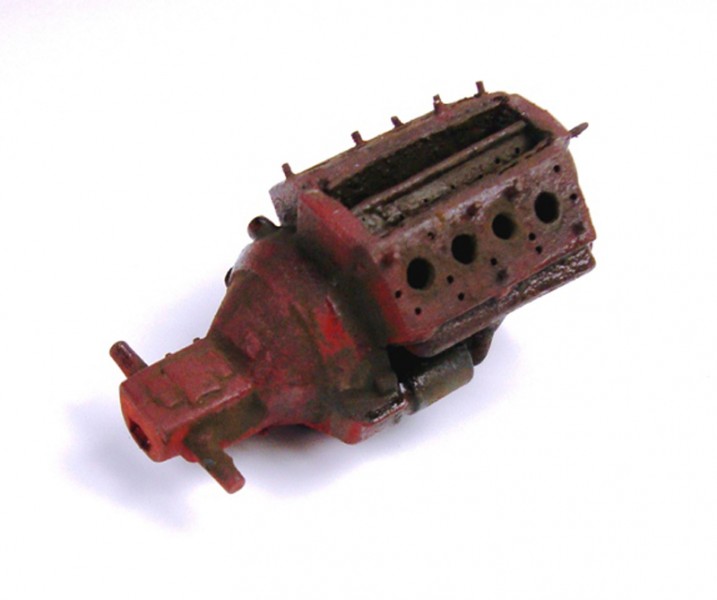
 I still have a couple more little things to add here, but basically that is the engine block!
About the Author


FROM: MASSACHUSETTS, UNITED STATES
I am building what I like, when I like and how I like it; having fun doing it. I have been building and finishing models on and off my whole life but the past ten years things really exploded. Just about anything goes when it comes to hitting the bench, but wrecked armor, rusted hulks, ships or ...
Comments

I know it's been a while since the last post here, but I just wanted to let you know that I still refer people to your tutorial Todd and they have yet to give anything but very positive feedback on it regardless of what hobby discipline they come from.
JUN 25, 2013 - 05:08 AM

Thank you very much Jeremy! I am happy to see it useful for some. Most of the techniques are really simply to use they just take some practice to get the feel down. Even better, is when someone takes something and adapts their own way, maybe even coming up with newer techniques or just improving on the old ones. Circle of learning!! Thanks again!
JUN 25, 2013 - 07:55 AM
Hello Richard,
AK's Heavy Chipping Fluid works pretty much the same as other chipping medium layers:
1 - Make sure your base paint has been sealed with a clear coat.
2 - Spray on the chipping medium (Vallejo, AK, AMMO, Hair Spray...)and allow to dry (should only take a few minutes)
3 - Spray top coat of acrylic paint you desire to chip and allow to dry...not cure! 10 -15 minutes...enough to clean up your AB.
4 - Using a damp (Not Wet) with water brush apply a light single coat over the area you want to start in...typically no the entire model at once.
5 - Use any number of tools to aid in the removal of top coat paint to the desired effect you want; paint brushes, toothpicks, cotton swabs, etc
It is best to test things out on an old shelf queen until you get the hand of how to obtain different looks.
AUG 29, 2014 - 09:38 PM

I just spent a thoroughly enjoyable hour reading through this. Highly informative and well documented with word and pictures.
J
OCT 25, 2014 - 04:35 AM
I seemed to miss your post. Ace in Sept Richard. ..thanks
Thank you J. ..glad you enjoyed it!
OCT 25, 2014 - 05:35 AM

I realize this is an old thread. I was referred to it by a friend. There are several missing images on the first page. Is there a way you can edit the article and add the missing images?

AUG 15, 2015 - 11:22 PM
Thanks for the heads up on this Ivan! Not too sure what happened here as the pictures are loaded to the site's servers...I will dig a bit and see what I can turn up to correct his!
Cheers,
T
AUG 15, 2015 - 11:46 PM
Copyright ©2021 by Todd Michalak. Images and/or videos also by copyright holder unless otherwise noted. The views and opinions expressed herein are solely the views and opinions of the authors and/or contributors to this Web site and do not necessarily represent the views and/or opinions of Armorama, KitMaker Network, or Silver Star Enterrpises. All rights reserved. Originally published on: 2012-08-19 00:00:00. Unique Reads: 57192

WEB HOSTING BY


Copyright ©2021 Armorama and Kitmaker Network, a subsidiary of Silver Star Enterprises
All Rights Reserved. Please read our Conditions of Use and Privacy Policy.
All Rights Reserved. Please read our Conditions of Use and Privacy Policy.