

1⁄35A Simple Diorama
24
Comments
Fixing the Groundwork
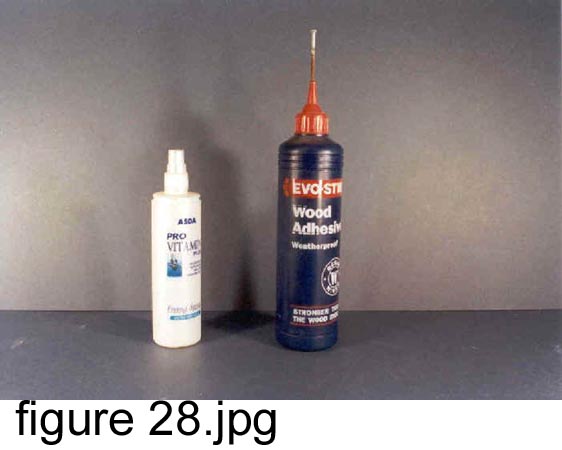
Now that you have the majority of the base in place, you need to glue down all the loose material in preparation for painting. The easiest way to do this is to use a mix of PVA (white) glue and water (approx 50/50). There are a couple of ways of applying this to the base. I generally use an old hairspray pump dispenser as its easy to use and is disposable [figure 28].
By using the spray you can easily cover the whole base without making to much of a mess. It also gives you some control over the areas you want to spray [figure 29].
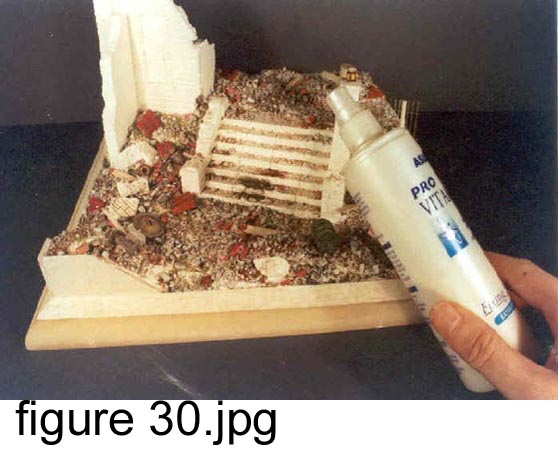
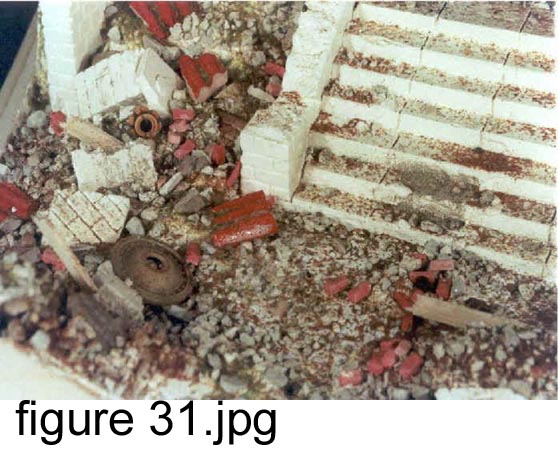
You'll find the PVA/water mix will look creamy when first applied but don't worry, it will dry clear [figure 30]. Cover the whole base with this mix then leave it to dry. You may need to give the base a couple of coats to ensure that all of the material is attached. If, after applying the fixative spray you find that some of the ground work is still loose, spray on the mix again, then add additional ground work material. Leave this to dry then give that area another spray of the mix. This should hold the material in place [figure 31].
Test fitting the models
With the base construction essentially done, now is a a good time to do a final test fit of the models to make sure you're happy with how it's going to look [figure 32]. At this point its worth having the figures ready so you can adjust the poses to suit the situation [figure 33]
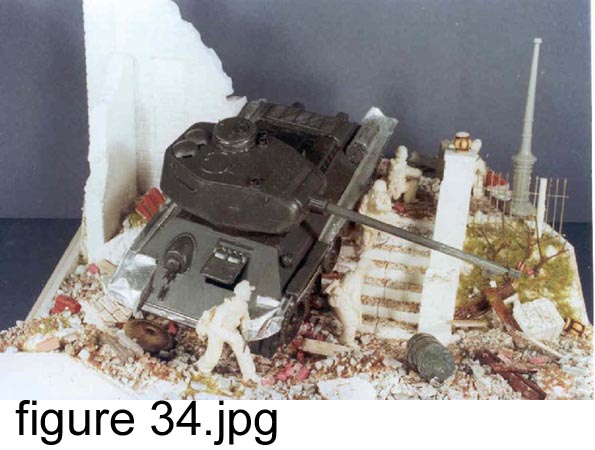
There are a lot of views on how a diorama should look. I personally like a diorama that can be viewed from various sides and still show the theme [figure 34]. From this initial layout test you can see the theme of the diorama is taking place as desired.
Preparing to paint the base
After test fitting the models and being satisfied with the results, its time to prepare the base for painting. To do this I usually use automotive paint as this gives a good base for the finish paints to adhere to [figure 35].
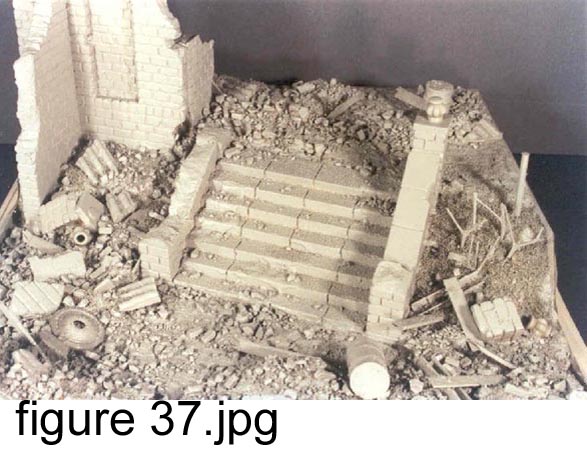
Before we apply this undercoat we have to mask the base off. I normally use masking tape found in any hardware store for this task [figure 36]. When the base has been completely masked off, its time to undercoat the base. Because of the nature of the automotive paint its best to do this in a well ventilated place with some kind of face mask to protect yourself from the fumes. We apply the grey primer first [figure 37].
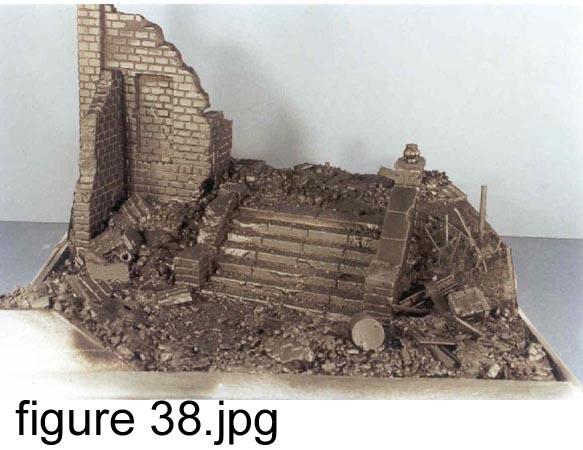
Leave the base to dry for about 24 hours. You'll find this gray primer undercoating will also help attach the material to the base more securely. After this has dried the next step is to give the base another coat of paint but this time using a matt black automotive paint [figure 38]. By spraying the base black we have actually begun the application of the finish color coats as this will help in creating shadows around and beneath the various elements in the scene.


About the Author


FROM: ENGLAND - WEST MIDLANDS, UNITED KINGDOM
Keith Forsyth (docdios) comes from the small town of Stafford in the United Kingdom. He began his interest in modeling at an early age with armor being the main focus. It was not until finding himself between jobs in 1995 that he really got hooked. It was during a shopping visit to another town when...
Comments

Thanks Keith. I am now waiting in anticipation for the plaster mold article!!
AUG 16, 2005 - 08:03 PM

It is very nice to see this article again. This article helped me to form my basic skills for making a diorama once upon a time.
Thanks Keith for this great article.
AUG 24, 2005 - 01:00 AM
Hi Keith
You say in the article that teh raised ground is made of polystyrene ceiling tiles. However the only polystyrene ceiling tiles I can find are less than a centimetre thick!! Therefore I was wondering if either, do you stack lots on top of each other or do you use insulation blocks. Cheers. Nick
AUG 28, 2005 - 07:55 AM

i generally stack on top of ack other, as they are quite thin, it also easier if you wish to produce a slope as you can cut each individual tile slightly smaller to create the slope and it produces less mess
HTH
keith forsyth
AUG 28, 2005 - 08:24 AM

Fantastic! Awesome! This is all I can say about it!
Cheers and happy modelling!
Prato
AUG 28, 2005 - 09:37 AM

Hi Keith,
Well written and informative article and an excellent build.
Thanks for shaing.
Al
AUG 07, 2007 - 07:17 AM

Glad you resurrected this thread Alan and I hope a lot more members check this out it really is a classic.
AUG 07, 2007 - 07:31 AM


Copyright ©2021 by Keith Forsyth. Images and/or videos also by copyright holder unless otherwise noted. The views and opinions expressed herein are solely the views and opinions of the authors and/or contributors to this Web site and do not necessarily represent the views and/or opinions of Armorama, KitMaker Network, or Silver Star Enterrpises. All rights reserved. Originally published on: 2005-07-31 00:00:00. Unique Reads: 90057

WEB HOSTING BY


Copyright ©2021 Armorama and Kitmaker Network, a subsidiary of Silver Star Enterprises
All Rights Reserved. Please read our Conditions of Use and Privacy Policy.
All Rights Reserved. Please read our Conditions of Use and Privacy Policy.