1⁄35A Simple Diorama
24
Comments
Fixing the model to the base
Now that the majority of the ground work has been done the main model can be attached to the base. I Have used the Tamiya T34/85 kit as the center piece of the diorama. It's a nice kit but needs a little work.
I replaced the front, rear and side fenders with new ones made from the foil of an old takeaway tin. (this is the same material as disposable rigid pans you cook in). I use this foil because it is thicker than ordinary foil and is great for replacing parts on models.
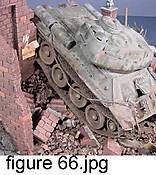
The wheels were cut off and refitted to match the contour of the ground work. A little effort to make the model sit correctly on the ground work can make all the difference to your diorama [figure 66].
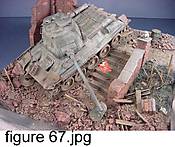
To fix the model to the base I use PVA glue because it does not dry instantaneously like super-glue and it allows you to correct the sit of the model [figure 67]. If you find you have PVA glue showing from around the tracks, moisten a cotton bud (Q-Tip) and wipe it away. Whatever remains will dry clear. Once youíre happy with how the model looks leave it to allow time for the PVA to dry. I usually leave it for 24 hours or so.
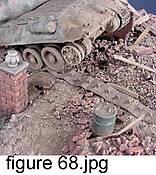
I replaced the Tamiya tracks with ones from the Model Kasten range, as I feel that they look better when you are showing a tank which has thrown its tracks. They are a little expensive (and a project in there own right) but I think youíll agree that the added expense and effort are worth it for the final effect [figure 68].
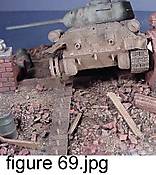
The bottom half of the model was painted in the same brown color as the base. Before the model was painted it was covered with acrylic paste and sand. When combined with drybrushing, the addition of the base colors will help blend the model to the base and highlight details. The tracks where also done in this way. [figure 69].
Fixing the figures to the base
After the main model has been attached and the glue has set, the next part is to add the figures. For this diorama I have used figure from the Warrior range of figures, mainly because they already had the poses I required so little repositioning of the figures was need.
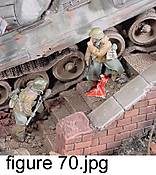
Iíve already painted and finished the figures. If anyone would like to see an article on how I paint figures then let me know. The faces are painted with artistís oils and the rest with Humbrol enamels. [figure 70]
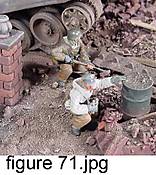
The figures are glued to the base using PVA glue. This time put some PVA glue on a piece of scrap card and let it setup and thicken for a few minutes. Then, using a cocktail stick transfer a blob of the glue to the figures feet and place the figure in its position on the base. As before, use a moist cotton bud (Q-Tip) to remove any extra glue [figure 71].
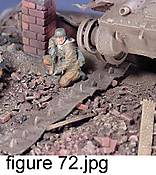
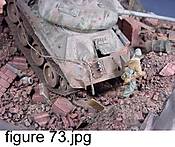
Once all the figures are in position leave them and allow the glue to dry for 24 hours. This is to allow the glue to completely cure. The bottom of the figures have been given a very light drybrush with the base highlight color to help blend them to the base [figure 72] [figure 73].
Comments
Thanks Keith. I am now waiting in anticipation for the plaster mold article!!
AUG 16, 2005 - 08:03 PM
It is very nice to see this article again. This article helped me to form my basic skills for making a diorama once upon a time.
Thanks Keith for this great article.
AUG 24, 2005 - 01:00 AM
Hi Keith
You say in the article that teh raised ground is made of polystyrene ceiling tiles. However the only polystyrene ceiling tiles I can find are less than a centimetre thick!! Therefore I was wondering if either, do you stack lots on top of each other or do you use insulation blocks. Cheers. Nick
AUG 28, 2005 - 07:55 AM
i generally stack on top of ack other, as they are quite thin, it also easier if you wish to produce a slope as you can cut each individual tile slightly smaller to create the slope and it produces less mess
HTH
keith forsyth
AUG 28, 2005 - 08:24 AM
Fantastic! Awesome! This is all I can say about it!
Cheers and happy modelling!
Prato
AUG 28, 2005 - 09:37 AM
Hi Keith,
Well written and informative article and an excellent build.
Thanks for shaing.
Al
AUG 07, 2007 - 07:17 AM
Glad you resurrected this thread Alan and I hope a lot more members check this out it really is a classic.
AUG 07, 2007 - 07:31 AM
Copyright ©2021 by Keith Forsyth. Images and/or videos also by copyright holder unless otherwise noted. The views and opinions expressed herein are solely the views and opinions of the authors and/or contributors to this Web site and do not necessarily represent the views and/or opinions of Armorama, KitMaker Network, or Silver Star Enterrpises. All rights reserved. Originally published on: 2005-07-31 00:00:00. Unique Reads: 90057


