

1⁄35A Simple Diorama
24
Comments
Weathering the base
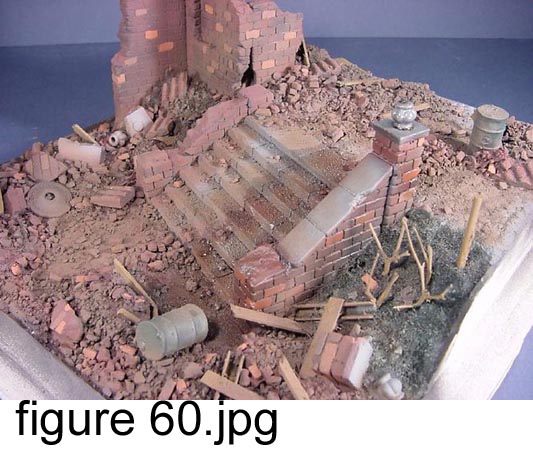
Now that the basic painting has been done we need to weather it. This will be done in two parts. The first part is to blend all the base components together to bring some life to the base. The second part is to blend the figures and models to the base. We will deal with the second part later in the article.
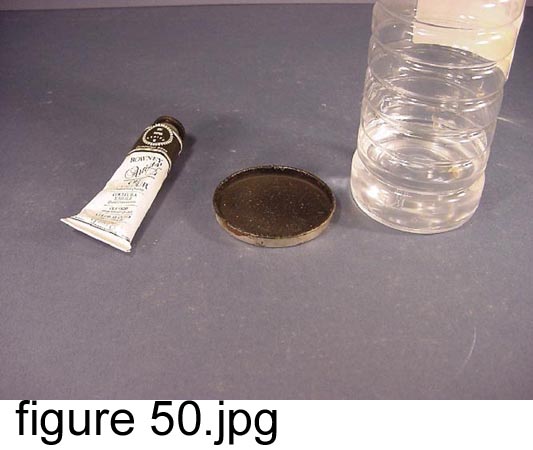
The first thing we need to do is blend all the base components together and highlight all the parts. We achieve this blending of base and components by covering it with a wash [figure 50]. To make the wash you need 3 things: sepia oil color, thinner (white spirits) and something to mix them in.
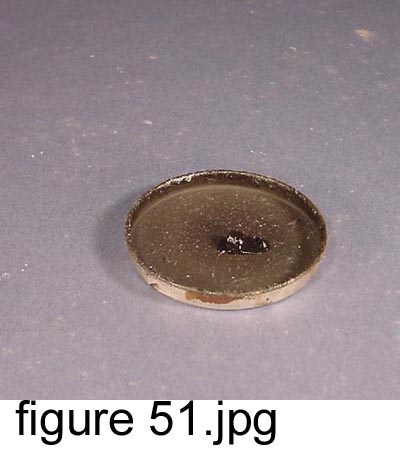
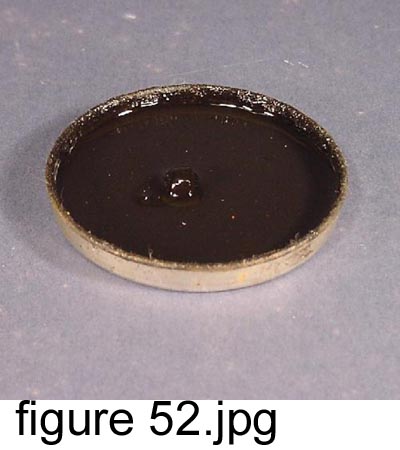
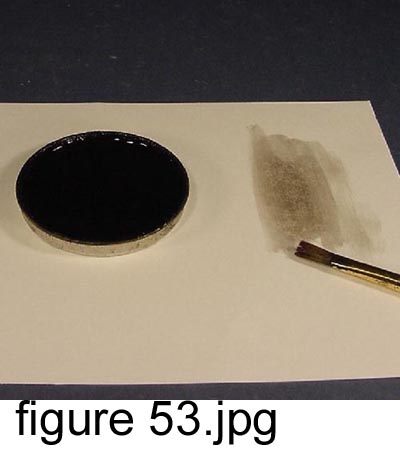
Start by putting a blob (about the size of a pea) in the mixing tray [figure 51]. Next, add the thinner until the blob of oil color is covered [figure 52]. Then, with a wide brush, mix the blob into the thinner until the oil color has disappeared. You are aiming for colored thinner and not thinned color [figure 53].
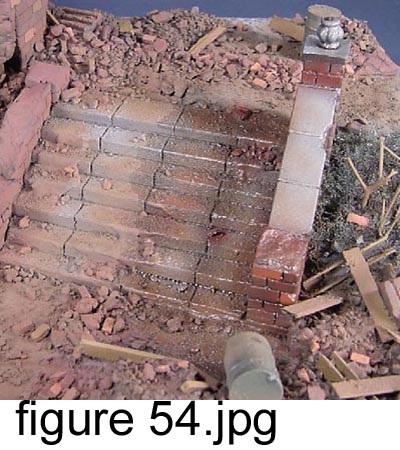
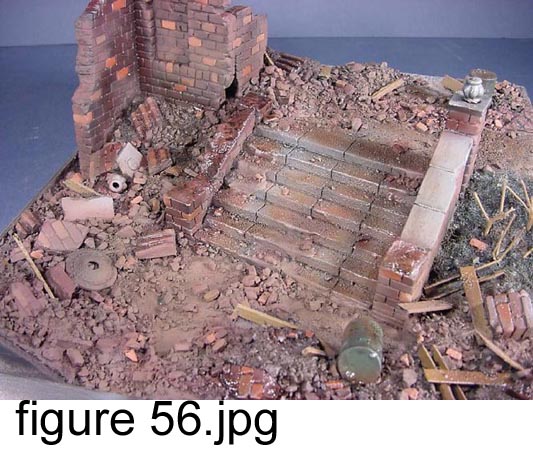
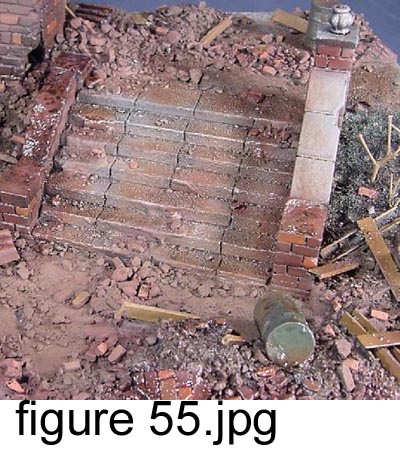
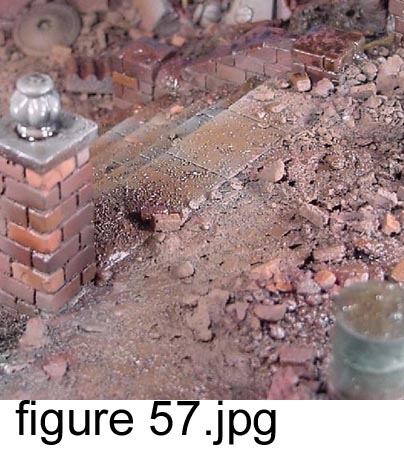
With the wash prepared its time to apply it to the base. Work in small sections at a time. Continue applying the wash to the base until the whole thing has been covered. Once the whole base has been coated leave it to dry for at least 48 hours to allow all the solvent in the wash to evaporate [figure 54] [figure 55] [figure 56]. After the base has dried you'll notice that it has toned down all the colors and blended the components together [figure 61].
The next step is to bring out the detail. This is done by dry-brushing the base with lighter colors. Dry-brushing is a simple technique that, when practiced, will improve your work dramatically. It is a very simple way to give depth to your work.
We start by dry-brushing the concrete areas and cobblestones with a light grey color (humbrol matt 162). Because of the pre-shading done with the black primer and wash, you'll find that the grey drybrush will start to give highlights and definition to these parts.
Work from the edges drybrushing along the edge and then use a scrubbing motion on the center. You'll notice that this will bring out all the definition and cause details to 'pop out' against the preshaded surface.
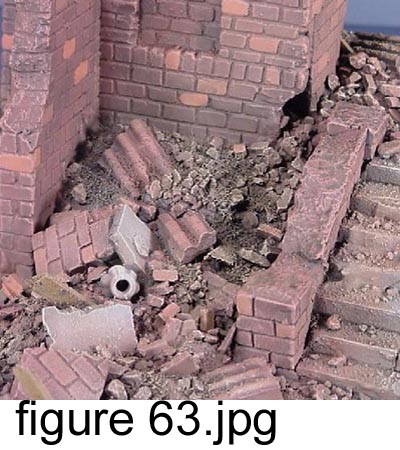
The next color to use is red (Humbrol matt 70) to bring life and character to the brick work [figure 63]. You should also drybrush the brick-based rubble with this color and bring all the brick debris features to life.
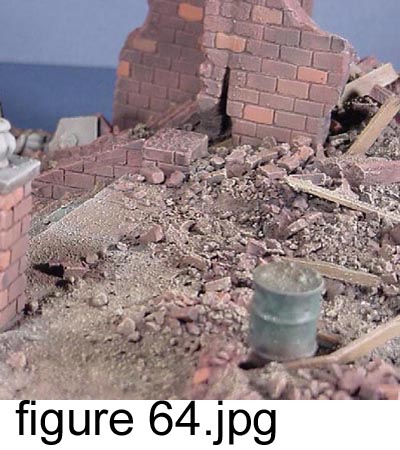
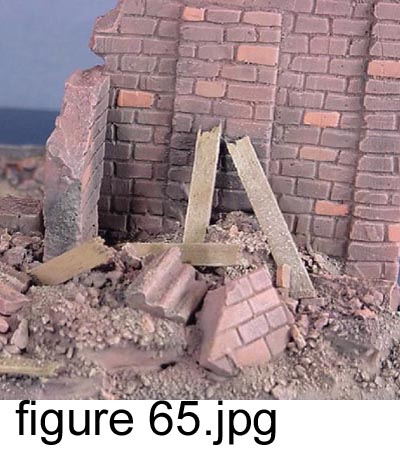
The next color to be drybrushed on is a light brown color (humbrol matt 187). This is used to help blend the previous colors together and add some contrast to the base [figure 64]. As you can see from the pictures all these colors together help tie each component to the base [figure 65]. After the initial preshading, the wash and drybrushing, the blending and highlighting effects can clearly be seen. The base now has a lot of definition and character.

About the Author


FROM: ENGLAND - WEST MIDLANDS, UNITED KINGDOM
Keith Forsyth (docdios) comes from the small town of Stafford in the United Kingdom. He began his interest in modeling at an early age with armor being the main focus. It was not until finding himself between jobs in 1995 that he really got hooked. It was during a shopping visit to another town when...
Comments

Thanks Keith. I am now waiting in anticipation for the plaster mold article!!
AUG 16, 2005 - 08:03 PM

It is very nice to see this article again. This article helped me to form my basic skills for making a diorama once upon a time.
Thanks Keith for this great article.
AUG 24, 2005 - 01:00 AM
Hi Keith
You say in the article that teh raised ground is made of polystyrene ceiling tiles. However the only polystyrene ceiling tiles I can find are less than a centimetre thick!! Therefore I was wondering if either, do you stack lots on top of each other or do you use insulation blocks. Cheers. Nick
AUG 28, 2005 - 07:55 AM

i generally stack on top of ack other, as they are quite thin, it also easier if you wish to produce a slope as you can cut each individual tile slightly smaller to create the slope and it produces less mess
HTH
keith forsyth
AUG 28, 2005 - 08:24 AM

Fantastic! Awesome! This is all I can say about it!
Cheers and happy modelling!
Prato
AUG 28, 2005 - 09:37 AM

Hi Keith,
Well written and informative article and an excellent build.
Thanks for shaing.
Al
AUG 07, 2007 - 07:17 AM

Glad you resurrected this thread Alan and I hope a lot more members check this out it really is a classic.
AUG 07, 2007 - 07:31 AM


Copyright ©2021 by Keith Forsyth. Images and/or videos also by copyright holder unless otherwise noted. The views and opinions expressed herein are solely the views and opinions of the authors and/or contributors to this Web site and do not necessarily represent the views and/or opinions of Armorama, KitMaker Network, or Silver Star Enterrpises. All rights reserved. Originally published on: 2005-07-31 00:00:00. Unique Reads: 90057

WEB HOSTING BY


Copyright ©2021 Armorama and Kitmaker Network, a subsidiary of Silver Star Enterprises
All Rights Reserved. Please read our Conditions of Use and Privacy Policy.
All Rights Reserved. Please read our Conditions of Use and Privacy Policy.