1⁄35A Simple Diorama
24
Comments
Finishing the base
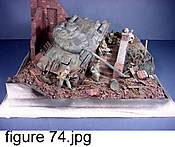
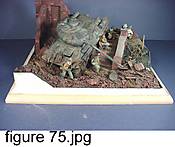
After everything has dried and the glue has cured completely you can finish the base and its edges. The first thing to do is remove the masking tape that has been protecting the base from the painting and weathering process. [figure 74] [figure 75].
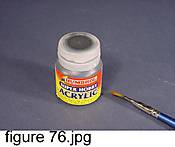
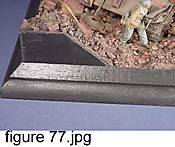
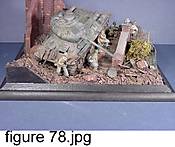
Because mdf and balsa wood do not take to kindly to wood stains and varnish, I finished my bases off with a coat of satin black acrylic paint. The color I use is Humbrol satin coal black applied with a wide brush [figure 76]. The satin black will give a nice appearance to the base that is something between a gloss and a matt finish [figure 77]. The base is given a couple of coats then left to dry [figure 78].
Adding details
Once the main parts of the diorama have been finished the last thing that needs to be done is to add some final details to tie the diorama together and create additional visual interest. We start by adding the small bush by the steps. This is done by adding some moss to the twigs that were added at the beginning of the project .
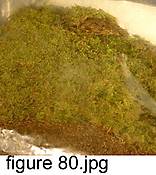
The moss came from a model railroad shop but you could use the stuff commonly used for lining hanging baskets [figure 80]. Take a piece of moss just bigger than the area you want to cover, turn it over and cover the back with PVA glue. Then shape the moss over your small branches.
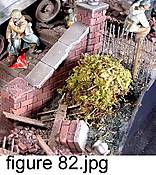
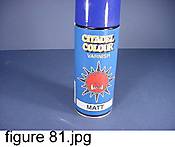
Once you’ve shaped the moss around the branches, spray a coat of PVA/water mix onto the moss. Leave this to dry overnight. Next, make a small cone from thin card to fit around the bush area and protect the surrounding details. Now, with the protective mask in place, give the moss a coat of matt varnish [figure 81]. This is applied to act as a preservative to hold the I of the moss and stop it from going brown [figure 82].
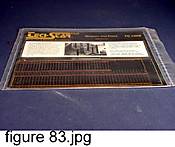
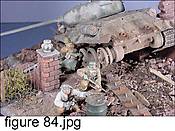
The next part to be added is a small fence at the top of the stairs for this detail I’ve used a photo-etched set from TechStar (kit number TC 1008 ‘Wrought Iron Fence”) [figure 83]. Finish and dry brush the fence to blend it into the rest of the diorama. The fence was also bent up to give it a battle scarred character [figure 84].
The last thing to be added was a propaganda poster to the wall. This was soaked in a mixture of PVA/water and then brushed onto the wall. Rip the poster to make it look like its been there a while. Once dry it was stained with tea to give it a nice old feel. Do this by squeezing an old used teabag into dish then just give it a couple of coats of the tea.
Comments
Thanks Keith. I am now waiting in anticipation for the plaster mold article!!
AUG 16, 2005 - 08:03 PM
It is very nice to see this article again. This article helped me to form my basic skills for making a diorama once upon a time.
Thanks Keith for this great article.
AUG 24, 2005 - 01:00 AM
Hi Keith
You say in the article that teh raised ground is made of polystyrene ceiling tiles. However the only polystyrene ceiling tiles I can find are less than a centimetre thick!! Therefore I was wondering if either, do you stack lots on top of each other or do you use insulation blocks. Cheers. Nick
AUG 28, 2005 - 07:55 AM
i generally stack on top of ack other, as they are quite thin, it also easier if you wish to produce a slope as you can cut each individual tile slightly smaller to create the slope and it produces less mess
HTH
keith forsyth
AUG 28, 2005 - 08:24 AM
Fantastic! Awesome! This is all I can say about it!
Cheers and happy modelling!
Prato
AUG 28, 2005 - 09:37 AM
Hi Keith,
Well written and informative article and an excellent build.
Thanks for shaing.
Al
AUG 07, 2007 - 07:17 AM
Glad you resurrected this thread Alan and I hope a lot more members check this out it really is a classic.
AUG 07, 2007 - 07:31 AM
Copyright ©2021 by Keith Forsyth. Images and/or videos also by copyright holder unless otherwise noted. The views and opinions expressed herein are solely the views and opinions of the authors and/or contributors to this Web site and do not necessarily represent the views and/or opinions of Armorama, KitMaker Network, or Silver Star Enterrpises. All rights reserved. Originally published on: 2005-07-31 00:00:00. Unique Reads: 90057


