

Been a couple days since the last update. You know, family, life, work and all that.
Todays Update: Cannon and Mantlet
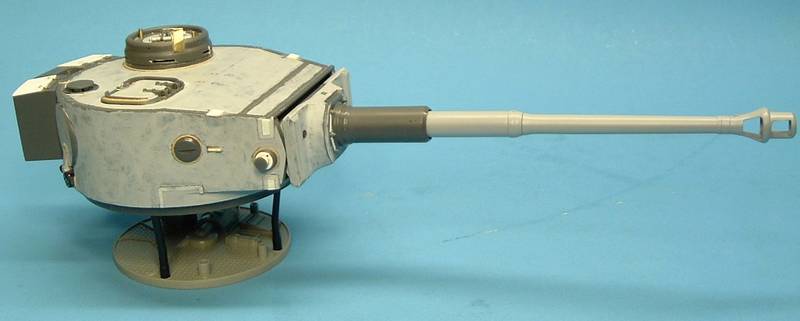
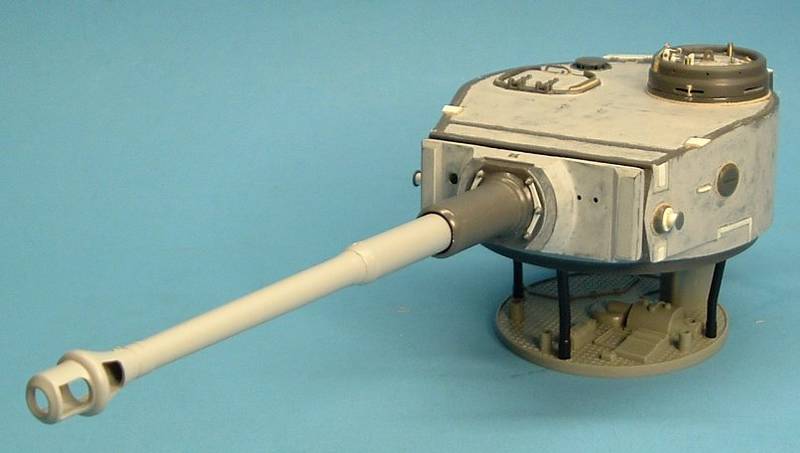
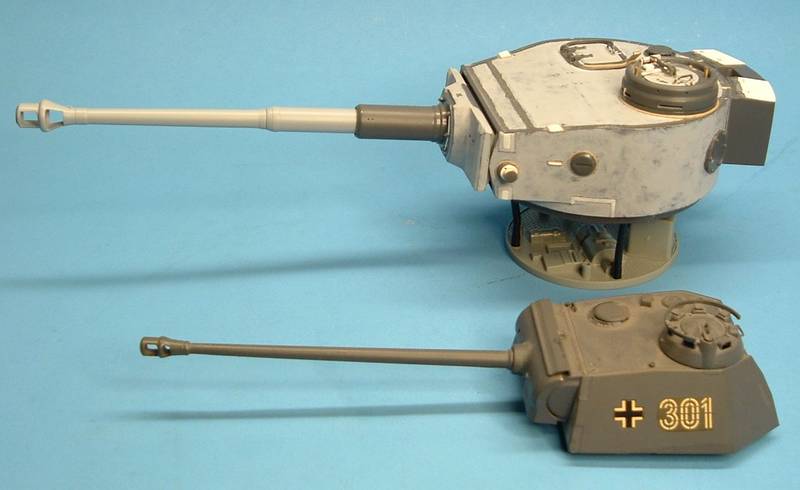
Whne looking at the kit barrel, I hoped that there was a replacement out in cyber hobby land somewhere. Being 1/25, I doubted that. Replacement barrels are worth itfor me, as i dislike getting rid of the barrel joints. Groooan, tedious work.

At work, a friend runs the CNC machine. I asked him if he could make me the barrel and muzzle brake. He said he could. Then I asked which was easier fo him to work from, a plan or the actual part. It dosen't matter was his response.
I glued the kit barrel together for use as a template, when I notices some missing things. There were a couple collars fore and aft on the barrel that were missing, and of course the lock nut on the muzzle brake. I did a basic sand down of the seams, then got into it more, filling, sanding, dilling, sanding. When I was done, the barrel looked good enough to use, so I didnt even bother to have the aluminum one made!
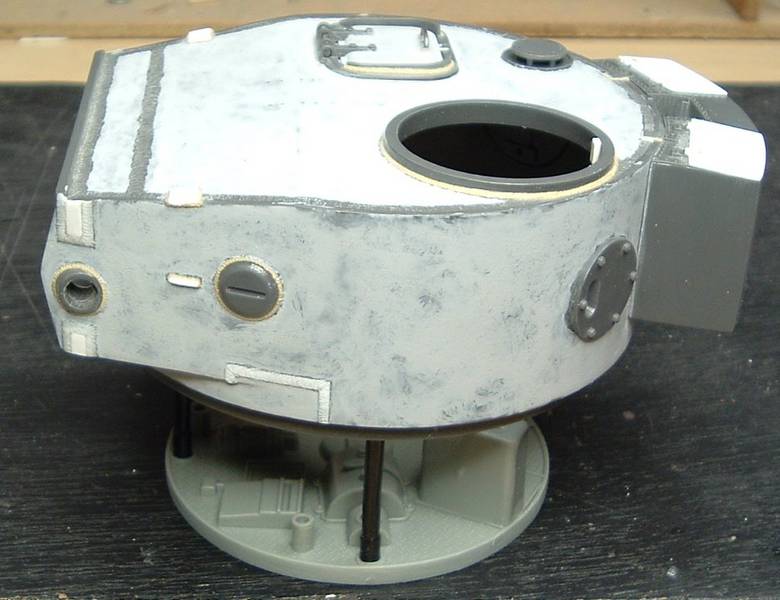
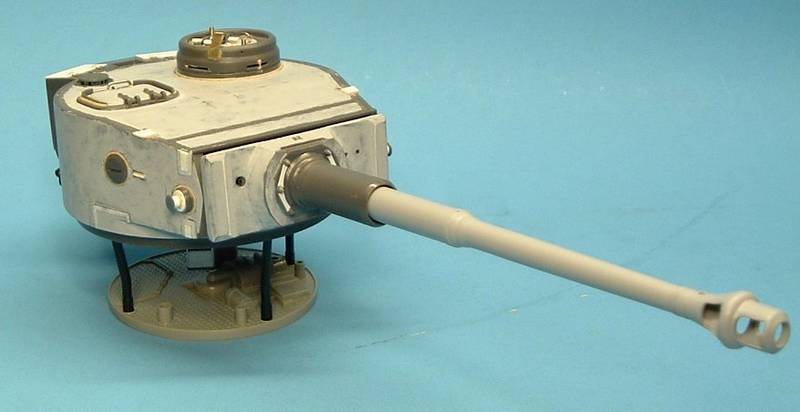
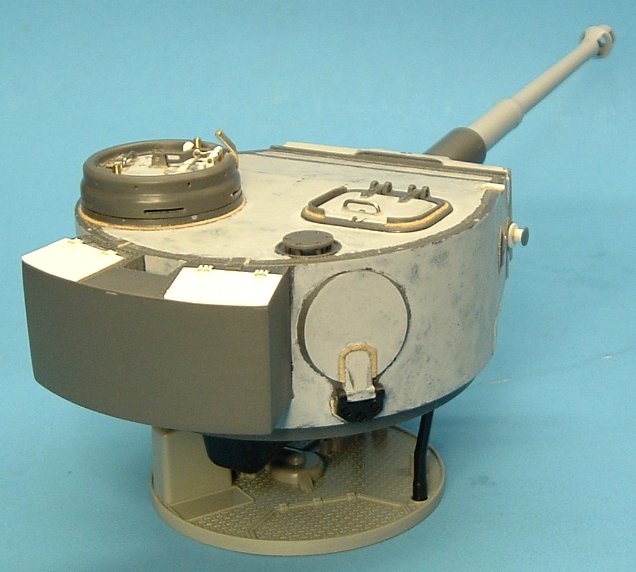
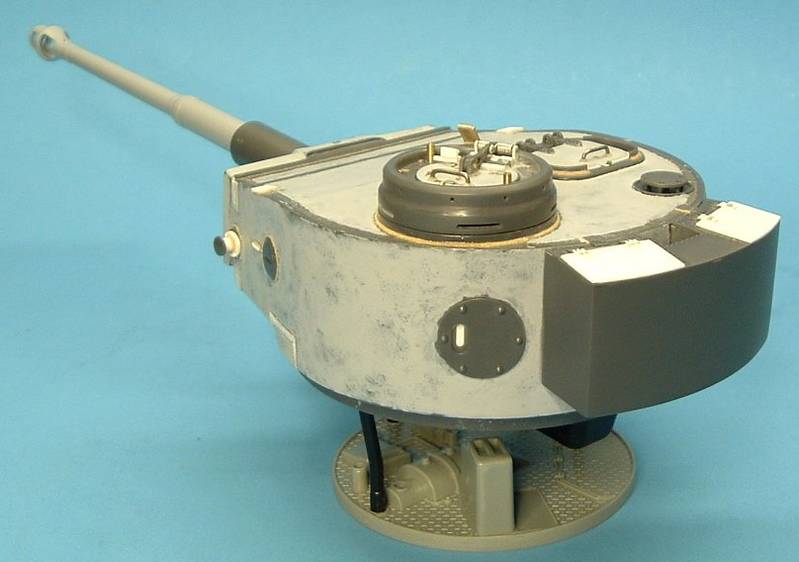
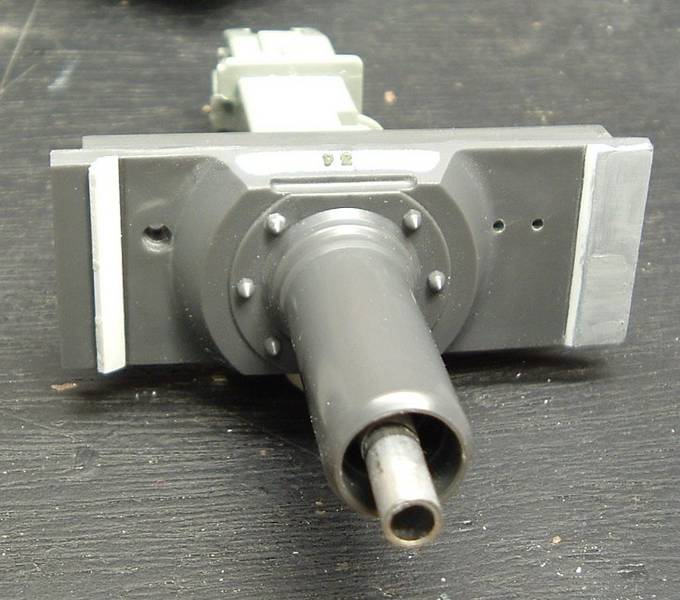
On to the mantlet. This was one of the major things about the Tamiya kit that didn't look right to me. Comparing to the Jentz & Doyle plans, I found the mantlet too tall, and also the cheeks were missing some bevels. To correct the mantlet height would have required some major cutting, fabricating, sanding etc to correct the angles of the turret shell where they meet. Not going there, would have been a lot of
 and
and  and
and  !
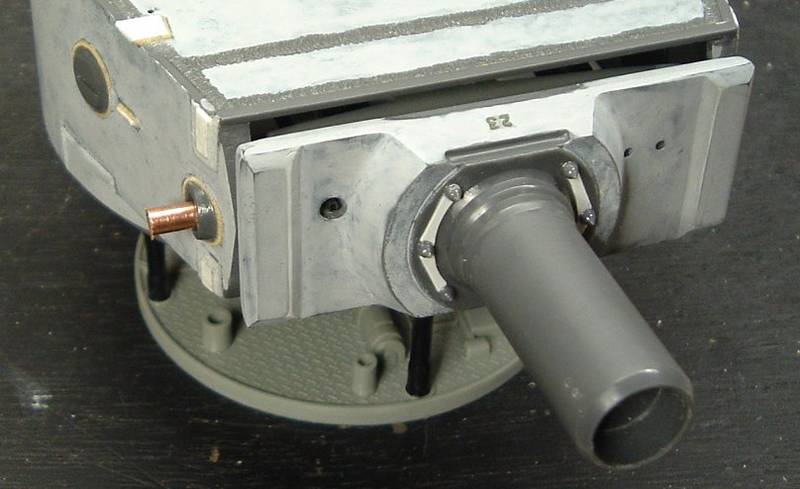
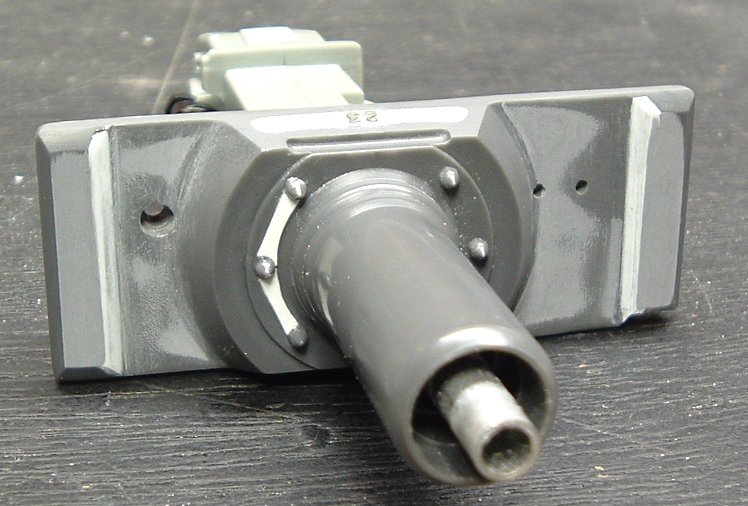
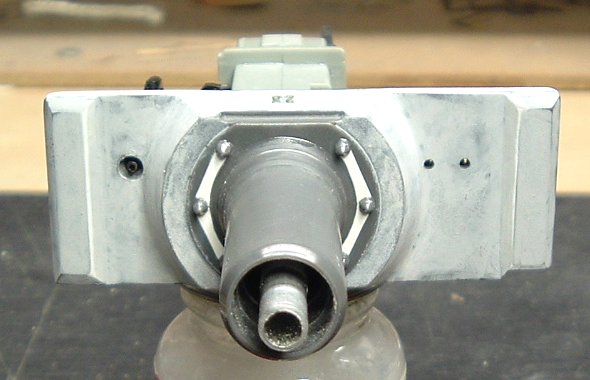
!For the cannon barrel to be attached to the mantlet, the breach needed to be assembled, and attached to the rear face of the mantlet. I should have known something was comming. My kits example of the matlet was slightly warped. Now, in 1/25th scale, its a substantial hunk o plastic! Had to use some heavy duty clamps to attach the breach to the mantlet.
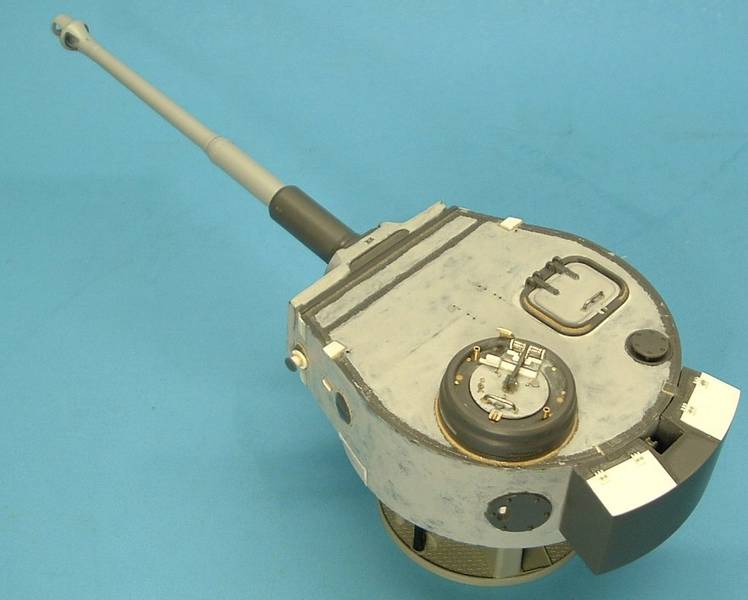
After that was done, the first detail was added, some numbers were shaved off old sprue and glued on with liquid cement.

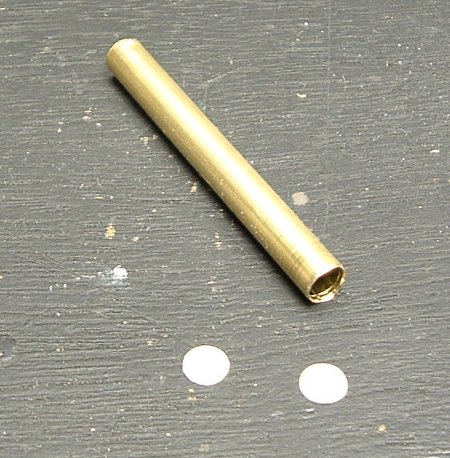
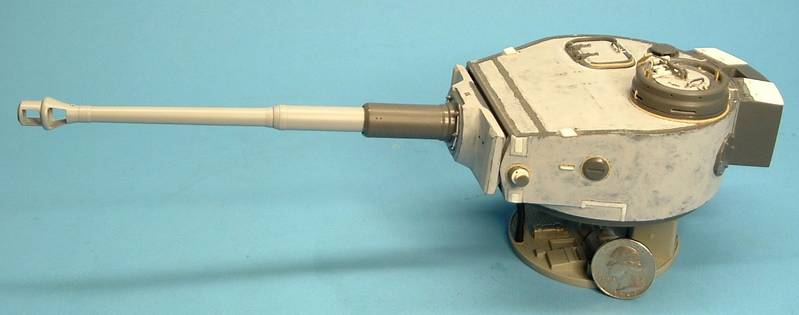
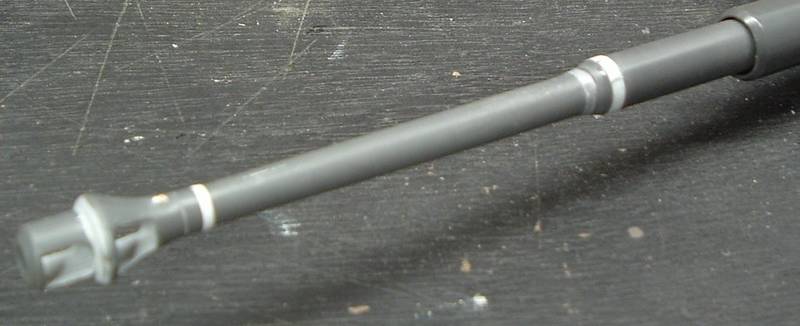
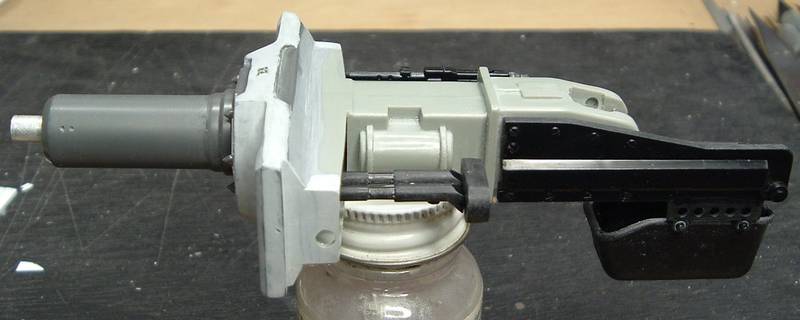
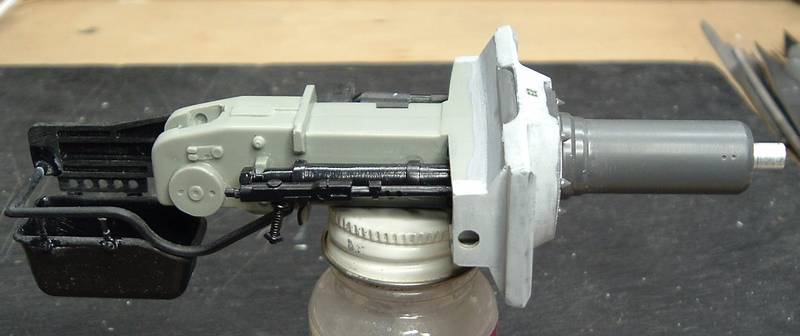
Mating the mantlet to barrel revealed that the barrel was a little wobbly, so I inserted a length of aluminum tube for stability.
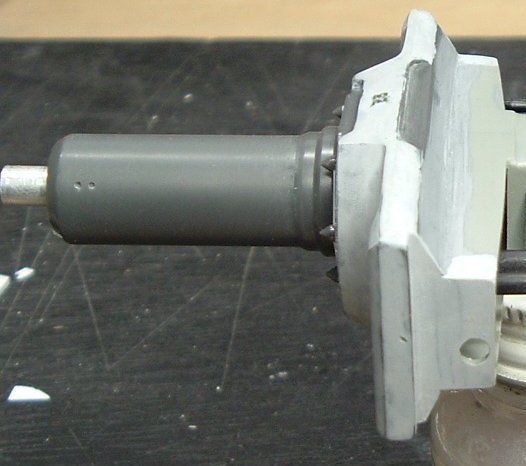
To add some bevels to the mantlets cheeks was not as simple as just sanding them on,, A small strip of plastic was added to the inside face. If this was not done, the cheeks would not have been wide enough .
This pic shows one side with the strip added, smoothed off and puttied up. The other side had the striip added, but not yet cut flush. To add this strip was kind of a PITA, as the angle had to be correct to secure it firmly to the existing cheek slope.
The other side trimmed flush and sanded a bit.
There were a few sink holes in the mantlet face that needed to be filled as well.
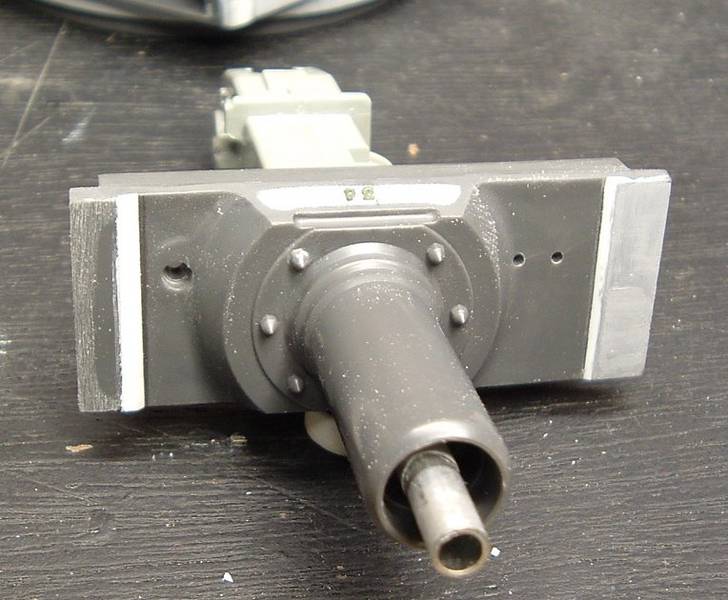
Once these steps were done, then I was able to sand the new bevels in the cheeks on the top, bottom and side.
Screw holes were added in their correct locations on the collar by simply drilling in a bit.
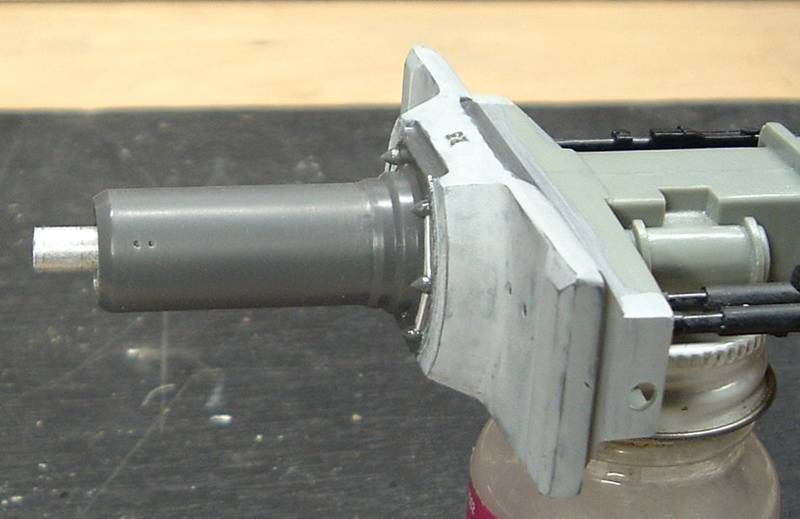
A small notch was carved in the lower RHS of the mantlet also.
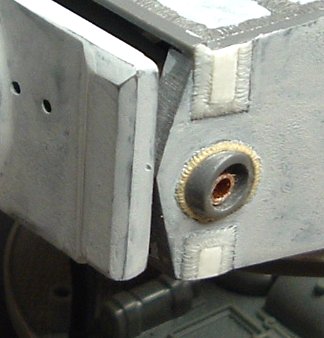
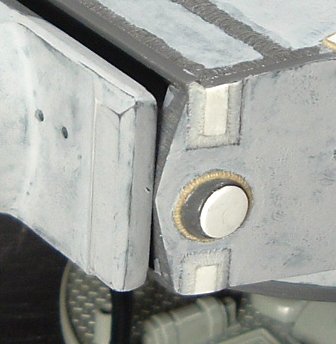
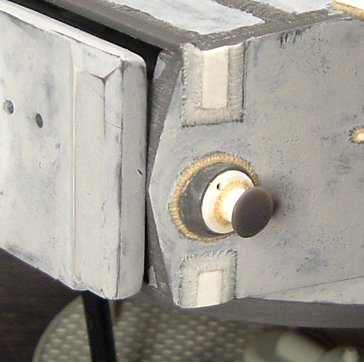
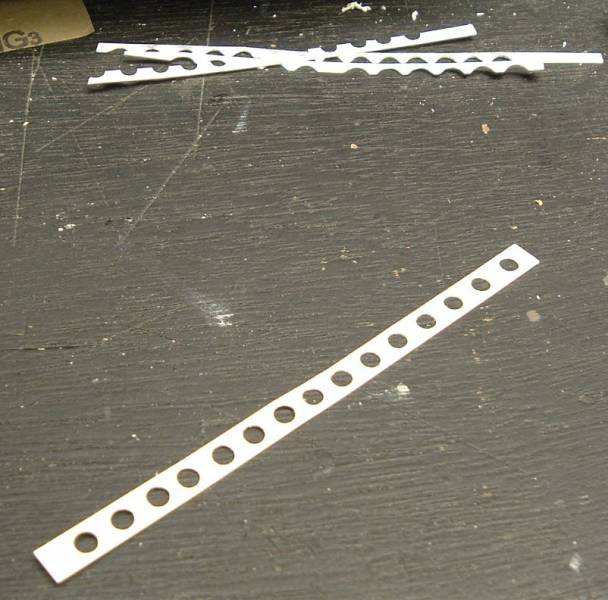
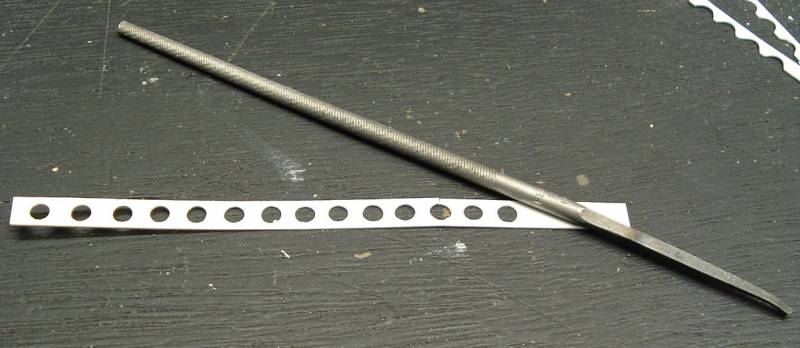
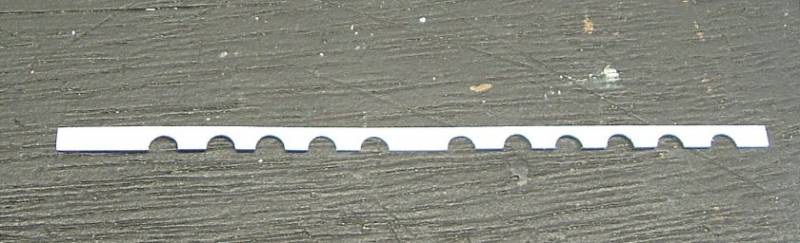
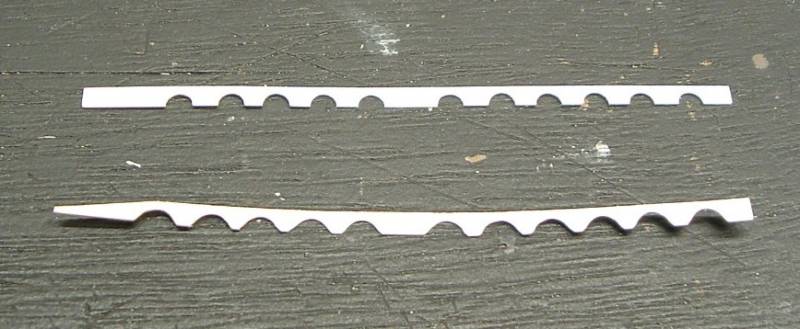
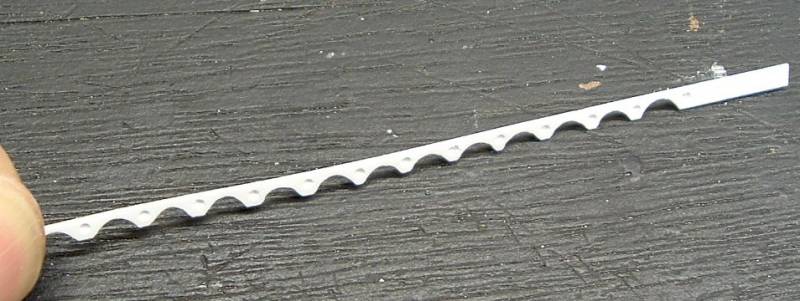
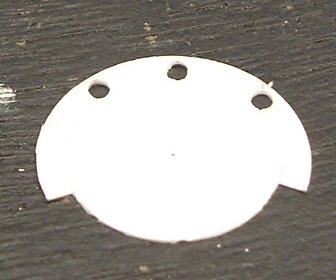
Noticibly missing was the retainer clip around the large bolts on the mantlet collar. These were made with a little trial and error, thin sheet Evergreen plastic, my trusty Olaf circle cutter and a drill bit.
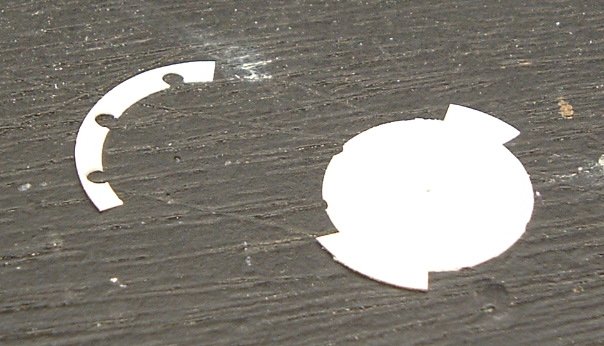
These were attached to the mantlet, and repeated for the other side.
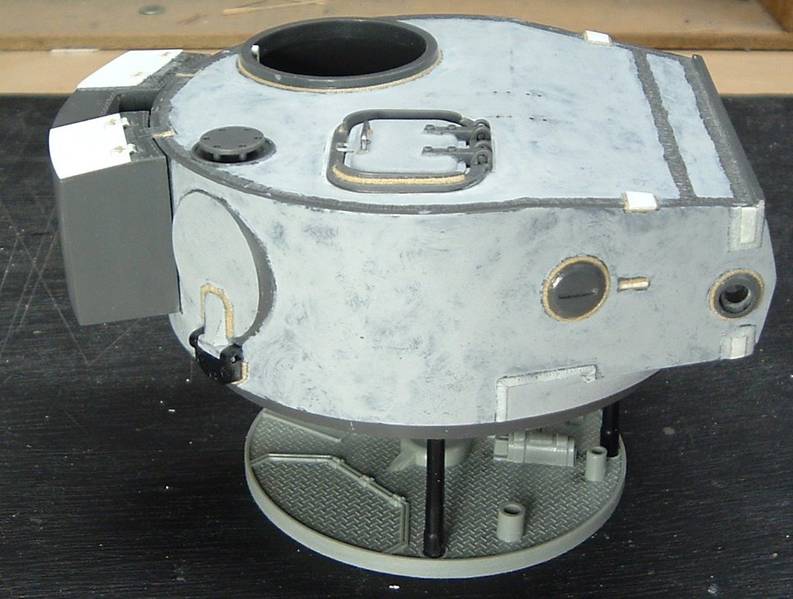
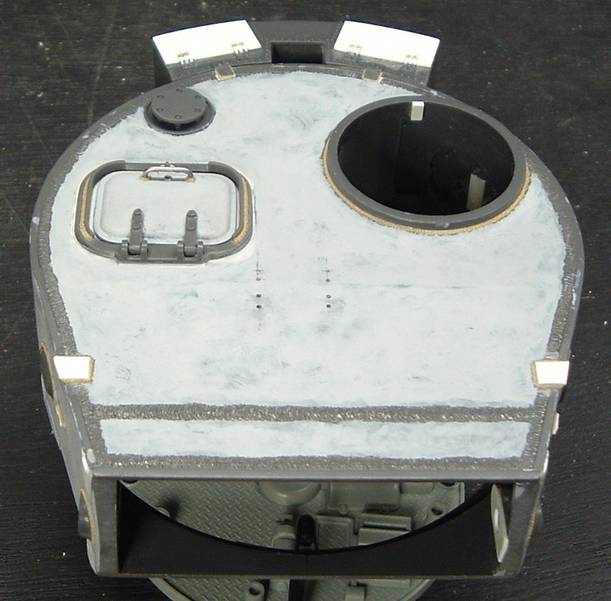
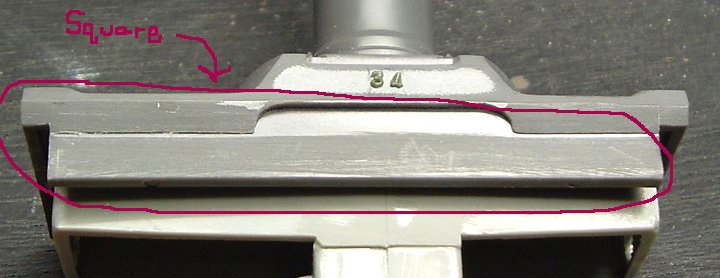
When all that was done, a coating of Mr Surfacer was added. I dry fitted the mantlet to the turret and something else jumped put at me. On the top of the mantlet and cannon where it sits in the turret shell, the area is squared off, but should be angular. Is is apparent in the profile of the tank. Sooo, out came the sanding sticks and the dremel tool, some scrap plastic, putty, glue.
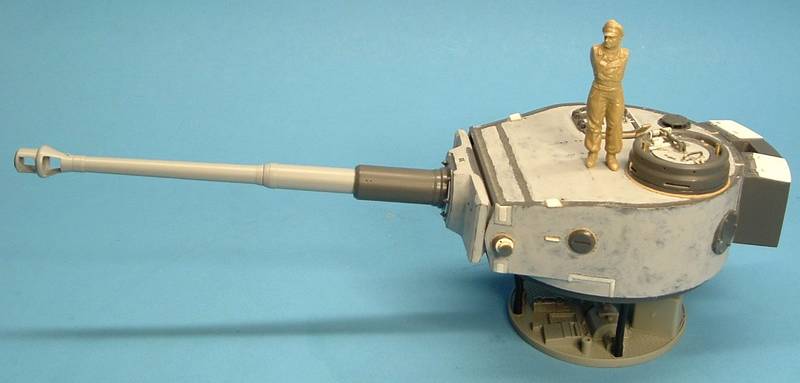
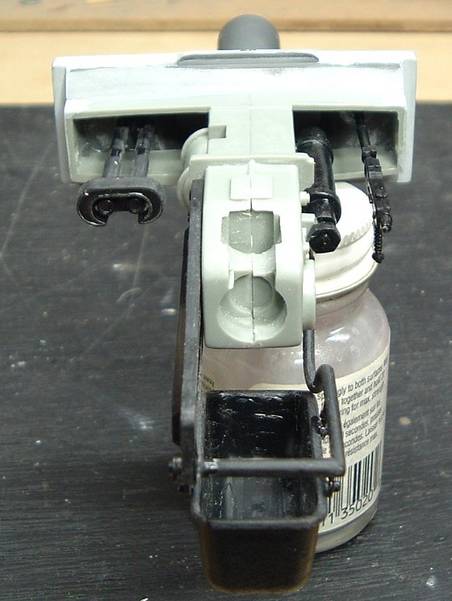
That's basically it for the cannon and mantlet. The only other thing I did was add the interior parts thinking they could be needed for counterballancing. The muzzle break was drilled out for the co axial MG 34. I didn't detail any of the interior stuff though, just cleaned up the parts and slapped em on!
Next up, mounting the mantlet... at a later date.