Going Whole Hog!! Campaign
Texas, United States
Joined: June 12, 2007
KitMaker: 1,866 posts
Armorama: 1,696 posts
Posted: Thursday, January 15, 2015 - 12:29 AM UTC
I. Am. Struck. Dumb.
Re: moving the fenders, you remind me of a customer I once had. He was a private pilot with an A&P license, and did all his own aircraft maintenance. He continued the same type of scheduled maintenance and inspection routine with his 1994 FJ80 LandCruiser, which I also did some of the dirtier work on in my shop. The gentleman's last name was Callaway. We quickly used it in the analogy "There's the right way, the wrong way, and the Callaway".
You make me think of him.
BTW, when I sold my shop, I bought that 'cruiser from him, still driving it today.

Auckland, New Zealand
Joined: February 03, 2014
KitMaker: 1,042 posts
Armorama: 871 posts
Posted: Thursday, January 15, 2015 - 01:08 AM UTC
Thanks Russel.
It would have been far easier to have done it the 'right way' first time round

The other fender is now back in place and just replacing the welds etc. Glad I did re-do everything even though it was a real PITA

Gary
Texas, United States
Joined: June 12, 2007
KitMaker: 1,866 posts
Armorama: 1,696 posts
Posted: Thursday, January 15, 2015 - 04:44 AM UTC
Yeah, but you feel soooo much better now.

Auckland, New Zealand
Joined: February 03, 2014
KitMaker: 1,042 posts
Armorama: 871 posts
Posted: Friday, January 16, 2015 - 07:48 AM UTC
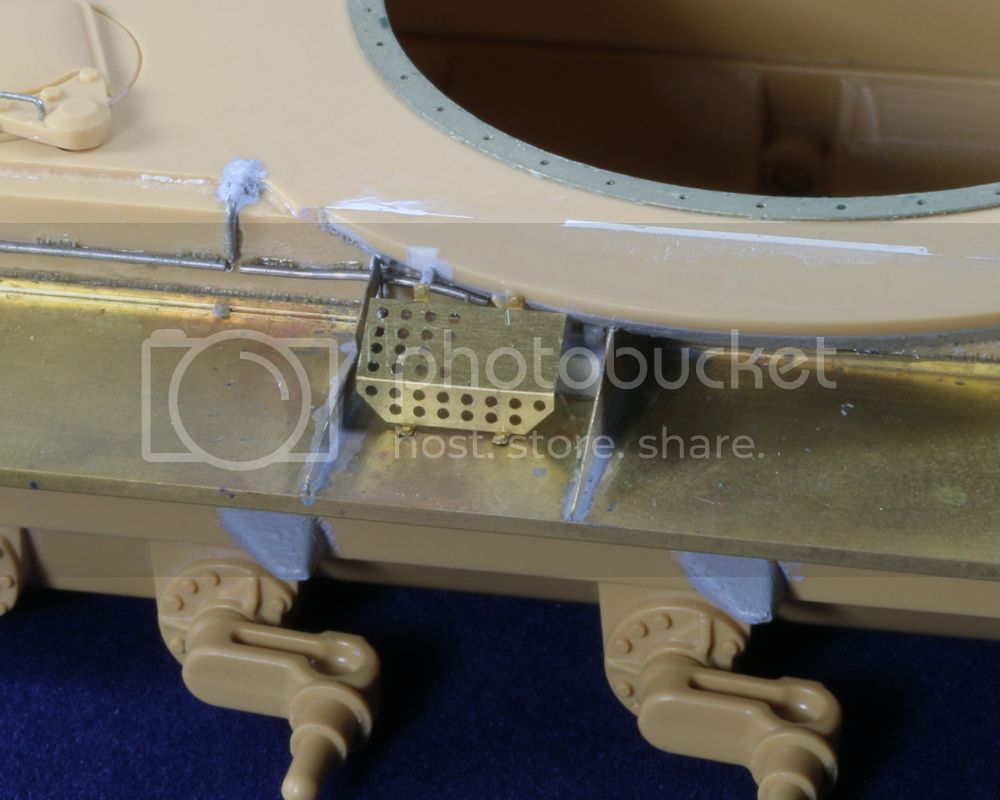
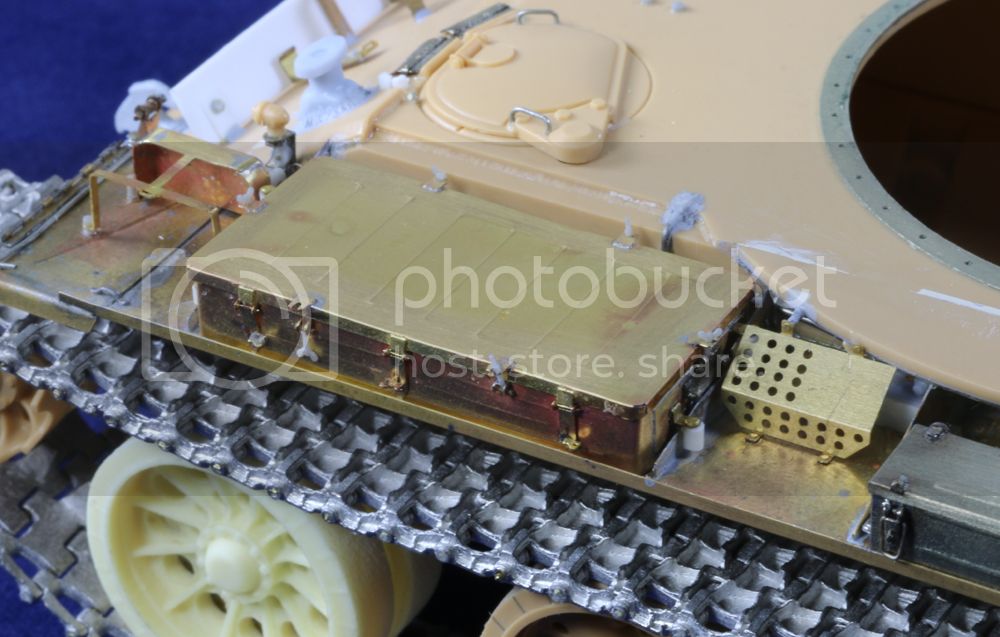
The left rear fender stowage box was replaced by the IDF with one of their own - replicated nicely by Voyager....
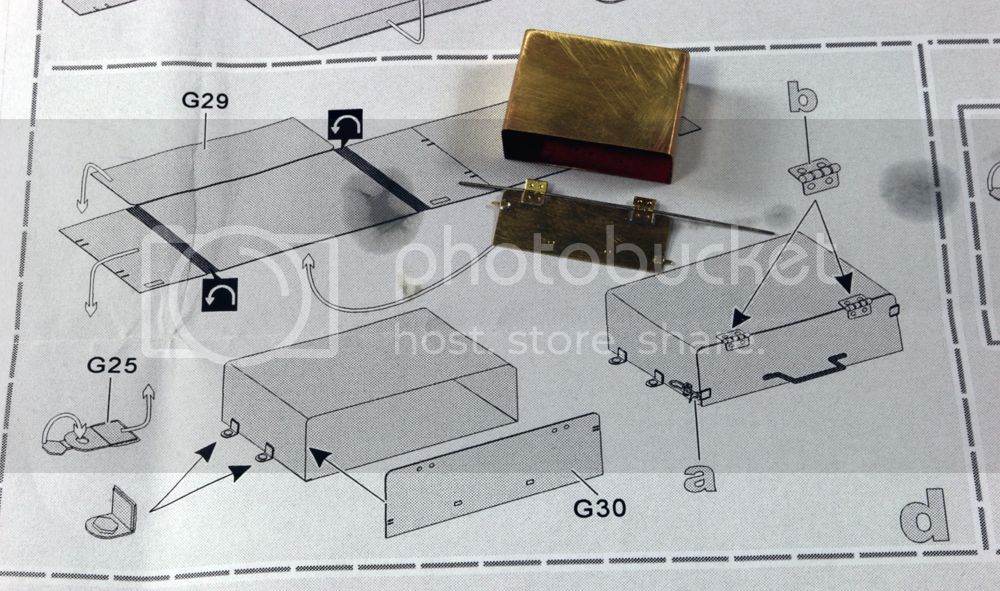
Sits on tiny 'legs' rather than flat on the fender....
Dry fitted.....
The DEF kit provides a nice little protective shield for the horn...
Gary
Auckland, New Zealand
Joined: February 03, 2014
KitMaker: 1,042 posts
Armorama: 871 posts
Posted: Friday, January 16, 2015 - 12:58 PM UTC
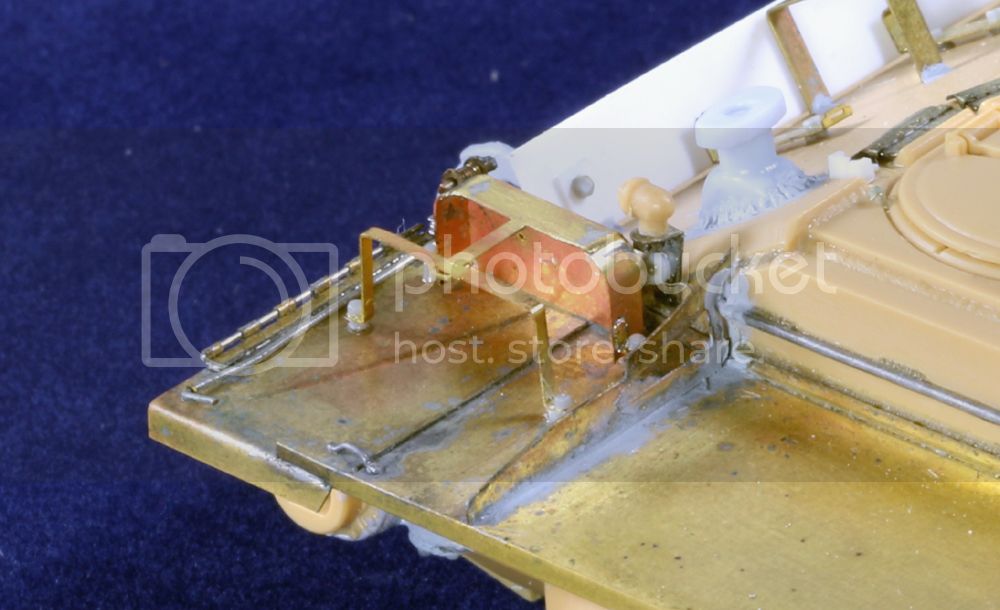
Tool holder brackets are added next - tie down loops are made from .010 lead wire. Tools will be left off....
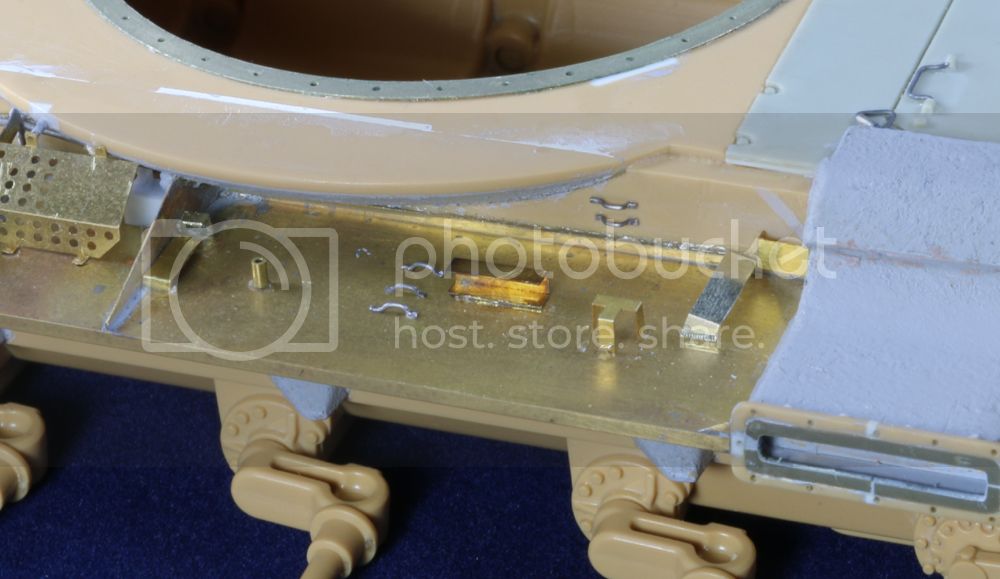
Tie down loops on the rear basket are typically flat profile being PE so these have been replaced, again using .010 lead wire....
Gary
Namabiiru
 Associate Editor
#399
Rhode Island, United States
Joined: March 05, 2014
KitMaker: 2,888 posts
Armorama: 1,920 posts
Posted: Friday, January 16, 2015 - 05:25 PM UTC
Gary, guys like you make the PE look so easy, and yet it drives me crazy. I just can't get the knack of those tee tiny fiddly little bits.
Great looking build. I wish I had a fraction of your skill.
Auckland, New Zealand
Joined: February 03, 2014
KitMaker: 1,042 posts
Armorama: 871 posts
Posted: Saturday, January 17, 2015 - 02:34 AM UTC
Cheers Mark

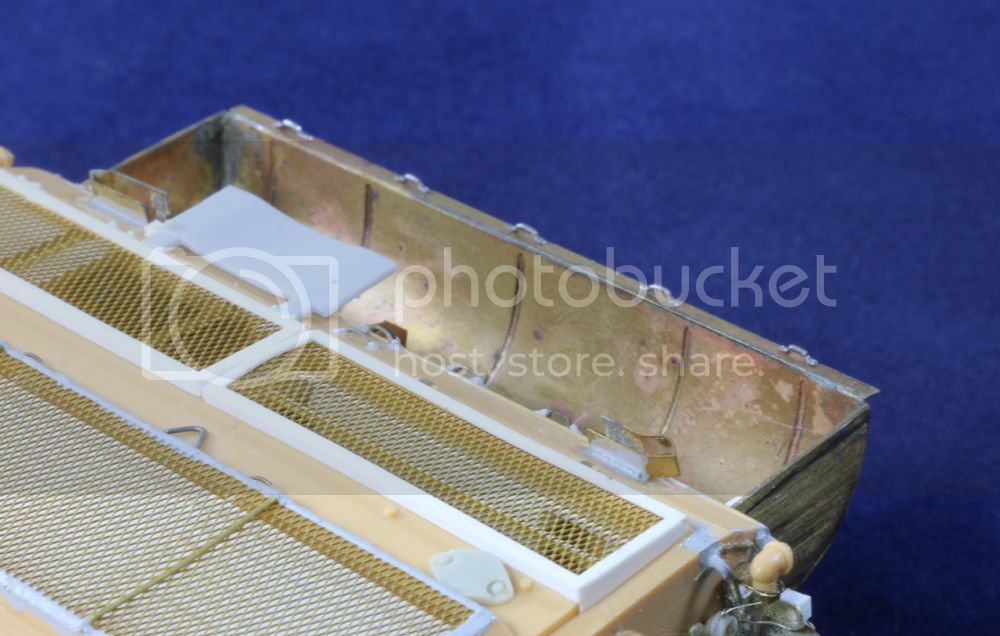
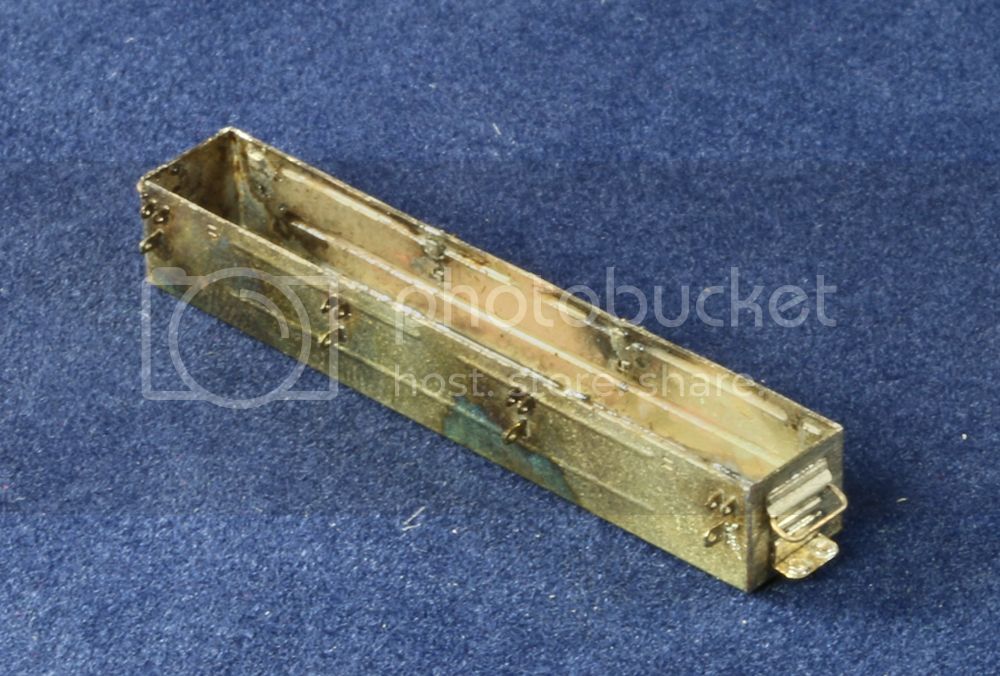
No 2 of 3 stowage boxes on this fender....
WIP....
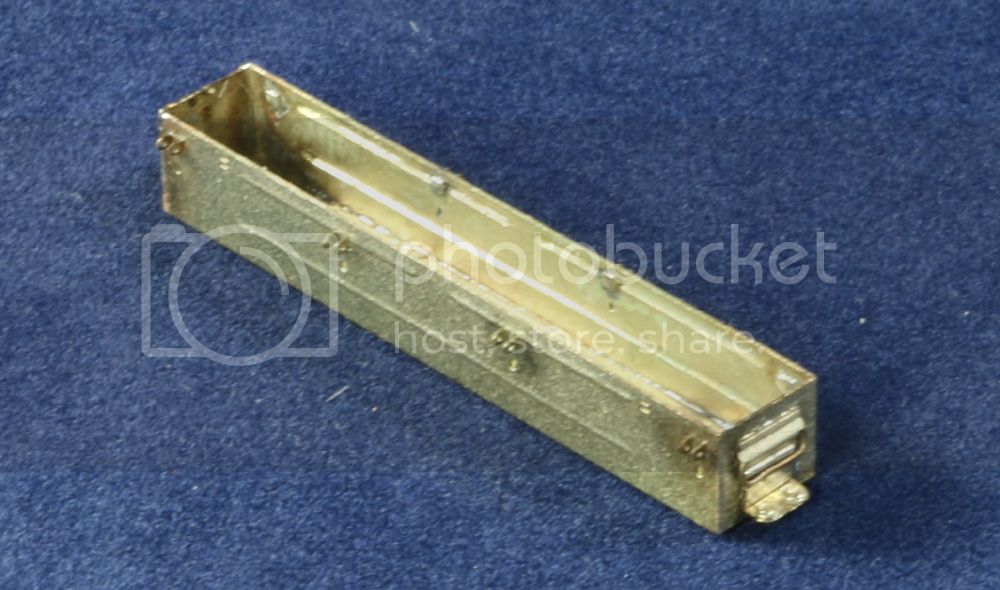
Gary
#123
New Mexico, United States
Joined: November 17, 2008
KitMaker: 1,202 posts
Armorama: 635 posts
Posted: Saturday, January 17, 2015 - 08:57 AM UTC
Howdy Y'all

I'm just amazed with Gary's build. What's the secret glue you're using for all the photoetch bits?
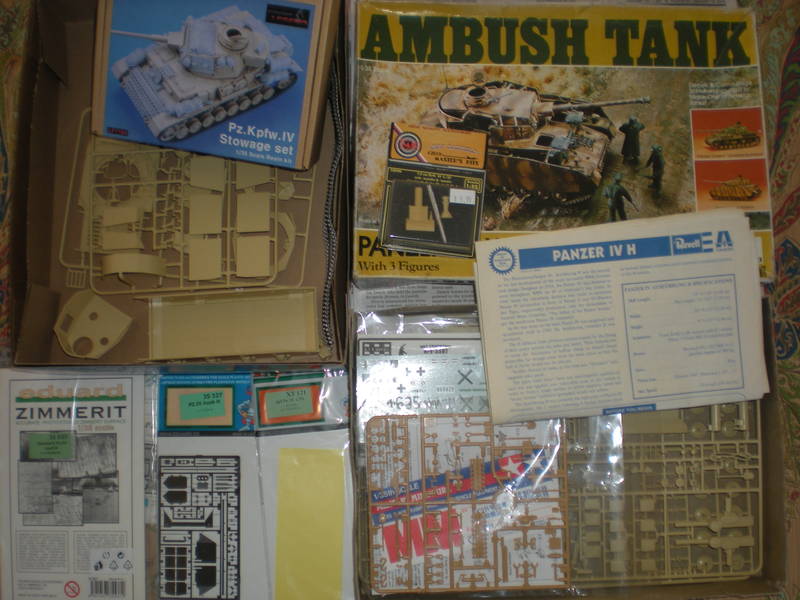
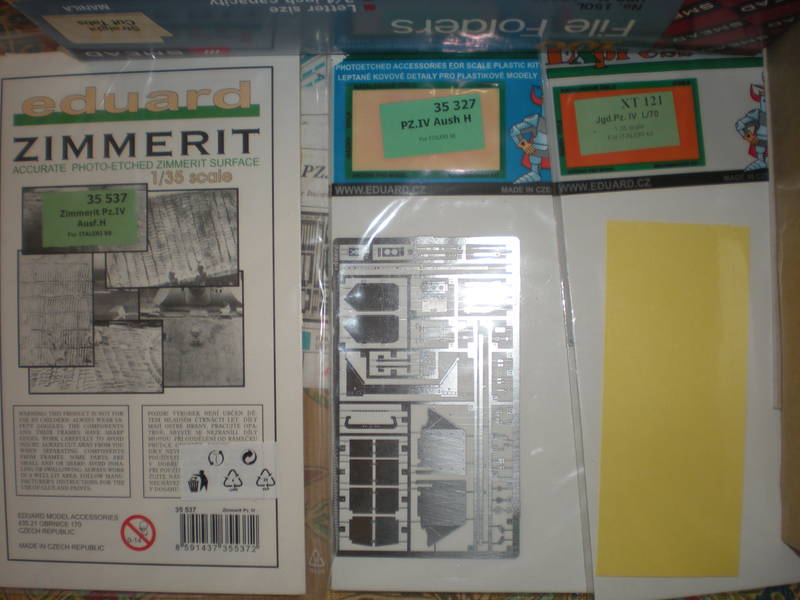
Here's what I'll try to build:
Italeri 1/35 IV H with Tamiya Panzerkampfwagen IV On-Vehicle Equipment Set,
CMK 7.5 cm KwK 40 L/48 barrel,
Eduard PZ.IV Aush H PE (that's how they really spelled it), Zimmerit and Mask, and
Legend Pz.Kpfw.IV Stowage set
I'll probably using an old Dragon track set and still haven't decided on the hull MG or decals.
Y'all take care,
Don "Lakota"
Working on Campaigns:
1/72 Hasegawa Ki-84 Frank
1/144 Dragon Armor
Auckland, New Zealand
Joined: February 03, 2014
KitMaker: 1,042 posts
Armorama: 871 posts
Posted: Saturday, January 17, 2015 - 09:47 AM UTC
Nice choice Don - look forward to seeing that develop
No secret glue - everything is soldered together.
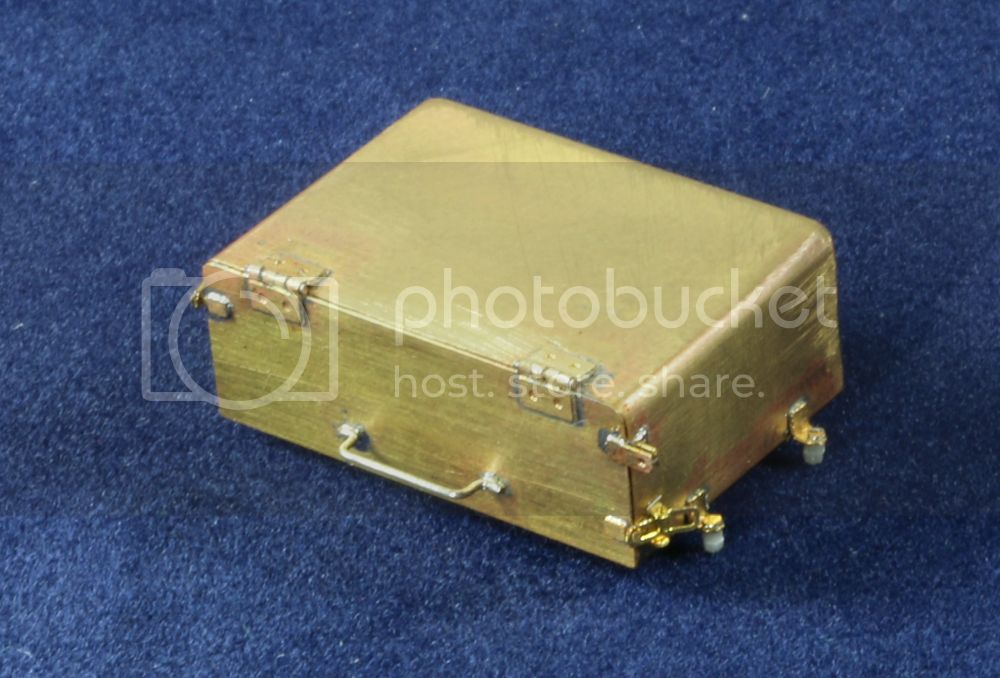
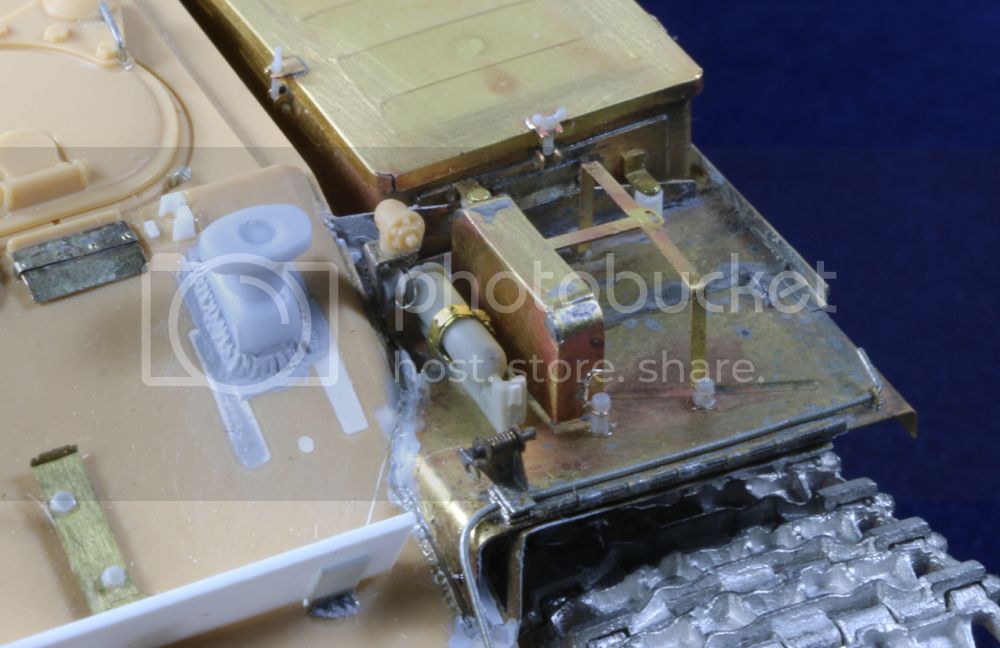
Bit more progress. Once the padlock loops are added....
The main body of the latches are then fitted...
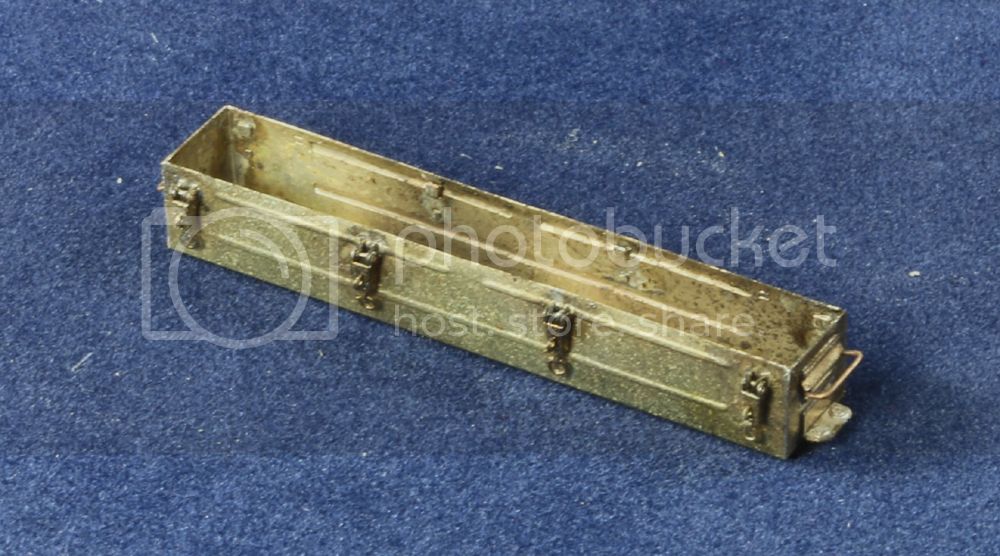
I drilled out the holes so I could use 5amp fusewire for the pins.
Gary
Auckland, New Zealand
Joined: February 03, 2014
KitMaker: 1,042 posts
Armorama: 871 posts
Posted: Saturday, January 17, 2015 - 01:19 PM UTC
The lid is done and in place. Last on the list are the latches. The PE loops are too flat and square for my liking so I'm replacing them with 5 amp fusewire. First side done....
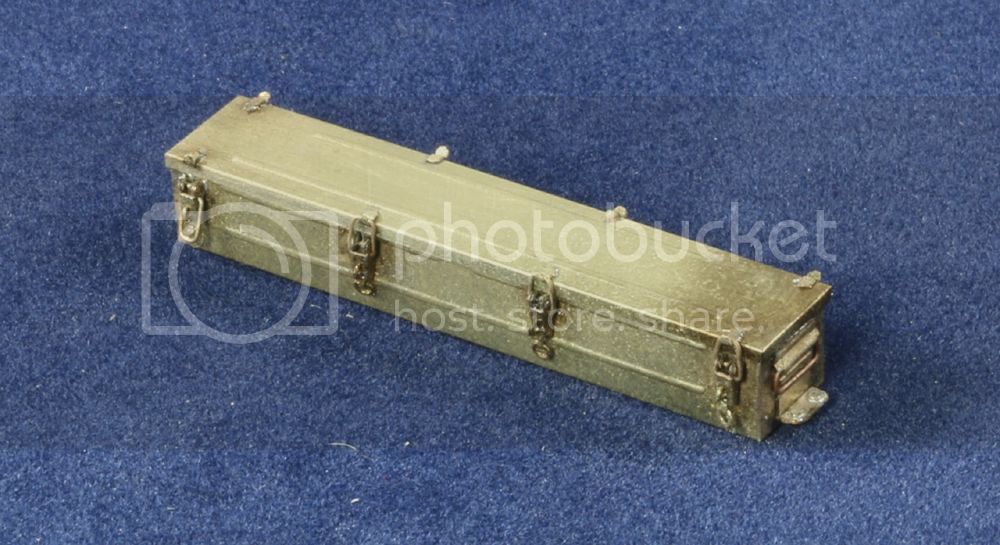
Gary
Auckland, New Zealand
Joined: February 03, 2014
KitMaker: 1,042 posts
Armorama: 871 posts
Posted: Sunday, January 18, 2015 - 10:00 AM UTC
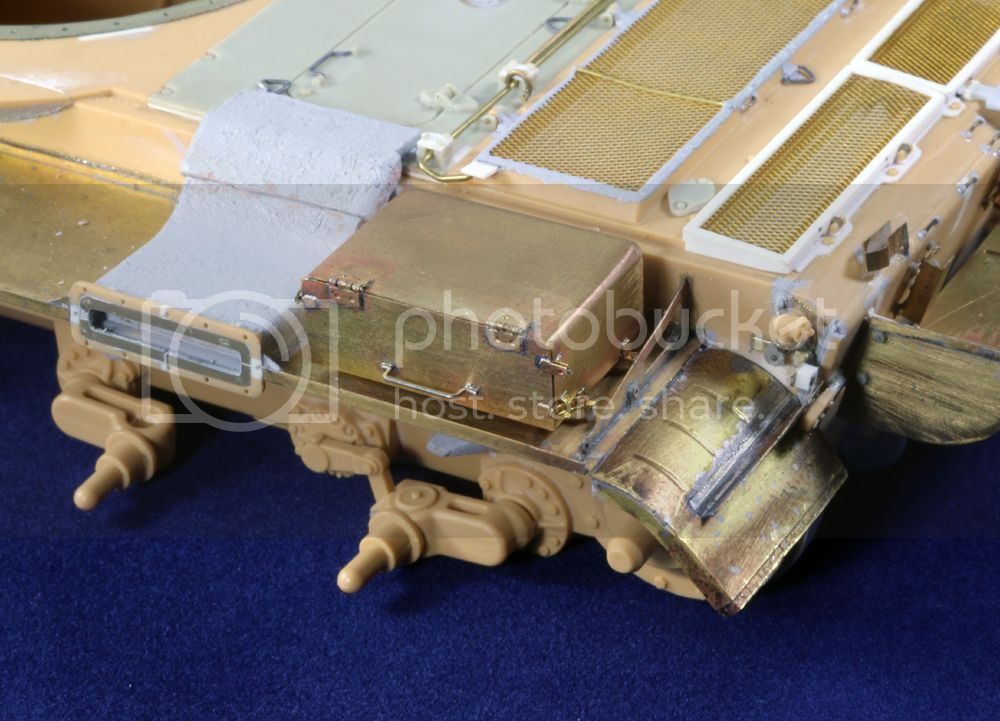
Done and fixed in place....

Water can holder attached to front fender....
Gary
#041
Kobenhavn, Denmark
Joined: July 20, 2006
KitMaker: 10,069 posts
Armorama: 4,677 posts
Posted: Sunday, January 18, 2015 - 01:55 PM UTC
Wow, that level of detail is astonishing, Gary! Fantastic work. Looking forward to see more.
Campaign'oholic - 252+ campaigns completed
Auckland, New Zealand
Joined: February 03, 2014
KitMaker: 1,042 posts
Armorama: 871 posts
Posted: Monday, January 19, 2015 - 12:47 PM UTC
Thanks Jesper
Final stowage bin completed and in place....
Fire extinguisher added using parts from the spares box....
Barring anything that I've missed, hull is now complete....
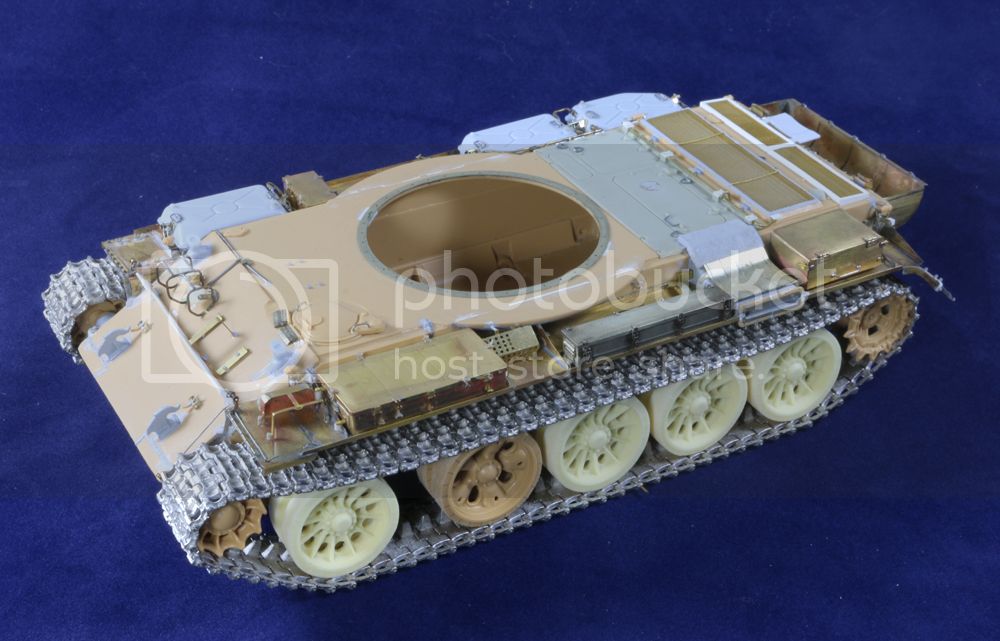
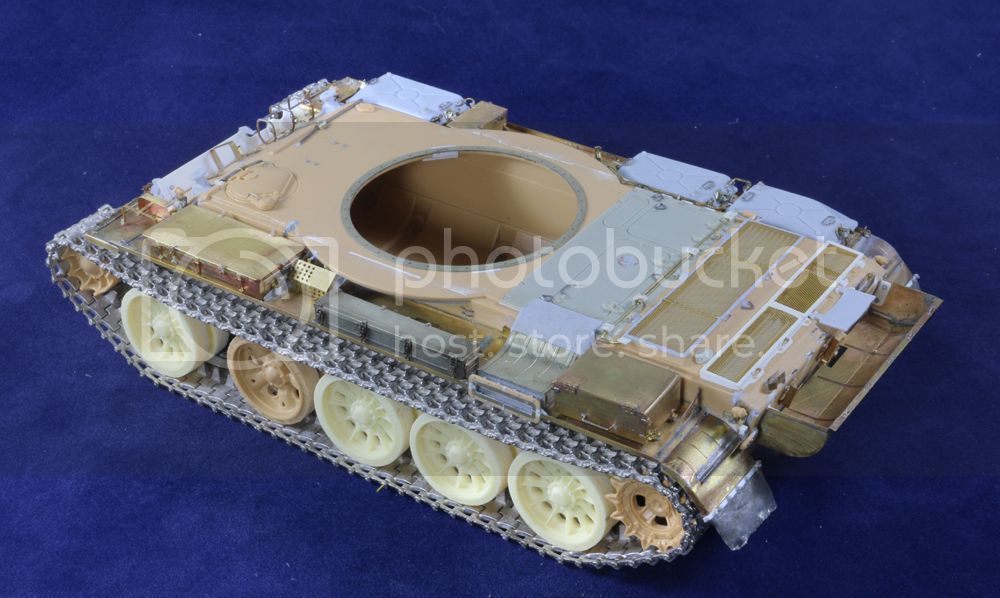
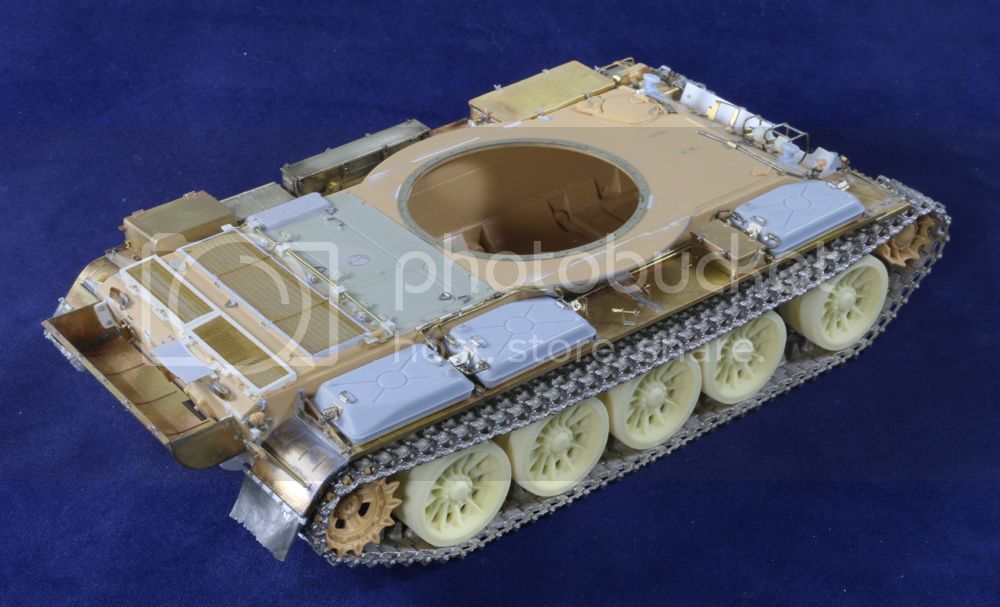
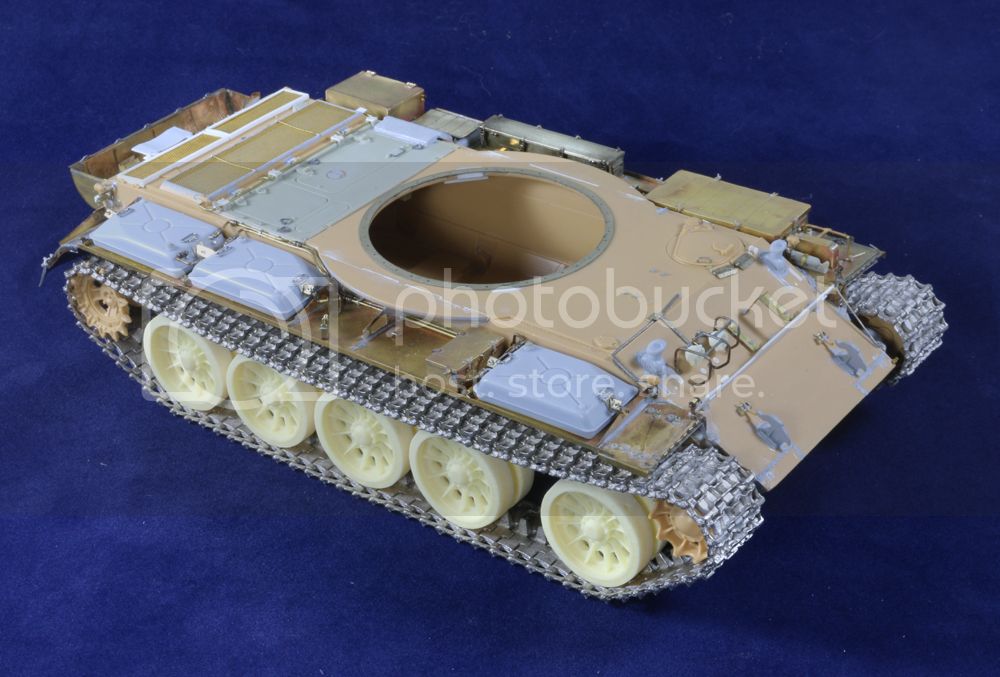
Turret next....
Gary
Dalarnas, Sweden
Joined: March 24, 2006
KitMaker: 2,093 posts
Armorama: 1,359 posts
Posted: Monday, January 19, 2015 - 04:25 PM UTC
This build is so awesome.... No one else is daring to show theirs!!
Working on:
Reworking Italeri/Zvezda T 34/76
http://scalemodelling-by-ron.blogspot.se/
Texas, United States
Joined: June 12, 2007
KitMaker: 1,866 posts
Armorama: 1,696 posts
Posted: Tuesday, January 20, 2015 - 12:32 AM UTC
I'm just gonna go sit in the corner.....
Namabiiru
Associate Editor #399
Rhode Island, United States
Joined: March 05, 2014
KitMaker: 2,888 posts
Armorama: 1,920 posts
Posted: Tuesday, January 20, 2015 - 04:25 AM UTC
At this point it's starting to look like I'm not going to get a build done in time to finish this campaign, but since I'd be embarrassed to show my work alongside Gary's, that's a good thing, right?
British Columbia, Canada
Joined: August 13, 2009
KitMaker: 420 posts
Armorama: 416 posts
Posted: Tuesday, January 20, 2015 - 05:11 AM UTC
Quoted Text
This build is so awesome.... No one else is daring to show theirs!!
I showed mine!! no where near as impressive, but proud of it anyways. besides it was a progress shot, still waiting for my PE to arrive then the fun will start
Auckland, New Zealand
Joined: February 03, 2014
KitMaker: 1,042 posts
Armorama: 871 posts
Posted: Tuesday, January 20, 2015 - 10:51 AM UTC
Thank you for the kind words gents

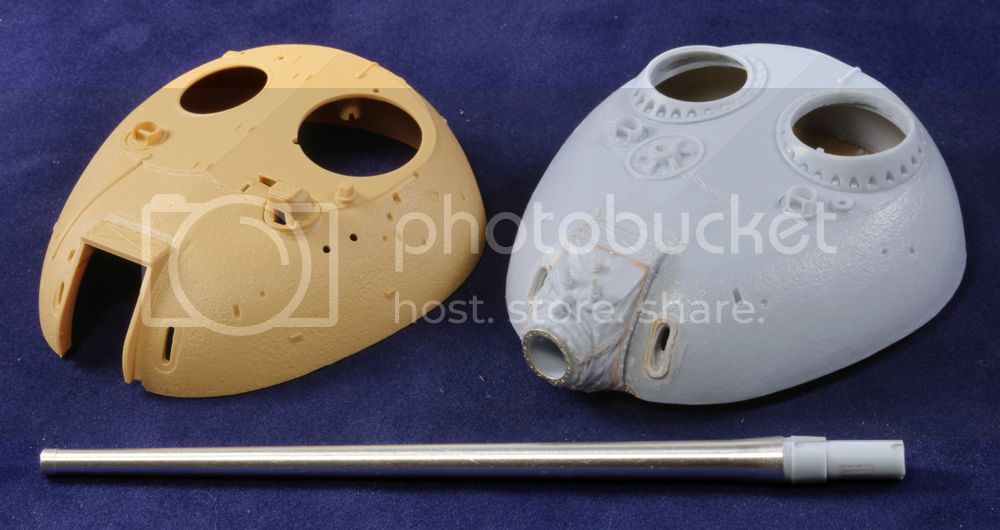
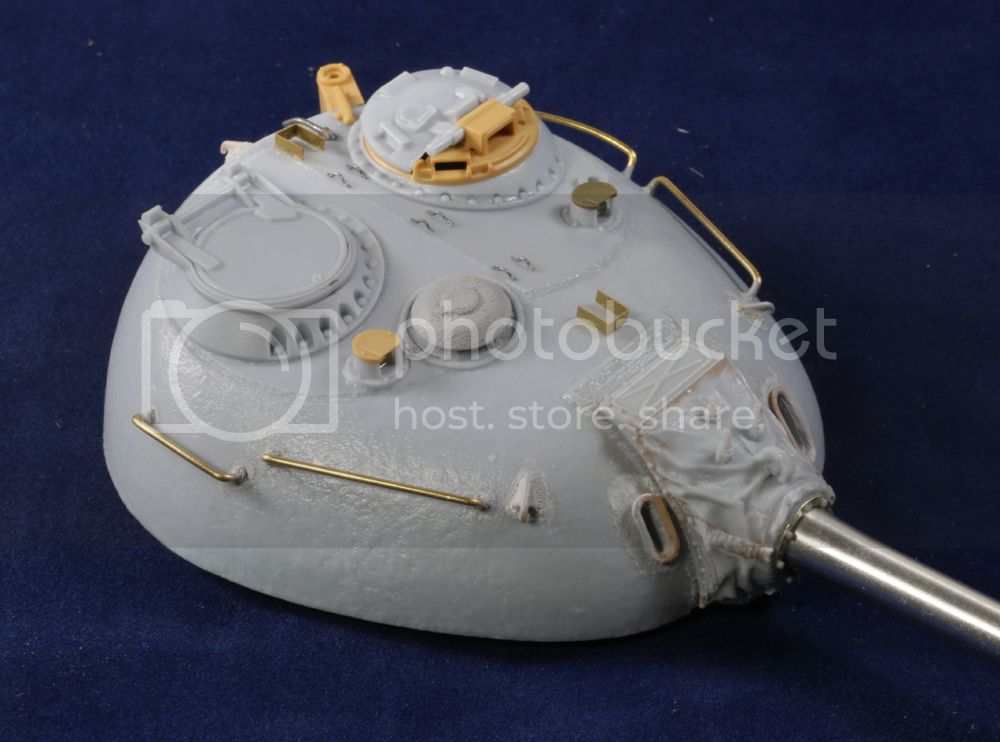
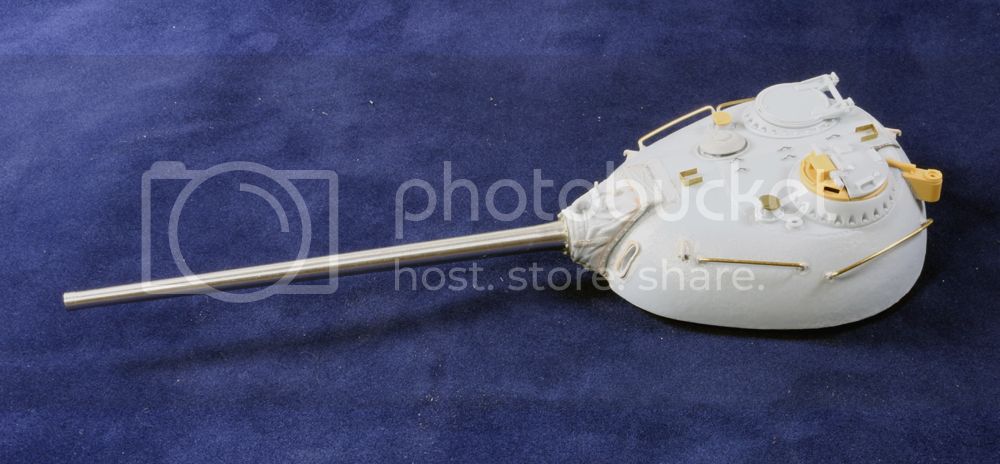
Ok, here we go with the turret.....
Tamiya and DEF Models parts side by side showing the base differences between T54 and T55 along with the early 100mm D10T barrel. Some filler was required when fitting the mantlet to the hull and I also thinned the Tamiya supplied rain guards around the front apertures to give a more realistic thin appearance like the real thing....
Gary
Auckland, New Zealand
Joined: February 03, 2014
KitMaker: 1,042 posts
Armorama: 871 posts
Posted: Wednesday, January 21, 2015 - 10:39 AM UTC
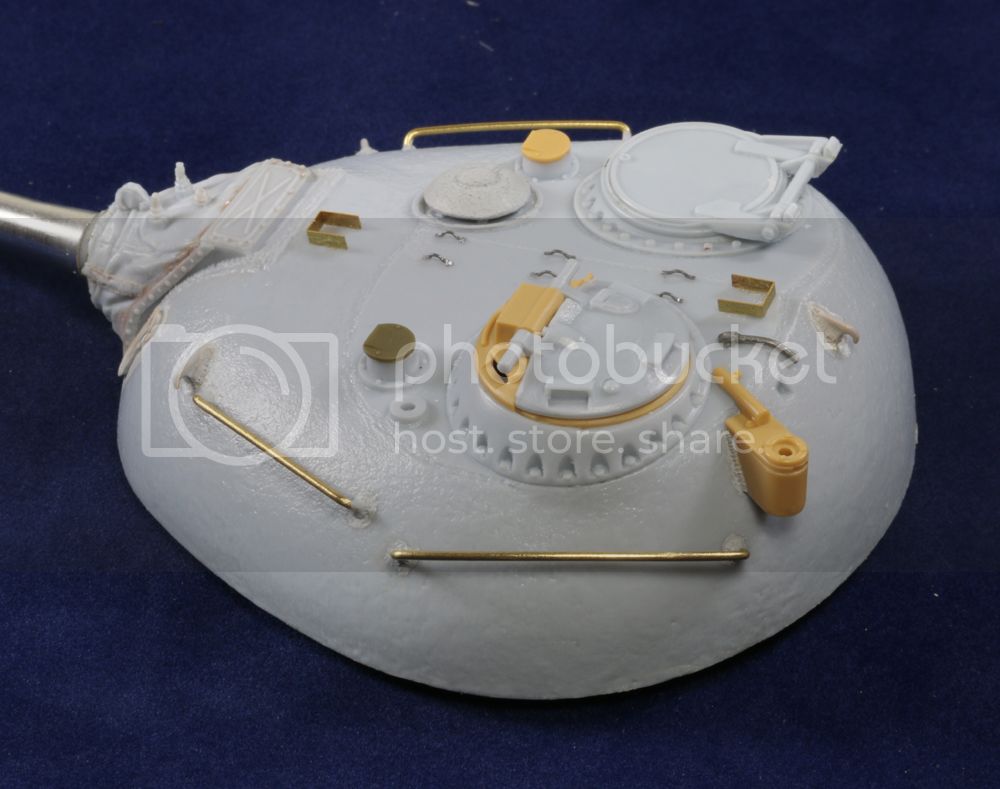
Further progress. Brass rod for grab handles, .010 lead wire for tie downs, PE along with some Tamiya kit parts contributing to get to this stage....
Gary
Auckland, New Zealand
Joined: February 03, 2014
KitMaker: 1,042 posts
Armorama: 871 posts
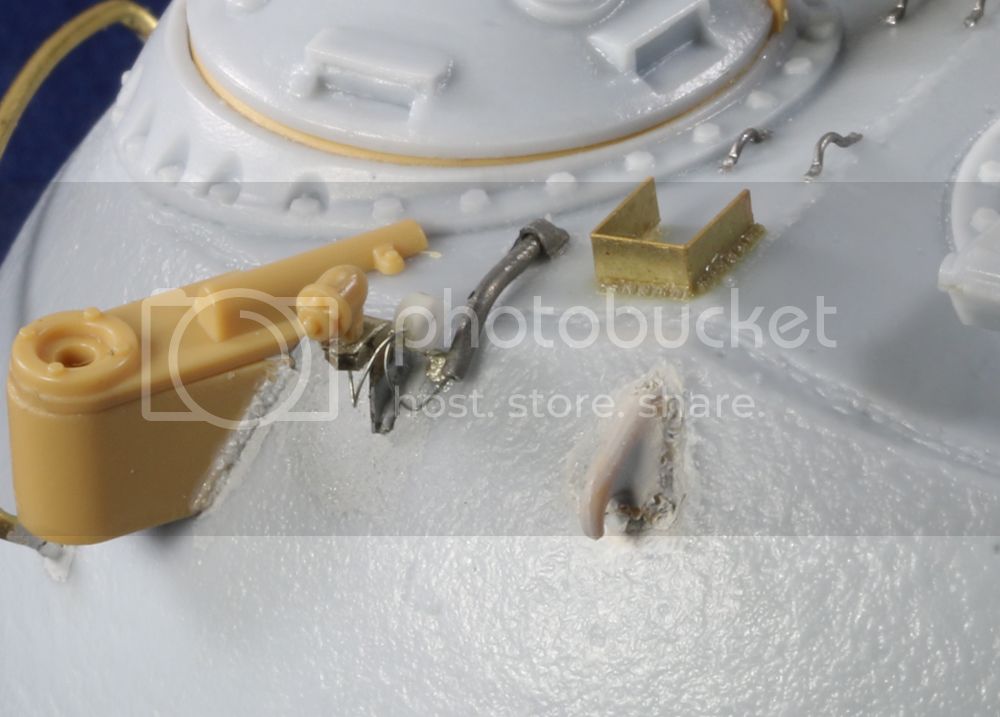
Posted: Wednesday, January 21, 2015 - 01:25 PM UTC
More work on the turret. .30 cal pedestal and commanders main periscope gets a 'glass' screen and wiper system....
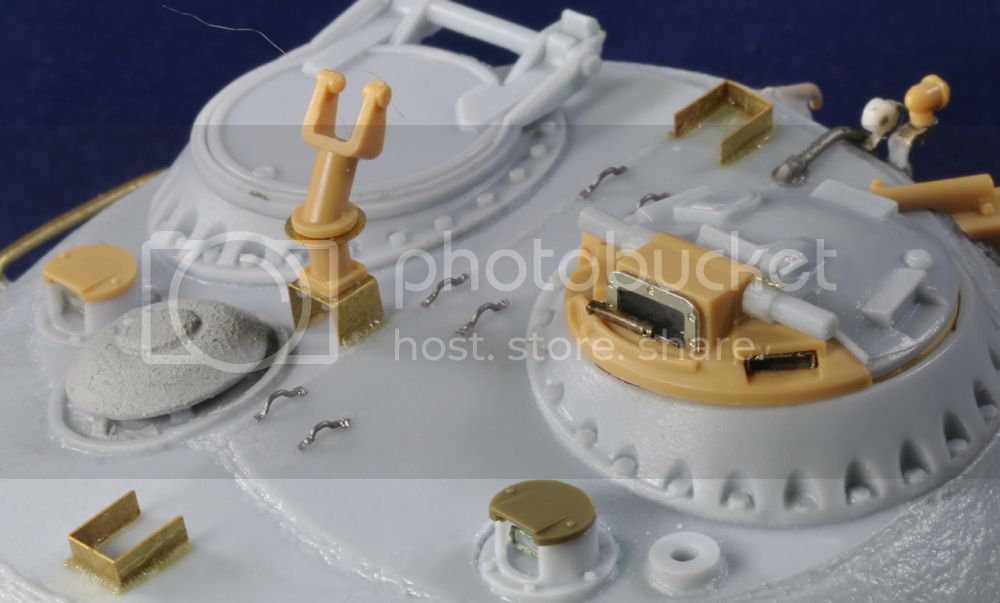
Rear of turret gets a convoy marker light with wiring etc....
Gary
Sao Paulo, Brazil
Joined: January 24, 2012
KitMaker: 1,054 posts
Armorama: 1,050 posts
Posted: Wednesday, January 21, 2015 - 03:04 PM UTC
Wow Gary, very, very impressive.
Cheers!
Marco
#041
Kobenhavn, Denmark
Joined: July 20, 2006
KitMaker: 10,069 posts
Armorama: 4,677 posts
Posted: Wednesday, January 21, 2015 - 11:41 PM UTC
You continue down the path of total awesomeness, Gary! Great work!!
Campaign'oholic - 252+ campaigns completed
California, United States
Joined: November 01, 2009
KitMaker: 657 posts
Armorama: 481 posts
Posted: Thursday, January 22, 2015 - 12:20 AM UTC
WoW!!!!!!
you all are doing some amazing works.. I cant wait to get started.
" For those who fought for it Freedom has a flavor the protected will never know"
Italeri T-55, Syrian Army 6 Day War Taken out. 2%
AFV IDF Shot. 6 Day War 0%..
Auckland, New Zealand
Joined: February 03, 2014
KitMaker: 1,042 posts
Armorama: 871 posts
Posted: Thursday, January 22, 2015 - 07:48 AM UTC
Thanks chaps
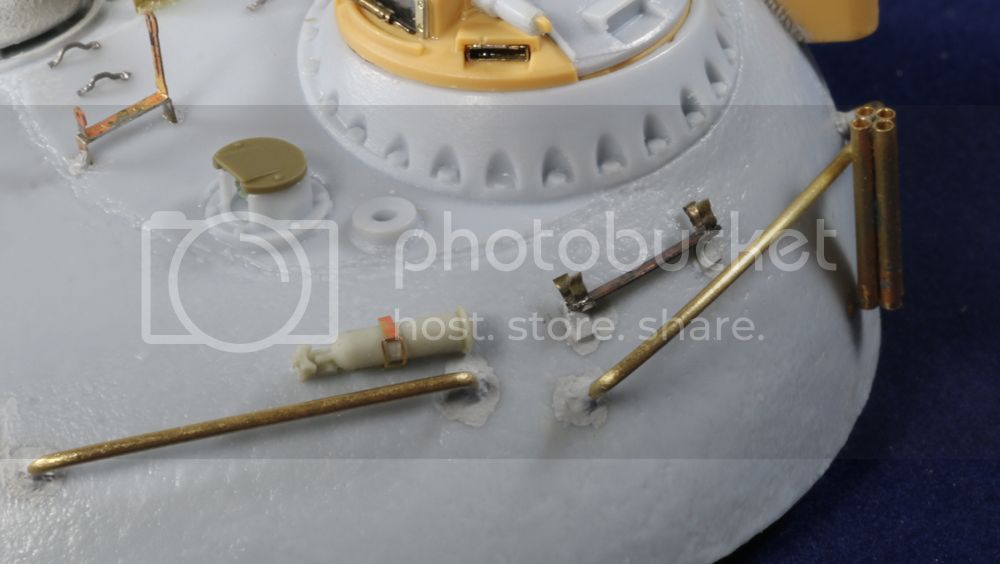
Resin fire extinguisher from spares box added after being' tarted' up with a PE strap. The DEF set contains a couple of Uzi MGs for the crew but I wanted to show the racks empty so scratched ones from scrap PE. The Tamiya moulded parts which depict 4 tubes (holders for signal flags??) were replaced by brass tubes soldered together....
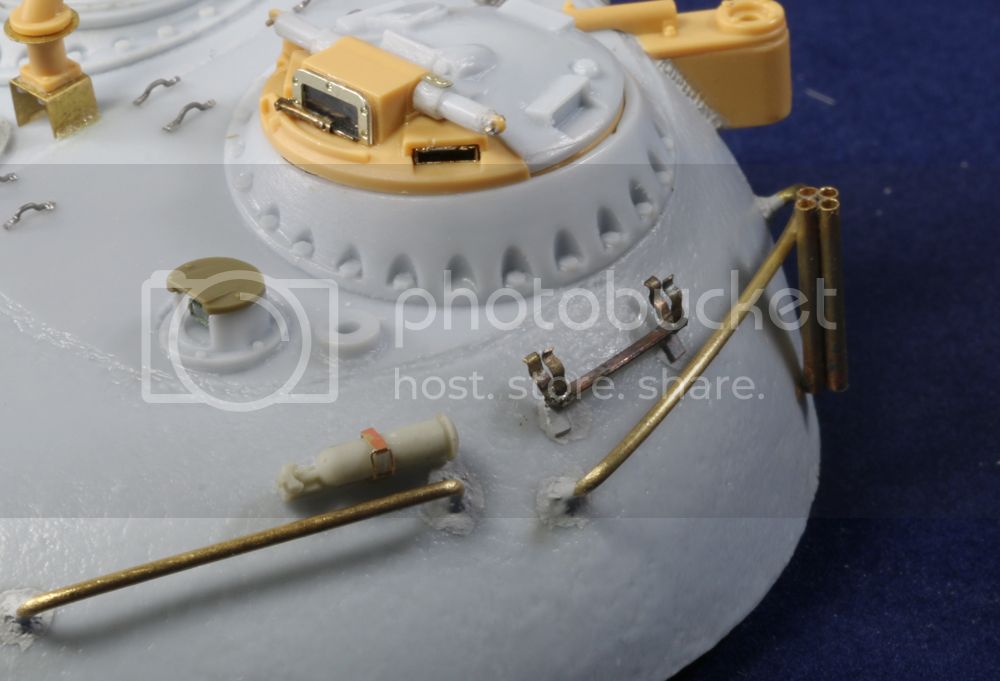
Gary
Auckland, New Zealand
Joined: February 03, 2014
KitMaker: 1,042 posts
Armorama: 871 posts
Posted: Thursday, January 22, 2015 - 11:30 AM UTC
Decided that the Uzi brackets were too big so remade them....
Loaders side....
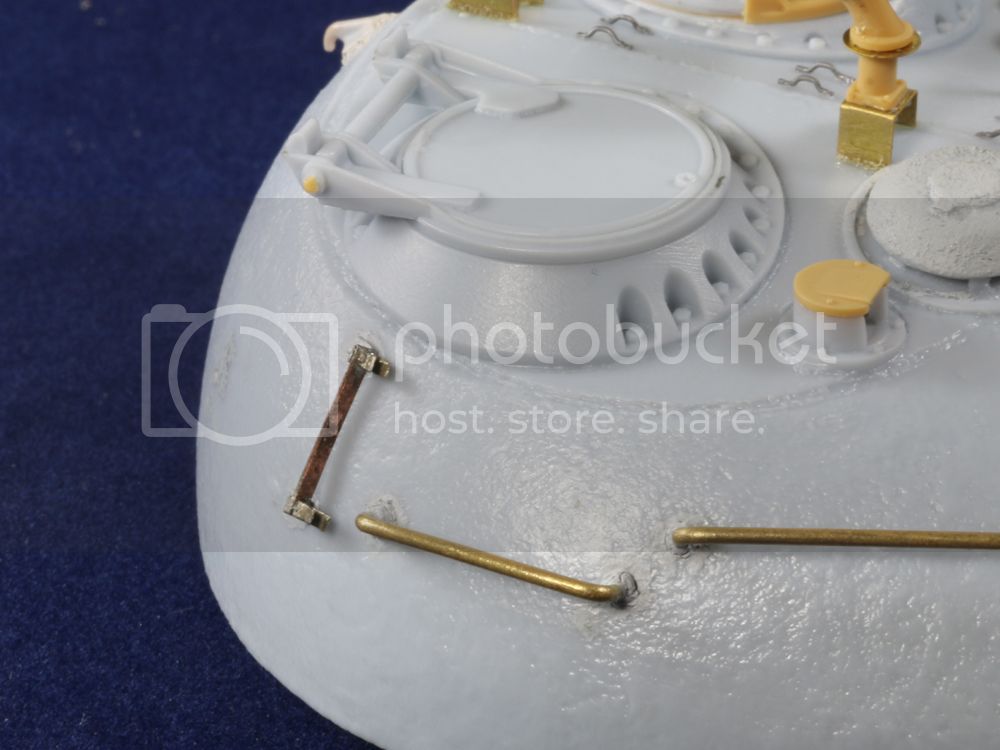
.30 cal MG next. The Tamiya offering is quite nice - couple of sink marks to deal with but nothing major. Added a trigger and forward sight along with a turned brass barrel...
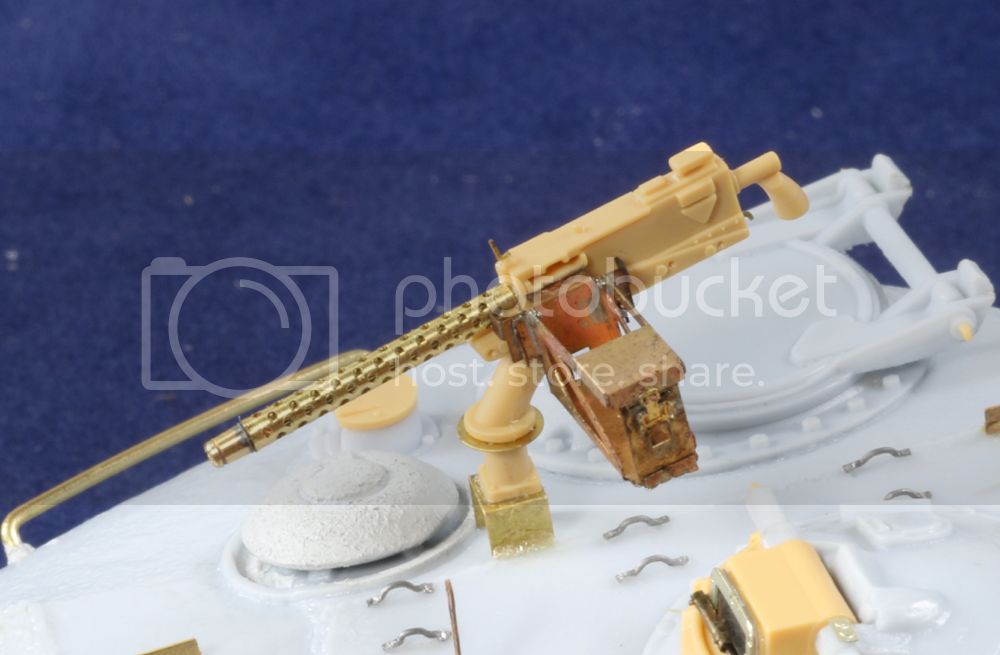
Ammo can holder is from DEF models....
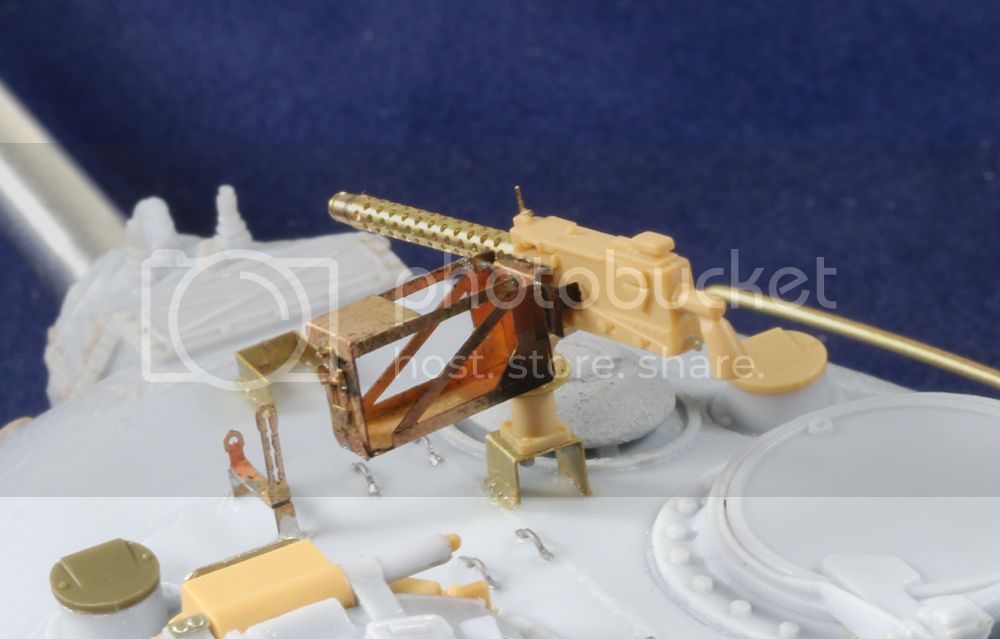
Gary