

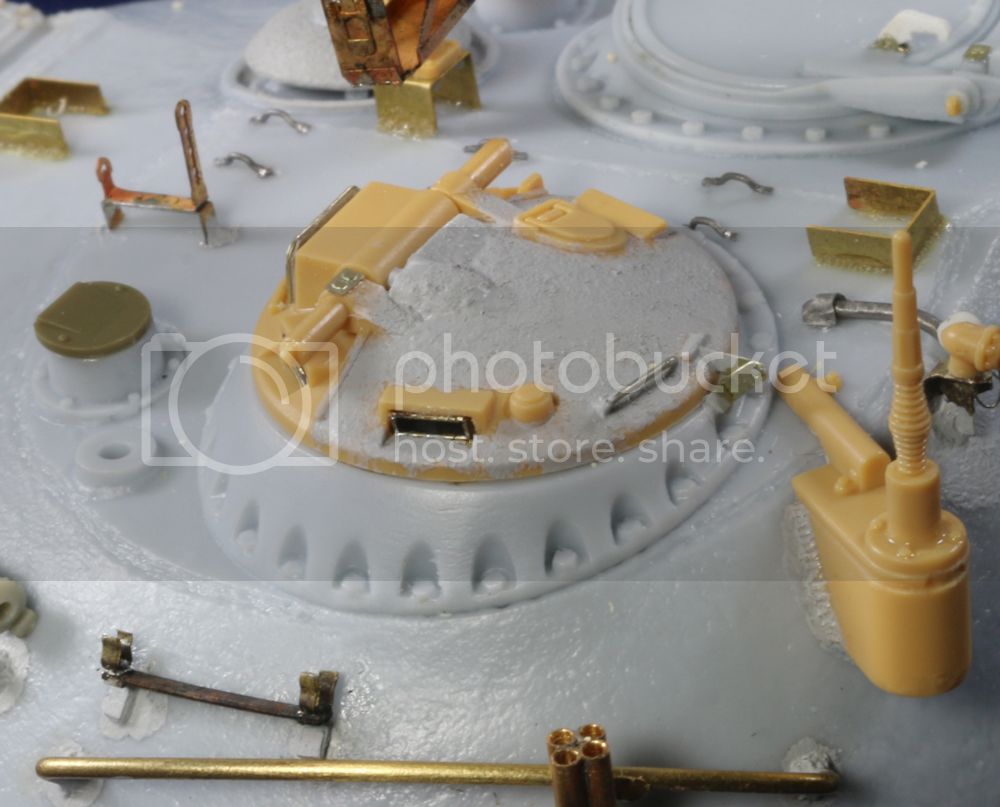
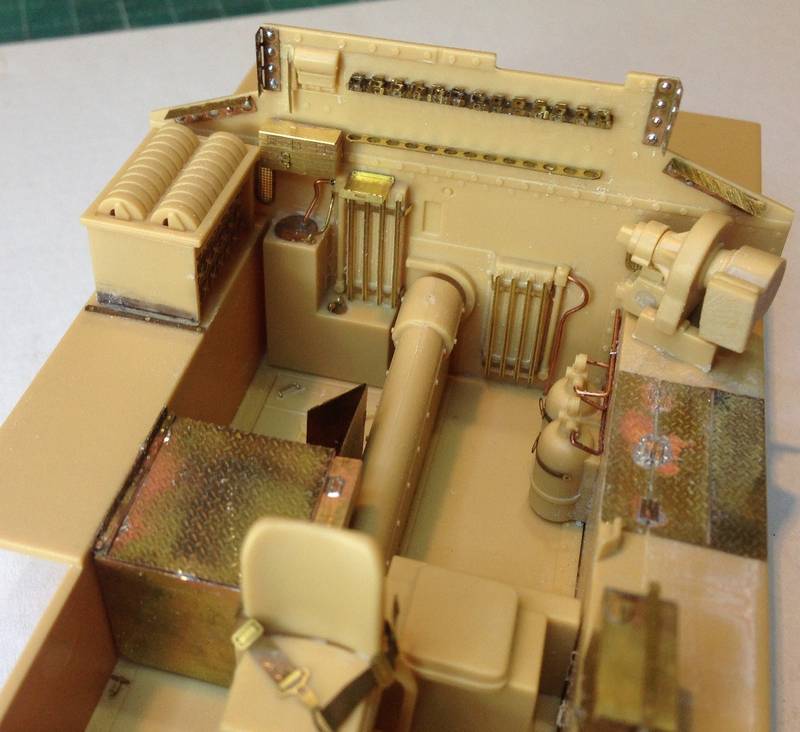
Next up will be the water can holders on the turret.
Gary


 Wish that was the case - would be a lot easier


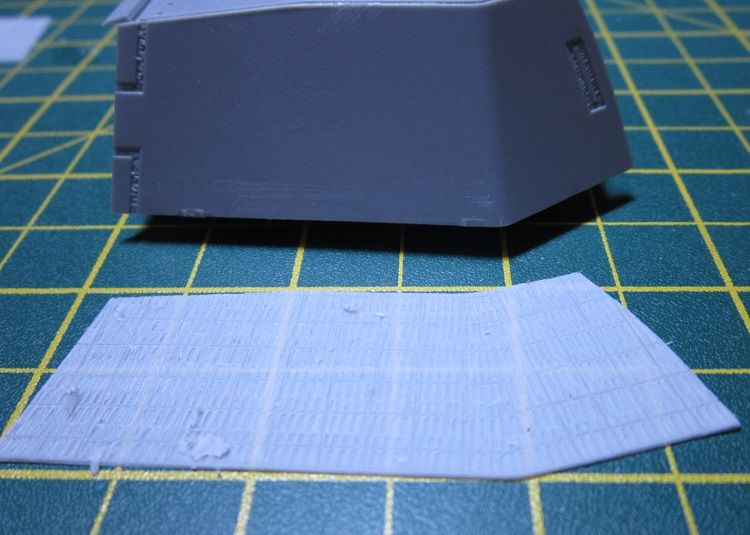
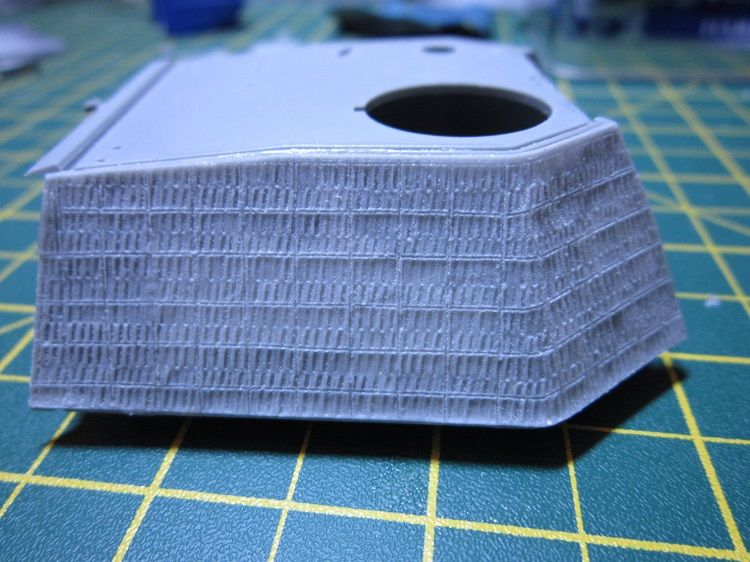
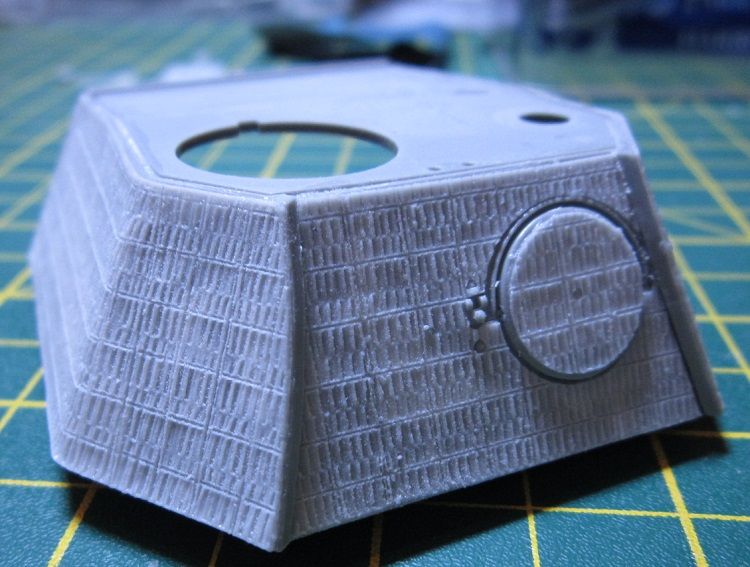
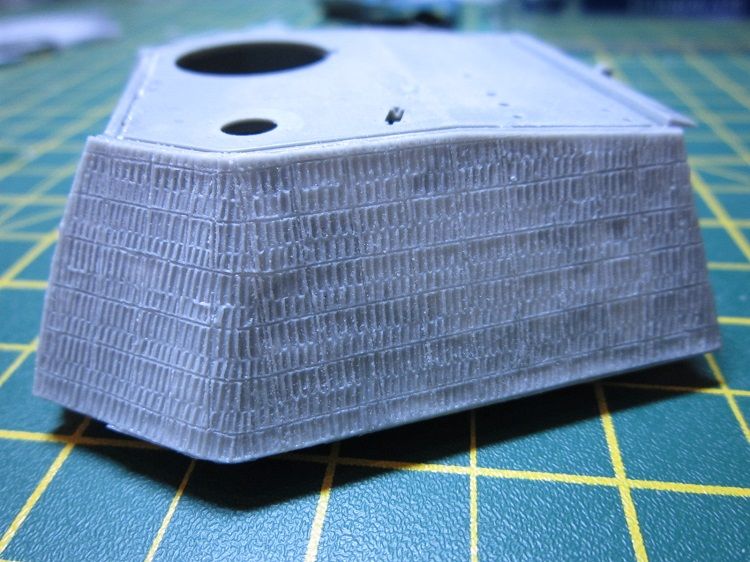
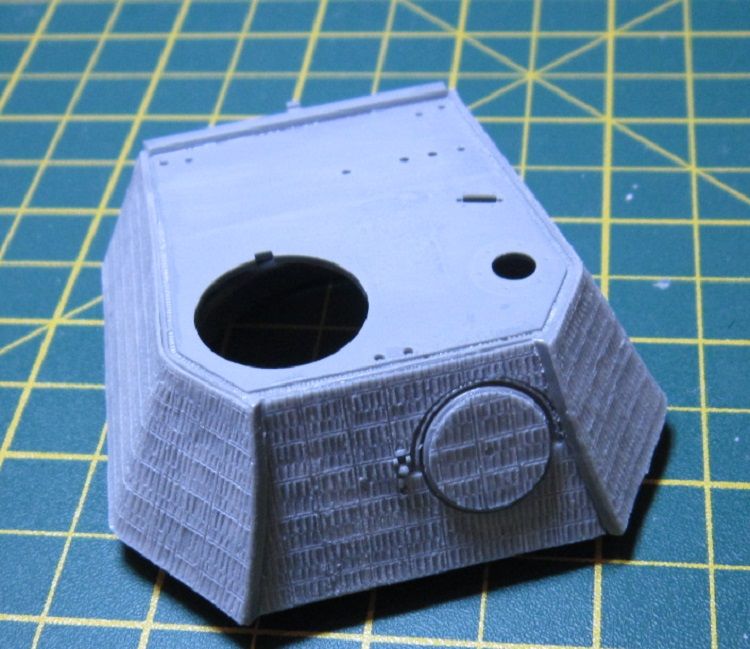


Nice job on the zimmerit, Paul. Looks really good.
Looking forward to see more.
- I will try to post the photos later.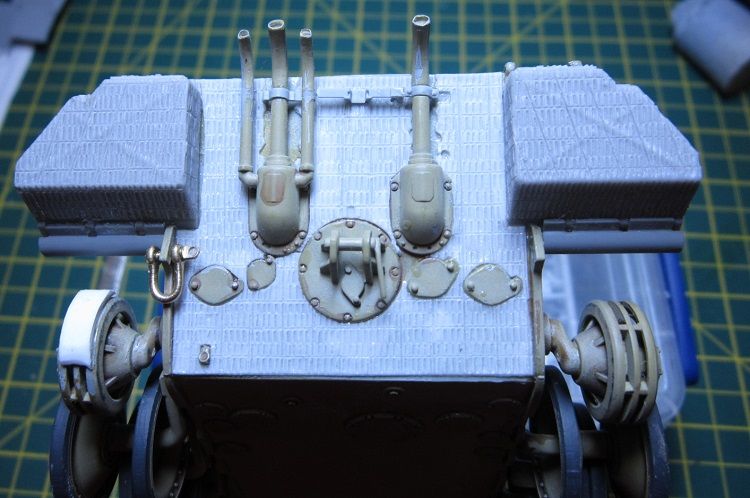
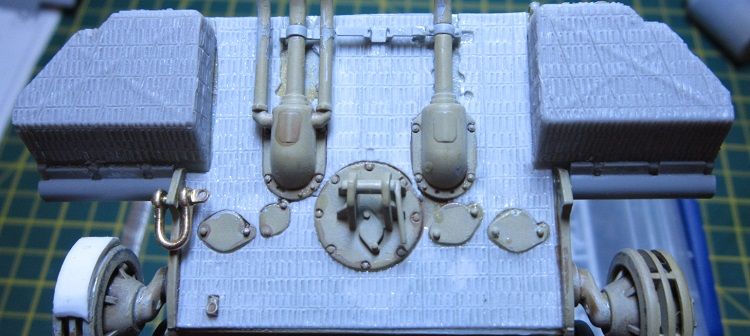


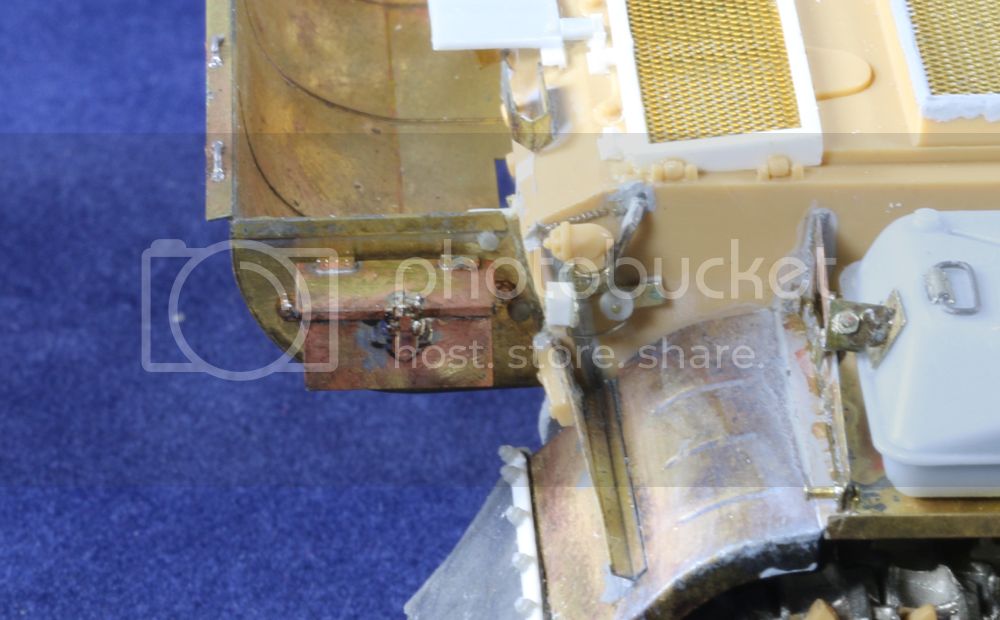
 Frankly, Im ecstatic I could get the ammo rack on the rear firewall to actually come out looking something remotely like an ammo rack (especially doing it with only one good eye!).
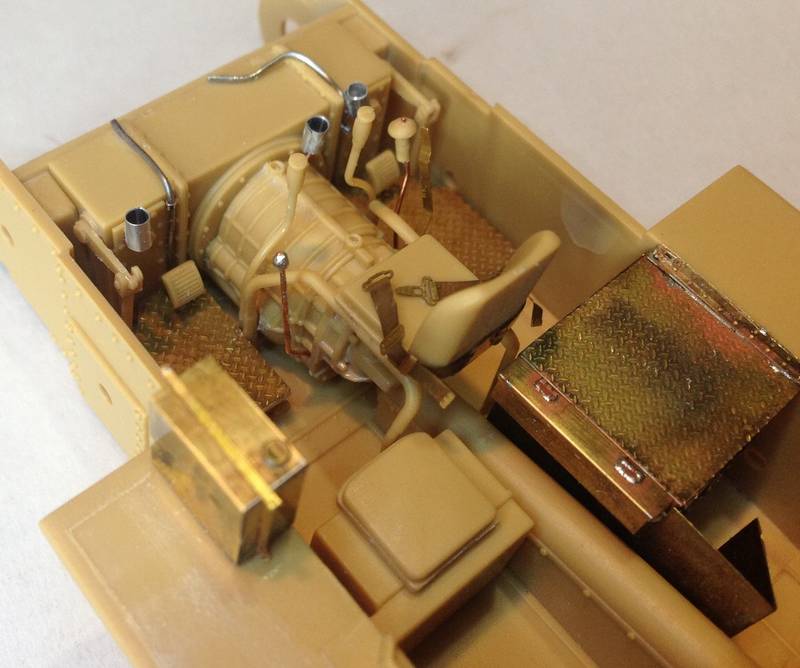


Quick update: even though I said I wouldn't pursue new bogies, I discovered MRC had styrene replacements for this kit, and even though I didn't buy the kit from them originally, they graciously agreed to sell me a set of bogies for a rock-bottom price. Two thumbs up for MRC!
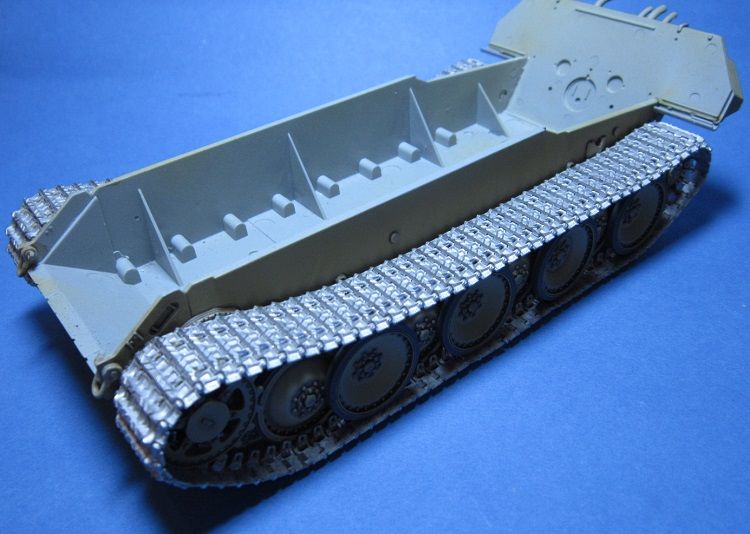
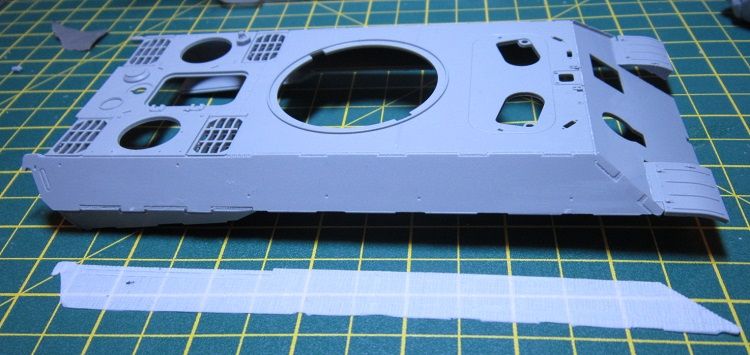
Alas, the fit of this kit is proving to be very problematic. Having gotten all the upper hull slabs nicely aligned and glued together, when I tried to dry fit the upper and lower hulls together I found that the top edge of transmission housing sits a full millimeter above the front edge of the upper hull. This is going to take major surgery to correct, complicated by the fact that the I've already glued it down.


 |


