Hello fellow model builders -
Stefan - thanks for dropping by!
Dave - glad to hear form you hosehead! I guess you must be getting back to bowling season up there in the great white north!
Matt - it is coming together!
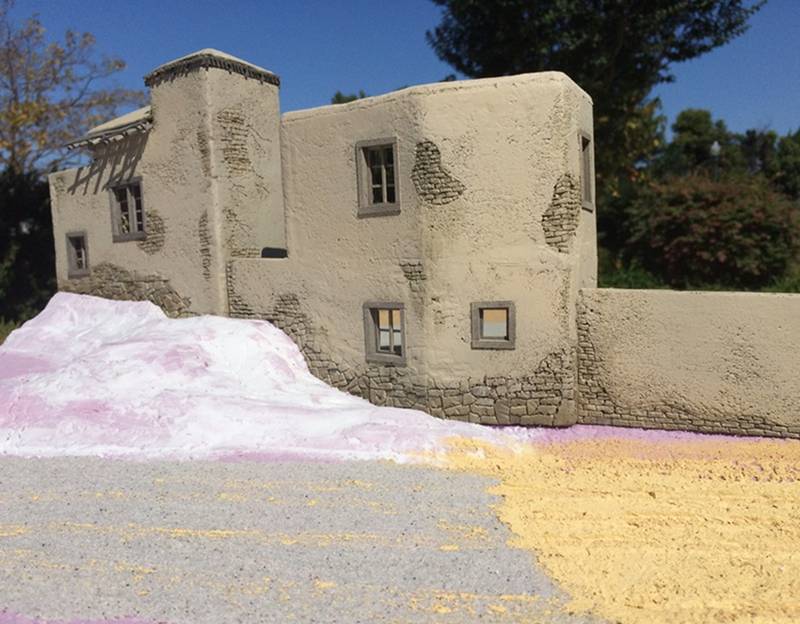
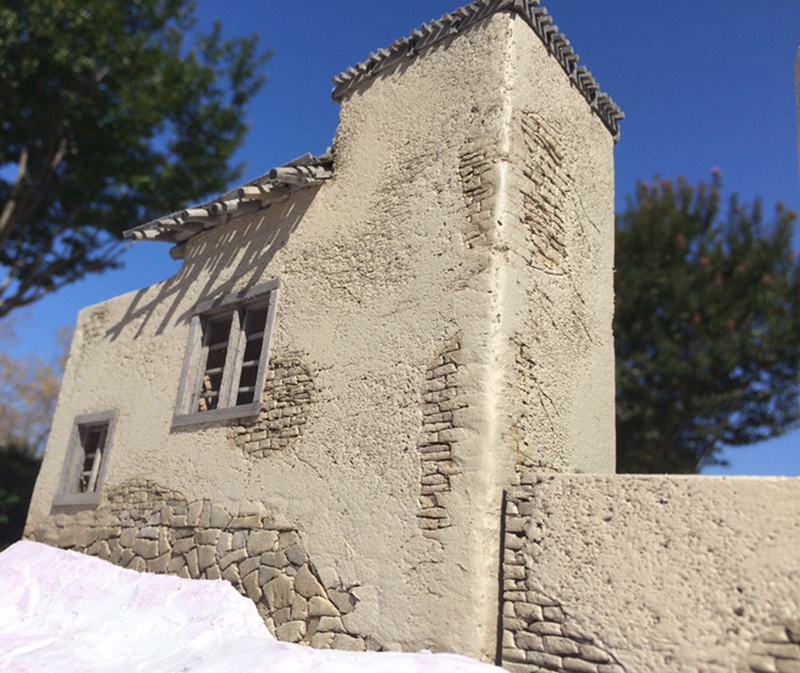
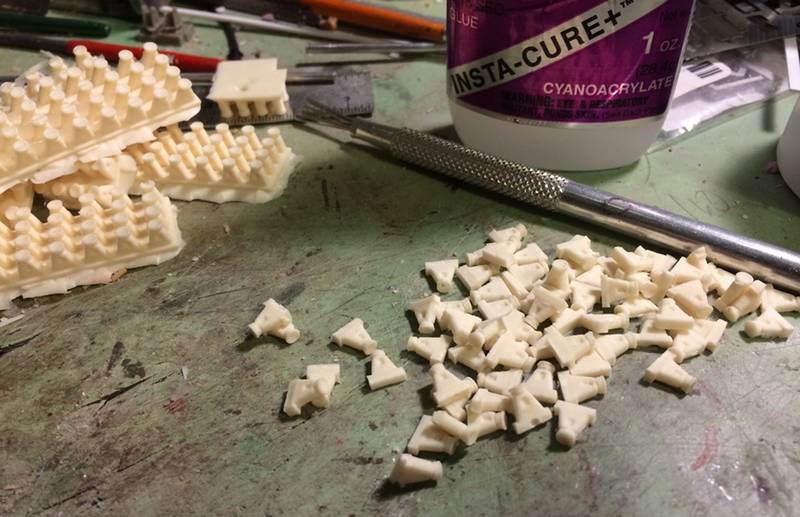
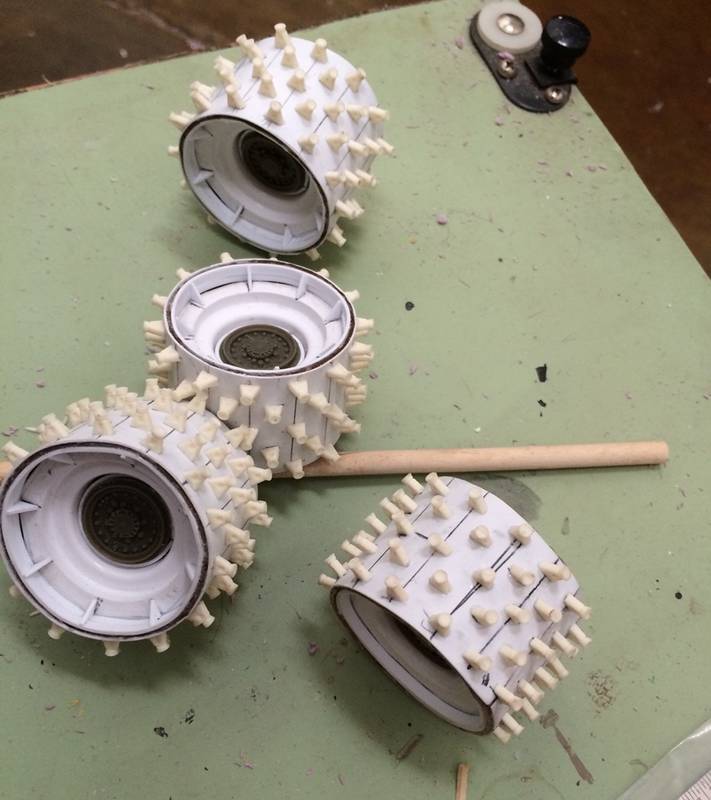
I'm making headway on the roller! Sorry about the not-good photos - more on the way out the door to work images! please take a look:
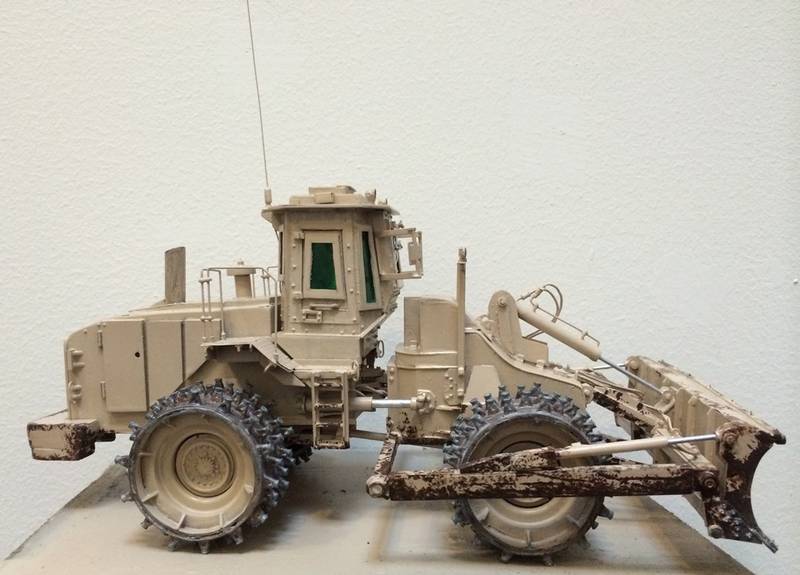
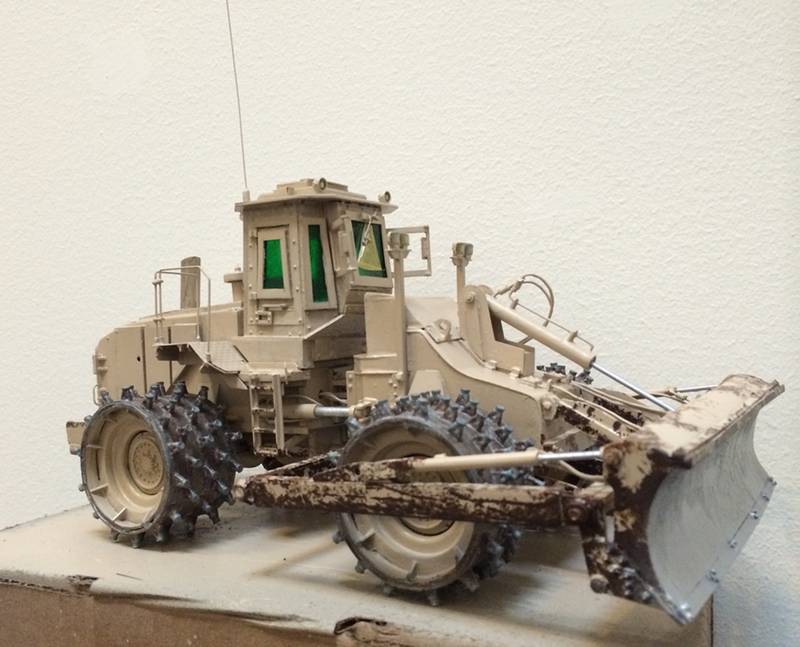
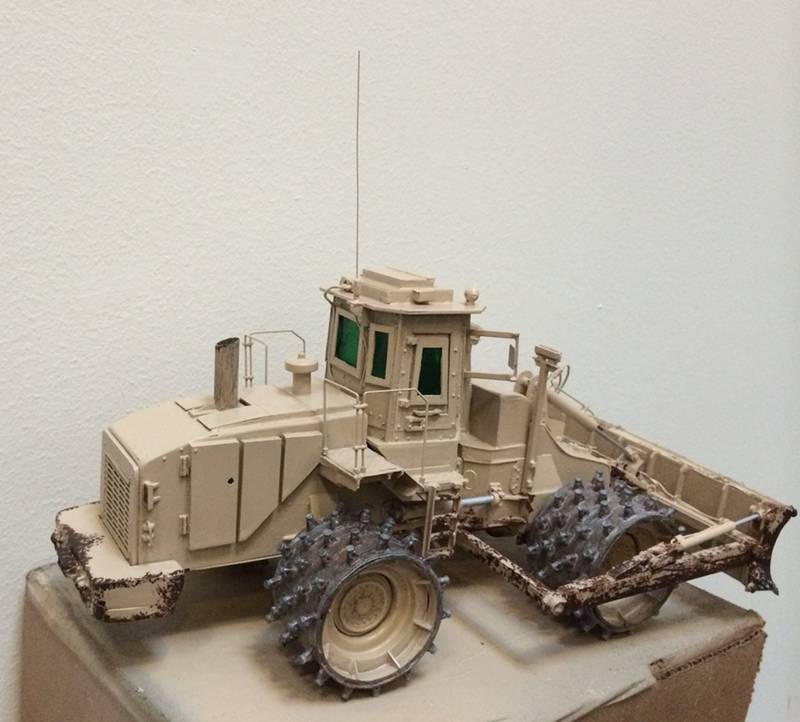
Clearly there is a long way to go, but it's shaping up.
Generally fairly normal painting, except, I can report that I've now experienced the odd Vallejo primer, AK base color not sticking phenomenon? - which is weird - as I use the two together ALL of the time with great results -
hmm....after a bad first coat of the primer, I just let it dry then repainted, same happened with the AK, in the same place on the model - in one place tho, the paint really didn't want to stick - weird....I'm guessing there must have been something on the surface of the styrene...
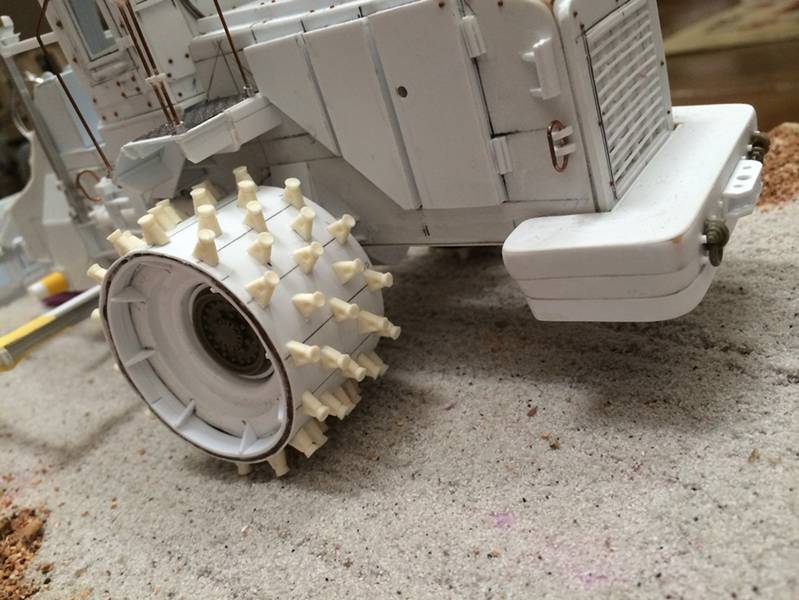
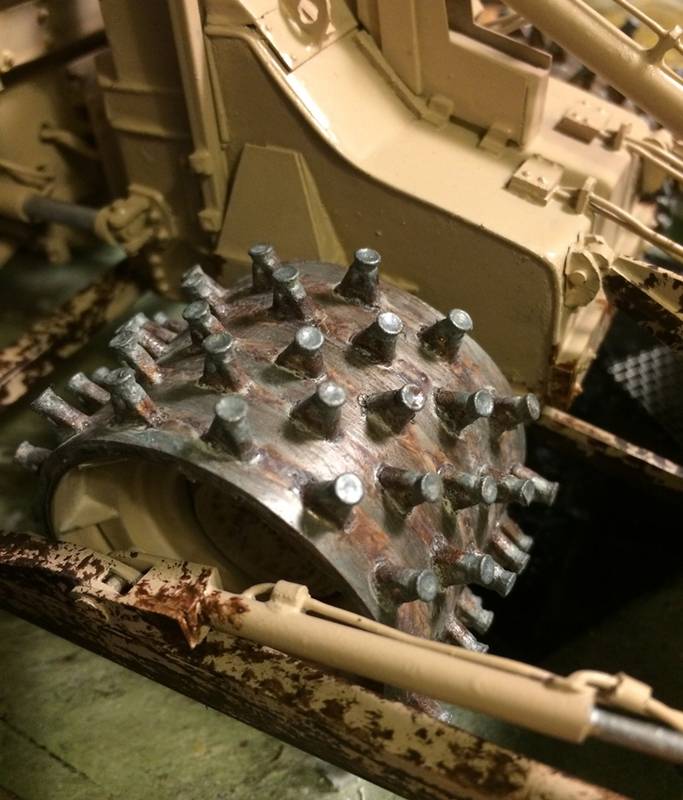
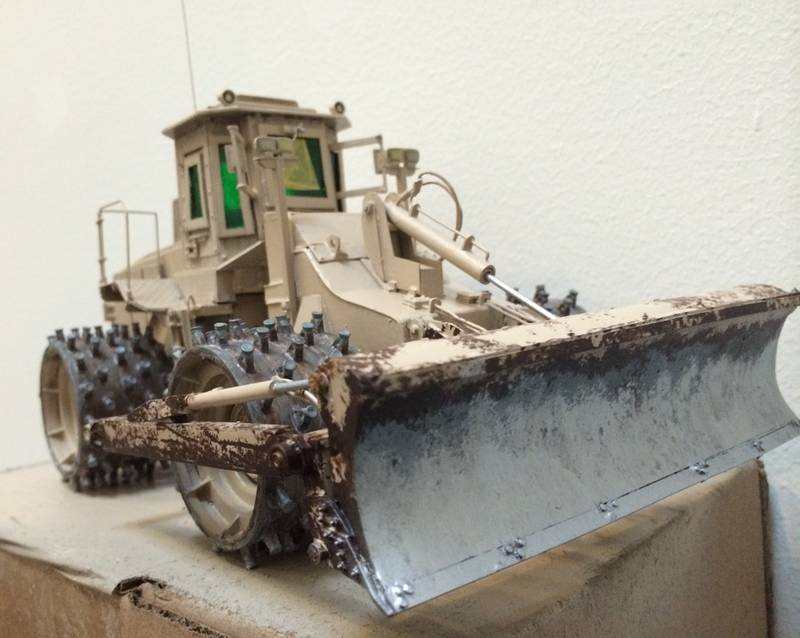
Anyway, it's behind me now - you can see, so far, only the first steps of weathering, but the wheels are fairly close to being called done. The whole thing needs dirt etc - still a while to go - I am pleased with the roller wheels - in fact, really cant believe they worked!
Ironically I guess now, I didn't want to screw up the painting, so I waited until the weekend to do it...and, while waiting, I decided to get moving on the MATV -
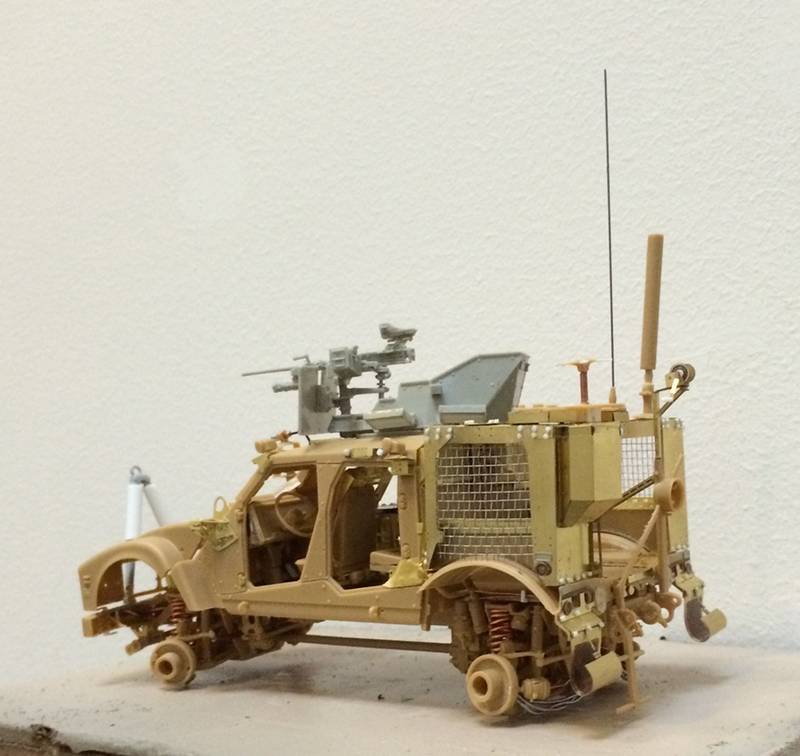
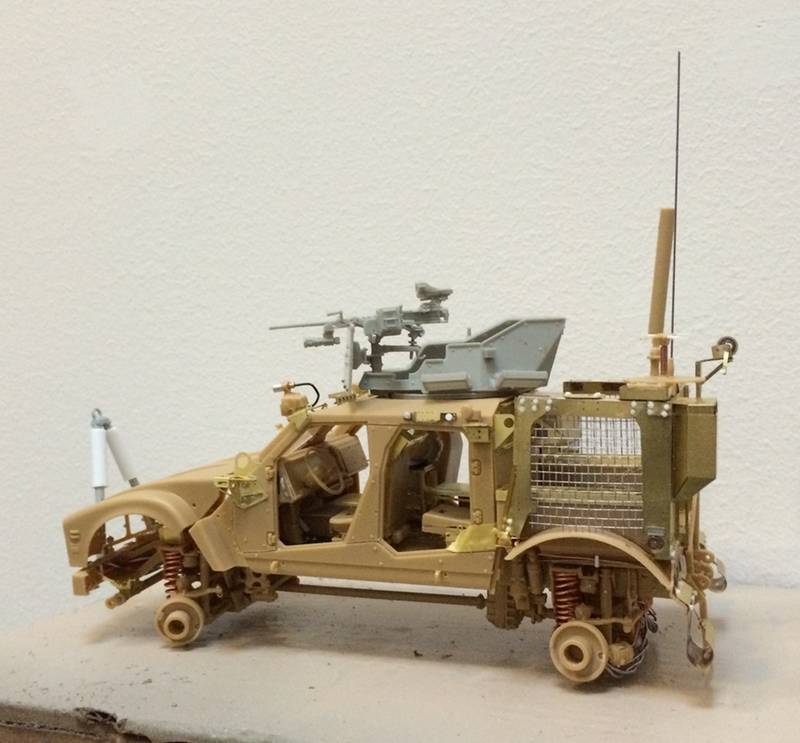
This started with the intent of being a pretty straight forward build, but, nah...forget that! I decided to go for it and use as much of the etch pieces from the sprues as possible - nothing left on the sprue (which if you haven't tried before, is easier said than done!!!)!!! using a combo of the kit etch and eduard exterior and interior...., and while I was at it: make the steering work, wire coil springs, add hoses etc, fab up a tow bar, add a special gunners turret (I know, not used on this vehicle but, I really wanted to build it!)....lots of slow model building!!!
check it out:
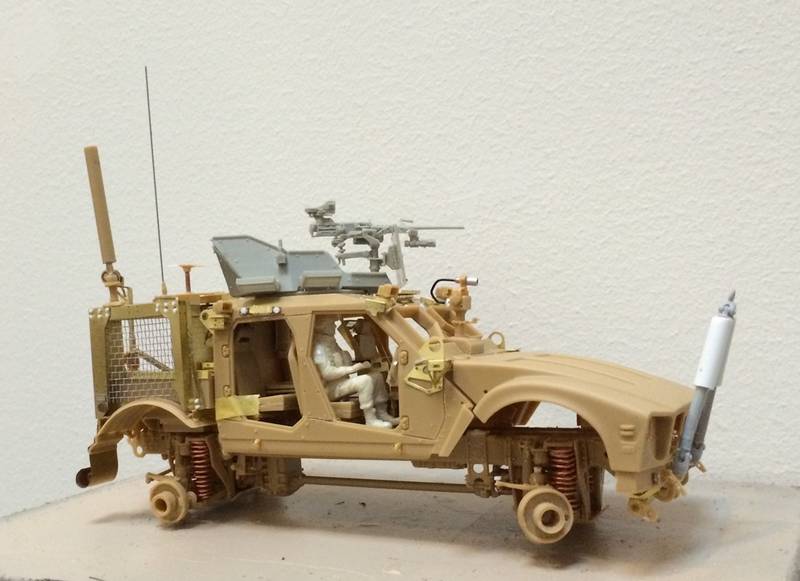
and there you have it....
I'll get on painting the roller and getting the MATV done
thanks for checking it out!
Cheers
Nick


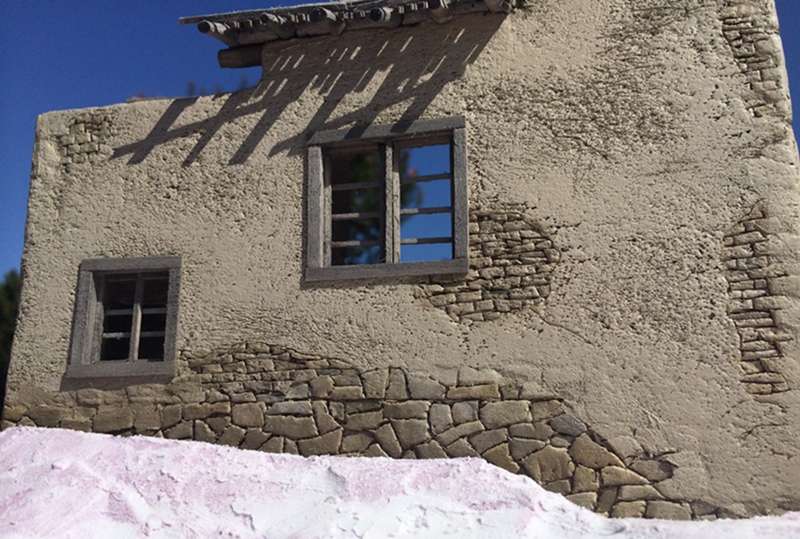
 yes - I saw it too - the roof material is a white foam material that I cleverly: