

Hosted by Darren Baker
Panther Sd.Kfz.171 Ausf.A
TopSmith

Joined: August 09, 2002
KitMaker: 1,742 posts
Armorama: 1,658 posts

Posted: Sunday, January 03, 2016 - 08:32 AM UTC
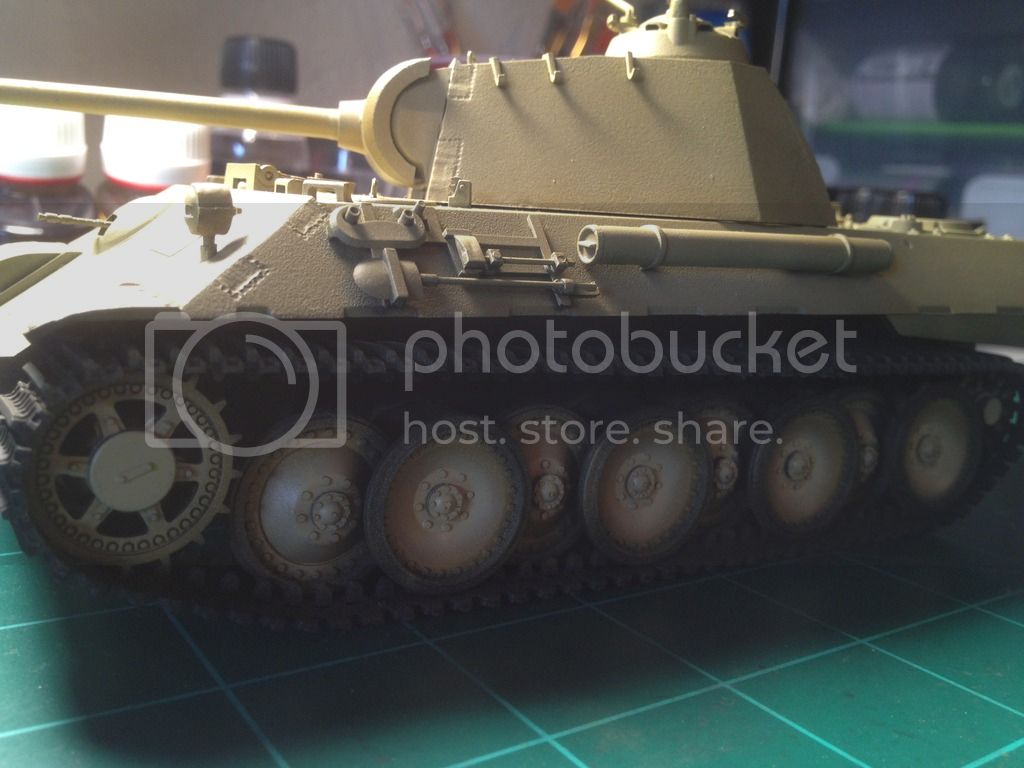
Great, it looks... Pantherish. The tracks will need some help as they need to sag. The remote controlled version worked better with tight tracks but a static display would be better with a sag to the tracks.

Thirian24
Joined: September 30, 2015
KitMaker: 2,493 posts
Armorama: 2,344 posts
Posted: Sunday, January 03, 2016 - 08:36 AM UTC
Lol yes sir. I plan on taking care of that towards the end after painting and such. So I can glue them down.
Thirian24
Joined: September 30, 2015
KitMaker: 2,493 posts
Armorama: 2,344 posts
Posted: Friday, March 04, 2016 - 03:55 AM UTC
Hey fellas. I decided to update this thread with some progress. I enlisted for the Unfinished Business campaign so I decided to use this kit for that.
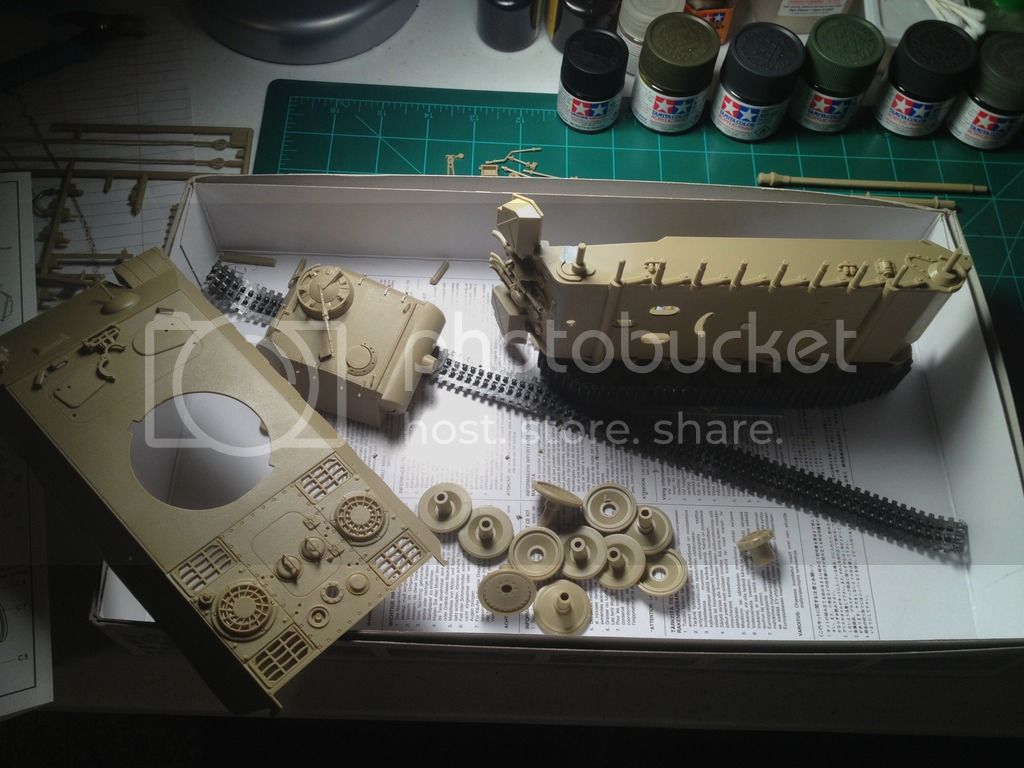
This is how it was when I started back at it last night. I took it all apart so it would fit back in the box, non of the major parts were glued together and one side of te tracks wasn't complete.
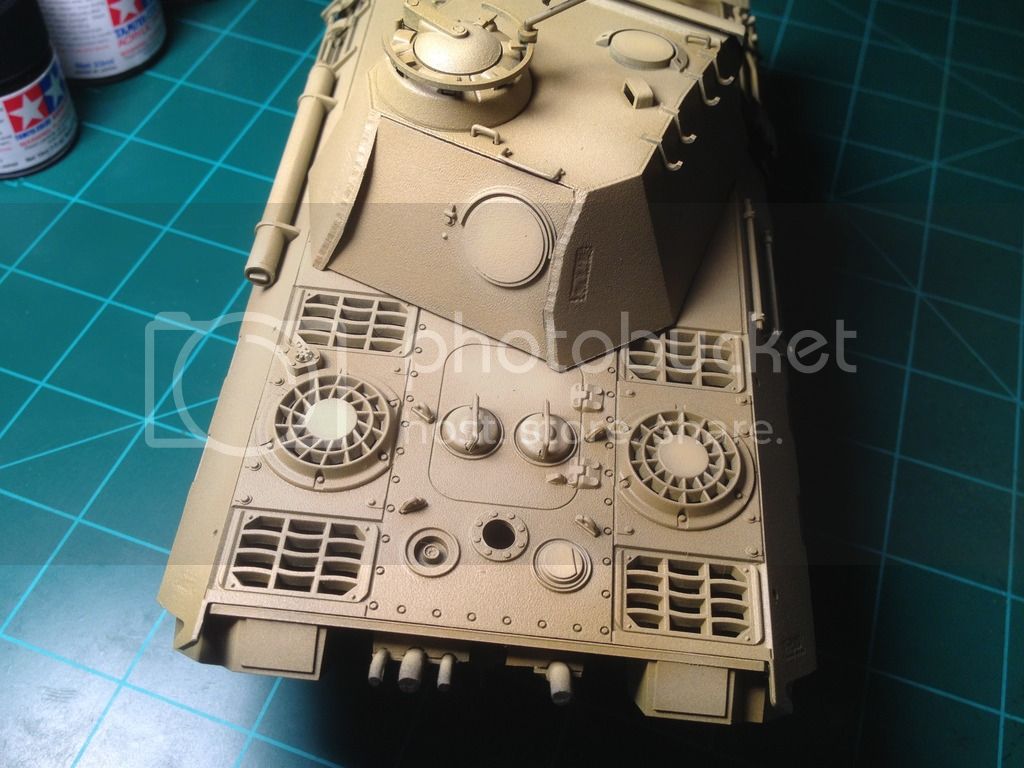
All finished and ready for paint.
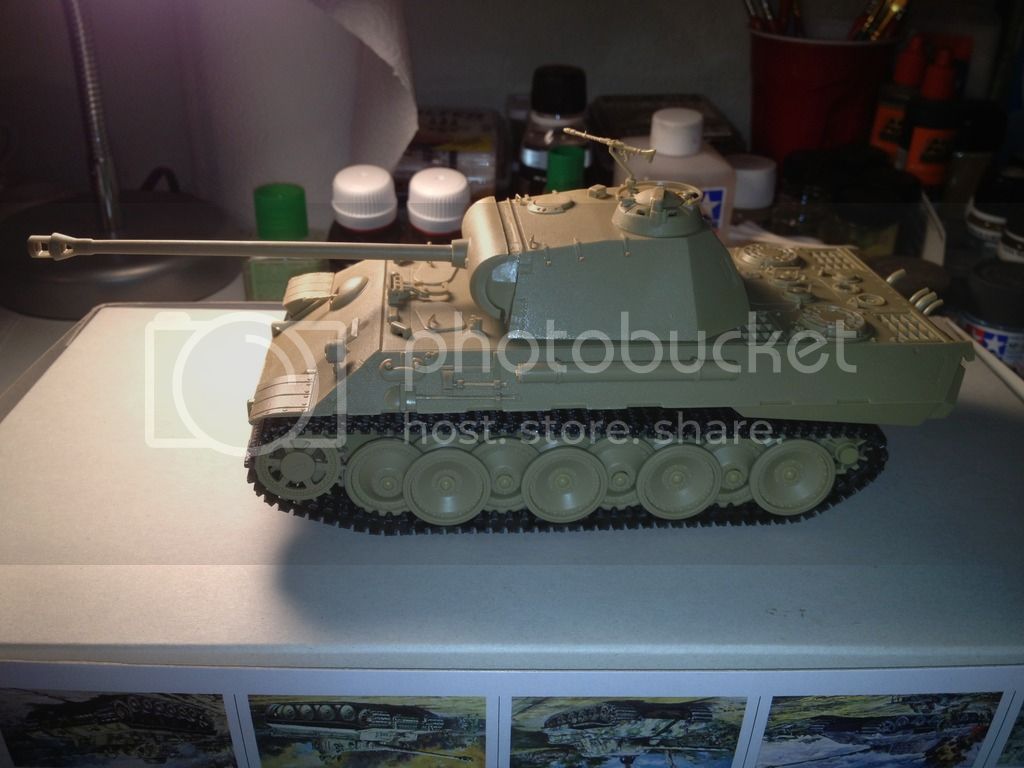
I've been watching a lot of videos on YouTube of how people do their builds and airbrushing. Leaving the wheels and tracks on for painting seems to be done by a few guys with good results. So I decided to give it a shot. So I sprayed a black base coat.

Then I sprayed the Dunkelgelb, it was kinda hard to tell myself, not to completley coat it 100%, because I was going after the shadow effect with the black. I like how this turned out and I think I'll use this method from now on. It obviously needs some touch up still.
Touch ups, details, decals, weathering.. A bit more left. But this campaign has helped me get this closer to being done.
Cheers,
Dustin
This is how it was when I started back at it last night. I took it all apart so it would fit back in the box, non of the major parts were glued together and one side of te tracks wasn't complete.

All finished and ready for paint.

I've been watching a lot of videos on YouTube of how people do their builds and airbrushing. Leaving the wheels and tracks on for painting seems to be done by a few guys with good results. So I decided to give it a shot. So I sprayed a black base coat.

Then I sprayed the Dunkelgelb, it was kinda hard to tell myself, not to completley coat it 100%, because I was going after the shadow effect with the black. I like how this turned out and I think I'll use this method from now on. It obviously needs some touch up still.

Touch ups, details, decals, weathering.. A bit more left. But this campaign has helped me get this closer to being done.
Cheers,
Dustin
Thirian24
Joined: September 30, 2015
KitMaker: 2,493 posts
Armorama: 2,344 posts
Posted: Friday, March 11, 2016 - 03:40 AM UTC
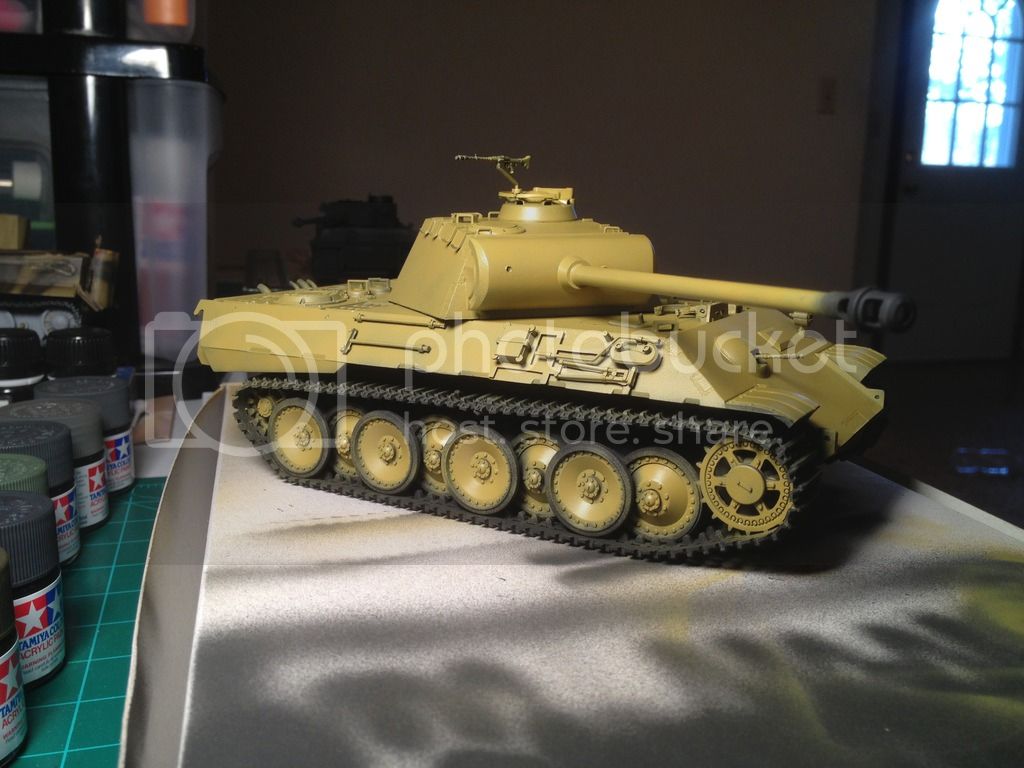
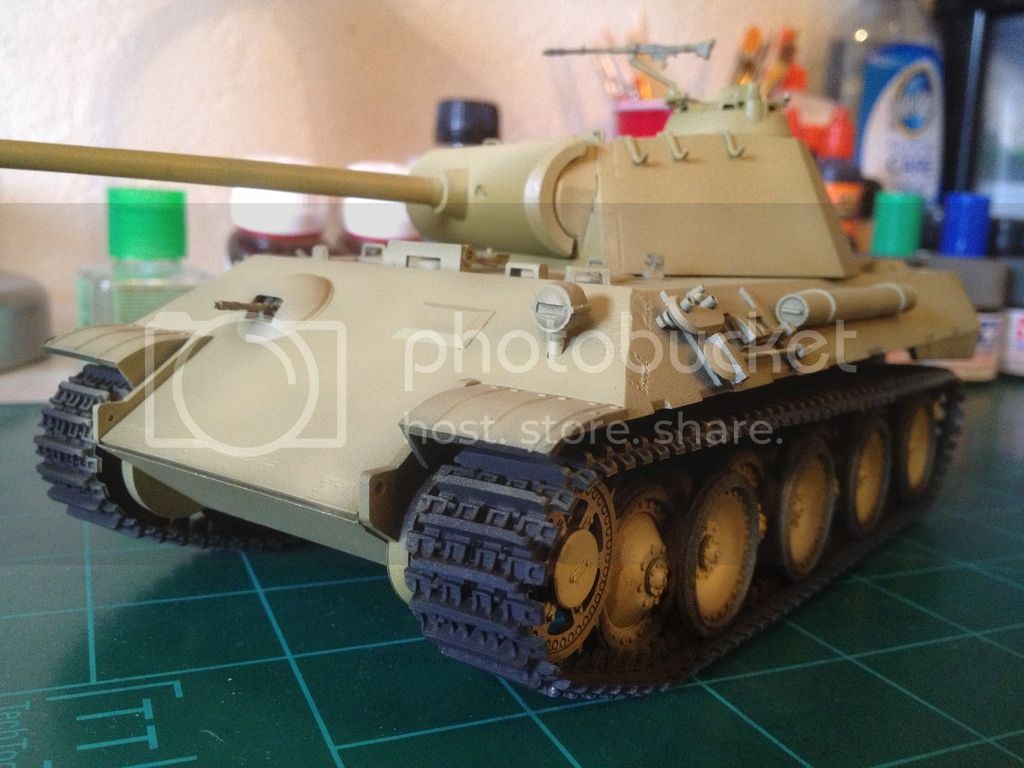
I decided today to given this panther some highlights and lighten up the base coat some. I felt it was a bit too dark and would become way too dark agreeing weathering.
I did leave some areas of the darker base coat for some variation.
This was my first time doing any highlights. Let me know what you think please.

I did leave some areas of the darker base coat for some variation.
This was my first time doing any highlights. Let me know what you think please.


Thirian24
Joined: September 30, 2015
KitMaker: 2,493 posts
Armorama: 2,344 posts
Posted: Friday, March 11, 2016 - 03:41 AM UTC
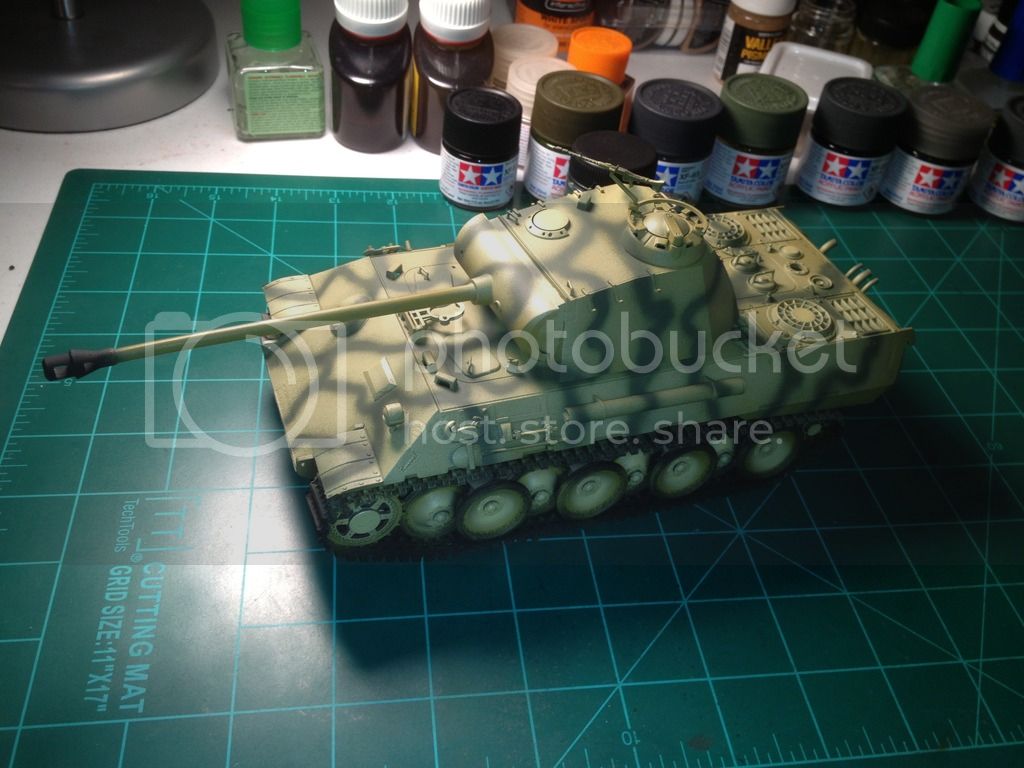
I'm about to start laying the camo. I'm going to use field grey for the camo.

GazzaS

#424

Joined: April 23, 2015
KitMaker: 4,648 posts
Armorama: 2,248 posts

Posted: Friday, March 11, 2016 - 04:50 AM UTC
Hey Dustin, looks great! Still looks like a Pzkw V to me. Maybe it's a blessing being under educated?
When I built this back in 1980-something, I could never get my Testor's Cement to hold the tracks down. I would steal some of my mother's pins from her sewing kit, bend them into L-shapes, then heat the tip and shove them through the plastic. Then I could coat the part of the 'L' inside the tank with Testor's and leave it to dry.
Once dry, I would put the track on and place the upper part of the track under the pins to get realistic looking sag. The tips of the pins would disappear completely once the upper hull was put on.
Is there actually a cement which works on Tamiya rubber-band tracks?
Gary
Thirian24
Joined: September 30, 2015
KitMaker: 2,493 posts
Armorama: 2,344 posts
Posted: Friday, March 11, 2016 - 05:25 AM UTC
Hey Gary, thanks for the tip!
I think now that I have some paint on this, maybe it'll give the super glue something to "bite" and stick to?
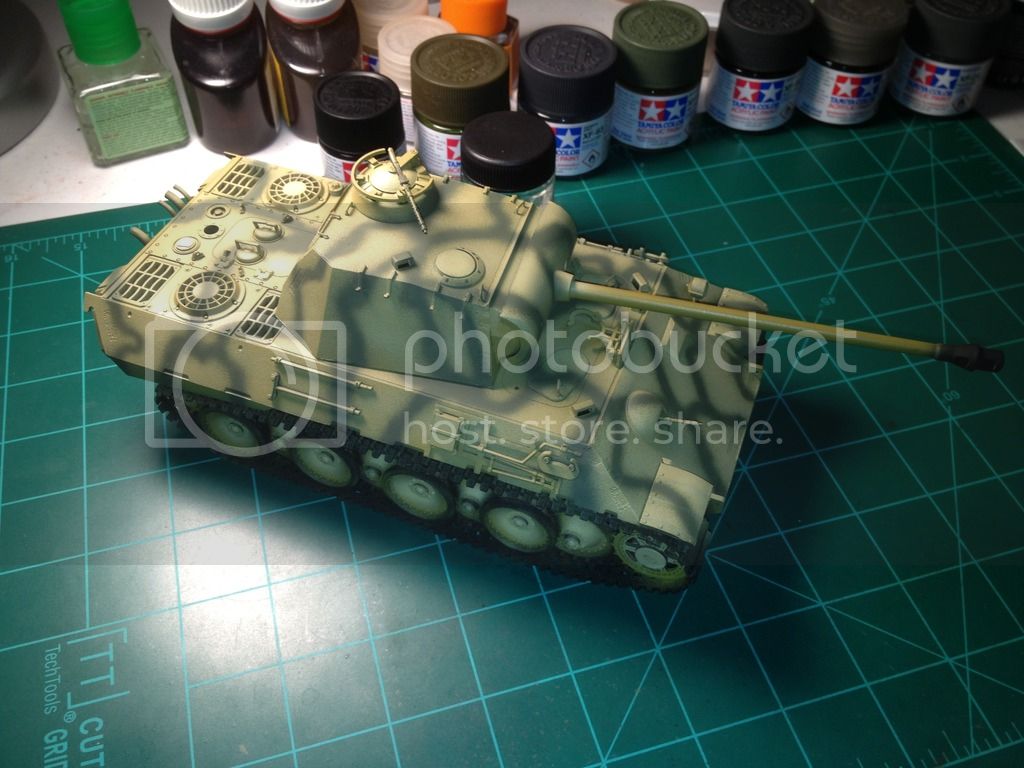
Here's the camo.
Cheers,
Dustin
I think now that I have some paint on this, maybe it'll give the super glue something to "bite" and stick to?
Here's the camo.


Cheers,
Dustin
rover5700
Joined: February 22, 2015
KitMaker: 47 posts
Armorama: 47 posts
Posted: Friday, March 11, 2016 - 07:16 AM UTC
Nice job! I sew them.

olfogeyjim
Joined: December 26, 2015
KitMaker: 22 posts
Armorama: 11 posts
Posted: Friday, March 11, 2016 - 08:16 AM UTC
Quoted Text
Thank you Armorsmith!
Yes I can tell just by working with this kit slightly and reading the directions, it's nothing like the other two. Lol
Where can I buy the plastic sheet? How thick?
Thank you for that info, I was really wondering about that. So is my title correct? Have any if my titles been correct? Lol
Cheers sir,
Dustin
One source for inexpensive sheet styrene is the "for sale" signs at the local hardware store, approx. 12" x 12".....MUCH cheaper than "Evergreen" & such..............

Armorsmith
Joined: April 09, 2015
KitMaker: 1,063 posts
Armorama: 1,000 posts
Posted: Friday, March 11, 2016 - 09:22 AM UTC
Ahh, some more progress. Shaping up nicely. You seem to favor the single color linear type cammo pattern.
Thirian24
Joined: September 30, 2015
KitMaker: 2,493 posts
Armorama: 2,344 posts
Posted: Friday, March 11, 2016 - 09:52 AM UTC
Thank you Armorsmith! I do actually like the singal color pattern the most and that's what was depicted on the box art. So that's kinda what I was going for. But you're correct. For some reason I like it the most. I'm so excited to get these couple finished up, and start on the next!
Jim, thanks for that tip! I'll have to look into it.
Cheers,
Dustin
Jim, thanks for that tip! I'll have to look into it.
Cheers,
Dustin
Modelrob
Joined: October 20, 2015
KitMaker: 304 posts
Armorama: 293 posts
Posted: Friday, March 11, 2016 - 03:32 PM UTC
Dustin, It is coming out great and the camo looks really good.
Thirian24
Joined: September 30, 2015
KitMaker: 2,493 posts
Armorama: 2,344 posts
Posted: Friday, March 11, 2016 - 07:13 PM UTC
Mark - Thank you sir. I've actually thought about that. Thanks for the tip.
Rob - Thanks sir! I like the color of this camo alot.
Rob - Thanks sir! I like the color of this camo alot.

ericadeane
Joined: October 28, 2002
KitMaker: 4,021 posts
Armorama: 3,947 posts
Posted: Friday, March 11, 2016 - 07:51 PM UTC
You never want to glue something to painted plastic. You need to scrape down to the bare plastic before affixing anything. Then touch up afterward with a pointed brush if needed.
Armorsmith
Joined: April 09, 2015
KitMaker: 1,063 posts
Armorama: 1,000 posts
Posted: Friday, March 11, 2016 - 09:31 PM UTC
You did a really nice job with the modulation/shading/highlights. Something to consider for your next build, try a single color panzer grey or dunkelgelb vehicle using the same technique, perhaps making the contrast a bit more stark to begin with as they will all get blended together in the weathering process. Looking at the photos of the pre cammo I think that this build would have also looked good in the monotone. Not necessarily a criticism of your decision to go cammo, just something to consider for next time around.
Thirian24
Joined: September 30, 2015
KitMaker: 2,493 posts
Armorama: 2,344 posts
Posted: Friday, March 11, 2016 - 10:24 PM UTC
Thank you very much Armorsmith! I was very nervous to try the modulation but once completed I thought it looked nice. It's funny that you should say that about leaving it Dunkelgelb, because I thought about leaving it that way.
On the 1/48th I do plan to do the modulation with the panzer grey. Now I must find something else to do the Dunkelgelb only modulation. Do mostly early vehicles fit the bill for that?
On the 1/48th I do plan to do the modulation with the panzer grey. Now I must find something else to do the Dunkelgelb only modulation. Do mostly early vehicles fit the bill for that?
Armorsmith
Joined: April 09, 2015
KitMaker: 1,063 posts
Armorama: 1,000 posts
Posted: Friday, March 11, 2016 - 11:38 PM UTC
Actually, once the dunkelgelb came into common usage just about any armored vehicle could be in just that color. There are plenty of examples of all Panzers from later MkIIIs to KTs in just dunklegelb. Earlier MkIIIs and early Stugs would be in the Panzer grey as would initial/early Tigers.
Thirian24
Joined: September 30, 2015
KitMaker: 2,493 posts
Armorama: 2,344 posts
Posted: Saturday, March 12, 2016 - 12:28 AM UTC
Thank you for that info.
I looked through my stash and I think I'll either do that with the initial Hunmel or a StuG G.
I looked through my stash and I think I'll either do that with the initial Hunmel or a StuG G.

Oblivion

Joined: April 04, 2015
KitMaker: 195 posts
Armorama: 191 posts
Posted: Saturday, March 12, 2016 - 12:57 AM UTC
Better late than never... last one to join the thread!
You have done a really nice job on this Panther, Dustin. The kit itself is wrong in so many ways that it would be a huge task to try and correct (I have seen this done). Not only its dimensions are off, but it is short of many road wheels. This was done to easy the circulation of the running gear as an RC tank. Tamiya did the same thing to their old Tigers; all the paired road wheels were made single road wheels.
Anyway, good work on the painting, looking forward for what's up next
Thirian24
Joined: September 30, 2015
KitMaker: 2,493 posts
Armorama: 2,344 posts
Posted: Saturday, March 12, 2016 - 02:05 AM UTC
Thank you for the kind words, sir!
I did some reading on this kit before I started building it. I knew, after reading, that it had some issues. Even while building, I could tell it lacked a lot of detail. So this kit was just practice for me, to try the color modulation and a few other things I wanted to try with my air brush. Now after doing those things I feel way more confident doing them on nicer kits.
Cheers,
Dustin

tatbaqui

#040

Joined: May 06, 2007
KitMaker: 2,713 posts
Armorama: 2,451 posts

Posted: Saturday, March 12, 2016 - 03:40 AM UTC
Very nice progress Dustin -- may I say that the ugly duckling has morphed into a swan. 
I assume you've used Tamiya German Grey? This grau and dunkelgelb combo is something I'd like to try next.
Cheers,
Tat
I assume you've used Tamiya German Grey? This grau and dunkelgelb combo is something I'd like to try next.
Cheers,
Tat
Thirian24
Joined: September 30, 2015
KitMaker: 2,493 posts
Armorama: 2,344 posts
Posted: Saturday, March 12, 2016 - 04:04 AM UTC
Thank you very much, Tat! The camo color is Field Grey. I seen it used on a Tiger1 in a YouTube video and I really liked it. I think I may use it exclusively for the green on my models now.
tatbaqui
#040
Joined: May 06, 2007
KitMaker: 2,713 posts
Armorama: 2,451 posts
Posted: Saturday, March 12, 2016 - 04:55 AM UTC
Field grey? -- hmmm that's a bit on the greenish side. Looks cool, another thing to try out then. 
Thirian24
Joined: September 30, 2015
KitMaker: 2,493 posts
Armorama: 2,344 posts
Posted: Saturday, March 12, 2016 - 05:52 AM UTC
You've peaked my interest. They used German grey for camo?
tatbaqui
#040
Joined: May 06, 2007
KitMaker: 2,713 posts
Armorama: 2,451 posts
Posted: Saturday, March 12, 2016 - 03:24 PM UTC
I've read before that during the transition from dark grey base coat to dark yellow, units in the field painted disruptive patterns of dark yellow on top of the dark grey base. I believe this occured with soft skins -- have seen pics captioned having been painted as such. Would it have been done on a dark grey Pz III -- I'd say maybe, but probably not for a Panther.
 |

WEB HOSTING BY


Copyright ©2021 Armorama and Kitmaker Network, a subsidiary of Silver Star Enterprises
All Rights Reserved. Please read our Conditions of Use and Privacy Policy.
All Rights Reserved. Please read our Conditions of Use and Privacy Policy.