Hello Everbody,
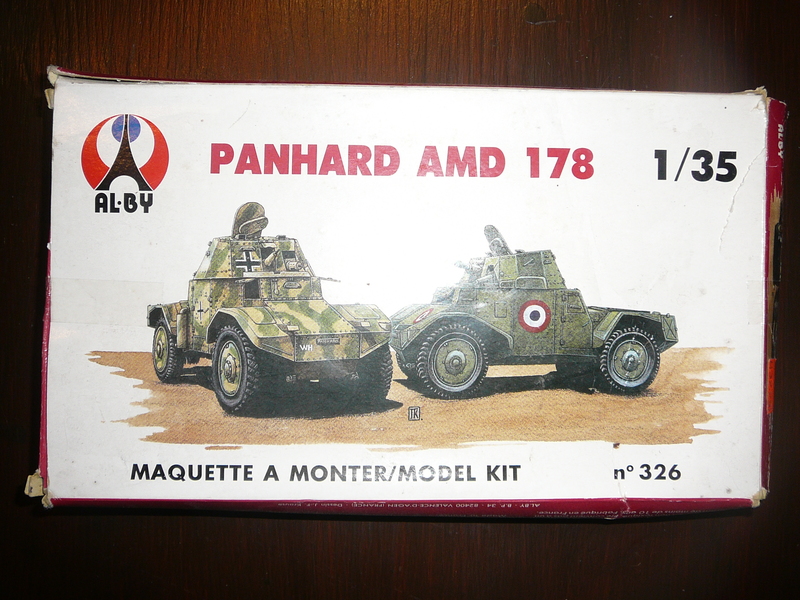
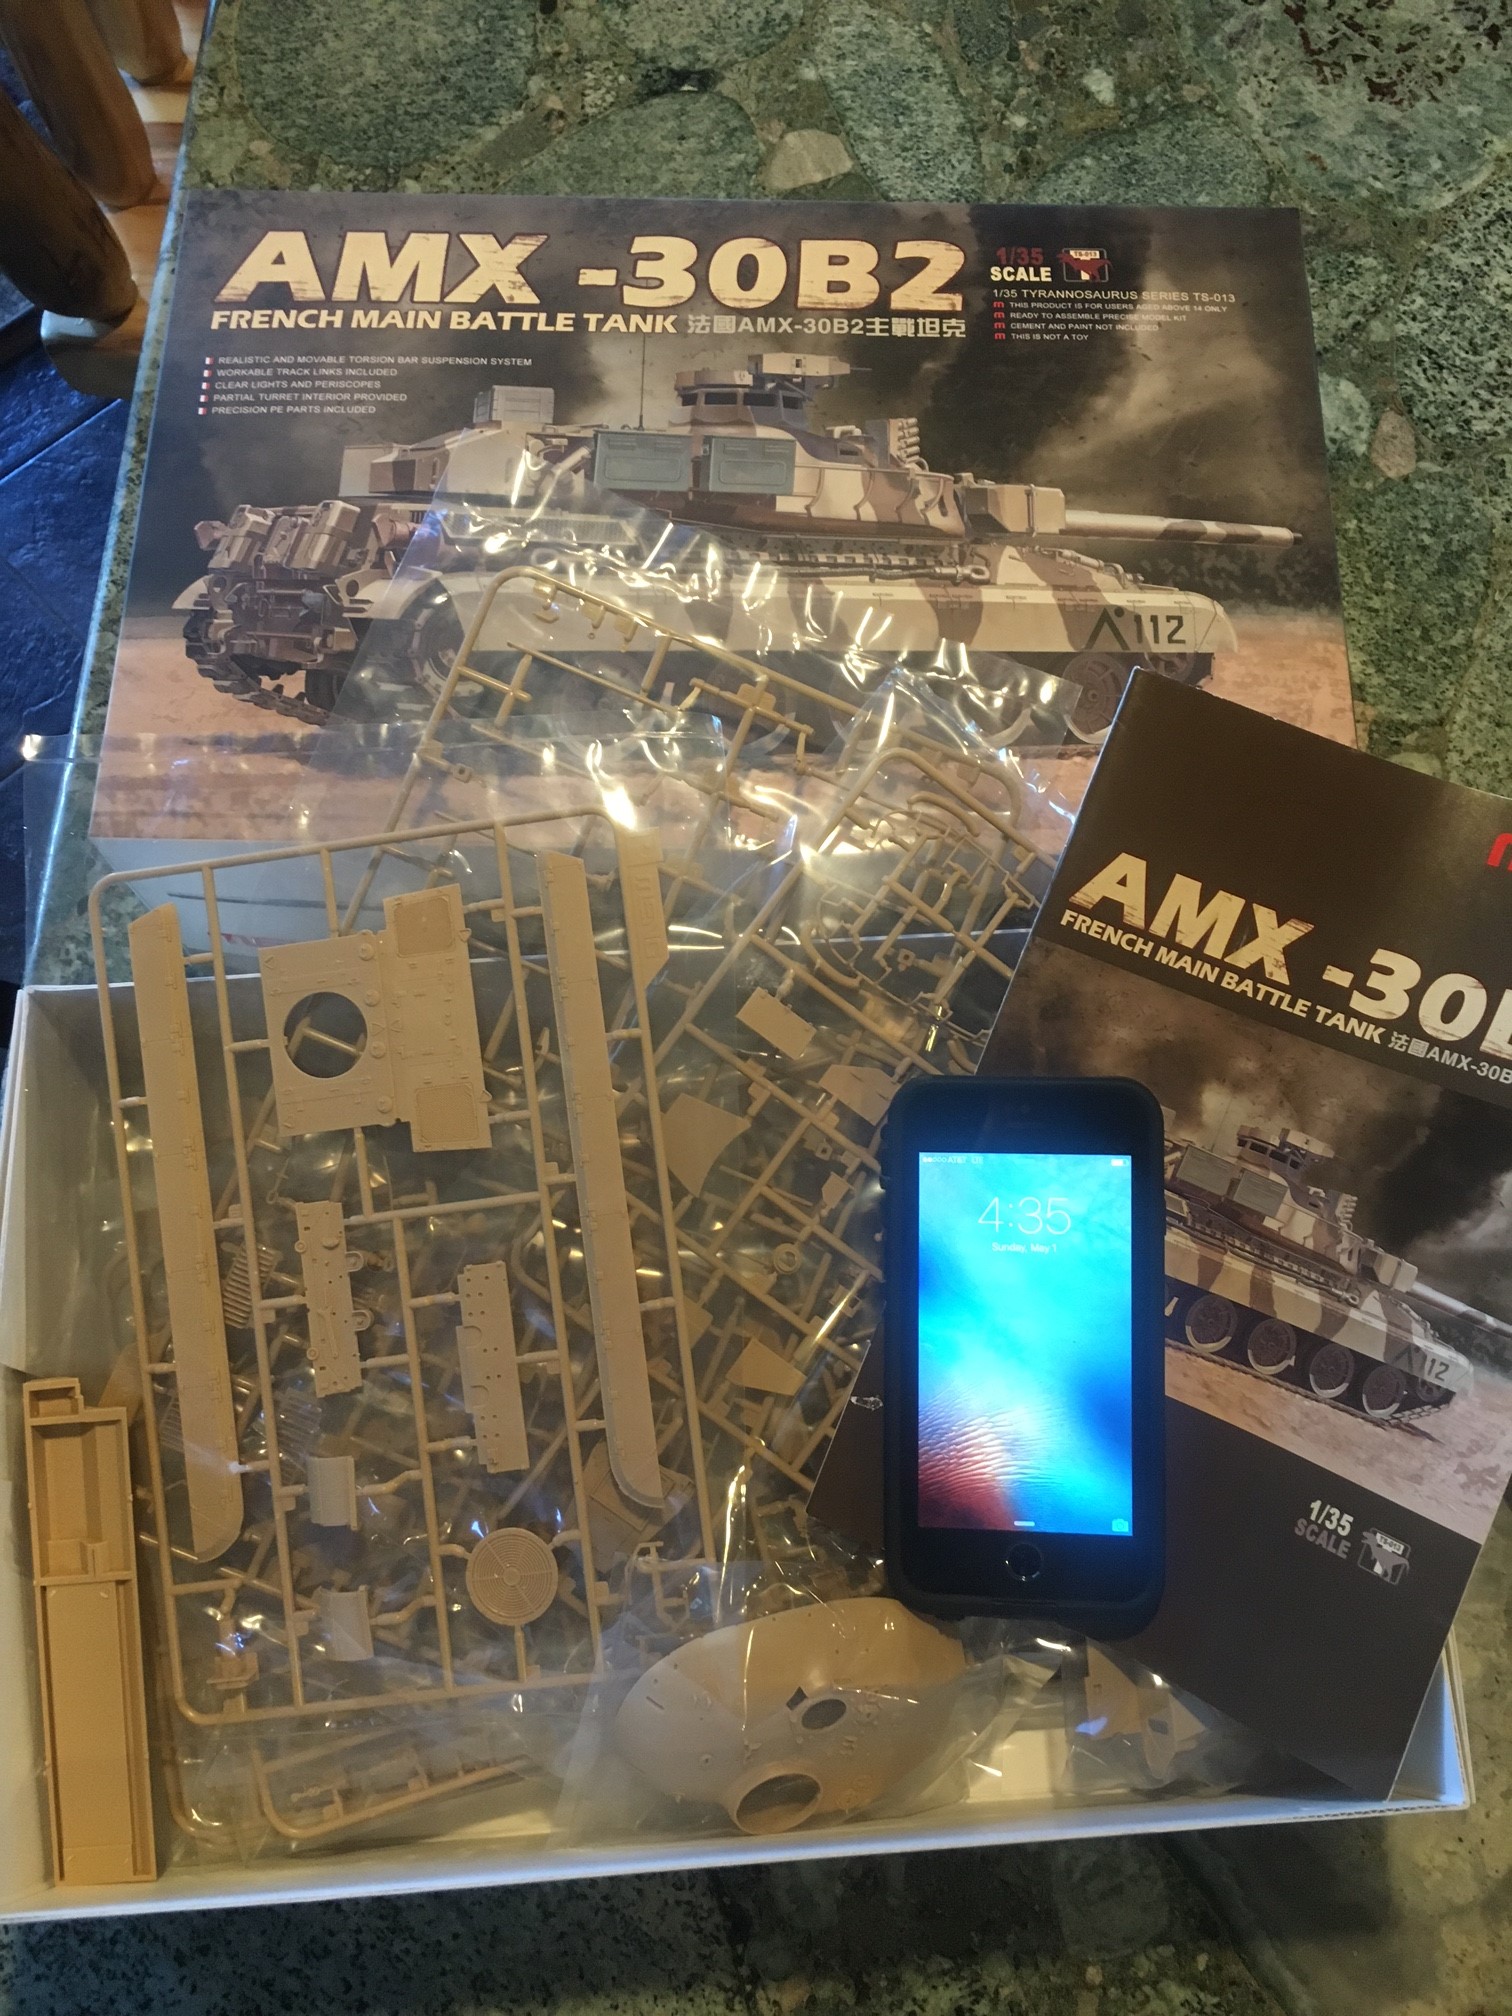
as announced, my entry is the ALBY Panhard AMD in 1/35.
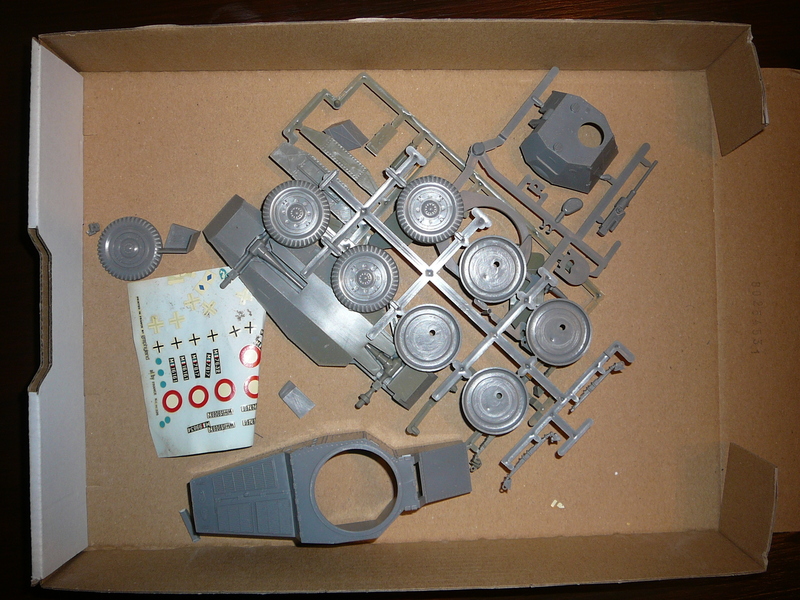
The kit has not too much parts but almost ever part will have to be reworked. A nice surprise was the fact, that dry-fitting was not bad at all. So at least I think that I will not have to endure large gaps or warped parts.
Unfortunately the tires are a little bit on the slim side. As proposed in another build log which I found online, I decided to bolster them up a bit with some sheet.
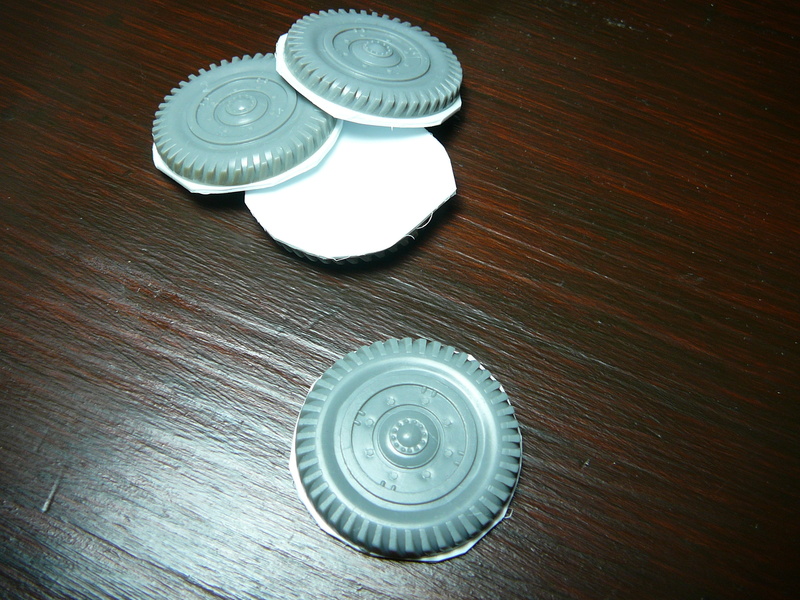
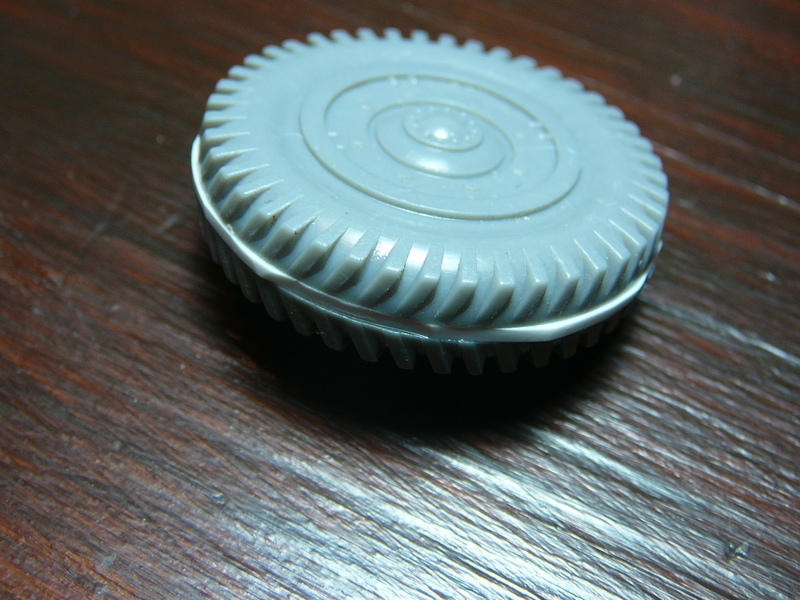

I will let these dry overnight before sanding down the excess sheet and before applying some putty. The details like the washers and bolts on the rims are somewhat decent for a kit this age so I won`t do anything there.
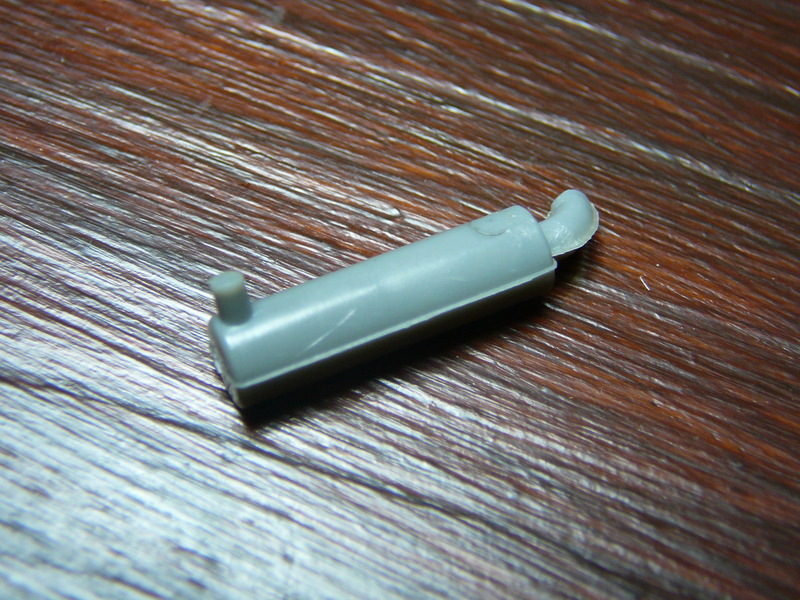
The "Exhaust" in is original state. Can`t all be fun and games.....
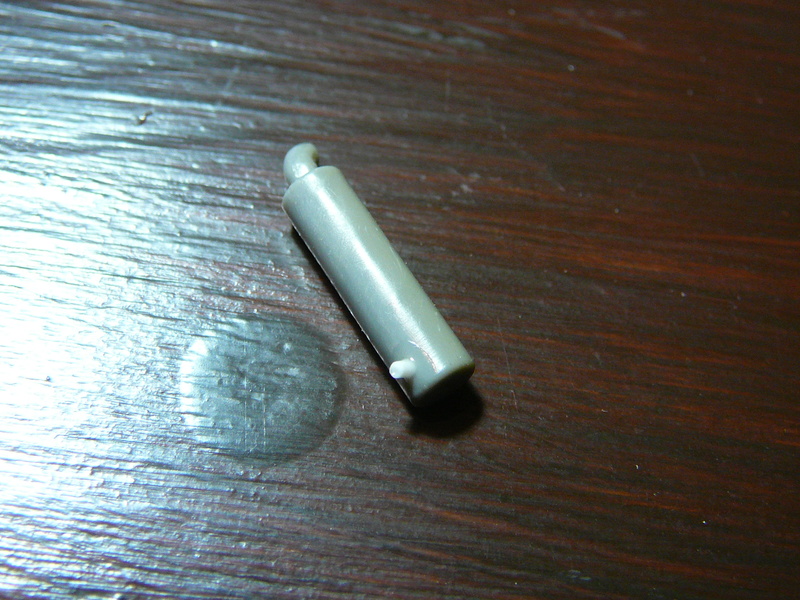
After sanding and addition of a small plastic pipe. Will be reworked after drying thouroughly.
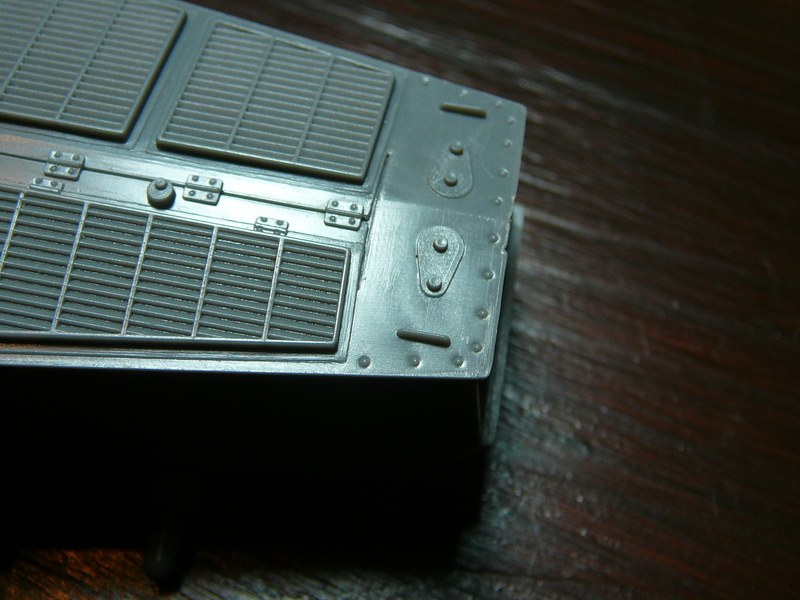
The last task for today was the replacement of the handles at the back of the engine deck. Somewhat "coarse" detail, I guess.....
After cutting away the plastic handles and drilling some holes for the replacement.
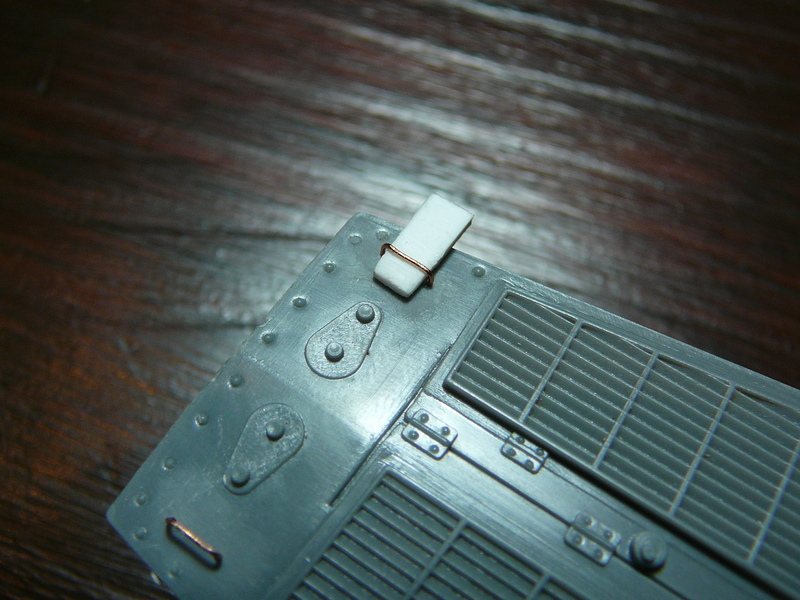
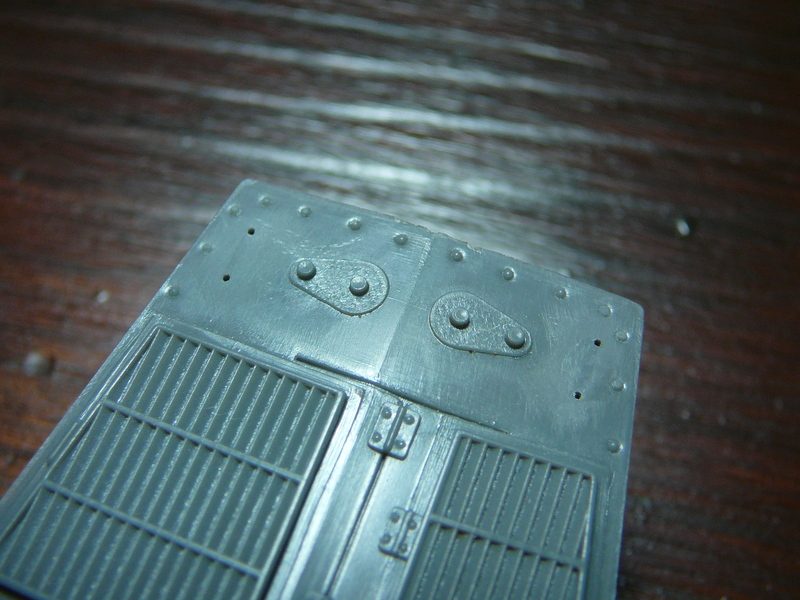
A small piece of sheet was used to adjust the handles. Some minor imperfections can be dealt with after the glue has set entirely.
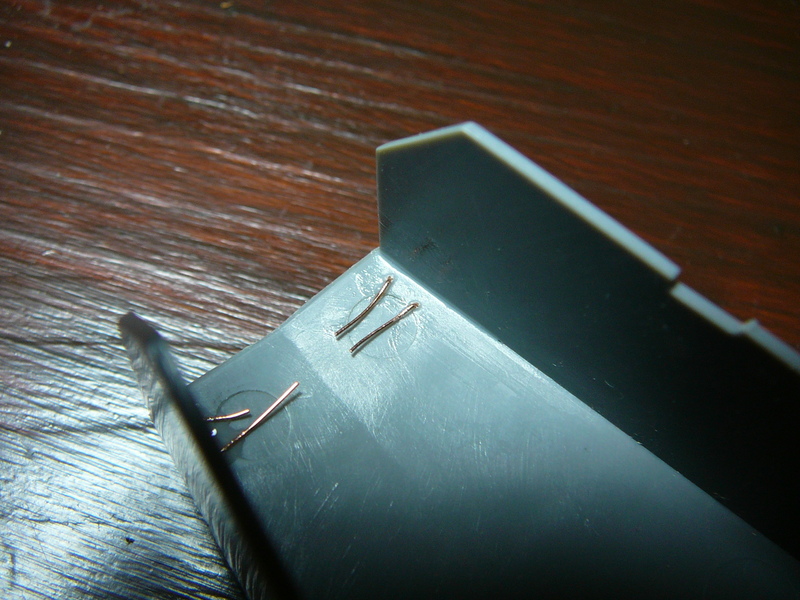
With some wire "reserve" it is possible to glue everything on the backside to avoid the famous-infamous "CA glue-massacre" where we can see it.
Slow progress but the old Lady needs some intensive care. More to come...
Best Regards
Dennis


