Campaigns
Where Armorama group builds can be discussed, organized, and updates posted.
Where Armorama group builds can be discussed, organized, and updates posted.
Hosted by Darren Baker, Richard S.
The Fighting Frogs
Chaman911

Joined: August 28, 2015
KitMaker: 319 posts
Armorama: 308 posts
Posted: Friday, May 27, 2016 - 06:32 AM UTC
I'm with you Sherb. I have a 3 year old and 8 month old. I've been concentrating on the Tamiya Campaign because I started it first. I have only been able to build my tracks for the Fighting Frogs. Sometimes I get home from work and by the time we get the kids to bed I would rather just lay on the couch. Just remember any progress is PROGRESS! Good luck dad 

wrenchy

Joined: April 23, 2006
KitMaker: 140 posts
Armorama: 46 posts

Posted: Saturday, May 28, 2016 - 11:33 AM UTC
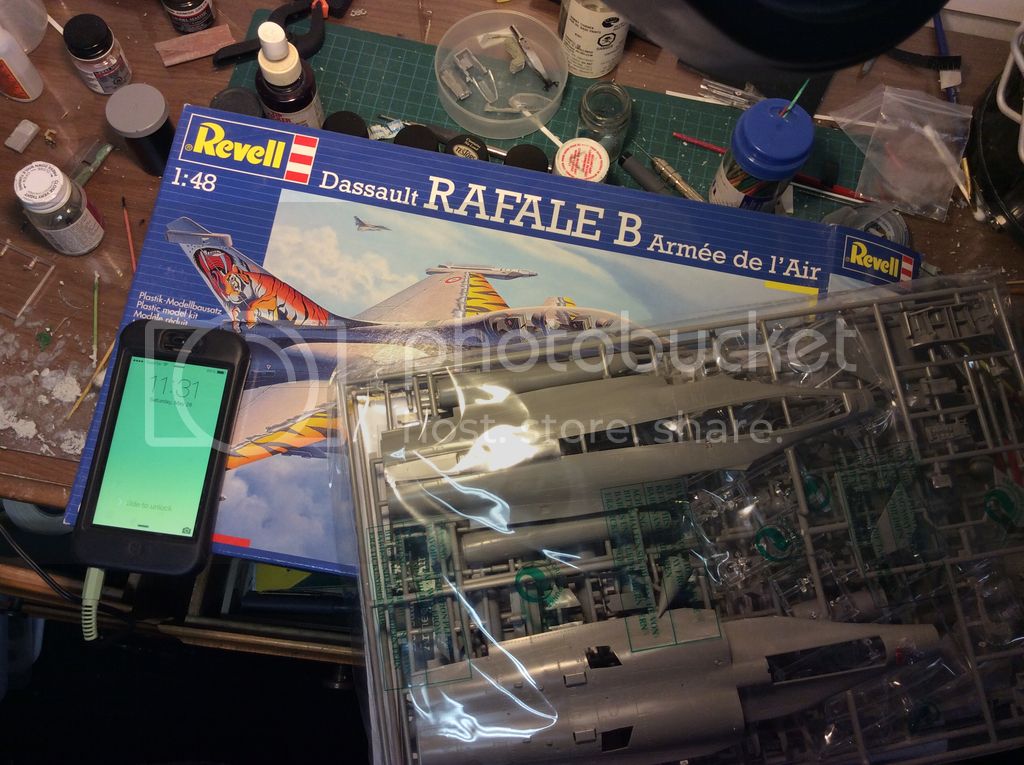
I'm going to give this Rafale kit a go with a few minor aftermarket bits.


Tojo72

Joined: June 06, 2006
KitMaker: 4,691 posts
Armorama: 3,509 posts

Posted: Monday, May 30, 2016 - 02:45 AM UTC
Cantstopbuyingkits

Joined: January 28, 2015
KitMaker: 2,099 posts
Armorama: 1,920 posts

Posted: Monday, May 30, 2016 - 03:50 AM UTC
Great work Anthony.
DKdent

Joined: November 27, 2005
KitMaker: 182 posts
Armorama: 180 posts

Posted: Monday, June 06, 2016 - 02:46 AM UTC
Hello everybody,
as I recently had a lot of work and some "technical issues", I will only post some very minor progres.
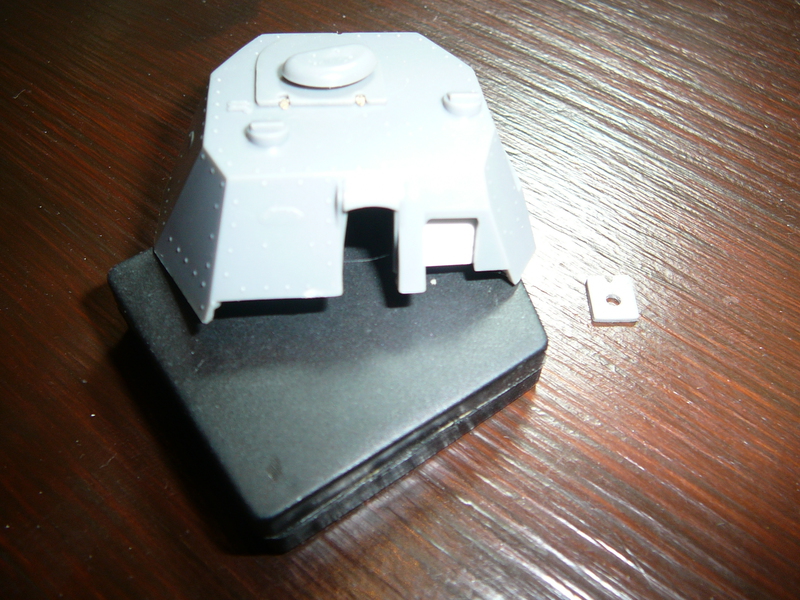
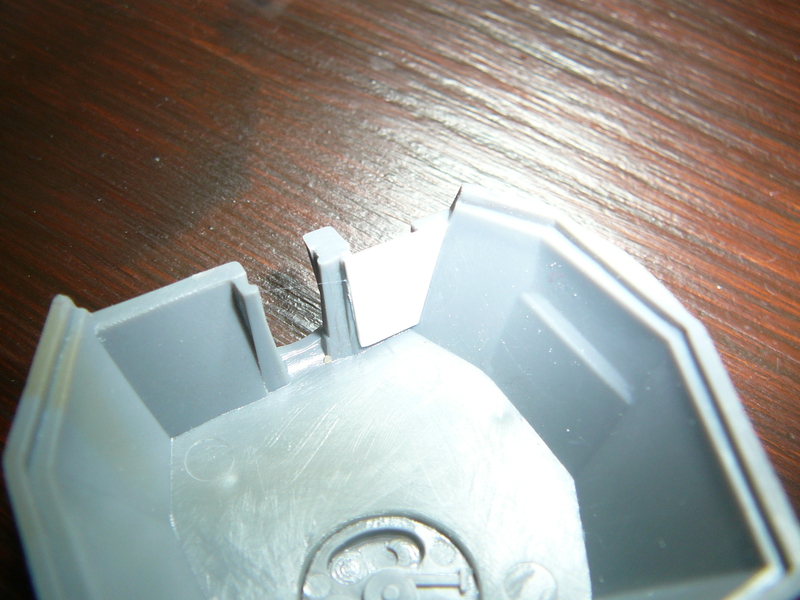
First I had to re-do the base-plate for the coaxial machine gun. This part, even if pretty simple, was so outof fit I can barely describe it.
It was done by simply glueing sheet in place. The holes for the periscope and the mg mount will be drilled later.
Sorry for the crappy pics.
The next stage was to update the exhaust. This part came without any kind of attachement so that it would swing free with the exhaust pipe beeing the only connection to the hull.
It took only some spare PE to replicate a small metal profile, some anealing and some bending.
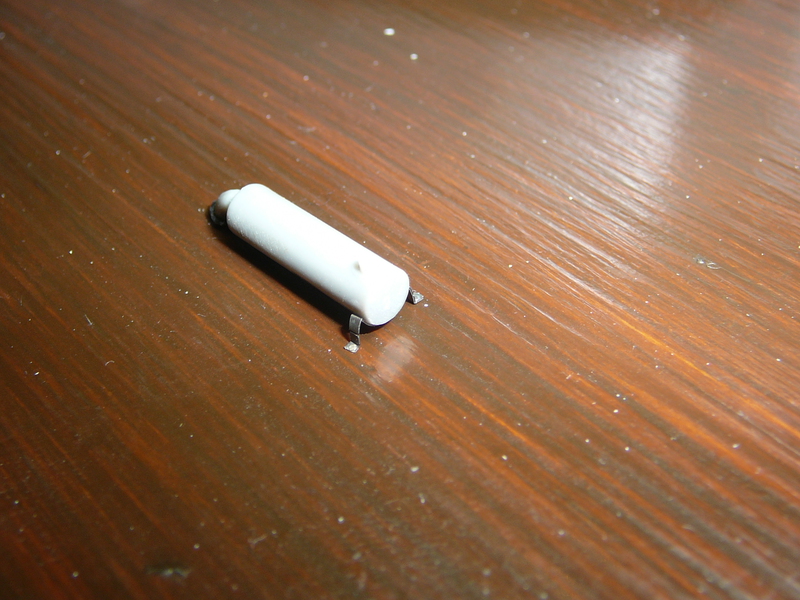
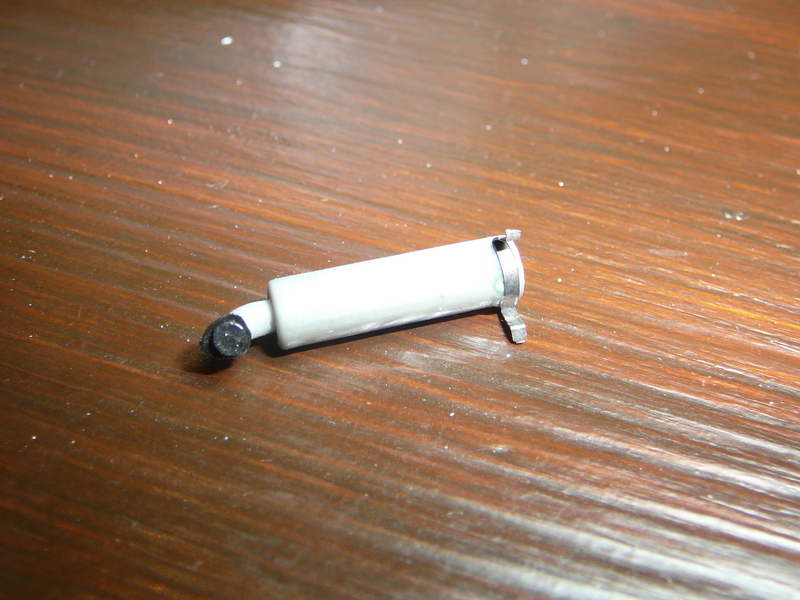
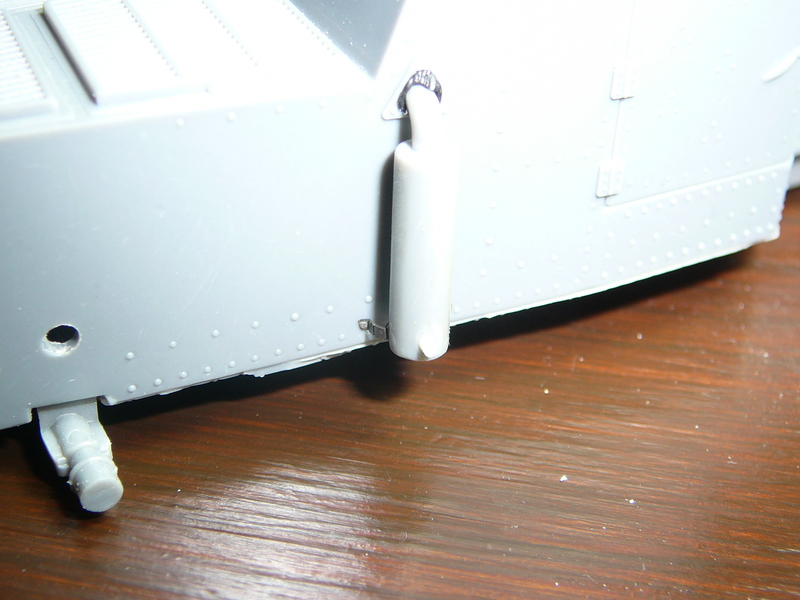
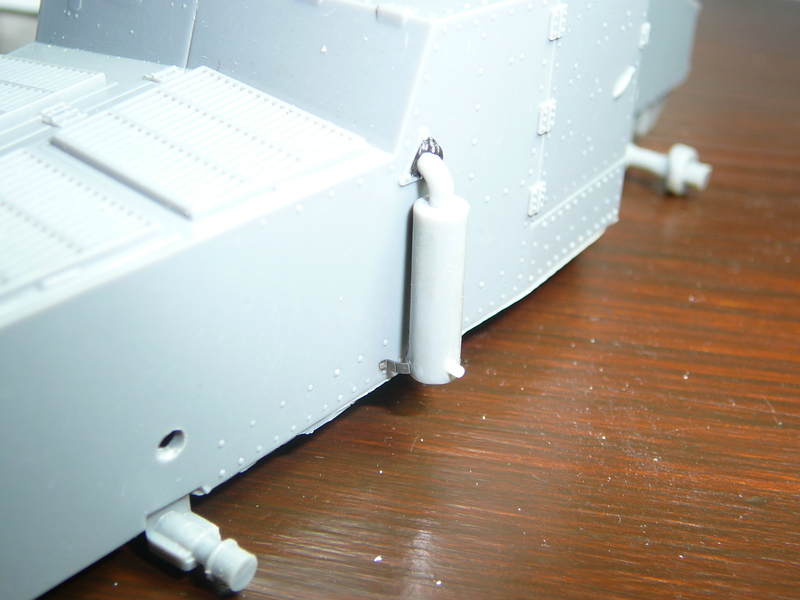
Some dryfitting and some small force here and there and everything was in place. This part is not glued yet but only fixed temporarily with some tac.
I also applied some Surfacer 500 to give a rougher structer to prepare for some rust imitation. It looks pretty hardcoe now but most will vanish during sanding.
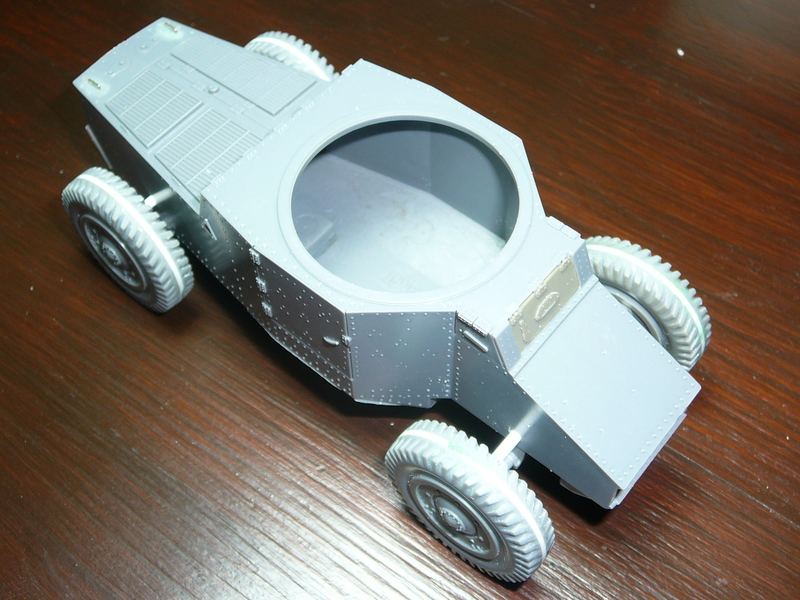
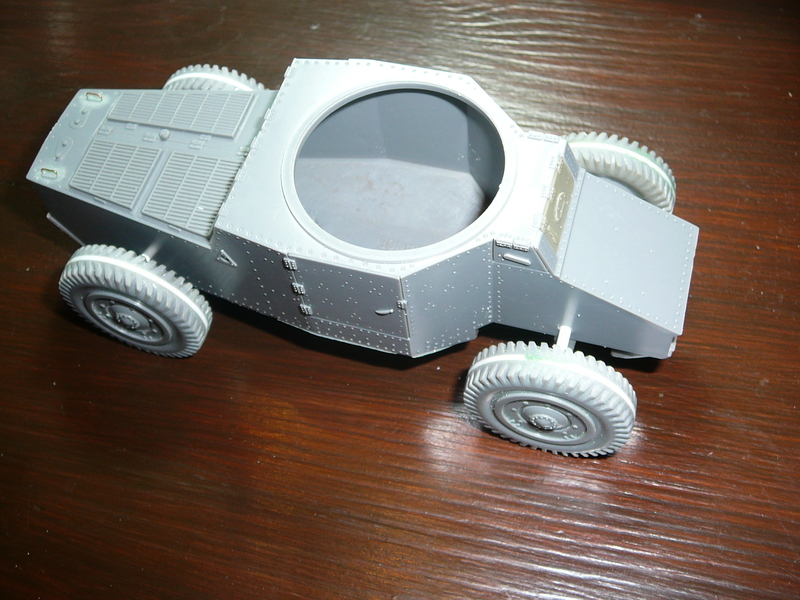
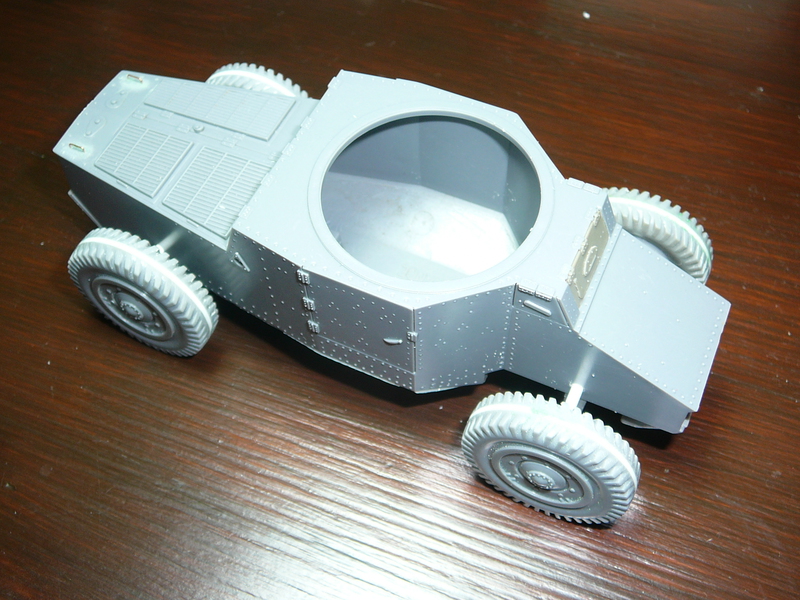
The last part for today was a dry-fitting sesion for the axles and the wheels. As I will glue these after most of the work on the hull is done, some fitting here and there is neccessary. Otherwise I would be in trouble when I would need to align everything after al the details have been added.
So, she slowly is learning to stand on her own feet....
Good night all.
Regards
Dennis
as I recently had a lot of work and some "technical issues", I will only post some very minor progres.
First I had to re-do the base-plate for the coaxial machine gun. This part, even if pretty simple, was so outof fit I can barely describe it.
It was done by simply glueing sheet in place. The holes for the periscope and the mg mount will be drilled later.
Sorry for the crappy pics.


The next stage was to update the exhaust. This part came without any kind of attachement so that it would swing free with the exhaust pipe beeing the only connection to the hull.
It took only some spare PE to replicate a small metal profile, some anealing and some bending.


Some dryfitting and some small force here and there and everything was in place. This part is not glued yet but only fixed temporarily with some tac.
I also applied some Surfacer 500 to give a rougher structer to prepare for some rust imitation. It looks pretty hardcoe now but most will vanish during sanding.
The last part for today was a dry-fitting sesion for the axles and the wheels. As I will glue these after most of the work on the hull is done, some fitting here and there is neccessary. Otherwise I would be in trouble when I would need to align everything after al the details have been added.
So, she slowly is learning to stand on her own feet....
Good night all.
Regards
Dennis


sherb

Joined: August 25, 2004
KitMaker: 752 posts
Armorama: 378 posts

Posted: Monday, June 06, 2016 - 06:24 AM UTC

LinusB

Joined: March 21, 2016
KitMaker: 247 posts
Armorama: 126 posts

Posted: Saturday, June 18, 2016 - 08:36 AM UTC
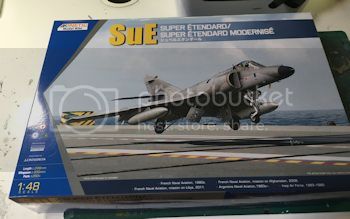
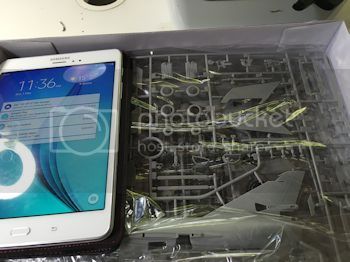
Picture of Super Entendard Kinetic kit



Sean50

Joined: March 20, 2007
KitMaker: 340 posts
Armorama: 328 posts

Posted: Wednesday, June 29, 2016 - 01:32 PM UTC
Hello there
Small update... the real world has been getting in the way o haven't done that much. Excuse the messy bench.
The engine is darker than it looks, and will be mostly (maybe completely) hidden.
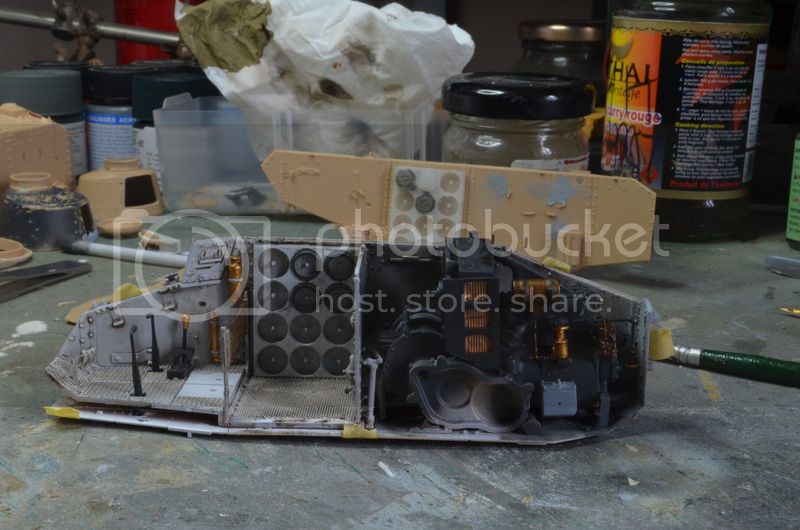
Quick question for anyone who might know....by the driver's right foot is the bracket for wire cutters... what was held in the straps fitted to the wall above them, just below the hatch itself?
Cheers,
Sean
Small update... the real world has been getting in the way o haven't done that much. Excuse the messy bench.
The engine is darker than it looks, and will be mostly (maybe completely) hidden.

Quick question for anyone who might know....by the driver's right foot is the bracket for wire cutters... what was held in the straps fitted to the wall above them, just below the hatch itself?
Cheers,
Sean

bison126

Joined: June 10, 2004
KitMaker: 5,329 posts
Armorama: 5,204 posts

Posted: Tuesday, July 12, 2016 - 08:43 PM UTC
Hi all,
now that I'm on vacation I will have time enough to start my model. I decided to go with the Hobby Boss EBR FL11 and the Azimut conversion to turn in into the early version armed with a 75mm gun and a 7.5mm self defense MG.
I'll post pictures later on.
Olivier
now that I'm on vacation I will have time enough to start my model. I decided to go with the Hobby Boss EBR FL11 and the Azimut conversion to turn in into the early version armed with a 75mm gun and a 7.5mm self defense MG.
I'll post pictures later on.
Olivier

bison126

Joined: June 10, 2004
KitMaker: 5,329 posts
Armorama: 5,204 posts

Posted: Monday, July 18, 2016 - 05:13 PM UTC
Hello,
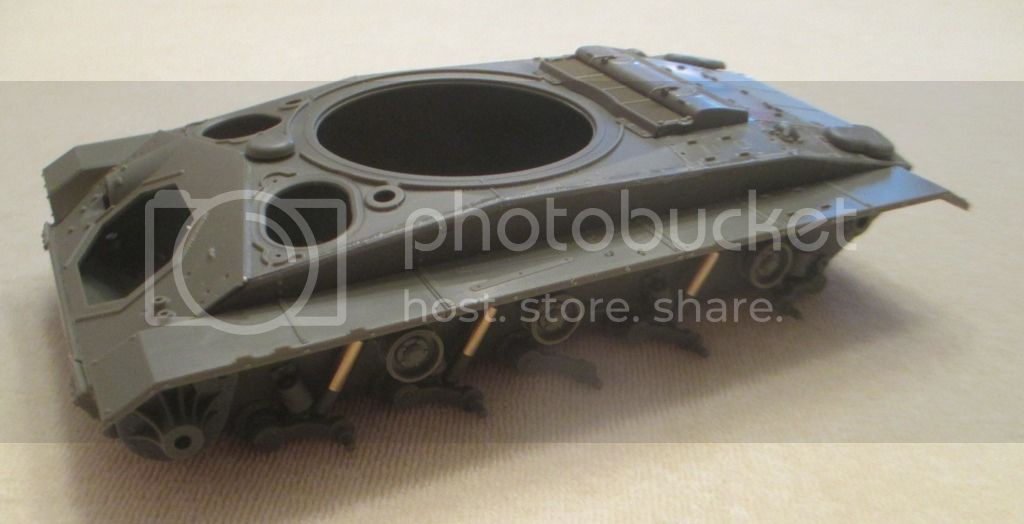
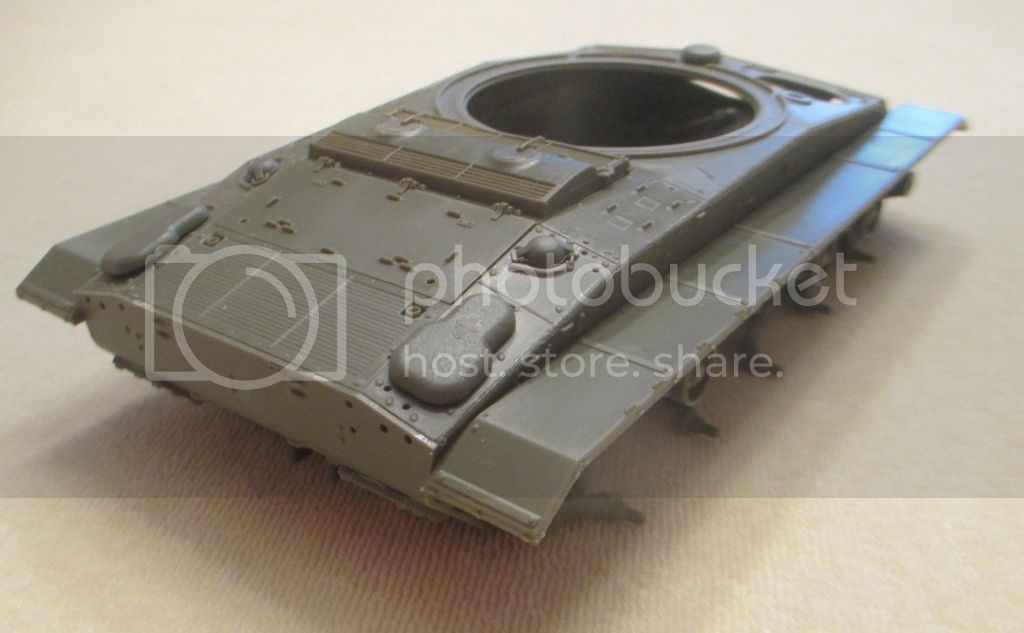
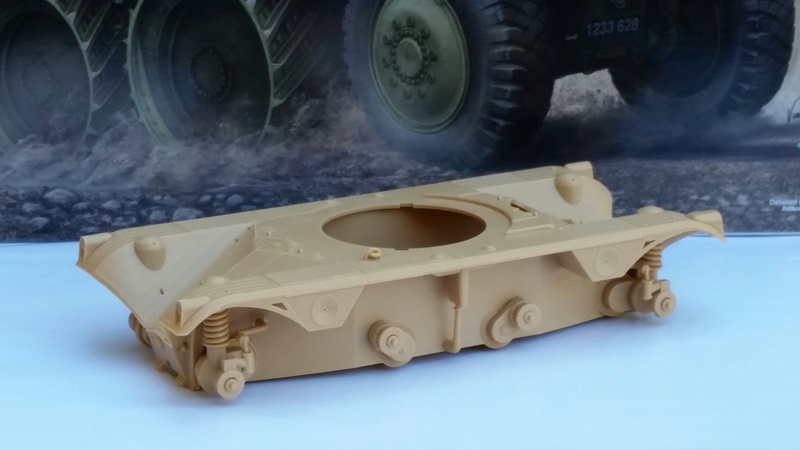
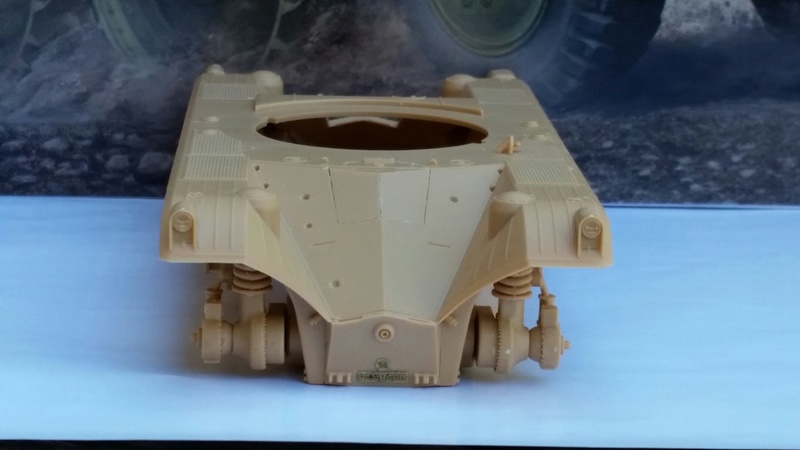
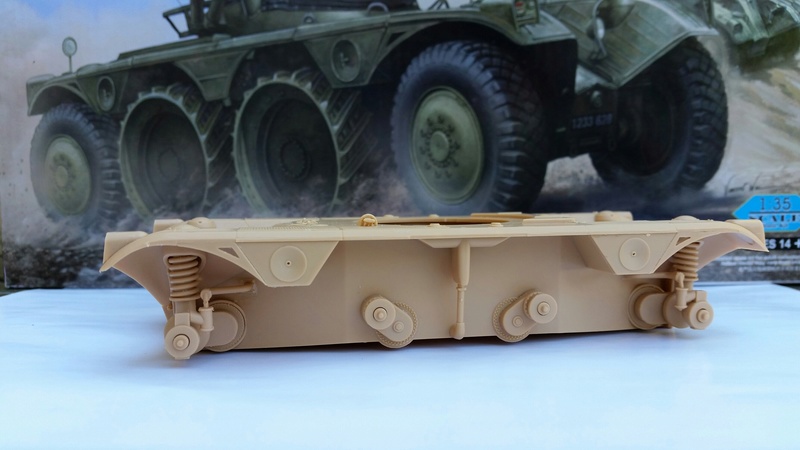
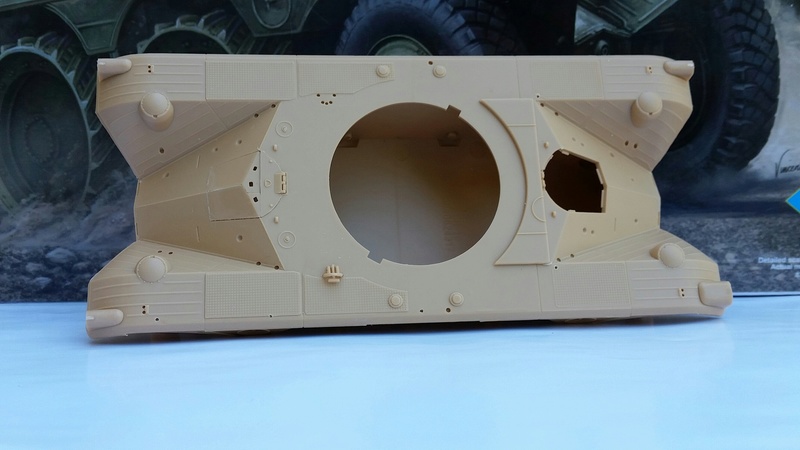
here are some pictures of my EBR. Nothing great so far, I just tackled the hull and the suspension. I fixed the problem of the IR light housings on the fenders. The large block is on the rear left fender and not on the front right as mentioned in the instructions.
Another error I spotted is the extra engine stop handle that HB tells you to glue on the right side. On the real thing, there is only one handle.
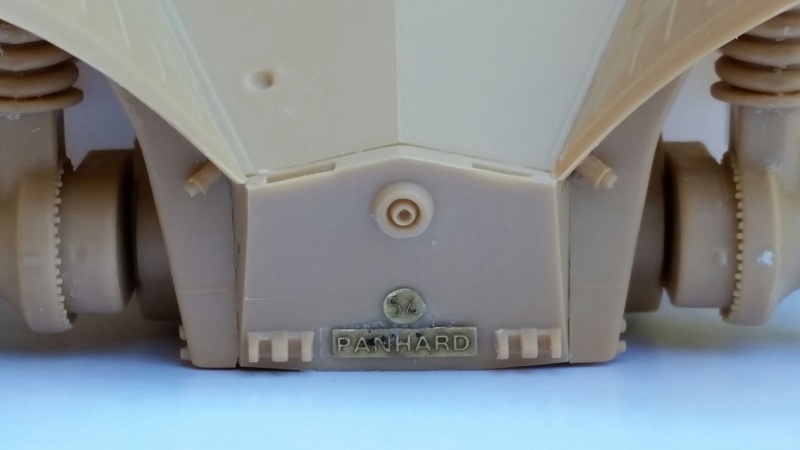
The brass plates Panhard and 54 come from the Azimut conversion and are a great replacement for the molded on kit parts.
Olivier
here are some pictures of my EBR. Nothing great so far, I just tackled the hull and the suspension. I fixed the problem of the IR light housings on the fenders. The large block is on the rear left fender and not on the front right as mentioned in the instructions.
Another error I spotted is the extra engine stop handle that HB tells you to glue on the right side. On the real thing, there is only one handle.
The brass plates Panhard and 54 come from the Azimut conversion and are a great replacement for the molded on kit parts.


Olivier

Tojo72

Joined: June 06, 2006
KitMaker: 4,691 posts
Armorama: 3,509 posts

Posted: Monday, July 18, 2016 - 05:44 PM UTC
Sean,that interior looks great
Olivier good start
Olivier good start
Posted: Thursday, July 21, 2016 - 05:16 AM UTC
There are some really impressive builds on here, Dennis, I'm taking notes!
Olivier - I have this kit also and might build it for Fighting Frogs. I have no reference materials at all and I'm very glad have your kit corrections.
I'm still not sure what to build here, no real hurry as I'm working on some projects for other campaigns.
Olivier - I have this kit also and might build it for Fighting Frogs. I have no reference materials at all and I'm very glad have your kit corrections.
I'm still not sure what to build here, no real hurry as I'm working on some projects for other campaigns.

bison126

Joined: June 10, 2004
KitMaker: 5,329 posts
Armorama: 5,204 posts

Posted: Thursday, July 21, 2016 - 05:24 PM UTC
Quoted Text
There are some really impressive builds on here, Dennis, I'm taking notes!
Olivier - I have this kit also and might build it for Fighting Frogs. I have no reference materials at all and I'm very glad have your kit corrections.
I'm still not sure what to build here, no real hurry as I'm working on some projects for other campaigns.
Paul,
feel free to check my pictures at my site. There is one FL11/75 (which needs the Azimut conversion) and a restored FL11/90 which is the one depicted by HB. Be aware that the guy who did the restoration made some mistakes (or omissions).
I also have some TM but not at hand right now.
Olivier
Chaman911

Joined: August 28, 2015
KitMaker: 319 posts
Armorama: 308 posts
Posted: Thursday, July 21, 2016 - 09:11 PM UTC
Hi everyone,
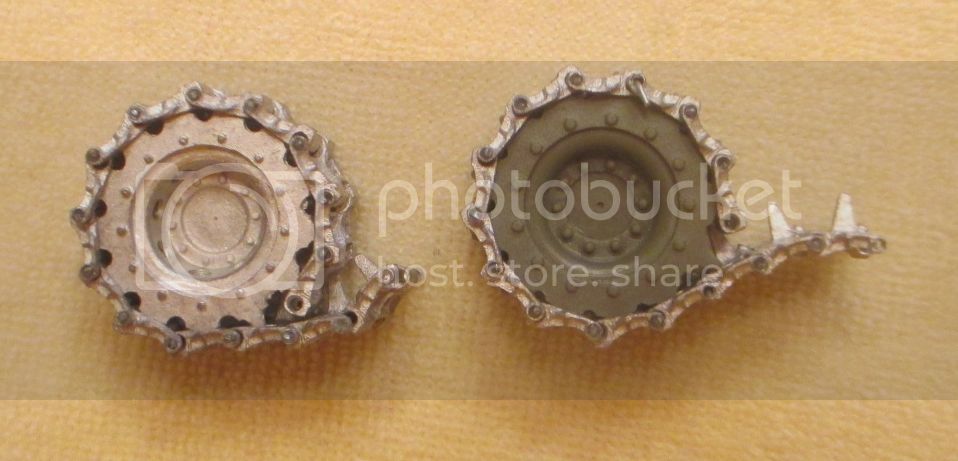
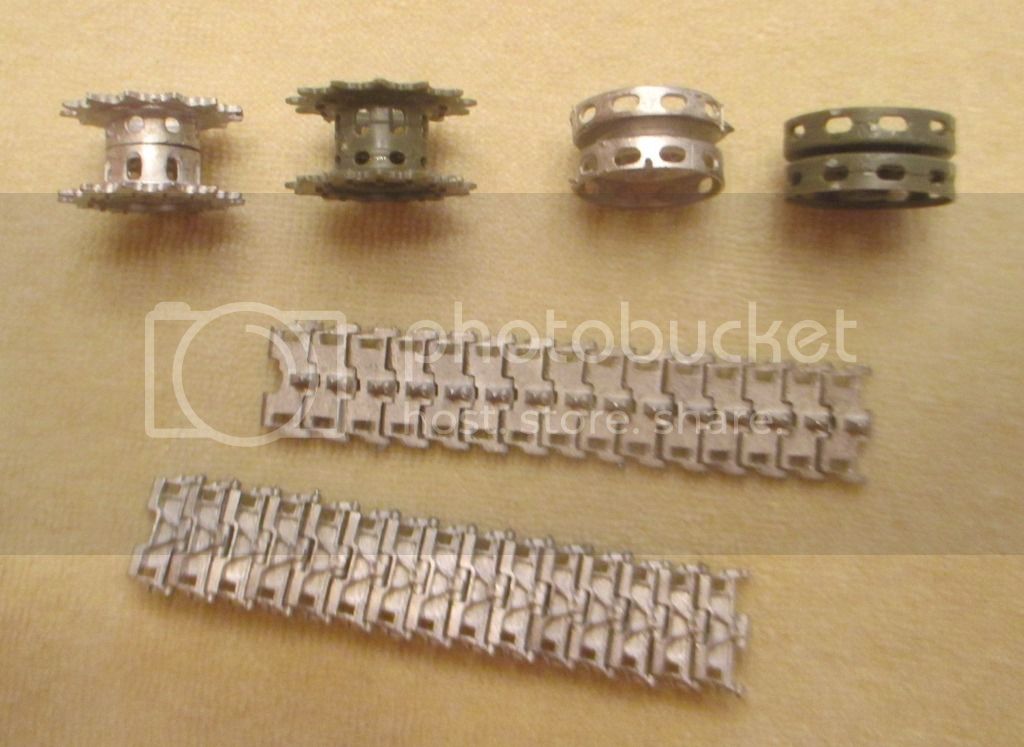
Well I just finished up my build for the Tamiya II campaign so now it's time for the Fighting Frogs! So far I have the tracks built for my AMX30B2 and that is it. Looking forward to building my first Meng kit!
Olivier, you seem to be the resident French armor expert. I have looked up many pictures from Operation Dauget and have noticed in some pics the 30B2s appear a buff color and in others they are more yellow. The Meng instructions call for a more yellow color. Is this correct in your experience?
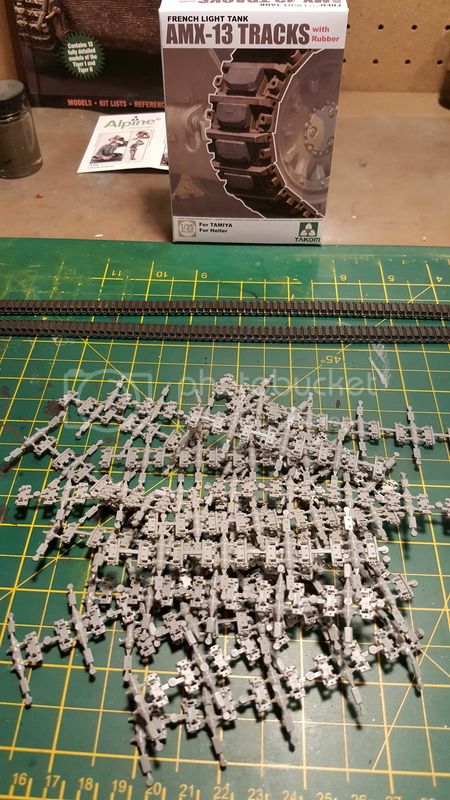
Anthony, you get your tracks yet? I've been waiting to see that AMX 13 completed! Great build.
Sherb, nice to be part of another campaign with you. I am looking forward to your M51 build on the Tamiya campaign.
Also I wanted to offer my deepest condolences to you guys in France. That attack in Neice just broke my heart. Love and prayers from across the pond.

Tojo72

Joined: June 06, 2006
KitMaker: 4,691 posts
Armorama: 3,509 posts

Posted: Thursday, July 21, 2016 - 09:31 PM UTC
Quoted Text
Hi everyone,
Well I just finished up my build for the Tamiya II campaign so now it's time for the Fighting Frogs! So far I have the tracks built for my AMX30B2 and that is it. Looking forward to building my first Meng kit!
Olivier, you seem to be the resident French armor expert. I have looked up many pictures from Operation Dauget and have noticed in some pics the 30B2s appear a buff color and in others they are more yellow. The Meng instructions call for a more yellow color. Is this correct in your experience?
Anthony, you get your tracks yet? I've been waiting to see that AMX 13 completed! Great build.
Sherb, nice to be part of another campaign with you. I am looking forward to your M51 build on the Tamiya campaign.
Also I wanted to offer my deepest condolences to you guys in France. That attack in Neice just broke my heart. Love and prayers from across the pond.
No,not yet,still not avail yet,but I still got to December,thanks

bison126

Joined: June 10, 2004
KitMaker: 5,329 posts
Armorama: 5,204 posts

Posted: Friday, July 22, 2016 - 12:38 AM UTC
Quoted Text
Olivier, you seem to be the resident French armor expert. I have looked up many pictures from Operation Dauget and have noticed in some pics the 30B2s appear a buff color and in others they are more yellow. The Meng instructions call for a more yellow color. Is this correct in your experience?
Also I wanted to offer my deepest condolences to you guys in France. That attack in Neice just broke my heart. Love and prayers from across the pond.
Bryan, from experience I can tell the French sand is really yellow.
Thanks for your thoughts but tonight you can extend these to our German members for the attack in Munich.
Olivier
Chaman911

Joined: August 28, 2015
KitMaker: 319 posts
Armorama: 308 posts
Posted: Friday, July 22, 2016 - 02:23 AM UTC
Oh no. I haven't seen the news today. Very sad times.
Chaman911

Joined: August 28, 2015
KitMaker: 319 posts
Armorama: 308 posts
Posted: Thursday, July 28, 2016 - 03:06 AM UTC
Olivier, another question for you. The AMX 30B2s deployed to Iraq, would they have received a quick paint job right over the usual 3 color green, brown, black used in Europe or were they stripped, primed and painted before being shipped to the Middle East? I have been thinking what primer color to use and am leaning towards a dark green if that is the likely actual color that was painted over although black or dark brown would probably provide the best shading under the desert yellow. Thank you!

bison126

Joined: June 10, 2004
KitMaker: 5,329 posts
Armorama: 5,204 posts

Posted: Thursday, July 28, 2016 - 05:23 PM UTC
Bryan,
to prepare the vehicles for the painting session we just cleaned the 3-tone paint and sand it a bit to help the desert camo to adhere. No primer was applied at that time.
Olivier
to prepare the vehicles for the painting session we just cleaned the 3-tone paint and sand it a bit to help the desert camo to adhere. No primer was applied at that time.
Olivier

bison126

Joined: June 10, 2004
KitMaker: 5,329 posts
Armorama: 5,204 posts

Posted: Friday, August 05, 2016 - 09:00 PM UTC
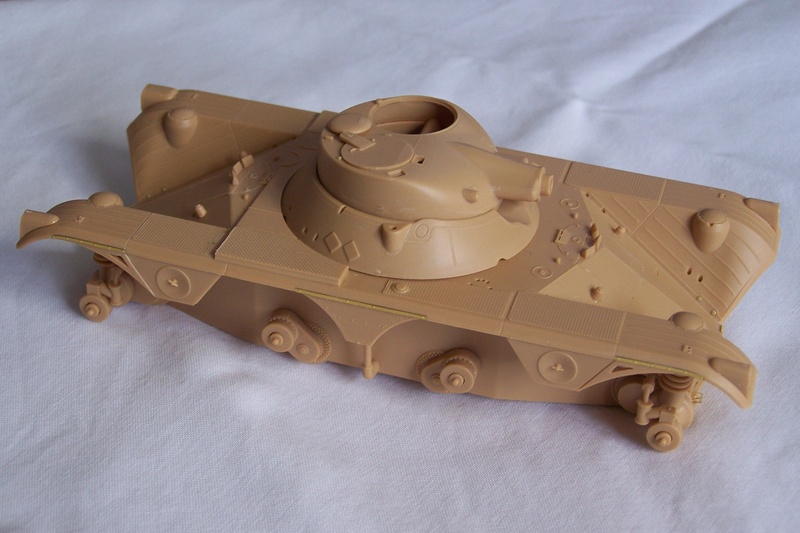
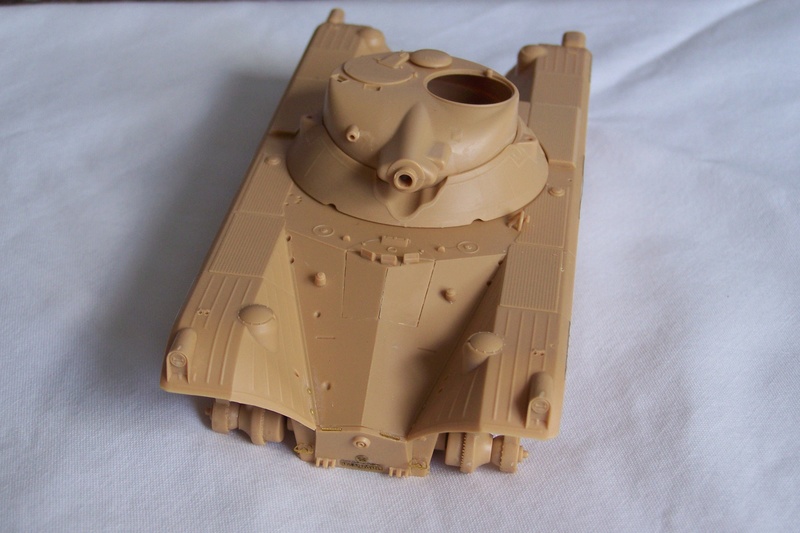
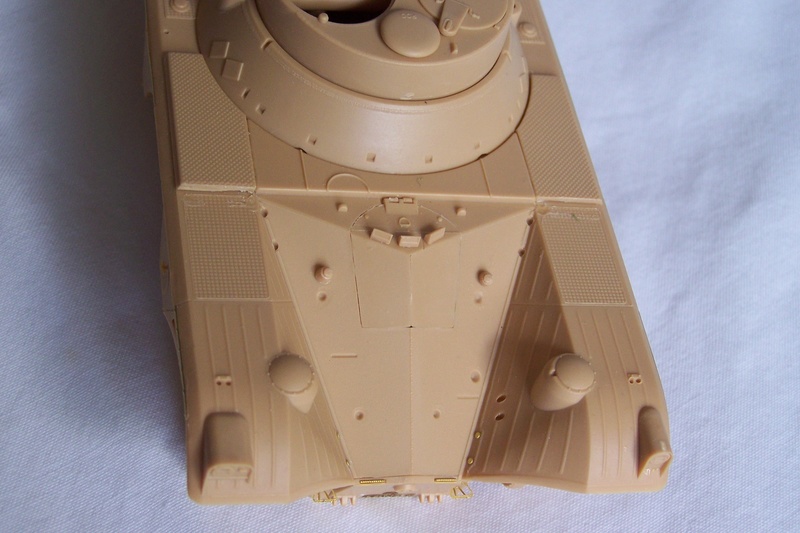
Not a lot more done on my EBR as I'm still missing most of my tools.
Here is the hull with the turret fitted for the pictures.
Olivier
Here is the hull with the turret fitted for the pictures.


Olivier
Removed by original poster on 08/07/16 - 20:31:19 (GMT).
pablo_g

Joined: October 21, 2003
KitMaker: 529 posts
Armorama: 500 posts

Posted: Sunday, August 07, 2016 - 01:55 AM UTC
nico37

Joined: May 23, 2011
KitMaker: 651 posts
Armorama: 126 posts

Posted: Thursday, August 18, 2016 - 11:13 AM UTC
Hi all,
wow, what good jobs so far
So here is my entry with a Nieuport-17 from the Eduard combo box :


It would be my first WW1 kit and it's really shorter than the kits i'm used to do !!!!!
There are several decorations, some from famous french aces, but i think i will choose the art-box one which belong to the former international rugbyman and ace Maurice Boyau (of whom i tried a home made sculpt for the ww1 campaign few years ago so i'll can put the kit close to the figure in my display case !). He was a specialist of airship ballon destruction, as the picture well shows, and he was shot down to death when assaulting one in september 1918:

cheers
nico
wow, what good jobs so far

So here is my entry with a Nieuport-17 from the Eduard combo box :


It would be my first WW1 kit and it's really shorter than the kits i'm used to do !!!!!
There are several decorations, some from famous french aces, but i think i will choose the art-box one which belong to the former international rugbyman and ace Maurice Boyau (of whom i tried a home made sculpt for the ww1 campaign few years ago so i'll can put the kit close to the figure in my display case !). He was a specialist of airship ballon destruction, as the picture well shows, and he was shot down to death when assaulting one in september 1918:

cheers
nico

Tojo72

Joined: June 06, 2006
KitMaker: 4,691 posts
Armorama: 3,509 posts

Posted: Sunday, August 21, 2016 - 12:37 AM UTC
DKdent

Joined: November 27, 2005
KitMaker: 182 posts
Armorama: 180 posts

Posted: Monday, August 29, 2016 - 02:29 PM UTC
Hello everybody,
some nice work going on here. Very neat interior Sean.
Anthony, have fun with those tracks...
I really like the subjects as there are many build I perhaps want to build some day. Especially the EBR and the Somua have my attention.
I have been supervising an international youth camp for some weeks so thats why I did not response. But i look forward to get something done the next days.
Have fun erverybody...
Regards
Dennis
some nice work going on here. Very neat interior Sean.
Anthony, have fun with those tracks...

I really like the subjects as there are many build I perhaps want to build some day. Especially the EBR and the Somua have my attention.
I have been supervising an international youth camp for some weeks so thats why I did not response. But i look forward to get something done the next days.
Have fun erverybody...
Regards
Dennis
 |


