Hello Everybody,
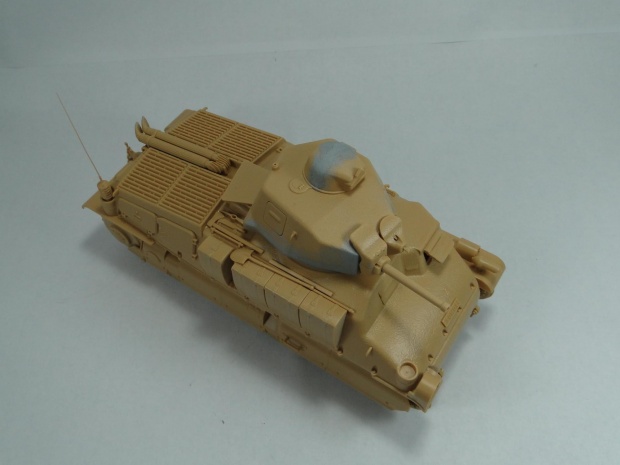
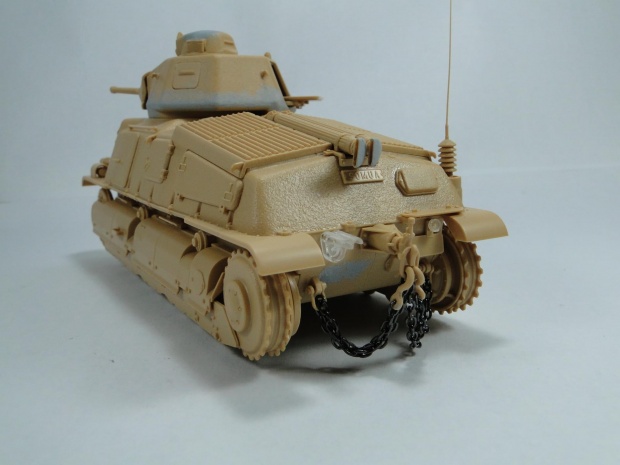
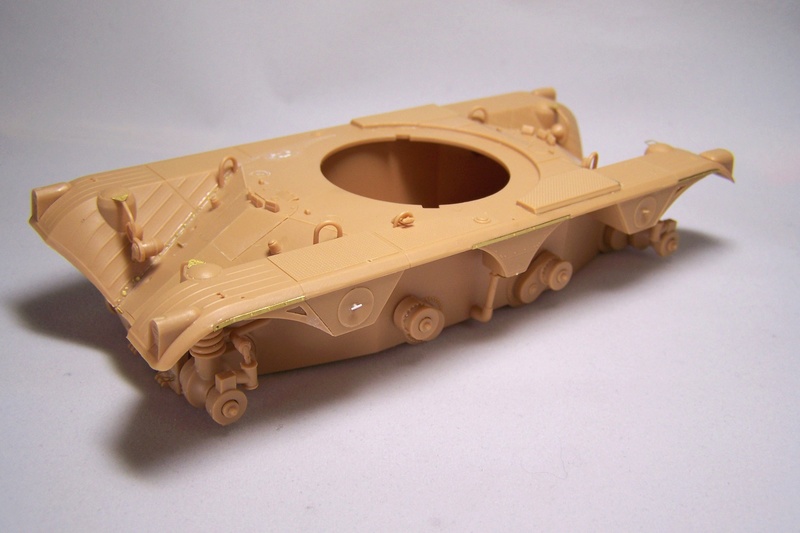
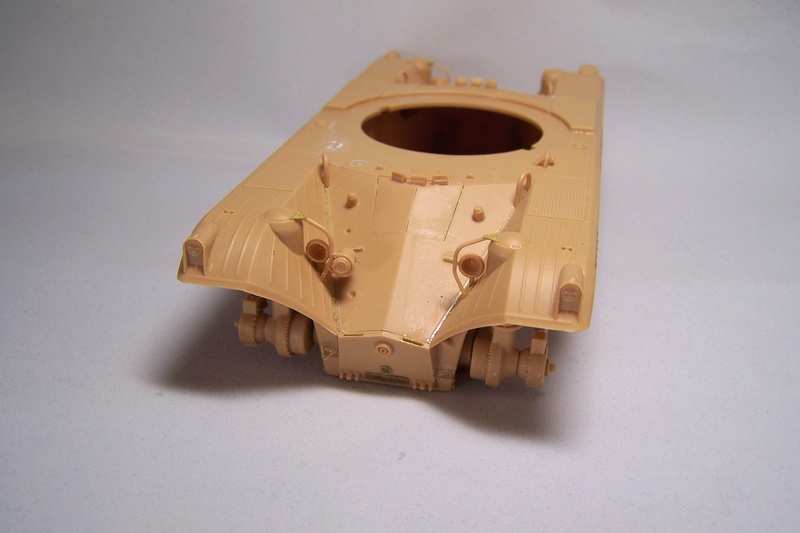
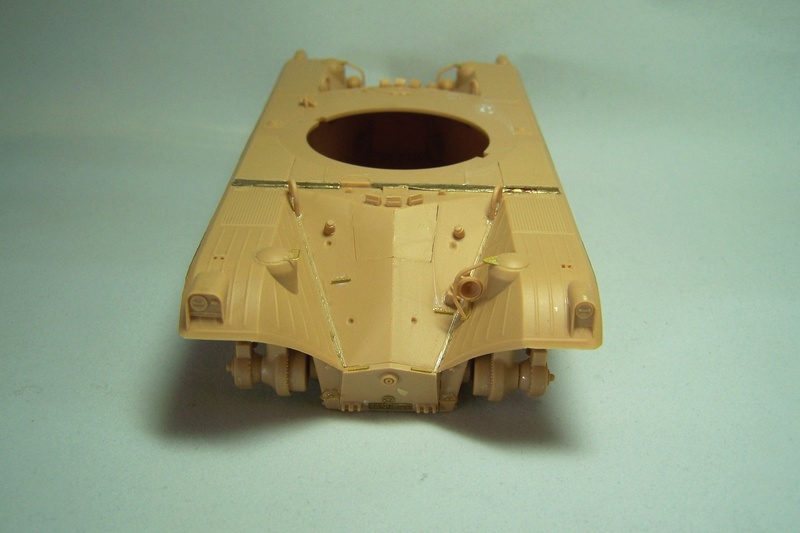
after some weeks I want to show the next step building AL-BYs Panhard AMD.
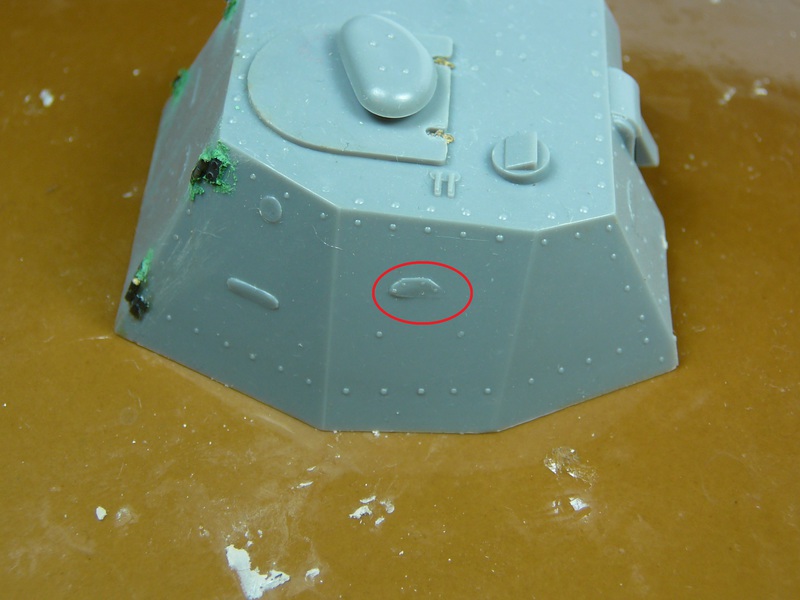
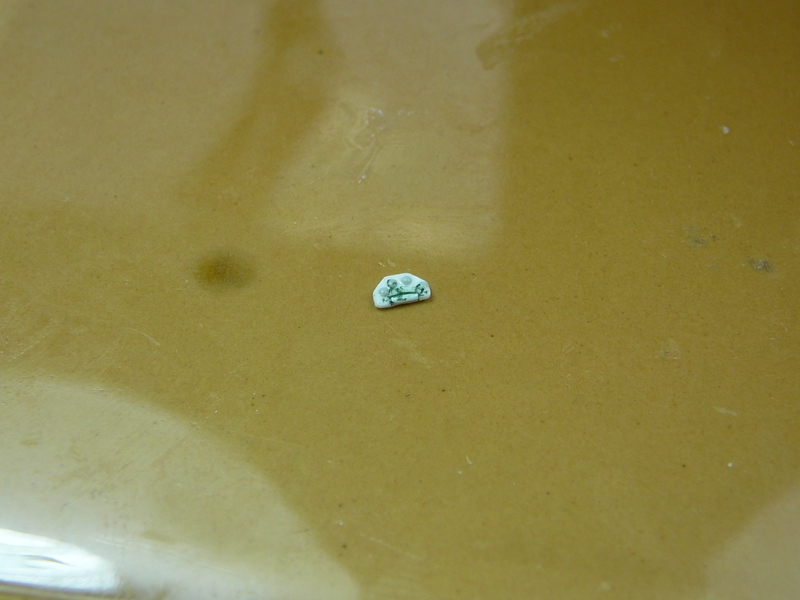
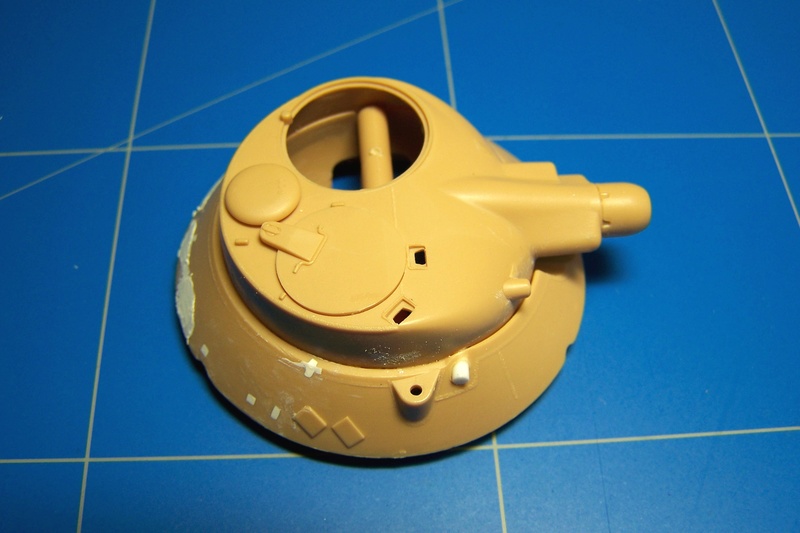
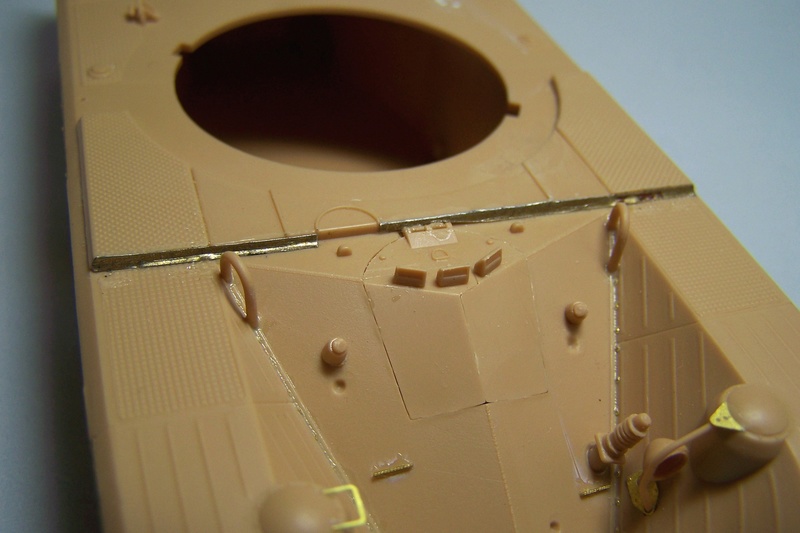
The part I want to take care of is the one marked with red circle here. All over the vehicle some of these vision slots are situated. As the kit is rather old, these details are far beyond being called "acceptable" and have to be replaced. The one specimen shown here is one with a "better" definition so you can imagine how the others look like.I decided to replace them; not because mine will be better but because the original ones a barely visible in some parts.
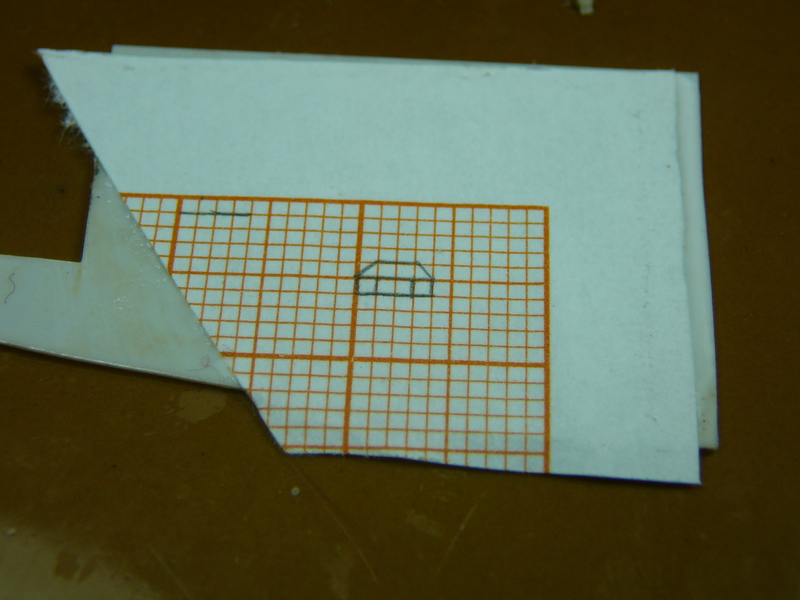
The first step was to draw the outlines on measurement paper and glue the paper on some sheet. This way you avoid drawing the outlines directly on the sheet which can be very challenging. The scale is, obviously, also very helpfull. It used thinned PVA-glue and let the whole thing dry thouroughly.
Idrilles 4 holes here using the papers scale as a guidance. This way the holes are somewhat symetric; at least when talking about the fact that the hole thing is only 4mm wide.
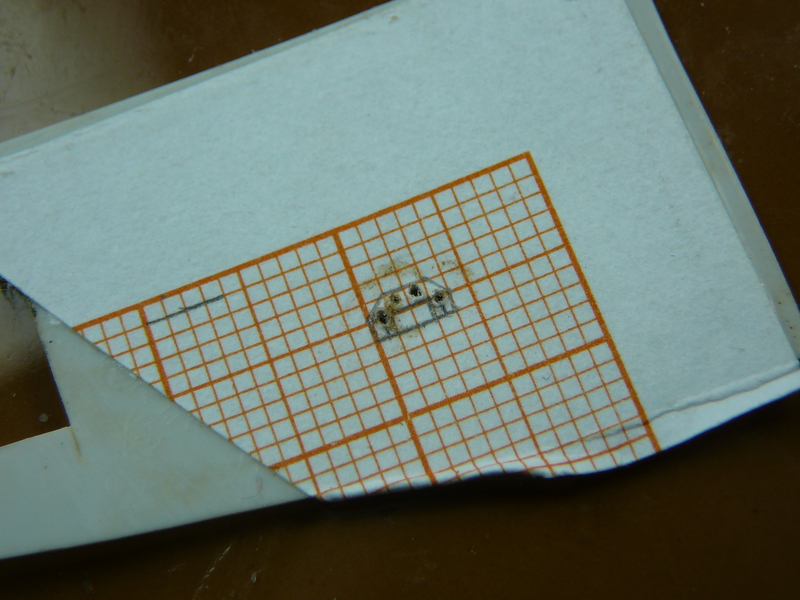
Afterwards I did cut out the part using the printed lines as a guidance and removed the paper. The part looks really ugly now. This comes from bending, as the sheet is very thin. After cleaning up it showed that it is both symetric and cleanly cut.
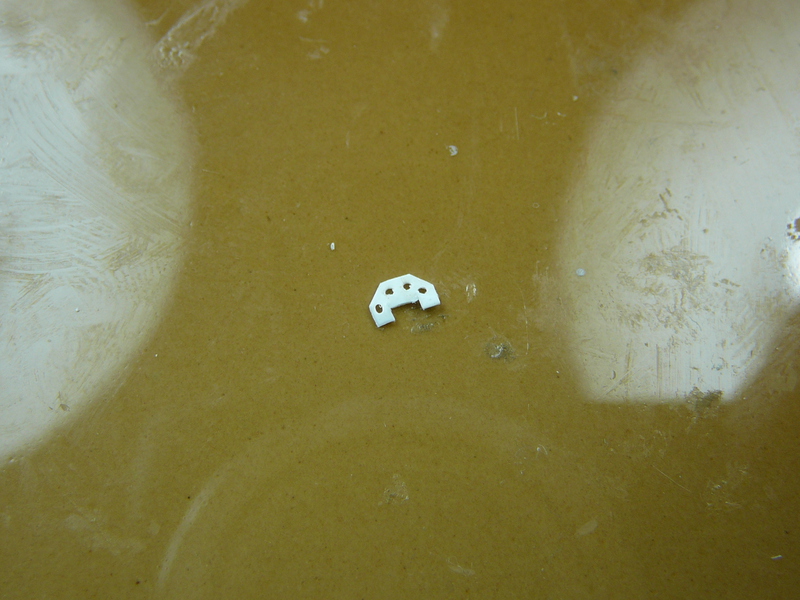
The next steps where simple. First I cut a short lenght or round profile and glued it into the recess I created to simulate the vision slot and to give some volume to the part. I also applied some putty. I also created some rivets using heated sprue. I simply put a lenth of torn sprue into one of the holes, heated one side with a burning match until the rounded head formed, pressed it into the hole and glued it from the backside with Tamiya extra thin. Good enough for me.
Now I had to replicate the part as I, you understand, I guess, did not want to replicate this part over and over again.
To replicate very simple parts as these, I started to use "Oyumaru" some time ago.
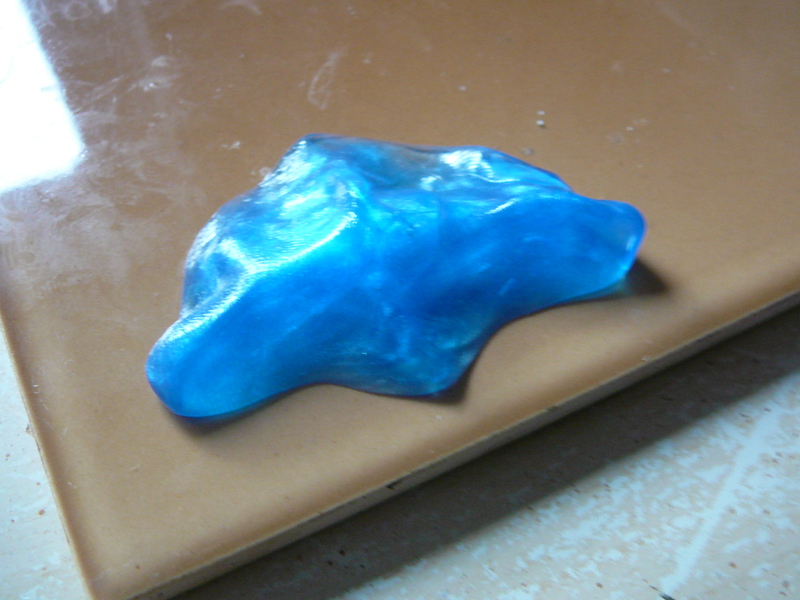
Oyumaru is a substance which becomes extremely soft when heated up and cures to a solid state after some minutes. It is reusable, does not stink and is easy to use. As it is also very inexpensive, I gave it a try.

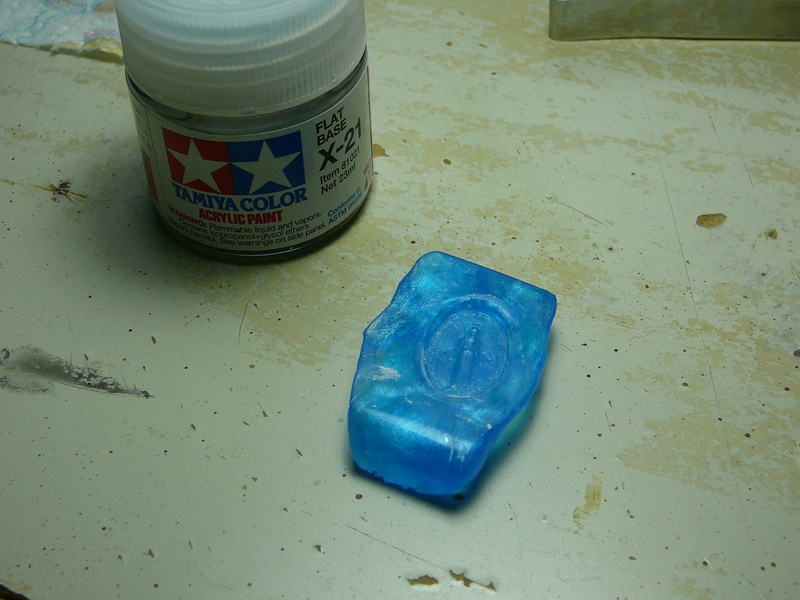
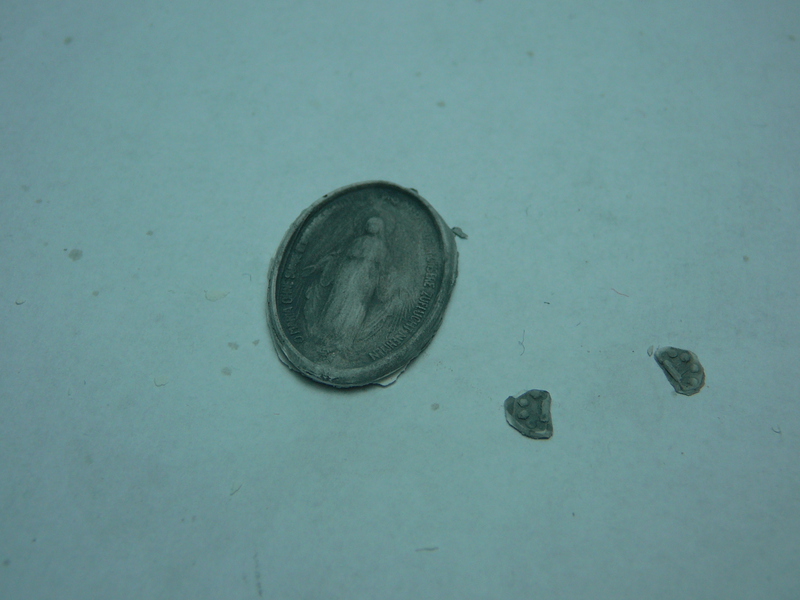
These is a cristian medallion which I replicated for a mate. He wanted to create a roadside shrine. After casting even the letters around the figure are readable....
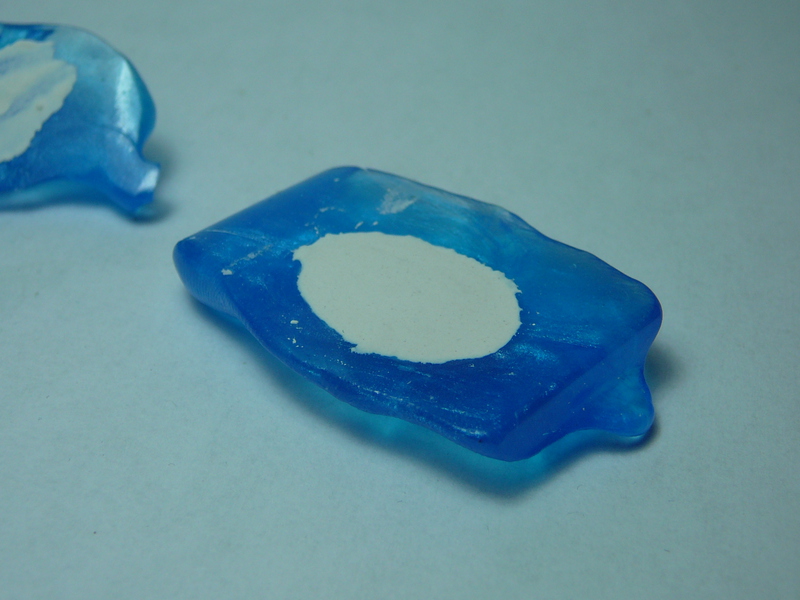
Procedure is easy: lay the part on a flat surface liek a glazed tile (show side up), heat the Oyumaru in a bowl with some boiling water for some minutes and, after it became soft, place it on the part. Press it from all sides to avoid air-filled cavities and thats it. After some minutes the stuff got cured and you have your mold ready after removing the master part.
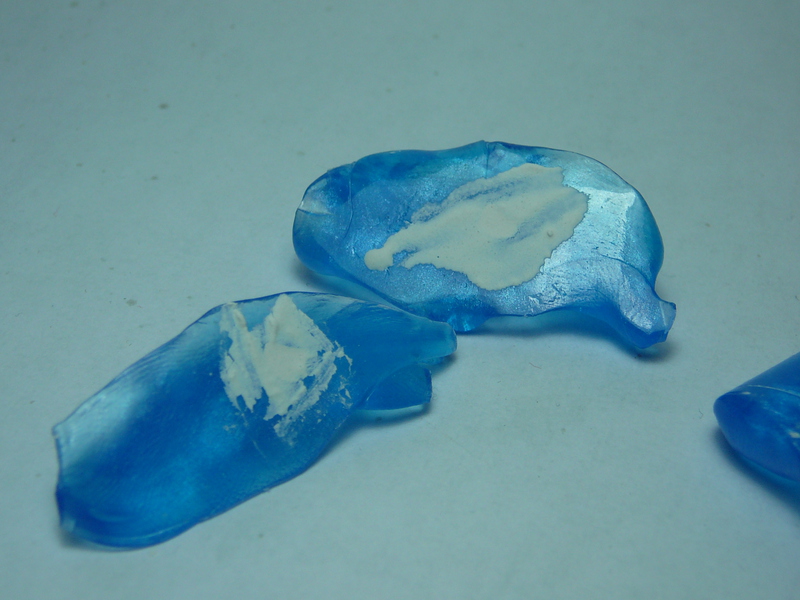
To pour the parts I used some simple pouring plaster ("Gießkeramik" here in Germany) which is very inexpensive and easy to use.
I gave the finished parts a fast swipe with some thinned Vallejo to show the details better. Making pictures of white plaster is not very easy. To make sure the plaster will not break on the model, I simply dipped in some liquid foundation fluid ("Tiefengrund"), a stuff which is used to seal plaster, Gypsum, concrete and other porous stuff. This makes the parts very stron and rock hard. I used it before to seal Gypsum bunkers from Verlinden or Costum Dioramics for example to make them more sturdy and prevent them from soaking paint. I do not mind the bigger rivets as I by now do not know of a better way to replicate these. I did not want to buy aftermarket but rather tried what I could achieve. The next parts will look better perhabs but for now I will go with these.

The finished parts. As you can see, the right one is distorted while the one in the yellow cirlce is ofbetter quality. These to are just the first prototypes which I painted grey to see where I have to rework the mold. Clearly visible I have to give the part a small sanding. It is very difficult to see imperfections on the master so I gave it a try to determine where to improve. After that is done, I can make several molds so I do not have to wait for a part to cure before I can do the next one.
The next step should be the casting of the parts. I look really forward to this as I want to enter the paint stage soon. Not to soon, but at least in some foreseeable future...
Best Regards
Dennis


