Hosted by Richard S.
Tank Hunters Campaign
Posted: Sunday, September 25, 2016 - 12:53 AM UTC
Well, we know he has a nice bicycle!!
Thirian24

Joined: September 30, 2015
KitMaker: 2,493 posts
Armorama: 2,344 posts

Posted: Sunday, September 25, 2016 - 03:29 AM UTC

sherb

Joined: August 25, 2004
KitMaker: 752 posts
Armorama: 378 posts

Posted: Sunday, September 25, 2016 - 03:50 AM UTC
Thirian24

Joined: September 30, 2015
KitMaker: 2,493 posts
Armorama: 2,344 posts

Posted: Sunday, September 25, 2016 - 09:15 AM UTC
wedgetail53

Joined: October 02, 2008
KitMaker: 658 posts
Armorama: 629 posts

Posted: Sunday, September 25, 2016 - 12:13 PM UTC
G'day fellas
OK, all of the figures are now completed and primed.
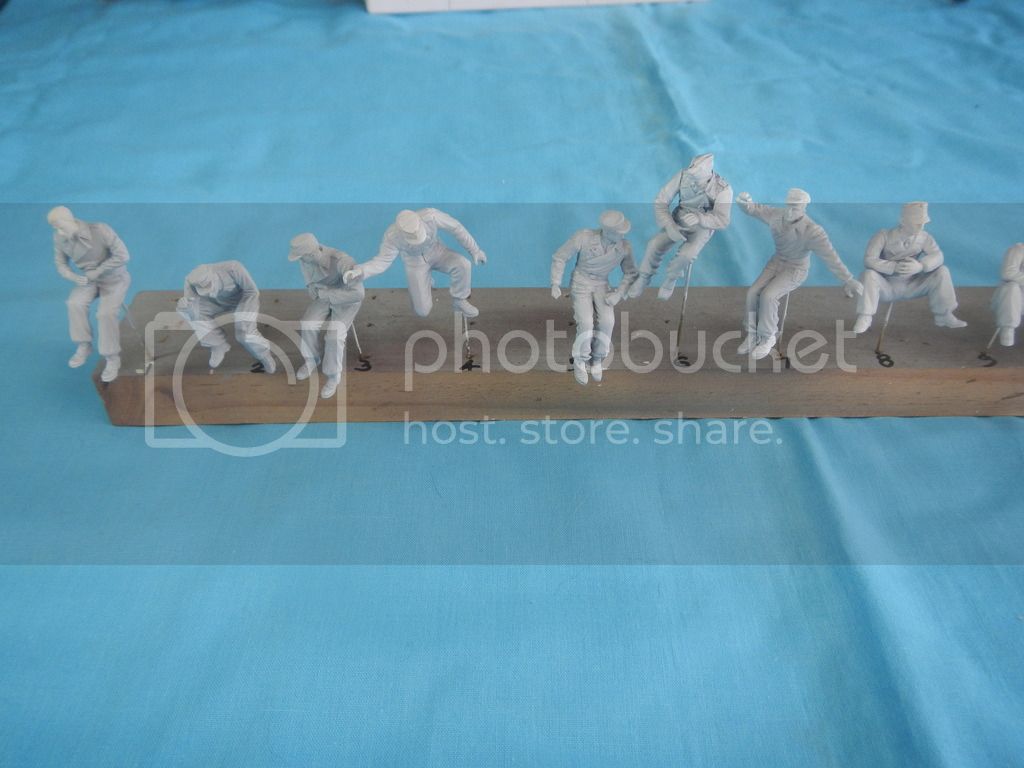
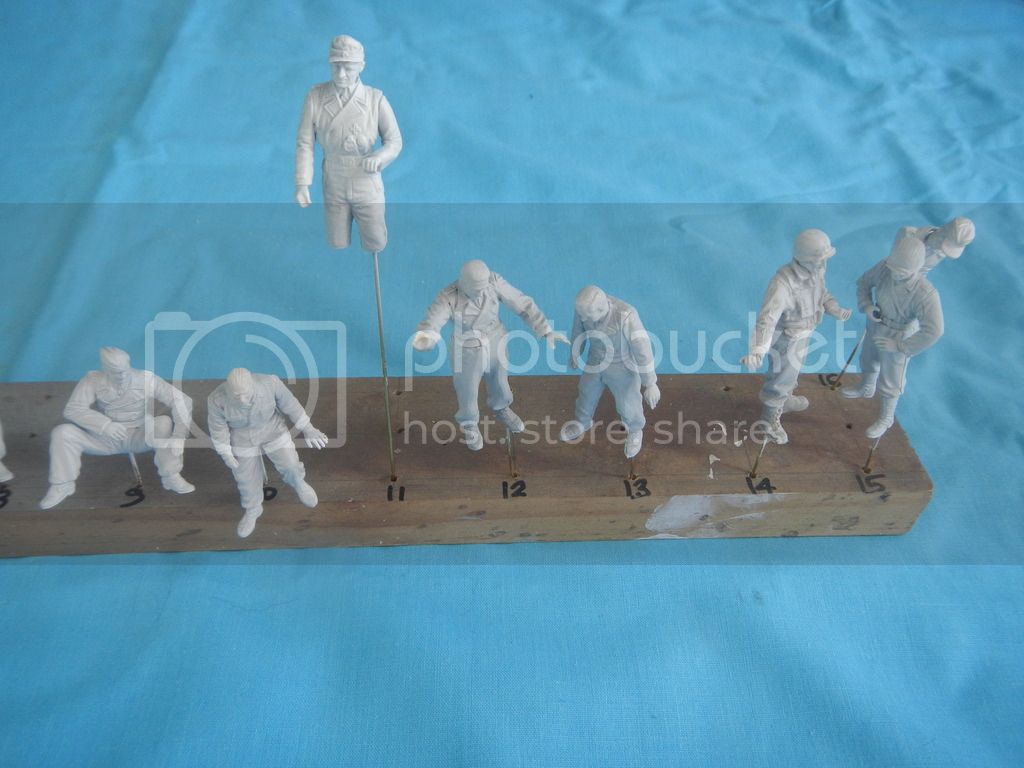
There are 16 figures in all , and they are a mixture. Most of them are DML figures, the two sitting with their legs spread (8 and 9) are Tamiya from the "German Tank Crew at Rest" set, one of the Americans is a collection of bits and pieces from the spares box, and the other is a DML figure from the DML "Allied Forces ETO 1944" set with a bit of mixing and matching of arms. I think there's a couple of Miniart figures in there somewhere too.
To achieve all the poses more or less the same as the real thing, there was a fair bit of swapping of heads, hands and arms, Twelve of the figures will be in panzer crew jackets with field grey pants, two will be in camouflage (according to the Osprey book "The Panzer Crews" it's probably Italian camo), and two will be in US uniform.
OK, now back to the painting!
Regards
Rob
OK, all of the figures are now completed and primed.


There are 16 figures in all
 , and they are a mixture. Most of them are DML figures, the two sitting with their legs spread (8 and 9) are Tamiya from the "German Tank Crew at Rest" set, one of the Americans is a collection of bits and pieces from the spares box, and the other is a DML figure from the DML "Allied Forces ETO 1944" set with a bit of mixing and matching of arms. I think there's a couple of Miniart figures in there somewhere too.
To achieve all the poses more or less the same as the real thing, there was a fair bit of swapping of heads, hands and arms, Twelve of the figures will be in panzer crew jackets with field grey pants, two will be in camouflage (according to the Osprey book "The Panzer Crews" it's probably Italian camo), and two will be in US uniform.
OK, now back to the painting!
Regards
Rob
Posted: Sunday, September 25, 2016 - 02:19 PM UTC
Chris,
Nice to see the diagrams of your FW's weapon system. It's really an amazing idea!
Tim,
That is an excellent looking figure. Amazingly we can even see the smile! After that PE work on the bike, I know your model is going to be exceptional!
Dustin,
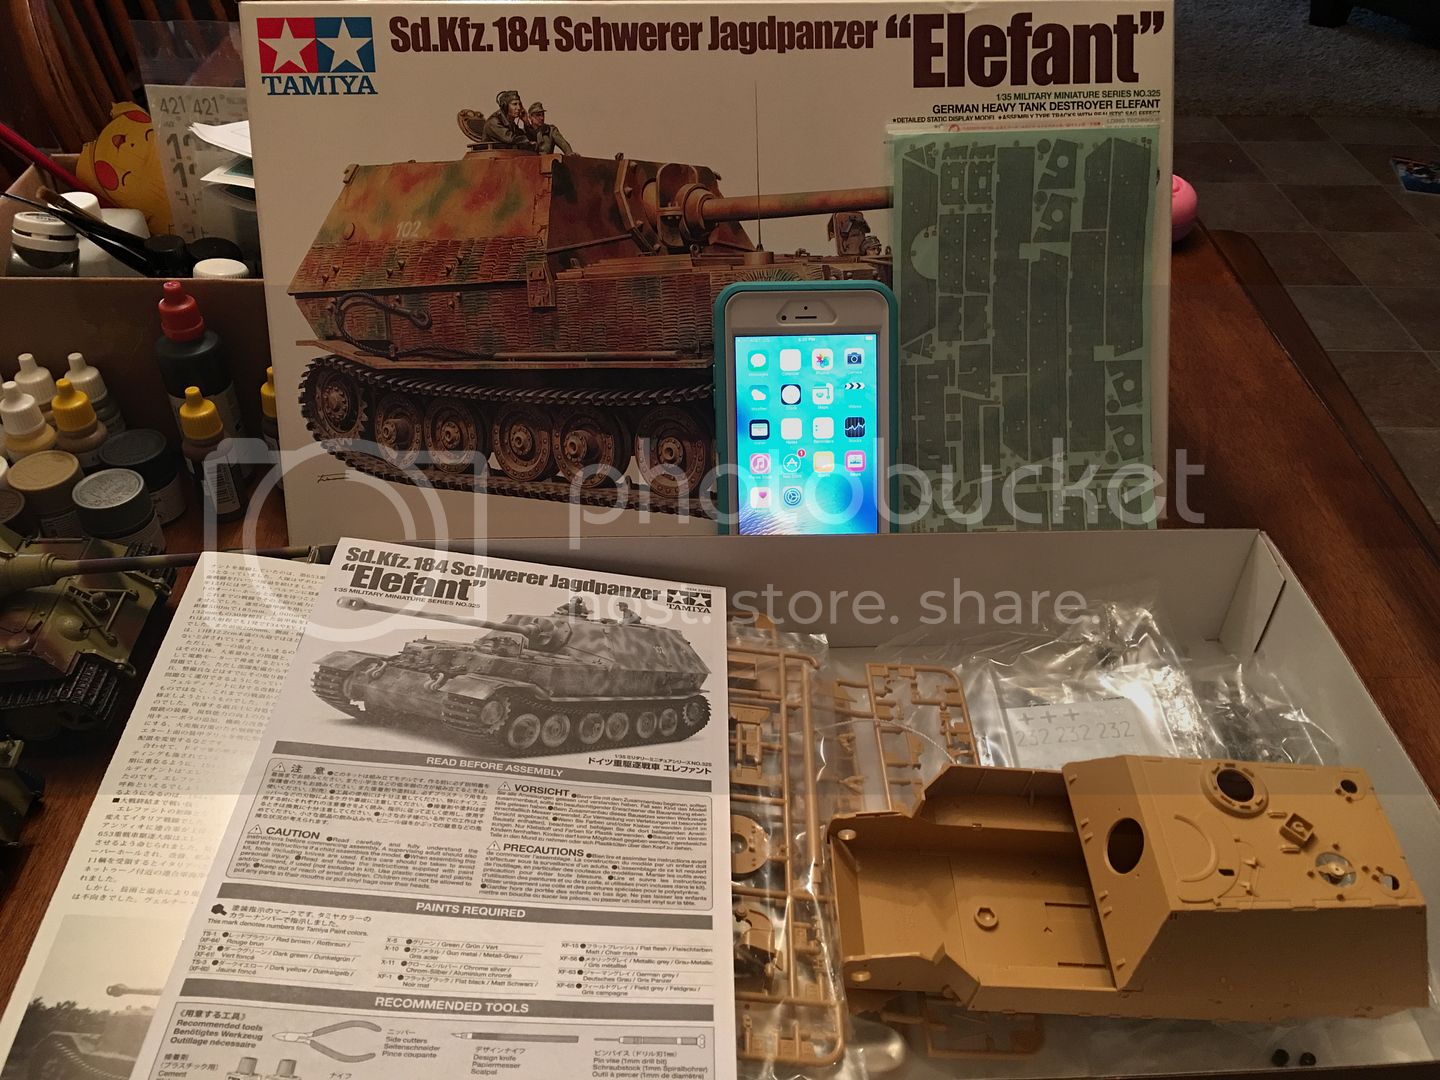
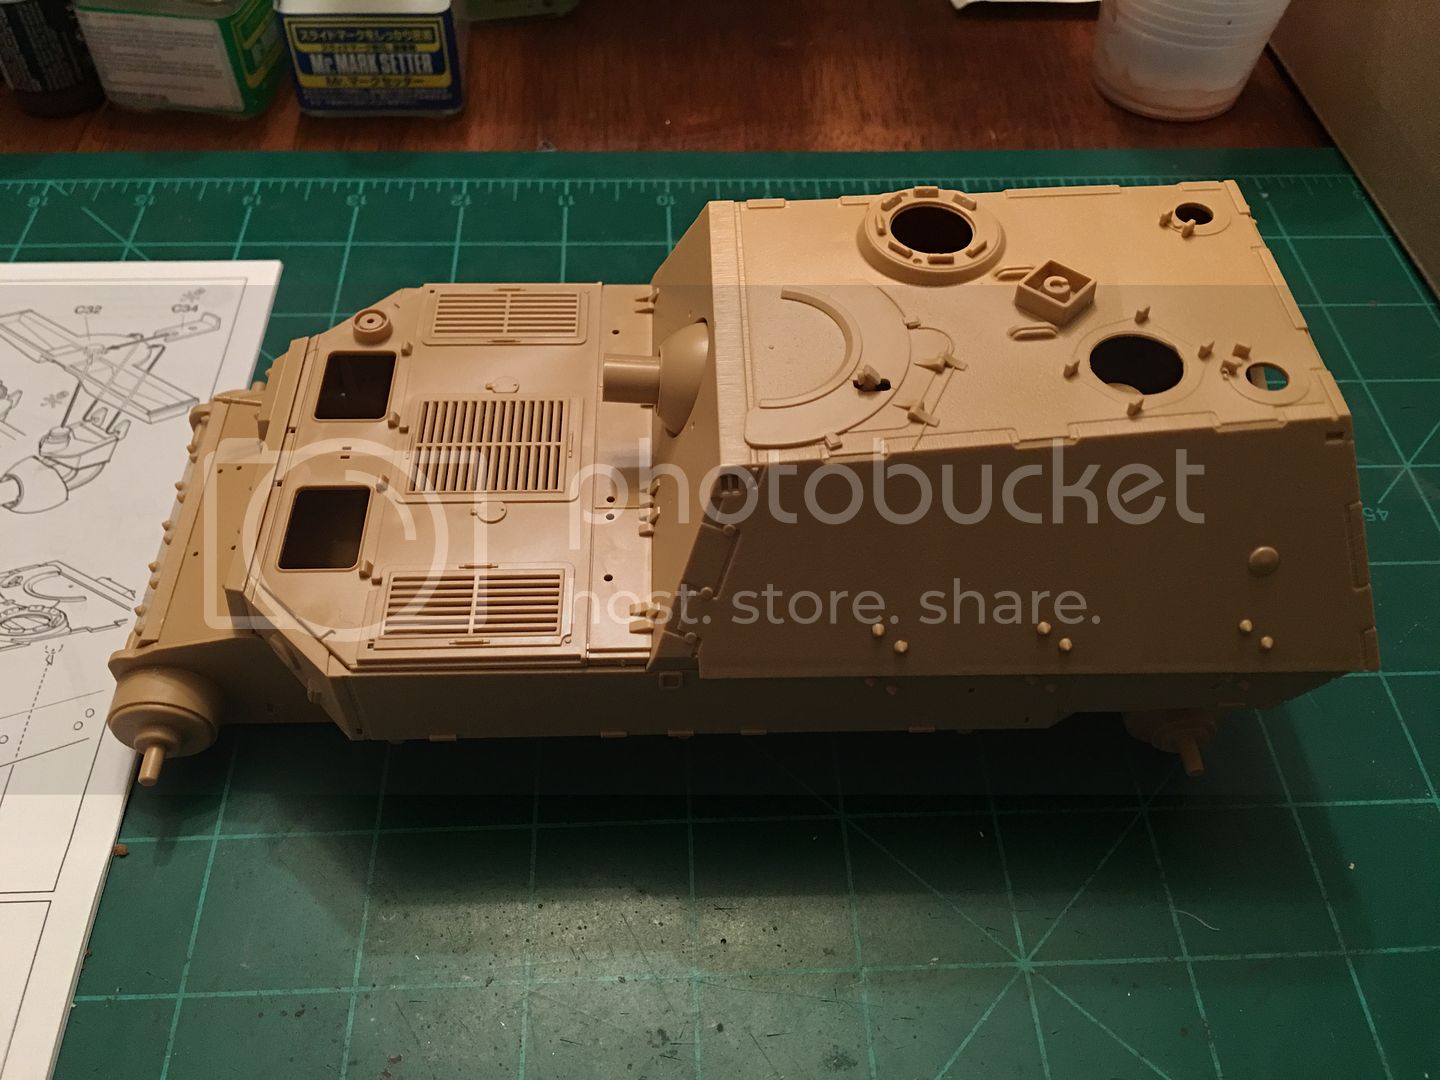
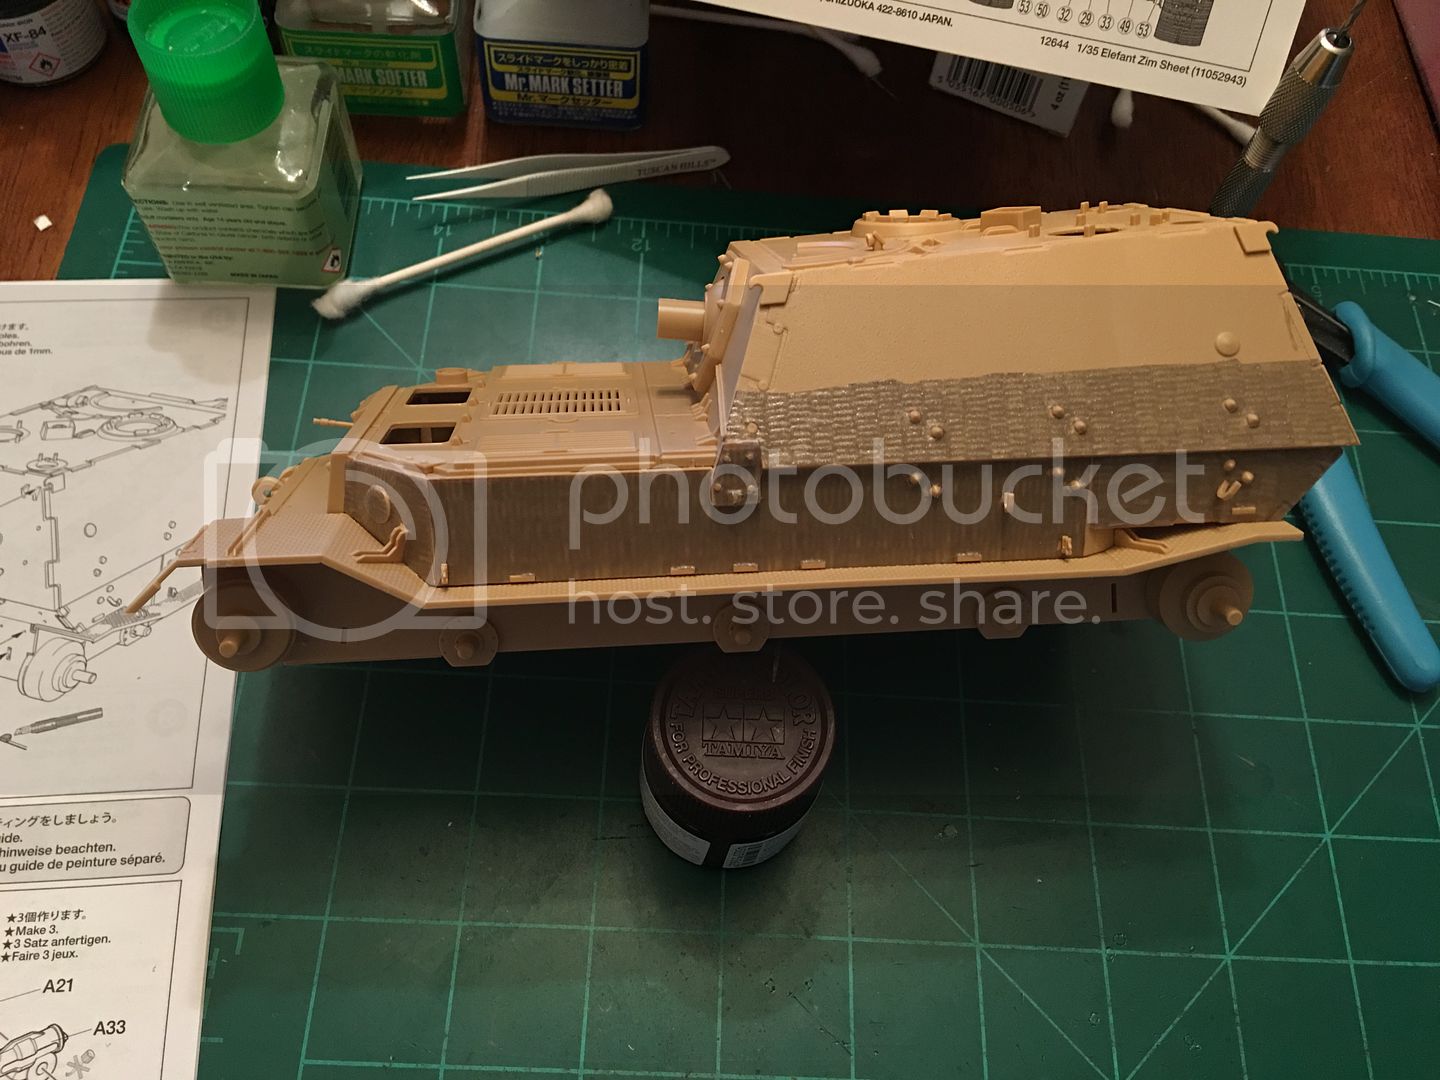
Thank you for submitting your Elefant! Like you, I have discovered that running gear and tracks can often hasten drowsiness. I always do them first!
Sherb,
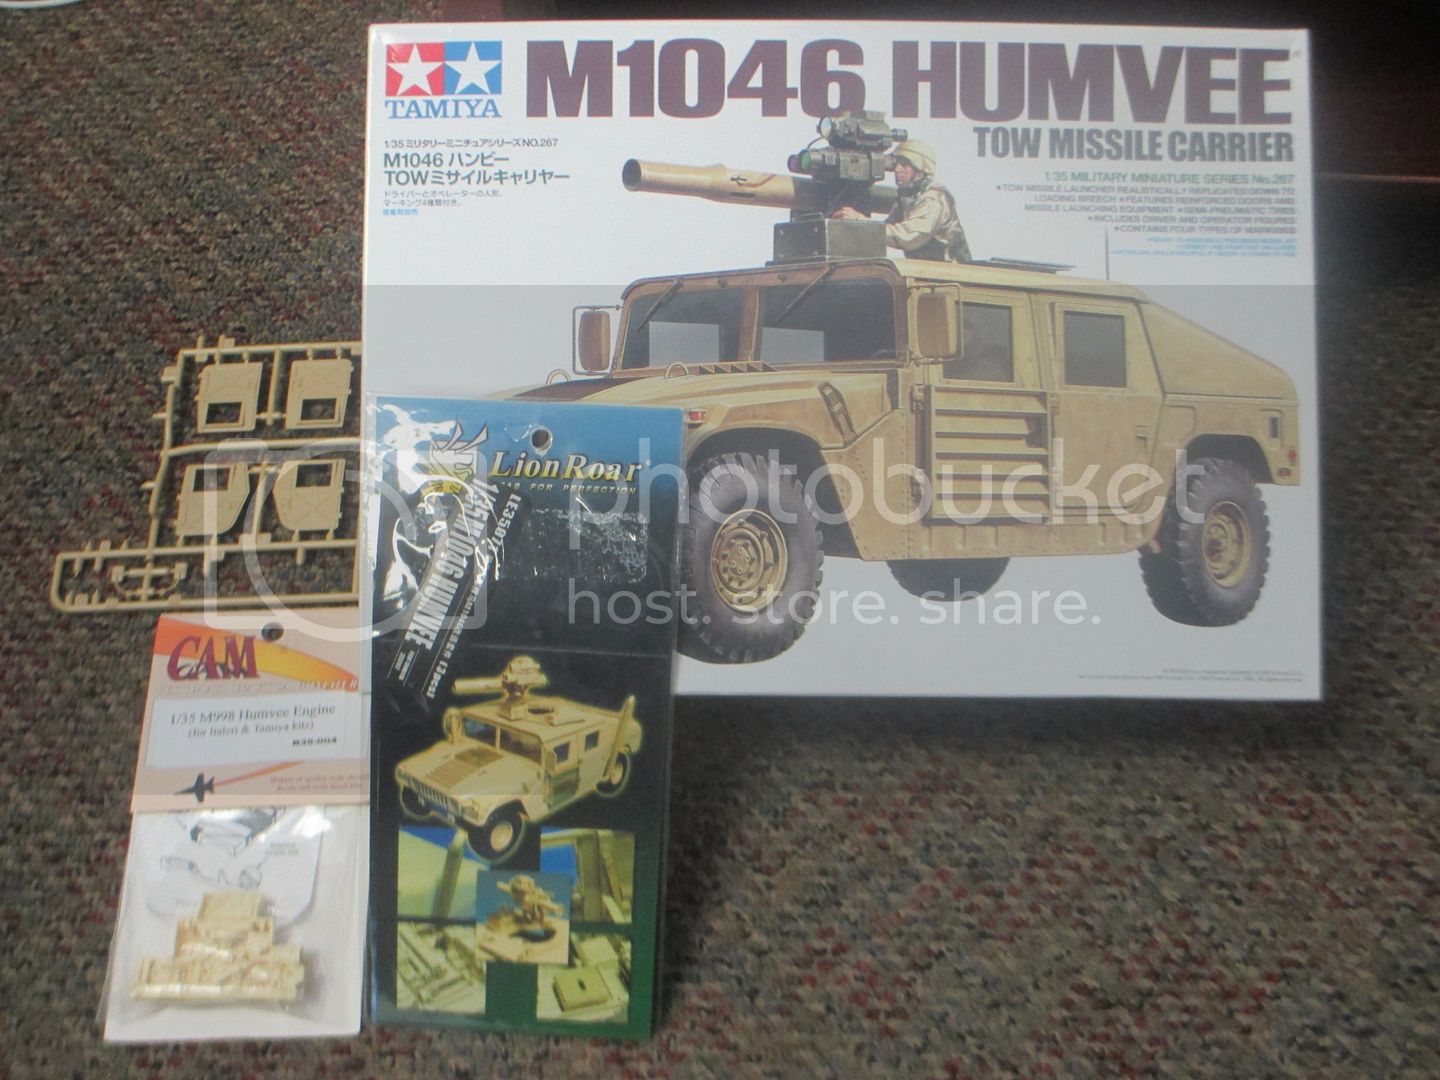
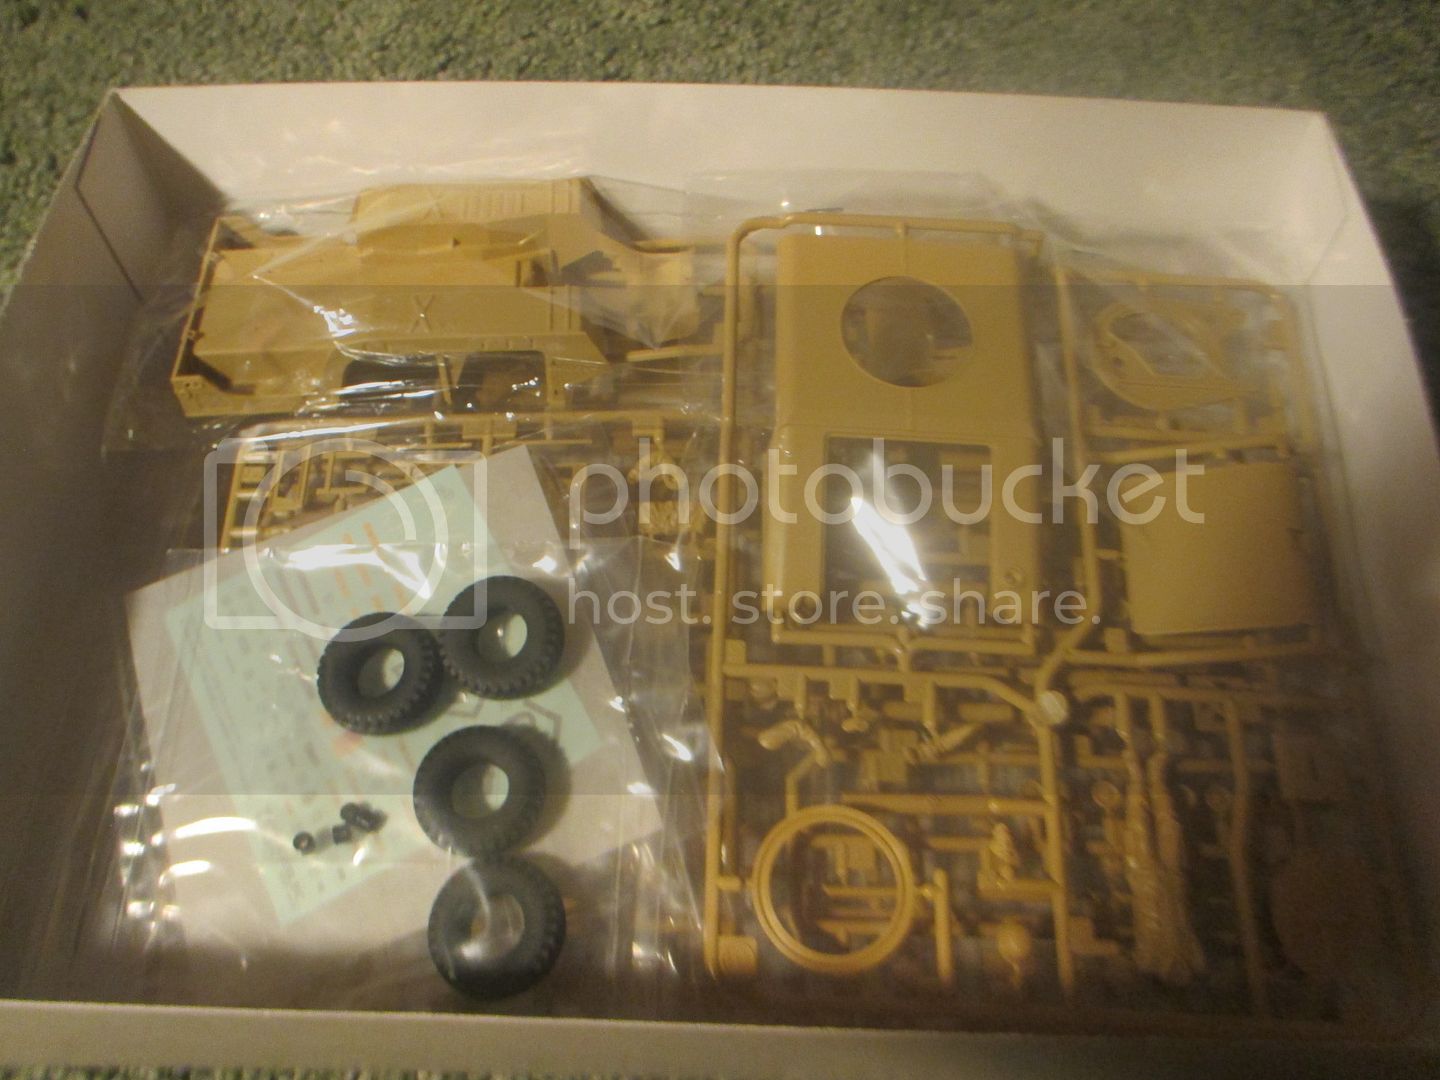
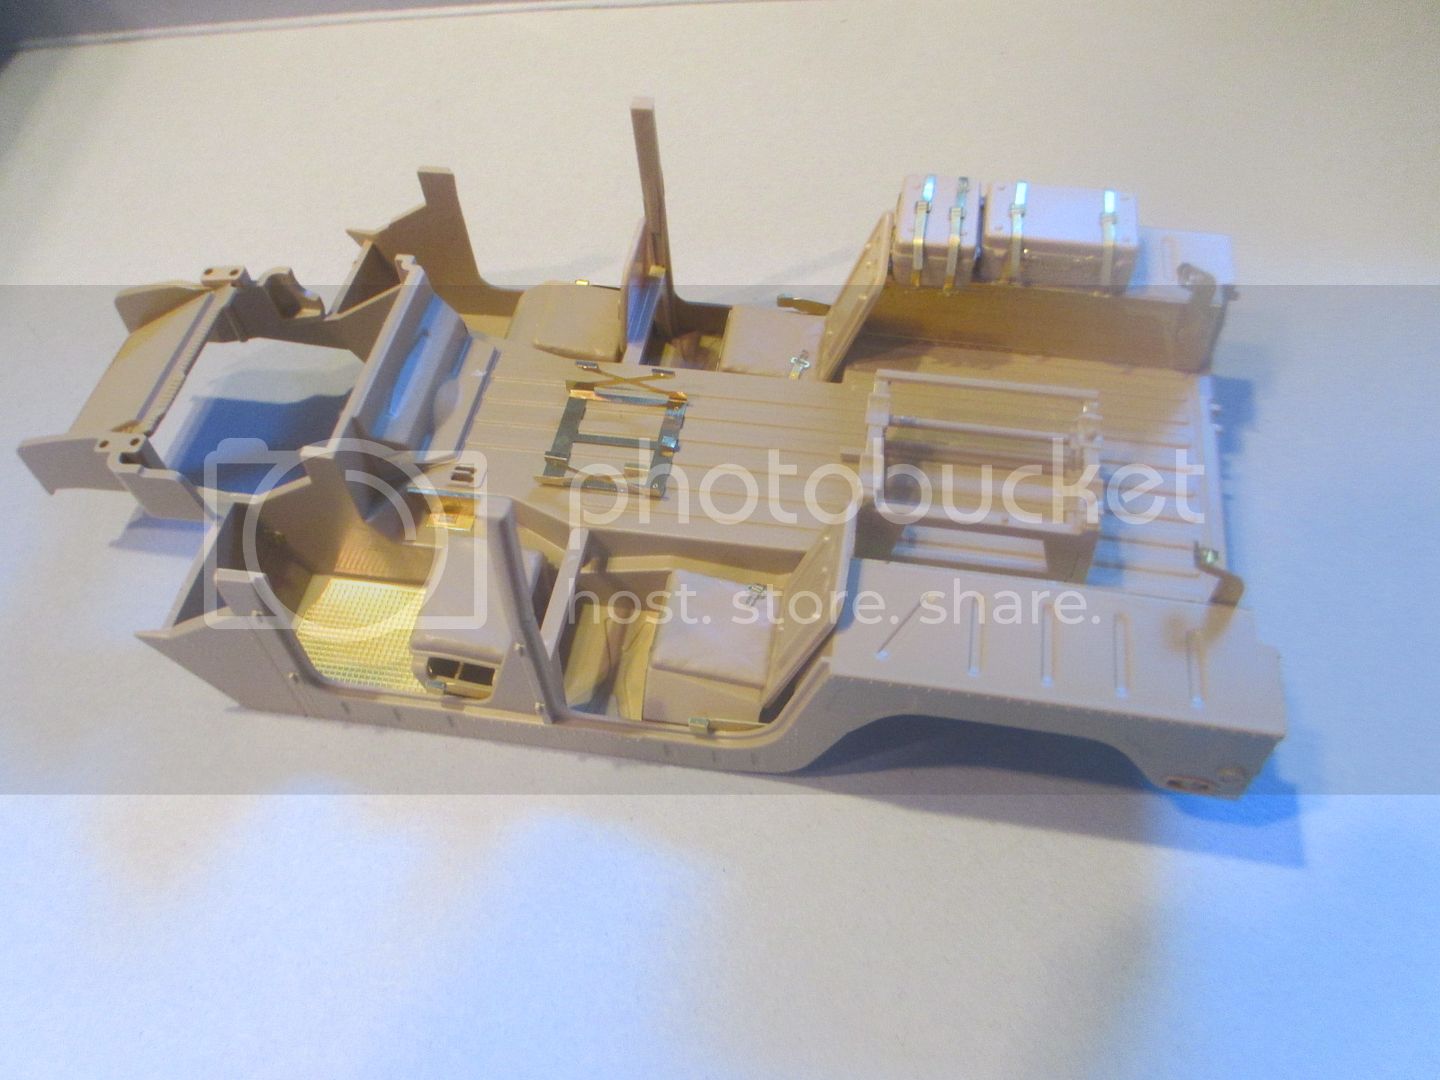
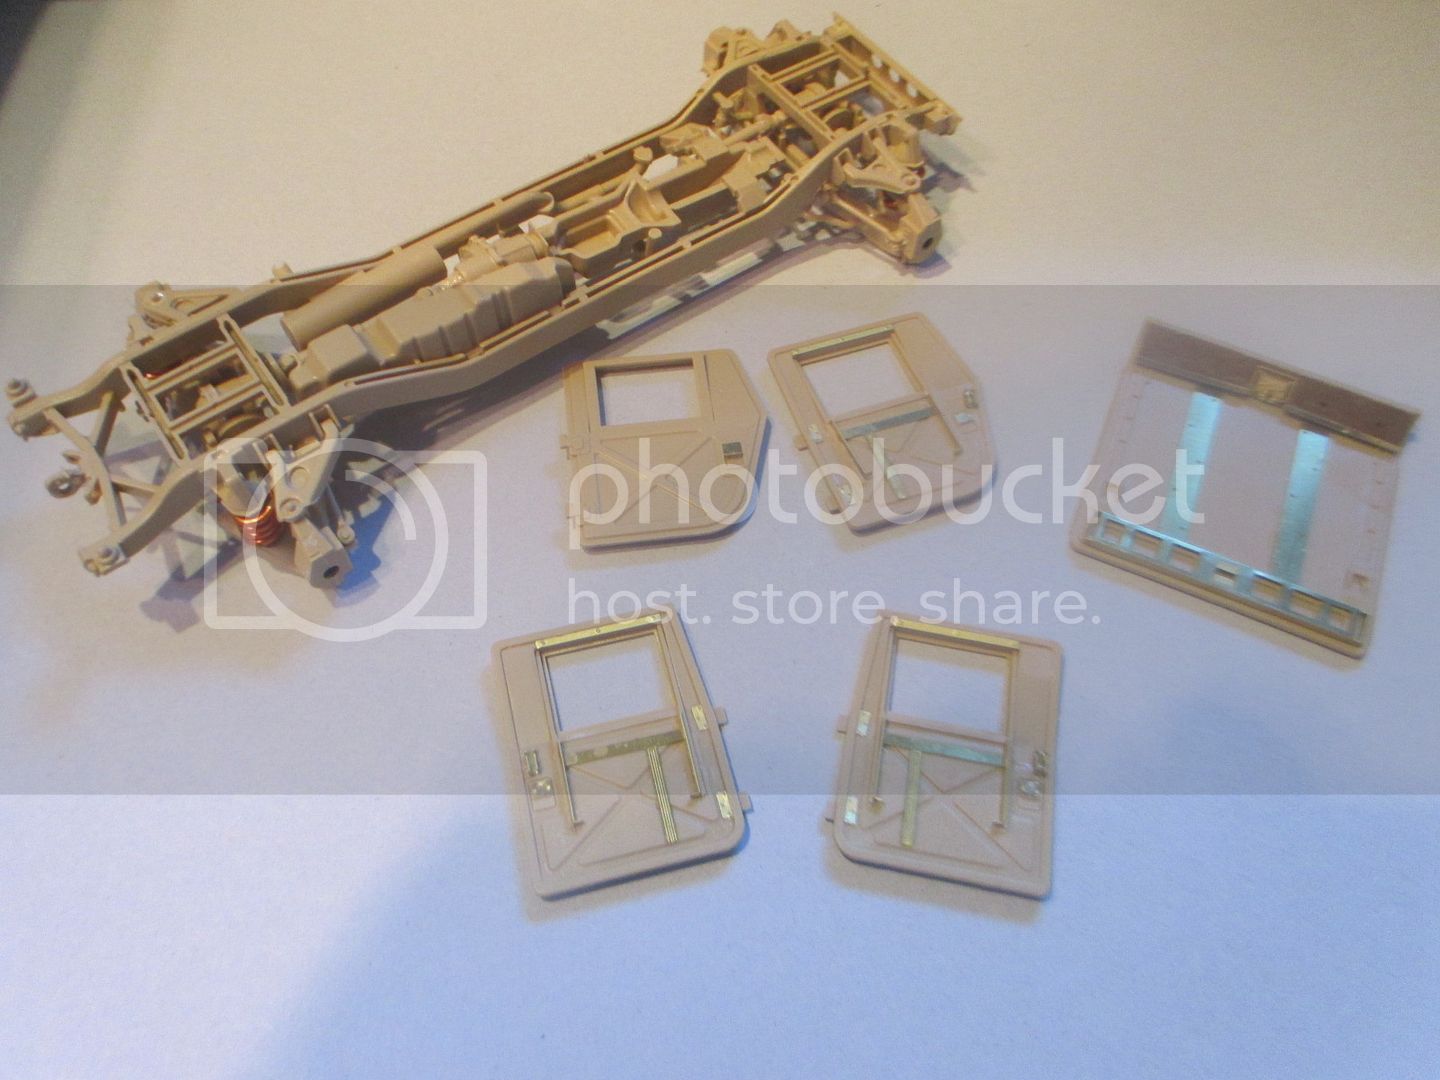
Glad to seeing someone build something I saw a million times during my USMC career. TOW's on humvees. I've heard stories of career ruining things happening to guys who missed the target during their very-rare chances to fire the missile. Apparently each once cost over $5,000 back then and wasting a missile could abruptly derail your promotion train. Great PE work, and I hafta say I really like those copper springs.
Rob,
That's an amazing cast of characters for the stage of your Jagdtiger. Figures intimidate me. I think armor looks much better with them, than without...yet I can't find it in me to devote a ton of time to them, yet.
Great stuff, friends!
Gaz
Thirian24

Joined: September 30, 2015
KitMaker: 2,493 posts
Armorama: 2,344 posts

Posted: Sunday, September 25, 2016 - 09:54 PM UTC
Posted: Monday, September 26, 2016 - 12:31 AM UTC
That's some of the best Zim I've ever seen!
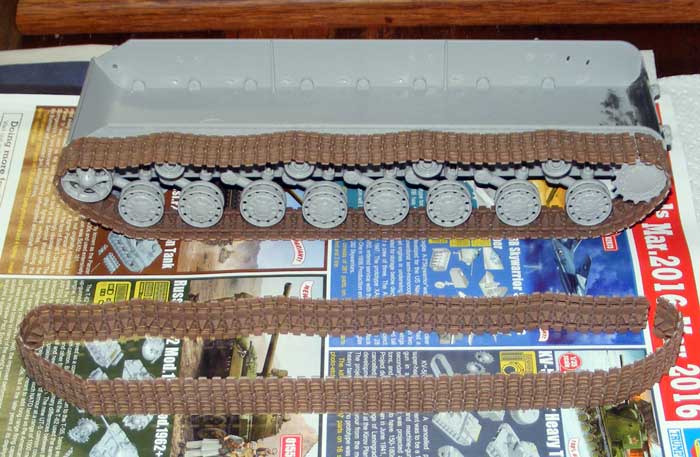
Making some more progress on the Wolverine...
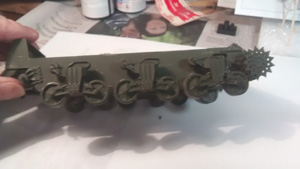
This is the first time I've tried Tamiya's "Glueable" treads...hmmmm...it was instantly torn,like the glue melted it, so back to staples..;-(

Making some more progress on the Wolverine...

This is the first time I've tried Tamiya's "Glueable" treads...hmmmm...it was instantly torn,like the glue melted it, so back to staples..;-(

Posted: Monday, September 26, 2016 - 02:22 AM UTC
Christopher - that is a very detailed chassis. Did it build easily?
Posted: Monday, September 26, 2016 - 02:24 AM UTC
Dustin - Your Elephant is looking terrific! What AM zimm are you using? I may just hafta try one of these myself . . .
Posted: Monday, September 26, 2016 - 02:26 AM UTC
Clayton - What a disaster! When did the tracks tear? Was it right after they were glued or when you tried to stretch them around the wheels?
Possibly time to try some sort of AM tracks . . .
Possibly time to try some sort of AM tracks . . .
Thirian24

Joined: September 30, 2015
KitMaker: 2,493 posts
Armorama: 2,344 posts

Posted: Monday, September 26, 2016 - 02:27 AM UTC
Thank you Clayton and Paul.
Paul - This zimm is Taymia's AM Zimm. Specifically for this kit. It is a sticker style. Really easy. I'll be using this stuff when available from now on.
Paul - This zimm is Taymia's AM Zimm. Specifically for this kit. It is a sticker style. Really easy. I'll be using this stuff when available from now on.
Posted: Monday, September 26, 2016 - 02:34 AM UTC
Clayton,
Some nice work on the running gear. Sorry about the tracks. I built a KT with those glueable tracks a few months ago. They felt fragile so I clamped them and gave them two days to dry. I used Tamiya regular white-cap glue, btw.
Dustin,
The Zimm looks great. You're doing some great advertising for Tamiya! If it ever starts to peel off on it's own, I expect a PM.
Great work guys!
Gaz
Posted: Monday, September 26, 2016 - 02:41 AM UTC
I got some more work done on the KV-5 over the weekend. It mostly went smoothly but for a couple of places that I may have screwed up. First, the big turret hit the small turret in the front. I may have gotten some of the parts upside down on the main gun mount. Everything fit fine and I didn't think to check clearance before welding it all together.
I "fixed" this by sanding away a 1/4" of the lower portion of the gun shield and gluing some pads of .040" card to the bottom of the main turret itself. All clears now, just barely. Here are some pics of the beast:
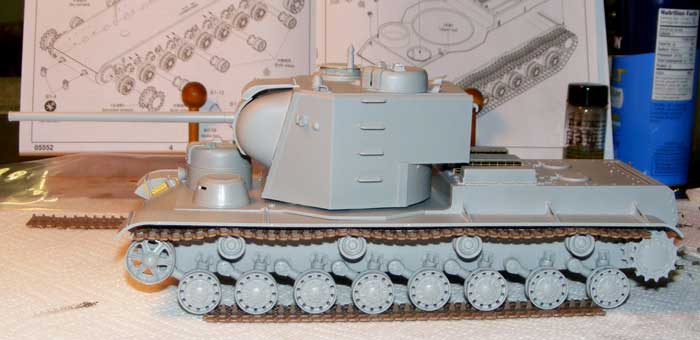
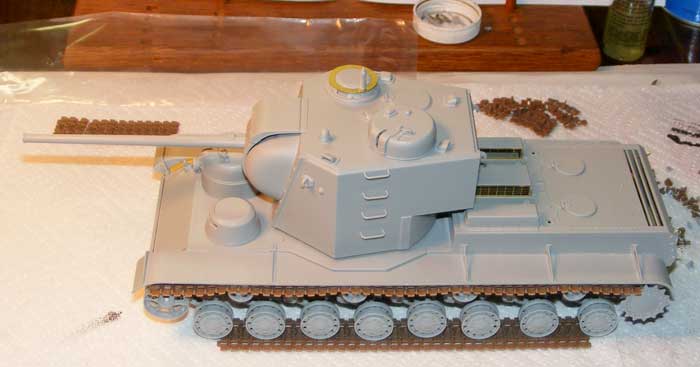
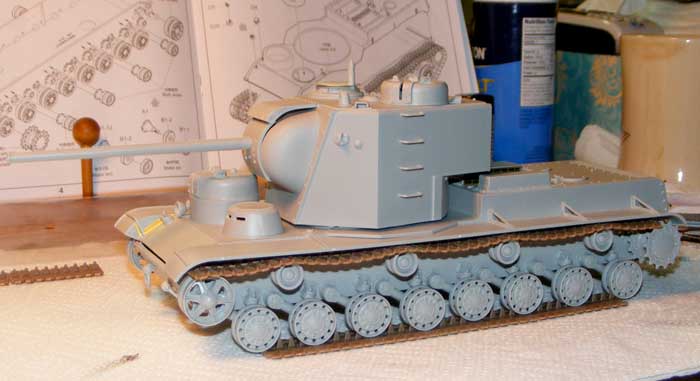
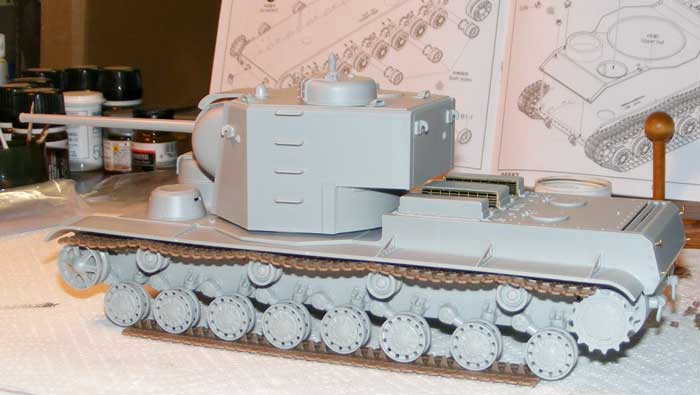
The second area of trouble was clearly a rookie error on my part. I built booth sets of tracks on the left side forgetting that these torsion bar suspensions have different wheel spacings on each side. I'll try "adjusting" the tracks tonight and what happens. If the worst happens I'll get a coupla sets of Fruils ordered in the morning. Yes, this KV-5 will need TWO sets because it is longer than a standard KV. You can bet I used a few of Pop's old Marine Corp. words when I realized what I had done. The air is still blue . . .
I "fixed" this by sanding away a 1/4" of the lower portion of the gun shield and gluing some pads of .040" card to the bottom of the main turret itself. All clears now, just barely. Here are some pics of the beast:


The second area of trouble was clearly a rookie error on my part. I built booth sets of tracks on the left side forgetting that these torsion bar suspensions have different wheel spacings on each side. I'll try "adjusting" the tracks tonight and what happens. If the worst happens I'll get a coupla sets of Fruils ordered in the morning. Yes, this KV-5 will need TWO sets because it is longer than a standard KV. You can bet I used a few of Pop's old Marine Corp. words when I realized what I had done. The air is still blue . . .

Posted: Monday, September 26, 2016 - 02:44 AM UTC
Paul,
Wow! That thing looks longer than a school bus! Looks good, though!
Best Wishes,
Gaz
Wow! That thing looks longer than a school bus! Looks good, though!
Best Wishes,
Gaz
Posted: Monday, September 26, 2016 - 02:47 AM UTC
Quoted Text
Clayton - What a disaster! When did the tracks tear? Was it right after they were glued or when you tried to stretch them around the wheels?
Possibly time to try some sort of AM tracks . . .
Yeah, one set seems to have cured OK, but the other was instant break, definitely needs some help, lol...
Thirian24

Joined: September 30, 2015
KitMaker: 2,493 posts
Armorama: 2,344 posts

Posted: Monday, September 26, 2016 - 03:26 AM UTC
Thanks, Gary. I'll let you know if it peels.
Posted: Monday, September 26, 2016 - 03:27 AM UTC
Possibly you might be able to hide the repairs under a set of wheels or a fender or wish some mud. I have seen this done by folks who had track issues.
Posted: Monday, September 26, 2016 - 05:52 AM UTC
Quoted Text
Thank you Clayton and Paul.
Paul - This zimm is Taymia's AM Zimm. Specifically for this kit. It is a sticker style. Really easy. I'll be using this stuff when available from now on.
Thank you, I will keep this in mind. What a wonderful (modeling) world we live in!
Posted: Monday, September 26, 2016 - 05:56 AM UTC
Quoted Text
Paul,
Wow! That thing looks longer than a school bus! Looks good, though!
Best Wishes,
Gaz
I just built the little T-18 Model 1927 a few months ago. It would be fun to shoot a photo or two next to this beast. I think the T-18 might be able to "park" on the engine deck. Gee, I find myself thinking in nautical terms with this Landship .. .
Posted: Monday, September 26, 2016 - 06:27 AM UTC
Quoted Text
Quoted TextClayton - What a disaster! When did the tracks tear? Was it right after they were glued or when you tried to stretch them around the wheels?
Possibly time to try some sort of AM tracks . . .
Yeah, one set seems to have cured OK, but the other was instant break, definitely needs some help, lol...
I'm in the same boat as well. The M3 Stuart I have for another campaign has similar looking tracks and likewise went the same fate when I was giving it the strecth test

I just finished a Tamiya Pz II. Visually its tracks seem more fragile than that of the Stuart's but it turns out to be otherwise, and it didn't need to be stapled.

Posted: Monday, September 26, 2016 - 09:54 AM UTC
Hi Everyone!
Just to show that I do other things beside make forum posts here is a little update on my Marder IIIh.
I spent a lot of time bending, breaking, twisting and cursing...oh...let's not forget losing little pieces of brass. I am amazed at some of the PE pieces on the fret. They are no bigger than commas. I have decided to forgo the comma sized pieces.

My dunkelgelb is very high in the 'gelb' department. And I only spent a little time painting those parts of the interior that will remain hidden forever. I did make the ammo chutes a little different color for variety and reasoning that a subcontractor's paint might be a few shades off.

I'm actually proudest of what the model is sitting on. It's my new Mobile Modelling Building desk.

It allows me to take most of my essential gear into the living room and watch the big TV while working on a model. Except for the plywood top, the rest of it is aluminum square tubing, steel brackets and rivets.
Built tall to keep the bench closer to my eyes, it is very light when empty. The drawers are of the cheap, plastic variety that come in different sizes.
It cost me an entire weekend of model building to get it completed. It makes the wife happy because it frees up the dining table.
Happy building, friends!
Gaz
Just to show that I do other things beside make forum posts here is a little update on my Marder IIIh.
I spent a lot of time bending, breaking, twisting and cursing...oh...let's not forget losing little pieces of brass. I am amazed at some of the PE pieces on the fret. They are no bigger than commas. I have decided to forgo the comma sized pieces.

My dunkelgelb is very high in the 'gelb' department. And I only spent a little time painting those parts of the interior that will remain hidden forever. I did make the ammo chutes a little different color for variety and reasoning that a subcontractor's paint might be a few shades off.

I'm actually proudest of what the model is sitting on. It's my new Mobile Modelling Building desk.

It allows me to take most of my essential gear into the living room and watch the big TV while working on a model. Except for the plywood top, the rest of it is aluminum square tubing, steel brackets and rivets.
Built tall to keep the bench closer to my eyes, it is very light when empty. The drawers are of the cheap, plastic variety that come in different sizes.
It cost me an entire weekend of model building to get it completed. It makes the wife happy because it frees up the dining table.
Happy building, friends!
Gaz
Posted: Monday, September 26, 2016 - 04:32 PM UTC
You have a cool setup there Gaz! I like your idea of having the tabletop higher than normal. 

Posted: Monday, September 26, 2016 - 06:04 PM UTC
1st update: Lower hull and running gear mostly complete. Zimmerit has been attached. I will say the zim went on like a dream. I was a litte nervous since the Atak zim had no instructions but its very intuitive and the Dragon instructions helpfully tell you where the zim should be added.
I opted not to do the PE fenders and running boards as the plastic ones look fine and having looked at them on the fret I realized they really do need to be soldered and I don't have that equipment or the knowledge/skill lever to do it well.


I opted not to do the PE fenders and running boards as the plastic ones look fine and having looked at them on the fret I realized they really do need to be soldered and I don't have that equipment or the knowledge/skill lever to do it well.


Thirian24

Joined: September 30, 2015
KitMaker: 2,493 posts
Armorama: 2,344 posts

Posted: Monday, September 26, 2016 - 06:37 PM UTC
Rory - Nice zimm sir!
Gary - Great looking modeling bench.
Gary - Great looking modeling bench.
 |


