Campaigns: Completed Campaigns
Campaigns that are completed should be grouped here.
Hosted by Richard S.
Artillery Campaign 2017
Chaman911
Visit this Community
United States
Joined: August 28, 2015
KitMaker: 319 posts
Armorama: 308 posts
Posted: Wednesday, August 09, 2017 - 07:43 PM UTC
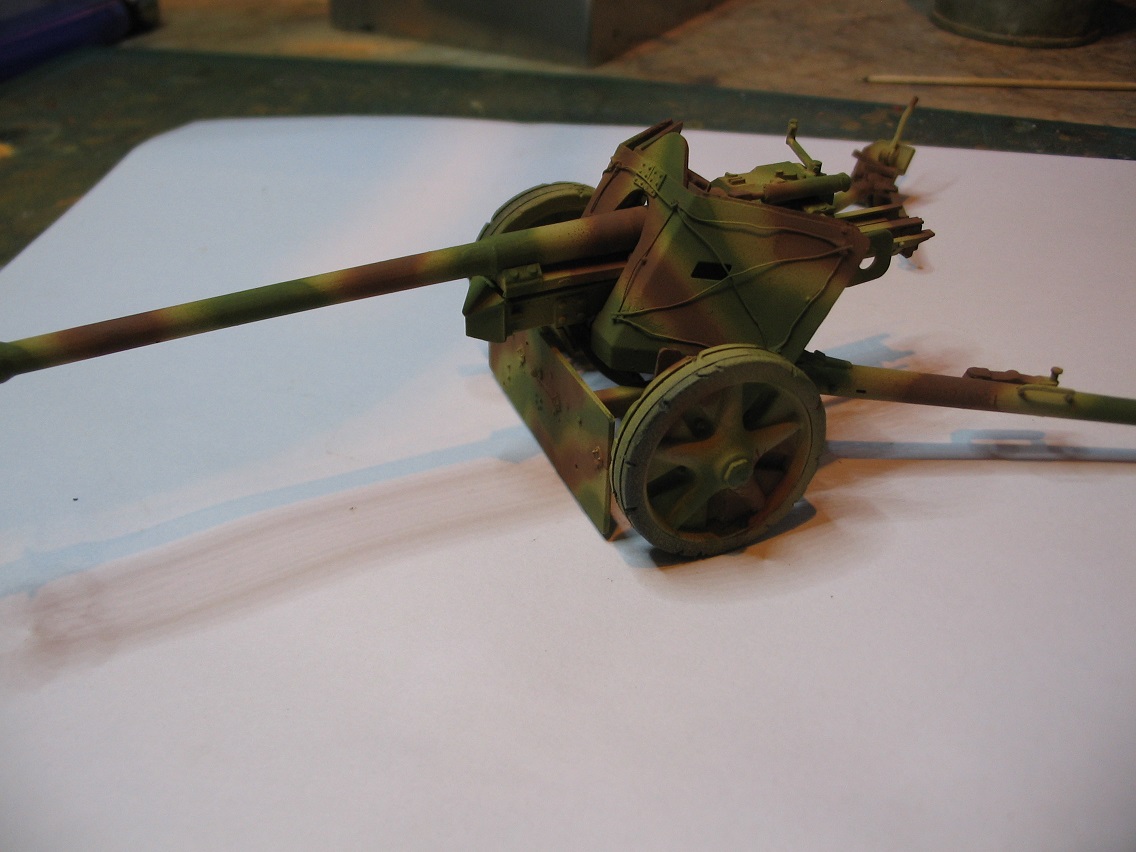
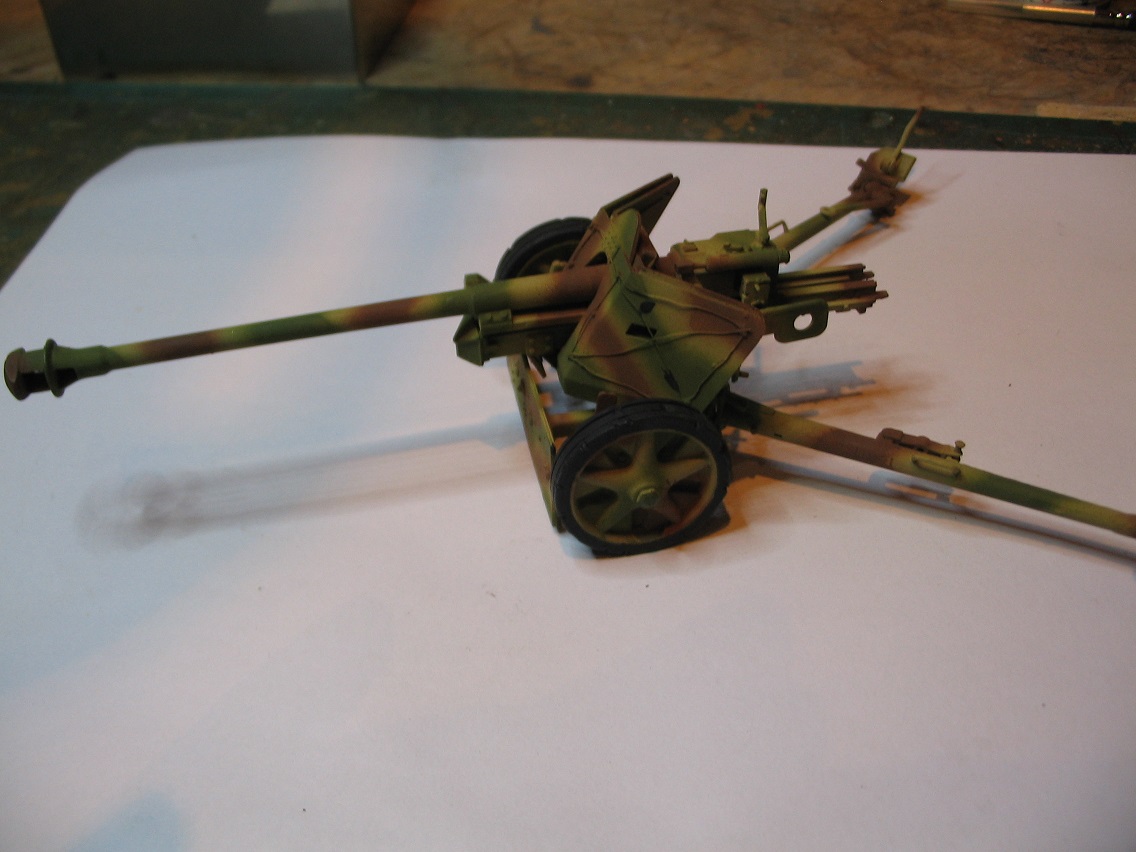
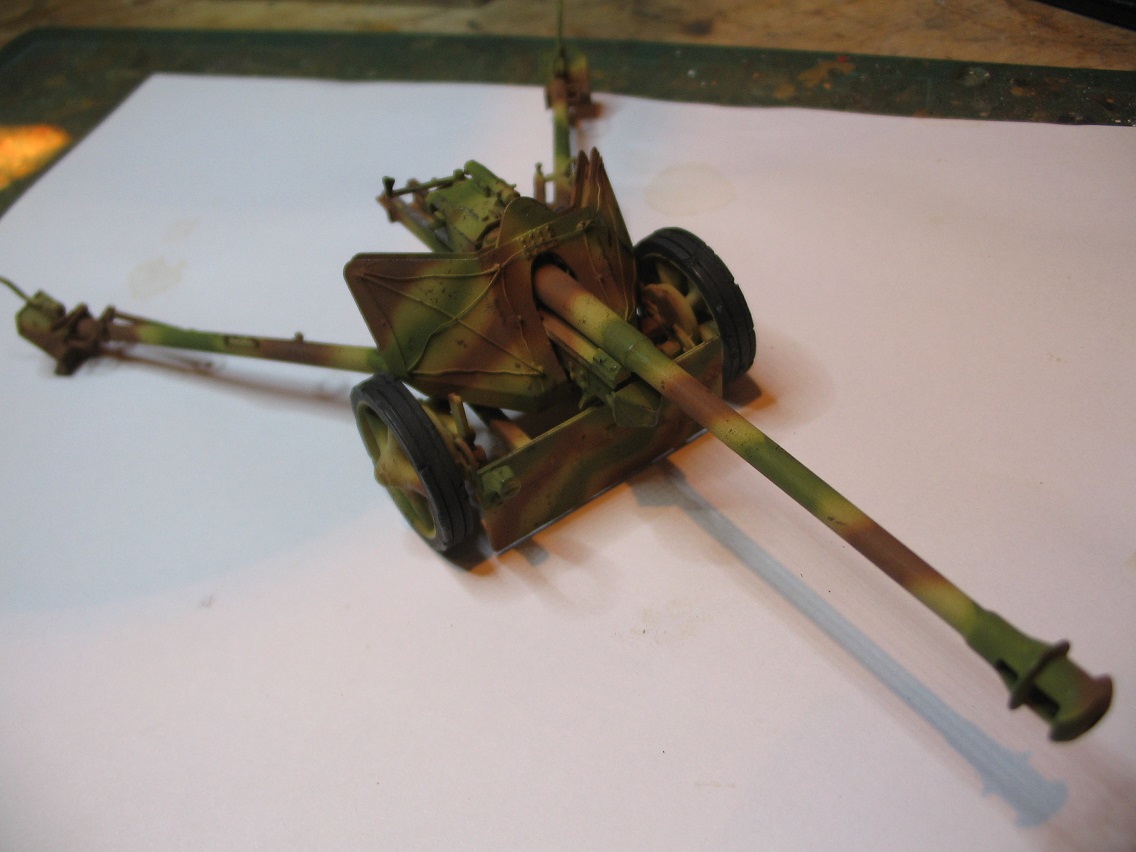
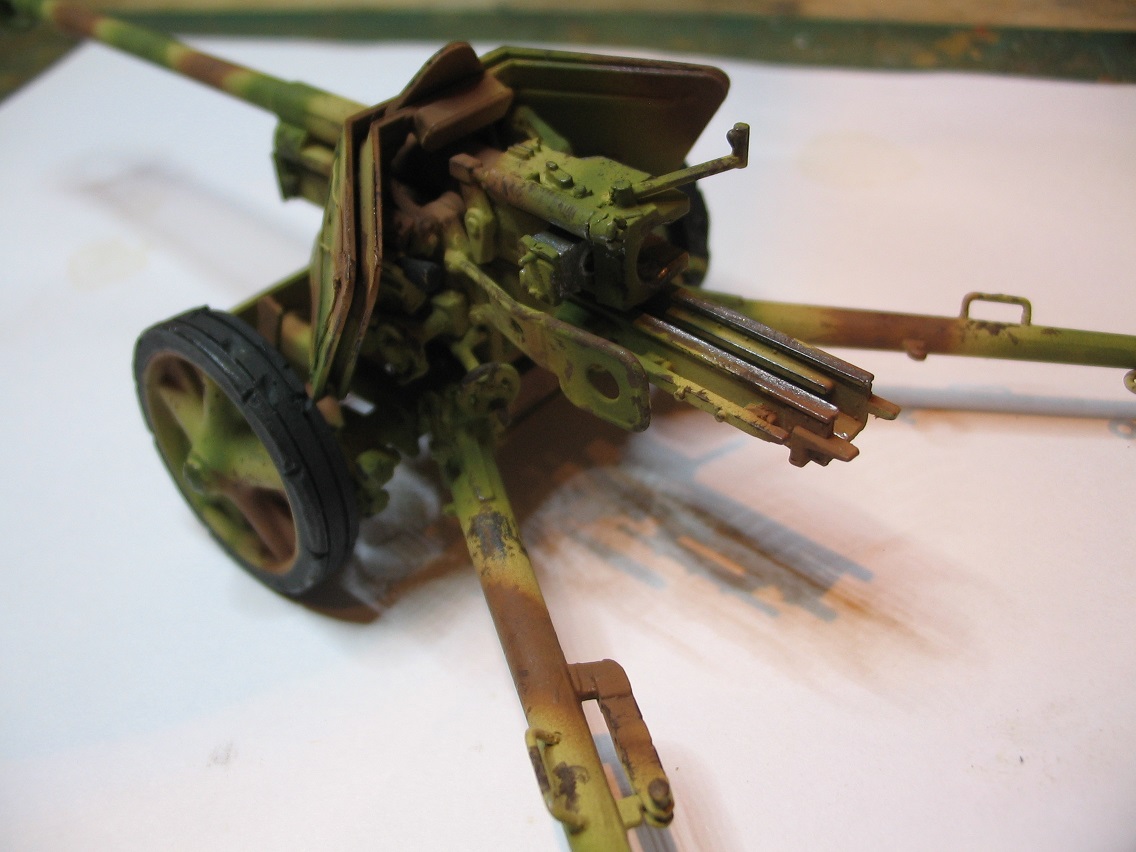
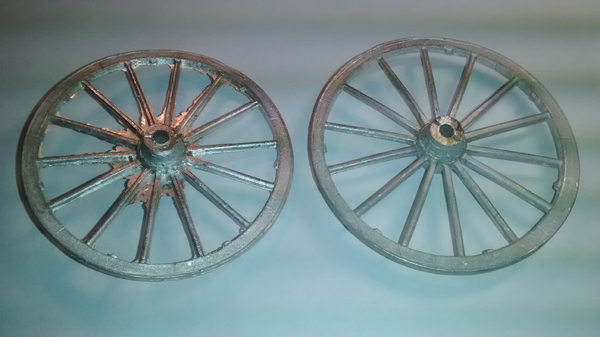
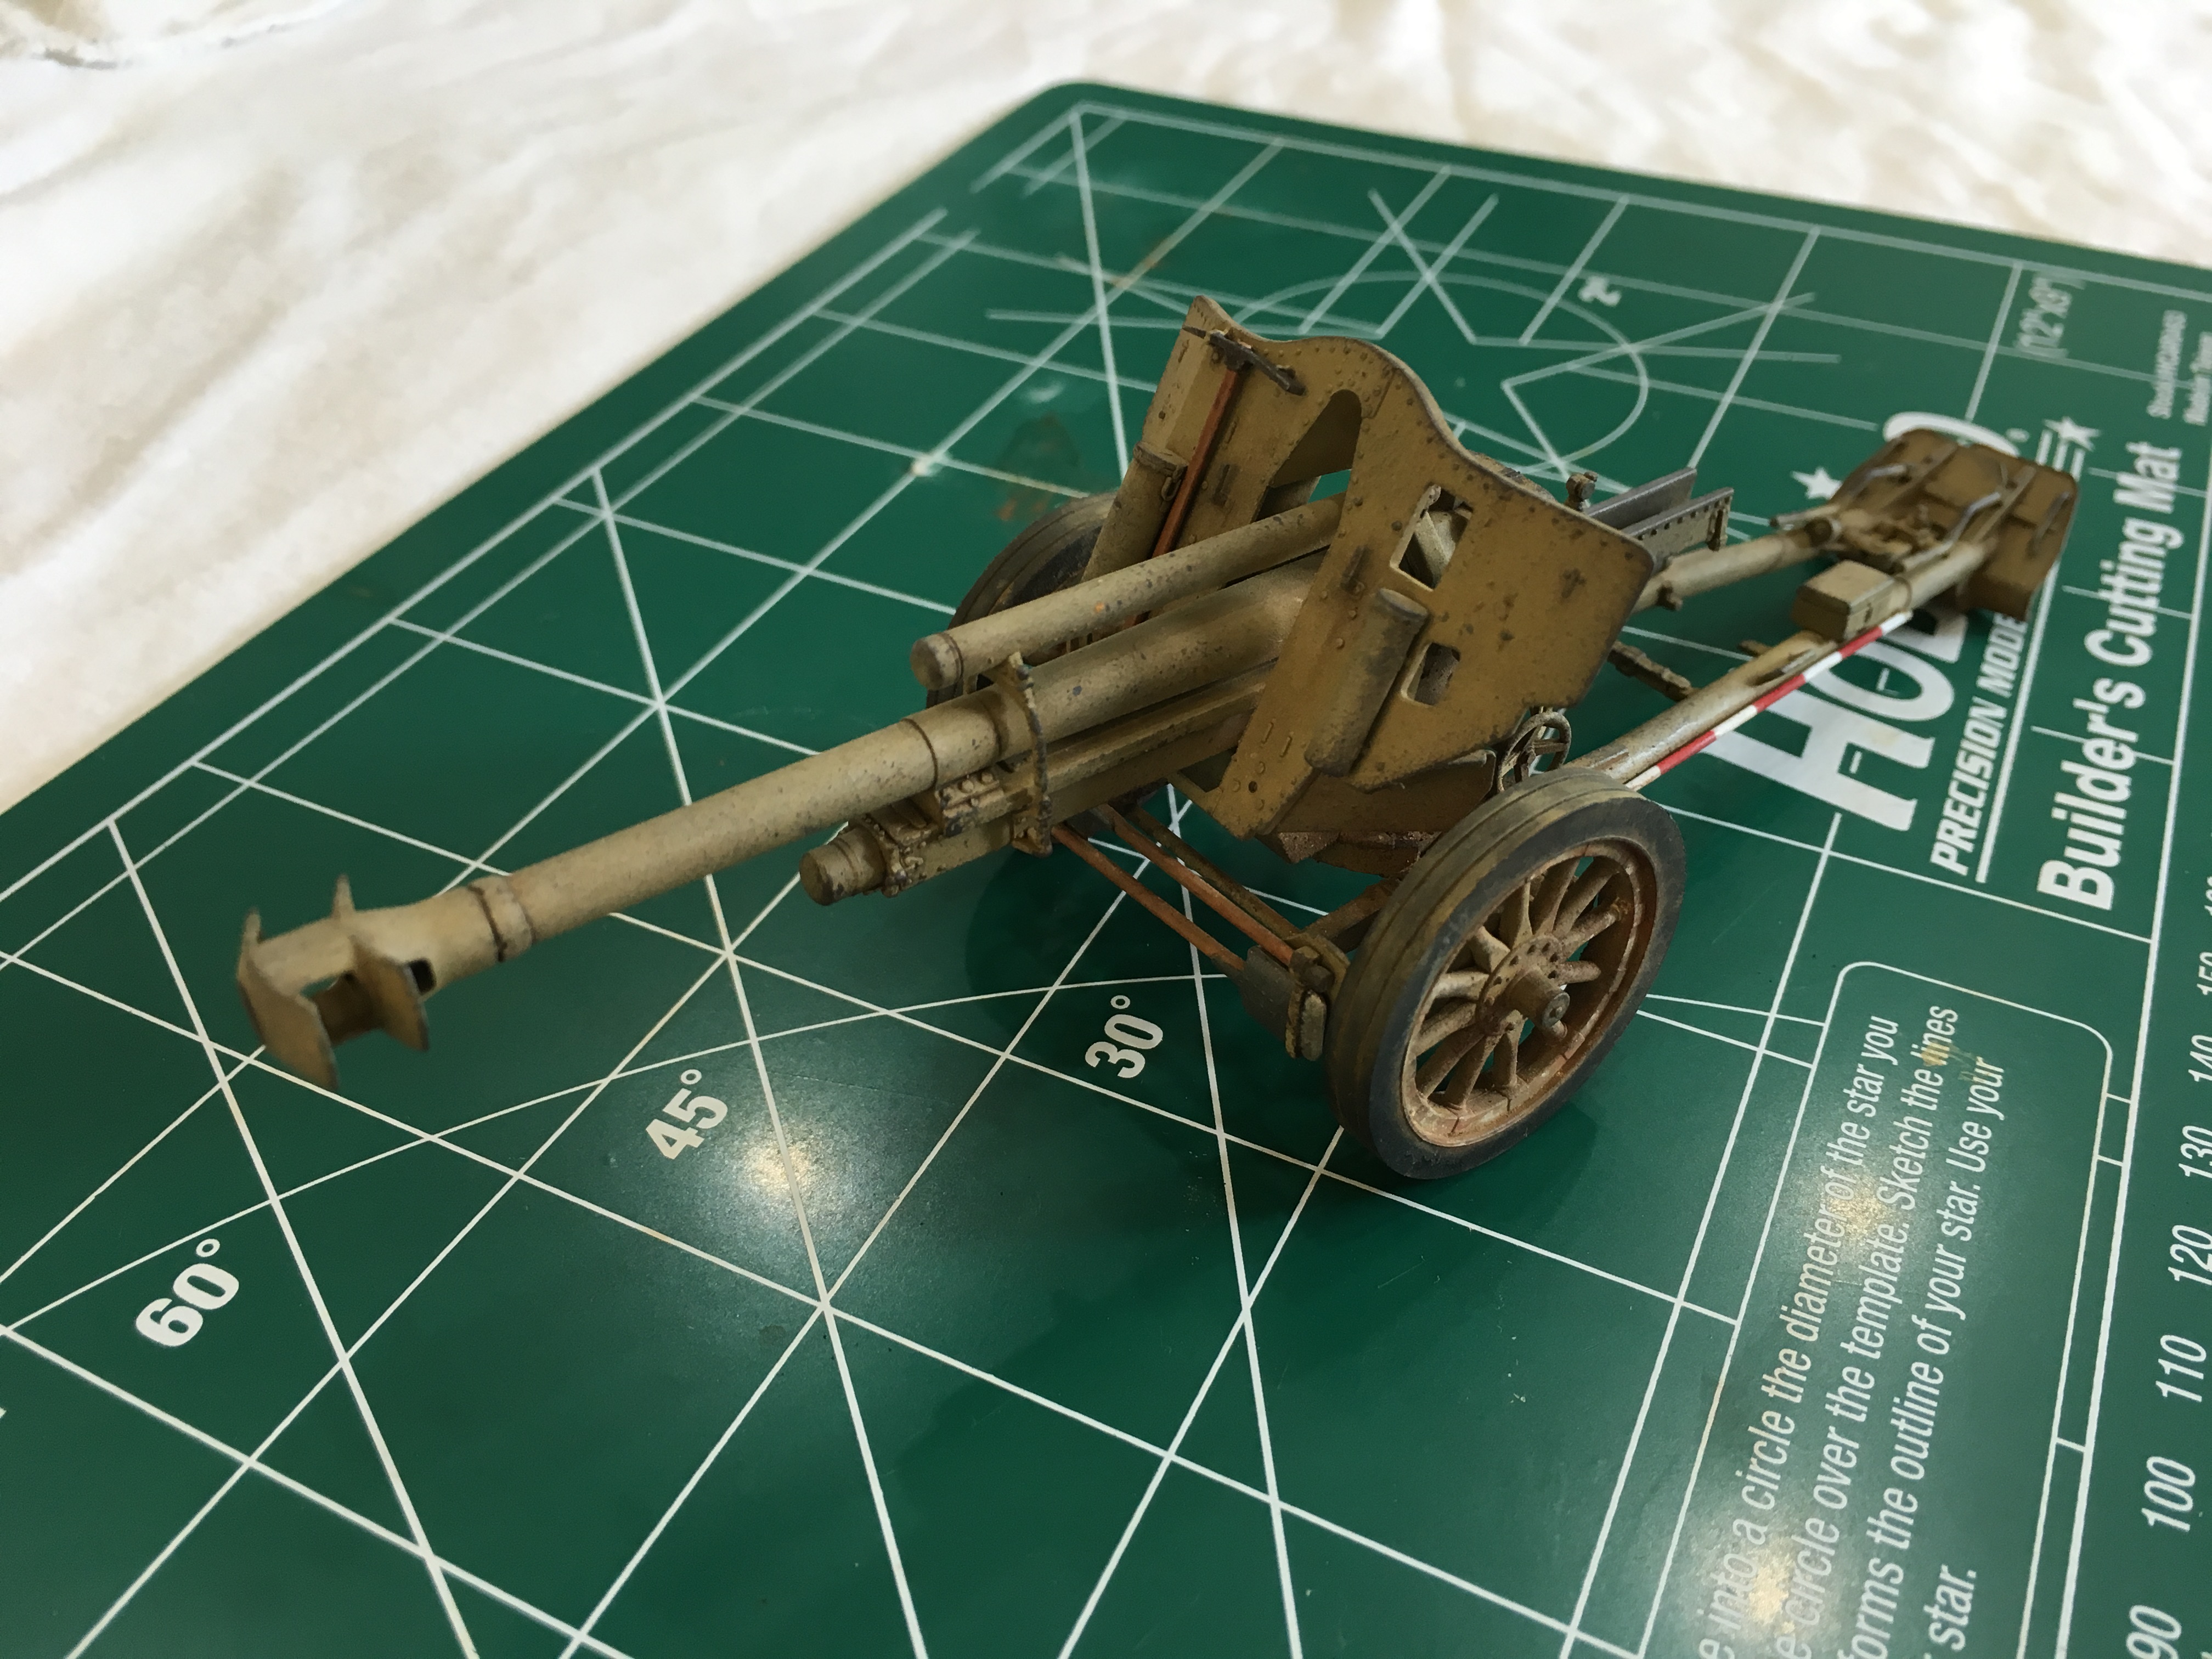
Alright! I think I am ready to call this one done. This is the AFV Club LeFe18/40 10.5cm howitzer. I cleaned up some of the wear markings that I decided were too heavy. I also used pigments for the first time on the wheels and the undercarriage. This was my first artillery piece and my first kit by AFV Club. Please let me know if you see anything that should be fixed or anything I missed so I can correct it. Thanks everyone!


ClaytonFromEllijay
#454
Visit this Community
Georgia, United States
Joined: July 10, 2016
KitMaker: 1,273 posts
Armorama: 1,138 posts
Posted: Wednesday, August 09, 2017 - 08:01 PM UTC
Beautiful piece, Bryan!
69mudbone
Visit this Community
California, United States
Joined: April 26, 2016
KitMaker: 362 posts
Armorama: 285 posts
Posted: Wednesday, August 09, 2017 - 08:24 PM UTC
OUTSTANDING.......
LikesTanks
Visit this Community
Wales, United Kingdom
Joined: May 07, 2013
KitMaker: 242 posts
Armorama: 234 posts
Posted: Wednesday, August 09, 2017 - 09:02 PM UTC
Nice, subtle weathering, no longer looks like kids have been hanging off the barrel for a couple of years. Wish mine would look even half as good
Klaus-Adler
Staff MemberCampaigns Administrator
MODELGEEK
Visit this Community
Scotland, United Kingdom
Joined: June 08, 2015
KitMaker: 1,505 posts
Armorama: 840 posts
Posted: Saturday, August 12, 2017 - 01:45 AM UTC
Here is my kit for the build the Soviet GRAD BM-21 and here are the opening shots of the build, namely the box and the opening of the box itself:


Klaus-Adler
Staff MemberCampaigns Administrator
MODELGEEK
Visit this Community
Scotland, United Kingdom
Joined: June 08, 2015
KitMaker: 1,505 posts
Armorama: 840 posts
Posted: Saturday, August 12, 2017 - 04:13 PM UTC
just a quick update, i've started work on the chassis and the first two stages have now been completed.

Pave-Hawk
Visit this Community
Western Australia, Australia
Joined: May 05, 2006
KitMaker: 900 posts
Armorama: 510 posts
Posted: Saturday, August 12, 2017 - 04:53 PM UTC
25pdr gun is done (I think), now just need to finish up the bits and pieces of the trailer to go with it. Tyres do look a bit fresh though.


Chaman911
Visit this Community
United States
Joined: August 28, 2015
KitMaker: 319 posts
Armorama: 308 posts
Posted: Saturday, August 12, 2017 - 07:00 PM UTC
OMG are all thoes launcher tubes two piece? Looks like a neat kit other than all the tubes.
Klaus-Adler
Staff MemberCampaigns Administrator
MODELGEEK
Visit this Community
Scotland, United Kingdom
Joined: June 08, 2015
KitMaker: 1,505 posts
Armorama: 840 posts
Posted: Sunday, August 13, 2017 - 05:51 PM UTC

Quoted Text

OMG are all thoes launcher tubes two piece? Looks like a neat kit other than all the tubes.


its not so bad, they're in block builds rather than individual tubes

erichvon
Visit this Community
England - East Midlands, United Kingdom
Joined: January 17, 2006
KitMaker: 1,694 posts
Armorama: 1,584 posts
Posted: Sunday, August 13, 2017 - 06:57 PM UTC
I've finally decided on something to build. I received the Miniart "Poland 1944" dio in a box in the post today which I got off ebay cheaply. Having just finished a Zis3 I don't fancy building another one so soon (the kit builds up as a Zis 2 or Zis 3. The only difference is the barrel. I've just built one as a review blog on here and somehow I've ended up with another three to build. That's what happens when you see a bargain and don't check the stash lol) so I've decided to build one of the Tamiya Pak 40's I've had sitting around for a few years. I recently bought the AFV Club Pak 40 ammo set with a dio in mind so I get to use that now. I'm going to make my own crew as I'm not using the very dated Tamiya ones as they look a bit crap by todays standards to say the least. I've downloaded a couple of hundred detail photos from Net Maquettes this morning so I'm all set. Once I've got some results I'll stick a few pics up.
erichvon
Visit this Community
England - East Midlands, United Kingdom
Joined: January 17, 2006
KitMaker: 1,694 posts
Armorama: 1,584 posts
Posted: Monday, August 14, 2017 - 05:20 PM UTC
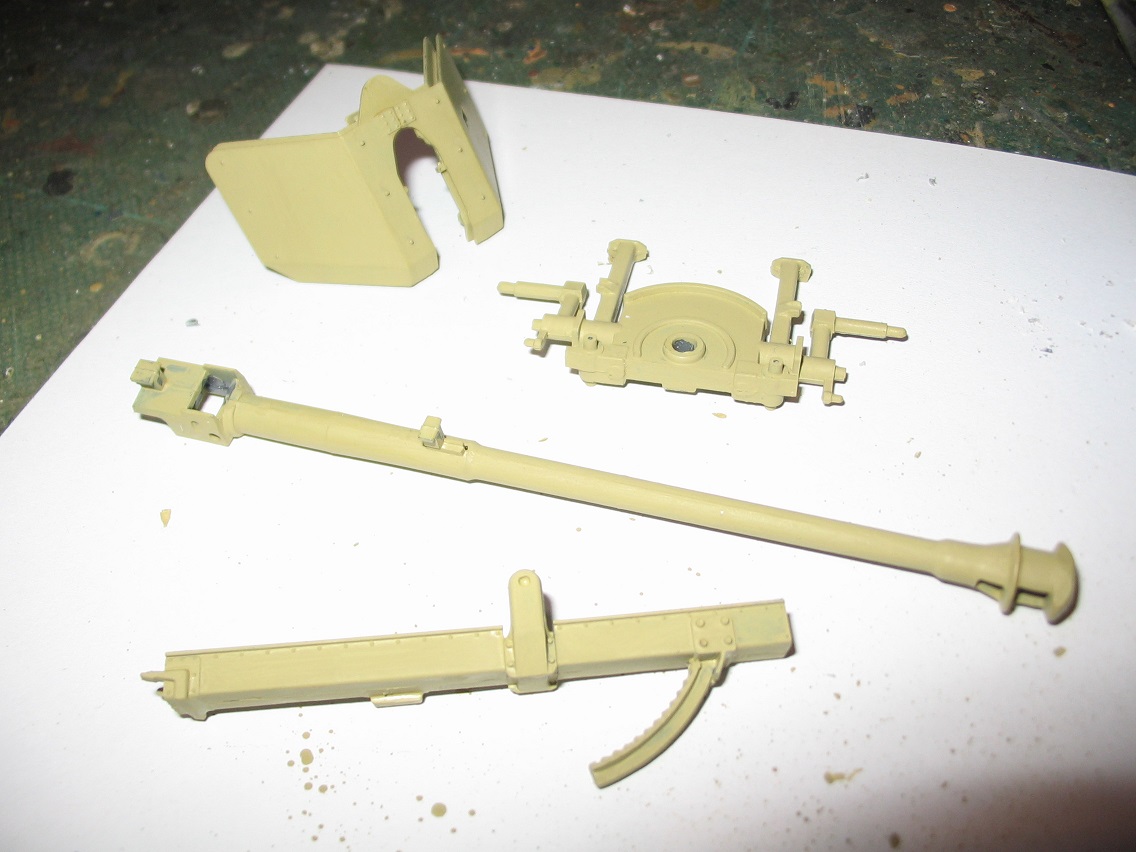
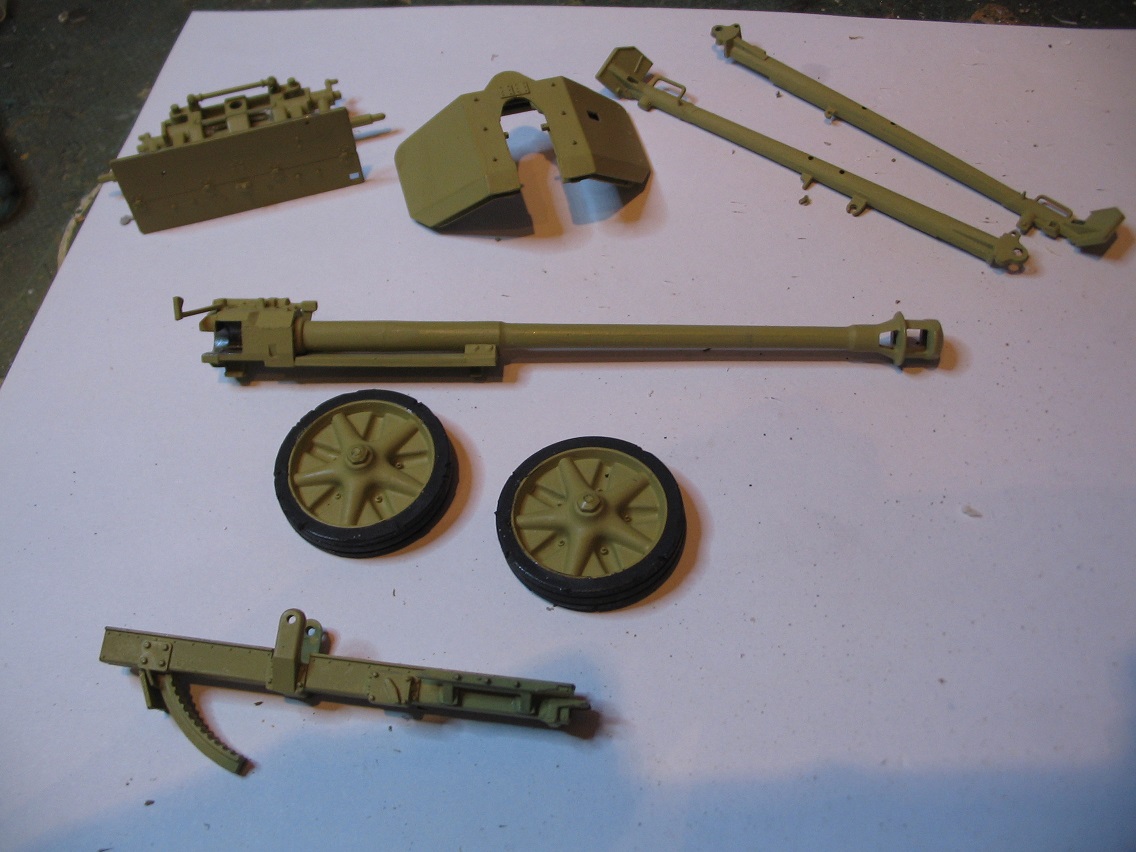
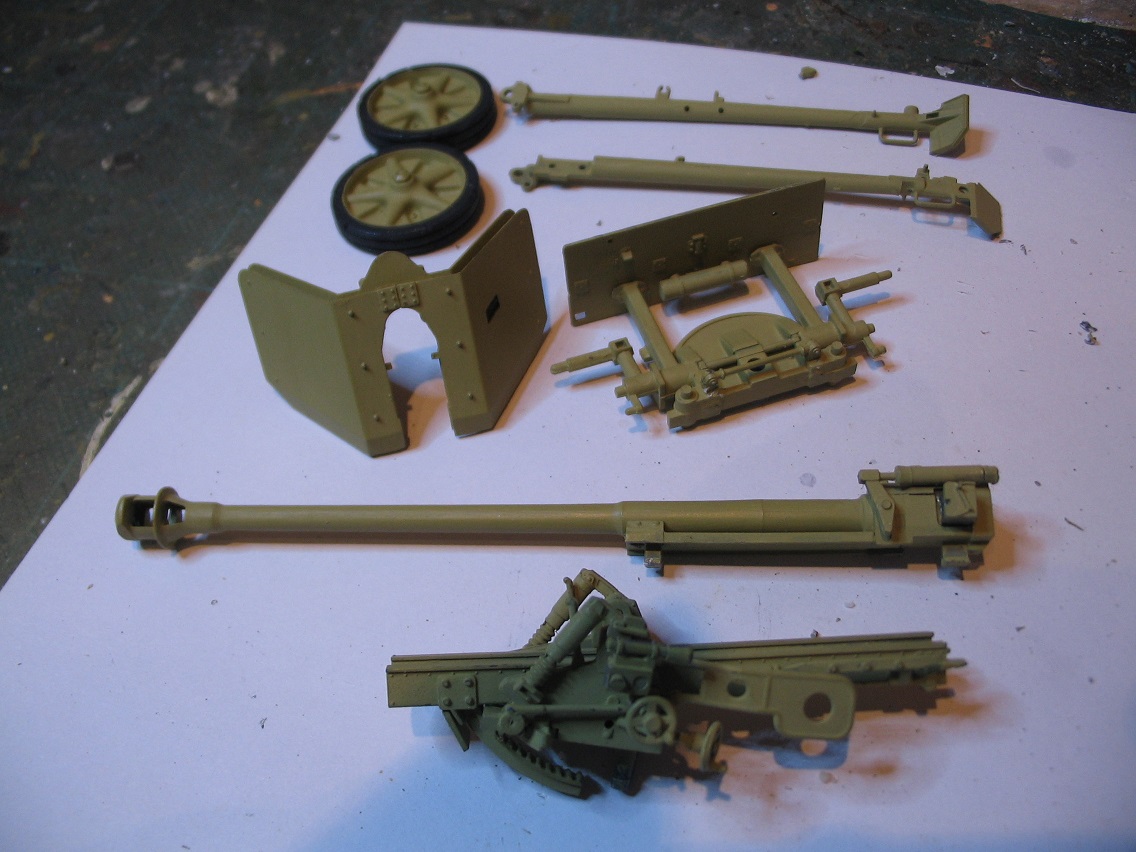
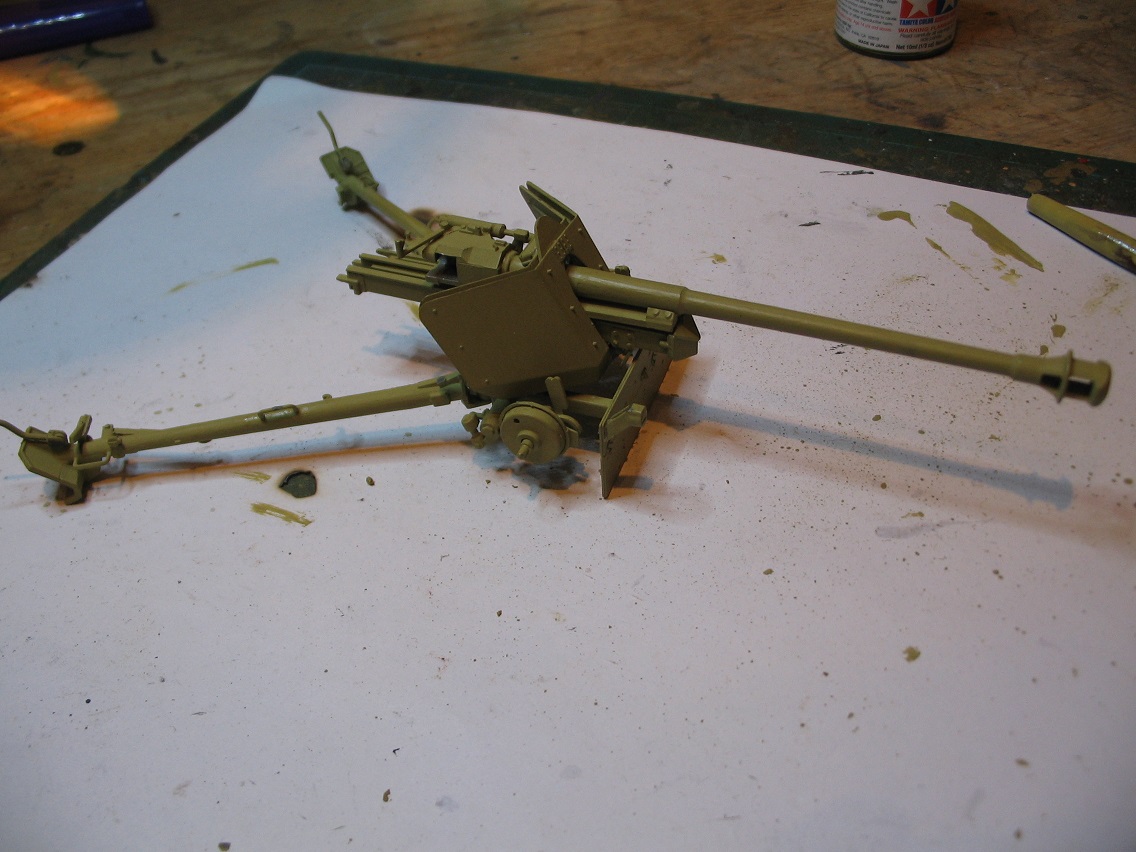
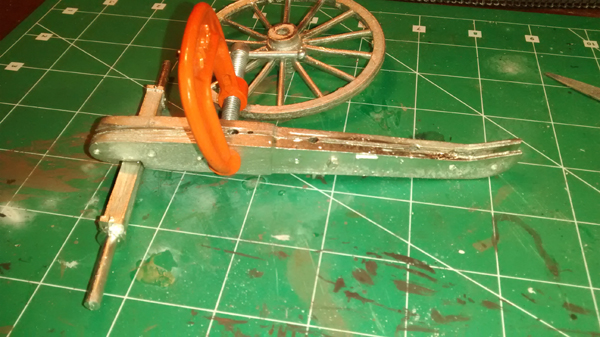
Had pretty much a solid day on it yesterday and got loads of it done. I'd forgotten what an easy kit it was. One thng that was a ballache was all the mouldlines. Practically every piece had them so there was a lot of cleaning up to do. That's one of the advantages of painting before putting it together or doing sub assemblies painted up. That way I can make sure that the moauld lines are all gone. I had to do the barrel about 4 times, scraping it with a no.11 then gentle rub with an emery board.
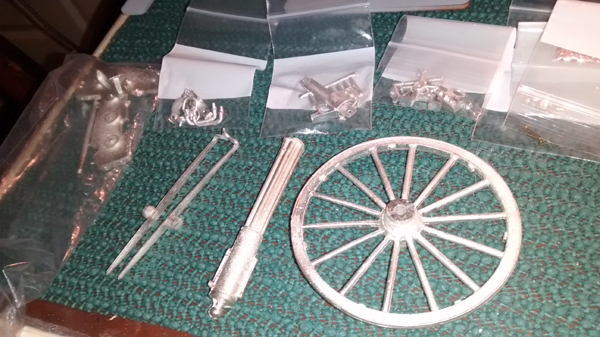


That was going to be the one photo to show that I'd started but got carried away as I was enjoying myself lol.


It's pretty much altogether now in sub assemblies with a basic coat on it. Once it's altogether I'll spray it with a coat of dunkel gelb then do a three colour cam on it. It can go on one side then until I've done the base and figures. Then it's just a final job of weathering, onto the base with the figures. Final thing will be a liberal amount of ammo, empty tubes and empty shell cases.
Mrclark7
Visit this Community
Texas, United States
Joined: June 04, 2017
KitMaker: 503 posts
Armorama: 477 posts
Posted: Tuesday, August 15, 2017 - 06:46 AM UTC
Ill enter with a Academy M109A6 just released if okay.

Photb is no longer fine with me so I will start a folder in the kitmaker network and figure out later how to add them.

erichvon
Visit this Community
England - East Midlands, United Kingdom
Joined: January 17, 2006
KitMaker: 1,694 posts
Armorama: 1,584 posts
Posted: Tuesday, August 15, 2017 - 08:58 PM UTC
Kelly, it's really simple to do on the Kitmaker site. The only problem on there is space as your space quota disappears really quickly. I pay a couple of quid each month for unlimited space so it's really worthwhile doing that. Photobucketgate has ruined dozens of different sites that I used to look at as now all the users photos have vanished and are being held to ransom which by the sound of it noone's willing to pay. Odds are someone will sue them eventually and there'll be a test case on intellectual property rights which hopefully they'll lose as I can't see that what they're doing is legal.
erichvon
Visit this Community
England - East Midlands, United Kingdom
Joined: January 17, 2006
KitMaker: 1,694 posts
Armorama: 1,584 posts
Posted: Wednesday, August 16, 2017 - 09:21 AM UTC
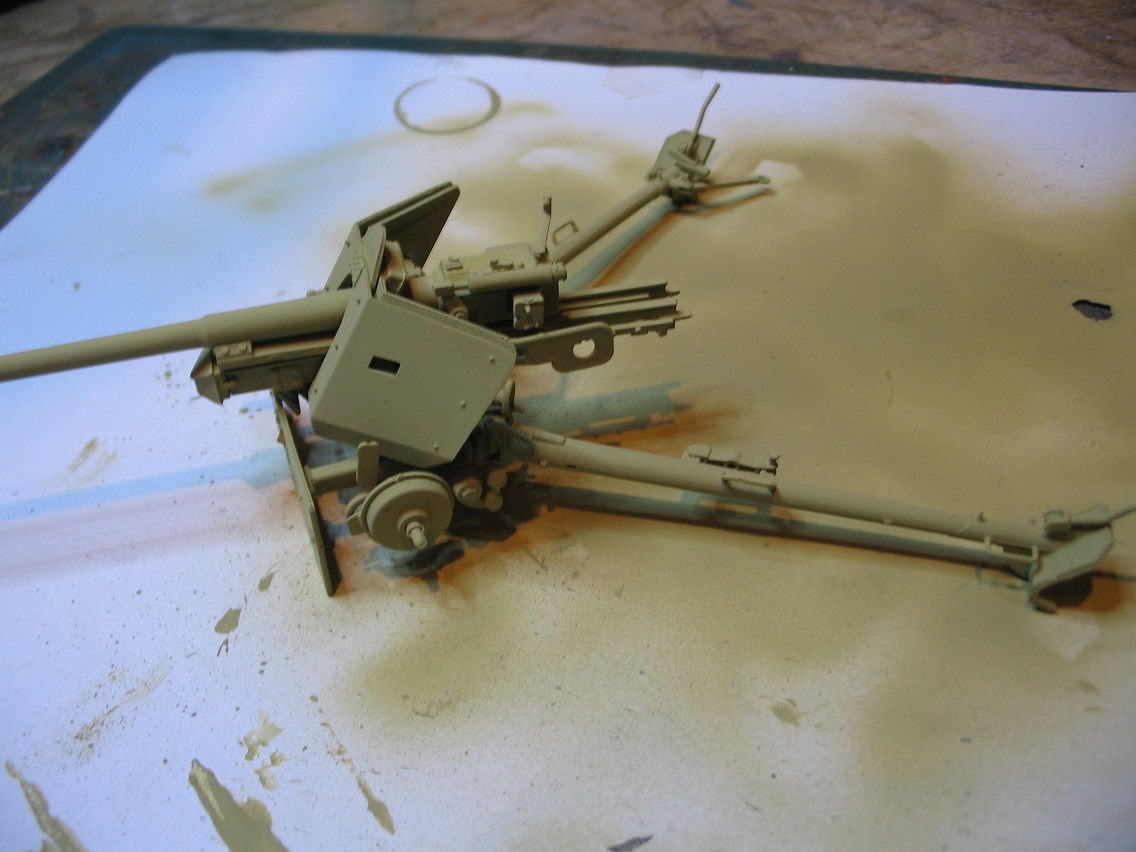
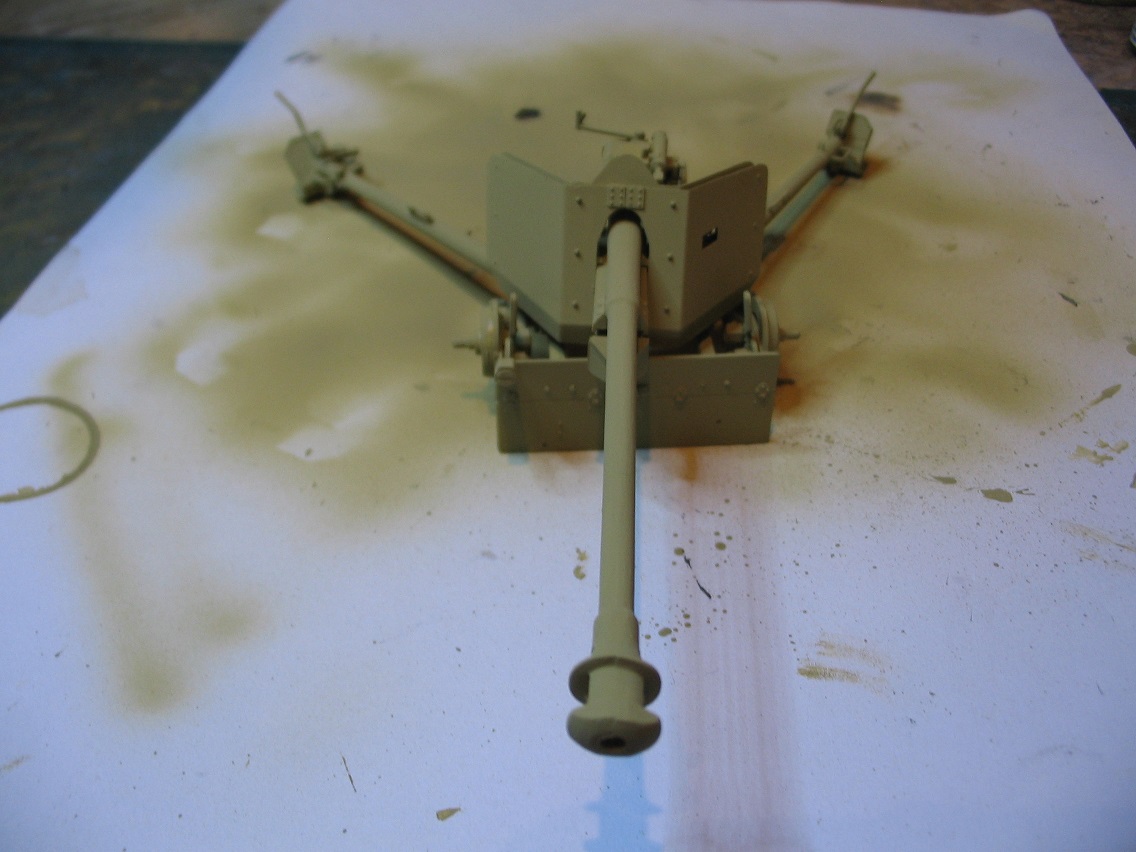
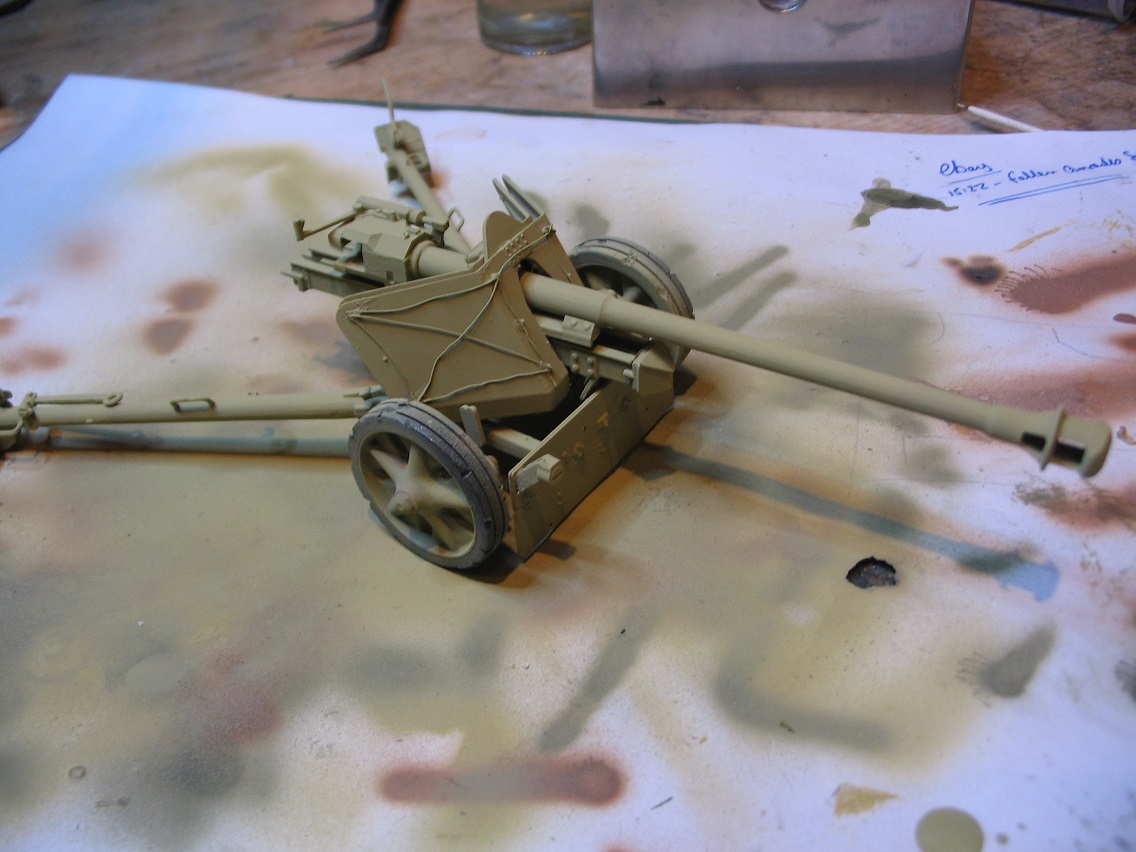
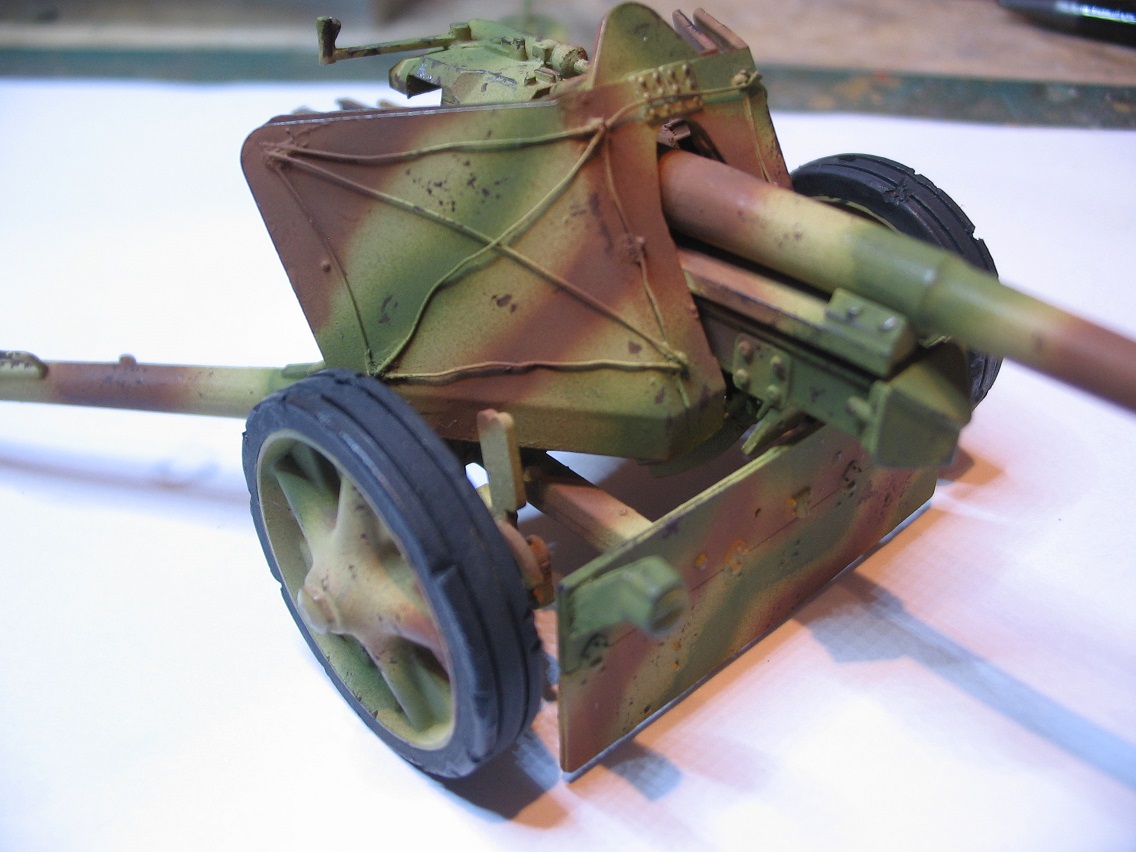
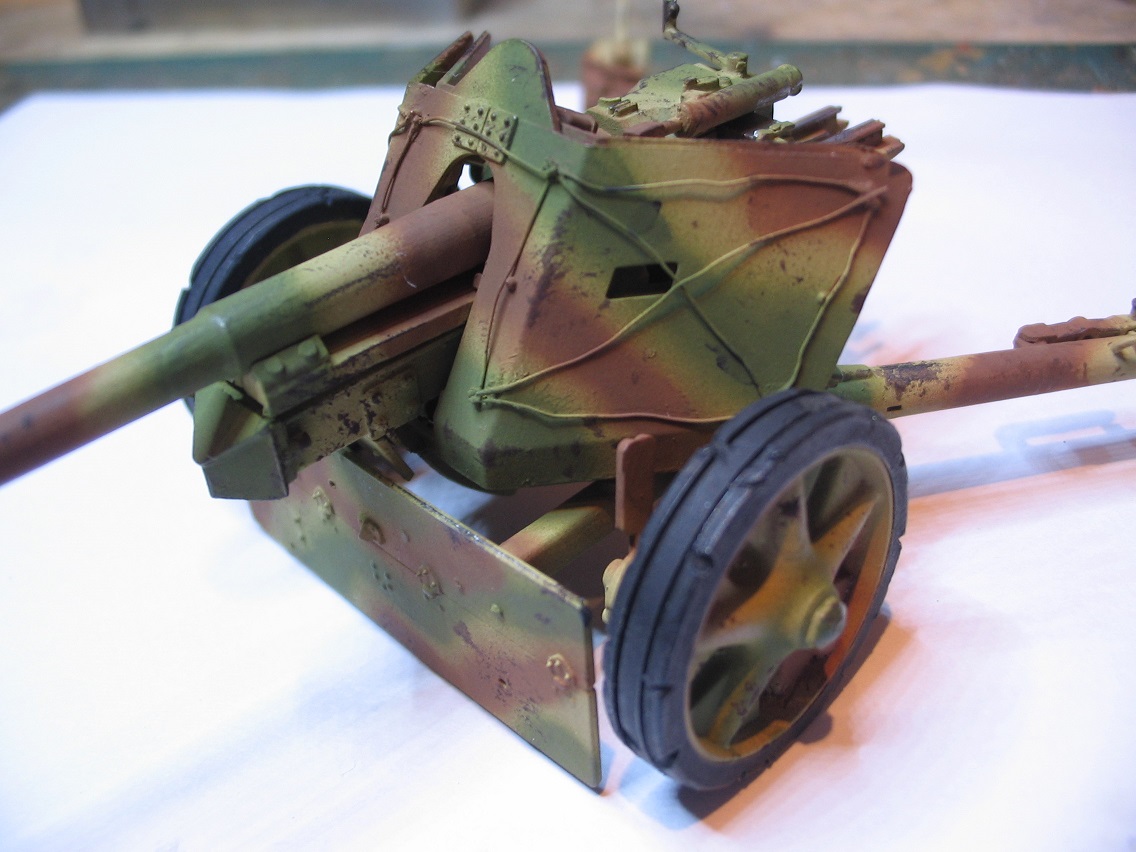
One of the advantages of not working anymore is you can spend as much time at the modelling desk as you want to and don't have to worry about getting up for work in the morning. I had the idea the other day about doing the Pak 40 for a dio as I explained earlier. It was a lot simpler than I remembered and with it being Tamiya it fell together. I think it took me more time to get rid of all the mould lines than to build the kit. As I'd built it in subsections it meant I could put it altogether in one go. This is it with the base coat I'd applied while I was building.


I find it easier to do it this way as there's inevitably some areas you can't reach once you start airbrushing.


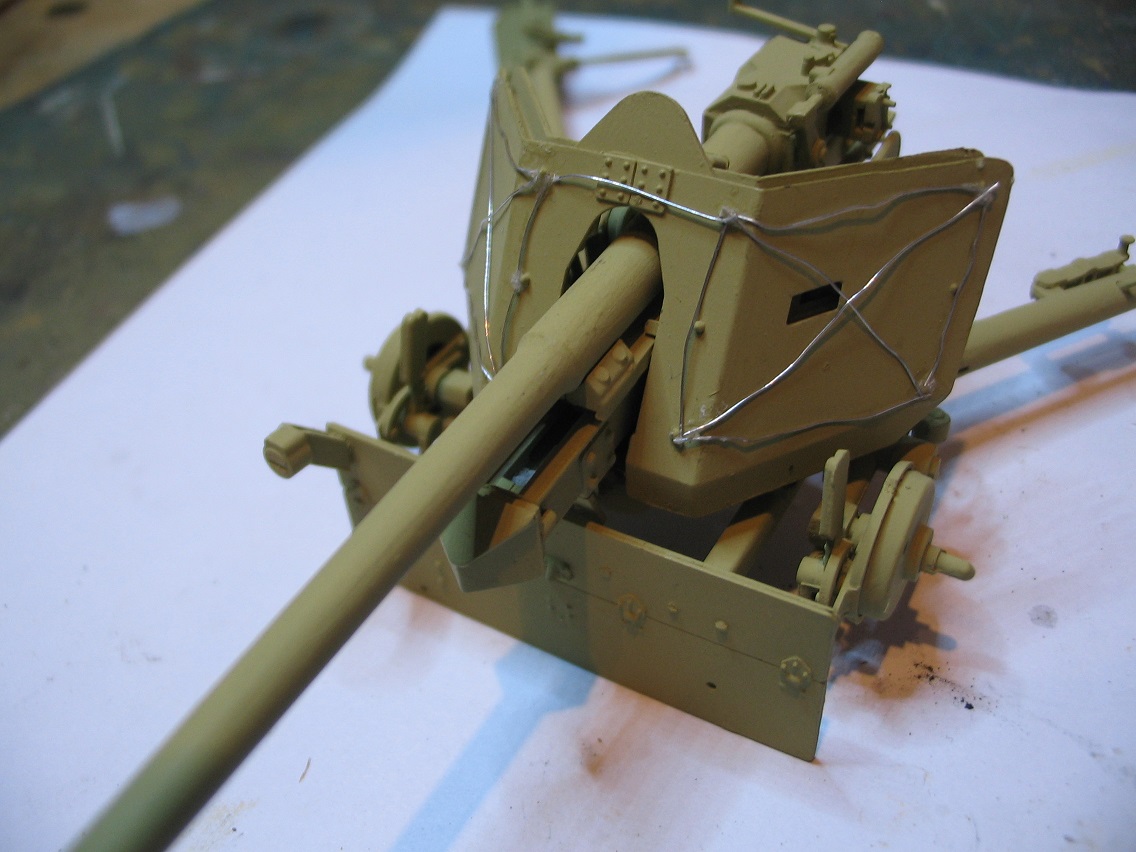
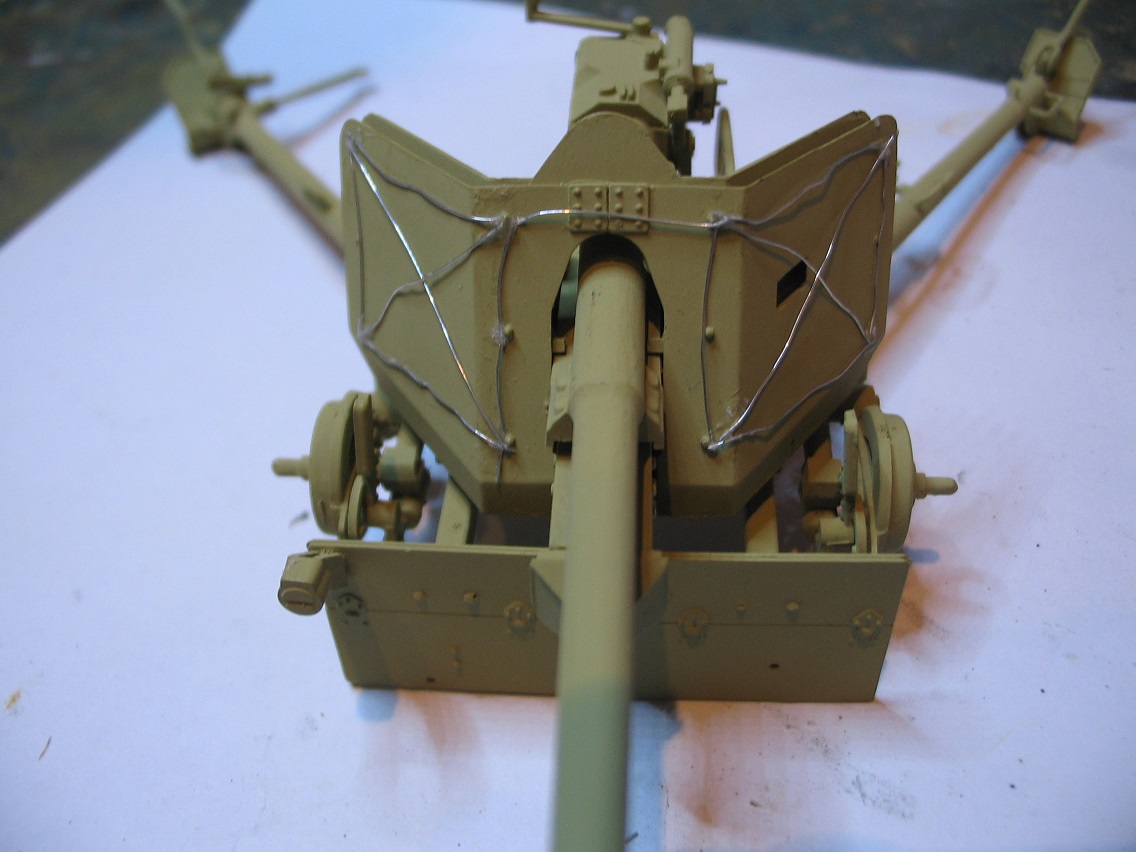
With a nice freshly sprayed coat. Some people moan about Tamiya paints but I find them to be fine for airbrushing and if thinned enough they're okay for figures as well.
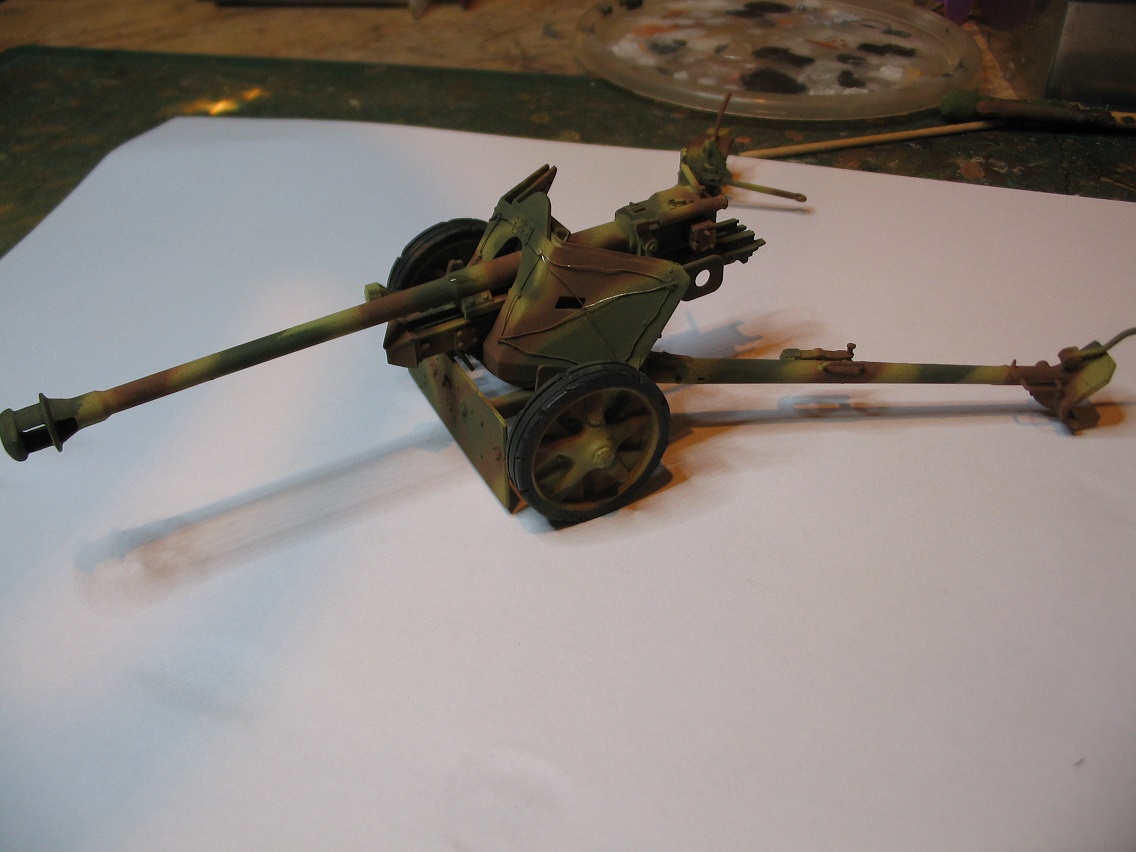
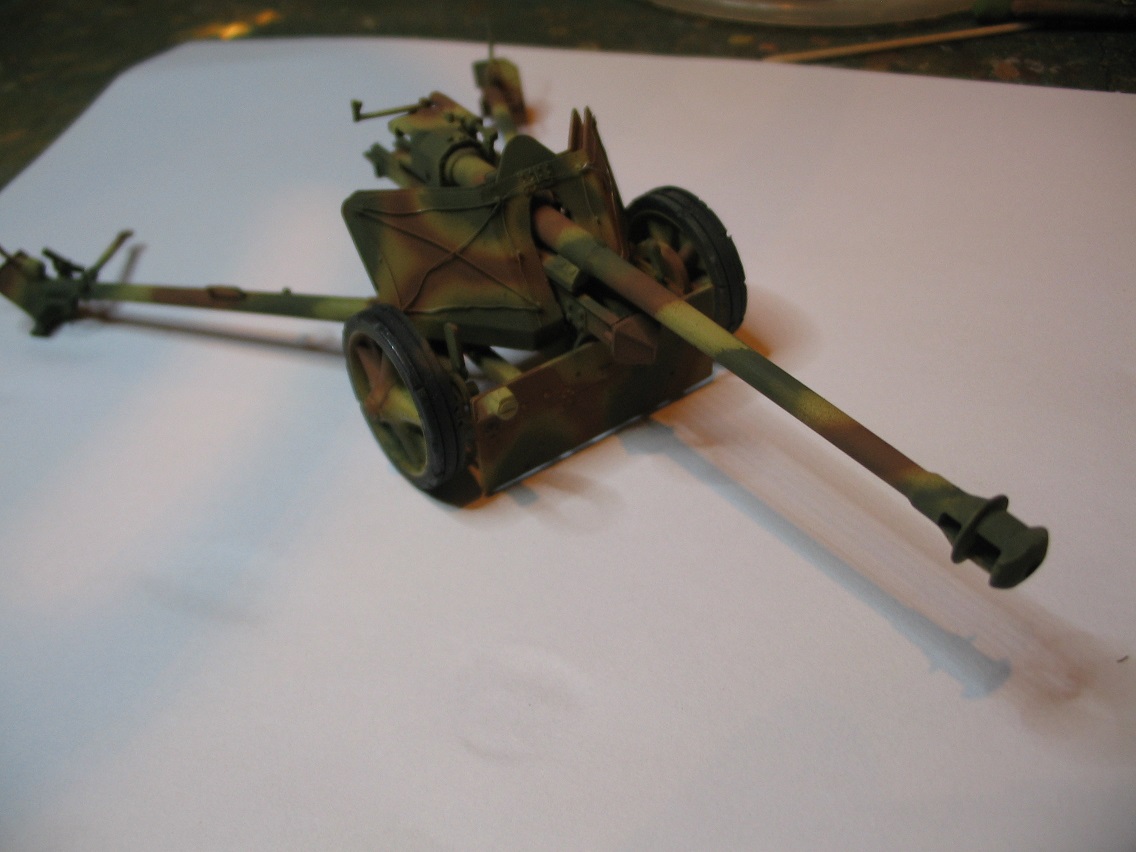
As I'm doing this as a late war dio I decided to put the field applied camo wire on the shield as it seems to be very common in period photos on all fronts. It took me quite a while to do as getting it to the right length was hit and miss. I used fuse wire (5amp I think. Or it could be 2amp. I'm not sure but it's very fine) as I find it a great tool for things like electrical conduits in vehicles using the higher ampage. This looks to be right thickness for the wire stretched across the shield to attach foliage to the gun.


While it's not perfect it does the job and once it's got the cam overspray it will look better. That was my rationale.


I couldn't decide which green or brown to go for at first as I've got a few that I use but went for the darker colours. Once it was on I decided it looked crap. I just wasn't happy with the colours or the pattern as I'd been a bit heavy handed in some areas sooo...


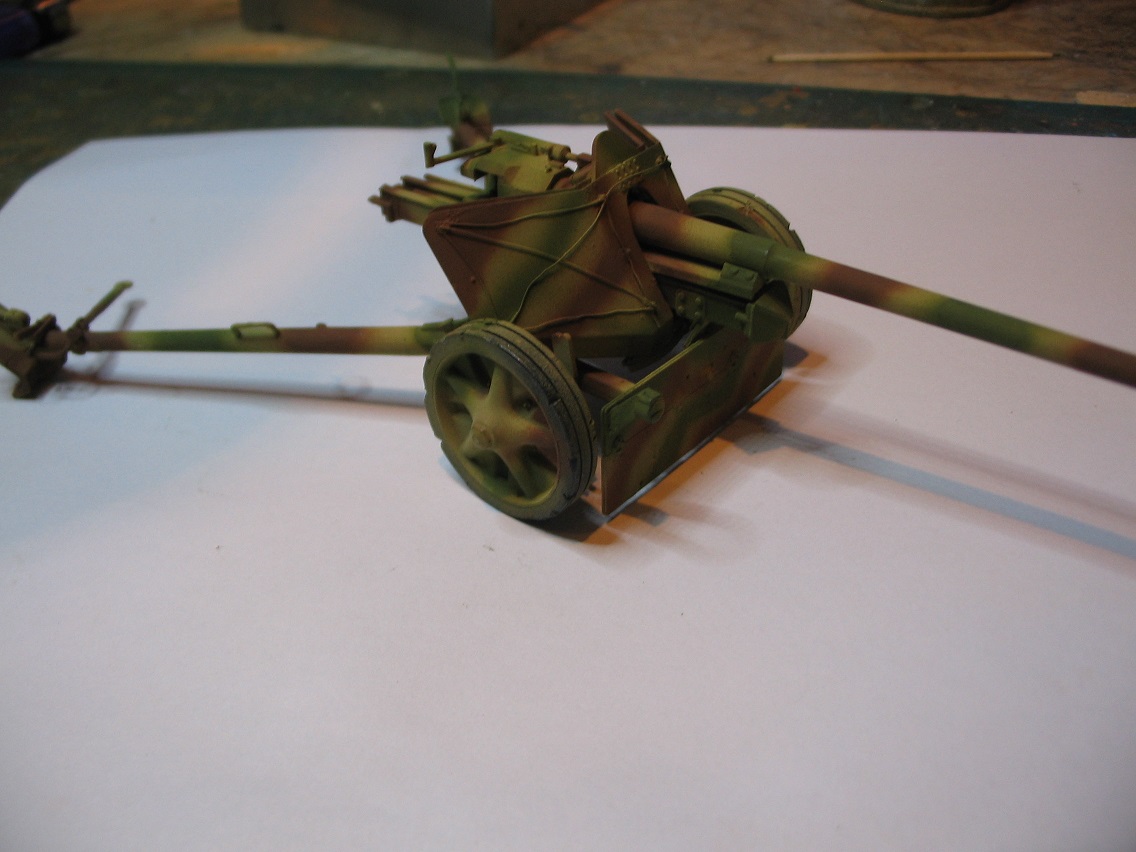
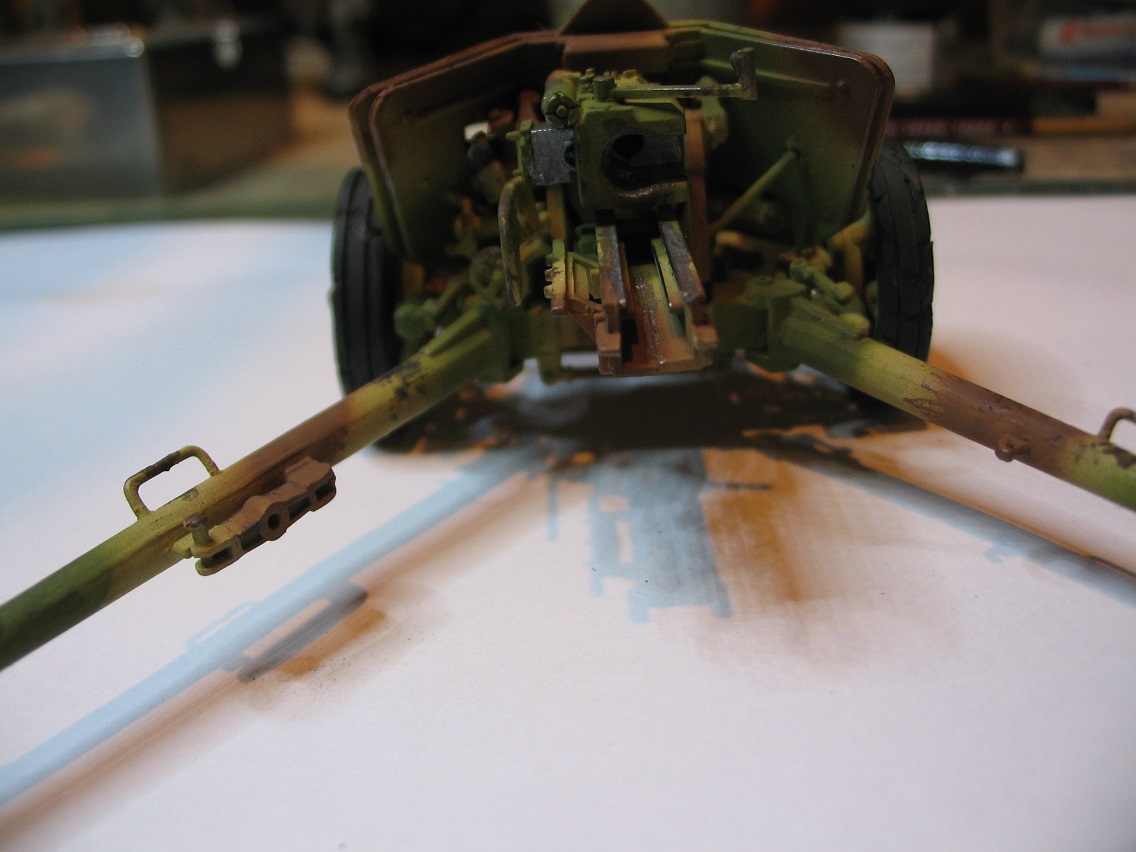
I resprayed it back to it's base colour. No biggie really as the only thng I could overspray were the tyres and it's not a major job repainting those. I just wasn't happy with how it looked. This time I went for NATO Green and NATO Brown which look about right for paint that's been mixed properly in the field.


One thing I did notice with the overspray on the tyres is the damage to them looks quite good. They look as though they've taken a beating. Easily done with a triangular needle file and a No.11 blade taking random chunks out. It was the first time I've done it and was pleased with the effect. Not something you can do on everything but with the Pak 40 having solid tyres it lends itself to it.


Nice and clean and just out of the battalion maintenance area. Not for long. Time for some weathering...


I need to get a bit of graphite on some of the edges to give it a metallic edge sheen but that's pretty much it now. All that's left to do is to attach the brush rods and maybe give it a light coating of dust with it being in an urban area that's been flattened but I can't do that until I actually do the base and install it. I've got the crew to work out and build yet plus painting all of the ammo, ammo tubes and boxes so quite a bit of work left on the whole project.

This was quite a fun little build and made a change to build something really simple that didn't tax the old grey matter too much. Despite it being a very old kit I think it looks okay with a bit of work. Just my thoughts anyway. fastest build I've done for a long time. It just goes to show that when you're enjoying building something it gets built a lot quicker.


erichvon
Visit this Community
England - East Midlands, United Kingdom
Joined: January 17, 2006
KitMaker: 1,694 posts
Armorama: 1,584 posts
Posted: Wednesday, August 16, 2017 - 09:31 AM UTC
Bryan, love the le Fh18/40. You've done a great job on that. I built the same kit a few years ago and remember getting very frustrated with it at times with all the fiddly little bits. That's come out really nice.
ClaytonFromEllijay
#454
Visit this Community
Georgia, United States
Joined: July 10, 2016
KitMaker: 1,273 posts
Armorama: 1,138 posts
Posted: Wednesday, August 16, 2017 - 05:44 PM UTC
Very nice work, Karl, you nailed it the second time! Way to keep at it!
ClaytonFromEllijay
#454
Visit this Community
Georgia, United States
Joined: July 10, 2016
KitMaker: 1,273 posts
Armorama: 1,138 posts
Posted: Thursday, August 17, 2017 - 01:27 AM UTC
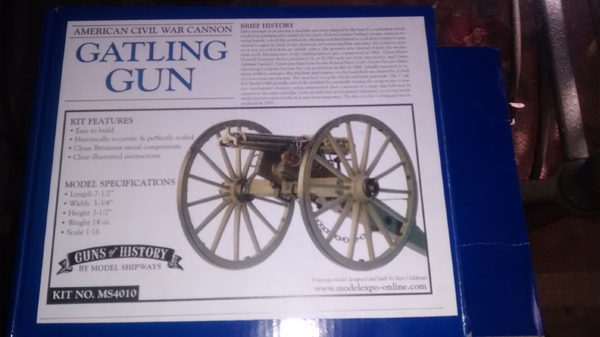
Finally starting the Gatling Gun, should be an interesting build. Start with some general cleanup, involving old #11 exacto blades and some nice files I picked up on E-bay...


Clean-up is no big deal. Need 5-minute Epoxy for the guts of the gun...

Instructions say it takes about 5 hours to build the gun (I doubt that includes painting), I'm about 30 min. into it...More to come!
Removed by original poster on 08/17/17 - 20:36:01 (GMT).
ClaytonFromEllijay
#454
Visit this Community
Georgia, United States
Joined: July 10, 2016
KitMaker: 1,273 posts
Armorama: 1,138 posts
Posted: Thursday, August 17, 2017 - 01:36 AM UTC


Why this didn't show up on the other thread, I have no idea...
erichvon
Visit this Community
England - East Midlands, United Kingdom
Joined: January 17, 2006
KitMaker: 1,694 posts
Armorama: 1,584 posts
Posted: Thursday, August 17, 2017 - 08:51 PM UTC
Thanks Clayton. I'm a lot happier with the sprayjob Mk 2. I'm currently doing some Frankenstein work to get the crew for it as there's no way I was going to use the ones in the kit. I've used the legs off the gunlayer so am in the process of redoing them. I looked through my abbatoir and new boxes and couldn't find a suitable set of legs in the required pose so I've had to use those unfortunately so putty out, needle files out and extensive surgery
ClaytonFromEllijay
#454
Visit this Community
Georgia, United States
Joined: July 10, 2016
KitMaker: 1,273 posts
Armorama: 1,138 posts
Posted: Friday, August 18, 2017 - 04:37 AM UTC
Had a problem with one of the parts on the Britannia Metal gun, some holes were missing....Great Customer Service from John Garcia,of Model Expo (http://modelexpo-online.com/ ), who within 30 minutes of communication agreed to replace the questionable part! Kudos to him!
Mrclark7
Visit this Community
Texas, United States
Joined: June 04, 2017
KitMaker: 503 posts
Armorama: 477 posts
Posted: Friday, August 18, 2017 - 05:11 AM UTC

Quoted Text

Kelly, it's really simple to do on the Kitmaker site. The only problem on there is space as your space quota disappears really quickly. I pay a couple of quid each month for unlimited space so it's really worthwhile doing that. Photobucketgate has ruined dozens of different sites that I used to look at as now all the users photos have vanished and are being held to ransom which by the sound of it noone's willing to pay. Odds are someone will sue them eventually and there'll be a test case on intellectual property rights which hopefully they'll lose as I can't see that what they're doing is legal.


I think I have it figured. Ill look into extra storage space next.

Here is my entry pics. I was originally going to go with a sand color to go with one of the Abrams I have going on. But with everything going on in the news. I think I am going to try and go with something as stationed in South Korea.


Chaman911
Visit this Community
United States
Joined: August 28, 2015
KitMaker: 319 posts
Armorama: 308 posts
Posted: Saturday, August 19, 2017 - 10:51 PM UTC

Quoted Text

Bryan, love the le Fh18/40. You've done a great job on that. I built the same kit a few years ago and remember getting very frustrated with it at times with all the fiddly little bits. That's come out really nice.


Thanks Karl! Your Pak cannon is looking pretty good. I like rhe redone cammo. I used NATO Green and NATO Brown on the Jagdpanther in my gallery. Turned out well. Will probably use the same colors on my King Tiger of the Big Cats campaign.
erichvon
Visit this Community
England - East Midlands, United Kingdom
Joined: January 17, 2006
KitMaker: 1,694 posts
Armorama: 1,584 posts
Posted: Tuesday, August 22, 2017 - 05:15 AM UTC
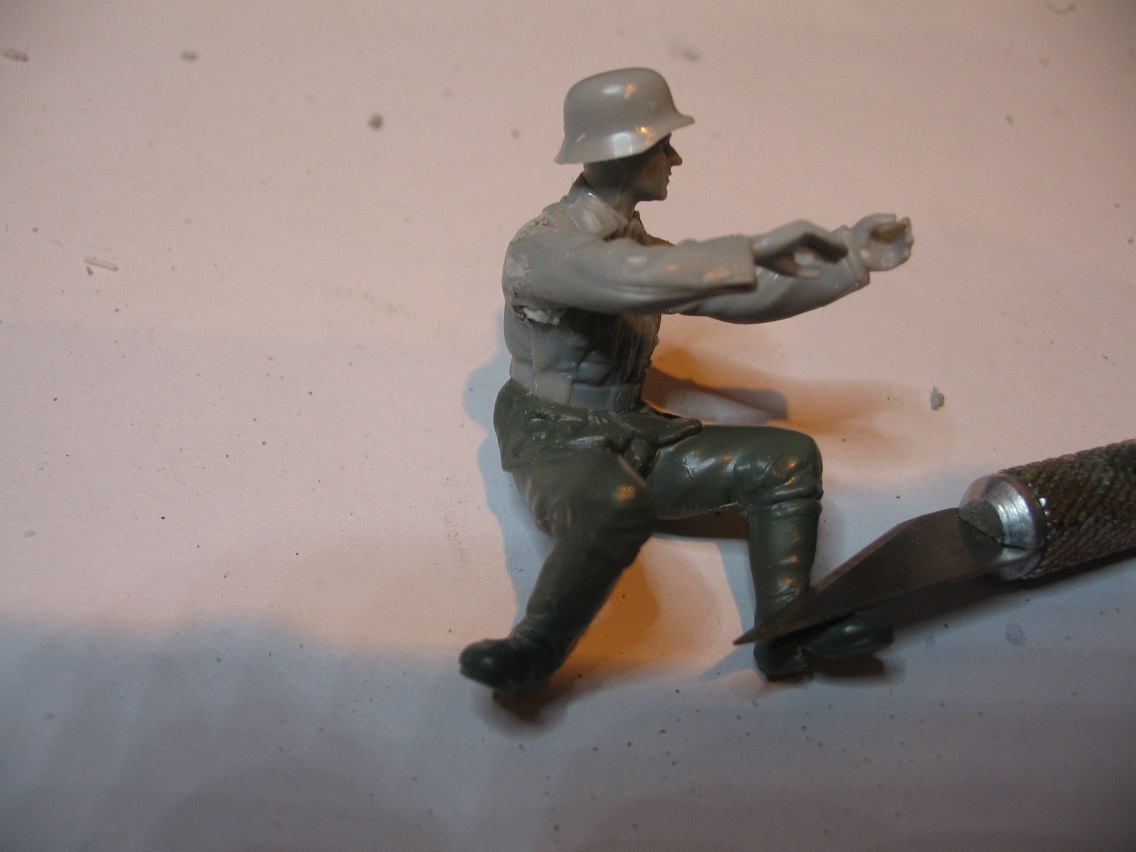
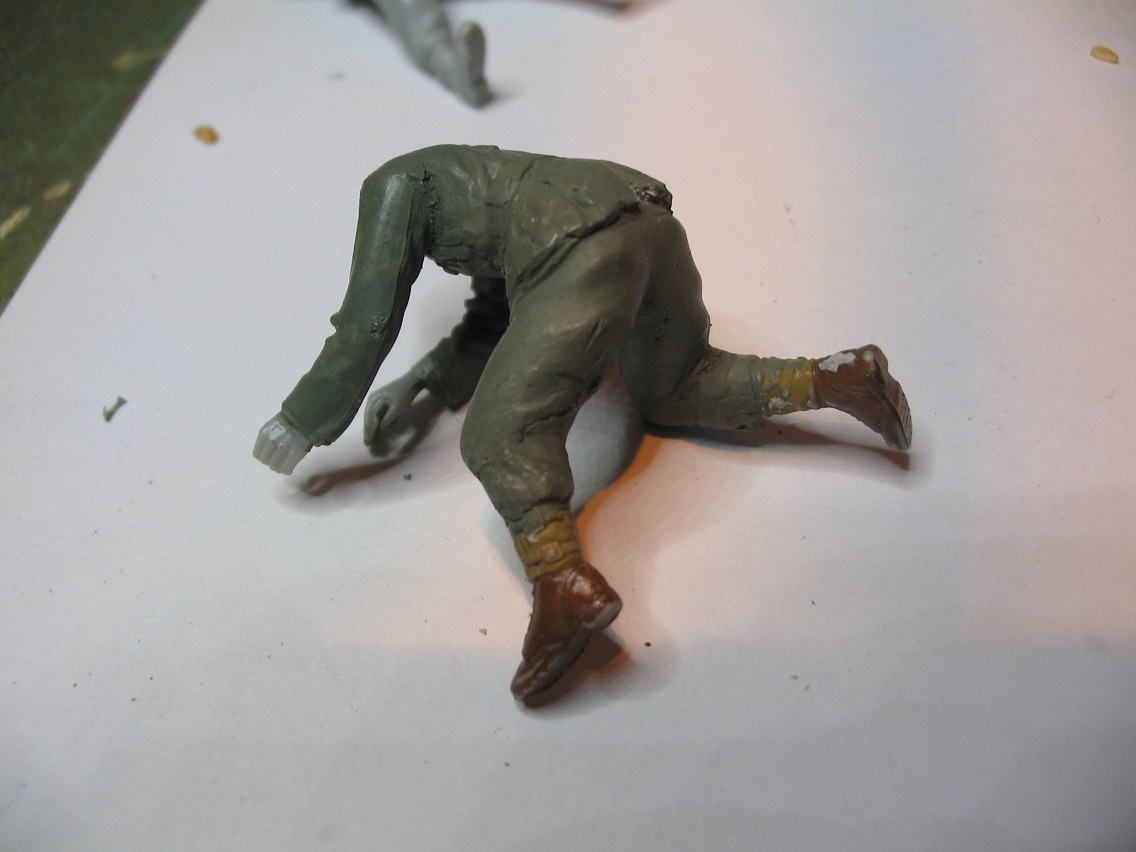
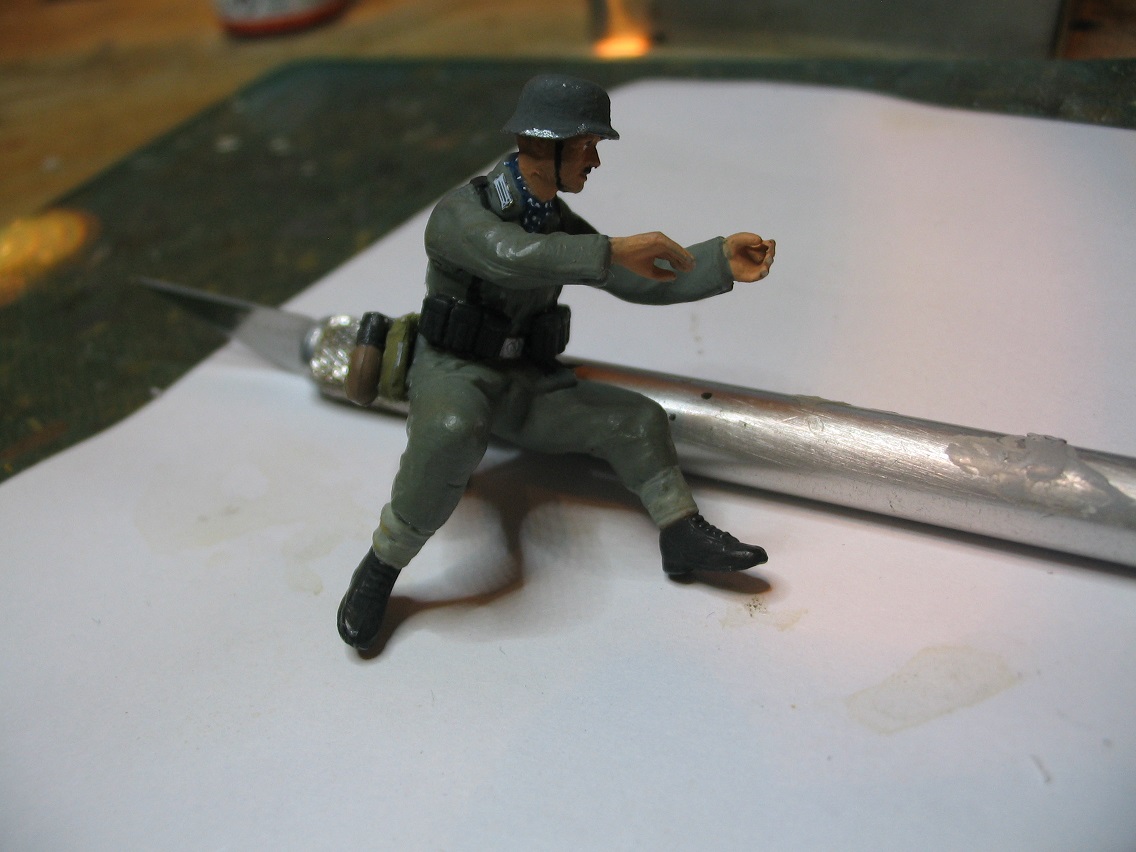
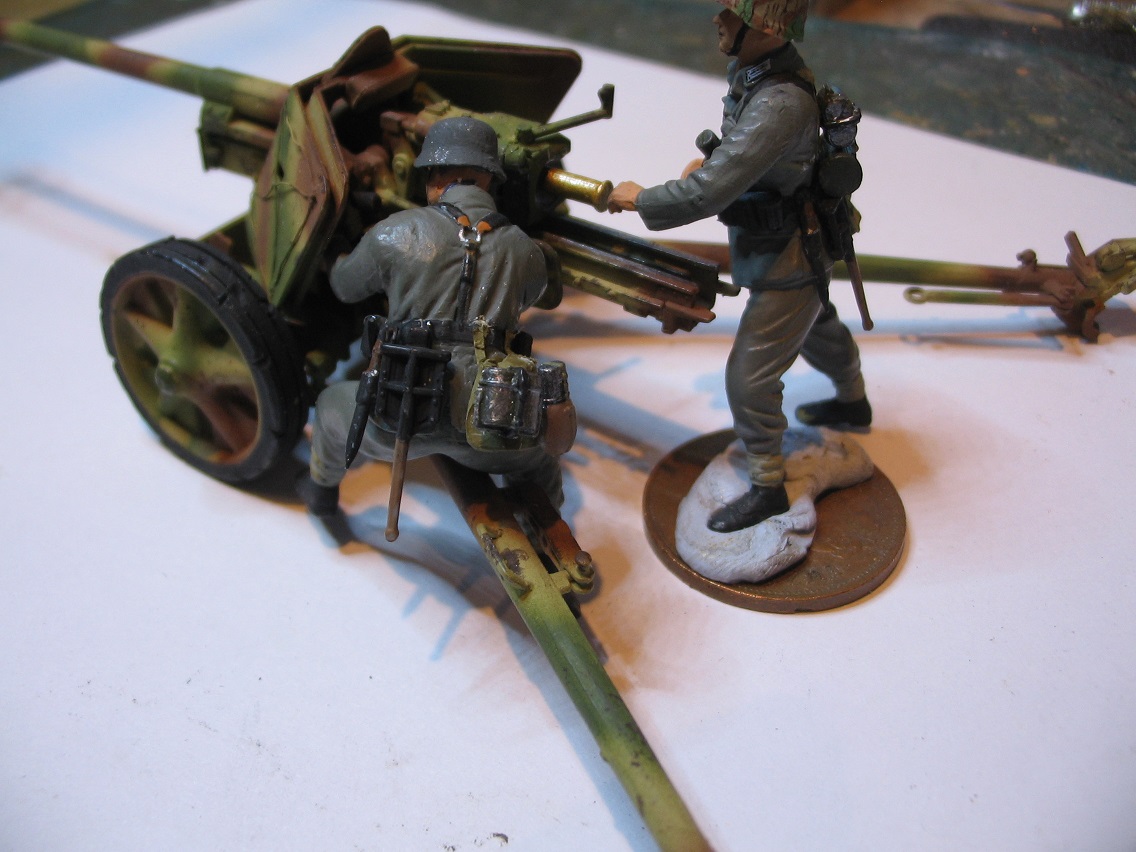
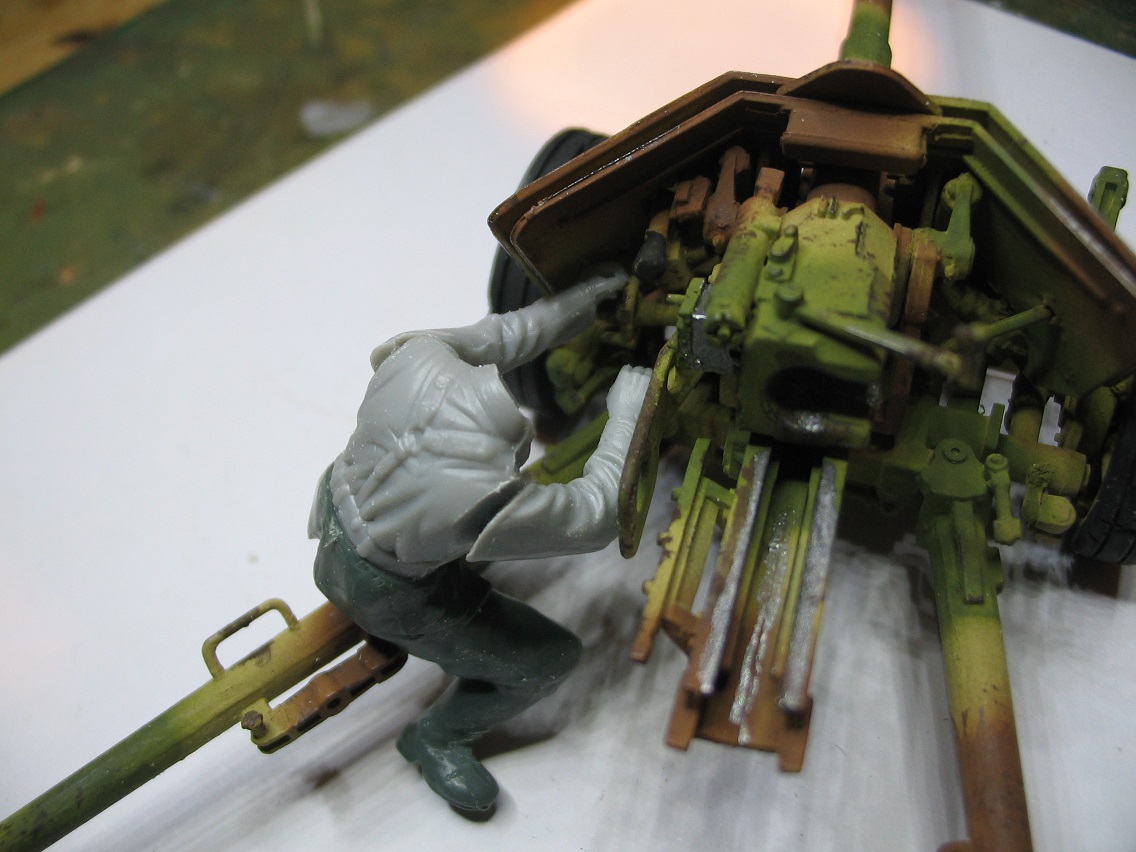
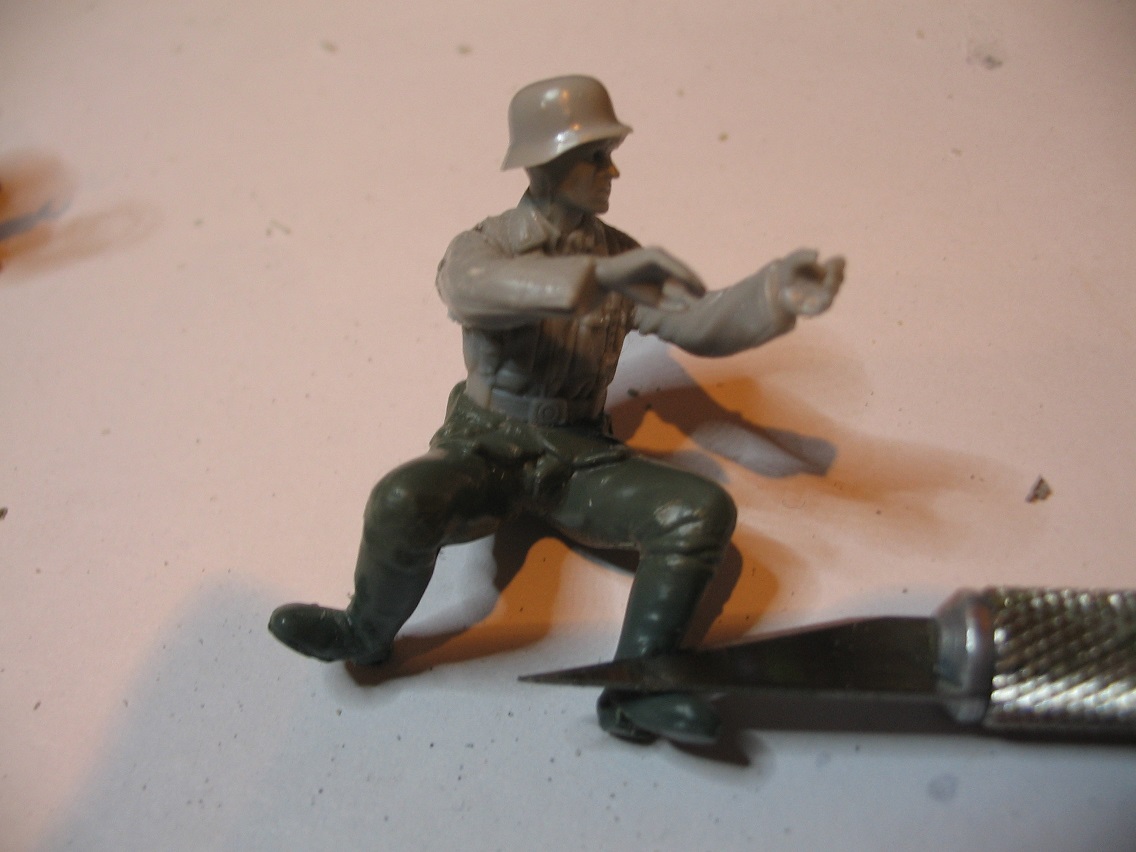
I've spent the last couple of days working on the crew. My main problem was the gun layer. The legs in the kit are spot on positionwise, it's just a bloody awful figure so some serious kitbashing was required. I dispensed with the torso and used a DML one out of my abbatoir along with a suitable pair of arms. It was difficult finding arms in the right position but managed it so both hands are on the traverse and elevation wheels.


I'd bought about 4 sets of the DML Gun Crew in the past .They aren't really much of a gun crew as they're wandering around aimlessly in true DML fashion but they're good for spares plus they come with extra arms which is where these came from. Once I'd got him set up and knew he'd work then onto surgery.


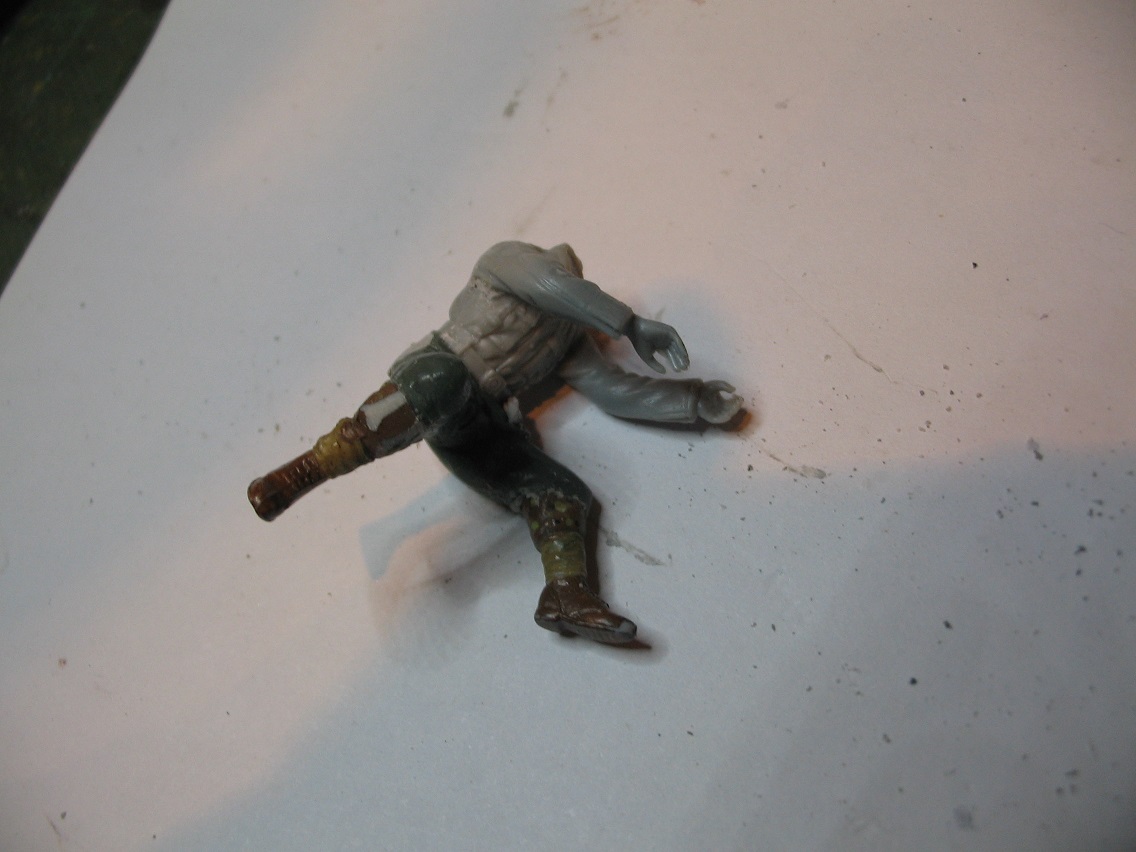
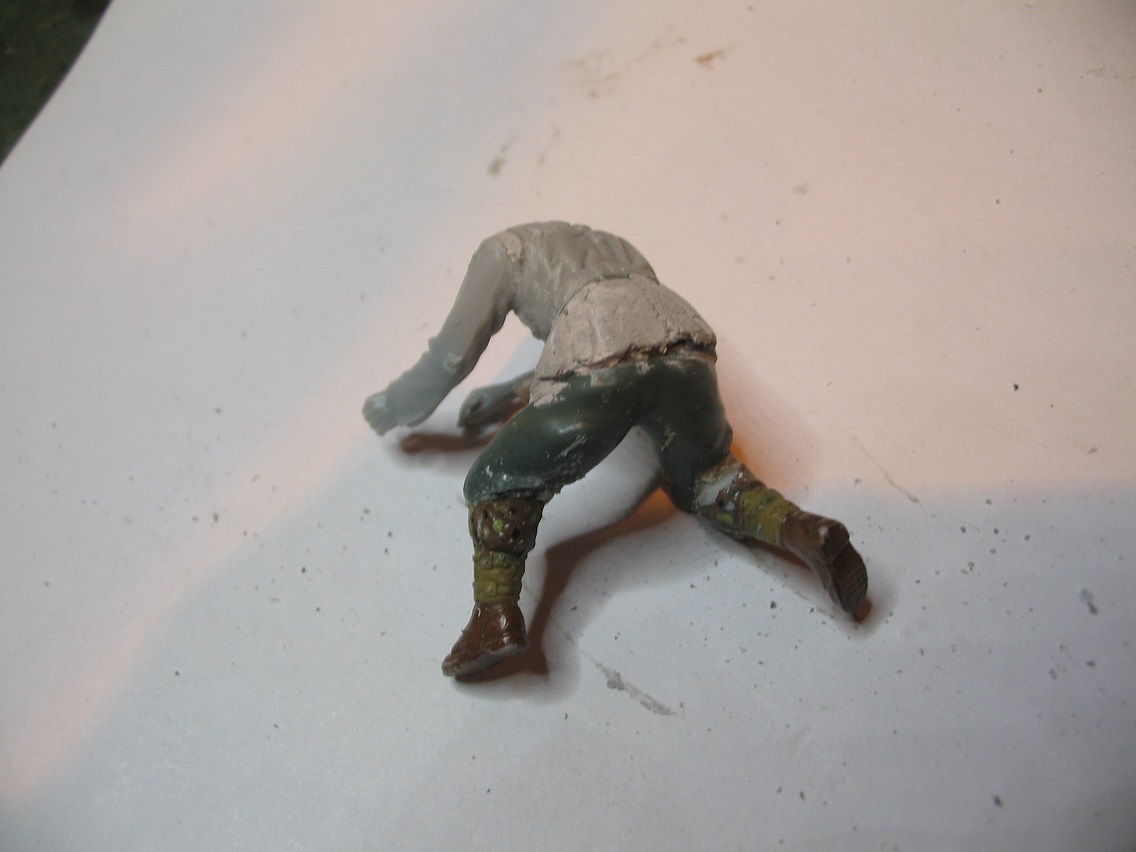
I was initially going to change the boots for some DML ones but as it's a late war dio it's going in I decided to go with "retreat gaiters" so amputated some legs from a figure from the early German Tank Hunters below the knee (the guy with the Panzerschreck), attached, fillered and given a lick of paint to see if I'd missed anything.


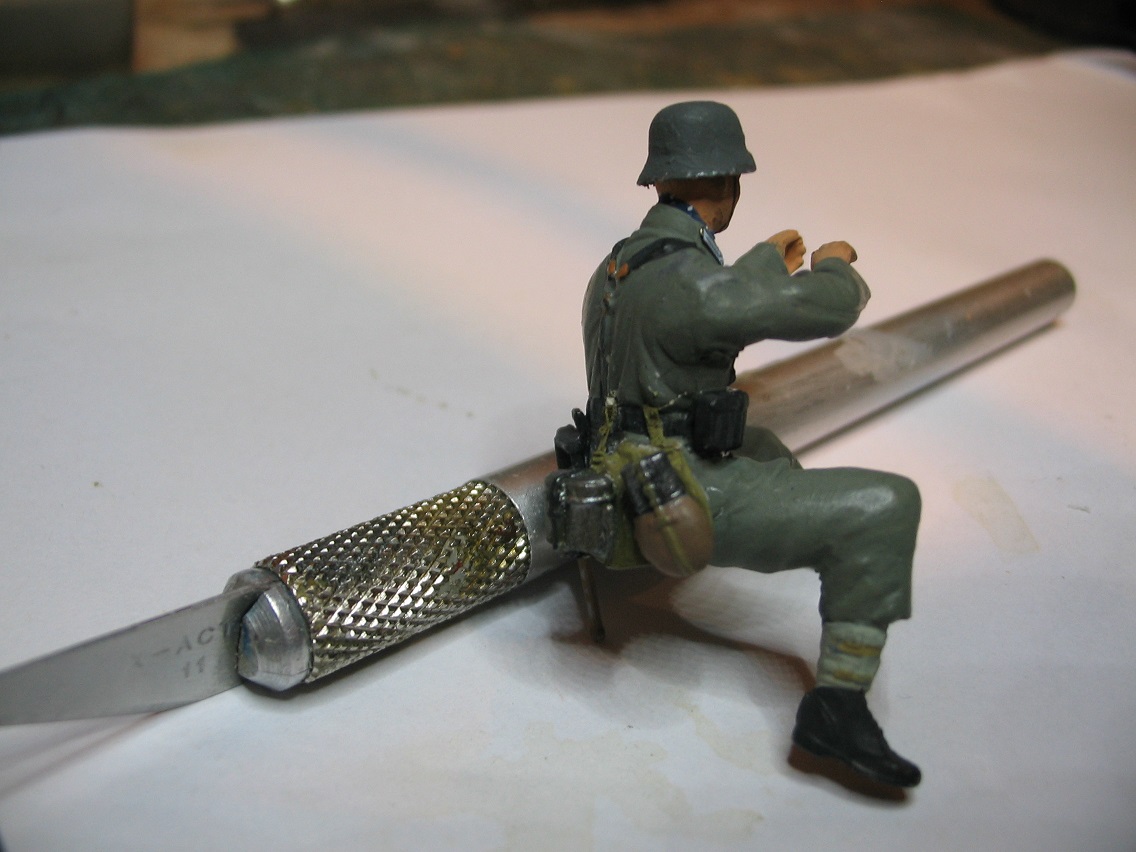
I filled out the skirt of his jacket as there were no creases or folds in it. It wasn't going to be seen really once his equipment was on but it was flat so his kit wouldn't have looked right as it was.


A couple of bits need touching up (you don't notice until you take a few pics and see the figure much larger on the screen)but I'm happy with him to sit behind the shield.


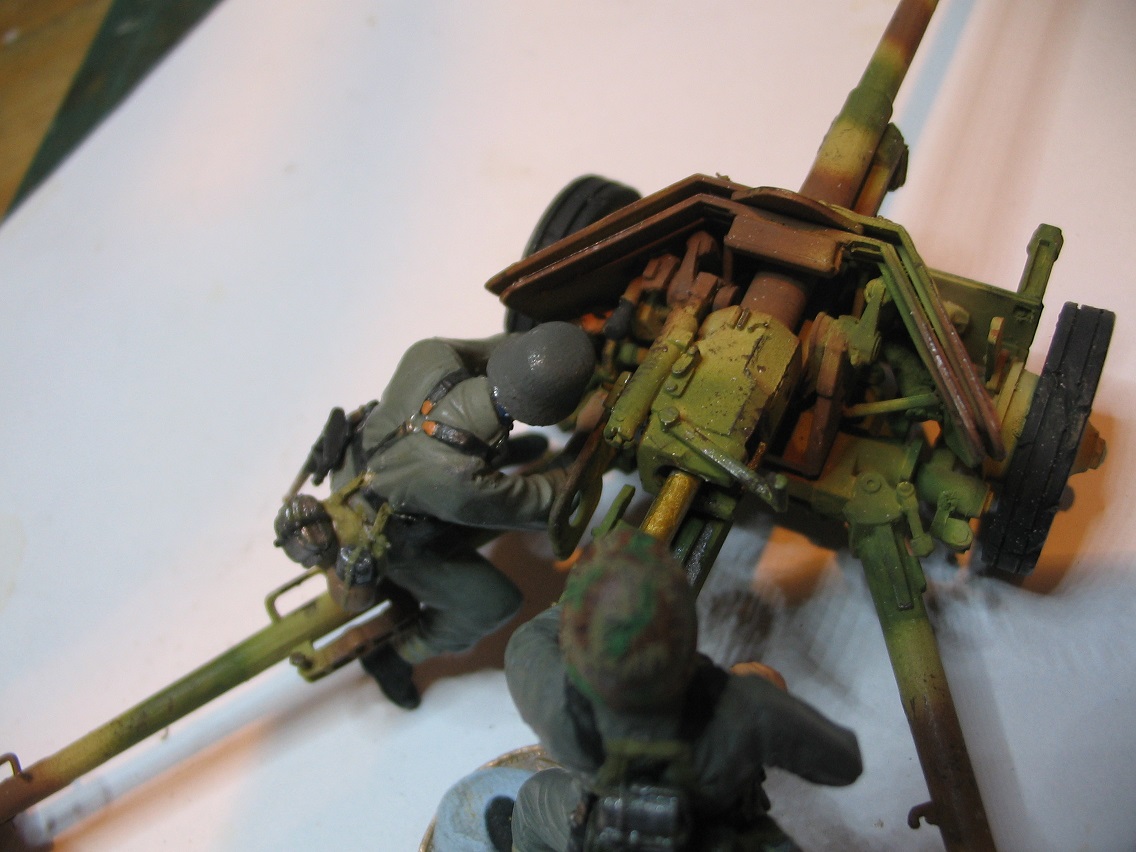
I'm pleased with how he fits in as both hands are on the wheels and he's in a natural pose. I decided to have his number two actually shoving the shell into the open breech to add a bit more movement to it. I managed to find a semi outstretched arm with a fist which was the correct way of loading. Shells were pushed into the breech in a punching movement then snatched away as fingers were easily lost with breeches closing on digits!

So that's where I'm up to today. I need to do two more crew. One waiting with another shell kneeling and another taking shells out of their steel tubes ready to be used. I've bought the AFV Club ammo set (which isn't bad) so I've got plenty of them. I've put the dio together in rough form so now it needs painting and some suitable debris digging out from the cupboard.

I couldn't do a kit as easy as this one and just leave it at that hence I'm doing a full dio albeit a small one. More to come...
ClaytonFromEllijay
#454
Visit this Community
Georgia, United States
Joined: July 10, 2016
KitMaker: 1,273 posts
Armorama: 1,138 posts
Posted: Tuesday, August 22, 2017 - 07:20 PM UTC
Very nice surgery, Karl, you have a winner there!