Bury My Heart at Stalingrad

#136
Distrito Federal, Mexico
Joined: April 06, 2002
KitMaker: 437 posts
Armorama: 391 posts
Posted: Monday, May 06, 2019 - 05:27 PM UTC
Hello friends!.
Nice works here!. I will go with figures from Dragon, "German 6th Army, Stalingrad 1942-1943"

Regards!
Rodolfo
Current Project:
I am building a Kingtiger Ausf. B, Version: March 1945 - AMMO/MIG, 1/35

#424
Queensland, Australia
Joined: April 23, 2015
KitMaker: 4,648 posts
Armorama: 2,248 posts
Posted: Monday, May 06, 2019 - 08:09 PM UTC
Matthew,
Welcome aboard! Seems you and I are working on different boxings of the same kit. Wish you hadn't shown me the errors... ignorance is bliss, I always say. And I don't have any spare parts.
Gaz
"Artillery adds dignity, to what would otherwise be an ugly brawl."
Frederick The Great

#424
Queensland, Australia
Joined: April 23, 2015
KitMaker: 4,648 posts
Armorama: 2,248 posts
Posted: Monday, May 06, 2019 - 08:10 PM UTC
Rodolfo,
Welcome to the campaign! Looking forward to seeing what you make of those figures!
Gaz
"Artillery adds dignity, to what would otherwise be an ugly brawl."
Frederick The Great

#136
Distrito Federal, Mexico
Joined: April 06, 2002
KitMaker: 437 posts
Armorama: 391 posts
Posted: Tuesday, May 07, 2019 - 07:03 PM UTC
Thanks for your welcome and words Gary!..
I begun to drill one arm for adding the grenade, but I cannot to make a big hole because I can destroyed the piece, in order of avoid this, I divided the grenade in two parte and them were placed into the holes.

The following step is work and checking the figures (except the head) for verifiy a correct adjust; I added Putty of Tamiya mixed with Lacquer thinner for easy manipulation. I added another grenade in arm of another soldier with the same previous method

Now I am working more Putty in necessary zone of arms.
Regards!
Rodolfo
Current Project:
I am building a Kingtiger Ausf. B, Version: March 1945 - AMMO/MIG, 1/35
Noord-Brabant, Netherlands
Joined: February 13, 2011
KitMaker: 322 posts
Armorama: 300 posts
Posted: Tuesday, May 07, 2019 - 08:11 PM UTC
My front wheel is done:
Before:

on the table:

PE installed:

Now I'm working on the back wheel.. Progress will shown later.

#424
Queensland, Australia
Joined: April 23, 2015
KitMaker: 4,648 posts
Armorama: 2,248 posts
Posted: Tuesday, May 07, 2019 - 08:53 PM UTC
Rodolfo,
I'm looking to learn a lot about figurines. So I;m paying close attention.
Gaz
"Artillery adds dignity, to what would otherwise be an ugly brawl."
Frederick The Great

#424
Queensland, Australia
Joined: April 23, 2015
KitMaker: 4,648 posts
Armorama: 2,248 posts
Posted: Tuesday, May 07, 2019 - 08:54 PM UTC
Martin,
That's a great transformation of the wheel! I do love your PE skills.
Gaz
"Artillery adds dignity, to what would otherwise be an ugly brawl."
Frederick The Great
Noord-Brabant, Netherlands
Joined: February 13, 2011
KitMaker: 322 posts
Armorama: 300 posts
Posted: Tuesday, May 07, 2019 - 09:32 PM UTC
Quoted Text
Martin,
That's a great transformation of the wheel! I do love your PE skills.
Gaz
Thank You, GazzaS
Queensland, Australia
Joined: August 06, 2005
KitMaker: 3,353 posts
Armorama: 3,121 posts
Posted: Wednesday, May 08, 2019 - 10:54 PM UTC
Mark. Great work on the Panzer IV. Very nicely done.
Martin, the etch will really give that old kit a boost. Looks much better.
Matthew, I would say your second pic is whitewash over grey paint.
On the Bench:
Dust, styrene scraps, paint splotches and tears.

#136
Distrito Federal, Mexico
Joined: April 06, 2002
KitMaker: 437 posts
Armorama: 391 posts
Posted: Thursday, May 09, 2019 - 10:57 AM UTC
Quoted Text
Rodolfo,
I'm looking to learn a lot about figurines. So I;m paying close attention.
Gaz
Thanks for your kind comments Gary!. Really I don´t have experience in figures, I am learning too

and I hope to make a good work with them.
Before to paint, I applied Surface Primer Spray of Tamiya.

Regards!
Rodolfo
Current Project:
I am building a Kingtiger Ausf. B, Version: March 1945 - AMMO/MIG, 1/35

#136
Distrito Federal, Mexico
Joined: April 06, 2002
KitMaker: 437 posts
Armorama: 391 posts
Posted: Friday, May 10, 2019 - 07:38 PM UTC
The equipment are ready in the painting phase.

Regards!
Rodolfo
Current Project:
I am building a Kingtiger Ausf. B, Version: March 1945 - AMMO/MIG, 1/35
Queensland, Australia
Joined: August 06, 2005
KitMaker: 3,353 posts
Armorama: 3,121 posts
Posted: Friday, May 10, 2019 - 07:51 PM UTC
Looking good Rodolfo. Nice work on the figures and equipment.
On the Bench:
Dust, styrene scraps, paint splotches and tears.

#424
Queensland, Australia
Joined: April 23, 2015
KitMaker: 4,648 posts
Armorama: 2,248 posts
Posted: Friday, May 10, 2019 - 11:02 PM UTC
Great detail painting, Rodolfo!
"Artillery adds dignity, to what would otherwise be an ugly brawl."
Frederick The Great

#453
Texas, United States
Joined: August 28, 2016
KitMaker: 1,925 posts
Armorama: 601 posts
Posted: Friday, May 10, 2019 - 11:56 PM UTC
Quoted Text
Mark. Great work on the Panzer IV. Very nicely done.
Martin, the etch will really give that old kit a boost. Looks much better.
Matthew, I would say your second pic is whitewash over grey paint.
Peter, Thank you.
Mark

Noord-Brabant, Netherlands
Joined: February 13, 2011
KitMaker: 322 posts
Armorama: 300 posts
Posted: Saturday, May 11, 2019 - 02:41 AM UTC

#136
Distrito Federal, Mexico
Joined: April 06, 2002
KitMaker: 437 posts
Armorama: 391 posts
Posted: Saturday, May 11, 2019 - 04:30 AM UTC
@ Peter and @ Gary: Thanks for your kind comments.
After of detail the machine guns, I will apply Humbrol/Matt Cote over all equipment. Next step: paint the bodies.
Regards!
Rodolfo
Current Project:
I am building a Kingtiger Ausf. B, Version: March 1945 - AMMO/MIG, 1/35
Queensland, Australia
Joined: August 06, 2005
KitMaker: 3,353 posts
Armorama: 3,121 posts
Posted: Saturday, May 11, 2019 - 07:30 AM UTC
Yes, brings back memories Martin.
On the Bench:
Dust, styrene scraps, paint splotches and tears.
Namabiiru
 Associate Editor
#399
Rhode Island, United States
Joined: March 05, 2014
KitMaker: 2,888 posts
Armorama: 1,920 posts
Posted: Sunday, May 12, 2019 - 01:34 AM UTC

#453
Texas, United States
Joined: August 28, 2016
KitMaker: 1,925 posts
Armorama: 601 posts
Posted: Sunday, May 12, 2019 - 03:51 AM UTC
Mark,
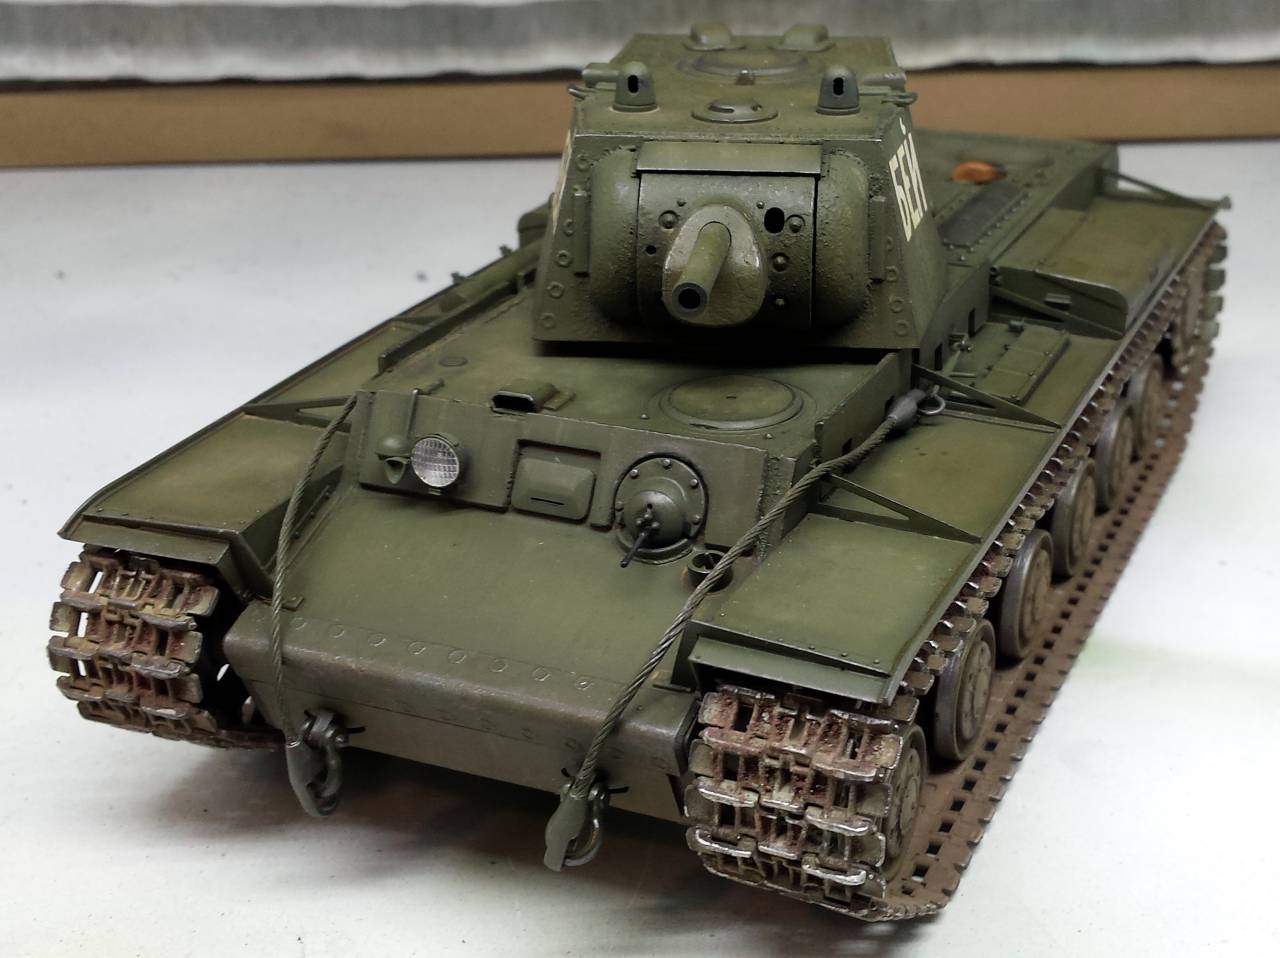
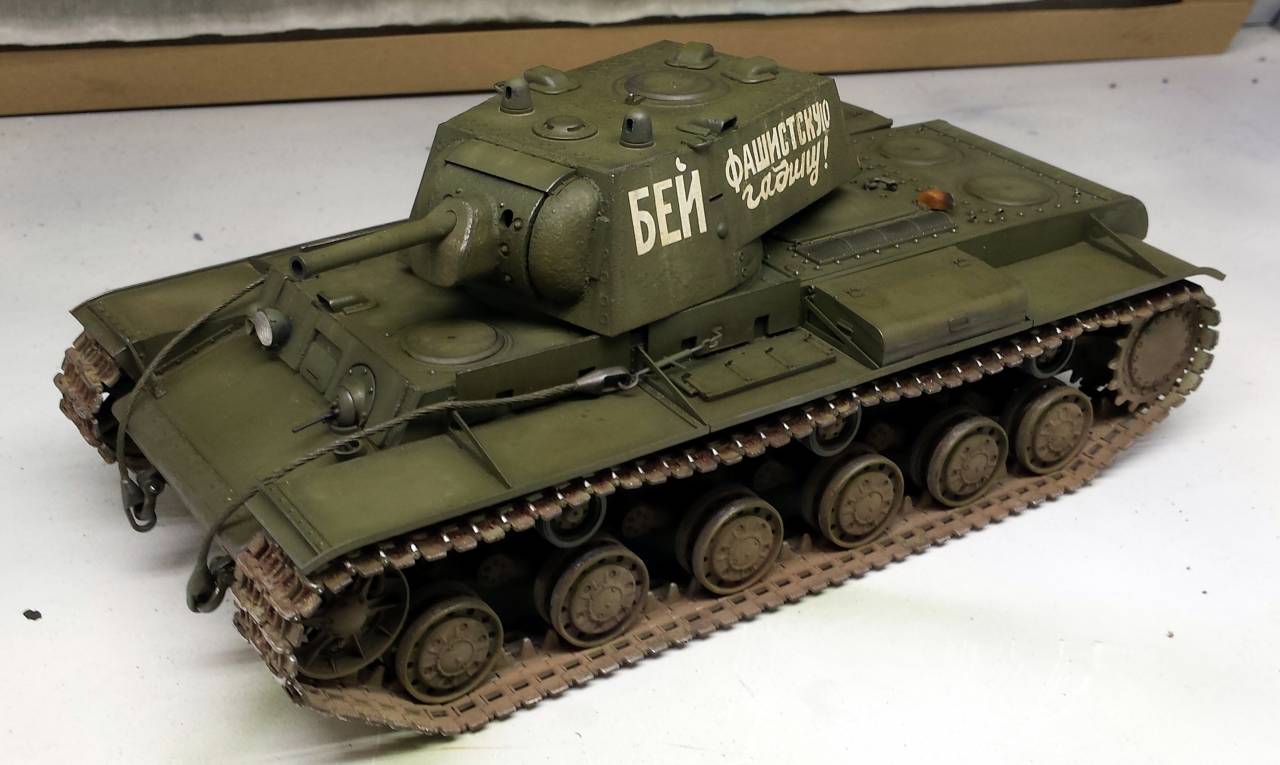
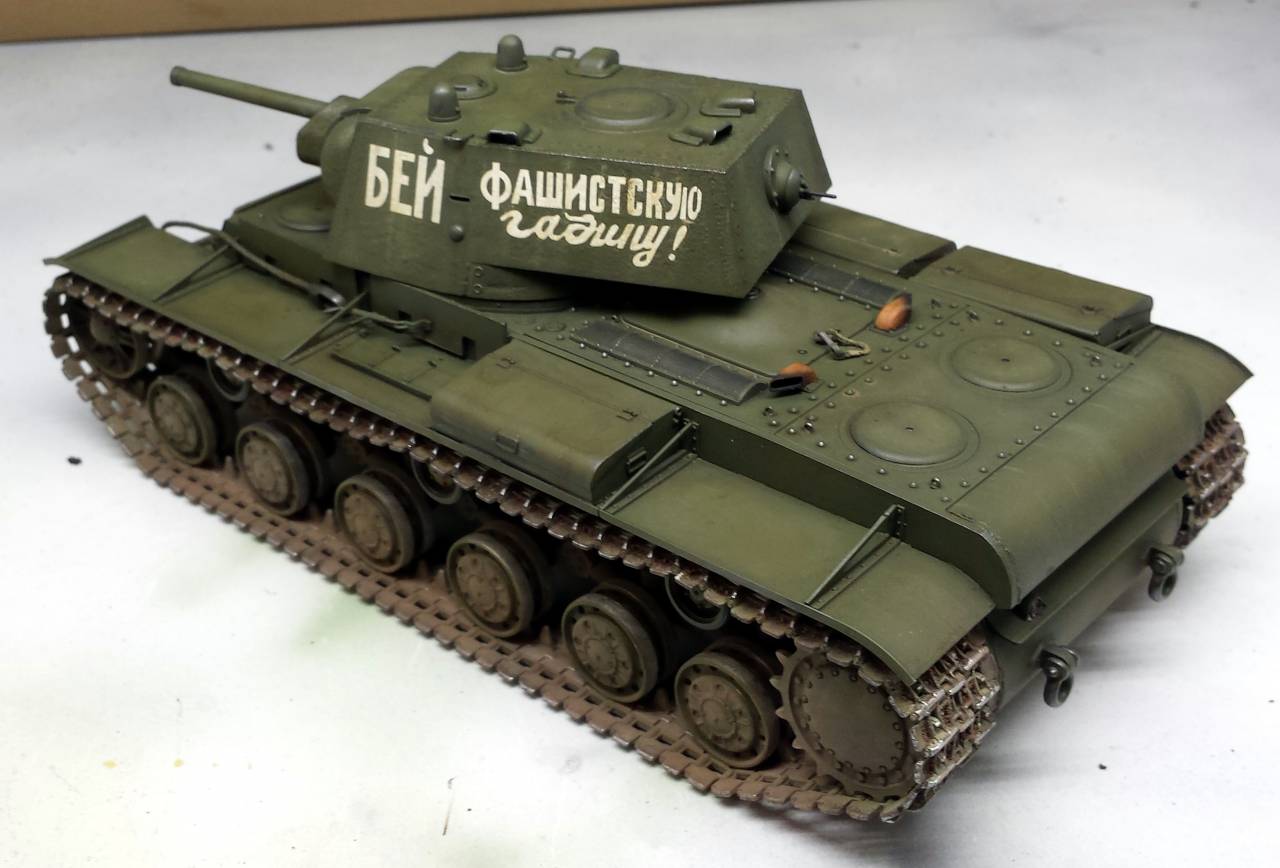
Very nice work. I love this kit, it is easy to build looks awesome when painted and weathered. Again, nice build.
Mark


#424
Queensland, Australia
Joined: April 23, 2015
KitMaker: 4,648 posts
Armorama: 2,248 posts
Posted: Sunday, May 12, 2019 - 02:23 PM UTC
Mark C.,
Congratulations on your KV-1. It looks excellent! I really like your color modulation and subtle weathering!
Gaz
"Artillery adds dignity, to what would otherwise be an ugly brawl."
Frederick The Great
Queensland, Australia
Joined: August 06, 2005
KitMaker: 3,353 posts
Armorama: 3,121 posts
Posted: Sunday, May 12, 2019 - 08:03 PM UTC
An excellent rendition Mark.
On the Bench:
Dust, styrene scraps, paint splotches and tears.
Connecticut, United States
Joined: November 02, 2003
KitMaker: 984 posts
Armorama: 846 posts
Posted: Sunday, May 12, 2019 - 09:21 PM UTC

#136
Distrito Federal, Mexico
Joined: April 06, 2002
KitMaker: 437 posts
Armorama: 391 posts
Posted: Monday, May 13, 2019 - 08:41 AM UTC
Excellent work Mark!, the modulation and weathering looks great!.
More updates of my figures:
Airburshed with Vallejo paintings Model Air, 4 capes, (lights and shadows), more lights with dry brush using Humbrol and washes with Vallejo; when I finished the heads, I will add another small weathering with airbrush using Vallejo Model Air.


Regards!
Rodolfo
Current Project:
I am building a Kingtiger Ausf. B, Version: March 1945 - AMMO/MIG, 1/35
United Kingdom
Joined: September 17, 2012
KitMaker: 462 posts
Armorama: 417 posts
Posted: Wednesday, May 15, 2019 - 10:21 AM UTC
Rodolfo, those figures look awesome. Great painting skills!
I have a bit of progress to report on the 15cm strum-infanteriegeschutz… Nearly all subassemblies are complete: hull and suspension, wheels and tracks, the gun cradle and casemate. I’m now waiting for a turned metal barrel to arrive in the post so that I can press on. here are a few progress photos:


cheers
Matthew

#453
Texas, United States
Joined: August 28, 2016
KitMaker: 1,925 posts
Armorama: 601 posts
Posted: Wednesday, May 15, 2019 - 11:23 AM UTC
Matthew,
Looks like a nice clean build, should be good to go when that barrel arrives.
Mark


 and I hope to make a good work with them.


