Campaigns
Where Armorama group builds can be discussed, organized, and updates posted.
Tiger Campaign
rtvmodeler
#136
Visit this Community
Distrito Federal, Mexico
Joined: April 06, 2002
KitMaker: 437 posts
Armorama: 391 posts
Posted: Sunday, October 02, 2011 - 02:34 PM UTC
Hello friends!.

More updates!

Working the front mudguards formed by 14 pieces of Photoetched.


Regards,
Rodolfo
rtvmodeler
#136
Visit this Community
Distrito Federal, Mexico
Joined: April 06, 2002
KitMaker: 437 posts
Armorama: 391 posts
Posted: Wednesday, October 05, 2011 - 02:55 PM UTC
Hello friends!

More updates!

Driver's Visor: I used Shining paper for manual art. ( seemed to the paper for gifts ). Proceed to gluewith CA in over a piece of styrene, a little scratch ( for use ) and to add in the armor.


Regards,
Rodolfo
rtvmodeler
#136
Visit this Community
Distrito Federal, Mexico
Joined: April 06, 2002
KitMaker: 437 posts
Armorama: 391 posts
Posted: Friday, October 07, 2011 - 03:16 PM UTC
Hello friends!

More updates!

Cuts of the mudguards of the kit in order to adding the mudguards of Photoetched, ready!!.


Regards,
Rodolfo
rtvmodeler
#136
Visit this Community
Distrito Federal, Mexico
Joined: April 06, 2002
KitMaker: 437 posts
Armorama: 391 posts
Posted: Sunday, October 09, 2011 - 03:55 PM UTC
Hello friends!

More updates!

Working the antenna with styrene, metal hoop, hard wire and the cone of old kit of Dragon.


Working the clasps of tools.


First tool is ready!


Regards,
Rodolfo
GregCloseCombat
Visit this Community
California, United States
Joined: June 30, 2008
KitMaker: 2,408 posts
Armorama: 2,394 posts
Posted: Sunday, October 09, 2011 - 05:50 PM UTC
Good stuff Rodolfo - you got the elves working overtime on those small parts
rtvmodeler
#136
Visit this Community
Distrito Federal, Mexico
Joined: April 06, 2002
KitMaker: 437 posts
Armorama: 391 posts
Posted: Tuesday, October 11, 2011 - 07:41 PM UTC
Thanks friend!.

More updates!.

Ready one of the hatches with PE. Was removed the plástic before to adding it. Coming in six pieces, excellent and easy handling !.


Regards,
Rodolfo
BillGorm
Visit this Community
New Jersey, United States
Joined: November 02, 2009
KitMaker: 609 posts
Armorama: 433 posts
Posted: Tuesday, October 11, 2011 - 10:39 PM UTC
Rodolfo - Fantastic work with all that PE. You've got a lot of it going on and you're doing it well. I was too chicken to attempt the rear fenders on my Tiger II. On the positive side, I'm now a bit more motivated to figure out soldering.

All - Does anyone have experience splicing together water slide decals? I have enough "113" decals on hand to make the "133" numbers that I need, but I'm wondering whether that's a good idea. I might be tempted to try it with two-digit numbers, but with three I can see it being an alignment nightmare.

Some progress photos - ready for primer:


minas-ithil
#110
Visit this Community
Florida, United States
Joined: September 20, 2005
KitMaker: 248 posts
Armorama: 224 posts
Posted: Wednesday, October 12, 2011 - 08:48 AM UTC
To One and All,
I have finally gotten myself organized enough to get into the Tiger Campaign. I am working on the DML Tiger I w Zimm. in 1/72. I was impressed with the kit when I opened the box, since it came with some photoetch and some other nice bits.
Here is the obligatory 'sprueshot';


After a few building sessions, here are the major components before painting and final assembly.


On a related tangent, I went to the Orlando Florida Modelpalooza show a couple of weeks ago and did some shopping. One thing I came away with was this HQ72 City Street base with kiosk. It also came with 'posters' to put on the kiosk. Check out Tigerdio.com, they have a number of interesting bases and such.


This is the base with the basic painting laid on and then a couple of shots of the base with the roughly assembled Tiger on it for layout possibilities.


I am almost at the painting point on the Tiger, so more to come soon!

Thanks and comments always welcome;

Stephen (Minas-Ithil)
thebear
Visit this Community
Quebec, Canada
Joined: November 15, 2002
KitMaker: 3,960 posts
Armorama: 3,579 posts
Posted: Wednesday, October 12, 2011 - 04:55 PM UTC
Great work guys ..
Would anyone mind if I switched over from my Tiger I to an Elephant ? I'm kinda running out of steam on the tiger build and thought I might just build the dragon kit out of the box ...My camera is on the fritz for the moment but I asure you it is still untouched...I know it's late to switch but I think I might be able to make it ..Let me know if it's alright .

Rick
rtvmodeler
#136
Visit this Community
Distrito Federal, Mexico
Joined: April 06, 2002
KitMaker: 437 posts
Armorama: 391 posts
Posted: Thursday, October 13, 2011 - 05:50 PM UTC
Thanks friends!

@ Bil - Your Tiger II looks great too!

More updates!

The grids and head lights Bosch are ready!.


Regards,
Rodolfo
erhntly
Visit this Community
Izmir, Turkey / Türkçe
Joined: June 11, 2004
KitMaker: 1,426 posts
Armorama: 464 posts
Posted: Saturday, October 15, 2011 - 01:49 AM UTC
Hi dear friends, All of them very nice building.
Rodolfo, crazy man

I'm waiting Stephen's Dragon Tiger , it's very nice kit.

And,

My little sturmtiger (Trumpeter 1/72) completed. Here is some photos, other photos in my blog http://miniafv.blogspot.com/2011/10/trumpeter-172-sturmtiger-erhan-atalay.html

Regards


rtvmodeler
#136
Visit this Community
Distrito Federal, Mexico
Joined: April 06, 2002
KitMaker: 437 posts
Armorama: 391 posts
Posted: Sunday, October 16, 2011 - 03:43 PM UTC
Thanks friend, your Sturm looks as 1/35, nice work!

More updates!

Extinguisher: I used an aluminium tube of 4mm, styrene of 1mm and Photoetched.


Regards,
Rodolfo
TMoon
#152
Visit this Community
Texas, United States
Joined: December 07, 2002
KitMaker: 487 posts
Armorama: 441 posts
Posted: Sunday, October 23, 2011 - 04:56 AM UTC
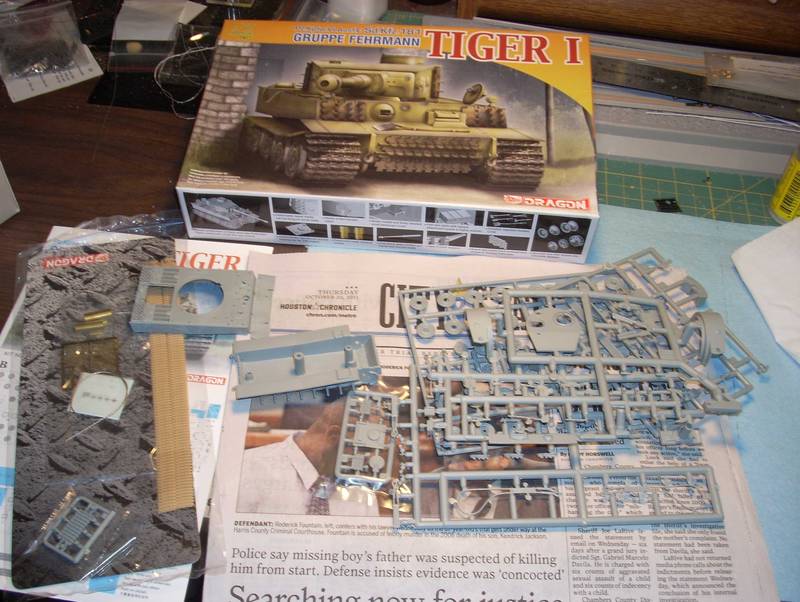
Here is the start of my campaign entry, a 1/72 Tiger I by Dragon

Starting photo


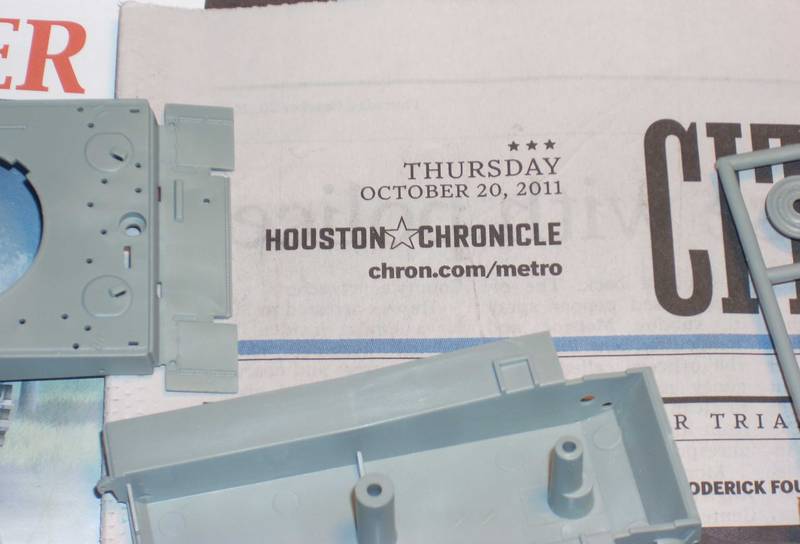
Date Stamp photo


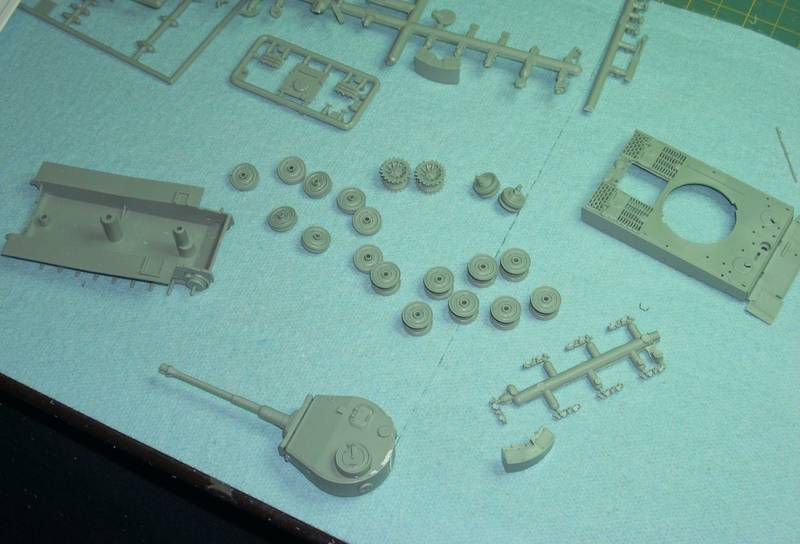
Progress at end of day 1


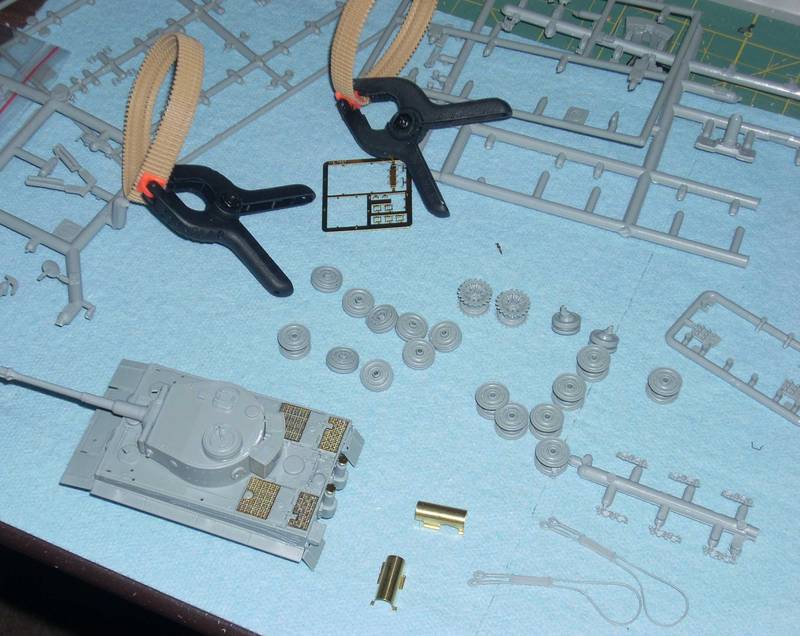
Progress at end of day 2


Day 3 was spent at the Austin AMPS show

Now on to day 4.

Tom Moon
Matt182
Visit this Community
United Kingdom
Joined: May 20, 2010
KitMaker: 269 posts
Armorama: 243 posts
Posted: Sunday, October 23, 2011 - 06:37 AM UTC
Hi Guys,

Been a while since I visited the campaign. Some great builds going on, great to see so many people getting involved in this one.

Well I finished my 1/48 King tiger a little while ago but i've finally finished the 1/16th one. I'm just waiting for some photography lights to take some decent photos to upload to the campaign gallery. For now I have these not so great photos but i'll post the good ones up when they are done. Hope you like it guys


rtvmodeler
#136
Visit this Community
Distrito Federal, Mexico
Joined: April 06, 2002
KitMaker: 437 posts
Armorama: 391 posts
Posted: Wednesday, October 26, 2011 - 06:49 PM UTC
Hello friends!

More updates:

Tow cable made using with styrene, photoetched and metal cable.


Regards,
Rodolfo
PanzerAlexander
Visit this Community
Attica, Greece / Ελλάδα
Joined: February 17, 2010
KitMaker: 625 posts
Armorama: 608 posts
Posted: Thursday, October 27, 2011 - 09:27 AM UTC
Hello guys. Some very nice builds are in progress here and I am glad to join.
My contribution to this campaign will be Revell's Tiger I H 1/72 with several upgrades which I have been building the last couple of weeks.


More soon, P.A.

TMoon
#152
Visit this Community
Texas, United States
Joined: December 07, 2002
KitMaker: 487 posts
Armorama: 441 posts
Posted: Friday, October 28, 2011 - 02:14 AM UTC
Here are two more days of in progress work.


More this weekend.
Tom
PanzerAlexander
Visit this Community
Attica, Greece / Ελλάδα
Joined: February 17, 2010
KitMaker: 625 posts
Armorama: 608 posts
Posted: Friday, October 28, 2011 - 03:00 AM UTC
Some progress on the small beast :


P.A.
madmax5510
Visit this Community
Hunedoara, Romania
Joined: May 06, 2008
KitMaker: 354 posts
Armorama: 343 posts
Posted: Friday, October 28, 2011 - 07:24 AM UTC
A lot of great work here guys...Special greetings to brailler colleagues!
Alex,impressive work on this Revell kit...
This time, my entry is a braille build,Ferdinand tank destroyer,Trumpeter kit in 1/72 scale:


Cheers!

rtvmodeler
#136
Visit this Community
Distrito Federal, Mexico
Joined: April 06, 2002
KitMaker: 437 posts
Armorama: 391 posts
Posted: Friday, October 28, 2011 - 05:05 PM UTC
Hello friends!

More updates!

Working the hooks for the tow cable, they are movable.


Regards,
Rodolfo
PanzerAlexander
Visit this Community
Attica, Greece / Ελλάδα
Joined: February 17, 2010
KitMaker: 625 posts
Armorama: 608 posts
Posted: Sunday, October 30, 2011 - 06:02 AM UTC
Rodolfo, remarkable build
Dani, good luck with the Ferdinard.

My progress :

Preshading


Base color with CM


P.A.
minas-ithil
#110
Visit this Community
Florida, United States
Joined: September 20, 2005
KitMaker: 248 posts
Armorama: 224 posts
Posted: Monday, October 31, 2011 - 07:49 AM UTC
@Rodolfo -

Working tow cable clamps!?! You are the man!

Stephen (Minas-Ithil)
minas-ithil
#110
Visit this Community
Florida, United States
Joined: September 20, 2005
KitMaker: 248 posts
Armorama: 224 posts
Posted: Tuesday, November 08, 2011 - 01:26 AM UTC
To All of the Tiger-philes,
I am calling my Tiger done. I built the DML 1/72 Tiger1 kit OOB. I added a base from HQ72 that I had picked up at a model show (see my previous posts for more info)

Here are a couple of shots of the Tiger after the basecoats and camo with the decals.


Now here are the final pictures of the model, some on the city street base. Some of the photos have been posted in the Campaign gallery.


The kit was nice to build. One interesting feature was that the roadwheels were in only two pieces for each side. This made building the suspension a breeze with no visible evidence of this shortcut - nice engineering.

I used Tamiya and Polly-S paints for everthing - mainly Tamiya for the camo and the Polly-s for the weathering. I applied a sandy-brown filter to tone down everthing after the basecoats - it seemed a little 'bright'.

The tracks were given their 'sag' by crazygluing them down to the tops of the roadwheels.

The one bothersome area on this model was their way of doing the towcable on the top of the hull. It uses twisted wire for the main loop and then plastic parts for the front ends and you are supposed to hide the wire under the plastic part - a little clumsy and it does not stand up to close inspection.

One final point, in looking at my photos, I have a bit of decal silvering on the turret numbers, so this evening I need to deal with that. Other than these few weak points, the kit overall was nice to build. Comments are always welcome.

Thanks,
Stephen
MAMOOTH
Visit this Community
Yucatan, Mexico
Joined: January 16, 2011
KitMaker: 45 posts
Armorama: 43 posts
Posted: Tuesday, November 08, 2011 - 04:31 AM UTC
Hi guys the campaign is almost finished anda i cant up load the photos of my model finished ti the campaign photo gallery, maybe is for virtual space, wat can i do? Help please.
GaryKato
Visit this Community
California, United States
Joined: December 06, 2004
KitMaker: 3,694 posts
Armorama: 2,693 posts
Posted: Tuesday, November 08, 2011 - 09:15 AM UTC

Quoted Text

Hi guys the campaign is almost finished anda i cant up load the photos of my model finished ti the campaign photo gallery, maybe is for virtual space, wat can i do? Help please.


If you upload a file but it doesn't show up, that is usually a sign that the file is larger than 3MB. You can use a graphics program (like Microsoft Paint which usually comes with Windows) to make the image smaller.