United States
Joined: February 01, 2009
KitMaker: 1,233 posts
Armorama: 557 posts
Posted: Thursday, May 31, 2012 - 10:41 AM UTC
Paul---It looks great. Good effect with the white wash and a very realistic appearance on the model.
Erhan---Love your T-34...........very nicely done.
Regards, Ian
It is a fact that under equal conditions, large-scale battles and whole wars are won by troops which have a strong will for victory, clear goals before them, high moral standards, and devotion to the banner under which they go into battle.
-Georgy Zhukov

#152
Texas, United States
Joined: December 07, 2002
KitMaker: 487 posts
Armorama: 441 posts
Posted: Friday, June 01, 2012 - 11:35 AM UTC
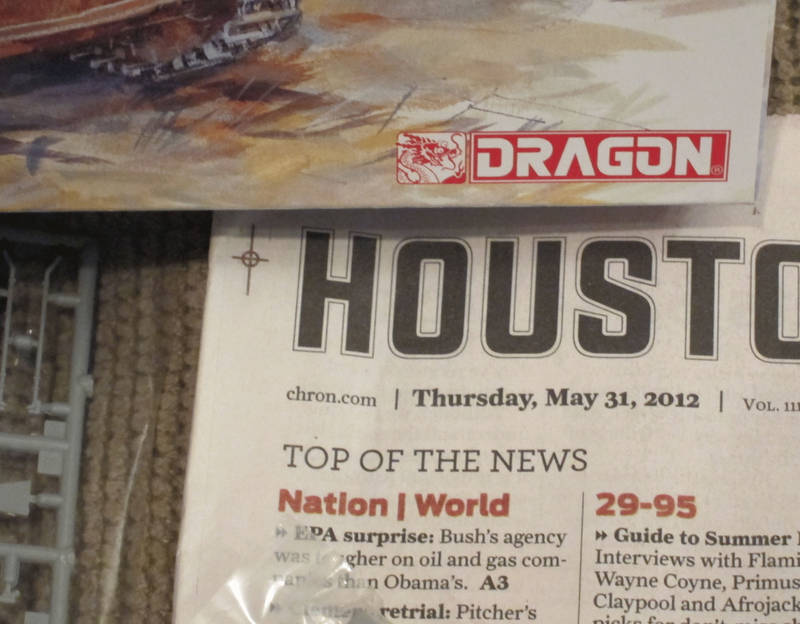
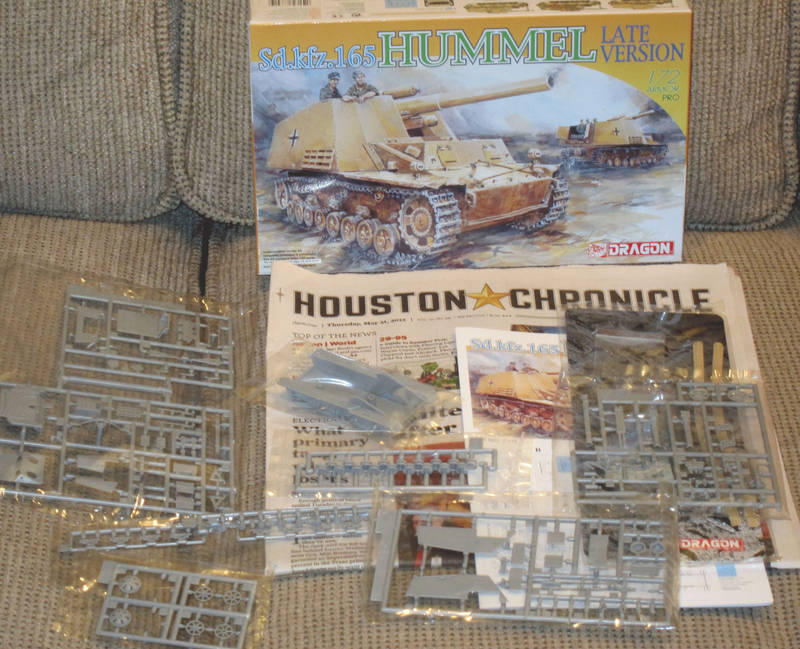
Here are my start up photos of the Dragon Hummel Late Production model I intend to build.


Tom Moon
Long time modeller. Starting when I was a teenager, then I found out about girls and college and work and kids. But now that I have one girl, no school, no work and the kids are grown, I'm back to full time modelling. My prime area of interest is armor, b
Florida, United States
Joined: October 06, 2004
KitMaker: 5 posts
Armorama: 4 posts
Posted: Saturday, June 02, 2012 - 03:46 AM UTC
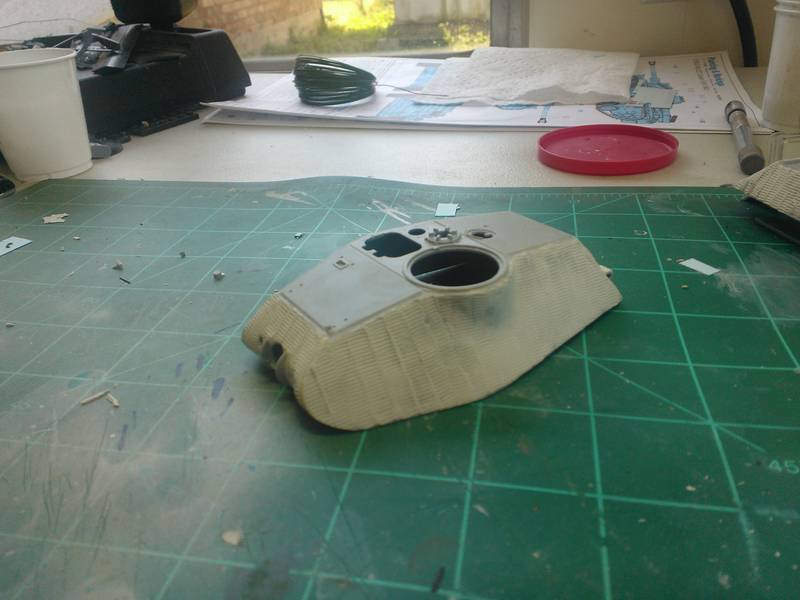
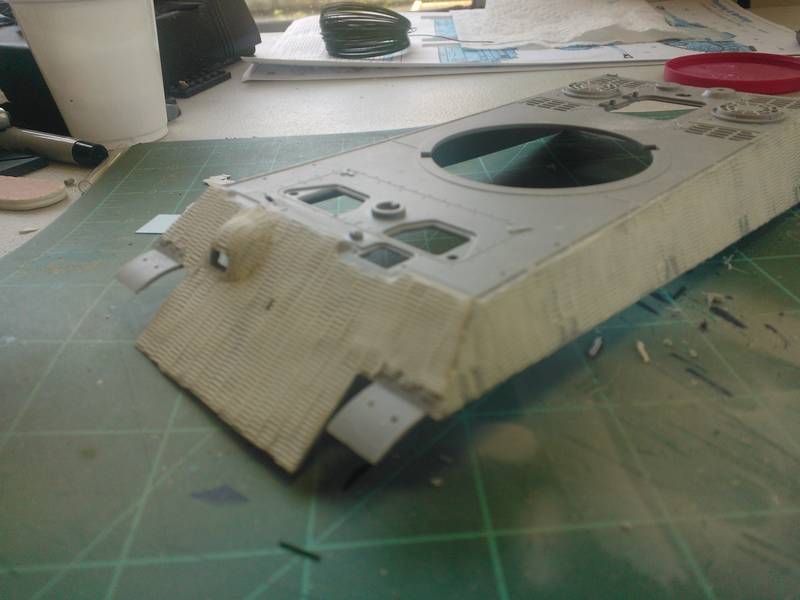
Been busy working on the zimmerit on my Porsche KT.


England - West Midlands, United Kingdom
Joined: May 23, 2010
KitMaker: 642 posts
Armorama: 593 posts
Posted: Sunday, June 03, 2012 - 09:41 AM UTC
Connecticut, United States
Joined: November 02, 2003
KitMaker: 984 posts
Armorama: 846 posts
Posted: Sunday, June 03, 2012 - 12:18 PM UTC
Here is my latest picture update.


#186
Texas, United States
Joined: May 24, 2006
KitMaker: 771 posts
Armorama: 750 posts
Posted: Monday, June 04, 2012 - 03:37 AM UTC
paul, amazing job on the white wash. I can't wait to see the whole kit together and weathered.
England - West Midlands, United Kingdom
Joined: May 23, 2010
KitMaker: 642 posts
Armorama: 593 posts
Posted: Monday, June 04, 2012 - 05:51 AM UTC
Quoted Text
paul, amazing job on the white wash. I can't wait to see the whole kit together and weathered.
Hi Guy,
I will, hopefully, get all the streaking and chipping done in the next few days and then play with the mud mix I have planned for the running gear. Should be a further update soon.
All the best,
Paul
@ Marc...
Really nice finish on the J, are there side-skirts to be added as well? Look forward to seeing more.
All the best,
Paul

#073
Pennsylvania, United States
Joined: October 05, 2002
KitMaker: 2,659 posts
Armorama: 1,512 posts
Posted: Monday, June 04, 2012 - 08:59 AM UTC
Hey Paul
thats one is looking good. that is some good looking whitewash. I can't wait to see the final results.
and Marc
I like your camo it looks great, i wish I could freehand that well. btw what did you use for the mud on the running gear?
Delbert

Just Your Everyday Average Model Builder
Connecticut, United States
Joined: November 02, 2003
KitMaker: 984 posts
Armorama: 846 posts
Posted: Monday, June 04, 2012 - 09:19 AM UTC
Delbert, the mud is a combination of Doc O'Brien's dirty brown weathering powder, Plaster, water and elmers glue for a adhesive.
Paul, the sideskirts are currently being added.
Unfortunately, i had an accident with some superthin CA, and it got on a piece of mesh. Very dissappointed.

Thanks for the compliments, guys.
United States
Joined: February 01, 2009
KitMaker: 1,233 posts
Armorama: 557 posts
Posted: Monday, June 04, 2012 - 10:49 AM UTC
Marc...........looks great. Good drybrushing application and your camo was applied very well. Sorry the side-skirts caused so much trouble.
Regards, Ian
Quoted Text
Delbert, the mud is a combination of Doc O'Brien's dirty brown weathering powder, Plaster, water and elmers glue for a adhesive.
Paul, the sideskirts are currently being added.
Unfortunately, i had an accident with some superthin CA, and it got on a piece of mesh. Very dissappointed.

Thanks for the compliments, guys.
It is a fact that under equal conditions, large-scale battles and whole wars are won by troops which have a strong will for victory, clear goals before them, high moral standards, and devotion to the banner under which they go into battle.
-Georgy Zhukov
Joel_W
 Associate Editor
New York, United States
Joined: December 04, 2010
KitMaker: 11,666 posts
Armorama: 1,143 posts
Posted: Monday, June 04, 2012 - 10:58 AM UTC
Paul, just an outstanding camo paint job. The weathering looks great. Can't wait to see the final pictures.
On my Workbench:
Monogram 1/24 scale 427 Shelby Cobra
Just Completed:
Beemax 1/24 scale BMW M3 E30 1992 Evolution II
Joel_W
 Associate Editor
New York, United States
Joined: December 04, 2010
KitMaker: 11,666 posts
Armorama: 1,143 posts
Posted: Monday, June 04, 2012 - 11:00 AM UTC
Marc, Just a super weathering effort.
On my Workbench:
Monogram 1/24 scale 427 Shelby Cobra
Just Completed:
Beemax 1/24 scale BMW M3 E30 1992 Evolution II
Joel_W
 Associate Editor
New York, United States
Joined: December 04, 2010
KitMaker: 11,666 posts
Armorama: 1,143 posts
Posted: Monday, June 04, 2012 - 11:16 AM UTC
Update on my M4A3 105mm Sherman.
Well, I finally finished the basic painting, two coats of gloss with Future, then applied the decals. I sealed the decals with another coat of Future. Once dry, I applied a thinned coat of lightened O.D. on all upper surfaces to represent fading from the elements. A dusting of earth was then applied to the running gear, and sides of the hull, and then a very light coat of dust over the top surfaces as well.
Will seal the paint with another coat of Future so I can start the weathering process with oils.


On my Workbench:
Monogram 1/24 scale 427 Shelby Cobra
Just Completed:
Beemax 1/24 scale BMW M3 E30 1992 Evolution II

#073
Pennsylvania, United States
Joined: October 05, 2002
KitMaker: 2,659 posts
Armorama: 1,512 posts
Posted: Tuesday, June 05, 2012 - 01:30 PM UTC
Howdy,
my project is going slow, I have a few irons in the fire, but I am making progress.
we have wings..

nice sherman Joel..
Delbert

Just Your Everyday Average Model Builder
Connecticut, United States
Joined: November 02, 2003
KitMaker: 984 posts
Armorama: 846 posts
Posted: Wednesday, June 06, 2012 - 07:54 AM UTC
I was able to remove most of the spilled CA off my mesh. Got them all mounted, and washed. Now for some drybrushing and hopefully i'm finished.
I can't wait for this kit to be done!!!
Connecticut, United States
Joined: November 02, 2003
KitMaker: 984 posts
Armorama: 846 posts
Posted: Wednesday, June 06, 2012 - 12:25 PM UTC
Massachusetts, United States
Joined: February 08, 2012
KitMaker: 1,271 posts
Armorama: 1,253 posts
Posted: Wednesday, June 06, 2012 - 12:35 PM UTC
I'm doin' stuff. Lotta stuff.
England - West Midlands, United Kingdom
Joined: May 23, 2010
KitMaker: 642 posts
Armorama: 593 posts
Posted: Wednesday, June 06, 2012 - 01:41 PM UTC
Hi Marc,
Well done, lovely job and the side skirts look good. I agree that a J is less interesting without them.
All the best,
Paul
New York, United States
Joined: March 08, 2010
KitMaker: 3,662 posts
Armorama: 3,078 posts
Posted: Wednesday, June 06, 2012 - 03:04 PM UTC
Active Campaigns on the bench:
Operation Fall Gelb - Pz.Kpfw. IV Ausf. C
Engineering the Future - M-26 Recovery Vehicle
115 Campaigns completed
Joel_W
 Associate Editor
New York, United States
Joined: December 04, 2010
KitMaker: 11,666 posts
Armorama: 1,143 posts
Posted: Wednesday, June 06, 2012 - 11:42 PM UTC
Marc, congratulations on finishing your 1st model since 2005. the J came out great.
On my Workbench:
Monogram 1/24 scale 427 Shelby Cobra
Just Completed:
Beemax 1/24 scale BMW M3 E30 1992 Evolution II

#226
British Columbia, Canada
Joined: February 20, 2012
KitMaker: 1,909 posts
Armorama: 1,066 posts
Posted: Wednesday, June 06, 2012 - 11:53 PM UTC
Great Job Marc!

Cheers Rob.
Anything without guns is a target!
27 completed campaigns and counting :)
England - West Midlands, United Kingdom
Joined: May 23, 2010
KitMaker: 642 posts
Armorama: 593 posts
Posted: Thursday, June 07, 2012 - 03:52 AM UTC

#186
Texas, United States
Joined: May 24, 2006
KitMaker: 771 posts
Armorama: 750 posts
Posted: Thursday, June 07, 2012 - 04:09 AM UTC
Paul, great job on the jagdpanzer IV! It came together really well!
Connecticut, United States
Joined: November 02, 2003
KitMaker: 984 posts
Armorama: 846 posts
Posted: Thursday, June 07, 2012 - 04:55 AM UTC
Excellent job on that Jagdpanzer Paul.
Watching the progress on your build and some other modellers makes me want to buy one of these.
I'm just not sure if i want to deal with tracks again right now.


EDIT I can't believe that thing is Braille Scale.
Totally impressive.
Joel_W
 Associate Editor
New York, United States
Joined: December 04, 2010
KitMaker: 11,666 posts
Armorama: 1,143 posts
Posted: Thursday, June 07, 2012 - 08:26 AM UTC
Paul, Just an outstanding weathering effort. Well done.
On my Workbench:
Monogram 1/24 scale 427 Shelby Cobra
Just Completed:
Beemax 1/24 scale BMW M3 E30 1992 Evolution II


