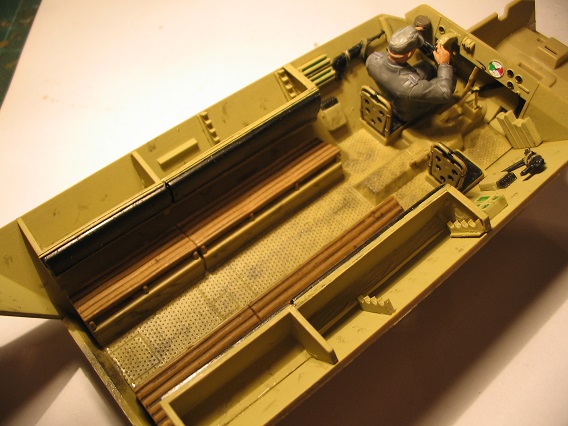
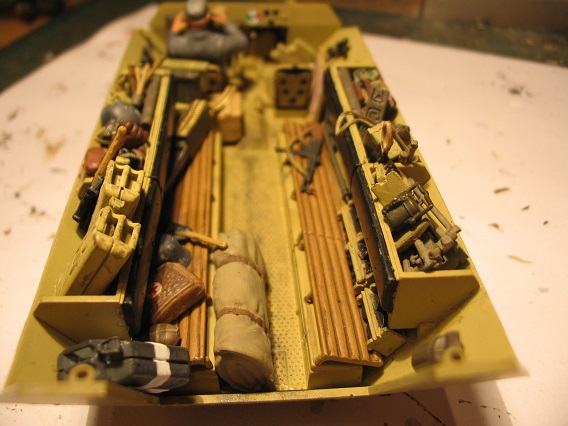
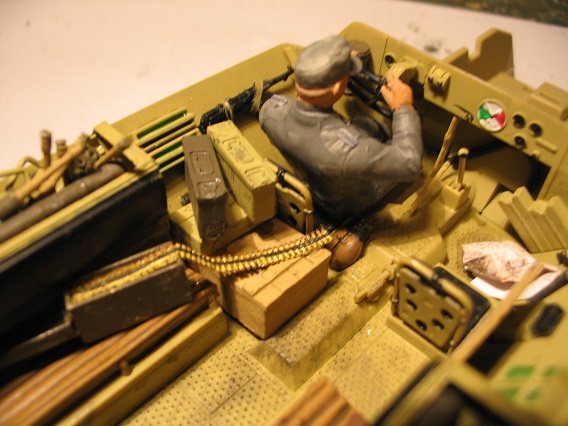
I've made a start on the new one. It's the straightforward Tamiya 251 D. I've got to say it's a lot more enjoyable to build than the DML ones but lacks detail. Swings and roundabouts really. Straightforward Tamiya build in that the instructions are clear and everything fits together nicely but a lot of work to get it looking half decent whereas the DML one I built had loads of detail but was a crap fit and decorum forbids me from expressing my opinion of their instructions as it would involve a lot of swearing. There are some weird anomalies with this kit. The storage boxes on the hull sides for one. There's no bottom or facing wall to the long box just a seat back! As I plan to put kit in them and not use the rifle racks (the occupants will be debussing over the sides so will be holding their weapons) it caused something of a problem. The back of the box is hollow (very odd) so I put some plasticard over it and dropped it down a couple of mil to give it a front and used a couple of planks from a 251/7 kit cut to size to put a floor in it. You won't see the wood grain but they were just the right width and I was being lazy lol. With that out of the way the basic interior was done.
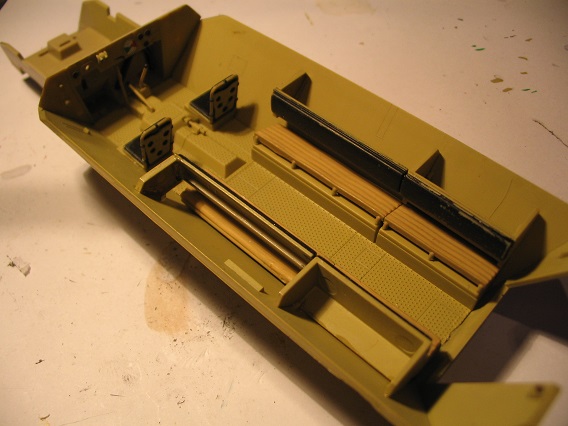
I bought a big box of Dragon 250/251 spares off ebay a few months ago for very little and combined with my own spares I managed to find all the bits I needed to correct the very bare interior seeing as there literally was nothing there.
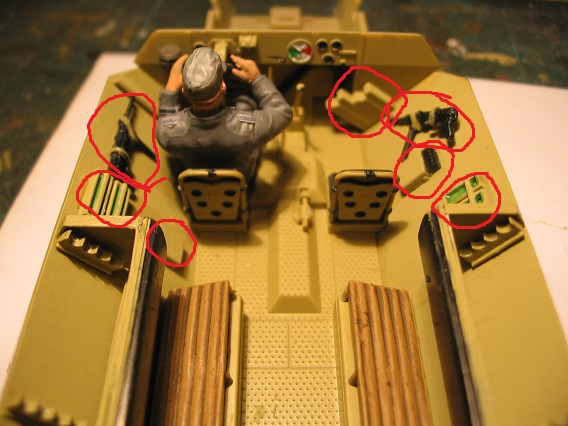
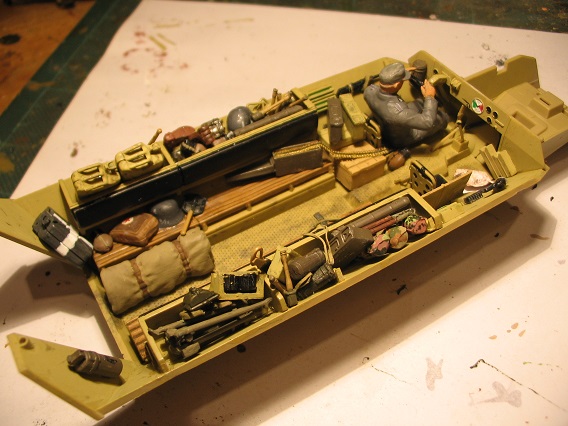
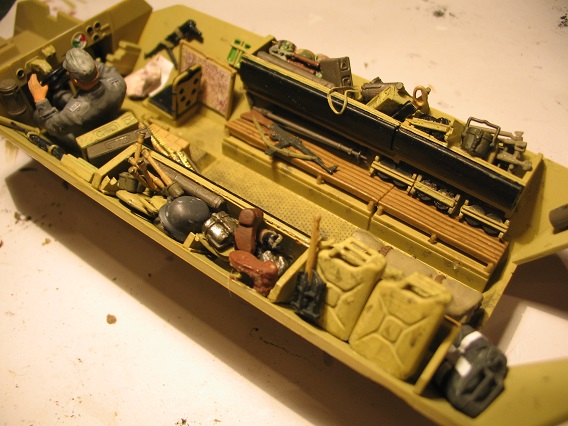
As you can see I've added both driver and radio ops MP40's and spare mags. The map holder( I read somewhere that's what it is but I don't know for sure), spare lenses for the visors and the grab rail under the MG 42's armoured shield. Really obvious things so I can't understand why they've omitted them.
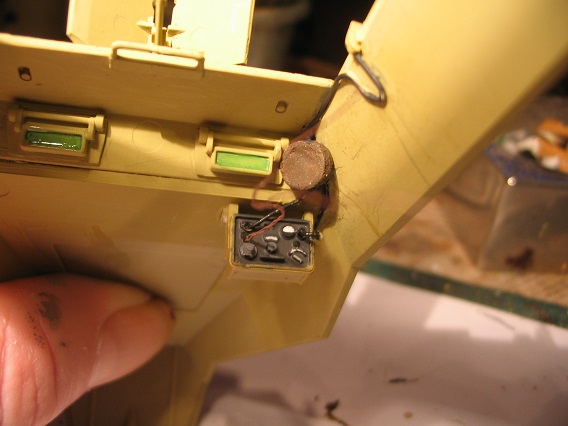
The radio's not bad at all and I'd go as far as to say it's better detailed than the DML one. It even has the connecting plug for the power source (I assume that's what it is) so I've been poring over photos working out how to connect it all up. I made a speaker (which looks like a laxative tablet close up in the photo but looks better in real life. Honest!) out of one of the tubes that protect paint brushes cut to size then filled with Humbrol filler. Worked quite well for an experiment so I may fit speakers to all my 251's now. I drilled out the points where connections are made and used 15amp fuse wire for the cables. I used 5amp for the headphones cable as it's very thin and I can twist it to have two single strands at the top to connect to headphones. I can't do that until I've mated the top and bottom hull though as I don't know how long it needs to be yet. I've added conduit from the antenna mount feeding down to the radio. Odds are you won't be able to see any of it once I've got the machine gunner in but I know it's there.
The driver that came with the kit was too big when in the seat (even with his tiny head. Tamiya's new figures seem to have unfeasibly small heads) so I used a DML one instead.I'd amputated his feet when he was going into a previous DML build then decided against having a driver. Ironically he'd have fitted in this one as there seems to be more room but you can't see that he's footless fortunately.
I'm going to crack on with it again tomorrow and put in some stores and do the internal weathering. I've made a start on the benches, giving them a burnt umber wash to give a bit of depth in between the slats on the bench seats but it could do with a couple more washes as it's a bit uneven. I'd have preferred to use DML seats but they're moulded to the floor on this one and as it would be quite major surgery for something minor I decided against it. I can't see this taking long to finish being quite a simple kit. Then I can make a start on the figures.


