

1⁄35M113 TUA Conversion Set
6
Comments

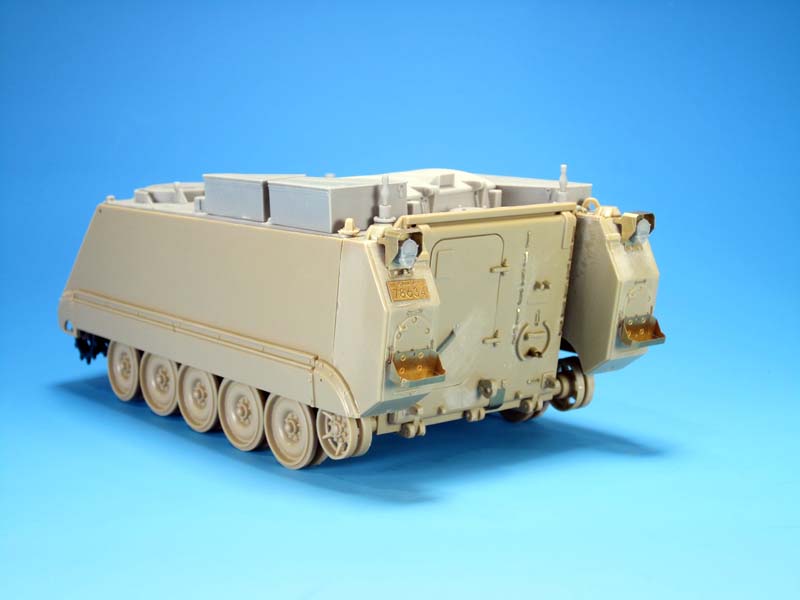
The details on the rear hull were tackled as the build continues. The parts from the kit need some preparation for the attachment of the Legend Productions conversion parts. Namely, the areas where the rear taillights and guards needs both sanding and filling. This is a simple task and aids in the smooth attachment of the parts.
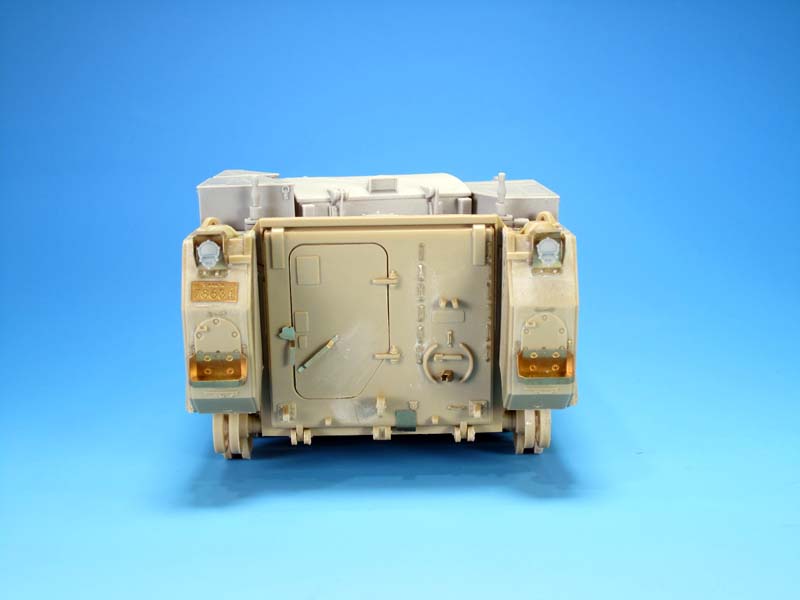
Canadian M113A2 TUAs all had the external fuel tanks on the hull, so you do not have the option to not add them. The taillight guards are a bit different from the U.S. version and Legend Productions has provided three PE parts and the resin taillight for each assembly. Careful bending of the main guard is essential in order for the other smaller PE parts to fit properly. The smaller parts consist of a vertical PE part for the resin light to attach to, and a small horizontal PE part that bridges the gap between the guard and the external fuel tank. The PE guard is not exactly replicated when compared to the real thing but it is pretty close in 1/35. The resin lights should sit inside the guards, so sanding the base is required as well as a bit of test fitting to ensure centering and a countersunk look in the light guard. Once assembled resin bolts were added to the upper and lower guard plates.
A total of 29 PE tie downs were added to the rear hull area. The TUA has some unique placements for the tie downs and being organized in advance assists with correct placement. The only preparation required for the tie downs was the removal of the moulded on tie downs on the kits fuel tanks. I find bending the tie downs both onerous and difficult due to the unique angles and small size. I would prefer it if Legend Productions had included a small resin jig to assist with proper bending. I created my own jig with some scrap plastic to get the tie downs into the basic shapes.
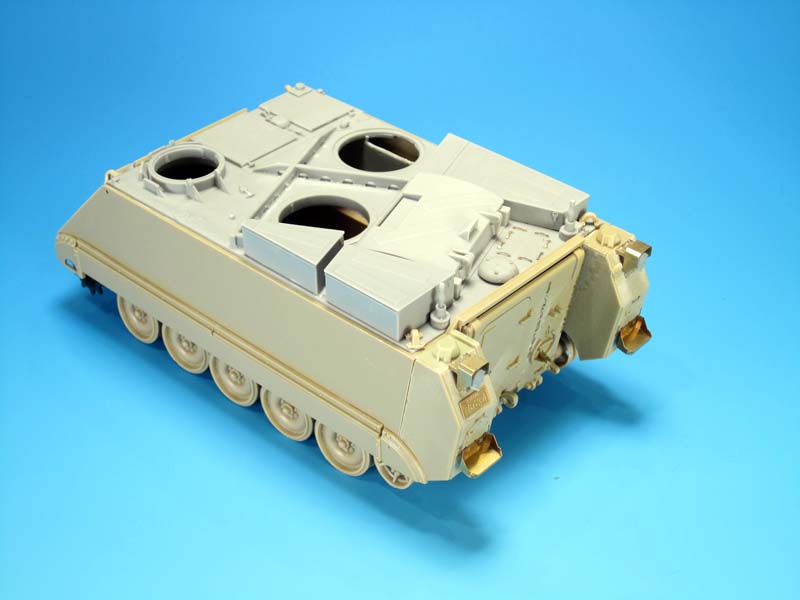
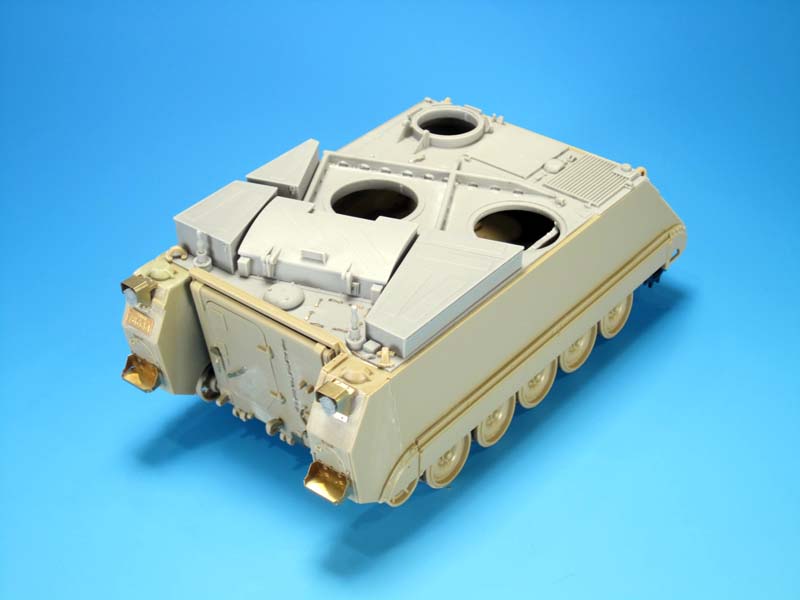
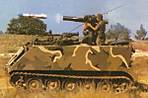
The PE jerry can racks are straightforward and bend up nicely and securely with no issues. The resin water can and fuel can fit nice and snug in the racks once they are cleaned up and sanded. On the rear upper hull two resin antenna mounts were added. Note that not all TUAs mounted two antennas on these locations; it was much more common to see only one antenna mounted on the right mount.
Depending on which version of the TUA you are building or where it was deployed, the type of antenna mount and length of the antenna may vary. Canada adopted a short one piece antenna with a simplified mount in the early 1990s. TUA and other Canadian AFVs such as the Leopard C1 used these types of antennas. On the TUA the short antennas could be seen mounted on vehicles in Germany and in Bosnia. Over time the short antennas and mounts were replaced with standard antennas and mounts. Do your homework on the type and location of antennae as you plan your build. Only the standard antenna mount is provided in the conversion.
A PE licence plate is provided for the left fuel tank. It follows the correct sequence for a TUA. Other details provided for the rear hull are handles and locks for the rear hatch door and a PE guard for exposed cables at the base of the ramp.
I did discover one placement issue between conversion and kits parts. On the rear upper hull the two kit lifting eyes are attached to the upper corners on the resin upper hull. Due to the size of the kit parts and the proximity of the resin bins there is overhang of the lifting eyes. The lifting eyes are too big for the correct placement. The issue is visible in Legend Productions build images and their instructions. Replacement resin lifting eyes of the corrected size should have been provided.
As you can see in my build images I have added the side skirts. This is personal preference and I like the look of the side skirts on the TUA.

About the Author


Comments

As always Jason nice and precise work and assessment on this product and a good finished product.
NOV 29, 2014 - 08:00 PM
Excellent article, thank you for the detailed build information and great photos.
NOV 30, 2014 - 07:42 AM

A perfect example how the build article should look like. Thanks Jason for all the info provided and absolutely great photos.
Mario
NOV 30, 2014 - 01:21 PM


I just got mine and it's a great conversion. Wish they hadn't molded the TOW tubes sloped down though.
MAY 08, 2015 - 07:31 AM

Copyright ©2021 by Jason Bobrowich. Images and/or videos also by copyright holder unless otherwise noted. The views and opinions expressed herein are solely the views and opinions of the authors and/or contributors to this Web site and do not necessarily represent the views and/or opinions of Armorama, KitMaker Network, or Silver Star Enterrpises. All rights reserved. Originally published on: 2014-11-30 04:47:45. Unique Reads: 19130

WEB HOSTING BY


Copyright ©2021 Armorama and Kitmaker Network, a subsidiary of Silver Star Enterprises
All Rights Reserved. Please read our Conditions of Use and Privacy Policy.
All Rights Reserved. Please read our Conditions of Use and Privacy Policy.