

1⁄35M113 TUA Conversion Set
6
Comments
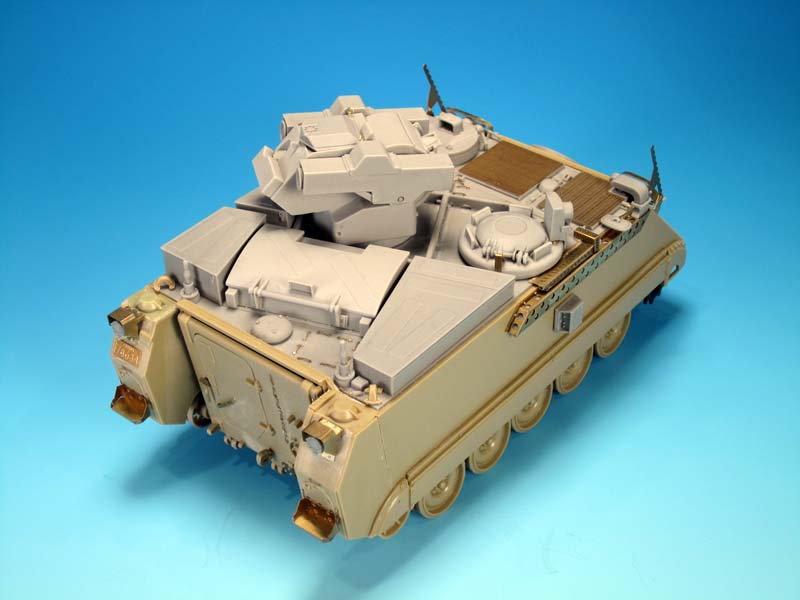
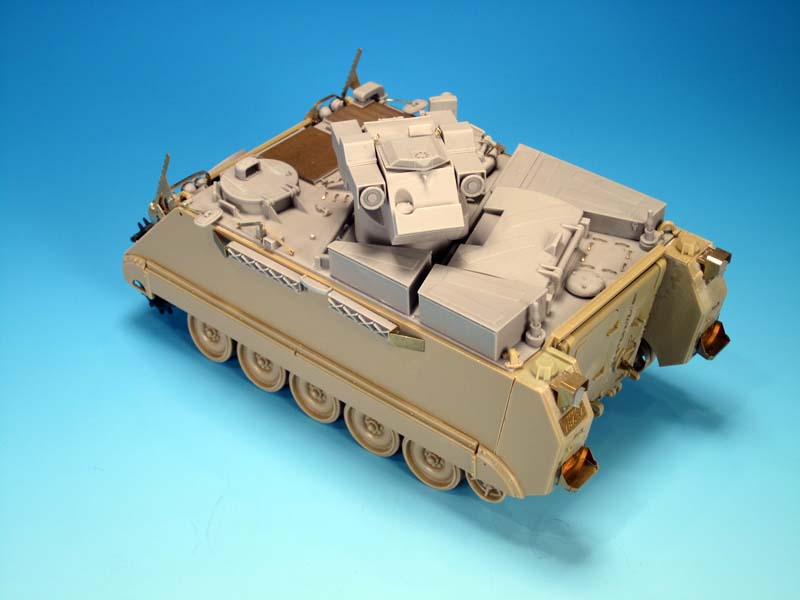
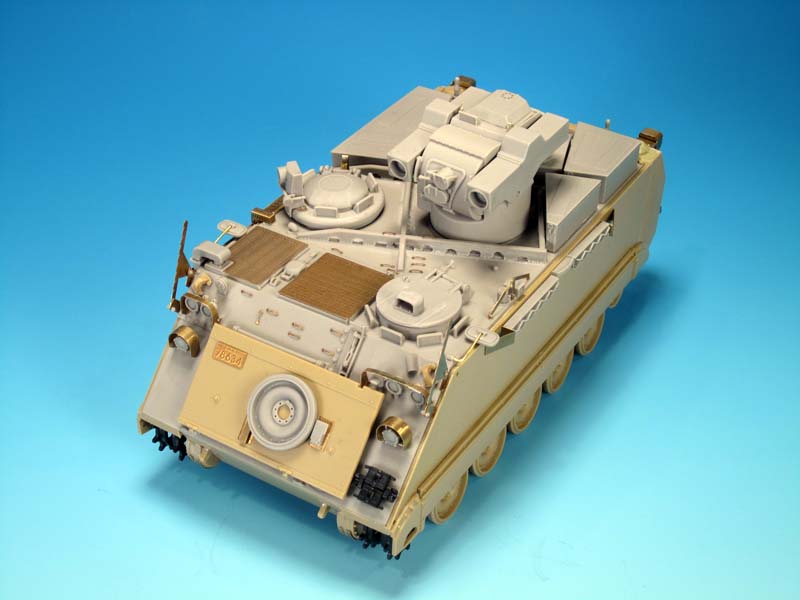
Turret
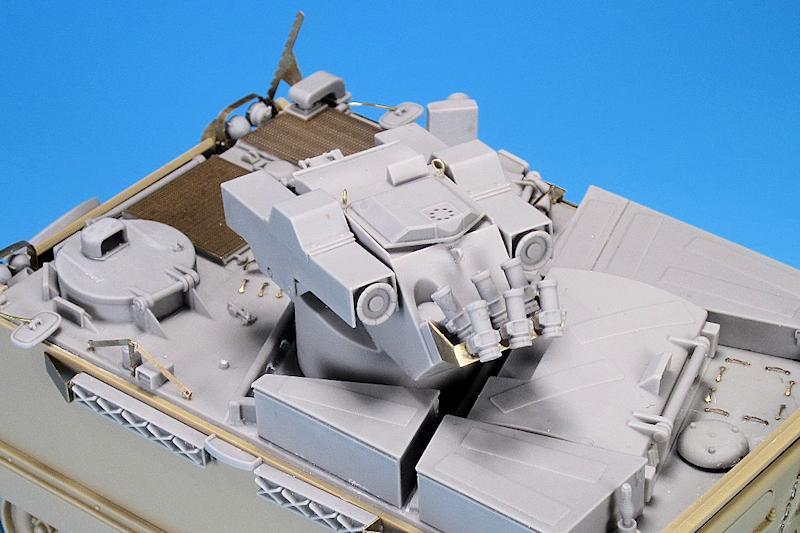
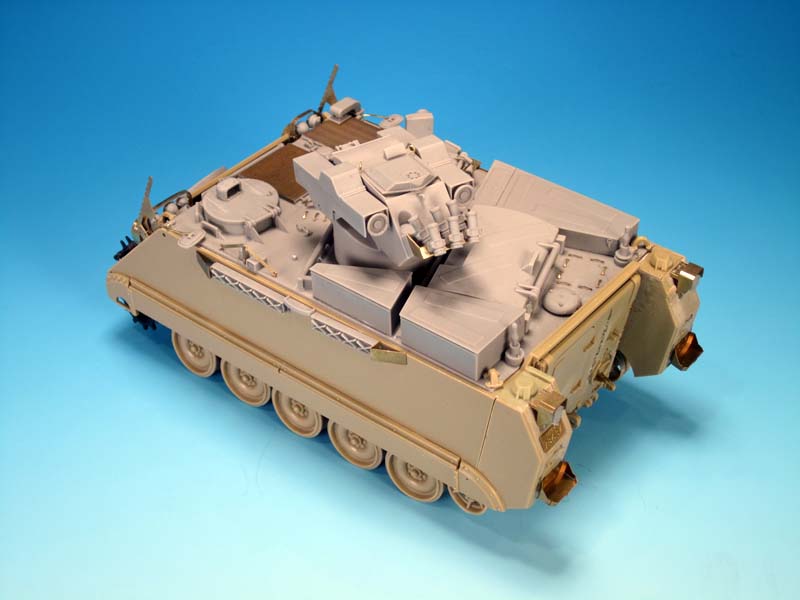
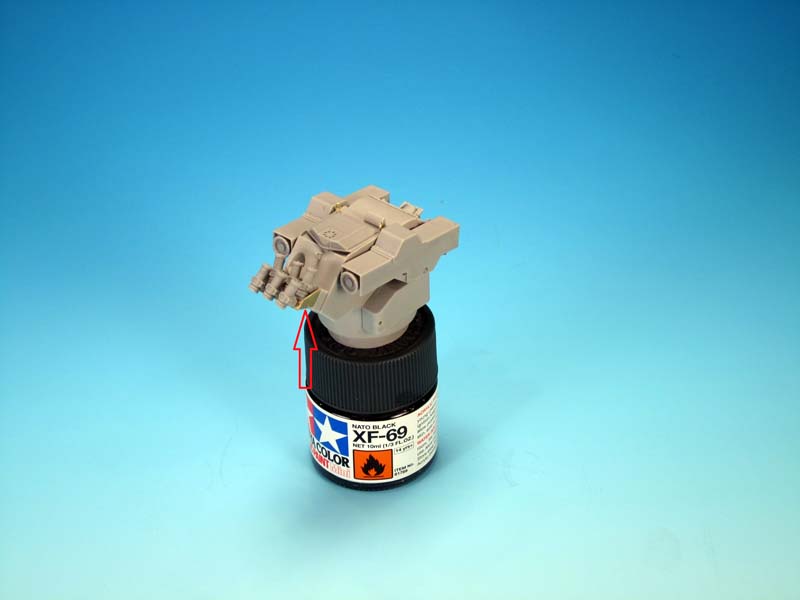
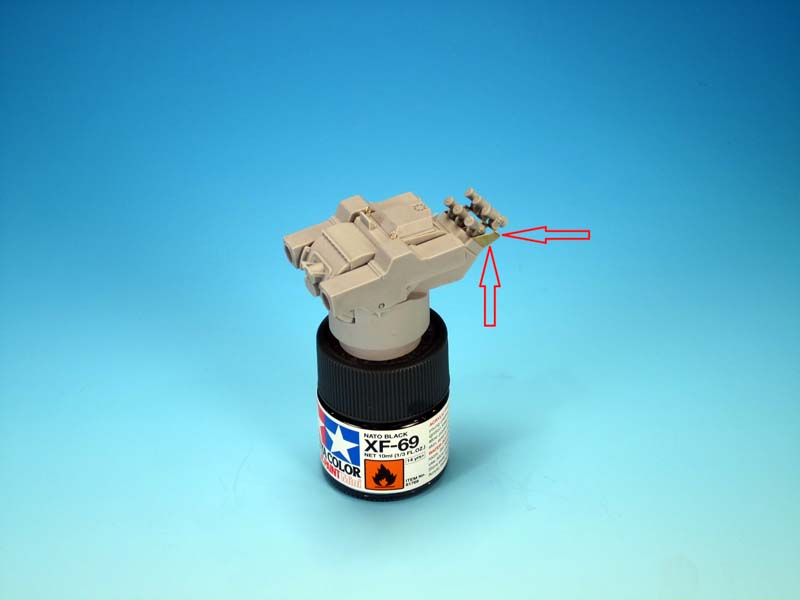
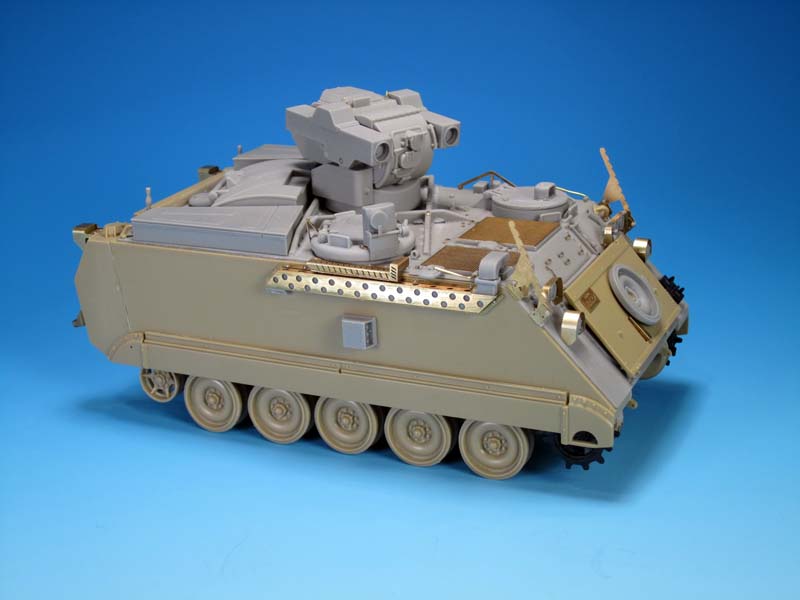
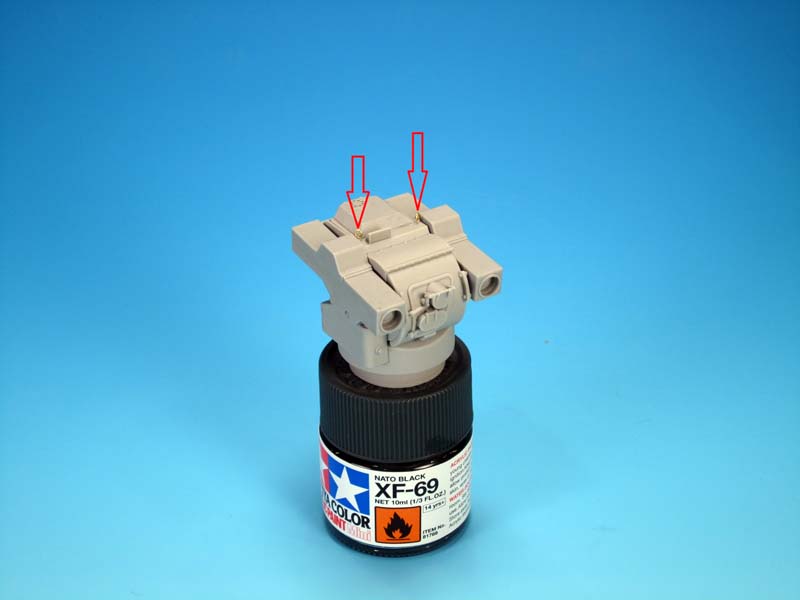
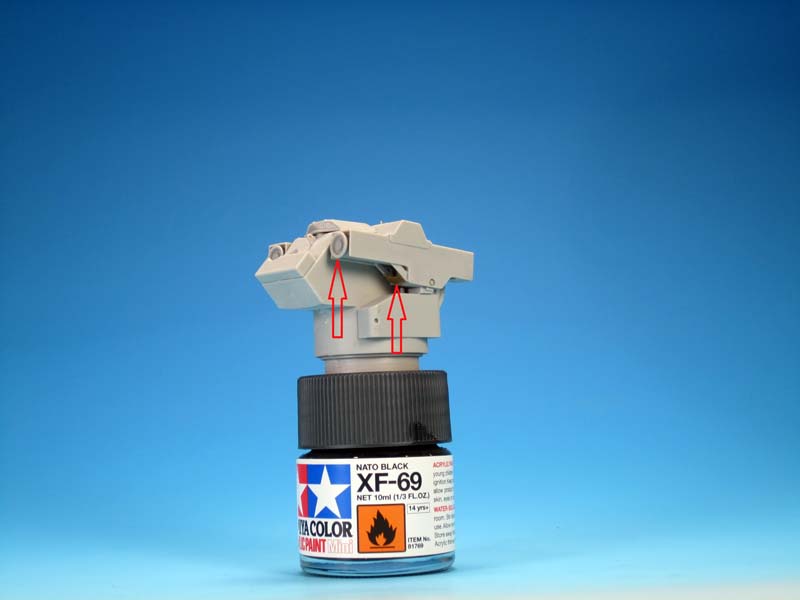
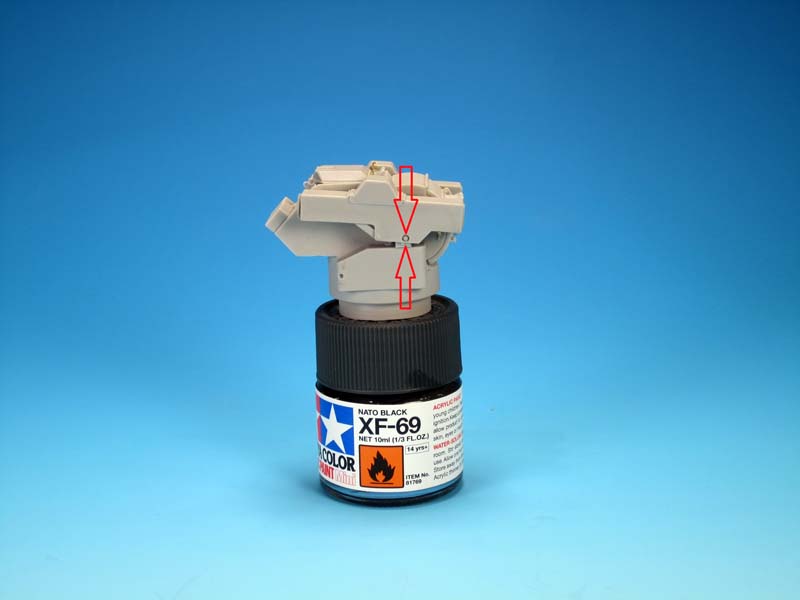
I started the turret build with the missile launchers. Legend did a great job with the majority of the details on the launchers, but there are some issues worth mentioning. The launchers do not pivot on the turret structure and are designed to be attached at a slight downward angle. This angle is perfectly fine and many images of TUAs show the vehicles parked or travelling with launchers angled down. Trying to change this positioning will create either an inaccurate look or make for a considerable amount of rebuilding of the launchers and the turret sides. On the front underside of the launchers, small PE reinforcing ribs are added. On the real TUA there are visible weld beads around these ribs. What is also apparent is that the front angled underside of the launchers is moulded solid and should actually have a visible inset cut with angled supports on either side. Again, there is no way to add this feature without rebuilding the launchers. On the rear of the launchers the end cap of the missiles are added as well as small curved reinforcing pieces of PE on the rear underside of the launchers. The missiles are cast into the launchers so this is the only posing option. Creating empty launchers would have been an excellent feature but would have required a great deal more detail on the inside of the launchers. On the turret top the gunner's hatch is added. The instructions show it positioned open or closed. Posing it open is not really an option as the turret opening is cast solid, except for a slight indent. In order to attach the hatch in the closed position you have to remove the post on the underside of the hatch, as well as sand down the mount on the turret. The turret sits flush in the grooves and there should be a small visible gap at the rear of the hatch. To the turret you add a small resin lifting lug behind the hatch and two circular brass lifting loops. The instructions have you form the lifting loops from the 0.3" brass wire. There is no diameter mentioned. They are attached to the top of the small raised mounts on the turret at an angle that follow the turret hatch angles. The optics covers on the TUA turret were modified during service and are OK on the kit for almost every version. Originally the optics had only pop on / pop off covers but were eventually replaced with hinged versions. For a TUA serving as a new vehicle in 1989/1990 it would have the original pop on / pop off covers. This would require the removal of the hinges and associated mechanism. This images show a side view of the turret with the missile launchers attached; you can see the slight downward angle. The arrows show the inset bolt on the launcher and the hinge. These two details should line up as a landmark for placement. Visible on the left rear of the turret is a circular location for an antenna mount which was used as such on many TUAs. On early TUAs the two-piece long antenna could be seen. As the short one-piece antennas came into service in Germany, these replaced the long antennas. The mounting of an antenna on the turret usually eliminated the antenna mount on the left rear of the hull. The Kvaerner Eureka Armoured Launching Turret is a very interesting design, with limited space on both the interior and exterior. Using the rear of the turret an outrigger mount was added to hold six Wegmann 76 mm Multi-Purpose Launch Tubes. Originally designed by Wegmann & Co. GmbH almost 40 years ago for the German Army, the grenade launch tubes have been incorporated onto dozens of nations armoured vehicles. The grenade launch tubes are capable of launching various types of smoke, tear gas, distraction devices and anti-personnel or "HE" ammunition.

About the Author


Comments

As always Jason nice and precise work and assessment on this product and a good finished product.
NOV 29, 2014 - 08:00 PM
Excellent article, thank you for the detailed build information and great photos.
NOV 30, 2014 - 07:42 AM

A perfect example how the build article should look like. Thanks Jason for all the info provided and absolutely great photos.
Mario
NOV 30, 2014 - 01:21 PM


I just got mine and it's a great conversion. Wish they hadn't molded the TOW tubes sloped down though.
MAY 08, 2015 - 07:31 AM

Copyright ©2021 by Jason Bobrowich. Images and/or videos also by copyright holder unless otherwise noted. The views and opinions expressed herein are solely the views and opinions of the authors and/or contributors to this Web site and do not necessarily represent the views and/or opinions of Armorama, KitMaker Network, or Silver Star Enterrpises. All rights reserved. Originally published on: 2014-11-30 04:47:45. Unique Reads: 19130

WEB HOSTING BY


Copyright ©2021 Armorama and Kitmaker Network, a subsidiary of Silver Star Enterprises
All Rights Reserved. Please read our Conditions of Use and Privacy Policy.
All Rights Reserved. Please read our Conditions of Use and Privacy Policy.