Campaigns
Where Armorama group builds can be discussed, organized, and updates posted.
APC's/AFV's Campaign
mecanix
Visit this Community
Kerry, Ireland
Joined: March 03, 2003
KitMaker: 201 posts
Armorama: 189 posts
Posted: Friday, October 24, 2008 - 07:19 AM UTC
More M38

The engine grill is Evergreen siding, I cannot remeber the no; but I have a variety. It makes great grills

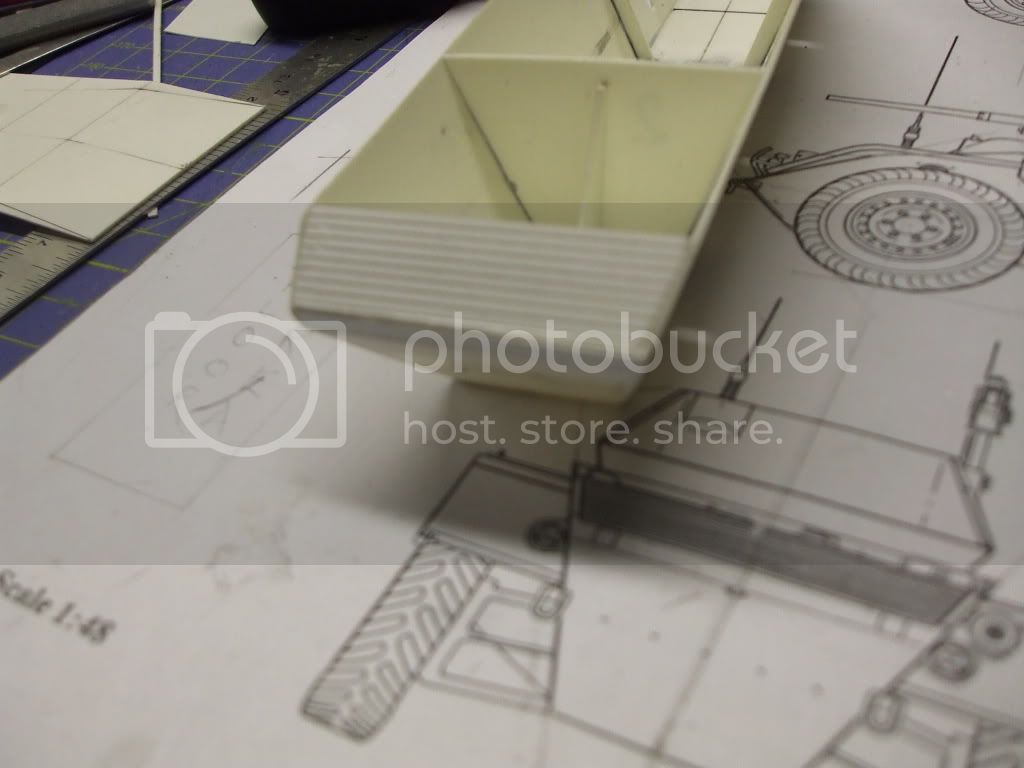
I made a start on the drivers hatch. Basically a square of 30thou cut to size with the edges shaped to plan. Then an X of shaped strip with the latch,hinge and periscope fitted is glued to the square, then fill the space with Milliput and sanded to shape. Better in this instance than the alternate sandwhich method I think.


Sorry about the photos, photography is clearly not my thing
Paddy
marsiascout
Visit this Community
Noord-Brabant, Netherlands
Joined: March 24, 2008
KitMaker: 1,247 posts
Armorama: 913 posts
Posted: Saturday, October 25, 2008 - 01:31 AM UTC
Untill when is this campaign? Right now I'm building a LAV-AD, which I'm entering in this Campaign. (Photo's today). But I also want to do a Bradley, with Barrel Depot metal barrel, AFV Club tracks and Verlinden ERA armor (These are my first update sets, excluding some stowage). The problem is, I can't get the tracks before December. So if I have enough time to finish it, I also enter with that one.

Lars
marsiascout
Visit this Community
Noord-Brabant, Netherlands
Joined: March 24, 2008
KitMaker: 1,247 posts
Armorama: 913 posts
Posted: Saturday, October 25, 2008 - 06:19 AM UTC
Here my first update of the LAV-AD:

I just started this kit. It's a huge improvement of the older Trumpeter LAV-25. It's also better then the Italeri one. This kit has a nice fitting. I only needed to fill twice and one time was because I used the wrong rear which had a large hole.

I just finished the vehicle itself, the wheels and the armament. The PE seen on my build is delivered in the kit. I think I'll put the front 2 wheels to the right or left to make it look like steering.

Photo's:


The boxart.


The hull.


The wheels.


The Rocket Pod.


The Stinger Launcher.


And a nice Minigun.

Lars
mecanix
Visit this Community
Kerry, Ireland
Joined: March 03, 2003
KitMaker: 201 posts
Armorama: 189 posts
Posted: Saturday, October 25, 2008 - 07:44 AM UTC
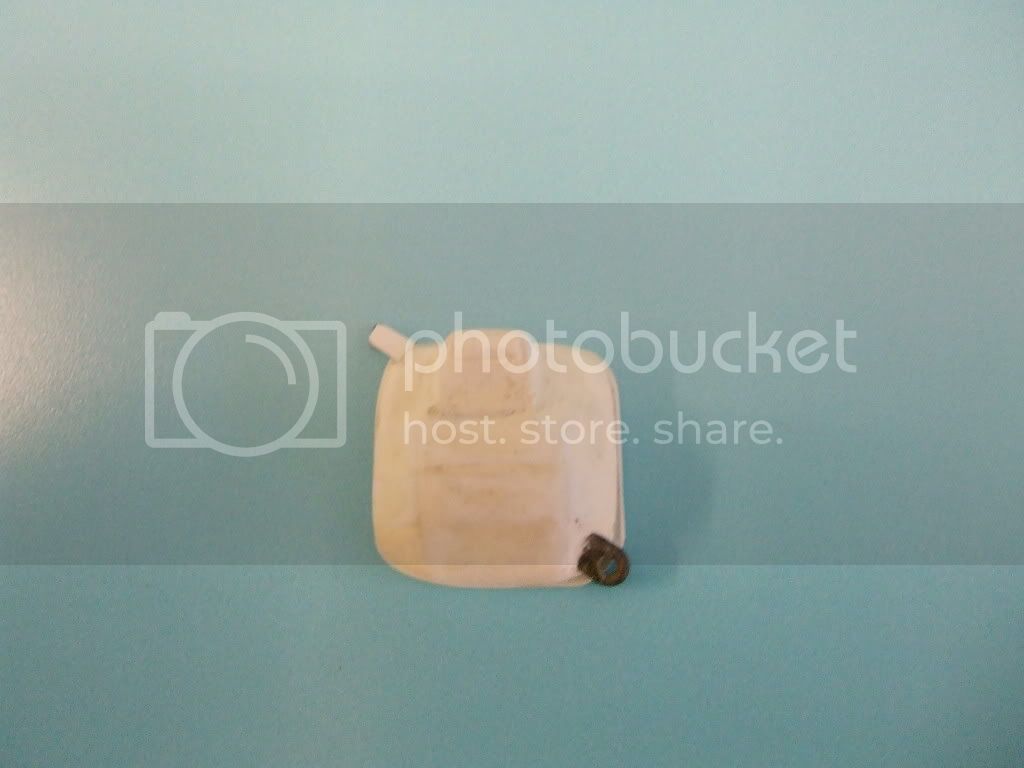
A better shot of the Wolfhound's drivers hatch.

The tool boxes to be built into the side panels/ mud guards.

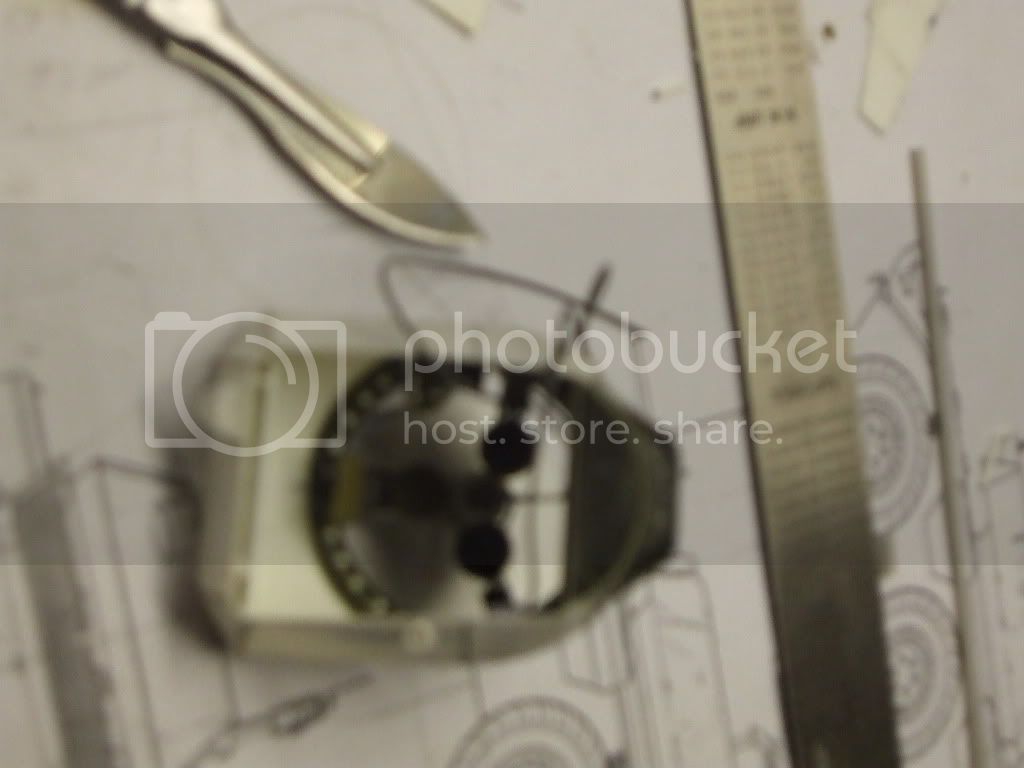
I also started the turret. The ring and turret front casting are from the Italerai Staghound kit as will be the gun and some turret and hull fittings. I believe that as both vehicles were designed by Buick/GM some parts will be common for ease of manufacturer and field operability.The kit part casting looks the same.It just needed a little sanding to improve the shape.

The part to the left is the Staghound body turret opening which will be used as a template to make a thinner 20thou plasticard replica.
Jesper thanks for your kind remarks.

Paddy
skeletondude
Visit this Community
Jogeva, Estonia
Joined: September 02, 2007
KitMaker: 129 posts
Armorama: 125 posts
Posted: Tuesday, October 28, 2008 - 01:08 AM UTC
Nice work everyone, some very cool projects going on here!

Marek
SGTJKJ
#041
Visit this Community
Kobenhavn, Denmark
Joined: July 20, 2006
KitMaker: 10,069 posts
Armorama: 4,677 posts
Posted: Wednesday, October 29, 2008 - 10:45 AM UTC

Quoted Text

Untill when is this campaign? Lars


The campaign runs all the way to 31st May '09, so plenty of time to get the tracks. You really have some interesting kits to enter. It will be interesting to follow.

I will start my Puma soon....
mecanix
Visit this Community
Kerry, Ireland
Joined: March 03, 2003
KitMaker: 201 posts
Armorama: 189 posts
Posted: Thursday, October 30, 2008 - 11:59 AM UTC
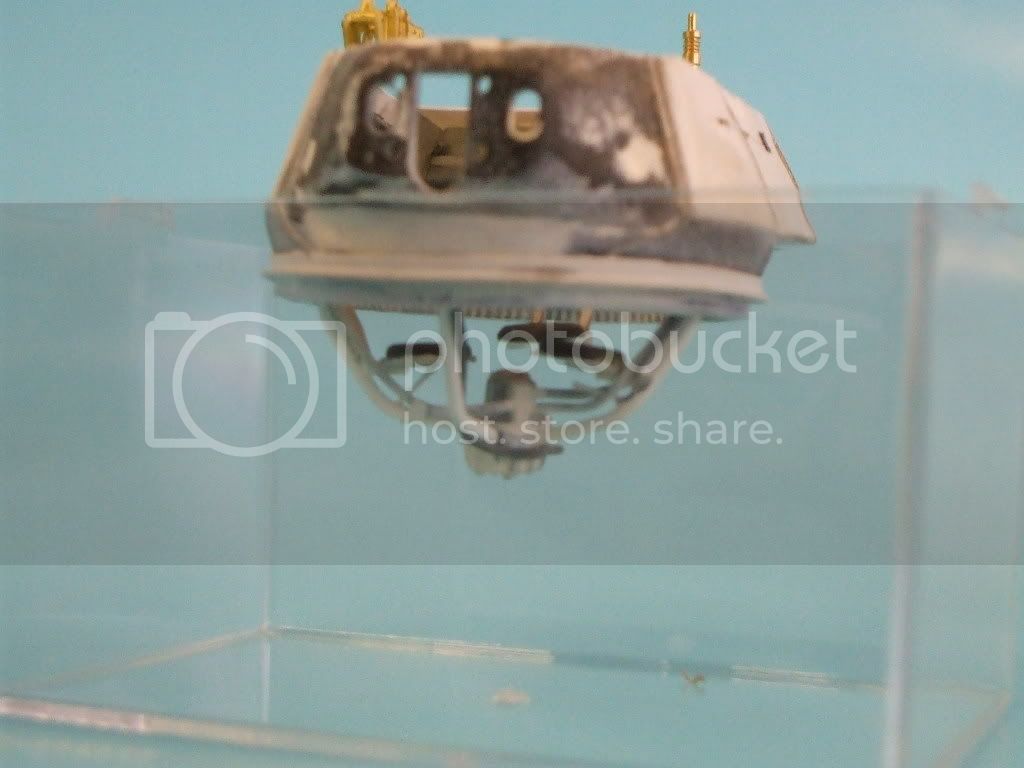
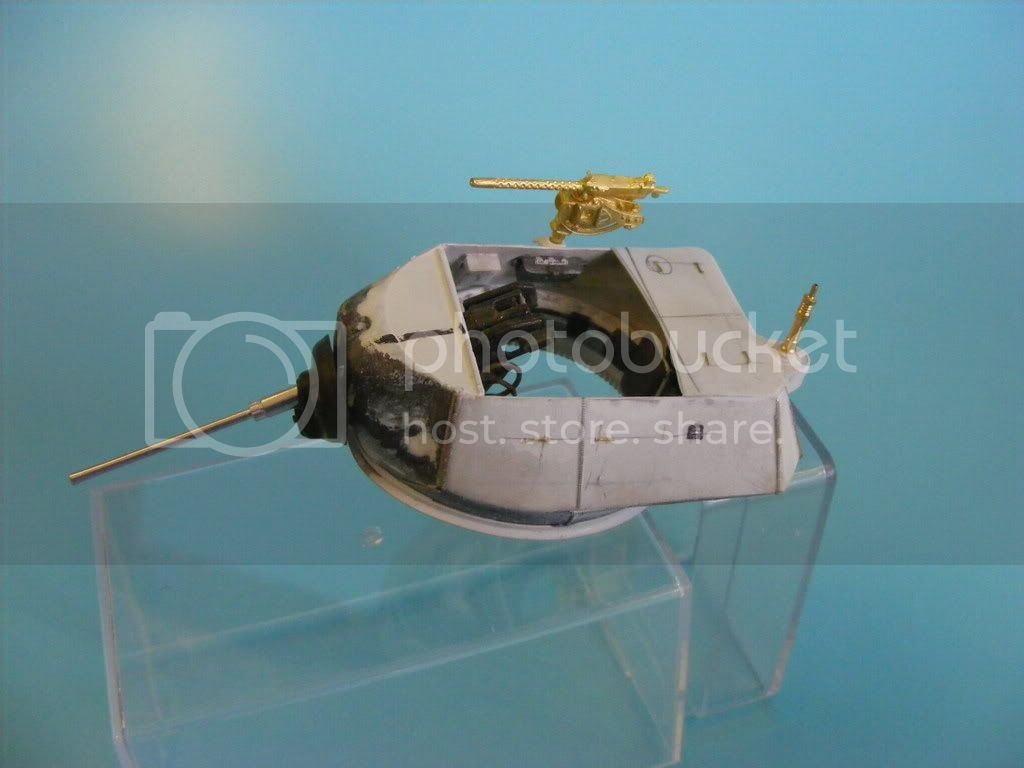
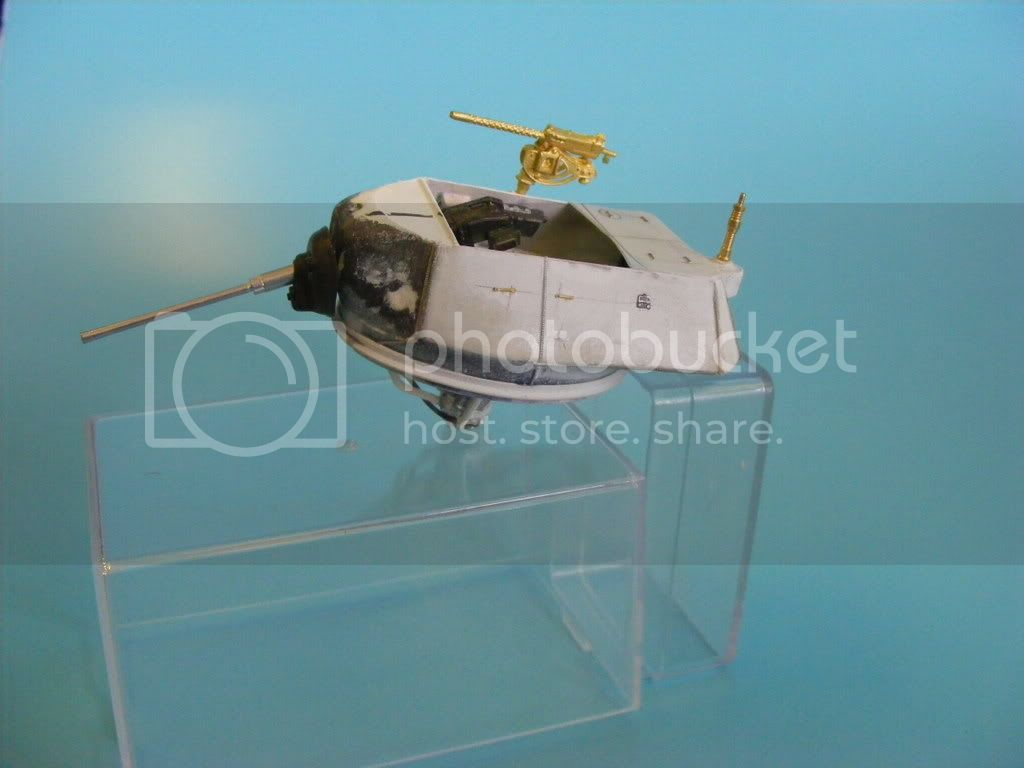
Wolfhound Turret.
Good run at this over the last few days...


The only interior and turret references I could find were an overhead in Hunnicutt and a bad shot of the turret being installed in an American A/Car reference published by Grenadier in the 1960's. The best I can do is approximate and use best judgement of most likely.


Seats and fittings are from Italerai M8 Greyhound and Staghound kits.

The turret ring is Evergreen siding cut into a 2mm strip and bent around a brush handle overnight.

The gun is from the Staghound.

Mantlet is from the Tamiya M5 ( wartime interchangeability of parts is very usefull to modellers sometimes)
Brass fittings are from Lou Stener.

Interior has been roughly painted, dificult areas mostly behind turret fitngs going in later, radios etc

Next the hull interior, as ever references are slim.

Paddy
marsiascout
Visit this Community
Noord-Brabant, Netherlands
Joined: March 24, 2008
KitMaker: 1,247 posts
Armorama: 913 posts
Posted: Saturday, November 01, 2008 - 12:55 AM UTC
Finished building, primed with Vallejo primer from a rattle can, sprayed through a straw into my airbrush. This gives way better results. Next color: Tamiya Nato Green.

Photo's:


The windows are protected with the stickers delivered in the kit.

Lars
marsiascout
Visit this Community
Noord-Brabant, Netherlands
Joined: March 24, 2008
KitMaker: 1,247 posts
Armorama: 913 posts
Posted: Saturday, November 01, 2008 - 02:11 AM UTC
Next update:

Preshading.


Next steps:
Nato Green
Details
Gloss coat
Decals
Glosscoat
Washes and rainmarks
Wheels
Mattcoat
Pigments (and not a little bit )

Lars
keo
Visit this Community
Nordjylland, Denmark
Joined: January 30, 2006
KitMaker: 613 posts
Armorama: 508 posts
Posted: Saturday, November 01, 2008 - 08:26 AM UTC
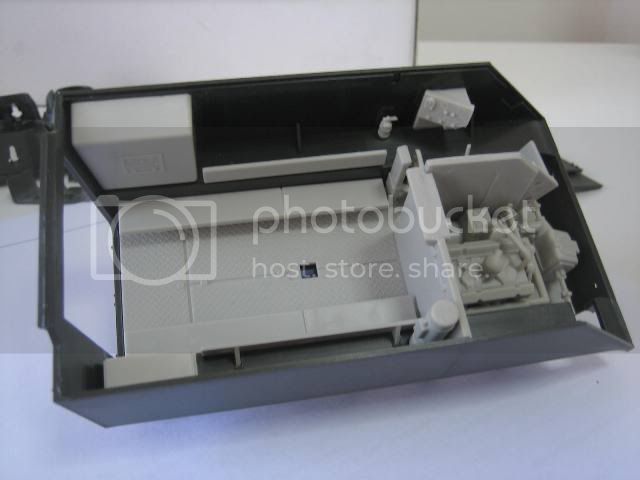
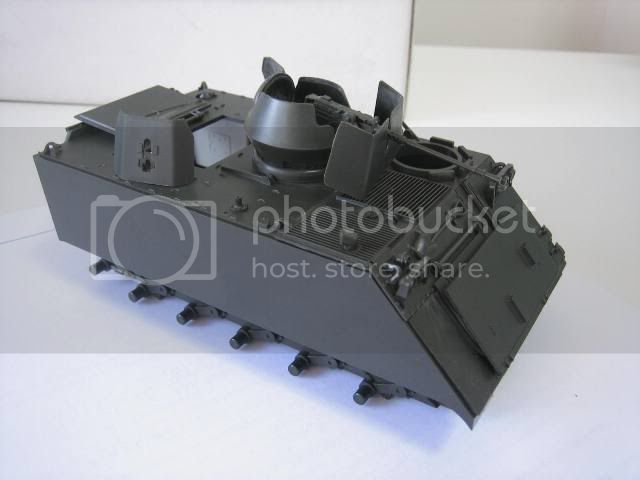
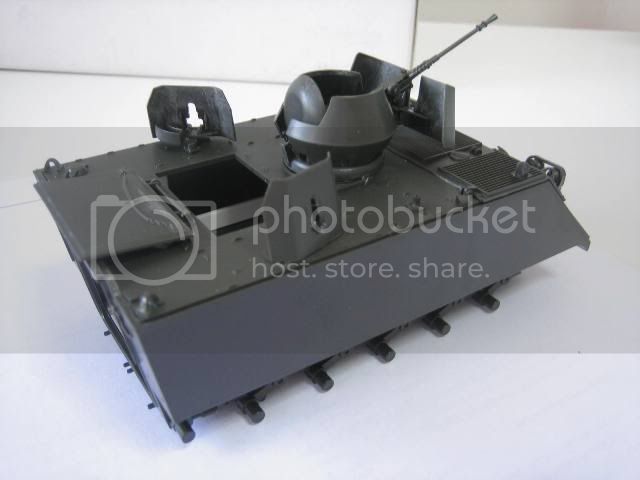
Here are some in-process shots of my entry. I’m building a Danish M106A1 self-propelled mortar carrier. The Danish army had had a total of 56 such vehicles enlisted from the mid sixties to the end of the century.

I have used Tamiya Model’s 35116 M106A1 Us Armoured Self-propelled Mortar as a base for my build. One must face however, that this is a very, very old kid and definably not one of their best models. The details are at their best rough, it’s clearly more of a toy made into a static model and totally inferior to Academy’s M113. Only! Academy does not make a M106

The Danish versions had some alterations made. The 107mm mortar was changed to a 81mm of a Danish design. To accommodate this mortar the mortar consul at the floor was changed too. As the ammunition collies are smaller new ammunition racks were installed alongside some other alterations to the interior. What this all boils down to, is a scratch build interior. This in process topic is about my build of the interior.


This is the scratch build mortar. Most of it is made of Evergreen styrene products with some parts form mu spare part box. A part of the frame from an etch set has been used too.

The following pictures shows both the unpainted as well as the painted interior


Yes I know the racks could have been straighter but hopefully it does not show when the top has been fixed. It is mostly build en .5 and .3 styrene plates.


The interior is painted with Humbroll 150, weathered with oils and MIG pigments.

Kenneth

skeletondude
Visit this Community
Jogeva, Estonia
Joined: September 02, 2007
KitMaker: 129 posts
Armorama: 125 posts
Posted: Saturday, November 01, 2008 - 08:42 AM UTC
Awesome work guys!
Well, some may be wondering, why I am not posting anything here, well, the reason is simple, school is taking up a lot of my time, but I will order some models before Xmas, so there will be plenty of work.

Marek
mecanix
Visit this Community
Kerry, Ireland
Joined: March 03, 2003
KitMaker: 201 posts
Armorama: 189 posts
Posted: Tuesday, November 04, 2008 - 07:30 AM UTC
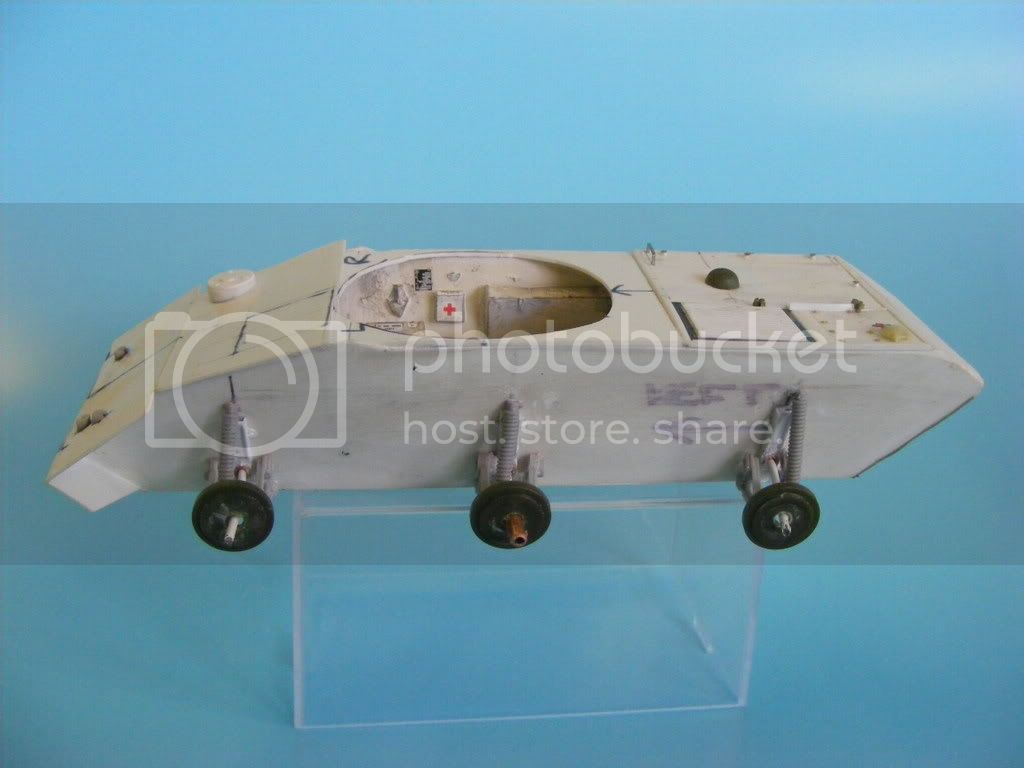
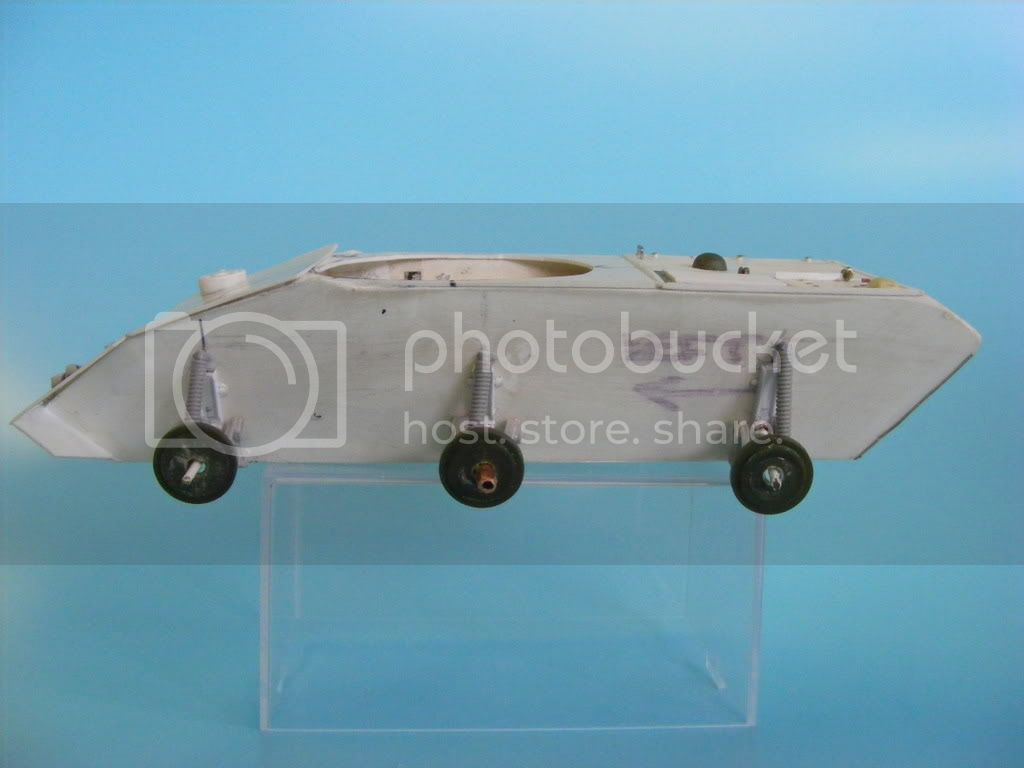
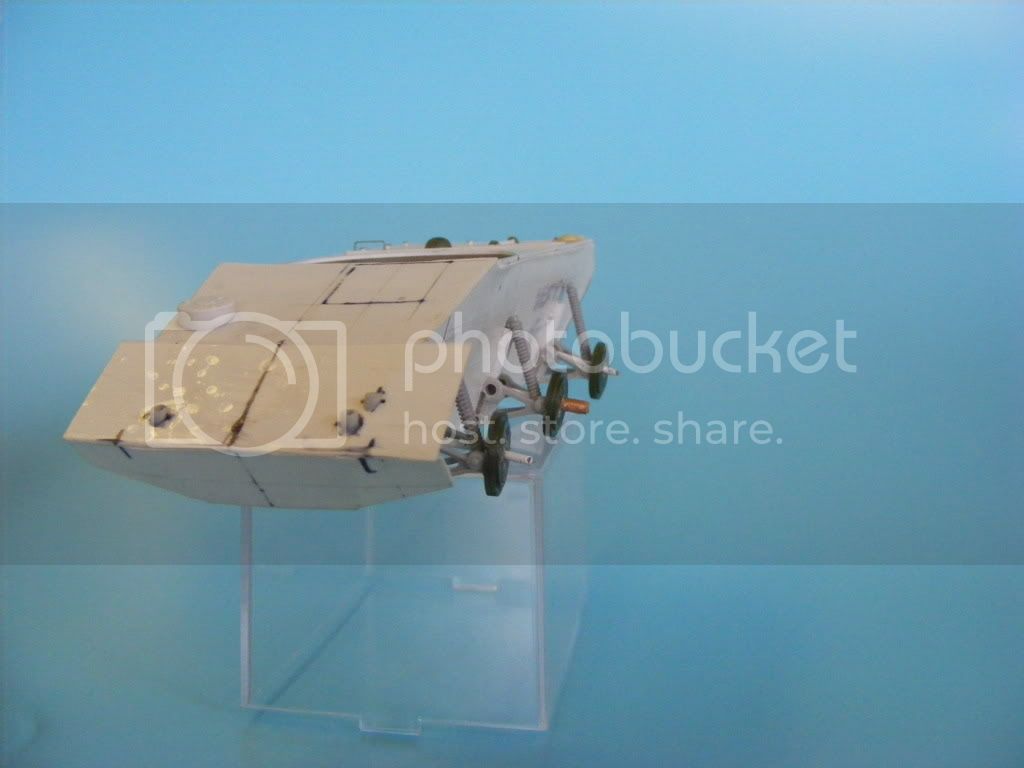
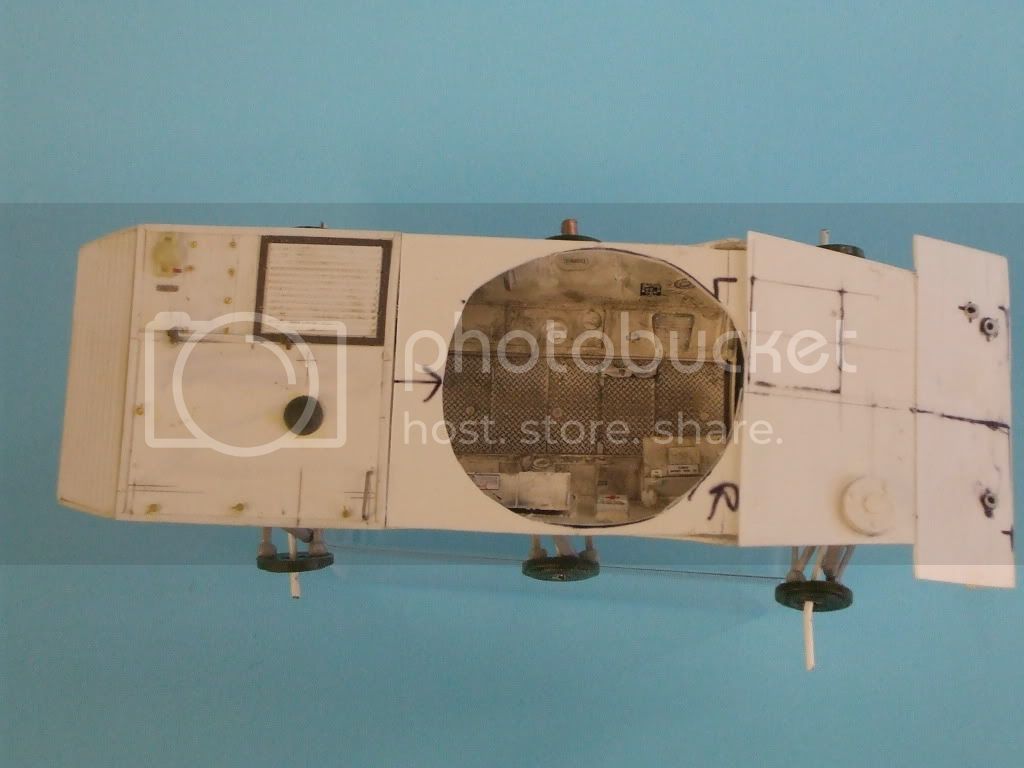
Working on the interior and suspension for the last couple of days.

engine deck and glacis plate in place.


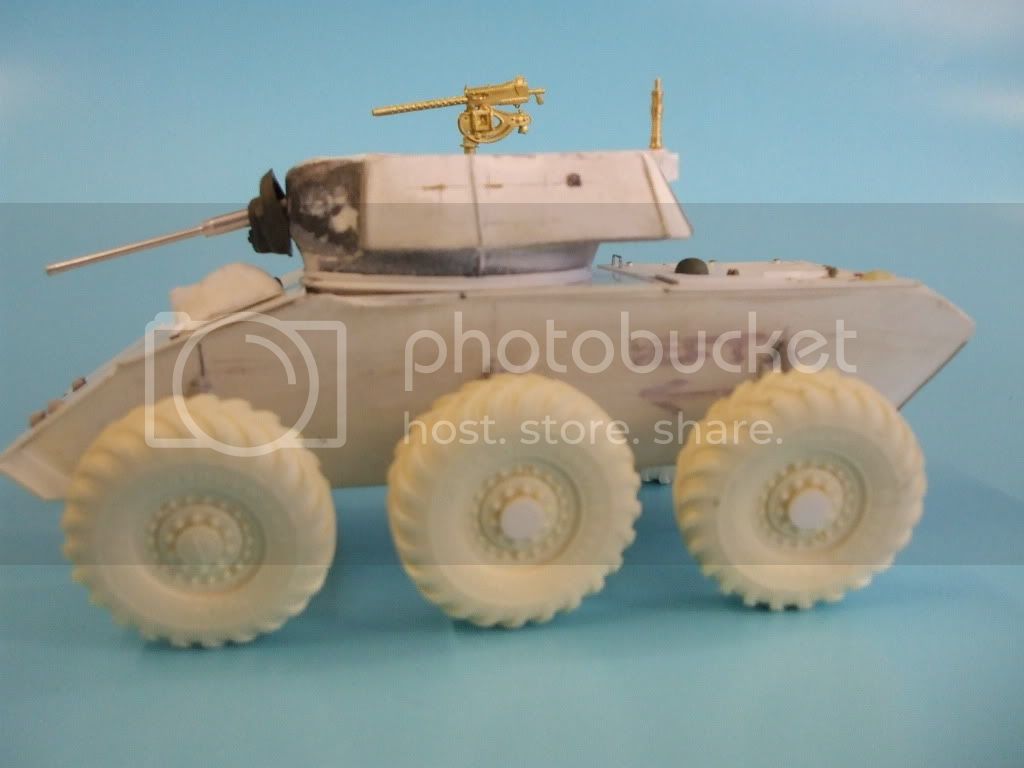
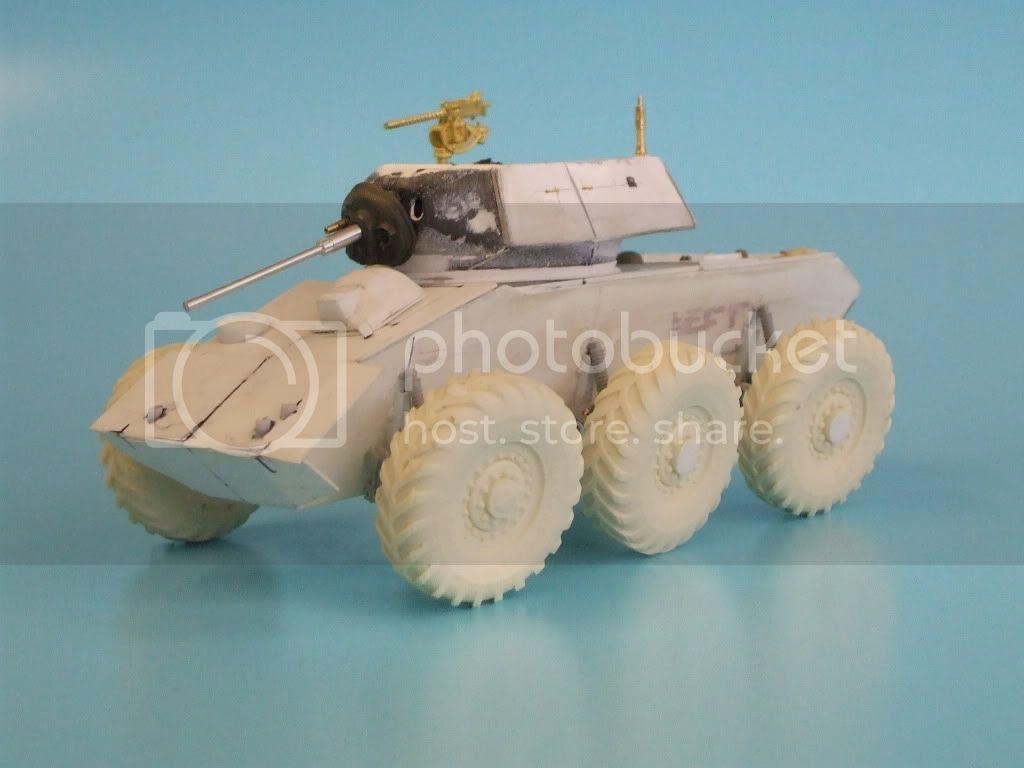
I am not too sure I have captured the shape of the thing, maybe it needs to be closer to complete for me to see it.


just tacked wheels,turret and hull together to get anidea of it.


Mudguards and hull fittings next.

Paddy
Nito74
Visit this Community
Lisboa, Portugal
Joined: March 04, 2008
KitMaker: 5,386 posts
Armorama: 4,727 posts
Posted: Wednesday, November 05, 2008 - 01:21 AM UTC
Very nice work Mecanix !!

Also enjoying your build Lars !

This weekend I'll start my 1st entry
SGTJKJ
#041
Visit this Community
Kobenhavn, Denmark
Joined: July 20, 2006
KitMaker: 10,069 posts
Armorama: 4,677 posts
Posted: Wednesday, November 05, 2008 - 10:17 PM UTC
Looks really good with nice details in the interior, Mecanix. You are making good progress. Interesting to follow your build.
Lars, it will be an angry looking LAV with that weapon system. Looking forward to see it with more colour.

marsiascout
Visit this Community
Noord-Brabant, Netherlands
Joined: March 24, 2008
KitMaker: 1,247 posts
Armorama: 913 posts
Posted: Thursday, November 06, 2008 - 12:27 AM UTC
Thanks guys. I will airbrush it this Friday.

Lars
muttley
Visit this Community
Ontario, Canada
Joined: January 10, 2005
KitMaker: 251 posts
Armorama: 202 posts
Posted: Saturday, November 08, 2008 - 12:40 PM UTC
Guys can anyone give the link to the exact page where we upload the pics for the campaign, please
gamodelmaker
Visit this Community
Georgia, United States
Joined: May 07, 2008
KitMaker: 186 posts
Armorama: 129 posts
Posted: Sunday, November 09, 2008 - 01:26 PM UTC
well guys here is what i have for this gb its hobby boos lav-150 apc 90mm mecer gun. so far a nice little kit to build and not one problem so far. i have steps 1-3 done all ready and ihaould have it done by thursday if i keep at it. so hre is just a few pics of whats been done so far.


marsiascout
Visit this Community
Noord-Brabant, Netherlands
Joined: March 24, 2008
KitMaker: 1,247 posts
Armorama: 913 posts
Posted: Tuesday, November 11, 2008 - 08:16 AM UTC
Next update:

What have I done:
Tamiya Nato Green
Gloss coat (Vallejo)
Details painted
Decals
Glosscoat (Vallejo)
Washes (Abteilung 502 Wash Brown)
Dotting technic (Abteilung 502 Snow White en ....? Yellow)

On the final photo there are whet spots of the washes. It's no mistake.

Foto's before the weathering.


Dotting technic: Little stips were put on with a little pencil. Wiped out with a large pencil a bit moist of turpentine. Do this slow and the effect will be nice.


As you can see, the effect isn't strong enough.

A few more dots put on. There will be more to follow.


Next steps:

More washes and stuff like that
Make the exhaust rusty
Washing the wheels
Matt varnish (Vallejo)
A lot mud with MIG pigments.

Lars
mikado
Visit this Community
Singapore / 新加坡
Joined: July 10, 2005
KitMaker: 329 posts
Armorama: 254 posts
Posted: Tuesday, November 11, 2008 - 02:20 PM UTC
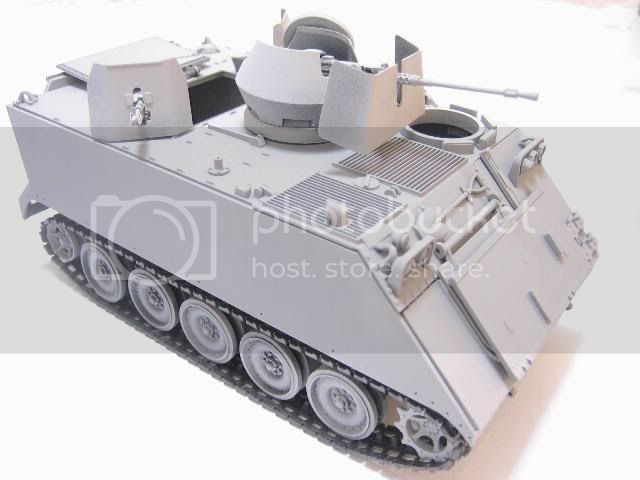
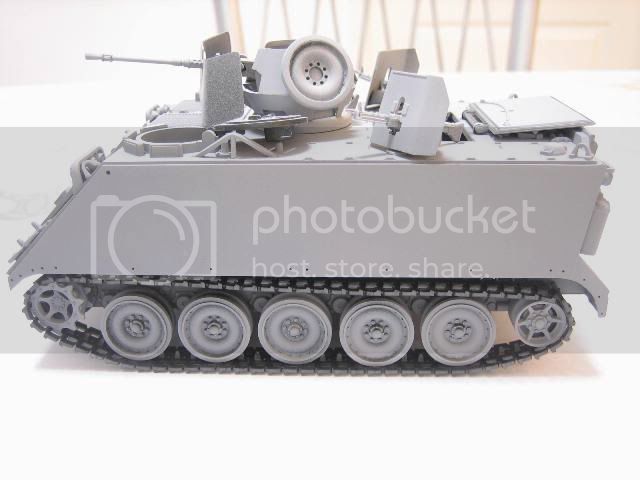
Here is my entry for this campaign...
Still constructing it...

Some early picture that I cannot resist posting....
Hopefully, I can get the rest of the assembly done in a couple of weeks time...


Lee-Enfield
Visit this Community
British Columbia, Canada
Joined: February 25, 2007
KitMaker: 272 posts
Armorama: 222 posts
Posted: Tuesday, November 11, 2008 - 07:06 PM UTC
Just to make certain... a Luchs counts as a wheeled AFV, right?
SGTJKJ
#041
Visit this Community
Kobenhavn, Denmark
Joined: July 20, 2006
KitMaker: 10,069 posts
Armorama: 4,677 posts
Posted: Tuesday, November 11, 2008 - 07:25 PM UTC

Quoted Text

Just to make certain... a Luchs counts as a wheeled AFV, right?


Even though I am not the campaign leader, I think you can be certain it counts as a wheeeled AFV and is OK as an entry for this campaign.

Lars and Mike, nice progress. Especially on the painting and the filters, Lars.
keo
Visit this Community
Nordjylland, Denmark
Joined: January 30, 2006
KitMaker: 613 posts
Armorama: 508 posts
Posted: Friday, November 14, 2008 - 12:07 AM UTC
Here are some resent pictures of my project. Though it doesn’t seem as much it never the less was time consuming.


There are only tree applications to make to the kit. A box on the left side for the field mount of the mortar, a plate for the mortar on he right side and a mount for the light machine gun instead of the .50 cal. There are also some changed to the lights as the Danish version did not use standard light arrangement.
The applications are mostly made of plastic card and parts from my spare part box. The left hand side box turned out to be some pain to make; only in 3. attempt did it succeed. The plate however was really not that difficult once I had figured out it’s complicated structure. The mount for the light machine gun was something I had done before so that was familiar area to work with


Another time consumer – but a much more irritating one - was filling of holes and poor alignment of the major parts. However there are also many small improvements to add to the kit. This underlines the fact that it IS an old kit that you have to prepare to work with to get a good result.


gamodelmaker
Visit this Community
Georgia, United States
Joined: May 07, 2008
KitMaker: 186 posts
Armorama: 129 posts
Posted: Thursday, November 20, 2008 - 07:49 AM UTC
well since its been 11 days since my last report. i thought i give you guys a report on the lav 150 apc mecer gun. steps 4 thru 11 have been done, but i have some small detail parts to put on it but i will do them after the painting of it is done. the only thing left to do is the turret and greande launches and thats it for this one. so far a fun build to do just watch out were the hull and bottom meet thier will be some sanding involed thier.


gamodelmaker
Visit this Community
Georgia, United States
Joined: May 07, 2008
KitMaker: 186 posts
Armorama: 129 posts
Posted: Sunday, November 23, 2008 - 11:07 AM UTC
all right guys it is now ready for the paint booth. so here are just a few pics of the lav-150.


mikado
Visit this Community
Singapore / 新加坡
Joined: July 10, 2005
KitMaker: 329 posts
Armorama: 254 posts
Posted: Sunday, November 23, 2008 - 02:27 PM UTC
Completed the assembly for both interior and exterior and prime it

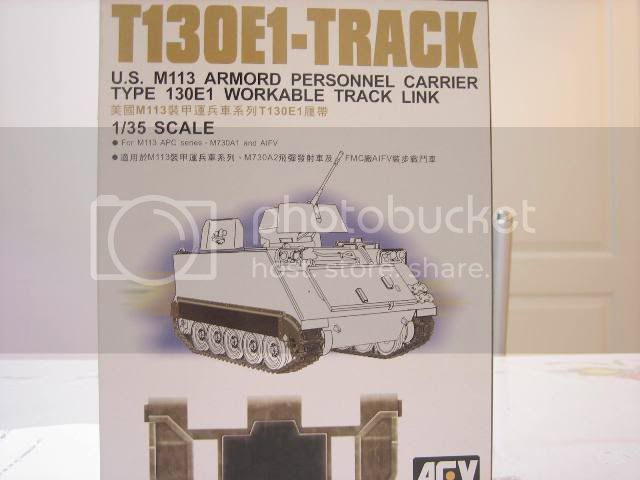
The rubber band track from Tamiya looks ok but it cannot achieve the natural sagging of these track...well due to the elasticity of the rubber band unless I do some heavy super glue.

Bought the AFV M113 track over the weekend as replacement to try to achieve natural sagging...

More updates to come next week