After realizing that I only have about a solid month of building before going back to college, I set off to work on my M16 MGMC.
I opened the box, laid out all the sprues, and literally sat there looking back and forth between the directions and the pieces for about 10 minutes, unsure of what to do. I forgot how overwhelming a Dragon kit can be, but when I finally got my wits about me and dug in, I was amazed at what I saw: the cleanest pieces I've ever seen with more detail per piece than on some entire models. What a phenomenal molding! I also liked how there were no recognizable pieces (ie, a cabin, sprockets, chassis, etc.). Dragon made this kit so that you would have to build the vehicle literally from nothing, just like the original. Maybe it's just me wishing I could be on the assembly lines for this thing, but I really got a kick out of this.

The White 160AX power plant. I always build the entire kit, even the parts that won't be visible on the finished model (I tried building "smart" on my first model and the pieces I omitted were completely visible on the finished model...certainly learned not to trust myself on that one!). I didn't do my best painting, but I did enough to satisfy myself. I also saw many different schemes for painting this engine, but I picked one that added some color instead of pure olive drab. Not that anyone else will know, but I will, and that's what matters to me


I have rusting down pat!

Here's my progress on the chassis so far. I'll probably paint this section in a bit--it's all green--and then work on the other sections (cabin, bed, quad-turret, tracks), putting them all together at the end. This is the first kit where I didn't prepaint each piece.

Details, details, details.

Drive and idler sprockets, 3- and 2-piece assembly respectively. More pieces, more opportunity for individual detail, better-looking model.


And the controversial weighted tires...I frankly don't care. I think it's reasonable that after such a long time on the front, it's possible that a crew would forget to properly inflate their tires to perfection. After all, Patton required every one of his soldiers to wear their neckties into combat...look how well that order was obeyed!

I've been pretty busy with my new jobs, but you can bet that I'll put as much time into this as possible! Questions and comments welcome.


 .
.


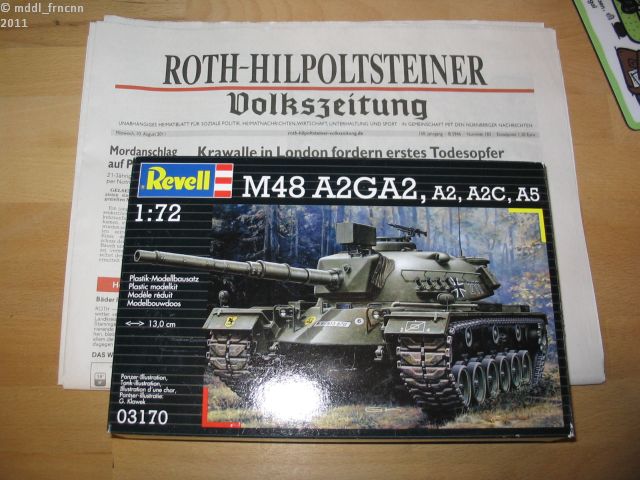
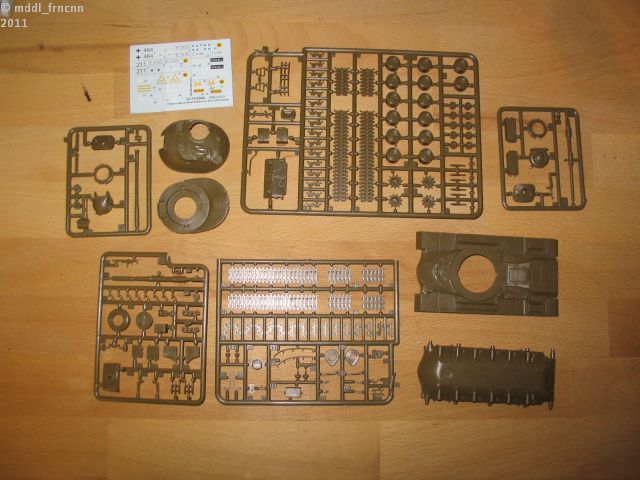
 ) Revell M-48. The kit comes with 6 decal variants, each of them a treat! At the moment (it is 11:30 PM here in Germany) I want to build a German M-48 A2G A2. But that can change everyday!

