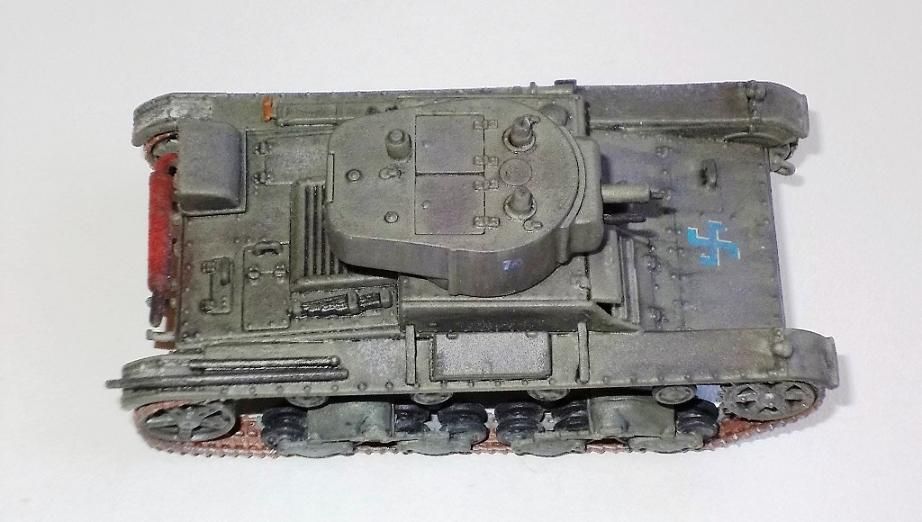
Armor Between the Wars (official thread)
Izmir, Turkey / Türkçe
Joined: June 11, 2004
KitMaker: 1,426 posts
Armorama: 464 posts
Posted: Tuesday, May 01, 2012 - 06:12 AM UTC
All of them Braille Scale...
Izmir, Turkey / Türkçe
Joined: June 11, 2004
KitMaker: 1,426 posts
Armorama: 464 posts
Posted: Friday, May 04, 2012 - 05:45 AM UTC
Hi dear friends,
a little update update

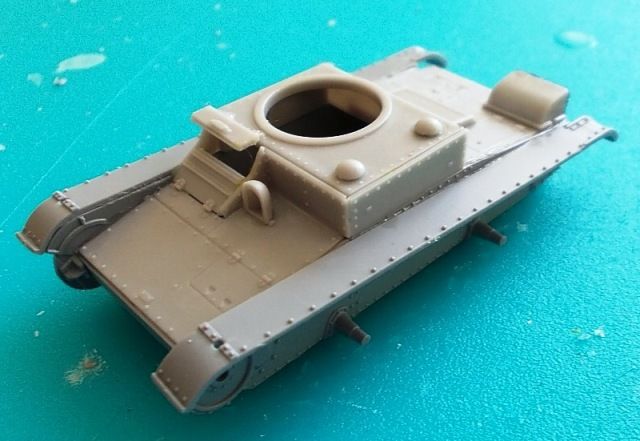
lower and upper parts combined , body is completed,

I started the wheels and suspension system. A total of 70 small pieces


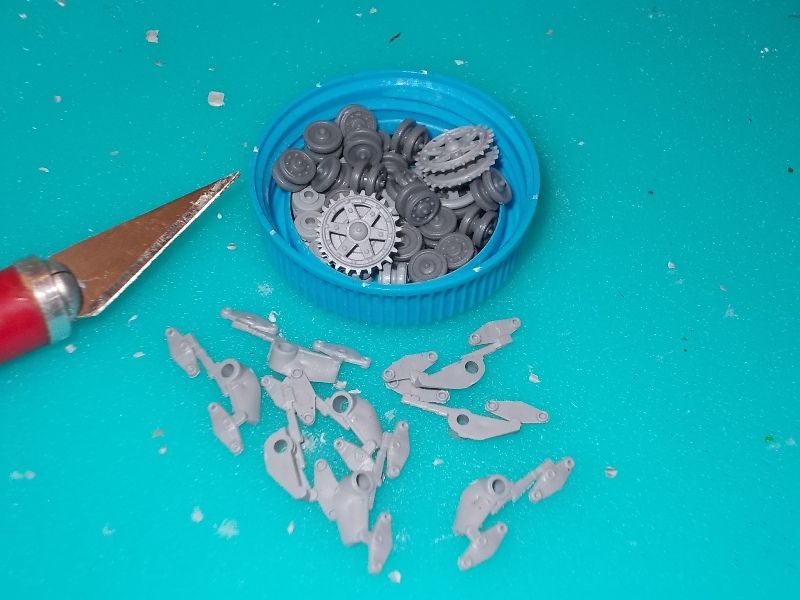
I must to do four set this suspension system


All of them Braille Scale...
Texas, United States
Joined: June 29, 2010
KitMaker: 5,854 posts
Armorama: 4,817 posts
Posted: Saturday, May 12, 2012 - 10:19 AM UTC
Jan: Thanks, I need to go back and read through your review in it's entirety. I've just completed the main structures for the hull and turrets. I'm about to get into the "fun" bits.
Erhan: Looking good, just keep an eye on those little bits so they don't find their untimely demise as an appetizer for the carpet monster!
That suspension assembly looks like it could be a futuristic motorcycle, like from Tron or something

Texas, United States
Joined: June 29, 2010
KitMaker: 5,854 posts
Armorama: 4,817 posts
Posted: Wednesday, May 16, 2012 - 05:09 PM UTC
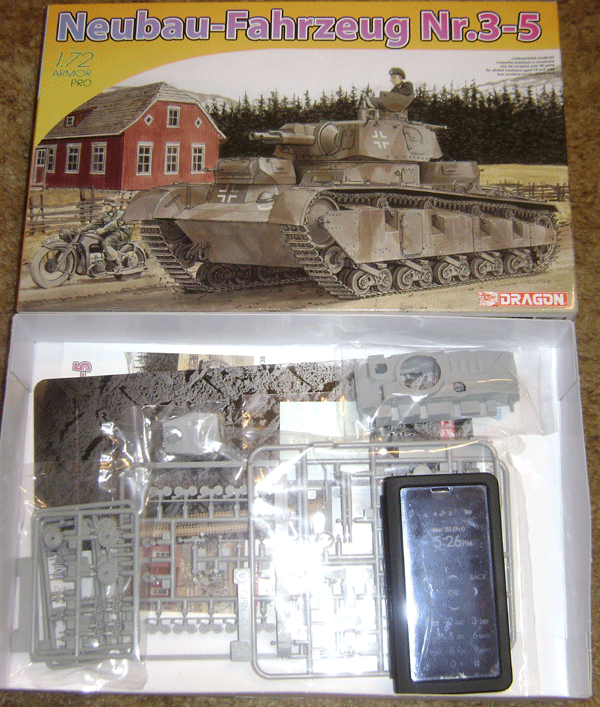
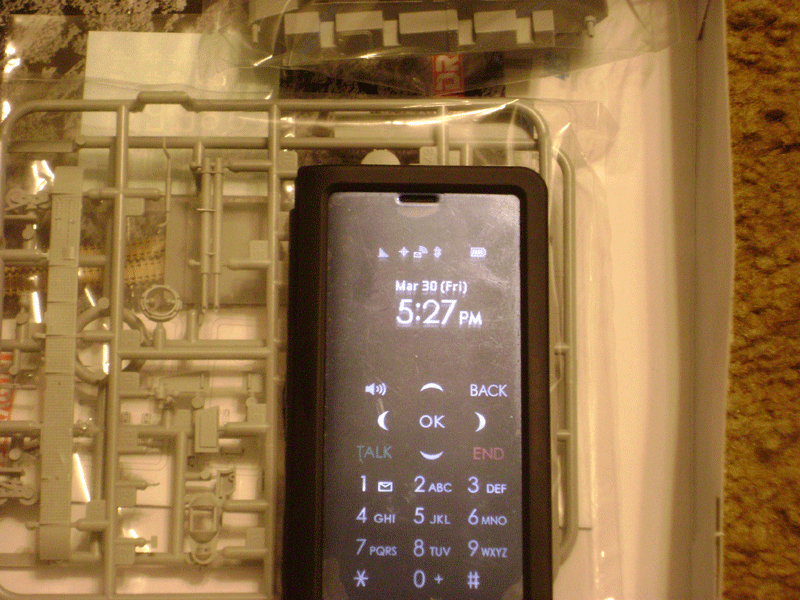
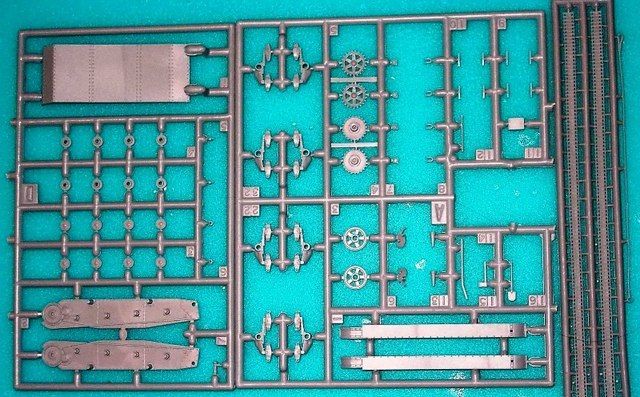
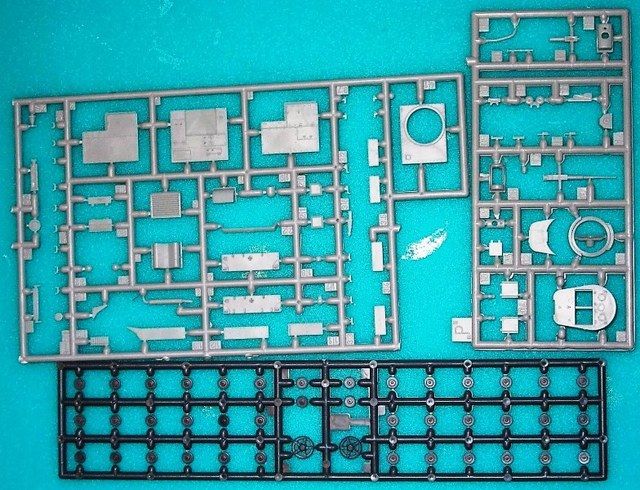
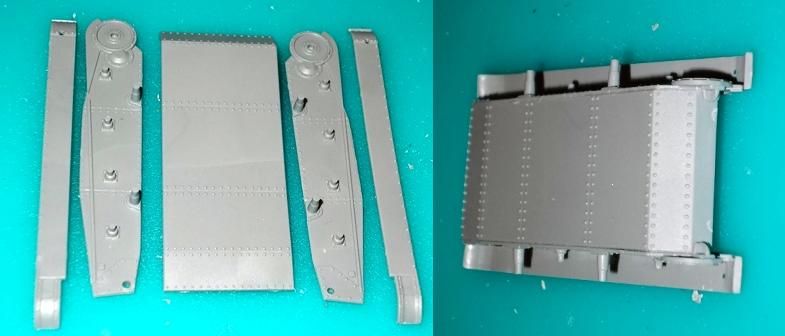
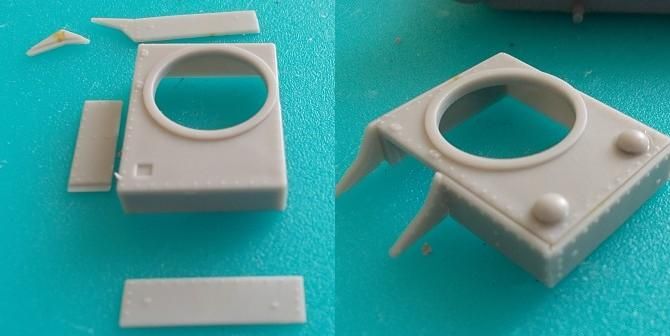
I have finally been able to get some photos processed, these are a bit old and don't reflect my progress with my build but it's a start:
Ontario, Canada
Joined: March 23, 2008
KitMaker: 2,847 posts
Armorama: 2,667 posts
Posted: Thursday, May 17, 2012 - 05:10 AM UTC
Quoted Text
Jan: Thanks, I need to go back and read through your review in it's entirety. I've just completed the main structures for the hull and turrets. I'm about to get into the "fun" bits.
- If there is anything in the review that needs clarification or elaboration, just ask in this thread.

Certain parts with this kit you just need to take your time. The return rollers are a real pain to get lined up properly.
As for me, I dug out the review sample with the intention of adding a few more pieces. As fate would have it, I accidentally knocked off that little horn piece from the left side while putting the turret on to take pictures.

BTW, these are new images that aren't in the review.
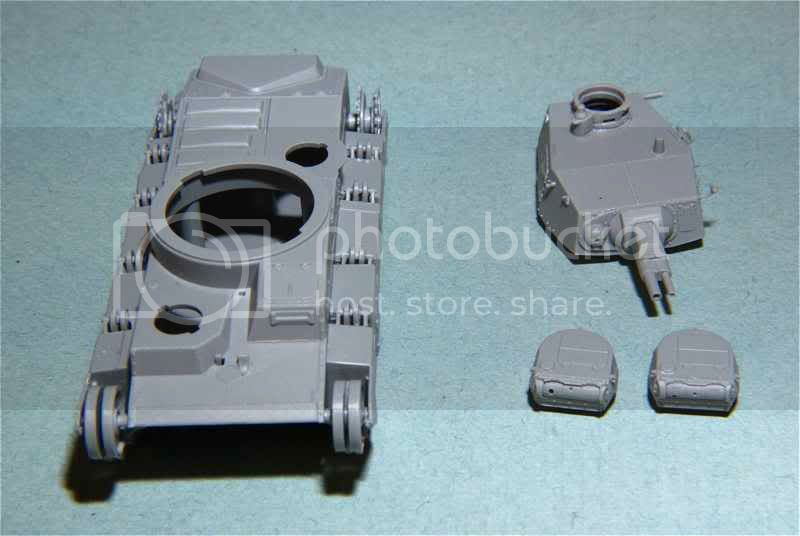
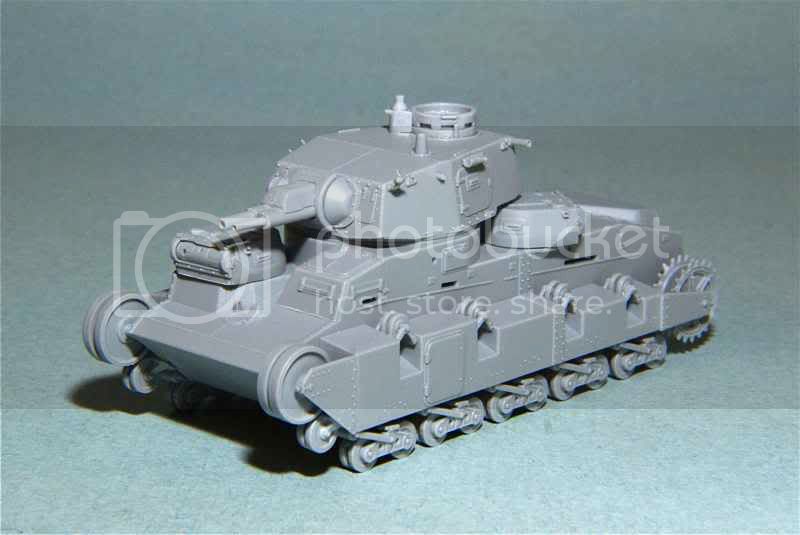
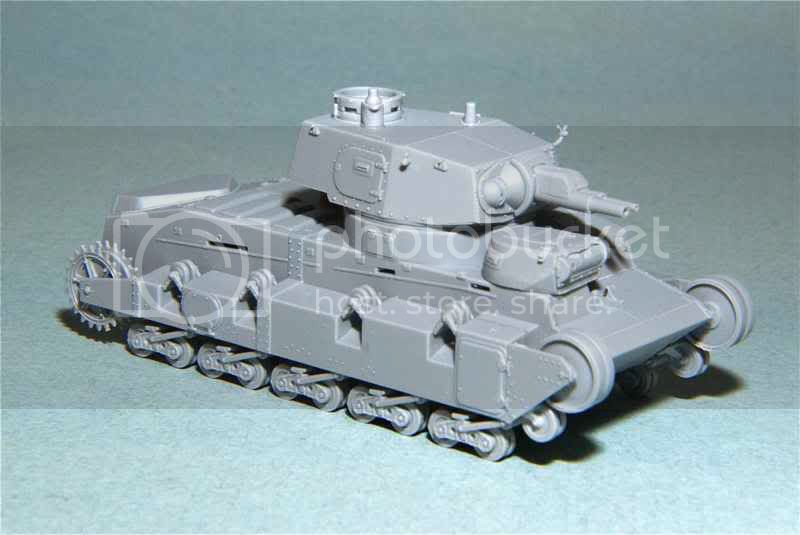
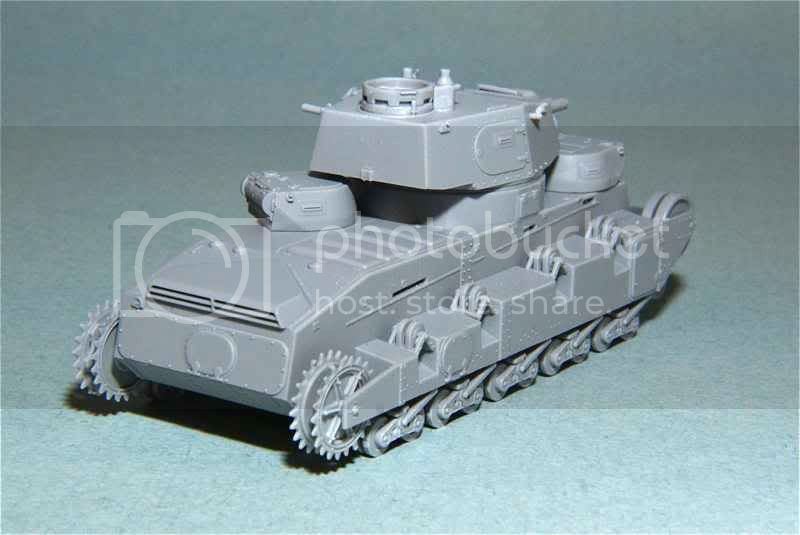
Now to get that blasted microscopic piece back on.

Cheers,
Jan


Ontario, Canada
Joined: March 23, 2008
KitMaker: 2,847 posts
Armorama: 2,667 posts
Posted: Thursday, May 17, 2012 - 09:42 AM UTC
Back again!

After a frustrating hour I finally got the little tiny part (A29) back on again. Tried four different pairs of tweezers before I found one with points small enough, and rough enough, to hold the part. Next I turned my attention to the little lights (A2) that sit on the main turret's barbette. The left one has a hole waiting for it but the right one requires the builder to drill a hole!
Here's the left.

Here's the drilled out right.

Those little lights were also tricky to handle. I also put the front headlight (B3) on in its stowed position. Again it's a bit tricky and would be hard to do it in the deployed orientation. Part B9 (horn?) also goes on the front and the hole for it is too small for the lug meant to go into it.
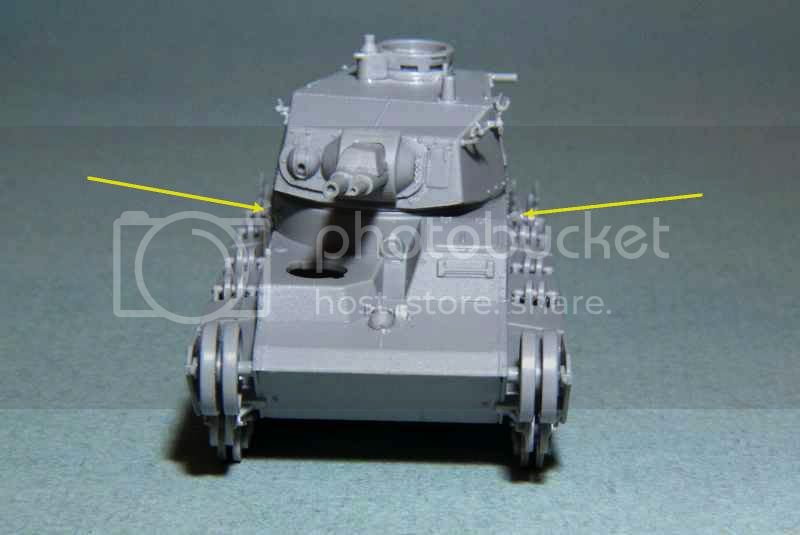
Next up was to put on the cleaning rods and the rear towing eyes.

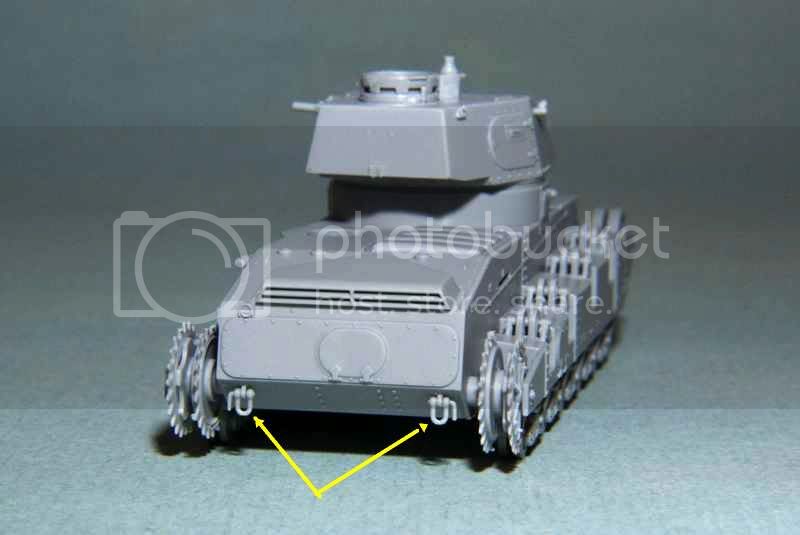
I think that's about as far as I can go without putting a base coat of paint on before any more parts.
Cheers,
Jan


Texas, United States
Joined: June 29, 2010
KitMaker: 5,854 posts
Armorama: 4,817 posts
Posted: Thursday, May 17, 2012 - 11:59 AM UTC
Shoot, this is going to be interesting

I actually launched the main headlight several times because of that goofy attachment area. There is absolutely nothing solid for it to grab in the upright position so I just said to heck with it and put a dot of glue on the hull and stuck that thing face down as fast as I could. I'm sure I spent the better part of an hour with that silly design. I just started on the return rollers and they didn't seem like a problem to me when I test fit them, but I'll go back and investigate them very carefully based on your recommendation. Thank you for the heads up on the the holes that need to be drilled as well, I can tell I'm really going to have to slow my pace down for this little beast. I didn't get to go through your review again yet, but I was wondering offhand if the counterweight area of the lower turret pieces ended up being recessed underneath the upper turret pieces? It's not going to be noticeable, but I thought it a bit odd, especially since the ring areas are properly flush. I'll try to get some more photos up soon, but I have a lot of other projects that I need to get out of the way so bare with me here if you can

Ontario, Canada
Joined: March 23, 2008
KitMaker: 2,847 posts
Armorama: 2,667 posts
Posted: Friday, May 18, 2012 - 08:15 AM UTC
Jeremy,
I can't count the number of times I "dropped" the headlight or other small parts. Thankfully I use a sort of cookie tray with raised sides all around to hold my cutting mat. It usually catches 99% of the parts.

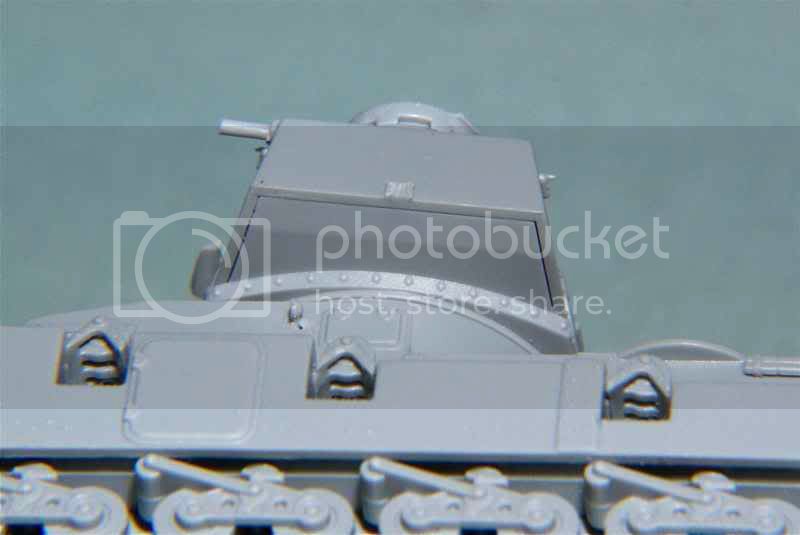
As to your question, I take it you mean the area under the overhang of the turret. Pictures are best so lets see if these answer the question.
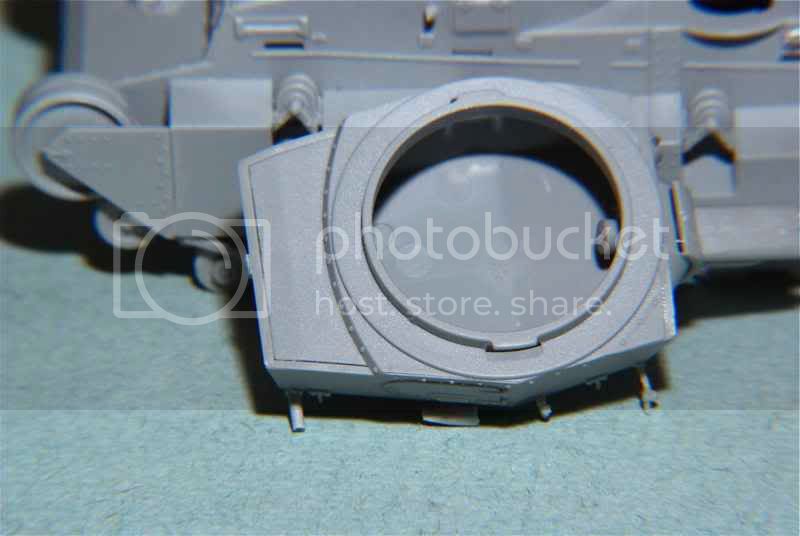
I did forget one part that I could put on and it was the antenna. Most pictures of this beast all show it in the stowed position so that's how I posed mine.
WARNING - the hole in the mounting stub is far too shallow for the antennas mounting pin. You'll need to drill it down about a half millimetre. Here it is mounted.

One further warning is that all those dinky parts on the turret and hull easily break off. I had a few happen when handling the tank so you need to be doubly vigilant about where you hold things with you're fingers.

Cheers,
Jan


Texas, United States
Joined: June 29, 2010
KitMaker: 5,854 posts
Armorama: 4,817 posts
Posted: Friday, May 18, 2012 - 11:00 AM UTC
Ok, that's not the way my turret overhang looks... interesting...
I am not putting on any of the delicate bits until I'm ready to paint the wee beasty, and I'm sure I'll brake a good portion of them as I have a hard enough time with some of this stuff in 1/48 and 1/35.
Thanks for your active support, it's great to have you in any campaign here Jan. I wish I had the time to give myself, you must be having a blast

Isere, France
Joined: April 23, 2011
KitMaker: 735 posts
Armorama: 606 posts
Posted: Friday, May 18, 2012 - 10:47 PM UTC
hello
wow, 2 Neubaufahrzeug. JAN pretty fitting.
JEREMY, I am excited to see yours.
steph
Ontario, Canada
Joined: March 23, 2008
KitMaker: 2,847 posts
Armorama: 2,667 posts
Posted: Saturday, May 19, 2012 - 07:25 AM UTC
Quoted Text
Ok, that's not the way my turret overhang looks... interesting...
Ummm, that doesn't sound too encouraging! I don't recall any specific issues other than a bit of light sanding on the edges of the bottom plate and bevel it appropriately. After a dry fit I use Tamiya Extra Thin to set it as it welds the seams in most cases.
Quoted Text
I am not putting on any of the delicate bits until I'm ready to paint the wee beasty, and I'm sure I'll brake a good portion of them as I have a hard enough time with some of this stuff in 1/48 and 1/35.
Like I mentioned Jeremy, this is an odd shaped beast compared to other standard tanks and you might need to approach it differently. At least that's what I am finding. In my case I try to get most things on before the base coat as the tiny parts often won't stick as well with paint involved. I have also found that the paint usually "strengthens" the joint of small or delicate parts.
Quoted Text
Thanks for your active support, it's great to have you in any campaign here Jan. I wish I had the time to give myself, you must be having a blast 
Oh come now Jeremy, most people in other campaigns get fed up with my verboseness.

I have just completed one campaign and have 98% of a build complete for a second. This one lasts until the end of the year so you might see me pop in and out for as far as I'm concerned, there's no rush. :-)
@steph2102 - Thanks for the comment and glad you are interested in these strange beasts. As there were originally five of these built would it not be interesting to see five built in this campaign, all with different turret numbers!

Dragon now makes a #1, a #2 and the numbers 3 to 5 like this one.
Cheers,
Jan


Izmir, Turkey / Türkçe
Joined: June 11, 2004
KitMaker: 1,426 posts
Armorama: 464 posts
Posted: Sunday, June 03, 2012 - 08:38 AM UTC
hi dear friends,
Jan @ very nice building.
and some update for my OT-130/2 ..
cheers...


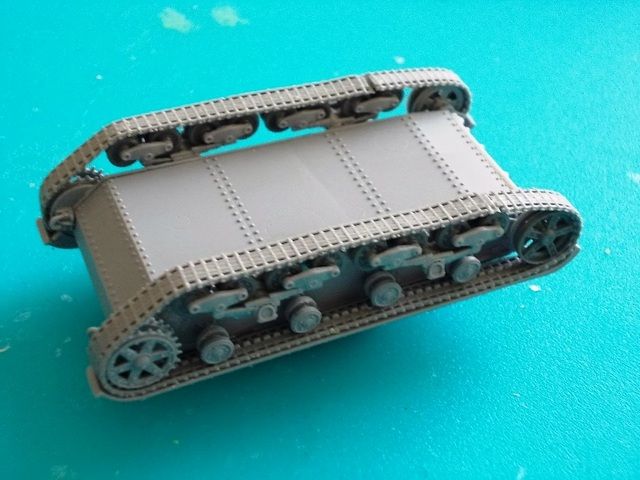

and painting time..

All of them Braille Scale...
Texas, United States
Joined: June 29, 2010
KitMaker: 5,854 posts
Armorama: 4,817 posts
Posted: Saturday, June 09, 2012 - 11:13 AM UTC
Steph: Thanks, I'm glad you're excited! I'm looking forward to seeing a small collection of these odd monsters together at the end of the campaign
 Jan
Jan: I've been working on a 1/700 build with PE and I'll never look at 1/72 the same way again

Life has been killing my modeling time, but I'm looking forward to getting back to my build here. I'll show you the funky turret fit when I get a chance to upload photos.
Erhan: You're making that little kit look good! I can't wait to see how that thing looks when it's weathered!
United States
Joined: March 19, 2010
KitMaker: 96 posts
Armorama: 62 posts
Posted: Sunday, June 10, 2012 - 12:17 AM UTC
This should be an interesting build of a subject from a much neglected era. Any chance that there will be any styrene M2s not to mention M1 Combat Cars or M2A2s or M2A3s offered one day?

Texas, United States
Joined: June 29, 2010
KitMaker: 5,854 posts
Armorama: 4,817 posts
Posted: Sunday, June 10, 2012 - 05:03 AM UTC
The M2, M2A2, and M2A3 are not unlikely, it's just a matter of which manufacturer would be interested in making one. RPM used to be into odd subjects like these, but I never really cared for their kits.
As for the M1, I have serious doubts that we will ever see one in styrene. That said however, a company such as Vulcan could be crazy enough to try it out.

#152
Texas, United States
Joined: December 07, 2002
KitMaker: 487 posts
Armorama: 441 posts
Posted: Friday, June 22, 2012 - 11:25 AM UTC
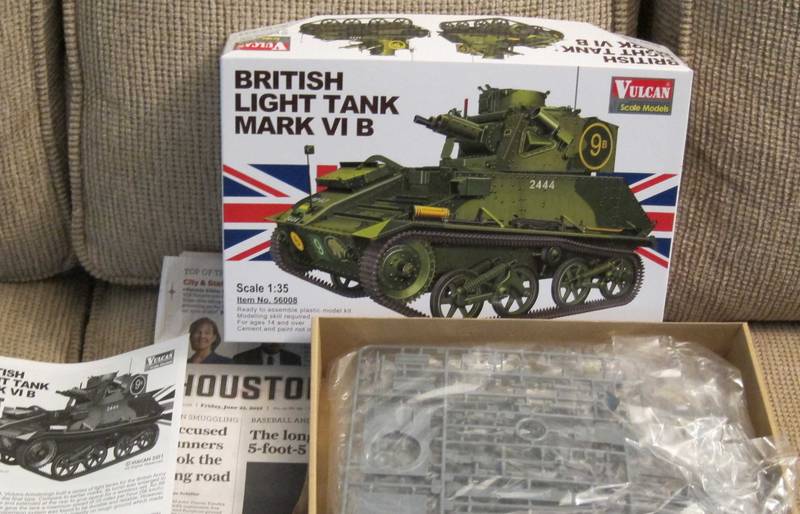
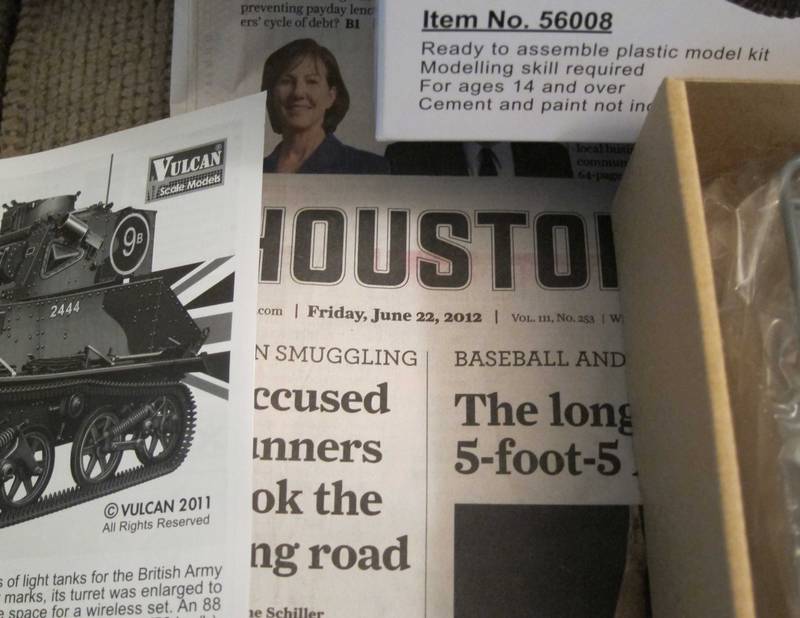
Here are my start up photos for Armor Between the Wars campaign
British Tank Mk VI B
Tom
Long time modeller. Starting when I was a teenager, then I found out about girls and college and work and kids. But now that I have one girl, no school, no work and the kids are grown, I'm back to full time modelling. My prime area of interest is armor, b
Texas, United States
Joined: March 17, 2006
KitMaker: 1,117 posts
Armorama: 1,115 posts
Posted: Friday, June 22, 2012 - 12:13 PM UTC
Here is my project I will be building for this campaign. Just got it in the mail today and unfortunately Commander Models had to back order the tracks I need for it. I also have a M3 Stuart interior set coming in from Tiger models. Im going to replace the kit hull with a spare one that I have from Academy since commanders interior is cast into their hull. Im hoping to start very soon once everything is gathered up, may start cleaning parts up in the mean time.
Chris


On the workbench:
T-62M
ZTZ 99 MBT
Lav-25A2 with MILES Gear
M7 Priest X2
Texas, United States
Joined: June 29, 2010
KitMaker: 5,854 posts
Armorama: 4,817 posts
Posted: Friday, June 22, 2012 - 12:23 PM UTC
Speaking of Vulcan and M2's.... glad to have you aboard gentlemen!

Izmir, Turkey / Türkçe
Joined: June 11, 2004
KitMaker: 1,426 posts
Armorama: 464 posts
Posted: Monday, June 25, 2012 - 08:03 AM UTC
All of them Braille Scale...
Texas, United States
Joined: June 29, 2010
KitMaker: 5,854 posts
Armorama: 4,817 posts
Posted: Monday, June 25, 2012 - 12:21 PM UTC
Well done Erhan! Stay out of that heat

Izmir, Turkey / Türkçe
Joined: June 11, 2004
KitMaker: 1,426 posts
Armorama: 464 posts
Posted: Wednesday, June 27, 2012 - 05:36 AM UTC
Thanks Jeremy

I will add photos campaign galley

cheers

All of them Braille Scale...
Ontario, Canada
Joined: March 23, 2008
KitMaker: 2,847 posts
Armorama: 2,667 posts
Posted: Monday, July 02, 2012 - 08:34 AM UTC
Greetings fellow Inter-war builders!

Most things that can be attached to the NbFz's body at this stage have been and it was time to lay down some base paint. It became quickly apparent that this was going to be a different exercise and experience. While not that much larger than some medium tanks, all the angles and curves on this beast meant that it might just soak up paint.
Normally a Sherman sized tank in this scale takes about 1/4 of my airbrush's paint cup. More by accident than design, I ended up preparing almost 2/3 of a cup but figured I'd put any remaining back into a bottle for later. The bottom line was that just doing the body and turrets left NOTHING! All those little nooks and crannies on the body just gobbled up the paint as there's a lot more surface area than I originally thought.
For anyone building this beast there is another thing to keep in mind. Unless you never want to pose the turrets in anything other than a fixed position, you will need to file or sand out the openings as the fit without paint is tight and even more so with a thin layer. I painted the four individual pieces separately and when I tried to attach the turrets this became very evident.
Here's were it stands at the moment.
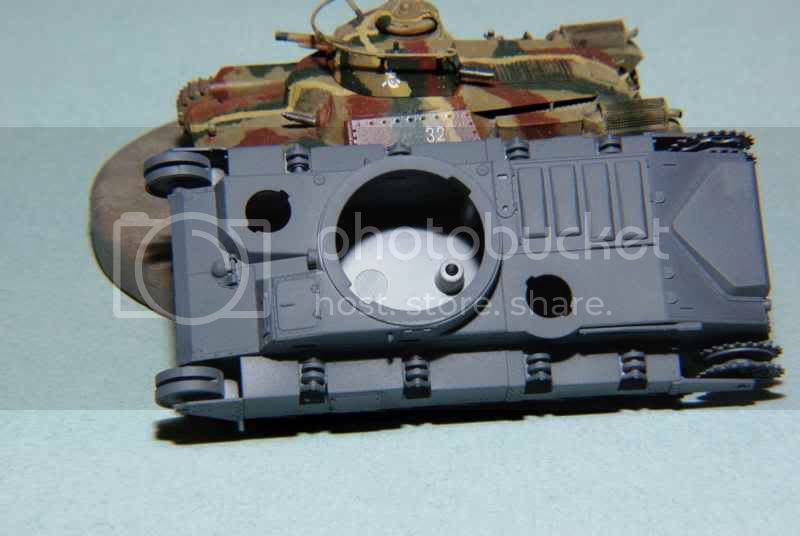

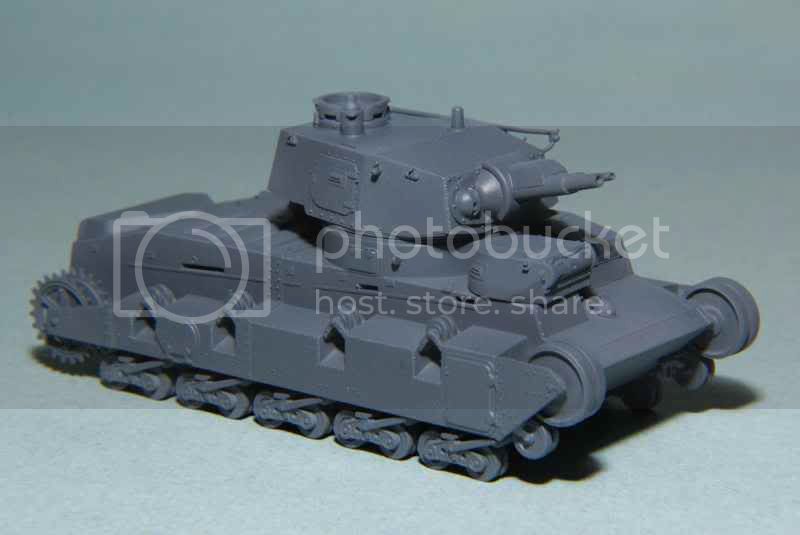
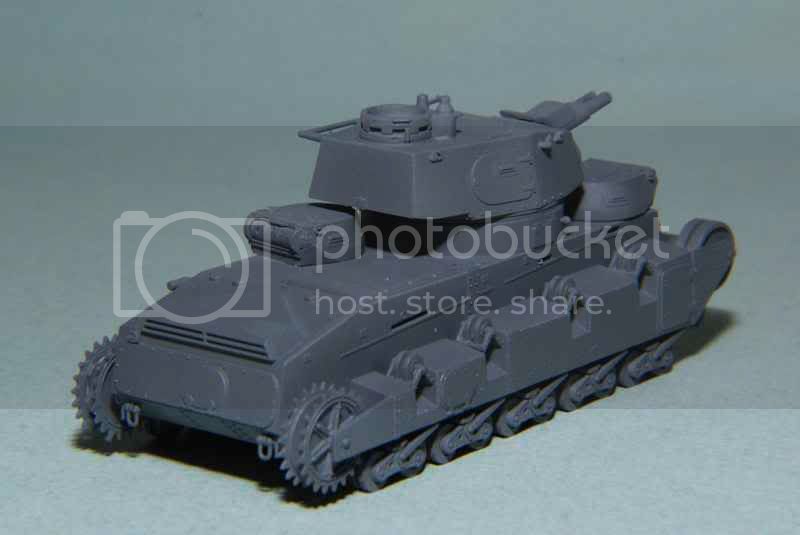
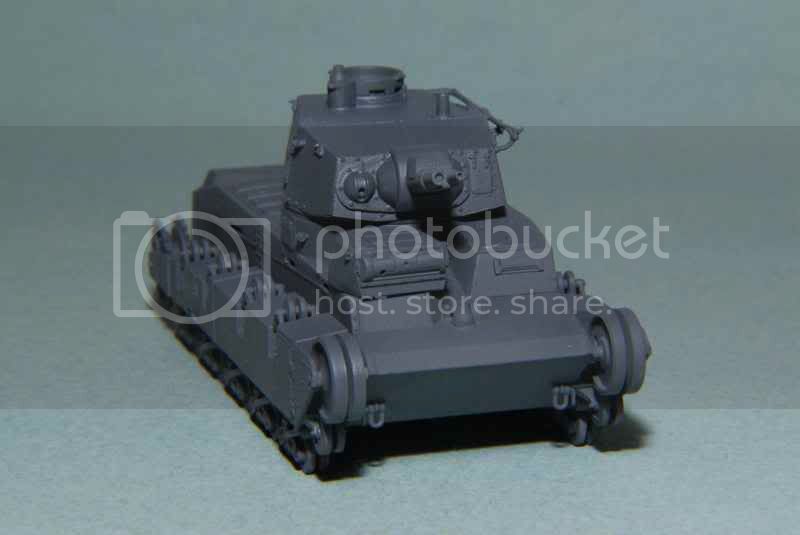
As I want to do the two colour version this may really be an interesting exercise in painting. Then there is still the fenders and a few other eternal parts to paint and attach and I don't even want to think of painting all those tiny roadwheels. This is going to take some creative thinking of what to do at what point.
Until later,
Jan


Texas, United States
Joined: June 29, 2010
KitMaker: 5,854 posts
Armorama: 4,817 posts
Posted: Monday, July 02, 2012 - 10:50 AM UTC
Jan: Keep up the great work! I think I'm going to go with a single tone scheme for mine, this will allow me to practice preshading and color modulation.
Just a heads up to everyone, our fearless leader Jim S. is currently battling glitch issues with the KitMaker gallery. If you are having issues with the gallery then sit tight and keep taking photos of your work, and feel free to upload your images to an alternate image hosting site such as flikr or photobucket.
Happy modeling

Louisiana, United States
Joined: May 19, 2007
KitMaker: 459 posts
Armorama: 421 posts
Posted: Wednesday, July 04, 2012 - 03:45 AM UTC
I have had to do a lot of reworking on the resin hull. Its one big piece of resin. the hull top had sunk in and all the vision ports need reworking.

Wisconsin, United States
Joined: September 11, 2009
KitMaker: 1,917 posts
Armorama: 735 posts
Posted: Wednesday, July 04, 2012 - 05:42 AM UTC
Irvin, that's a nice project, and it looks like you have a good handle on it.
cheers!
Sean.

Current: model railroad layout
Stalled a while ago:
. 1950's Chrome, WW II Twins
Last completed: Police Car




 Certain parts with this kit you just need to take your time. The return rollers are a real pain to get lined up properly.
 BTW, these are new images that aren't in the review.


 I actually launched the main headlight several times because of that goofy attachment area. There is absolutely nothing solid for it to grab in the upright position so I just said to heck with it and put a dot of glue on the hull and stuck that thing face down as fast as I could. I'm sure I spent the better part of an hour with that silly design. I just started on the return rollers and they didn't seem like a problem to me when I test fit them, but I'll go back and investigate them very carefully based on your recommendation. Thank you for the heads up on the the holes that need to be drilled as well, I can tell I'm really going to have to slow my pace down for this little beast. I didn't get to go through your review again yet, but I was wondering offhand if the counterweight area of the lower turret pieces ended up being recessed underneath the upper turret pieces? It's not going to be noticeable, but I thought it a bit odd, especially since the ring areas are properly flush. I'll try to get some more photos up soon, but I have a lot of other projects that I need to get out of the way so bare with me here if you can


 I have just completed one campaign and have 98% of a build complete for a second. This one lasts until the end of the year so you might see me pop in and out for as far as I'm concerned, there's no rush. :-)
  Dragon now makes a #1, a #2 and the numbers 3 to 5 like this one.


 Life has been killing my modeling time, but I'm looking forward to getting back to my build here. I'll show you the funky turret fit when I get a chance to upload photos.


 Good luck to you, I will continue to watch...


