Quoted Text
Quoted Text...I may try to thin the panels and see what happens....
Come to think of it, I should have sanded / thinned the schurzen from the outside. The bolt details may have been less challenging to reproduce than the hangers. Hmmm...
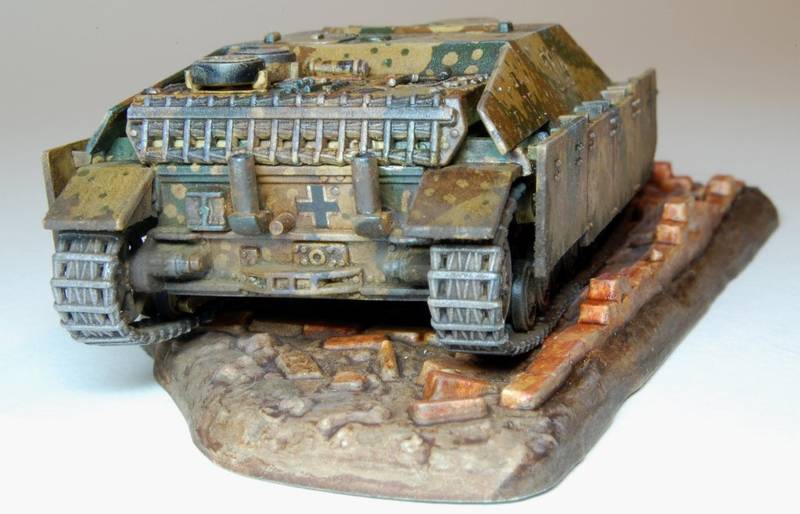
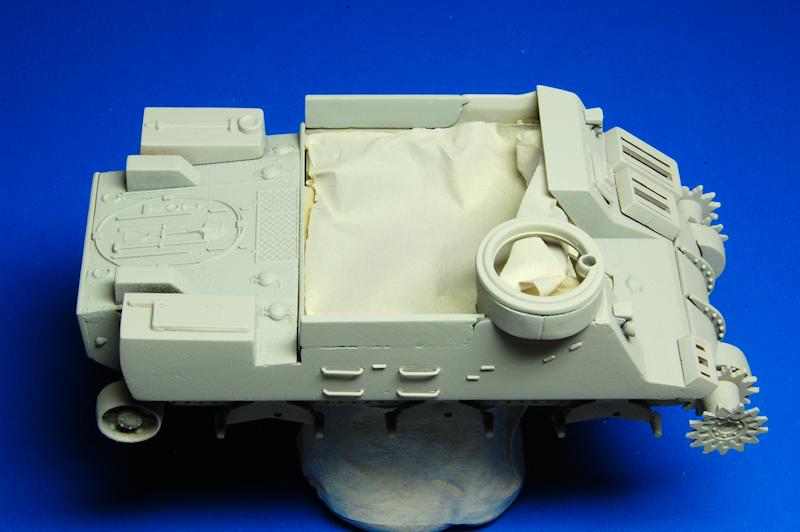
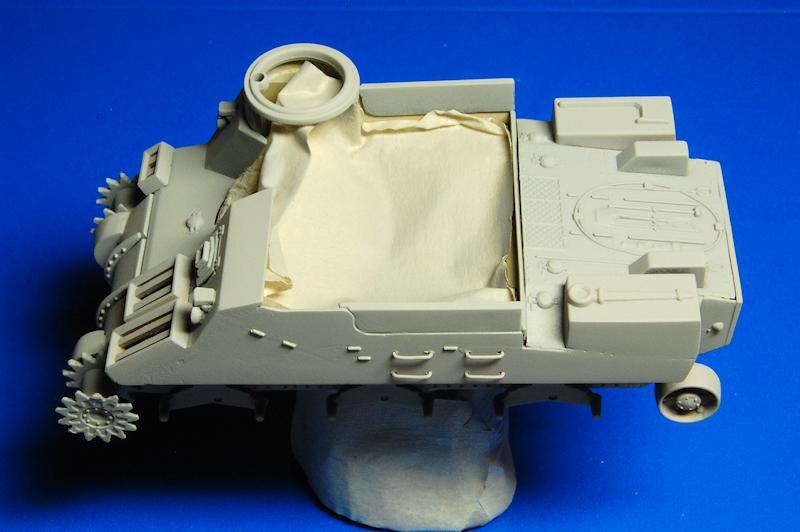
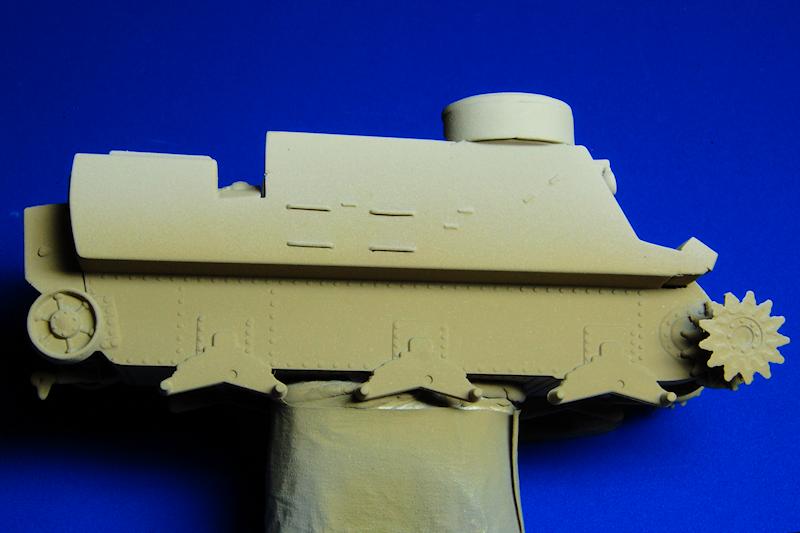
Tat,Here you go,I thinned them as much as I dared

Not as thin as I would have liked,but I think they look much better.
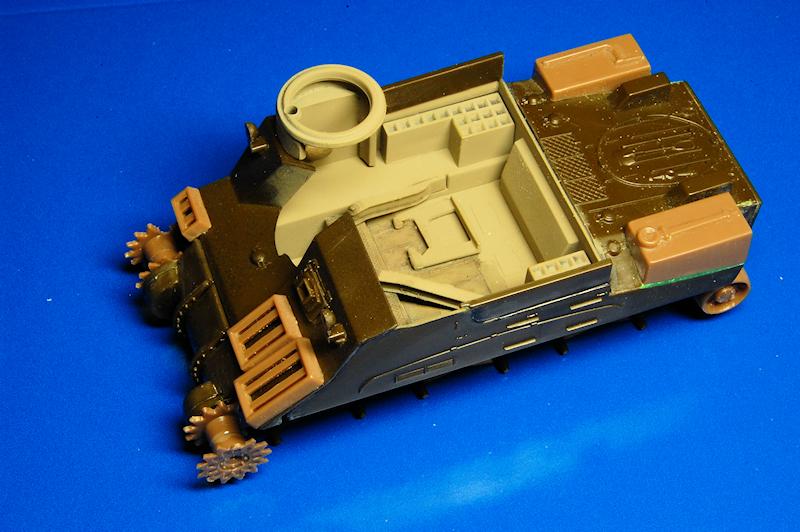
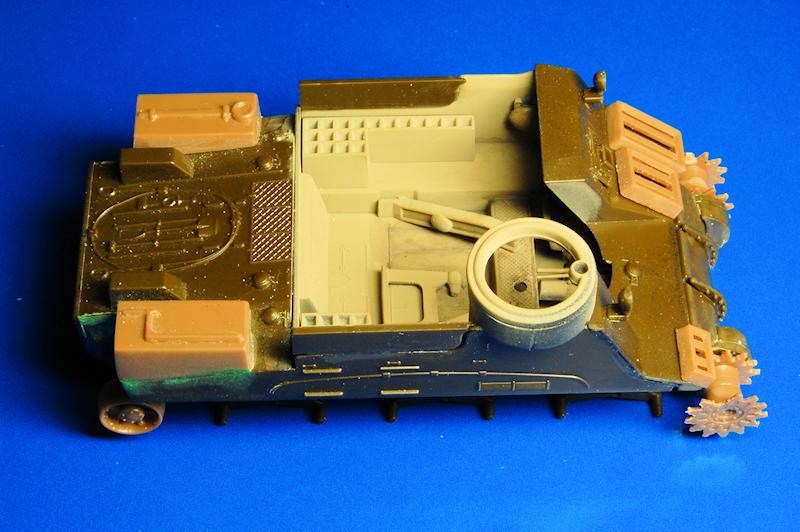
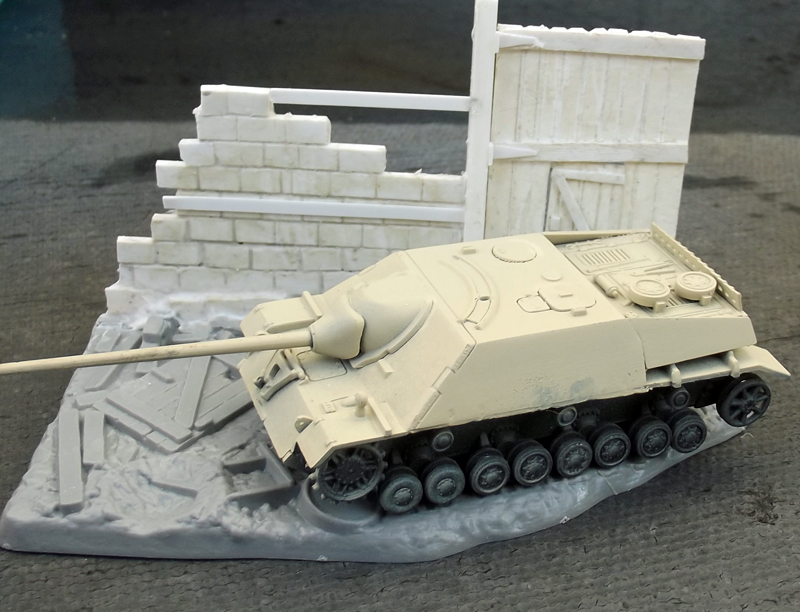
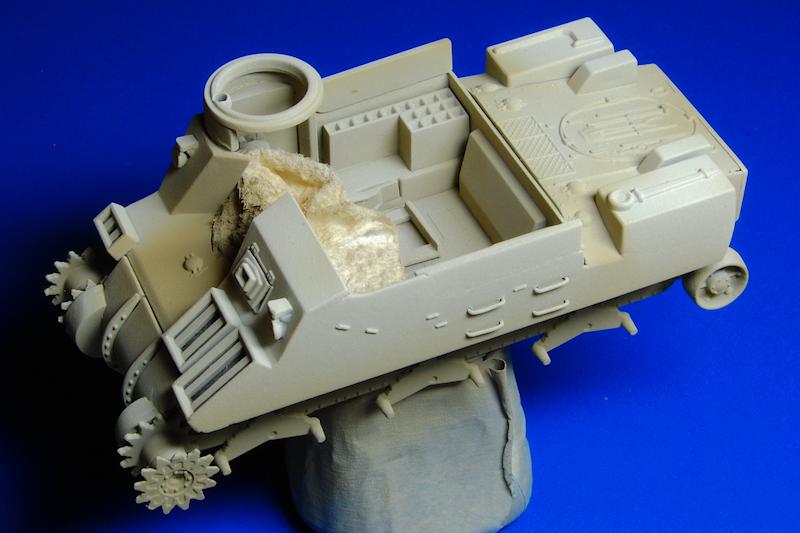
We also have an almost complete hull and a drilled out barrel


So on We go,Jeff T.