Sherman firefly 1c hybrid hull
Dublin, Ireland
Joined: November 27, 2004
KitMaker: 6,048 posts
Armorama: 4,619 posts
Posted: Wednesday, May 23, 2012 - 06:36 AM UTC
Quoted Text
Why are there positioning pin on every part but no positioning hole at all
I'm not sure but I think the positioning holes are marked on the underside of the hull and need to be drilled through
Pat
work to become not to acquire
Quebec, Canada
Joined: November 19, 2011
KitMaker: 1,389 posts
Armorama: 1,388 posts
Posted: Thursday, May 24, 2012 - 12:46 AM UTC
Thanks Gary! Indeed milliput seems easyer and that's what ill be using.
@ Pat, Thanks for coming over Pat. I've checked under the hull and would I bore those holes, it would make no sens...for the firefly at least. But thanks alot for the heads up, I didn't think of looking, or at least interpret those markings, now I know thanks to you!
Thanks for watching guys, always a pleasure.
Phil

Modeling...
I rest my case.
Quebec, Canada
Joined: November 19, 2011
KitMaker: 1,389 posts
Armorama: 1,388 posts
Posted: Sunday, May 27, 2012 - 06:31 AM UTC
Modeling...
I rest my case.
Texas, United States
Joined: March 08, 2010
KitMaker: 2,465 posts
Armorama: 2,383 posts
Posted: Sunday, May 27, 2012 - 10:01 AM UTC
Hi Phil,
Looks great man!

You just about to wrap the build up? What color you thinking, light tones or darker? Model on bro!

Gary
Quebec, Canada
Joined: November 19, 2011
KitMaker: 1,389 posts
Armorama: 1,388 posts
Posted: Sunday, May 27, 2012 - 12:24 PM UTC
I was more thinking medium tone hehe!

done some pe more pics tomorow morning.
Thanks mate!
Modeling...
I rest my case.
Quebec, Canada
Joined: November 19, 2011
KitMaker: 1,389 posts
Armorama: 1,388 posts
Posted: Monday, May 28, 2012 - 01:39 AM UTC
here is an update on my sunday's work.
Feel fre to comment as I'm not in a rush to finish, I would like some suggestion on what I could add to this crazy but fun kit!
there will be some welding added to the hatch stoper where it meets the turret side. I wanted to know the best looking antenas: how to do those?
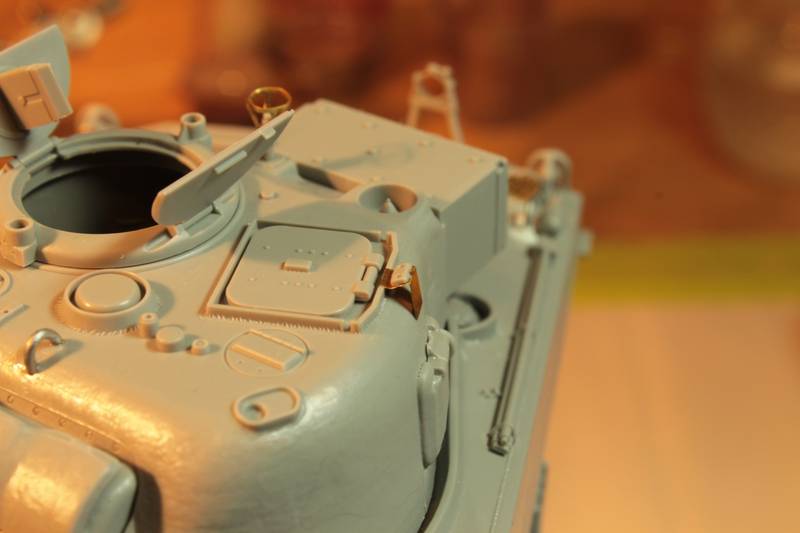
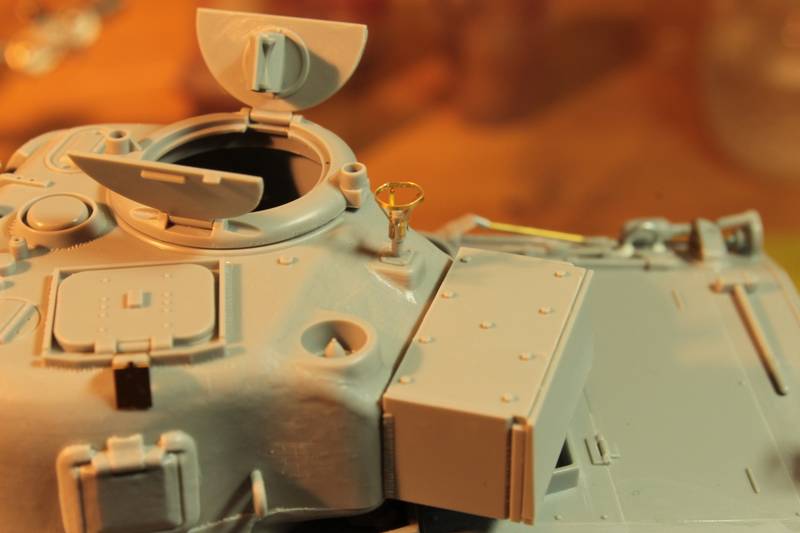
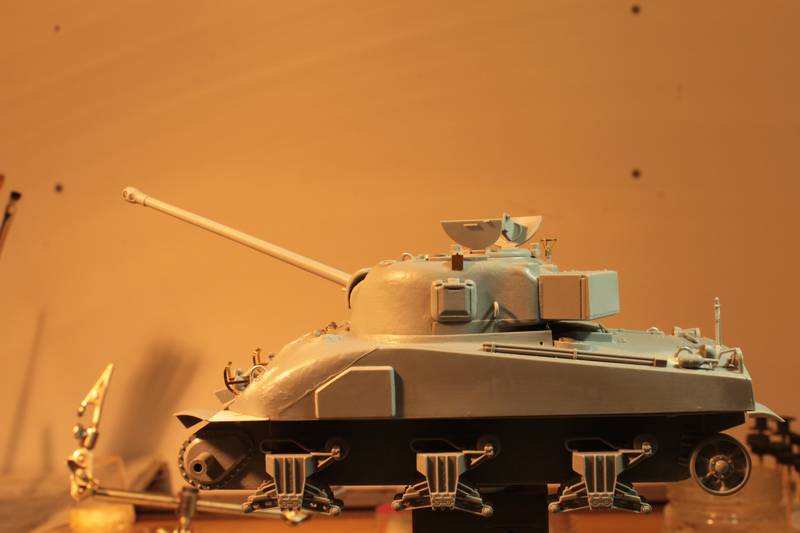
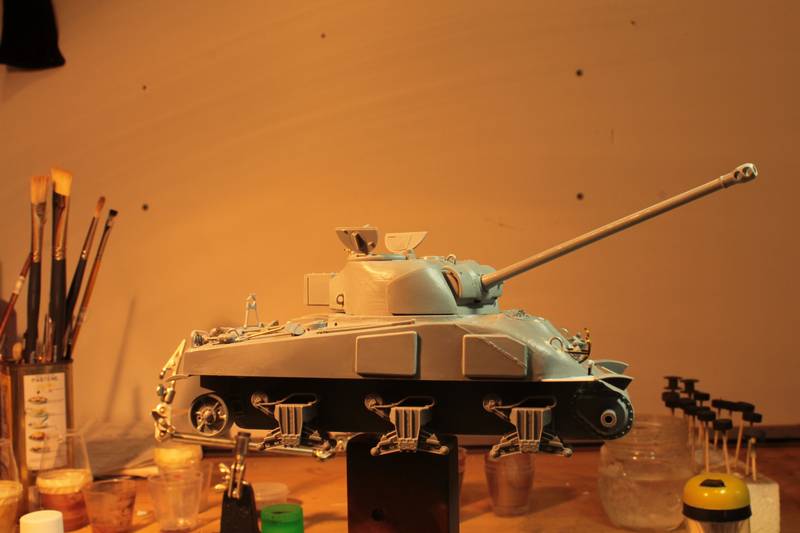
Don't be shy, I want to know my flaws.
Thanks for watching.
Phil.

Modeling...
I rest my case.
Texas, United States
Joined: March 08, 2010
KitMaker: 2,465 posts
Armorama: 2,383 posts
Posted: Monday, May 28, 2012 - 02:26 AM UTC
Hi Phil,
Still going strong i see, looks nice bro. The antenna you can make from stretched srue. Take a length of spare srue and melt it in the middle with a lighter and when it starts to bend itself grab both ends and pull simultaneously till you like the results. keep a hold of it for a few seconds while it cools off or it will curl up on you. It takes me anywhere from 2 to 10 tries to get it like i want. I also use the stretched spue to create weld beads.

I hope that helps bro.

Gary

Quebec, Canada
Joined: November 19, 2011
KitMaker: 1,389 posts
Armorama: 1,388 posts
Posted: Monday, May 28, 2012 - 10:31 AM UTC
Hi Gary, I was looking for a new way to do the antenas, so I went this way, skining thin wire, traighten it and c.a. glue.. Went good. did some bracket to secure the stowage box on the rear.
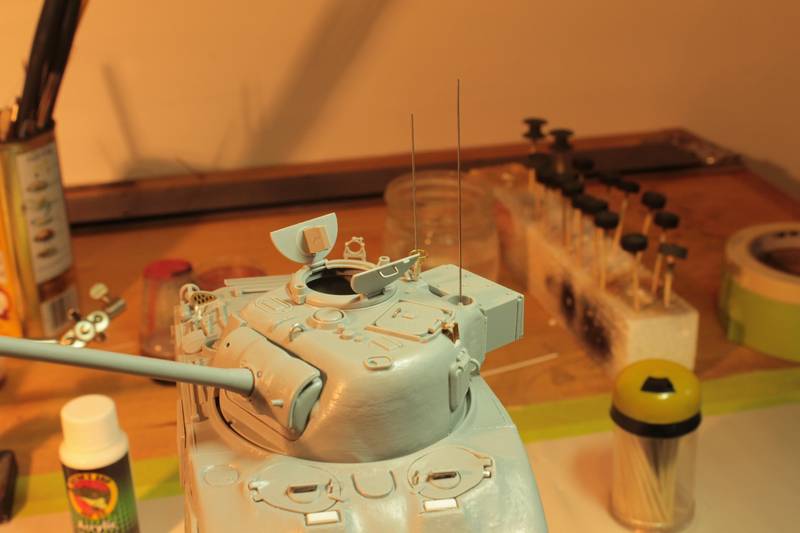
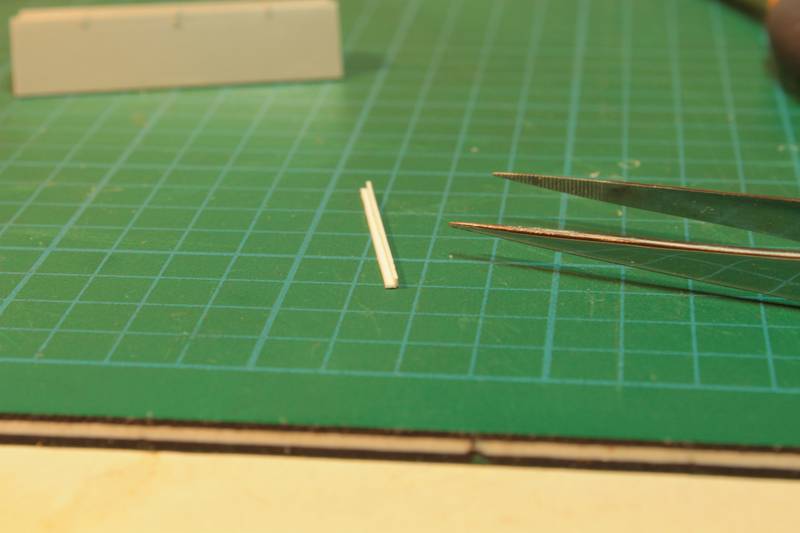
I've also seen to the hatch handle issue.
Thanks everyone for watching.
Phil

Modeling...
I rest my case.
Texas, United States
Joined: March 08, 2010
KitMaker: 2,465 posts
Armorama: 2,383 posts
Posted: Monday, May 28, 2012 - 10:46 AM UTC
Hey Phil,
Nice job on the antennas!

Never thought of that. I see the hatch handle to, was is a pain to do?
Gary

Quebec, Canada
Joined: November 19, 2011
KitMaker: 1,389 posts
Armorama: 1,388 posts
Posted: Monday, May 28, 2012 - 01:08 PM UTC
Quoted Text
Hey Phil,
Nice job on the antennas!  Never thought of that. I see the hatch handle to, was is a pain to do?
Gary 
Thanks Gary, It was quite easy for the handles...and the antenas, suprisingly

how did you do the welds you finaly took of on the staghoung?
Irealy liked those.
Phil.
Modeling...
I rest my case.
Texas, United States
Joined: March 08, 2010
KitMaker: 2,465 posts
Armorama: 2,383 posts
Posted: Monday, May 28, 2012 - 01:33 PM UTC
Hey Phil,
Im not sure i understand the Q? Can you be more specific?
Gary

England - East Anglia, United Kingdom
Joined: August 12, 2005
KitMaker: 14,499 posts
Armorama: 11,675 posts
Posted: Monday, May 28, 2012 - 10:51 PM UTC
Hi Phil,
Been following for afar, great work.
Al


'Action this Day'
Winston Spencer Churchill
Quebec, Canada
Joined: November 19, 2011
KitMaker: 1,389 posts
Armorama: 1,388 posts
Posted: Tuesday, May 29, 2012 - 01:22 AM UTC
Thanks alan!, It is nice of you to follow the tread you are most welcomed.
Gary,Remember you tought the mold line on the staghound turret was a weld and you did a very fine job on that matter. then surely Mauro or one of the Jeffs told you it was a mold and you took it off. Anyway how do you replicate welds? because this one was delightfull. Hehe
Phil.

Modeling...
I rest my case.
Texas, United States
Joined: March 08, 2010
KitMaker: 2,465 posts
Armorama: 2,383 posts
Posted: Tuesday, May 29, 2012 - 02:48 AM UTC
Quebec, Canada
Joined: November 19, 2011
KitMaker: 1,389 posts
Armorama: 1,388 posts
Posted: Wednesday, May 30, 2012 - 01:24 AM UTC
That is a sweet sbs Gary, thanks a lot! Now I have to get my hands on a tube this small....or i'll scratch a tool similar.
You're the man bro! thx again.
Phil.

Modeling...
I rest my case.
Quebec, Canada
Joined: November 19, 2011
KitMaker: 1,389 posts
Armorama: 1,388 posts
Posted: Friday, June 01, 2012 - 12:52 AM UTC
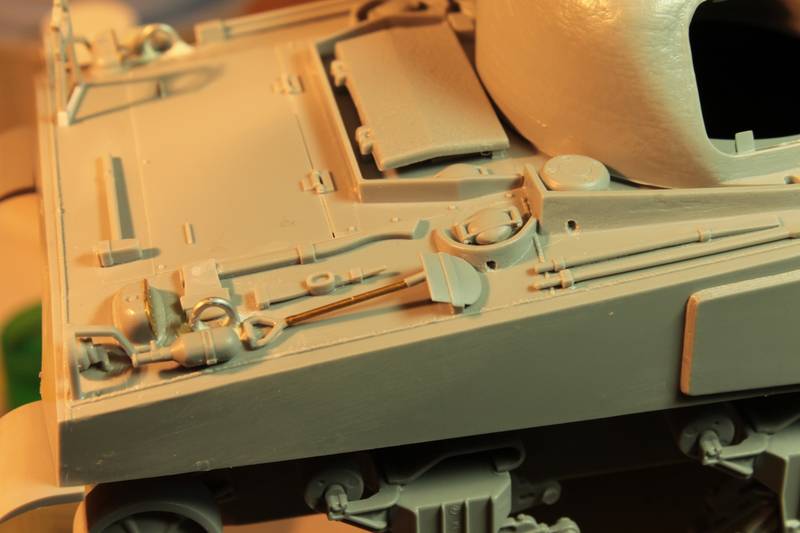
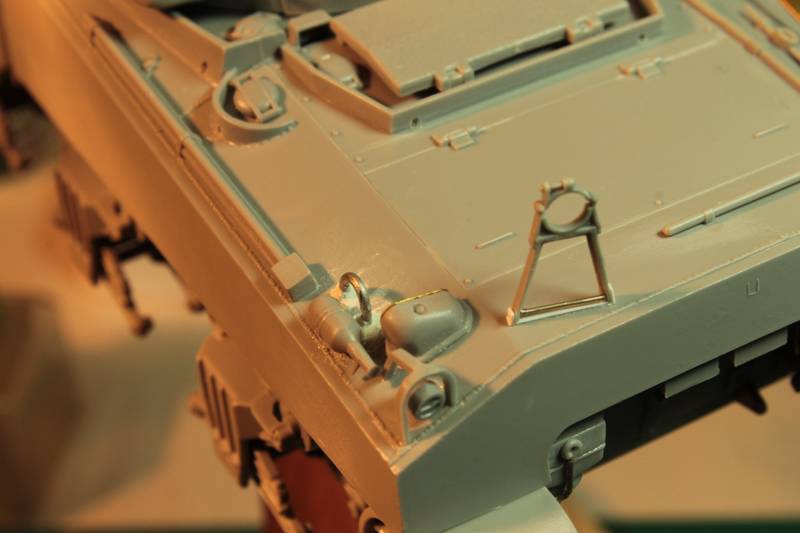
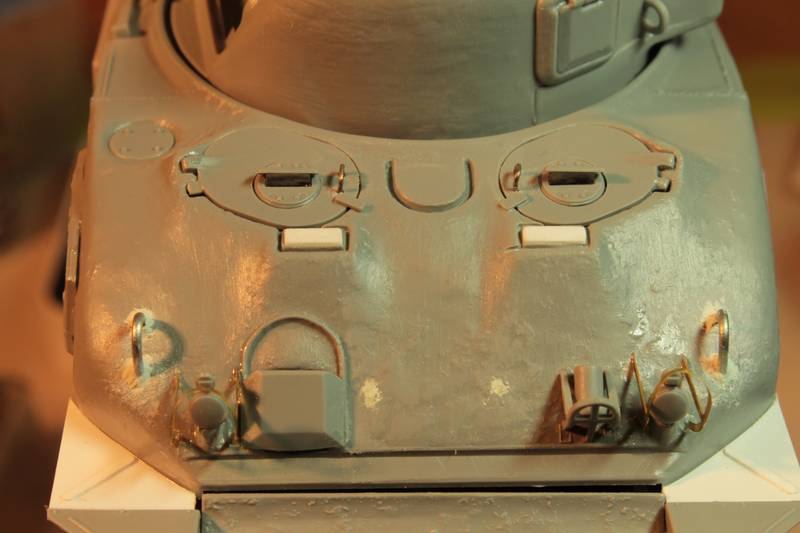
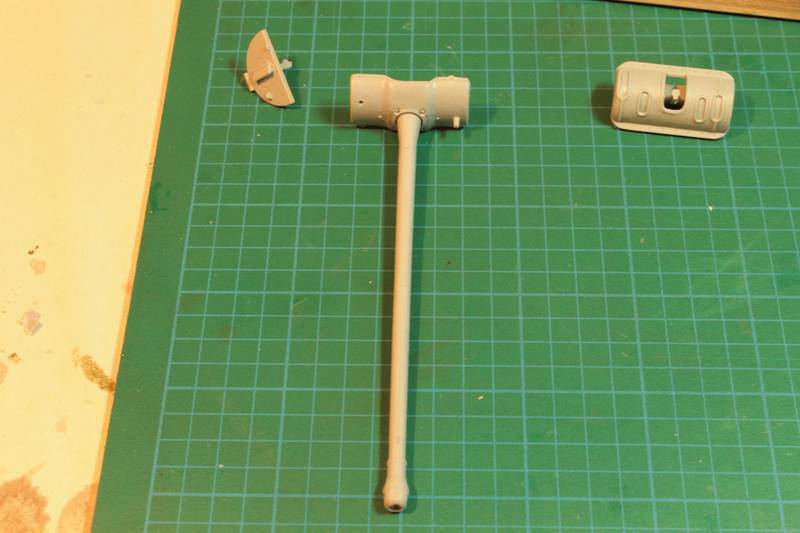
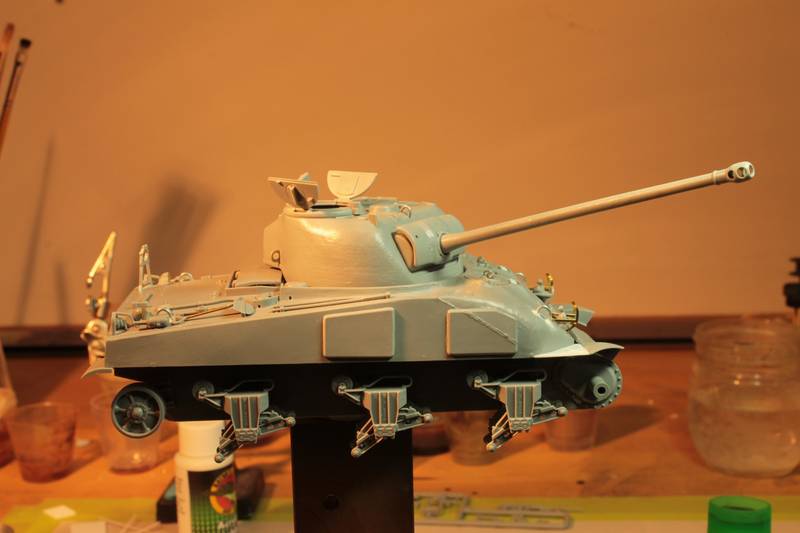
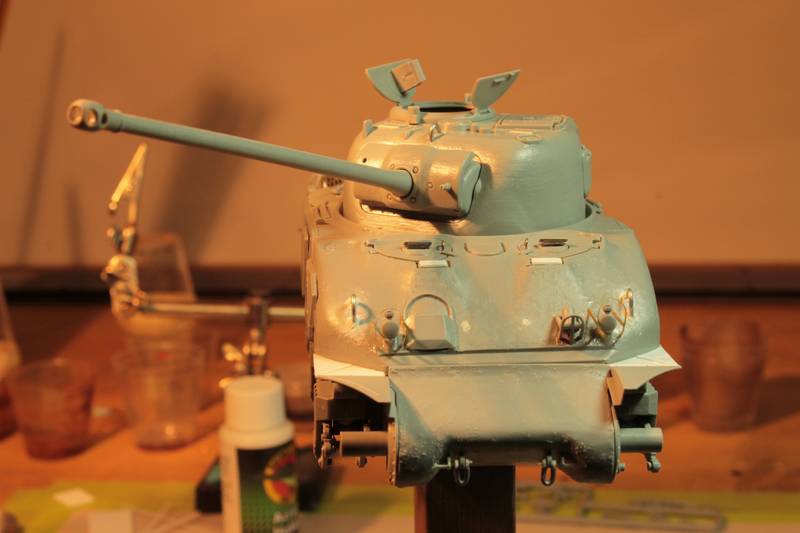
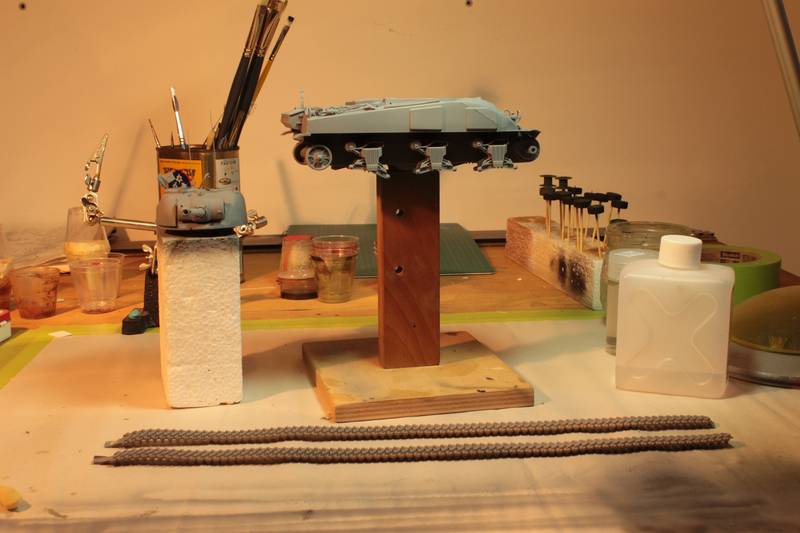
The build is mostly finished! appart from the fitting issues it was a great kit to research and tweek. I'll put the primer on today or tomorow morning. here are some pics.
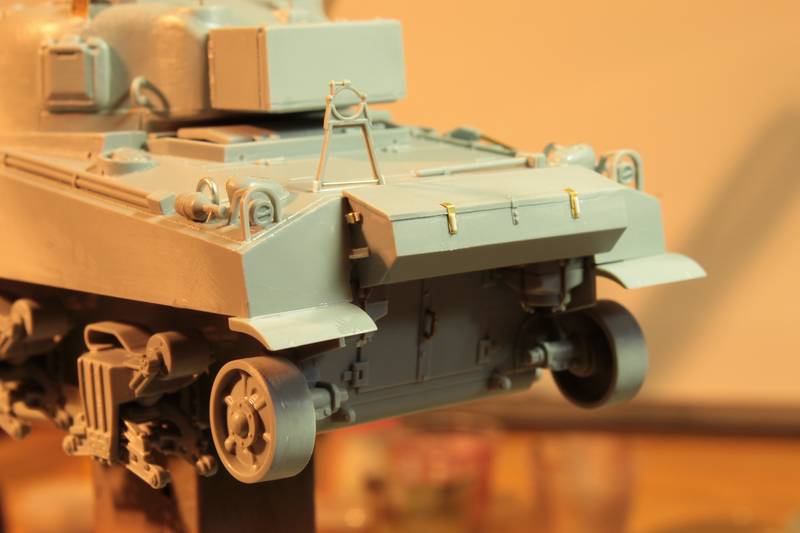
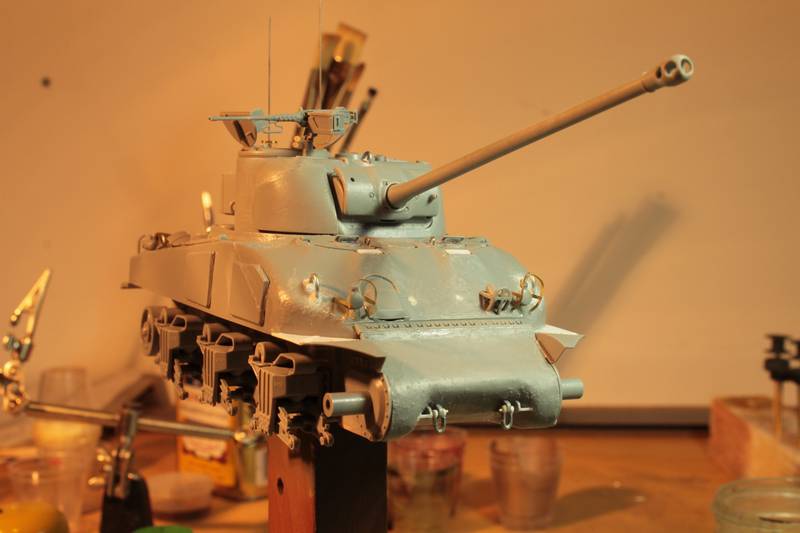
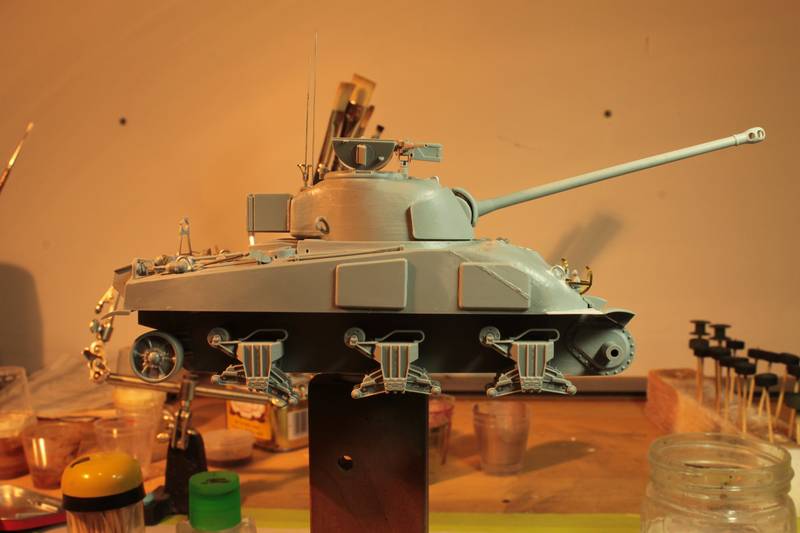
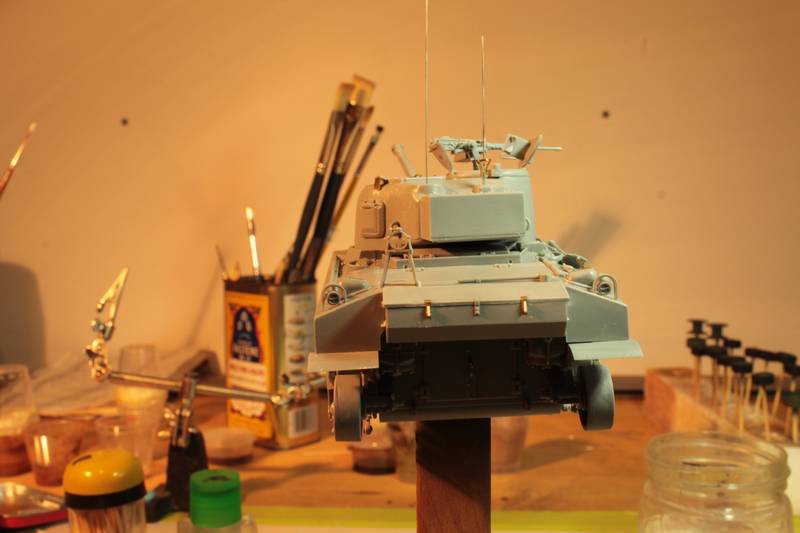
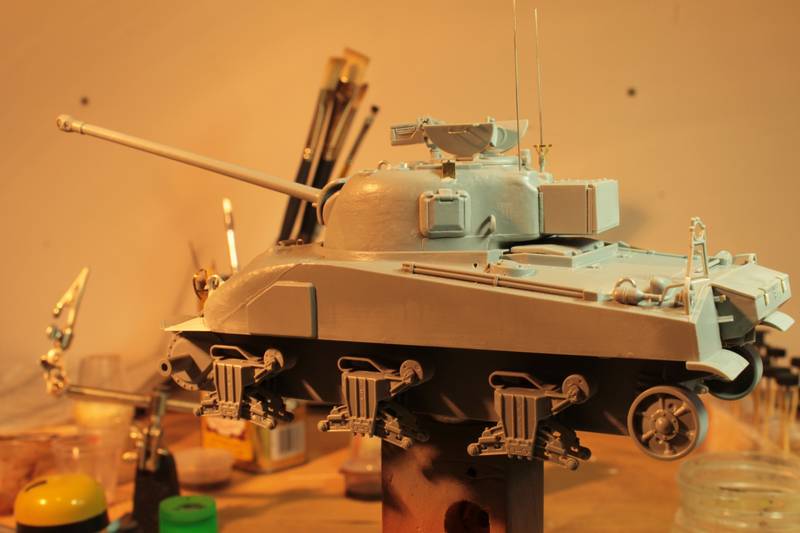
Any comment is welcomed!
Thanks for watching.
Phil.

Modeling...
I rest my case.
Georgia, United States
Joined: January 31, 2010
KitMaker: 2,191 posts
Armorama: 1,814 posts
Posted: Friday, June 01, 2012 - 06:00 AM UTC
FWIW, there seems to be only a few photos of Fireflys with the .50 cal mounted. You certainly can add it, but it doesn't seem overly common.
Join AMPS.
http://www.amps-armor.org/ampssite
Texas, United States
Joined: March 08, 2010
KitMaker: 2,465 posts
Armorama: 2,383 posts
Posted: Friday, June 01, 2012 - 06:24 AM UTC
A build well done my friend! Looking forward to some paint.

Gary
Quebec, Canada
Joined: November 19, 2011
KitMaker: 1,389 posts
Armorama: 1,388 posts
Posted: Friday, June 01, 2012 - 09:54 AM UTC
@Jesse, Indeed there is few firefly with the 50.cal, and I built it to see what it would look like but it will surely finish in the spare parts box...to be used elswere since it is quite crisp. Thanks mate always good to know that you got my six!
@Gary, My man, Thanks for the good words and all the advice along the build. Now it is paint time and I know that paint job IS your turff. So, don't be shy on the comments as I will post. Glad you're there bro.
Phil.

Modeling...
I rest my case.
Quebec, Canada
Joined: November 19, 2011
KitMaker: 1,389 posts
Armorama: 1,388 posts
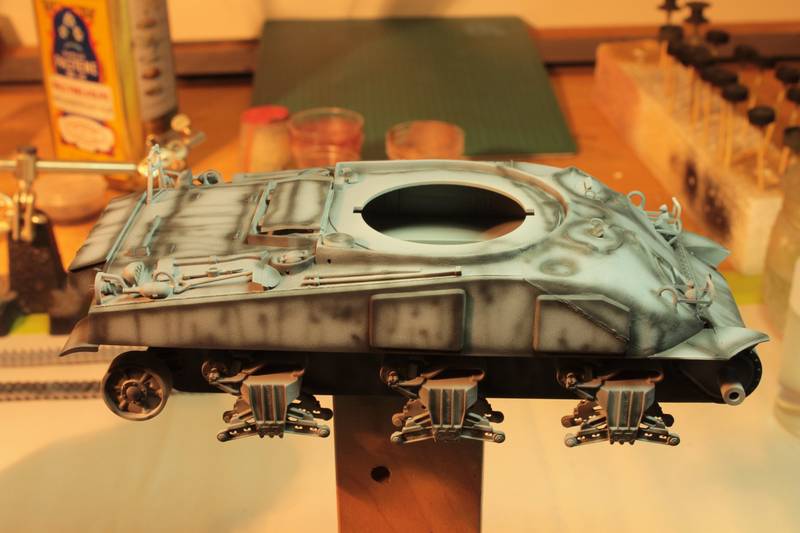
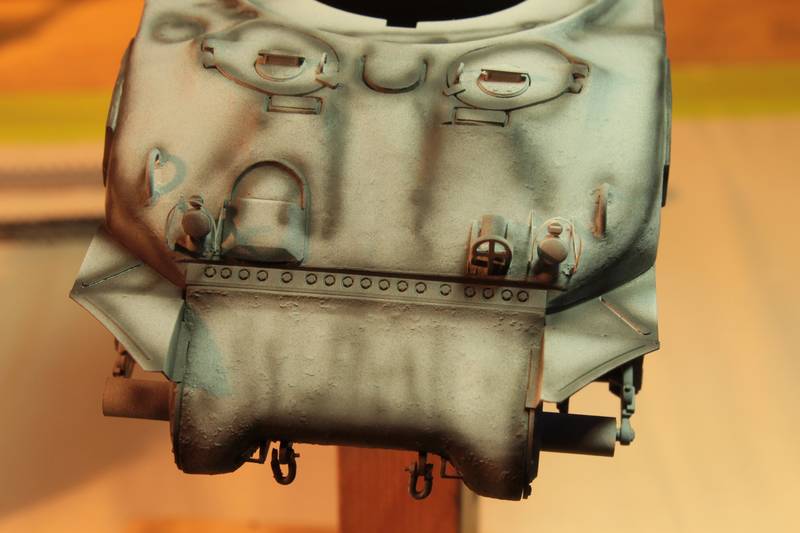
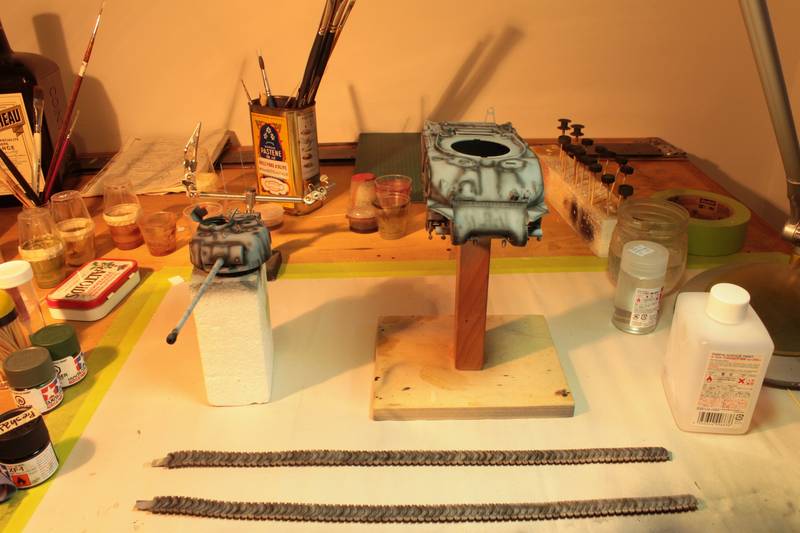
Posted: Monday, June 04, 2012 - 01:47 AM UTC
Modeling...
I rest my case.
Texas, United States
Joined: March 08, 2010
KitMaker: 2,465 posts
Armorama: 2,383 posts
Posted: Monday, June 04, 2012 - 01:57 AM UTC
Hey Phil,
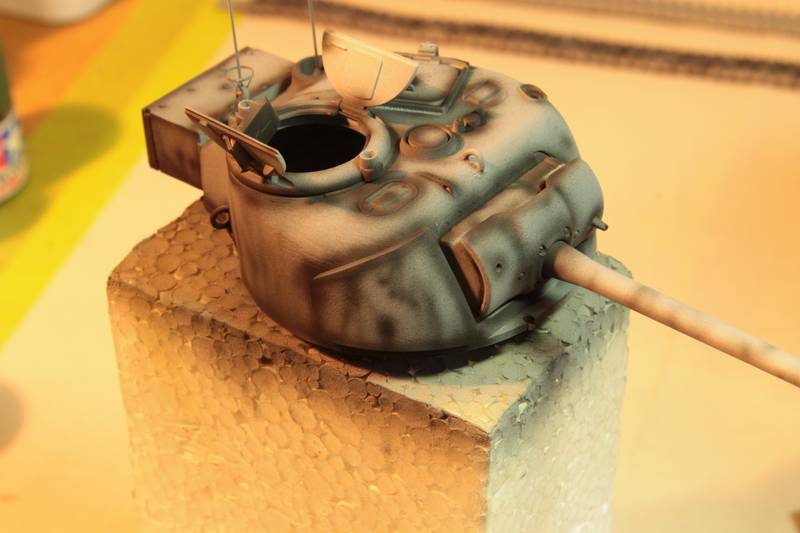
OH BOY! we get to see some color soon? Nice preshade bro!

Thats a nice build Phil.

Gary
Michigan, United States
Joined: October 28, 2002
KitMaker: 4,021 posts
Armorama: 3,947 posts
Posted: Monday, June 04, 2012 - 03:15 AM UTC
I know you've got the primer down but can I make 3 construction suggestions?
1) the DML turret pistol port is poorly done. It needs its lip smoothed in. Look here

2) remove the periscope from the assistant driver's hatch. In Fireflies, that area was occupied by an ammo bin so no crew member sat there.
3) Also, (and this is a big one), I don't think the Firefly ICs had the long stowage bin on the rear bulkhead. The engine crank access was there and the long bin would have interfered with its usage. In Firefly ICs you see the long bin relocated or omitted. I'm pretty sure of this but if you can find a pic of an IC with the bin there, then cool -- but I think not. (the VCs and M4A4s did not have this crank access but all radial-engined Shermans did)
Hope these help
Roy Chow
Join AMPS!
www.amps-armor.org
Texas, United States
Joined: March 08, 2010
KitMaker: 2,465 posts
Armorama: 2,383 posts
Posted: Monday, June 04, 2012 - 05:43 AM UTC
WOW Roy! Thats an awfull lot to throw at a guy whos ready to paint dont ya think. Pretty sure hes building for fun and relaxation and not trying to do an exact replica.

But i might be out of line.

Gary
Michigan, United States
Joined: October 28, 2002
KitMaker: 4,021 posts
Armorama: 3,947 posts
Posted: Monday, June 04, 2012 - 10:05 AM UTC
Hi Gary: I'm not one to unnecessarily call down arty -- but Phil is clearly going the extra mile (lots of weld seams and other parts replacement). I thought he'd want to make the easy corrections I pointed out. Phil, if my pointers are making you nuts, feel free to ignore them. Your project is still great to watch.
Roy Chow
Join AMPS!
www.amps-armor.org
Quebec, Canada
Joined: November 19, 2011
KitMaker: 1,389 posts
Armorama: 1,388 posts
Posted: Tuesday, June 05, 2012 - 01:58 AM UTC
Quoted Text
Hi Gary: I'm not one to unnecessarily call down arty -- but Phil is clearly going the extra mile (lots of weld seams and other parts replacement). I thought he'd want to make the easy corrections I pointed out. Phil, if my pointers are making you nuts, feel free to ignore them. Your project is still great to watch.
Roy! Man!
Where were you before I' basecoat this thing?
haha

I'm in deep trouble now! I'll smooth down the side turret hatch, but the stowage box is really welded to the rear...no can do, i'll have to live with this

. Do you have a pic of the periscope you are talking about? I can't seem to understand wich one you are talking about. Haaa is it this obvious i'm kinda new at this? hehe Like Gary said I do this for relaxation but I still want this accurate. And knowledge on the subject is always welcomed on my threads!
Thanks for the heads up Roy.
Gary, thanks for the painting chat we had yesterday, i've put the base color deep green(very thin)and it looks great. After it is going to be olive green a mist of yellow green and the same of field grey I think.
You guys rock! thanks again.
Phil

Modeling...
I rest my case.


