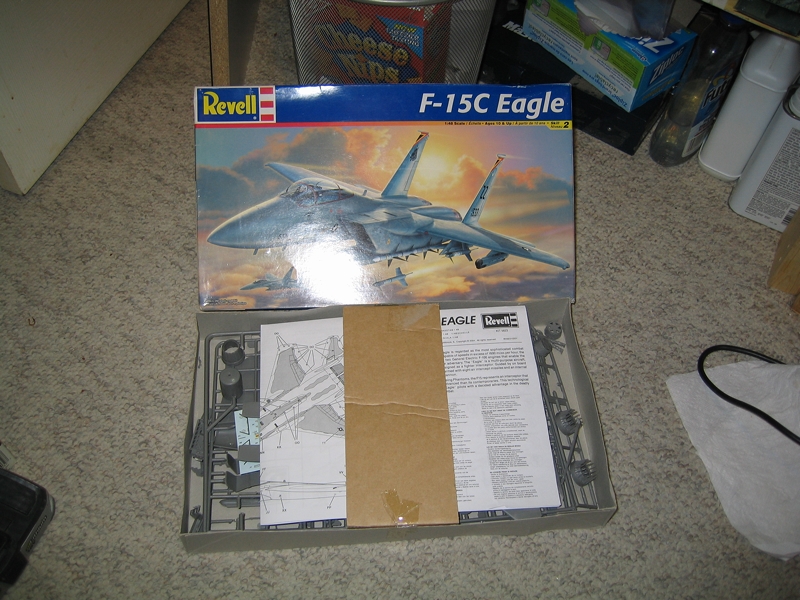
Although the directions say 2004 the fuse is stamped 1979 and I believe the parts to make the C version were done in 1989. I had a hard time finding something I did not want to add to or modify.
Cheers Rob.


 Although the directions say 2004 the fuse is stamped 1979 and I believe the parts to make the C version were done in 1989. I had a hard time finding something I did not want to add to or modify.


 I know this is suppose to be an OOB campaign but can I add some personnel equipment inside the vehicle and some camo netting as seen in this photo


 it sure aint easy doing
  ,just to try it again.


 The kit has a lot of mold irregularities little bumps and so, but should look fine when finished. What about adding details? I want to change the solid control rods for the engine nozzle they just look odd the way they are molded and is an aftermarket seat OK if from the same time period and on hand I don't know if I can make the seat look good enough to match the interior.
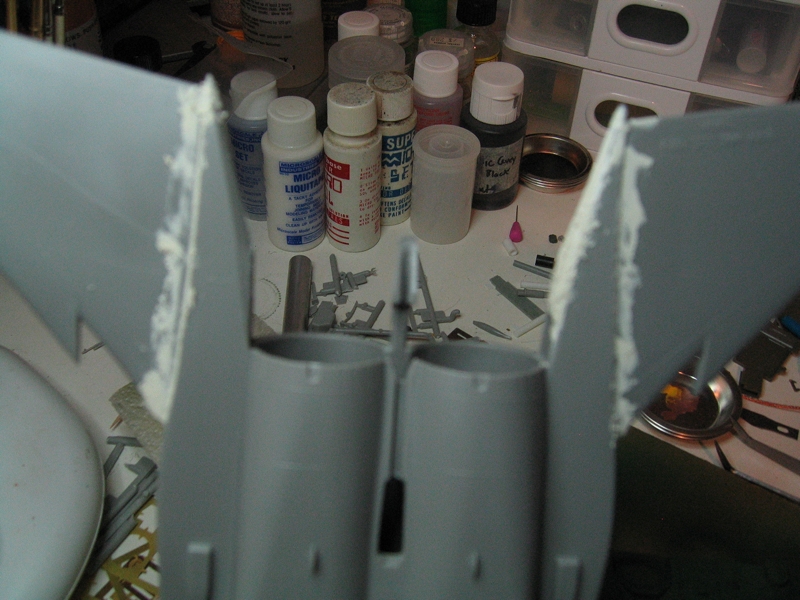


Thanks! Robert, Paul!
Robert, your Gaz M1 is coming along nicely.
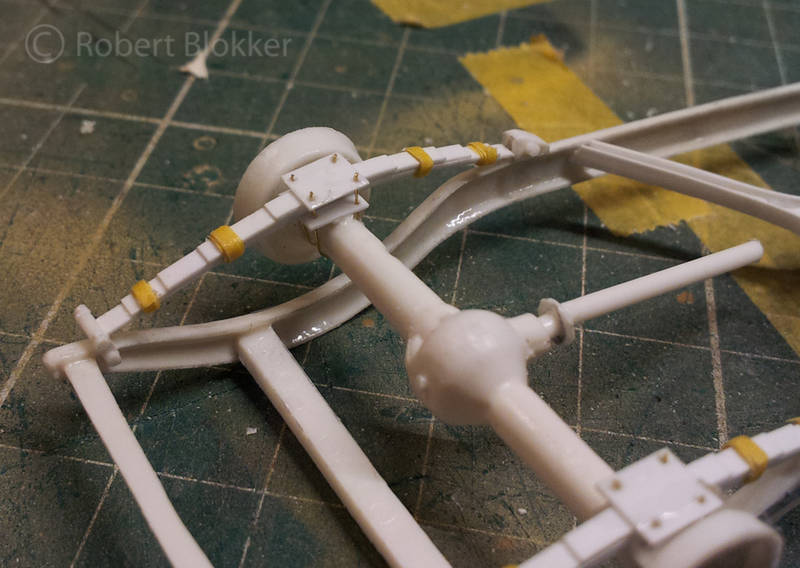
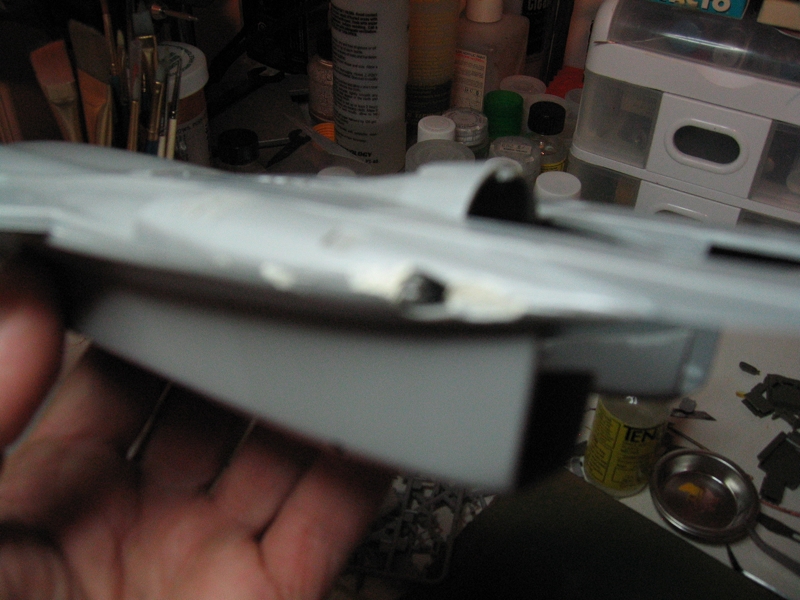
I have not had to use too much filler yet.


Hi Rob, I take you applied that small amount of filler with
#2 paint brush (2inch)
There´s nothing wrong with using some aftermarket stuff if you had it at the time the kit was purchased. Please don´t go getting things now and using them, that would spoil the whole idea of this campaign
Paul
 I have a stack of old AM almost as old as my stack of kits.


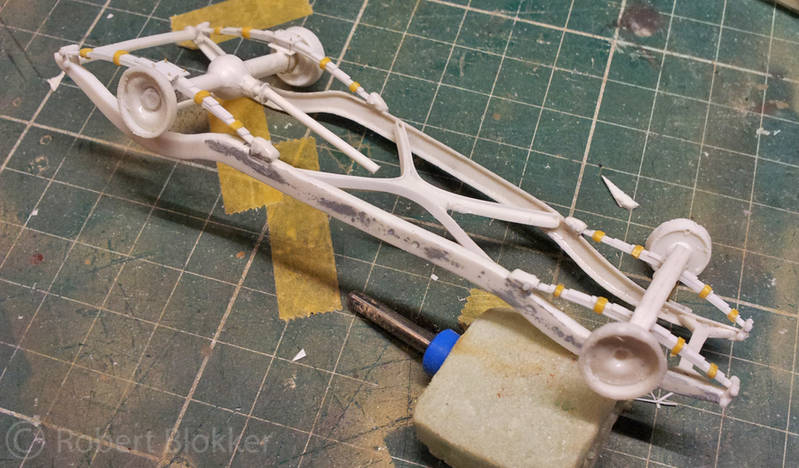
 Anyways, glue, ample curing time, and TLC got the warped parts corrected:
 I was dry-fitting the wheels, and the outer halves were too tight such that when its in, its tough to take it out. "..yes sir I'll surely pop out but not without taking the wheel stub with me..."
 Now I'm not complaining about the link and length tracks that came with the kit -- I can't bear to think of working with rubber band tracks for a kit of this age.


 , you see you don´t need that resin and brass after all


 |